When you click on links to various merchants on this site and make a purchase, this can result in this site earning a commission. Affiliate programs and affiliations include, but are not limited to, the eBay Partner Network.
So, I've been sitting on my old AutoX FC for a few years, and in that time I've acquired a few other cars, and decided to part it out, and use it to build up my 85 GS. I've also got an 85 GSL with factory rear discs, LSD, power steering, and windows, plus a cleaner dash I'm going to incorporate at the same time. I'm doin this to basically to make room in my garage, and to get away from another project for a while.
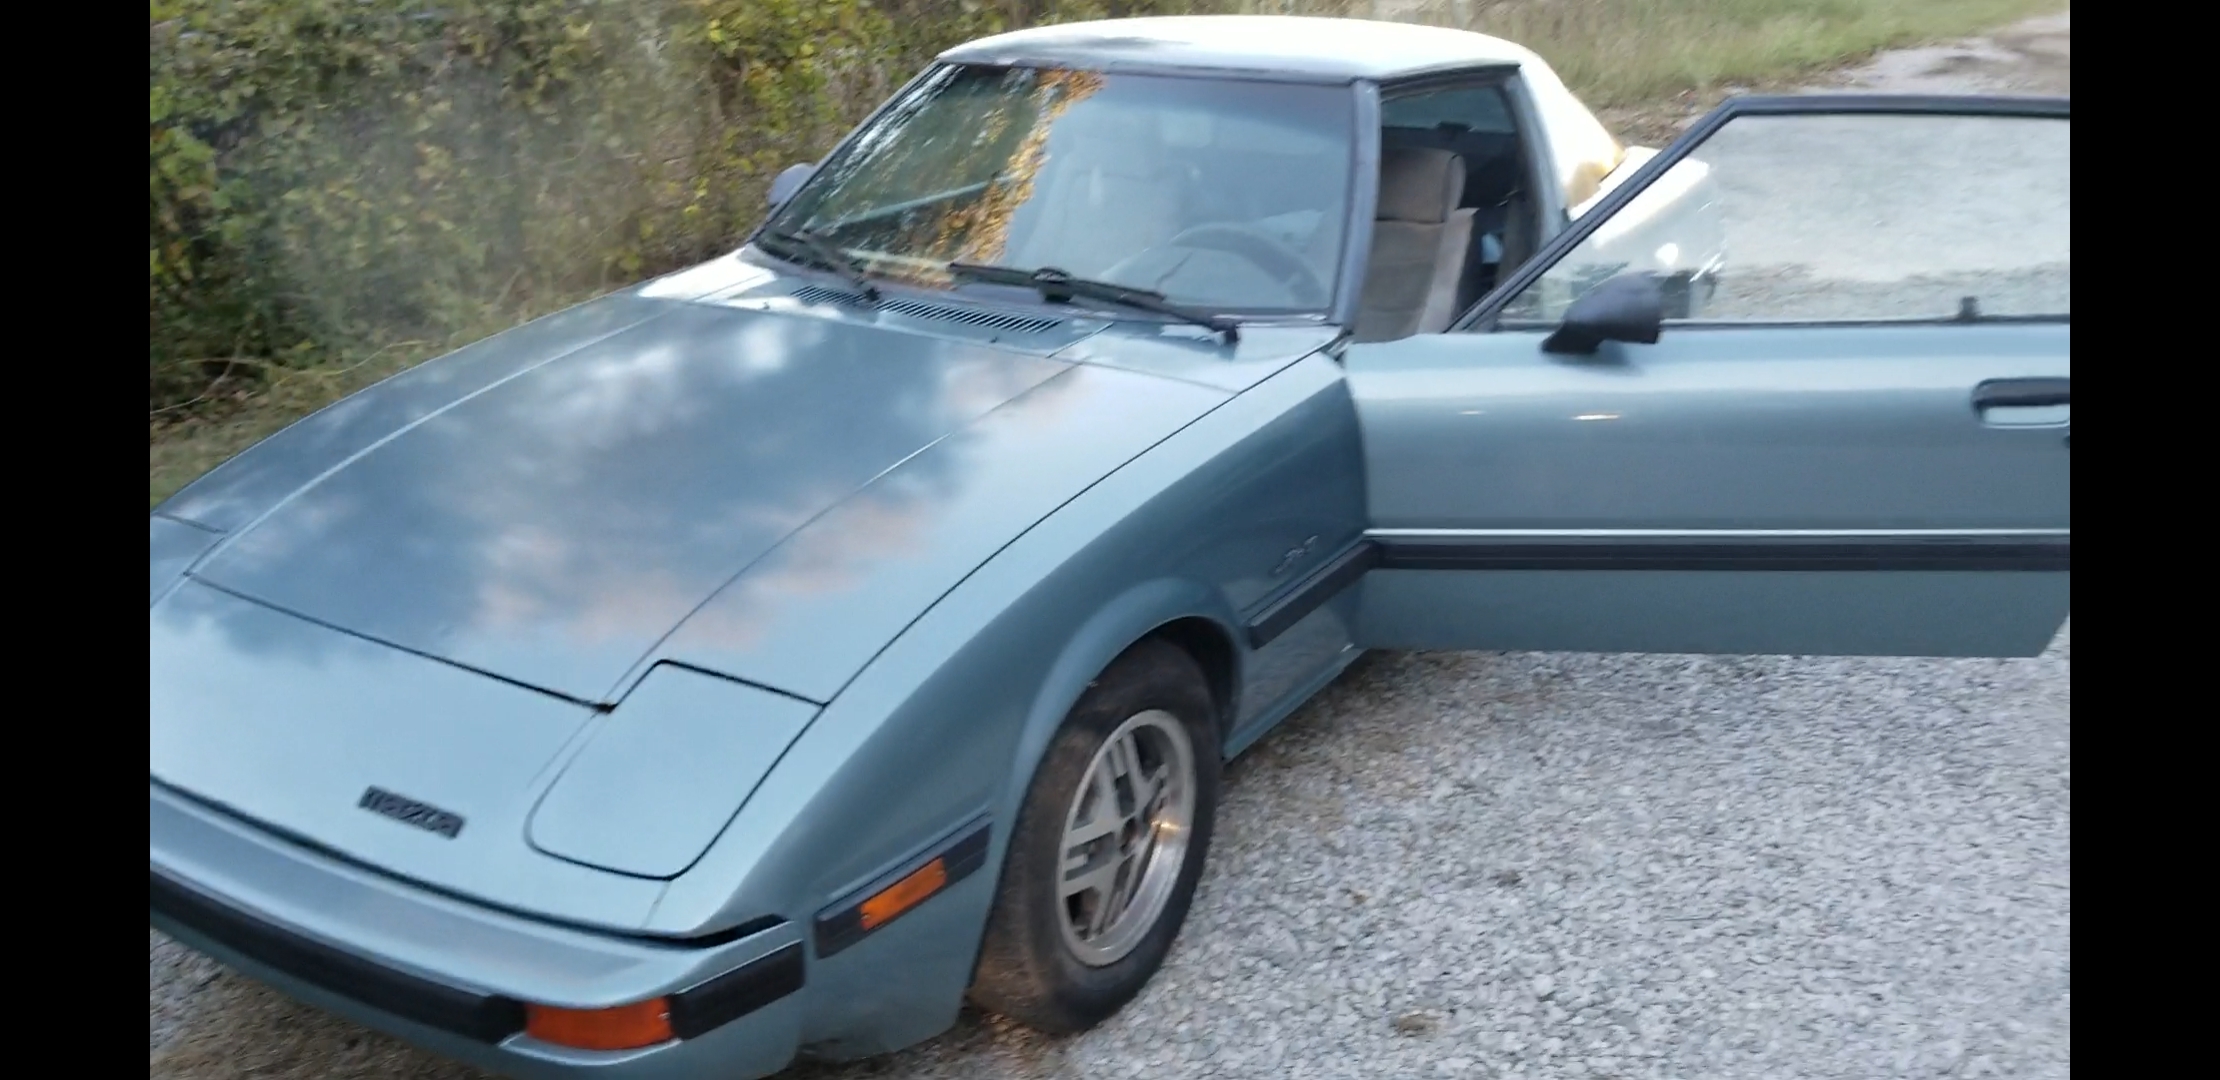
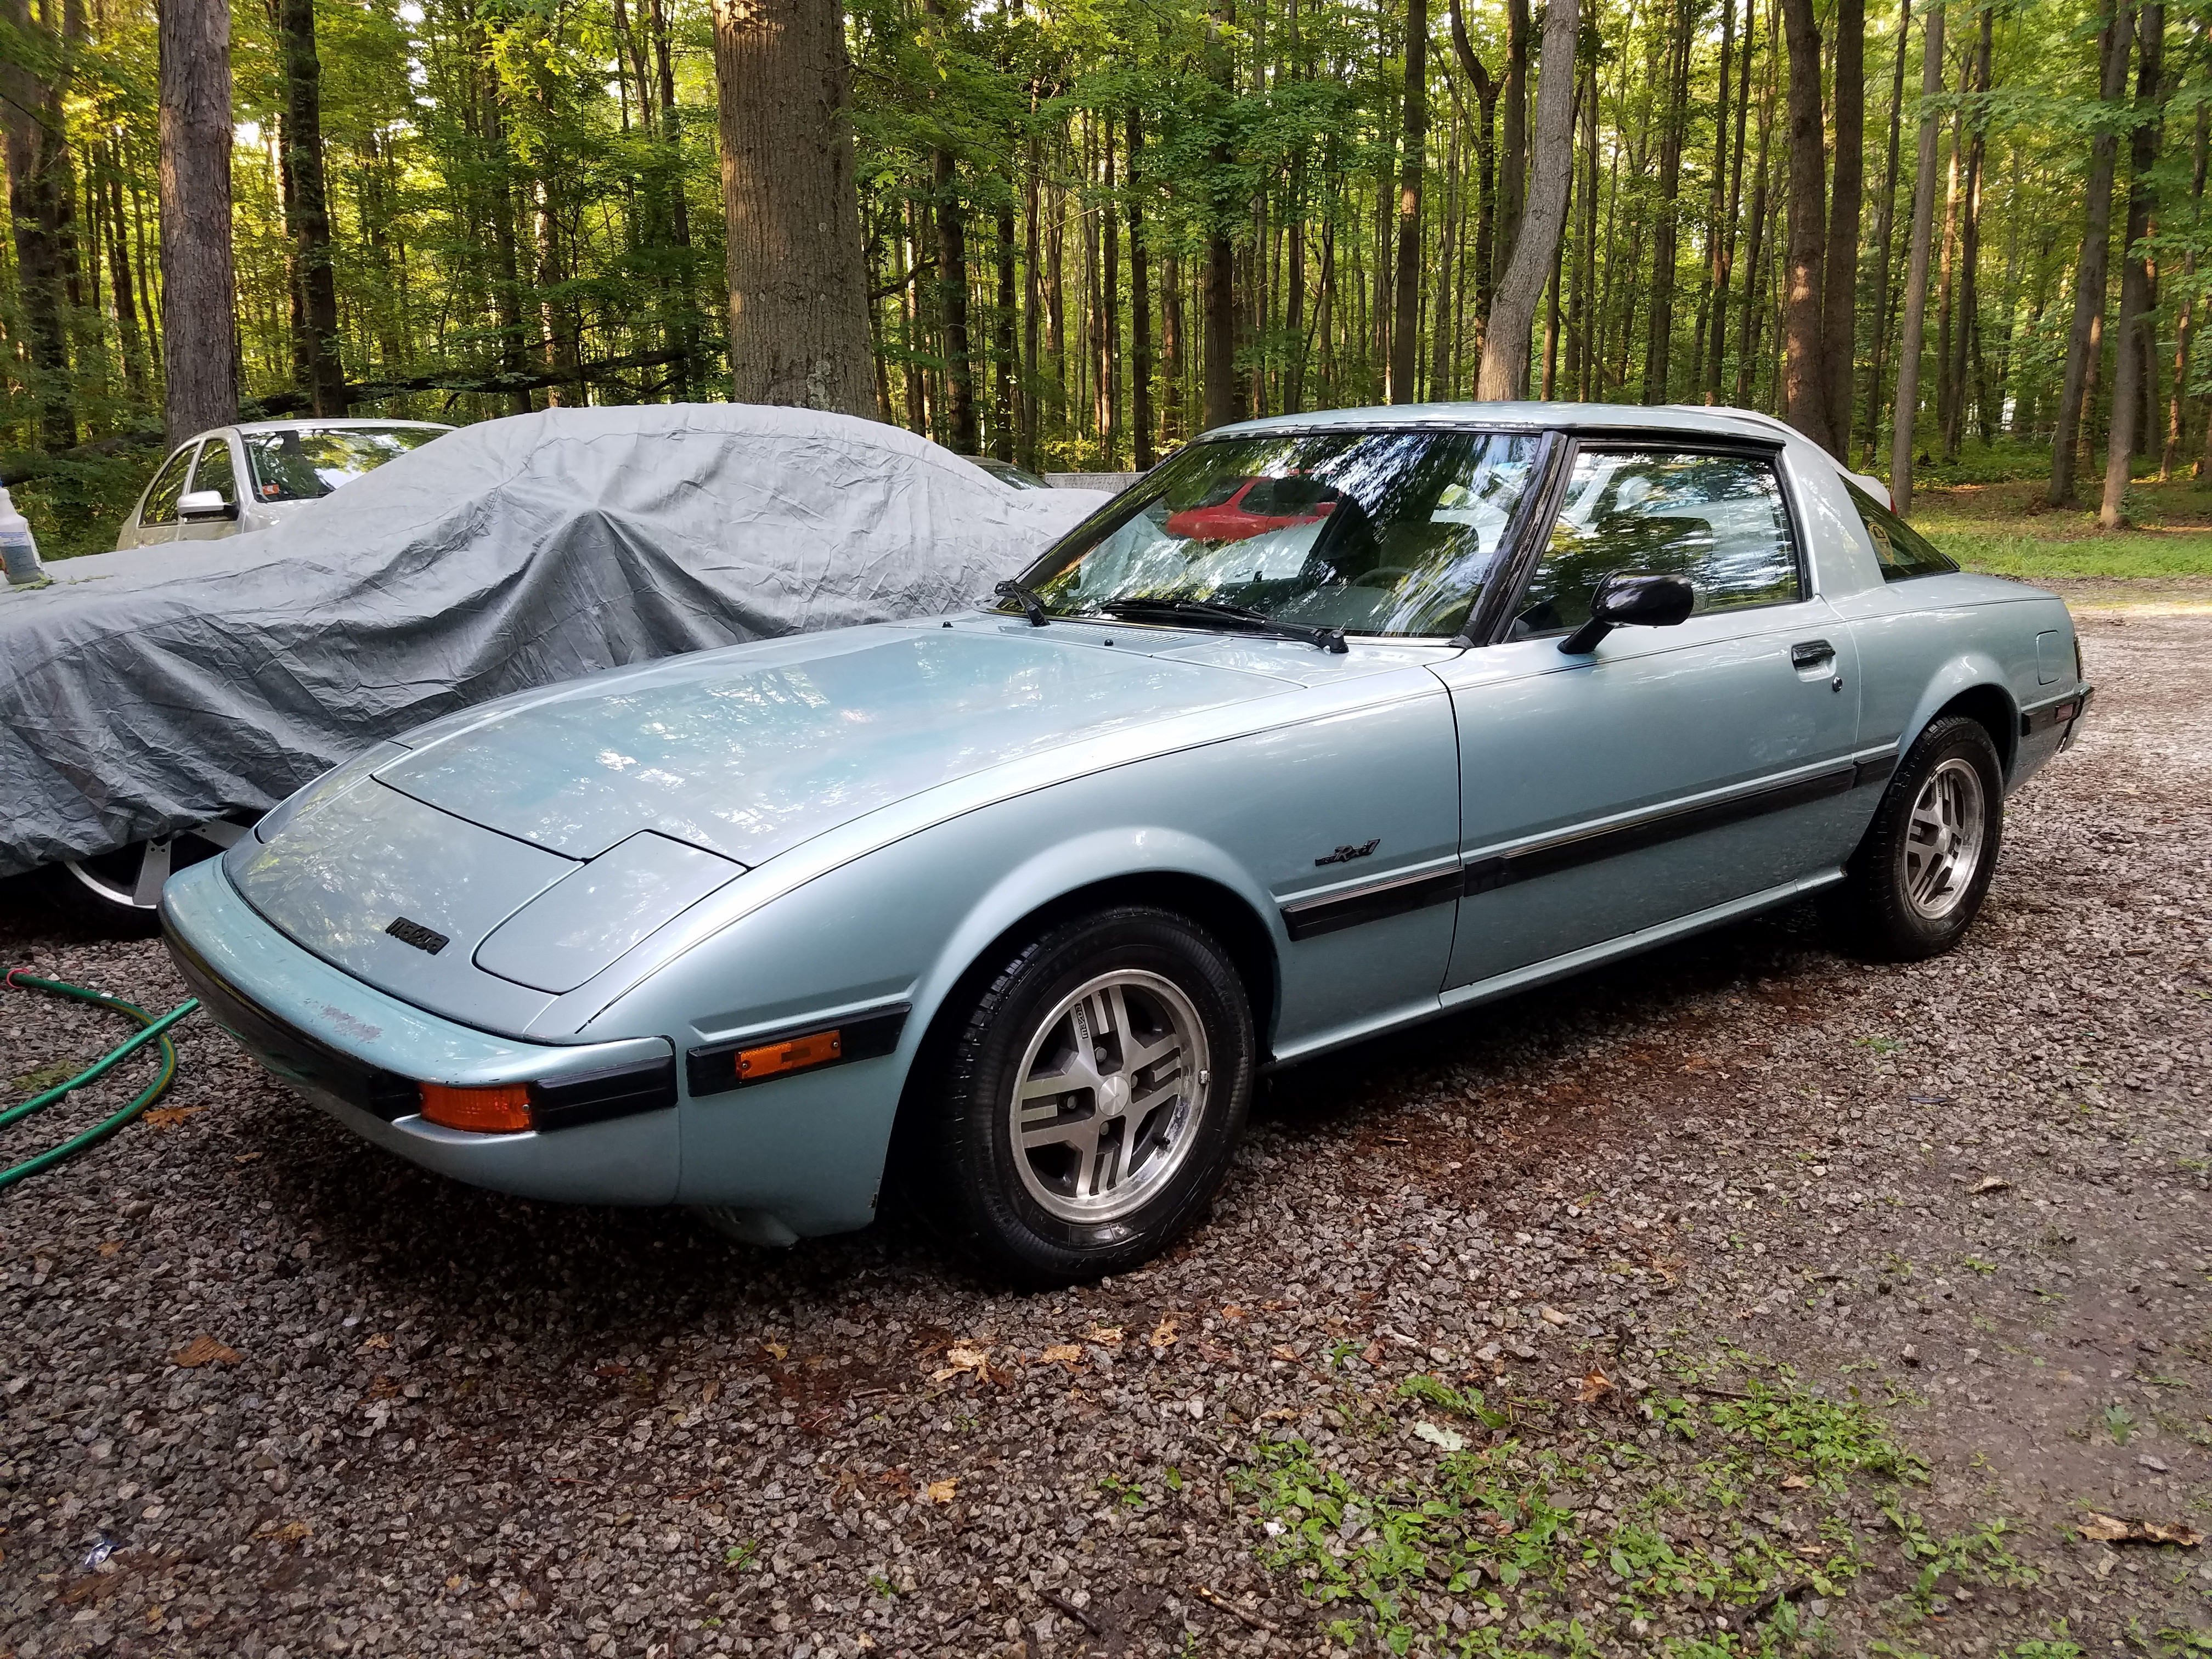
This is a budget build that I'm really hoping to have less then $500 into, and so far, I'm well within that. Let's start with the car. I got this GS from a local seller off the Craigslist few years back, and was really impressed by the body, and unmodified drivetrain. I have had to do a few thing to her in that time, but all in all, she's been a reliable little car. She has always had a bit of a smoking problem however, and I've noticed she has been leaking coolant from between the rear iron and housing. So I decided to finish up my RePu, and get her in line for a rebuild.
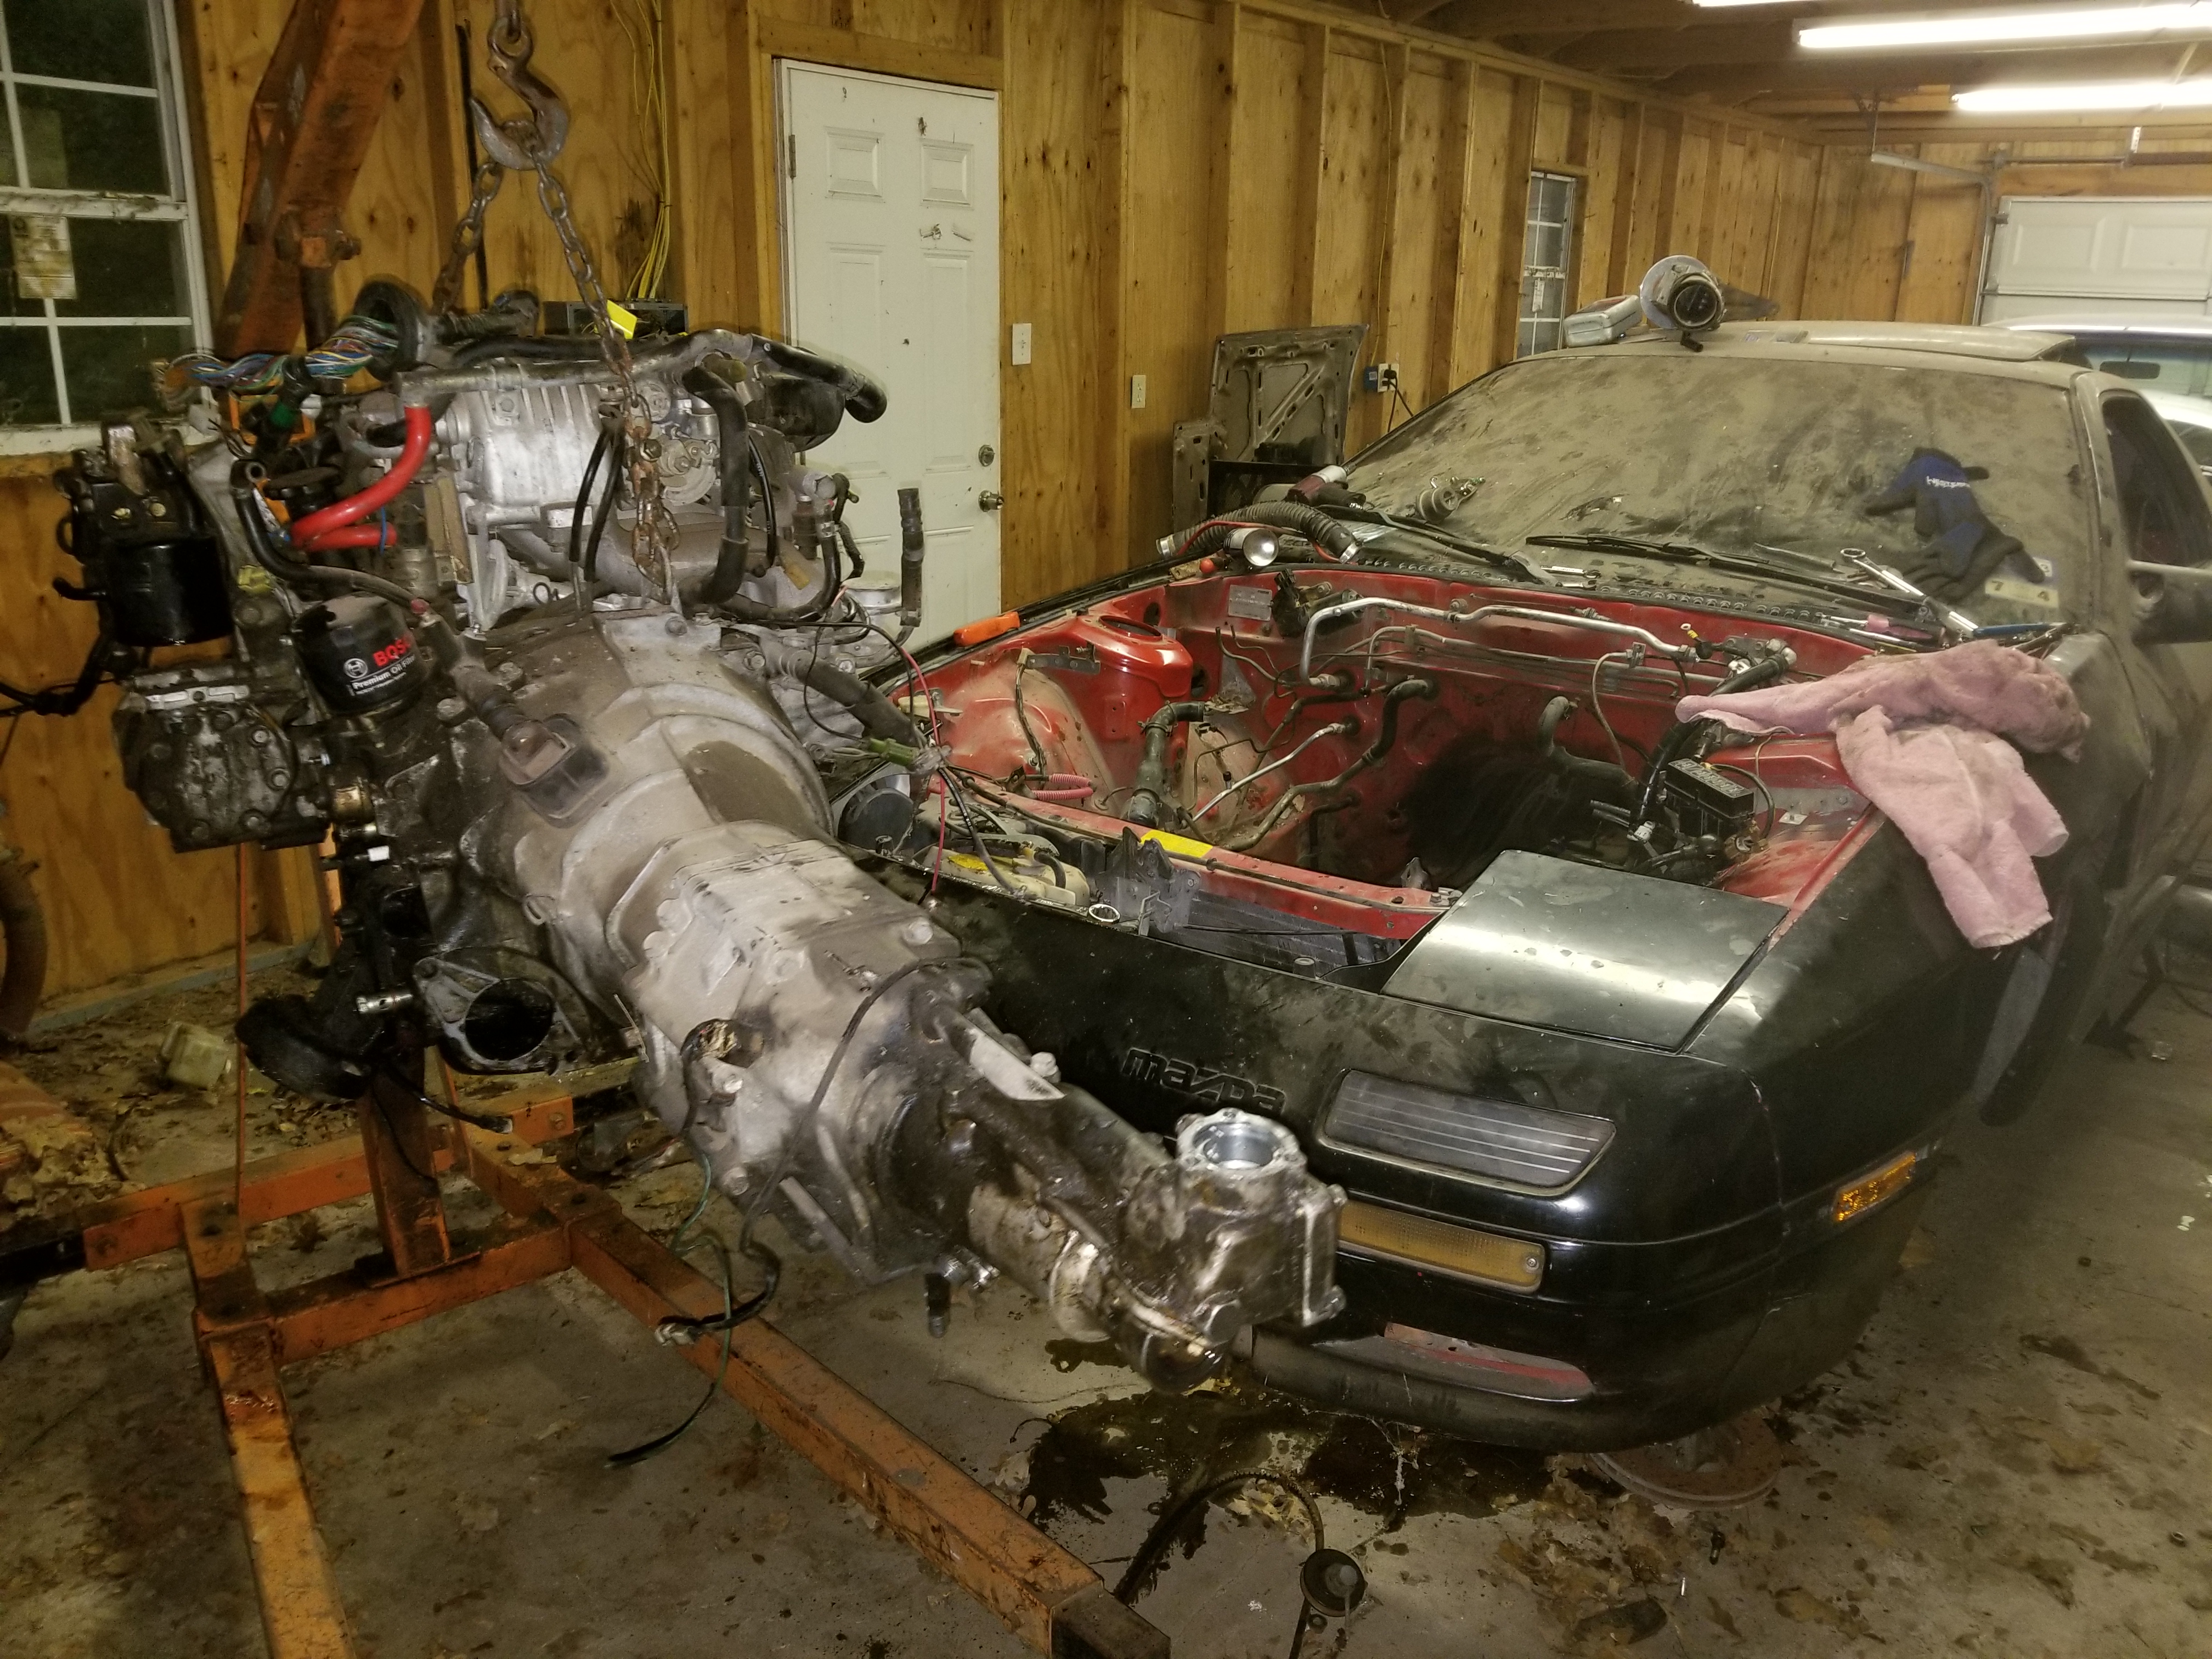
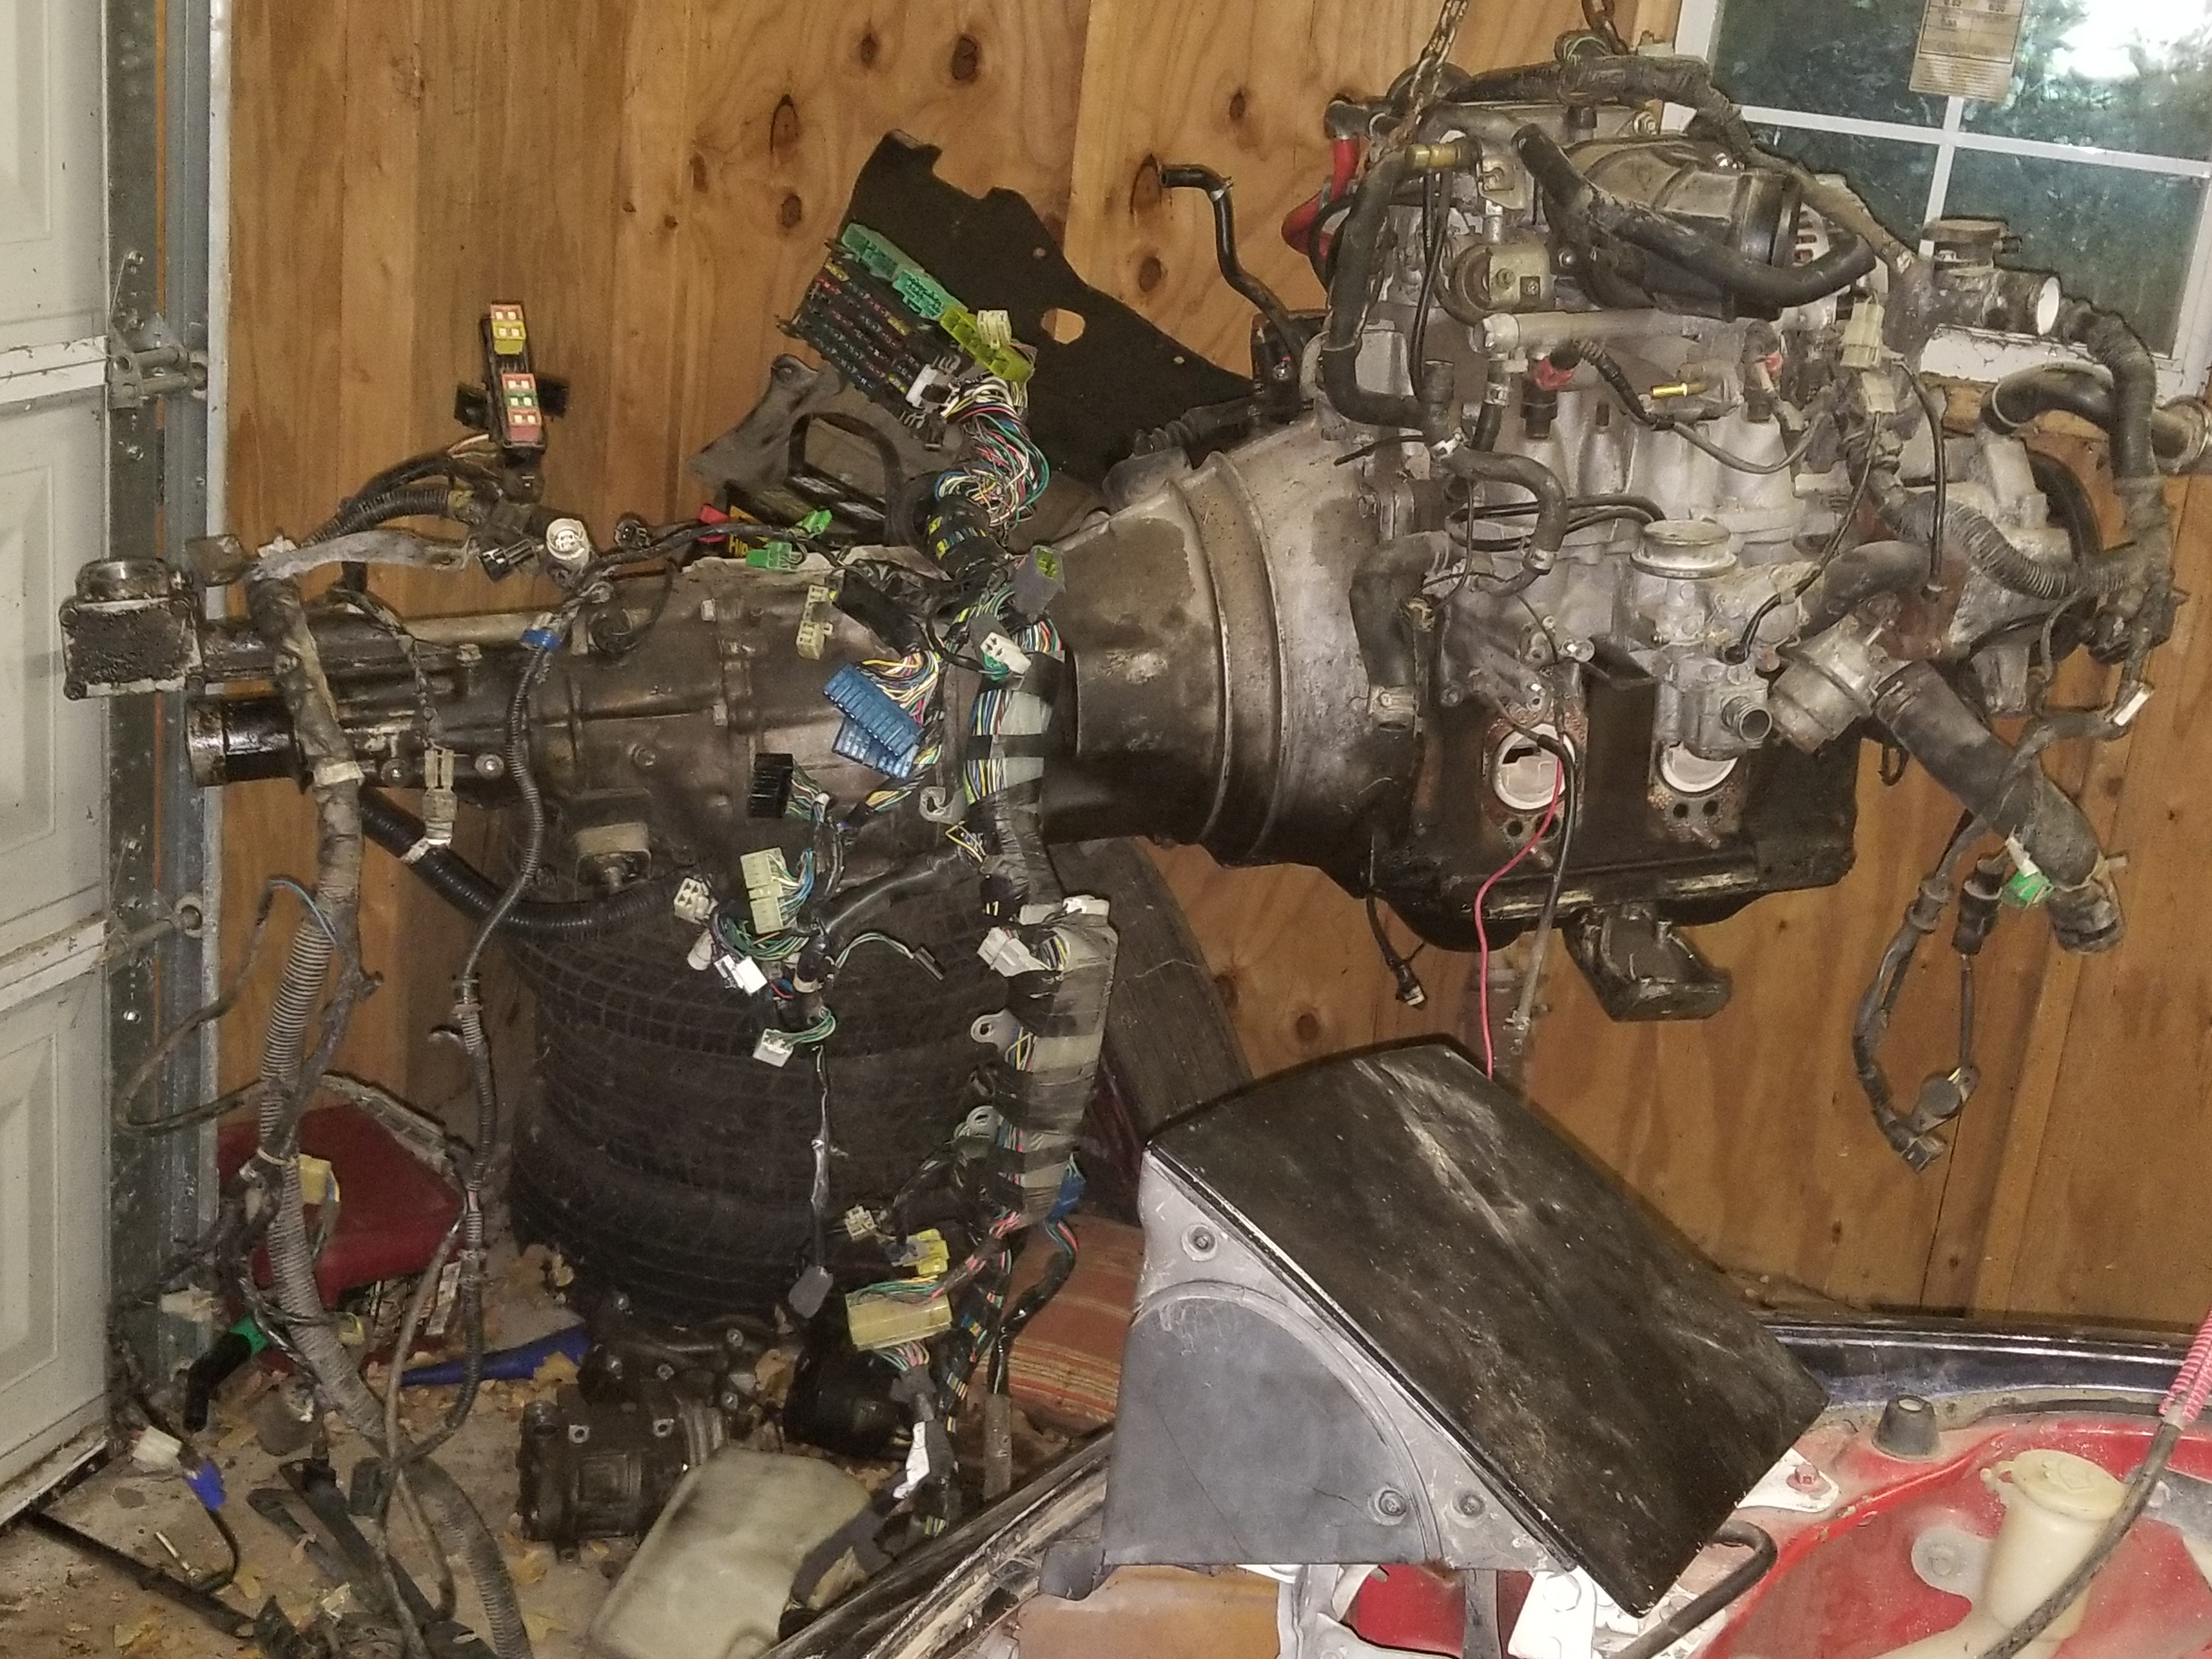
When it came down to it though, I couldn't really see the benefit in keeping the carb setup, or really messing around with the 12a at all, and since I've had this FC just taking up space in my shop, I wanted a bit more power, and a lot more reliability of the fuel injected 13b. I've unfortunately beaten the ever loving hell out of the FCs' body, and sold the suspension setup over a year ago, and am wanting to fit the rear subframe into my RePu, so she's been holding my garage floor down for over 3 years. I finally decided to strip her to the bone, and get her out of my way. I started be dropping the exhaust, and pulling the harness through the firewall. I then disconnected the throttle cable, master cylinder, and fuel and oil cooler lines, I then dropped the driveshaft, and pulled the engine and transmission out together.
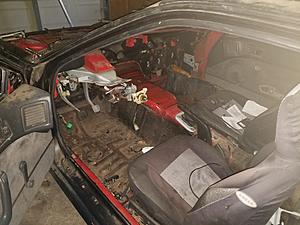
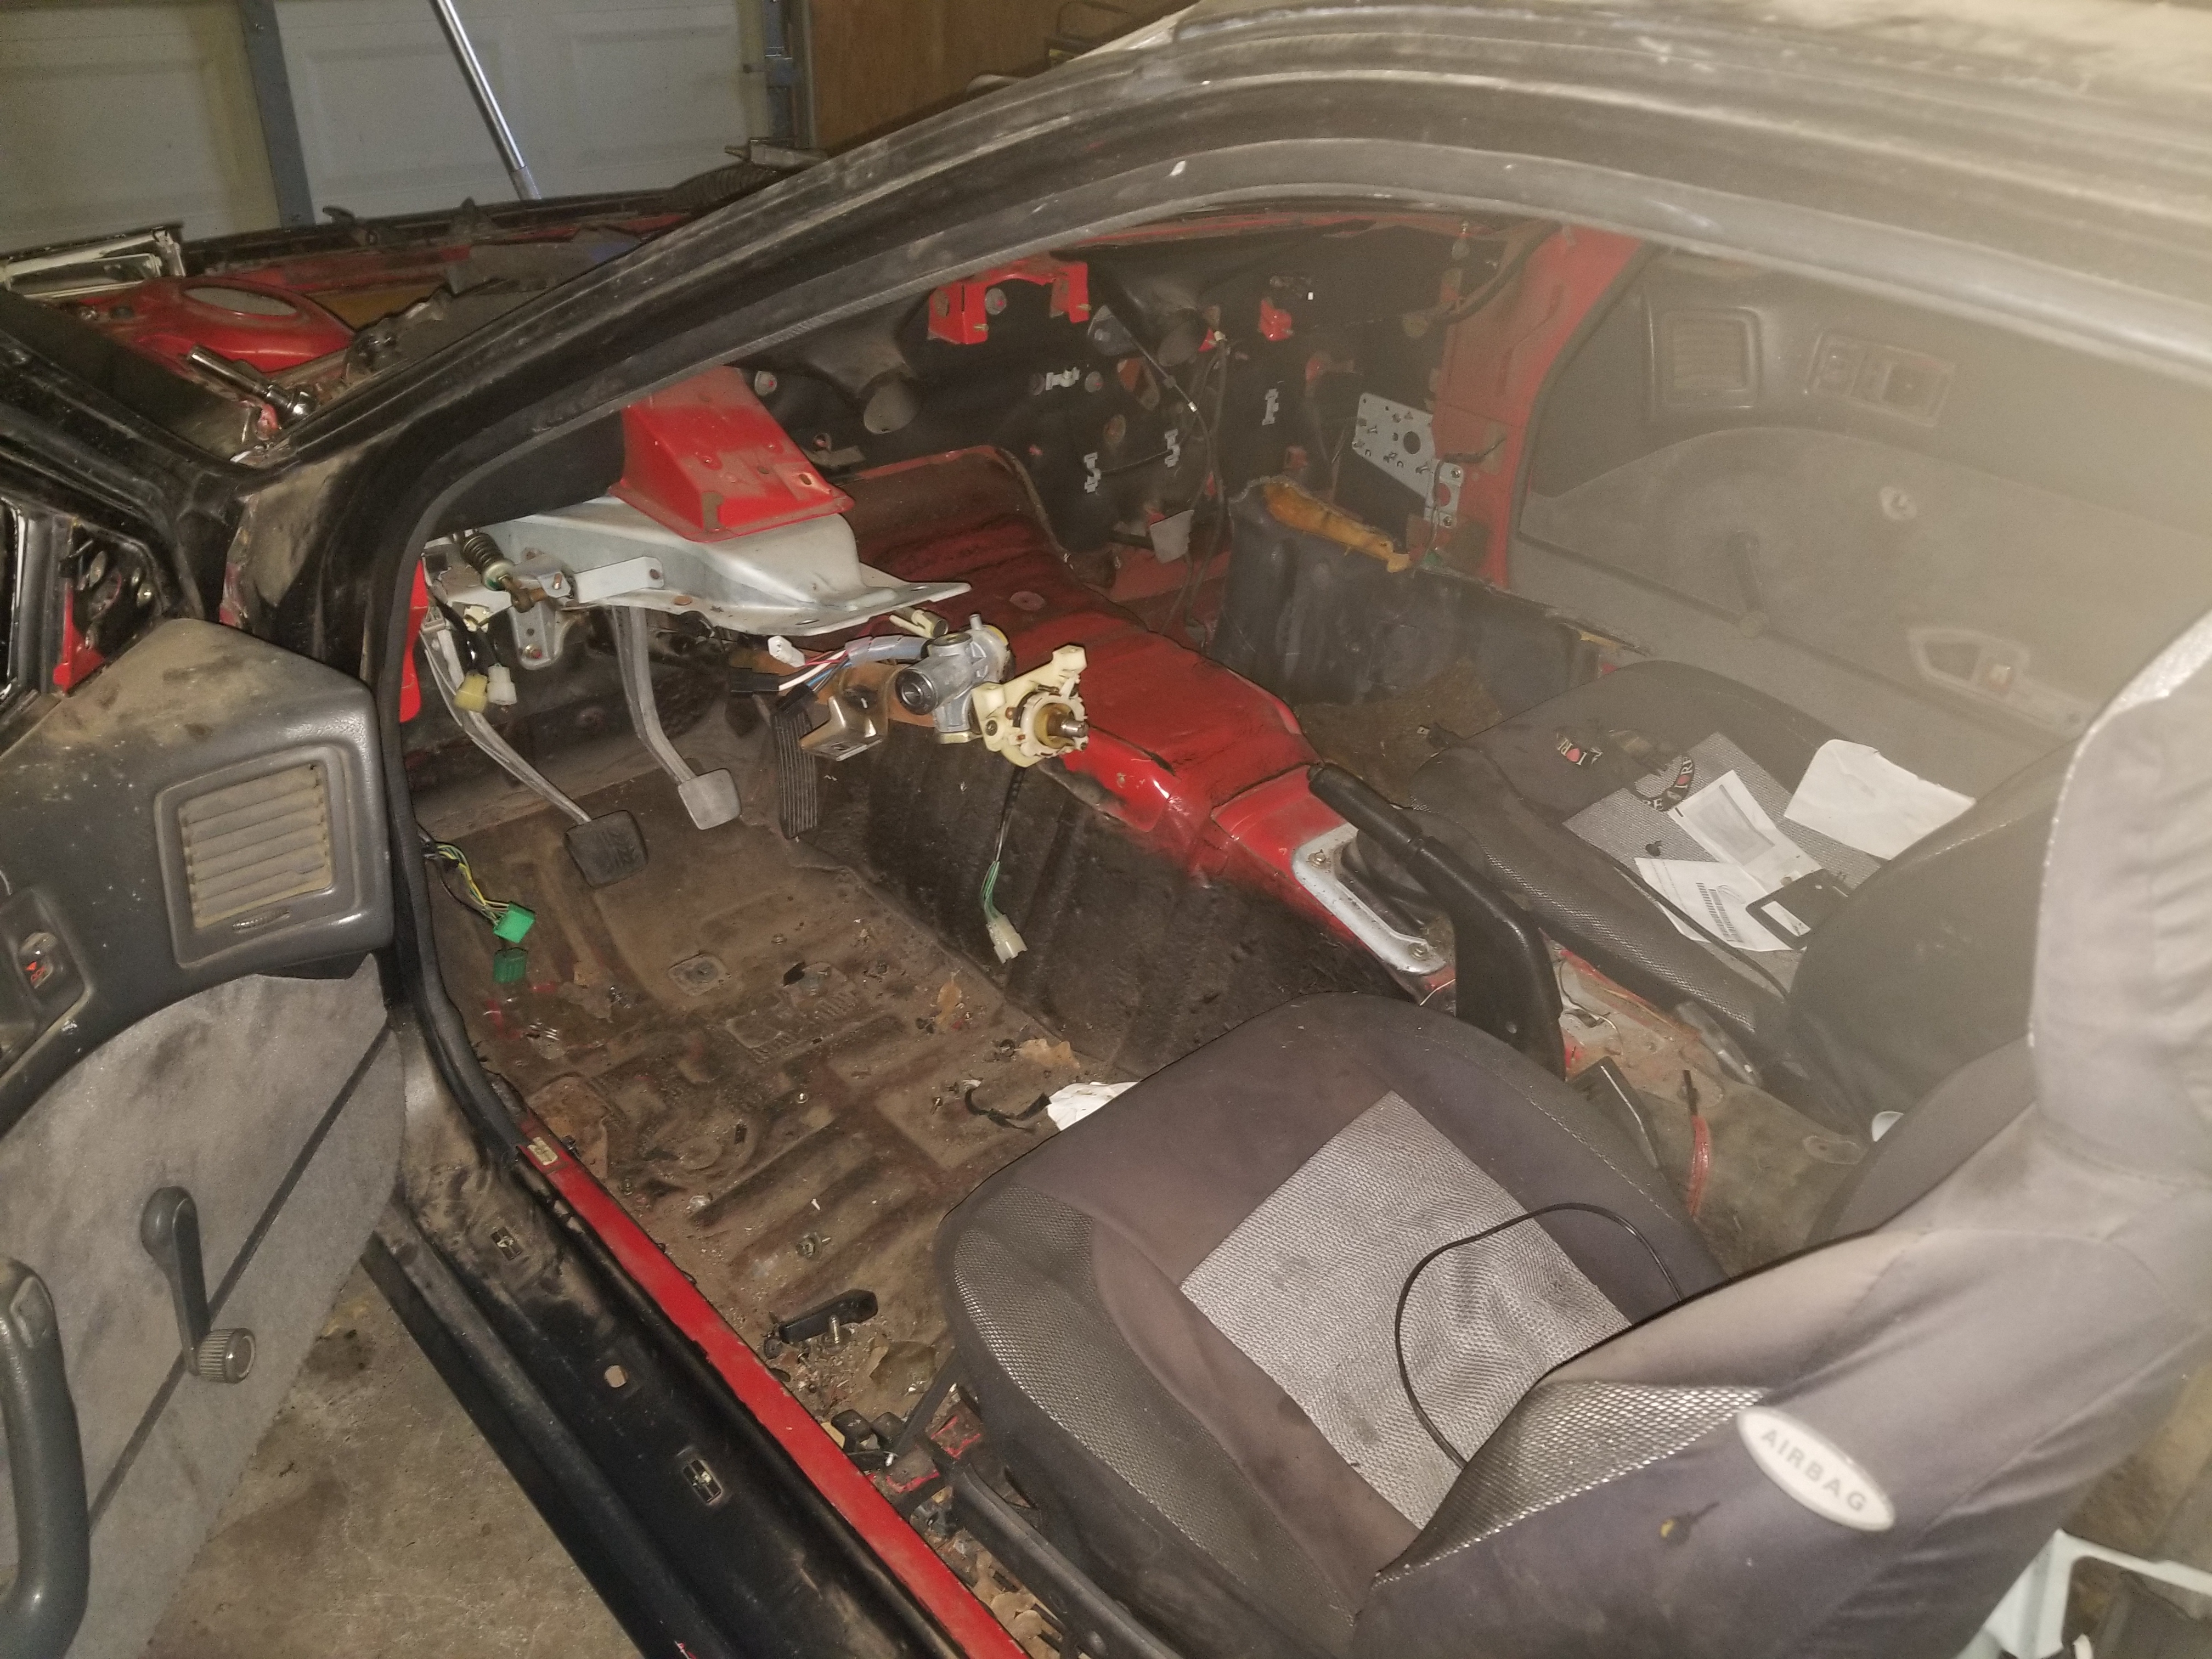
To get the rest of the harness out, I had to pull the dash, which wasn't too difficult, as the cars interior is stripped, and the dash is about the only thing left. Getting the harness out was the biggest pain in the ***. I managed to get the entire thing out with only having to cut the wires going to the passenger headlight, mainly out of frustration.
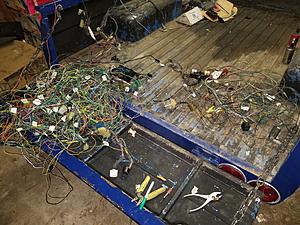
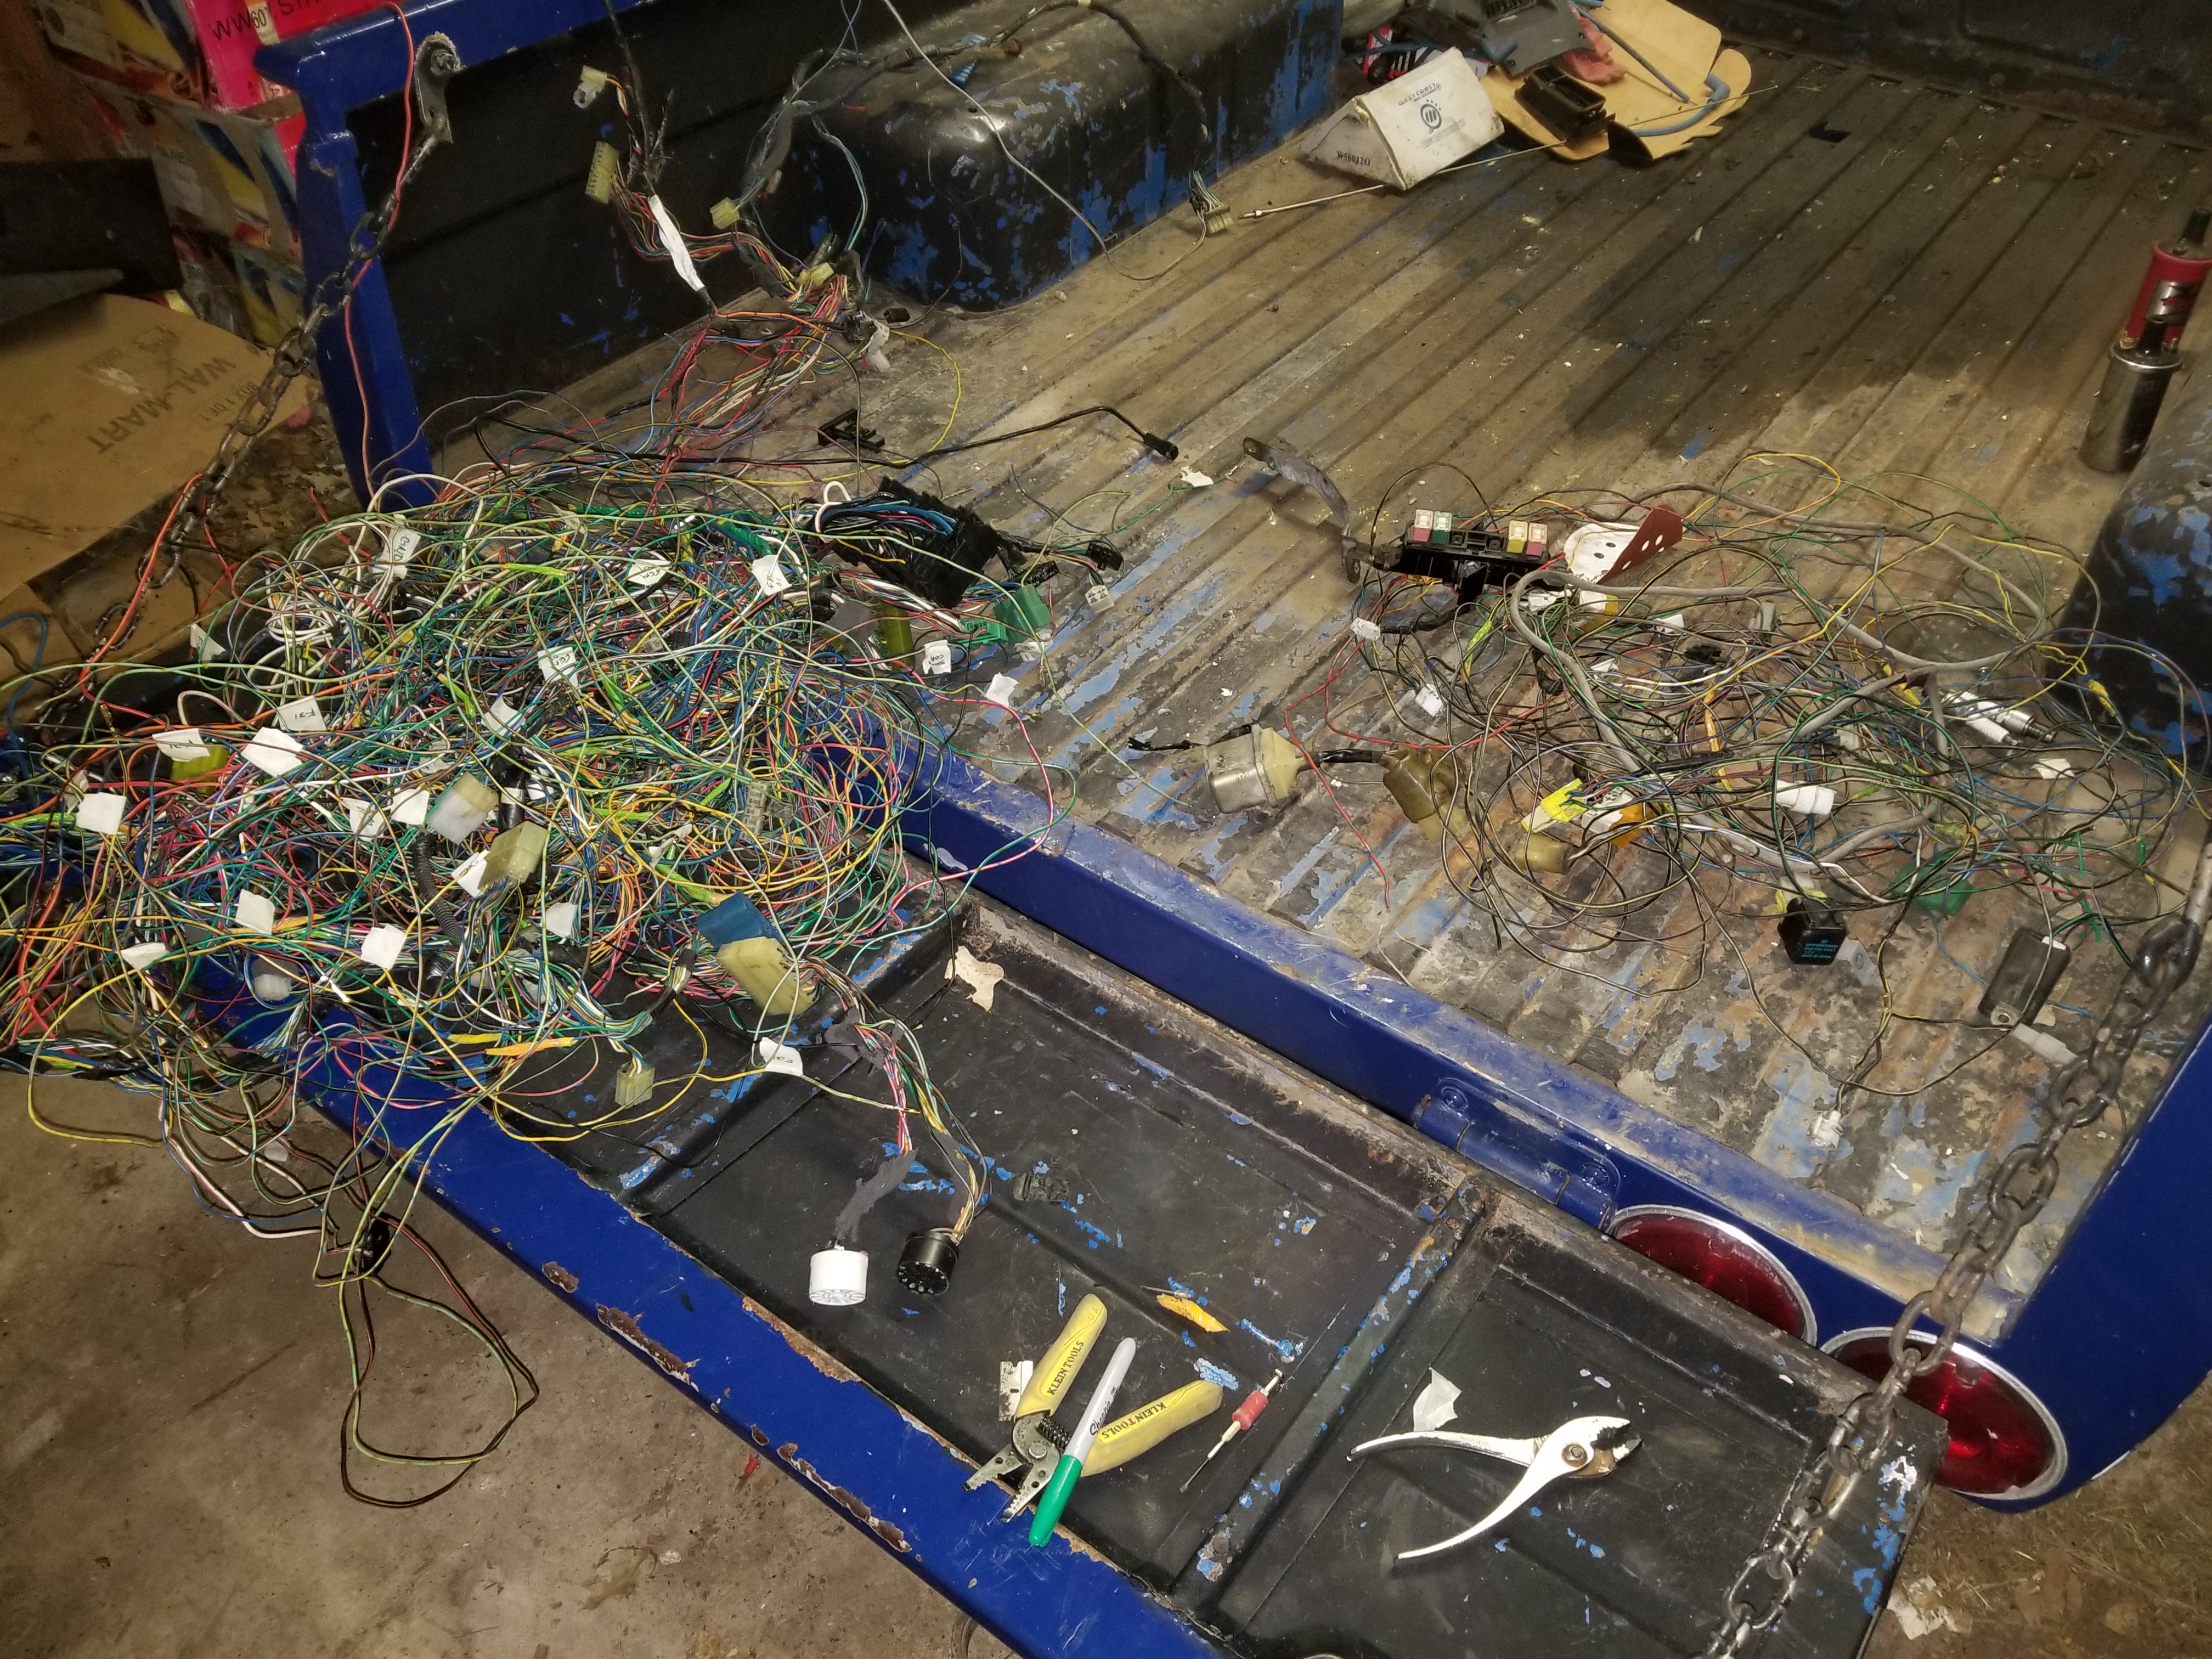
I really don't see the point of going standalone on this engine, and really don't have the funds to anyway, so I decided to tackle the hoard of chords, and strip the harness to the bare essentials. My inspiration was steve84GS TII's info on using an unmodified FB harness, and how live2drive15's incorporated steve's info into his 1984 gsl-se s4 13b project build thread.
I poured over wiring diagrams for both cars for over a month before actually digging into the wiring. At the point I felt confortable enough to go through it, I just traced each wire for the fuel pump and COR, coils, main relay, and the CAS. I then de-pinned one wire at a time, pulled it free, and re-pinned it. Eventually, I was left with just those few circuits, about 20 wires total. Tedious, but in the end I should only have to tap into an ignition power source, and the tach.
Thanks 1bad. I rebuilt the engine about 5 years ago, and only took it to 3 events, so it's got less then 500 miles on it. I wasn't concerned with looks when rebuilt it though, and just needed to get it to the next event, so I threw it together without cleaning it or anything. I've spent the last week degreasing, and cleaning up the engine and intake. I've also gone over, and blocked off my emissions finally. I wanted to when I had it apart, but didn't want to run into any reliability problems on the course. It doesn't look too bad, and is 100X whay it was before!
I'm happy to see another FB getting built in the DFW, they are rare in these parts. It looks good, I hope to see you at local Autocross events with it in the near future.
Lol WoodMV! That's excellent. Thanks a lot man. I've actually been using my dremel to get into all the nooks and cranies on the TB, and it's looking sexy AF! I'll post more pics later today probably.
Thanks alot Nitro and Scaley, I wish there was a larger rotor community down here. I've been wanting to hit up some of the few events we do have down here, hopefully when this girl is done, I'll be makimg an appearance. I actually use to autocross the donor car, but haven't been in the game for some time now. I'm really just building this girl to drive, and take to a few meets.
I'm finally about to put the engine back together with help of an awesome guy I got in touch with through the Fakebook. One of my port actuators was seized, and he hooked me up with both of them for $10 shipped, so I'm still well within my meager budget for the build! I was about to put the front cover on, and noticed that the S3 and S4 OMP seems to mount up the same, and the only visible difference is the drive shaft. I was wondering if it's possible to use the 2nd gen OMP on the 12a front cover if I swapped out the drive assembly? It doesn't look like it would be much of an issue to, hell, it seemed to drive the S4 OMP fine with the s3 shaft and gear. Everything I've read says to use the s3 omp, and either splice two lines together, or just delete the oil injectors on the housings, but I don't really see why it wouldn't work with the s4 pump.
It's been a minute, but I've been making steady progress on the car. Although, my deadline has come and gone due to an inevitable unforeseen situation. I made some block off plates, got the engine all polished and put back together, the fuel tank was "cheaply" EFI prepped, but looks good regardless. I got both my donor cars torn down to basically nothing, and have torn down my GS.
Here's some pics of the engine re-assembly. I had gone over everything with tones of de-greaser and wire brushes, and am pretty happy with the end result!
Finished bits.
Final product!
It was time to pull the FC shell out, and get the GSL in, and immediately tore into it. I had to pull the rear end, gut the interior, and get the engine out. I was going to use the fuel tank as well, but as soon as I removed the line and took a shower with 20 year old "gas", I decided the tank was probably too corroded, and left it. I will just have to butcher my GS tank unfortunately. When I got the driveshaft off to remove the differential, I realized it was going to need to be gone through,So I decided to put the rear end on the back burner, and go through it.
I had already stripped the interior of the car while it was parked at my shop, because I like to make things difficult sometimes, and don't have any pics of that. I know that good parts for the 12a are getting few and far in between, plus I needed to get the steering box out, so I yanked the engine and trans out. I still haven't torn the engine down, but I'm rapidly running out of room in my garage, so it's gonna have to happen soon enough. The next day, I hauled the car out of the garage, and brought my GS in to start her disassembly. Donor GSL engine and trans out!
I started by dropping the tank, and took a cutting wheel to it to mount the FC's scavenged pump mount ring, vent, and slosh cup. I had plans of welding it all into the GS tank, but my welder at the shop took a dump, so I ended up using JB stick weld (I can hear the flames already).
Fc slosh cup.
GS tank modified to fit FC fuel pump.
I let my wife make the decision on what was coming out next, the dash or the engine. She must hate me a little bit! GS dash removed. 😥
The next step was to get the engine out. I know it is good, so I pulled out my old Rotary Diagnostics compression tester, and pulled the #'s. and found that the front rotor is pushing around 85-95 psi, and the rear is around 115 on all faces. I then pulled it out
GS engine removed.
I was expecting the engine bay would need a thorough cleaning, but I was pretty shocked when I got a better look at it. This is what I found.
Surprise nastiness!
At this point, I knew what needed to be done, so I cleaned it all up, sanded it down, then primed and painted it. I went with a rattle can to stay in my budget, and the result is very impressive. I used Rust-Oleum Metallic, and Stops Rust Clear, and the pictures don't really do it justice. The final picture was taken the next day, and I thought it was still wet! Cleaned bay
Primed
Painted
I got the steering column and Box put in the car, and tonight I will be reassembling everything, and running the wiring harness back around the engine bay.
The coolant leak on the engine was more than likely a faulty intake manifold o-ring. To simplify the build, you could have used a GSL-SE engine and harness and the wiring is all plug and play. There's very little modification needed to make the SE engine work flawlessly in the GS chassis. I did this build and documented it here on the forum back on 08. Its a very tidy package that looks original. I even use the GS air conditioning and I have been happy with the results:
Using the FC engine and injection will require more modification but I think you will be impressed with the performance. This will be quite an extraordinary car for sure!! I'm looking forward to following the build!!
That's a gorgeous car mazdaverx, very clean! I'm sure the SE package would be alot easier, and I wish I had access to one from the git go. This is all being done on a pretty tight budget, while putting use to alot of parts I've been holding on to. I'm trying top make it as factory looking as possible, with the exception of maybe an e-fan, and a CAI.
So far, I've ran into a couple unforeseen situations, but nothing that's gonna to be too difficult to work around. The engine bay was something I really didn't plan on, but was well worth the extra work. Another problem is the A/C system. In order to keep it (and in Texas, that's a must!), and use the power steering, I'm going to have to convert it from my dealer installed system, to the donor cars factory system. This means that the GSLs evaporator is also going in the car, and I've decided to use is electric HVAC panel as well. Tonight I was trying to mock up the FCs oil cooler, and that's going up be another problem, but nothing a drill, and some angle iron can't make quick work of!
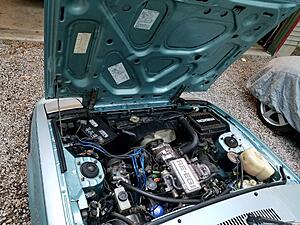
Well, I got the engine mounted and the harness ran, and she started on the first turn. She had a bit of a vacuum leak that was keeping her from idling, but that was an easy fix. Smoke test showed it was coming from the booster hose and rear secondary injector. Replaced the hose and reset injector, and she idles beautifully! Now it's back to the interior...damnit.