Build Threads The place for complete build threads of 1st Gen RX-7s.

1980 Stardust Blue

Thread Tools
 
Search this Thread
 
Old 04-22-18, 10:20 AM
  #51  
Damn, it did start!

Thread Starter
 
Richard Miller's Avatar
 
Join Date: Feb 2001
Location: washington
Posts: 2,678
Received 365 Likes on 226 Posts
Got my paint for the under carriage and plan to hit the control arms and cross member also while I'm at it. I have been advised to use PPG's "Pitt-Gaurd" The color is a satin black in an industrial epoxy mastic direct to rust, direct to metal "POR-15 on steroids" and "It is not coming off"

So the prep work continues...

I am putting old bolts into the existing holes to preserve the threads and taping off the threaded studs. A lot of taping off is needed to happen to get this ready to go.

Exciting times!
Old 05-01-18, 09:32 AM
  #52  
Damn, it did start!

Thread Starter
 
Richard Miller's Avatar
 
Join Date: Feb 2001
Location: washington
Posts: 2,678
Received 365 Likes on 226 Posts
Tracked down an SA transmission, so no need to cut up the transmission tunnel. yippie.
Old 05-02-18, 04:16 PM
  #53  
Less Cubes, More Balls

iTrader: (4)
 
spokanerxdude's Avatar
 
Join Date: Feb 2005
Location: Spokane, WA
Posts: 570
Received 2 Likes on 2 Posts
Originally Posted by Richard Miller
Tracked down an SA transmission, so no need to cut up the transmission tunnel. yippie.
There is a guy here in town that can show you how to mod the trans so you don't have to cut the tunnel.
Old 05-12-18, 09:27 PM
  #54  
Damn, it did start!

Thread Starter
 
Richard Miller's Avatar
 
Join Date: Feb 2001
Location: washington
Posts: 2,678
Received 365 Likes on 226 Posts


Pitt-Gaurd epoxy mastic. Done. Hurray.

Last edited by Richard Miller; 05-12-18 at 09:31 PM.
Old 05-12-18, 09:53 PM
  #55  
Damn, it did start!

Thread Starter
 
Richard Miller's Avatar
 
Join Date: Feb 2001
Location: washington
Posts: 2,678
Received 365 Likes on 226 Posts

Underside is DONE!

Last edited by Richard Miller; 05-12-18 at 09:58 PM.
Old 05-12-18, 10:06 PM
  #56  
Damn, it did start!

Thread Starter
 
Richard Miller's Avatar
 
Join Date: Feb 2001
Location: washington
Posts: 2,678
Received 365 Likes on 226 Posts


All nice and protected.
Old 05-19-18, 03:27 AM
  #57  
hey bRotard
 
hat.paradox's Avatar
 
Join Date: May 2016
Location: East Coast
Posts: 91
Received 3 Likes on 3 Posts
Nice detailing in your build. Hope to do the same one day! Stay motivated and keep us updated!
The following users liked this post:
Red1979 (04-27-21)
Old 05-22-18, 12:55 AM
  #58  
Damn, it did start!

Thread Starter
 
Richard Miller's Avatar
 
Join Date: Feb 2001
Location: washington
Posts: 2,678
Received 365 Likes on 226 Posts
car is upside right now. No pictures as that side hasnt changed. time to prep for paint.
Old 05-25-18, 12:01 AM
  #59  
Damn, it did start!

Thread Starter
 
Richard Miller's Avatar
 
Join Date: Feb 2001
Location: washington
Posts: 2,678
Received 365 Likes on 226 Posts
Removed the windshield today. Used some guitar string. I would suggest another option but that is what I had. This was not the original glass and the last installer really did a less than stellar job. Over glued so the drainage was blocked and I do not believe he removed the old adhesive. I will also need to clean up the cowl area also.


A bit gunky, but should clean up well.
Old 05-25-18, 09:08 PM
  #60  
Damn, it did start!

Thread Starter
 
Richard Miller's Avatar
 
Join Date: Feb 2001
Location: washington
Posts: 2,678
Received 365 Likes on 226 Posts


window frame all cleaned up.
Old 07-31-18, 12:58 AM
  #61  
Damn, it did start!

Thread Starter
 
Richard Miller's Avatar
 
Join Date: Feb 2001
Location: washington
Posts: 2,678
Received 365 Likes on 226 Posts
Things have been tight and I have been focused on the 79 of recent. Today I have made some progress on the Stardust. The fuel gauge sender was not working on the bench. I discovered a ground issue that while not permantly fixed, will be done in the bearish future. I also calibrated the unit per the FSM. Should read 7 ohms full and 95 ohms empty. I have 6.5 ohms on full and 96 ohms empty. The gauge should be accurate...I hope. Second issue was the wiper transmission was frozen. Applying heat with a heat gun I was able to tap it out. Should be able to restore the unit. The wipe motor does have one broken mounting screw. I also know that the motor did take some abuse from the wiper transmission failing. I feel I should buy a new unit that hast been overheated.
Old 09-22-18, 12:56 AM
  #62  
Damn, it did start!

Thread Starter
 
Richard Miller's Avatar
 
Join Date: Feb 2001
Location: washington
Posts: 2,678
Received 365 Likes on 226 Posts
Just a bit excited that the new windshield will be installed on October 10th.
Old 10-02-18, 11:05 PM
  #63  
Damn, it did start!

Thread Starter
 
Richard Miller's Avatar
 
Join Date: Feb 2001
Location: washington
Posts: 2,678
Received 365 Likes on 226 Posts
progress...

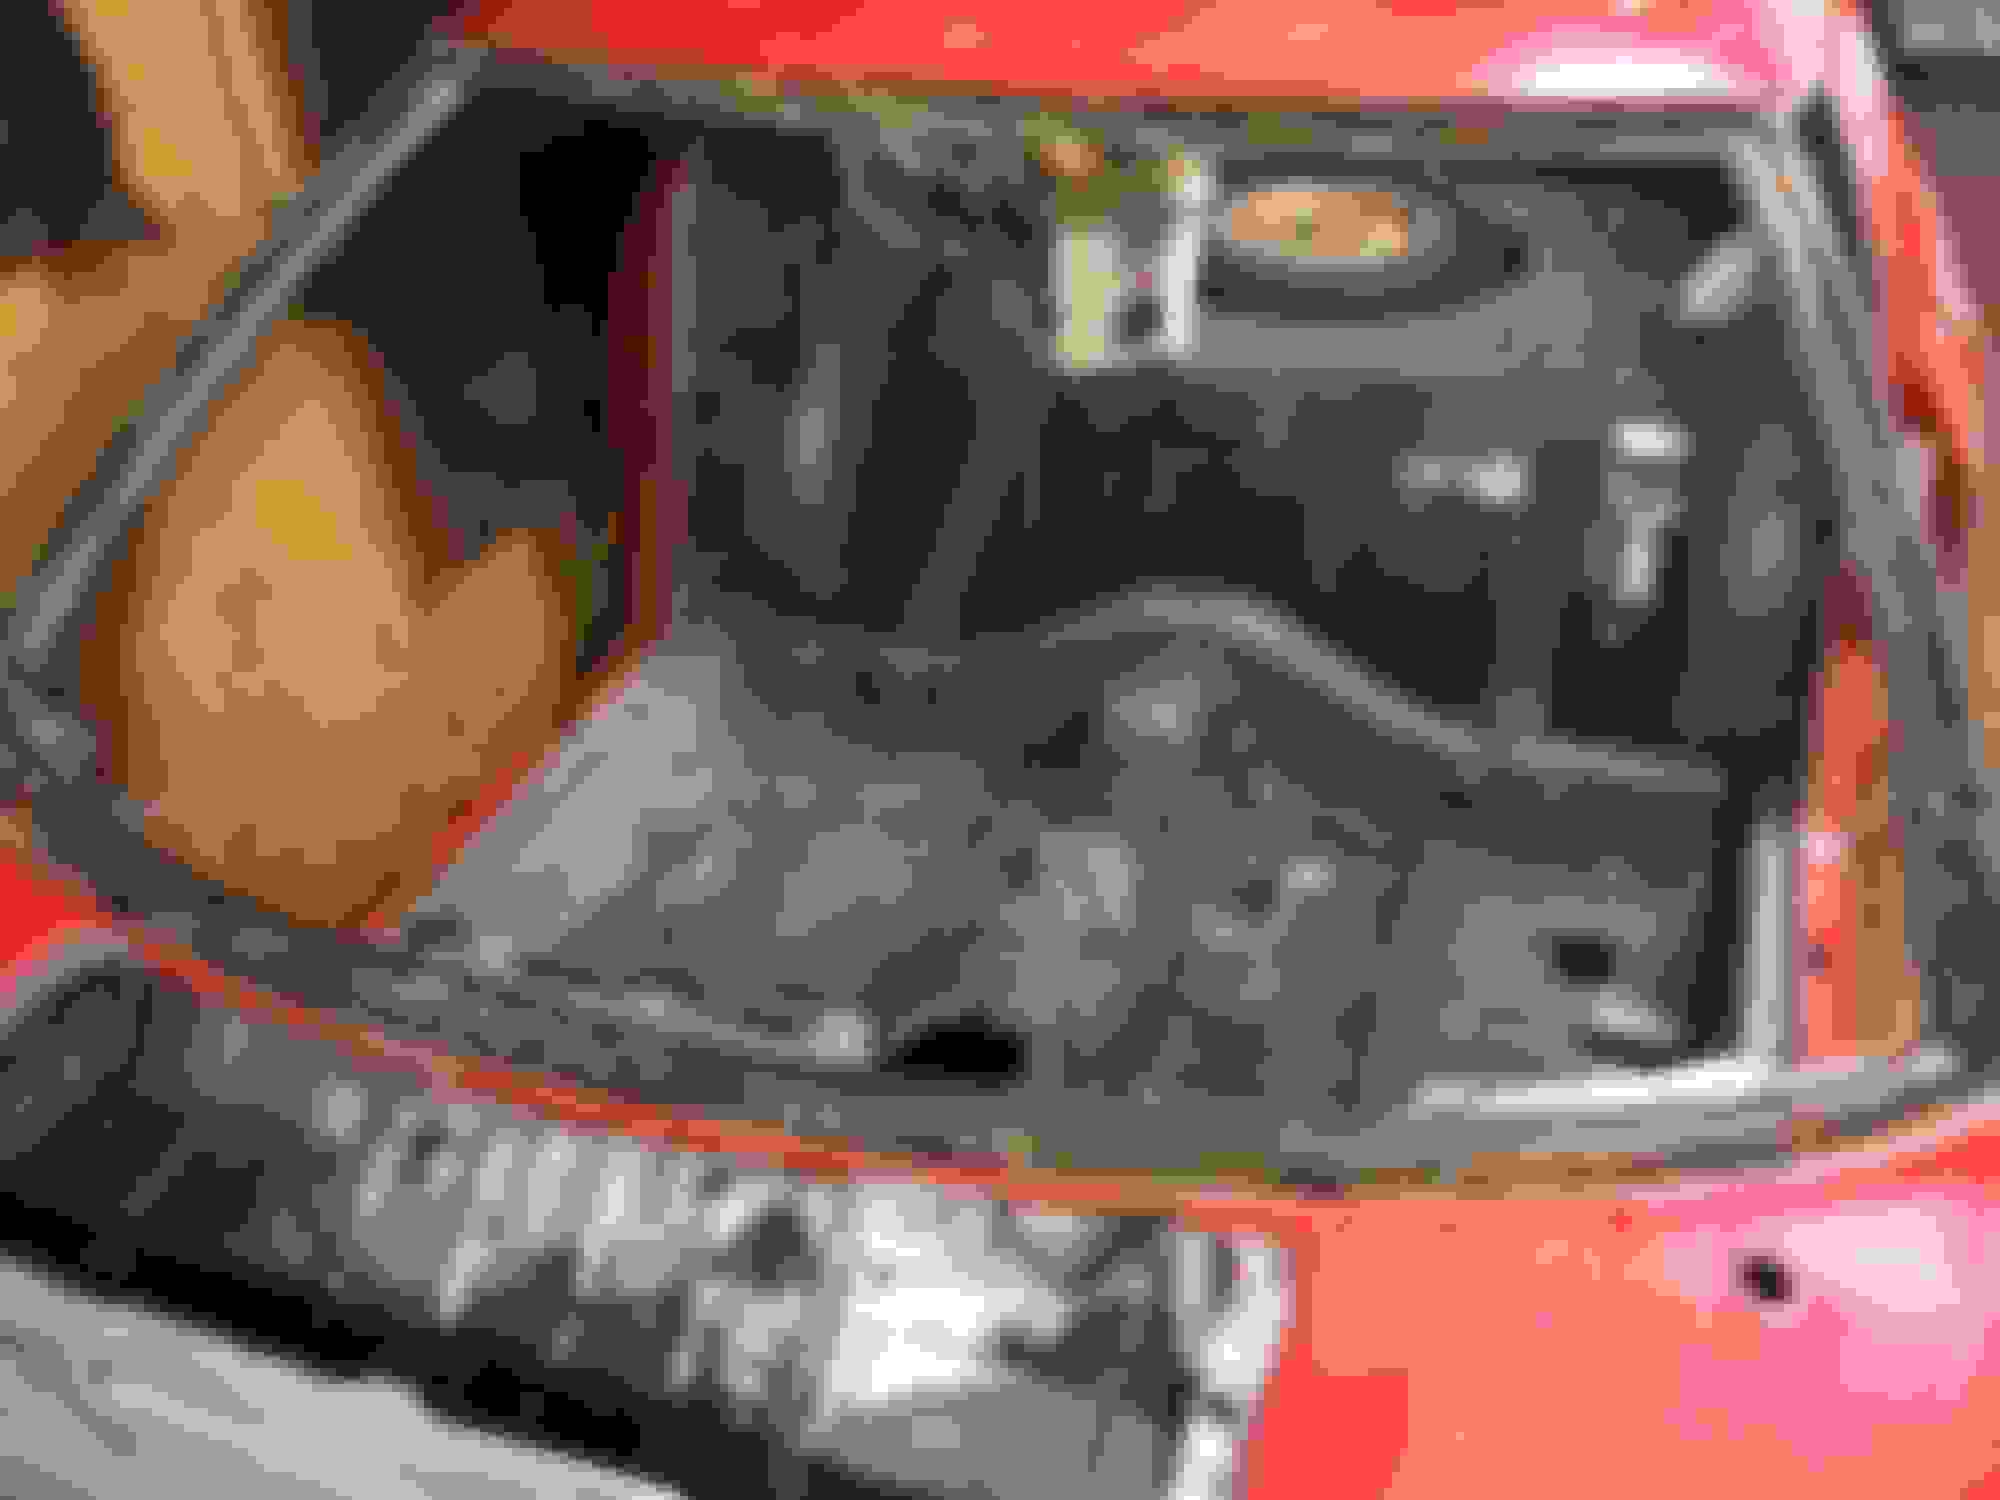
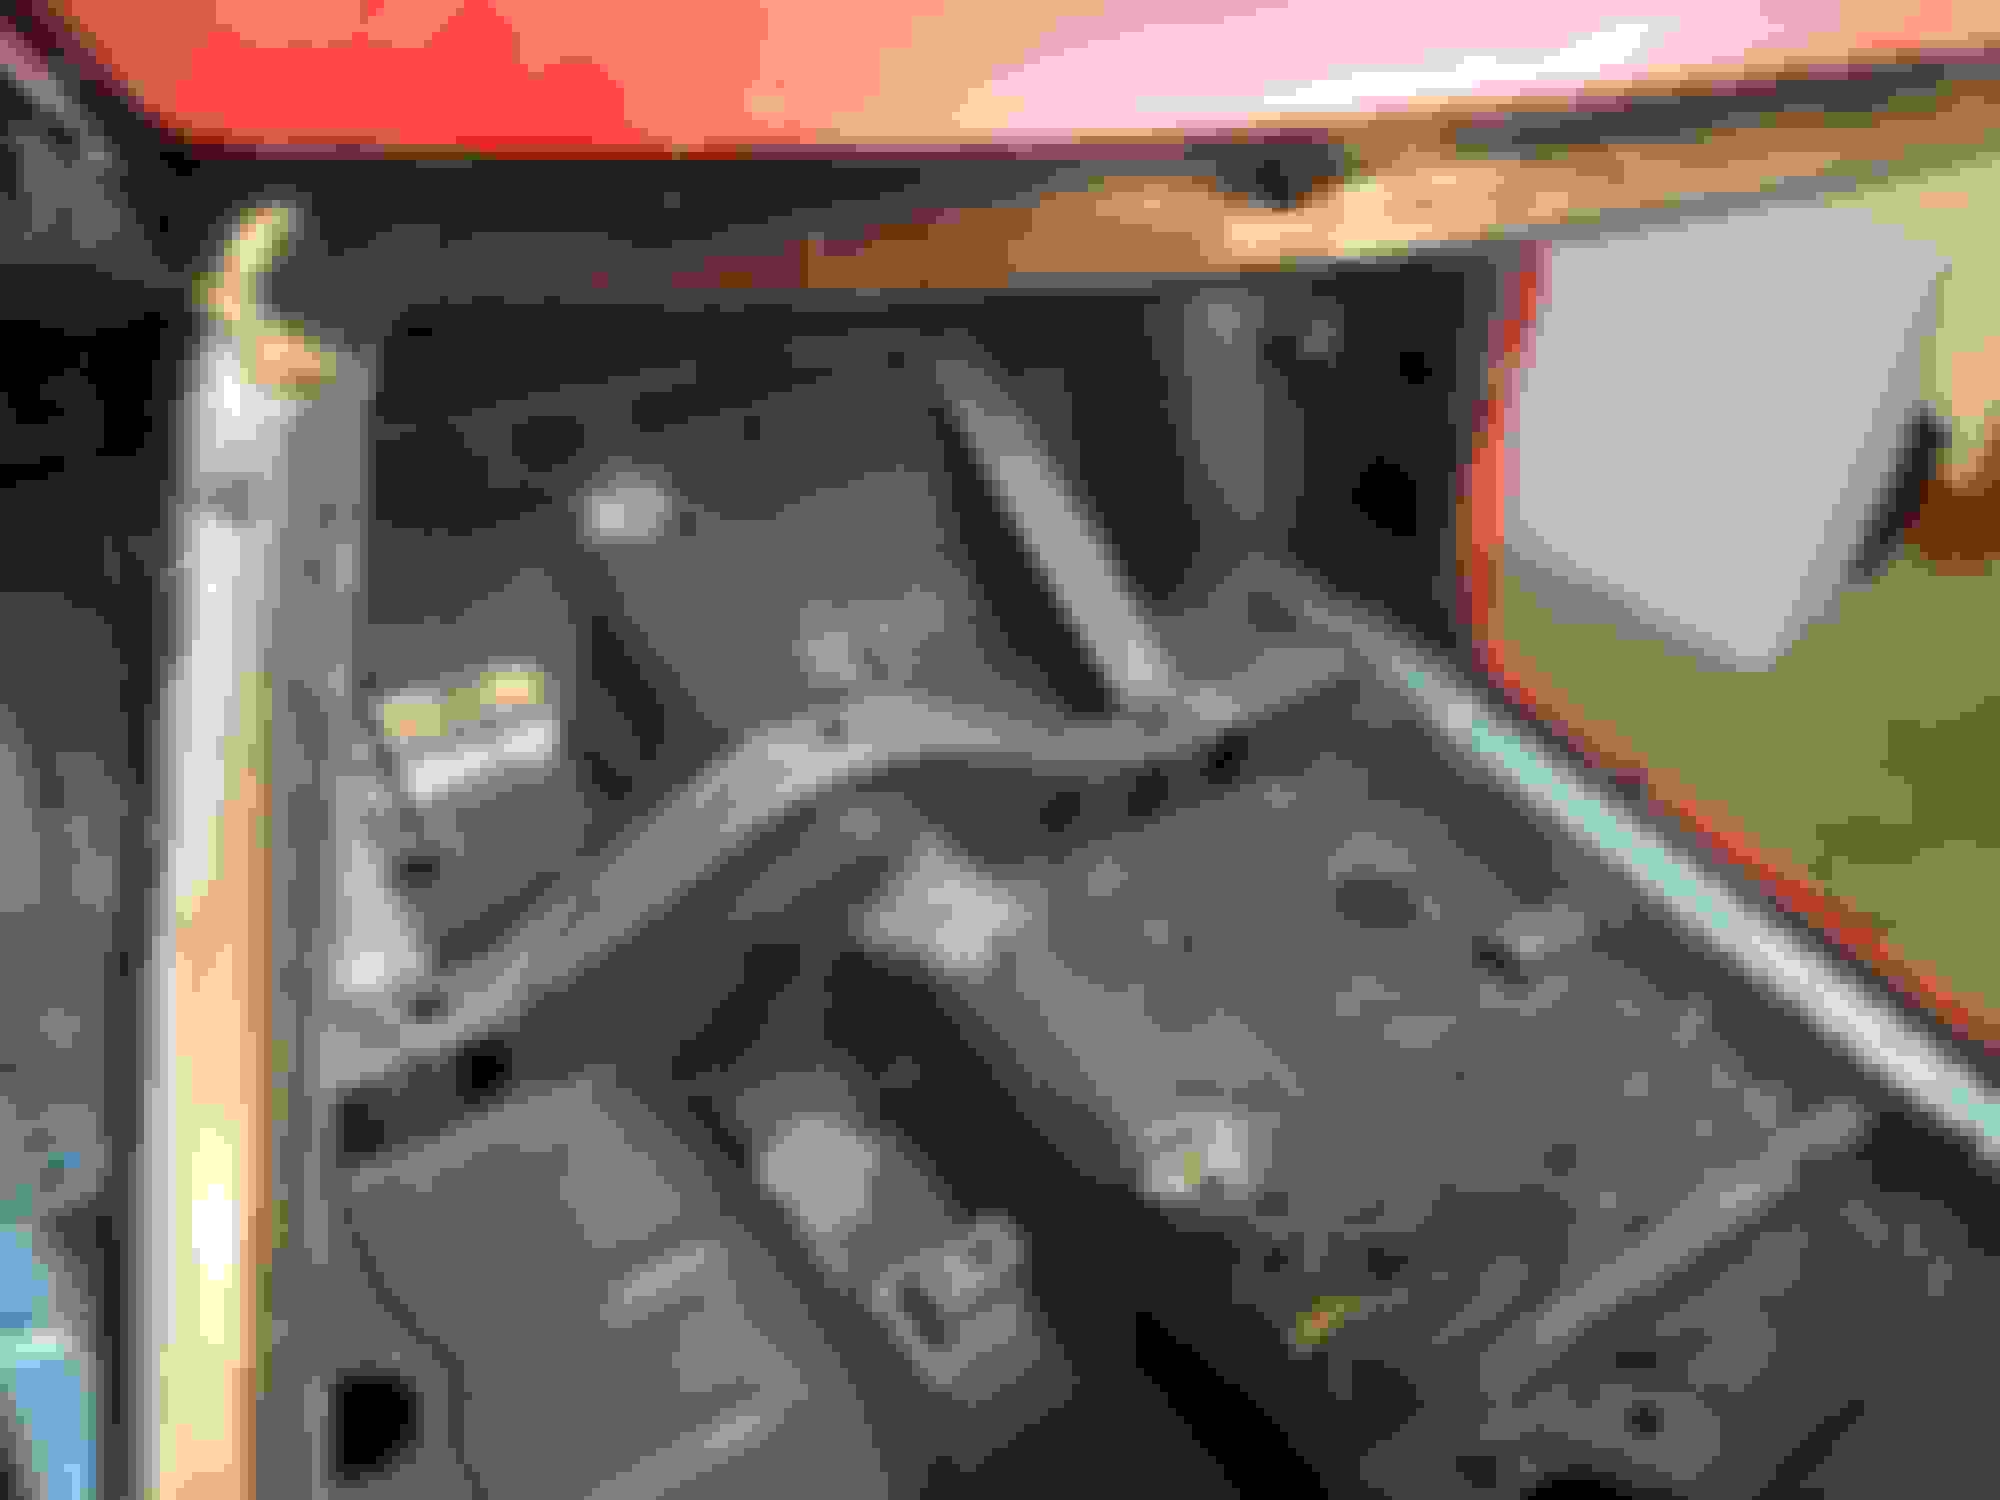
Dry iced the old tar inside. I wanted to remove it all to inspect the metal underneath. After removing the undercoating and now the sound deadening I have to say things went very well. there is a spot about 3x4 inches under the drivers chair that has a spot of surface rust, but that can be removed easily enough. I plan on priming and painting the over the next couple of days. I'm just going with white for protection. It will all be covered by the interior and I will get overspray when the car gets shot anyways.


rice sized dry ice.

starting the process


now very confirmed. no rust!

pretty clean in here as well.

Other side is awesome also!

just mostly clean.
Old 10-03-18, 09:53 PM
  #64  
Damn, it did start!

Thread Starter
 
Richard Miller's Avatar
 
Join Date: Feb 2001
Location: washington
Posts: 2,678
Received 365 Likes on 226 Posts
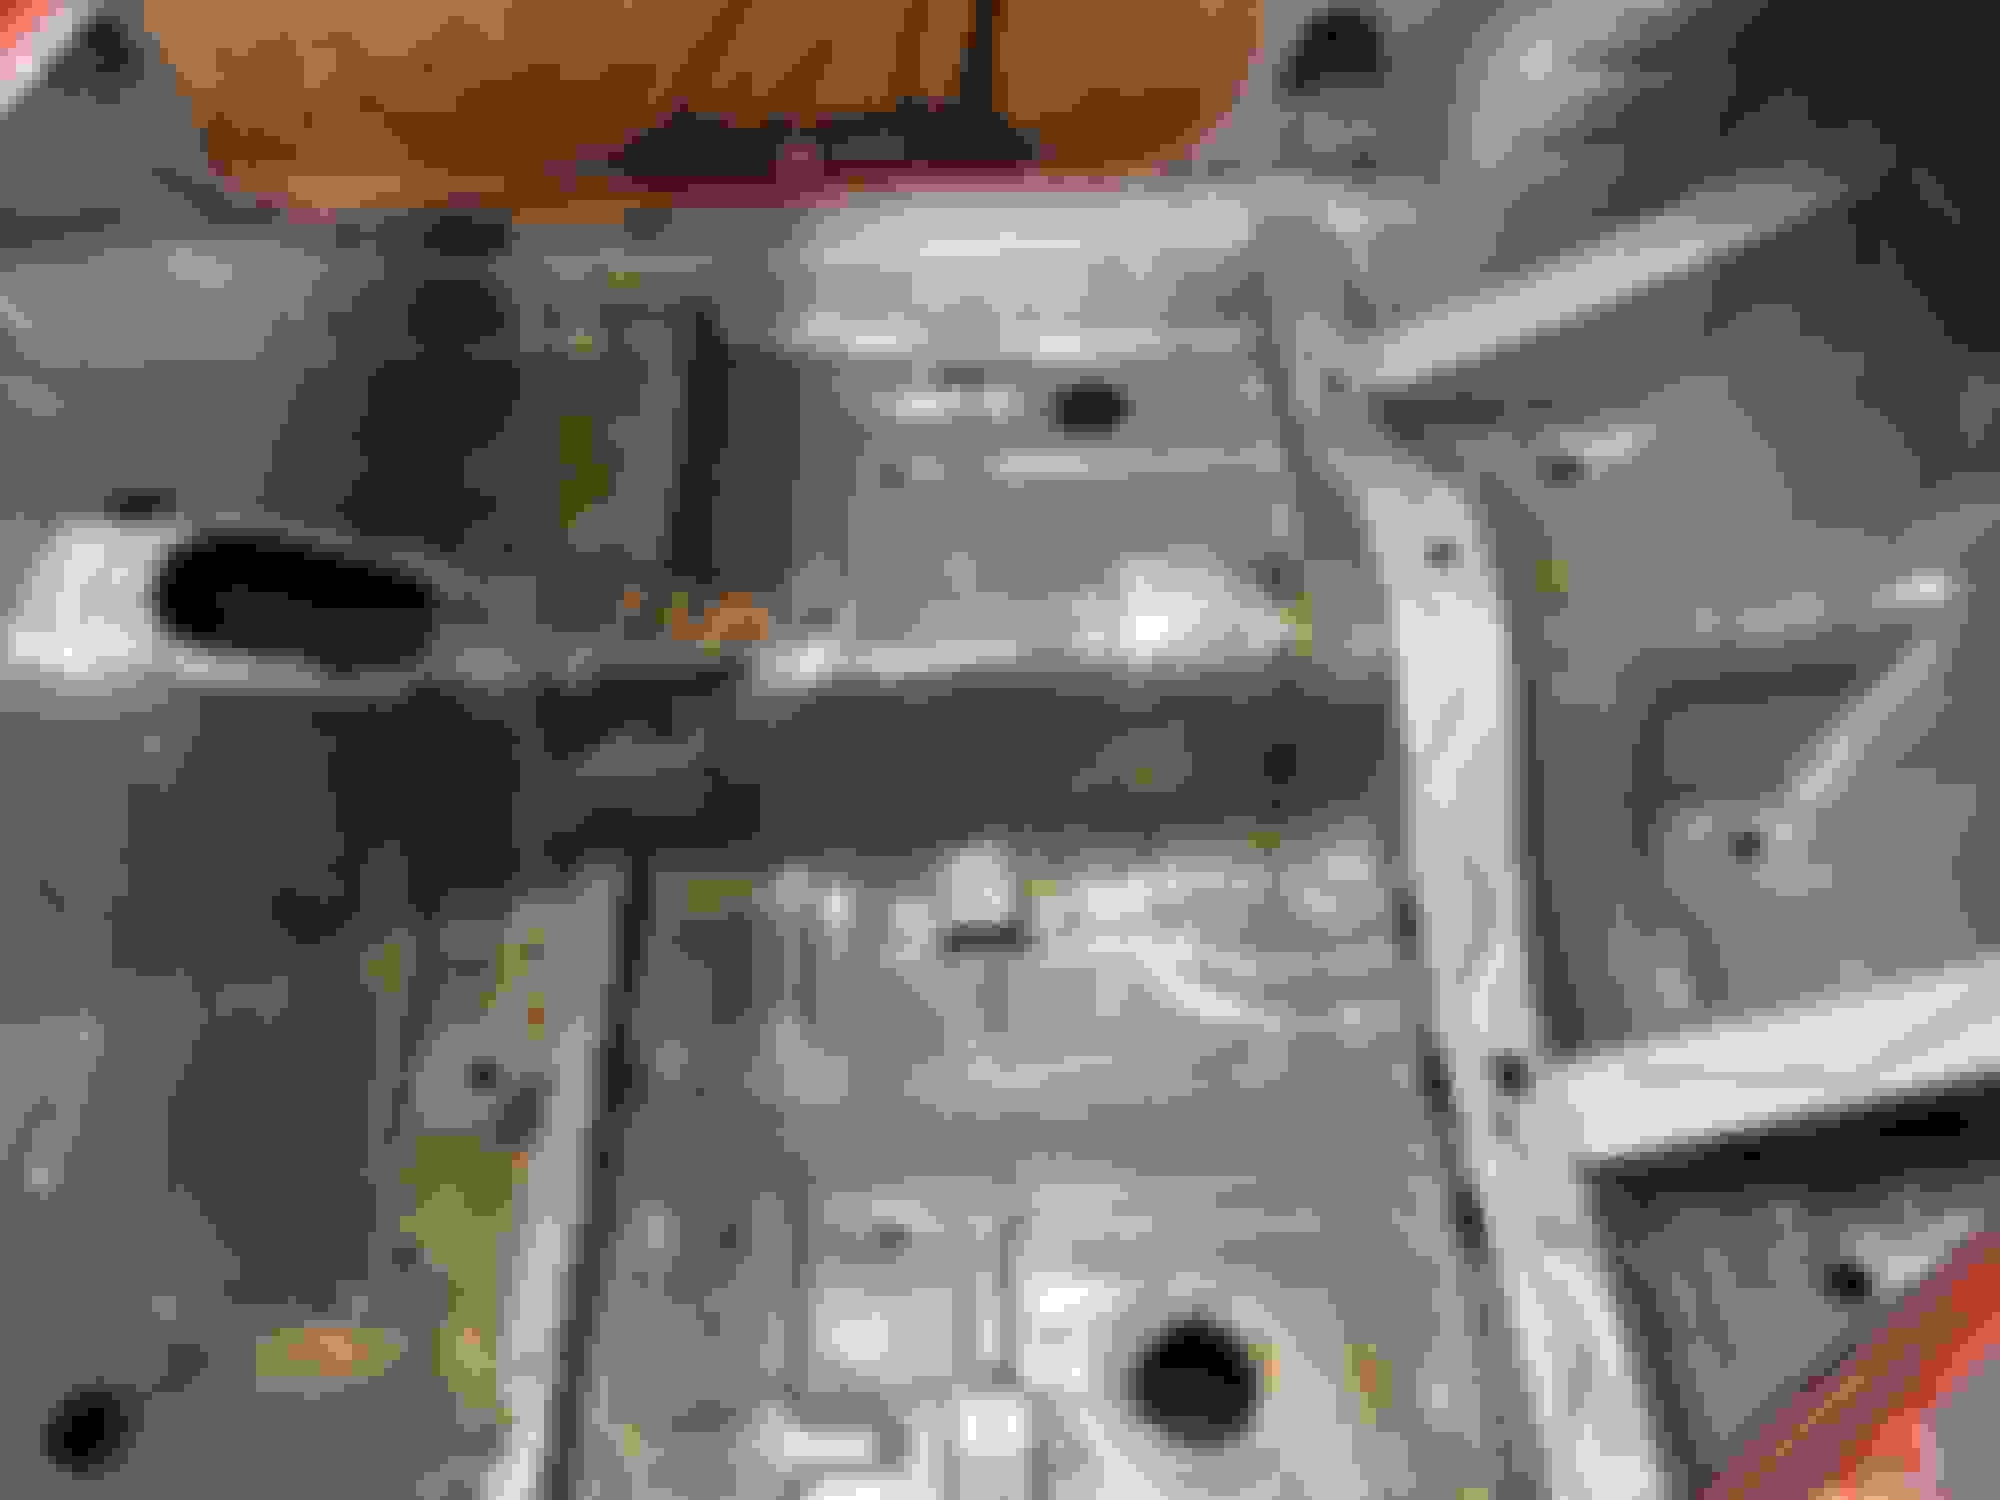
shot some primer. It's covered but not as even as I would like, but by 18 year old Harbor Freight HVLP gave its last hurrah when I did the epoxy. I am just looking for protection now. I plan on laying down some second skin spectrum to finish off the interior metalwork.

Old 10-10-18, 04:49 PM
  #65  
Damn, it did start!

Thread Starter
 
Richard Miller's Avatar
 
Join Date: Feb 2001
Location: washington
Posts: 2,678
Received 365 Likes on 226 Posts
Windshield work was done today.


primer prep...

Placement!

It's in! (13b lurking in the background)
The following users liked this post:
Red1979 (04-27-21)
Old 10-11-18, 07:09 PM
  #66  
Full Member
 
broccolini's Avatar
 
Join Date: Feb 2018
Location: Washington
Posts: 130
Received 3 Likes on 3 Posts
Awesome.
Old 12-26-18, 10:00 PM
  #67  
Damn, it did start!

Thread Starter
 
Richard Miller's Avatar
 
Join Date: Feb 2001
Location: washington
Posts: 2,678
Received 365 Likes on 226 Posts
Tore the SE engine apart today, very pleased. Still need to spec out and clean. No chipping and no grooves.


The following users liked this post:
Red1979 (04-27-21)
Old 12-27-18, 02:40 AM
  #68  
Senior Member
 
JOE68's Avatar
 
Join Date: Dec 2018
Location: queens ny
Posts: 325
Received 27 Likes on 23 Posts
nice
Old 12-27-18, 02:59 PM
  #69  
Damn, it did start!

Thread Starter
 
Richard Miller's Avatar
 
Join Date: Feb 2001
Location: washington
Posts: 2,678
Received 365 Likes on 226 Posts
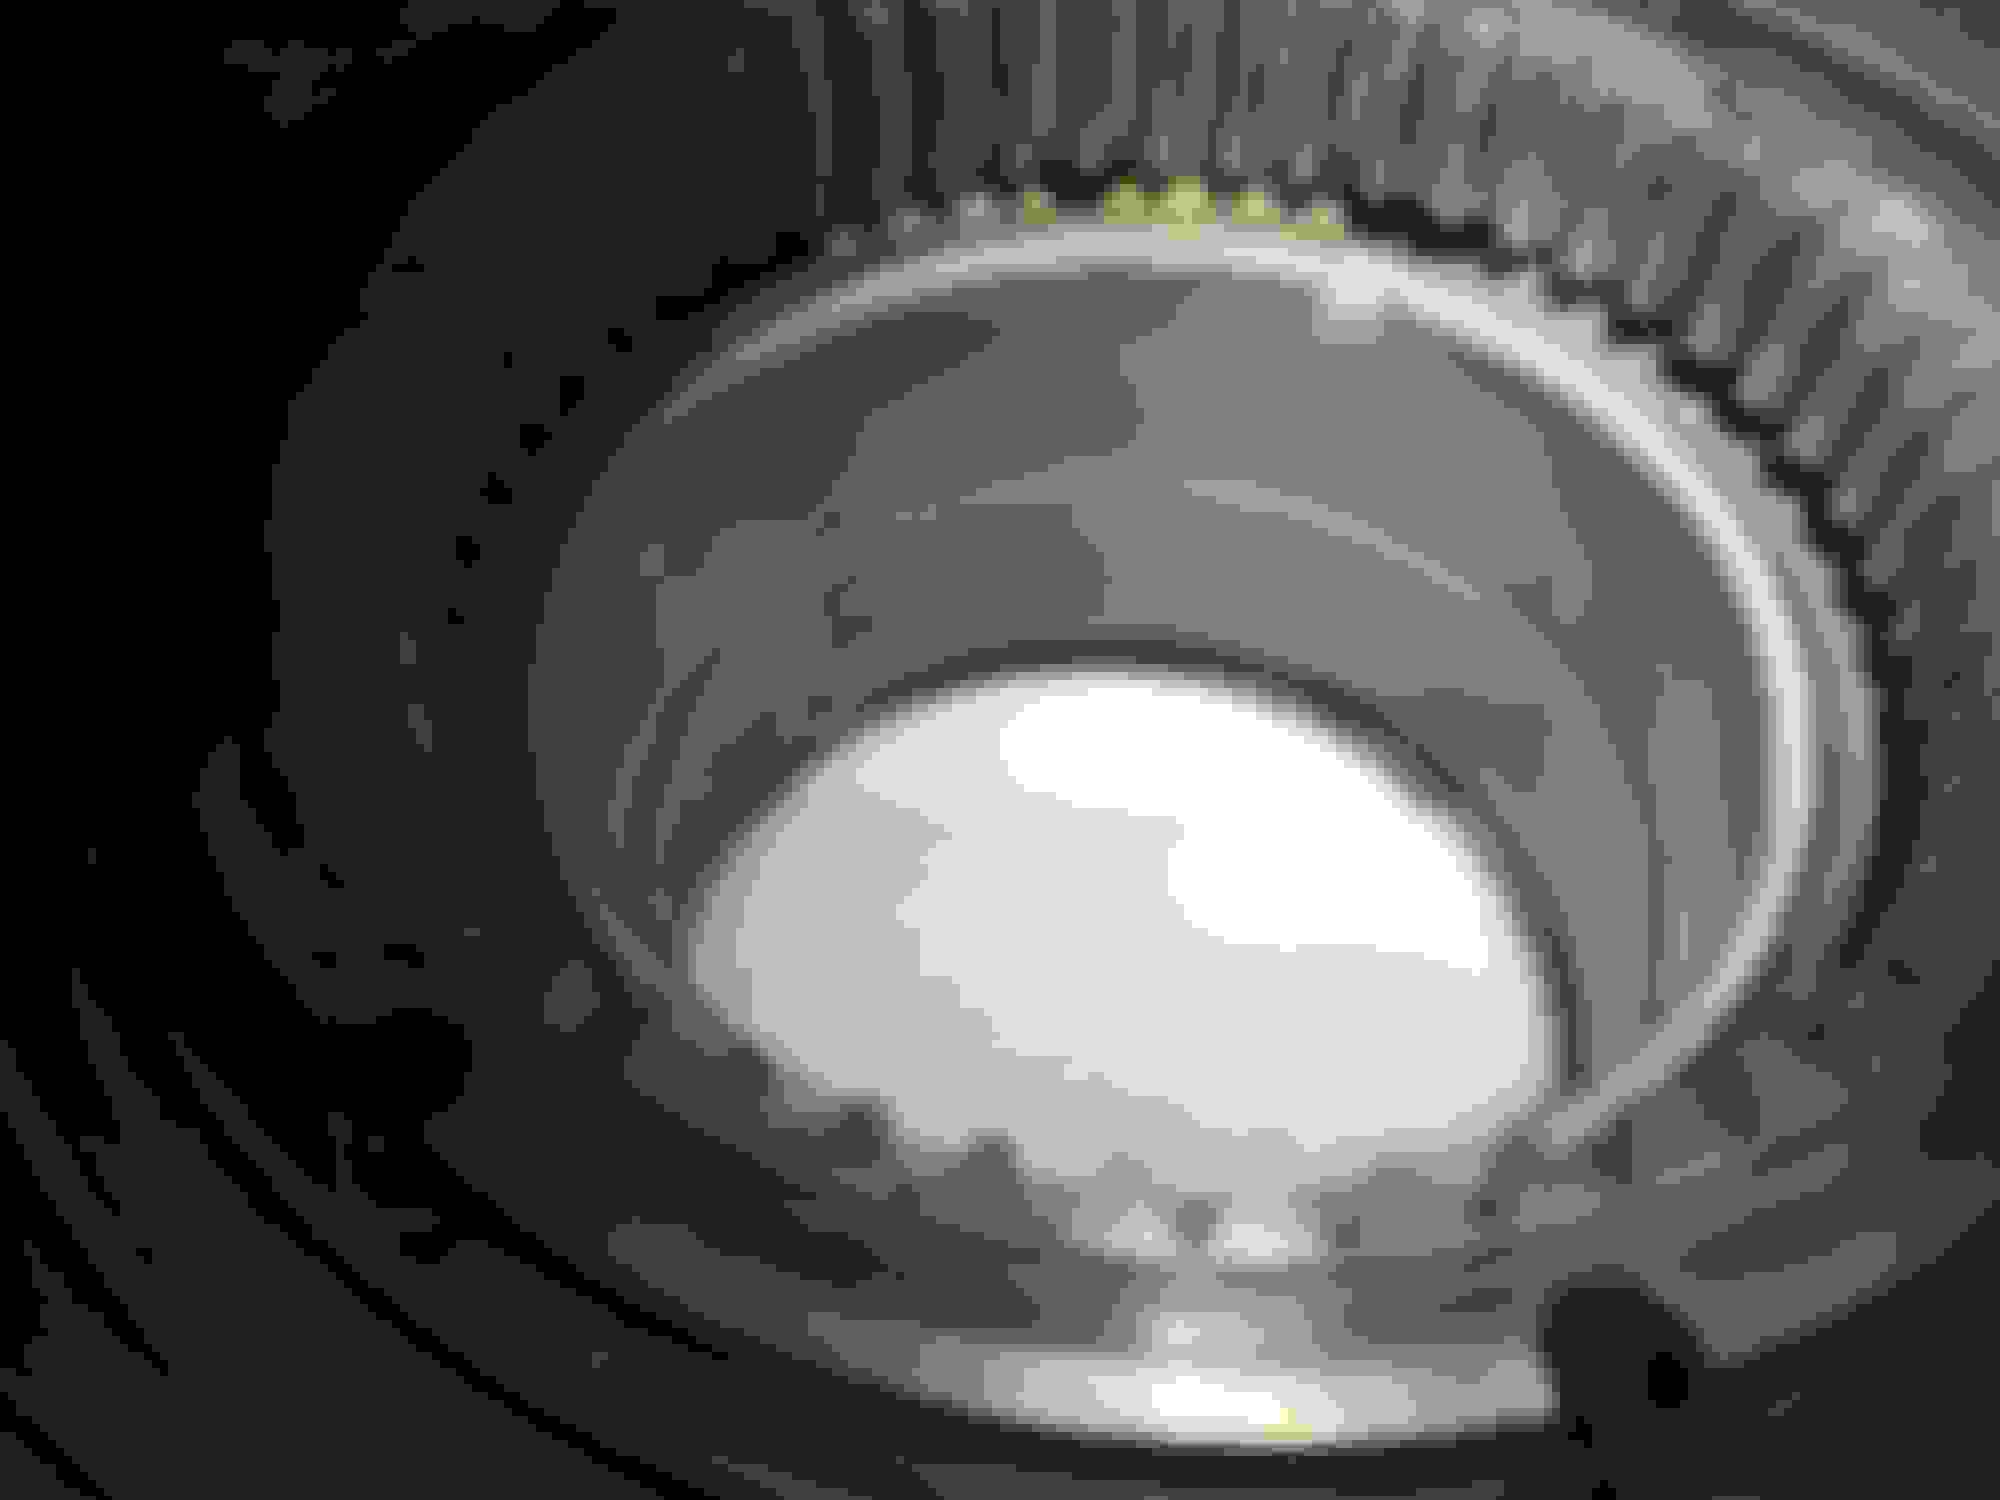
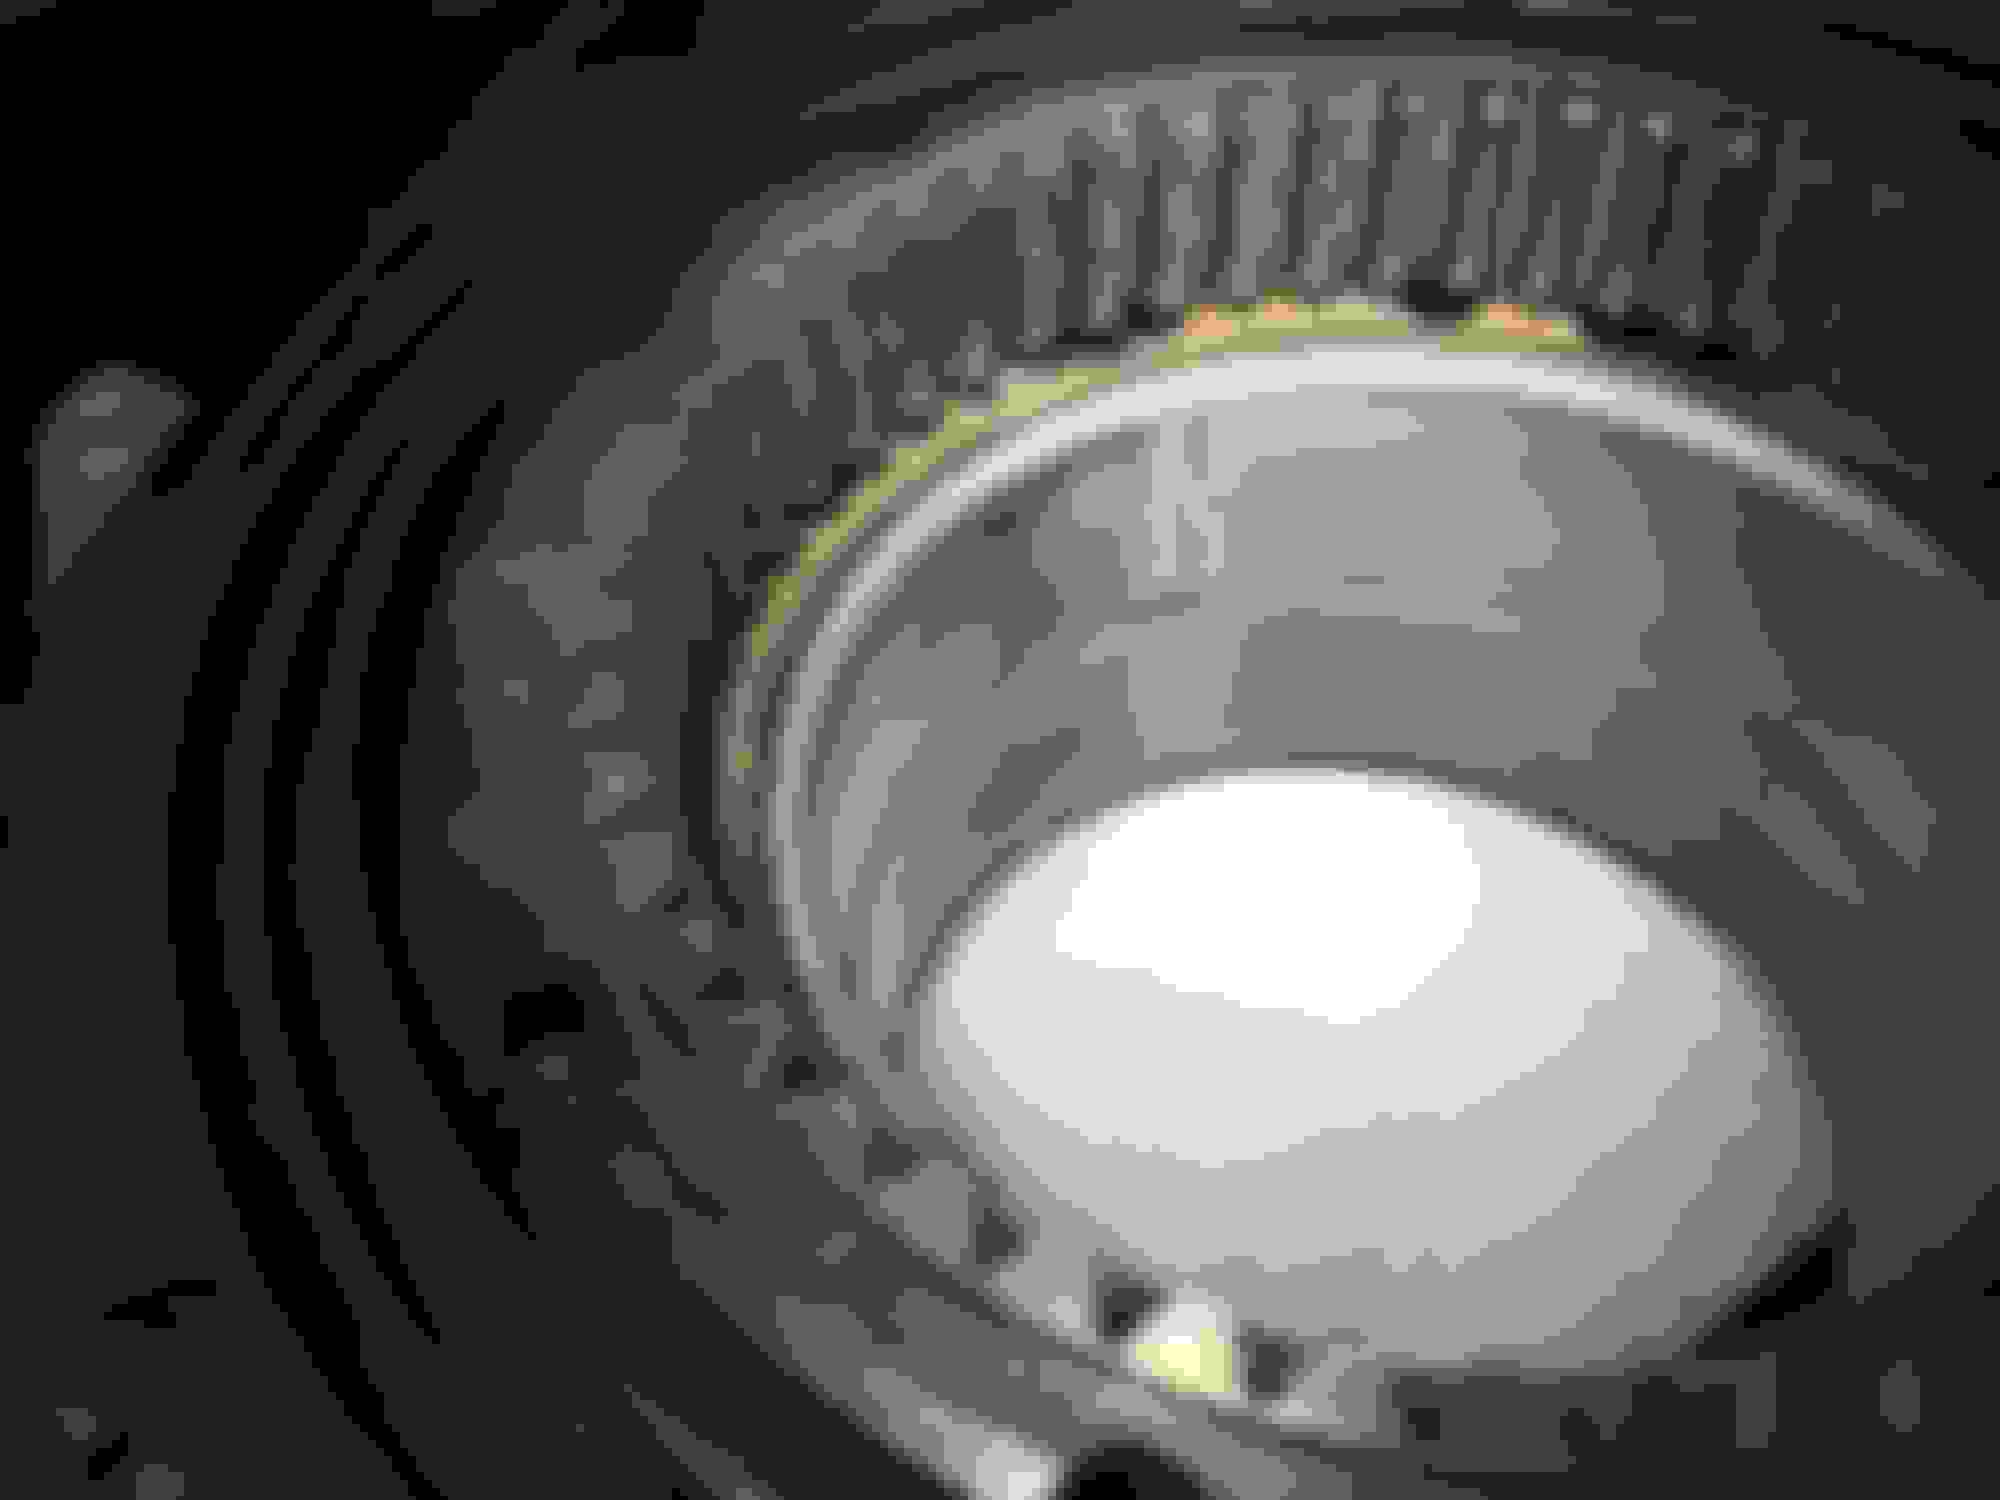
Spec'ed out the apex seal grooves today and got .063mm on four grooves and .051 on two grooves. Considering that factory calls for .05mm-.09mm with a .15mm limit, I think I really lucked out. Speaking of luck I could see no bearing wear either.

Rotor one

Rotor two

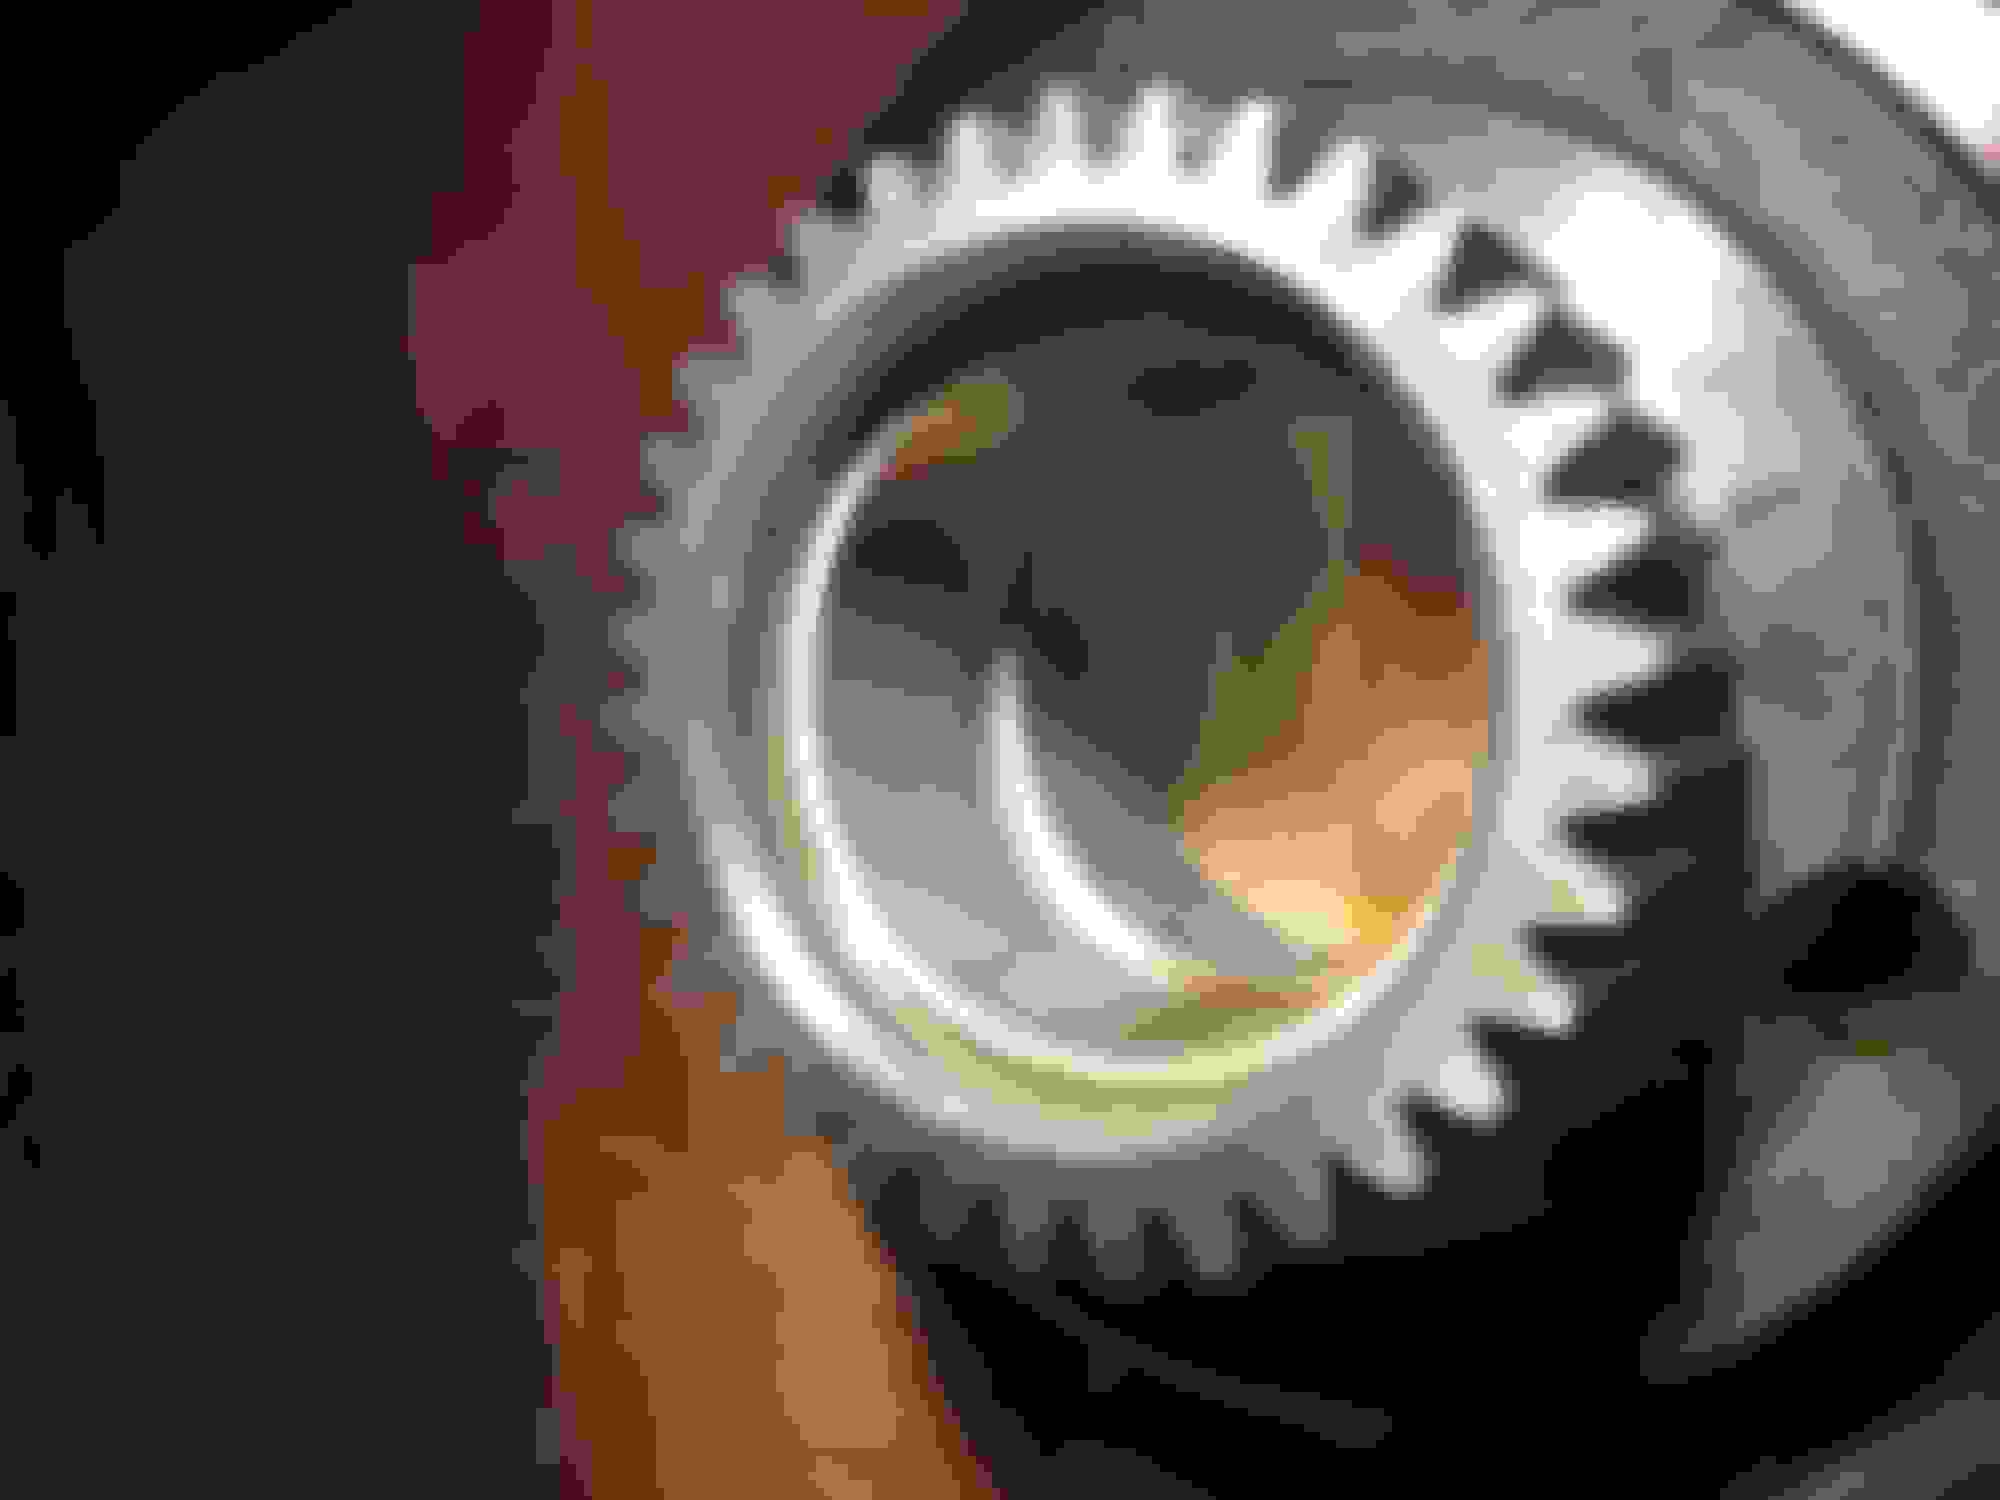
The stationary gears look mint as well


(I will of course clean before assembly)

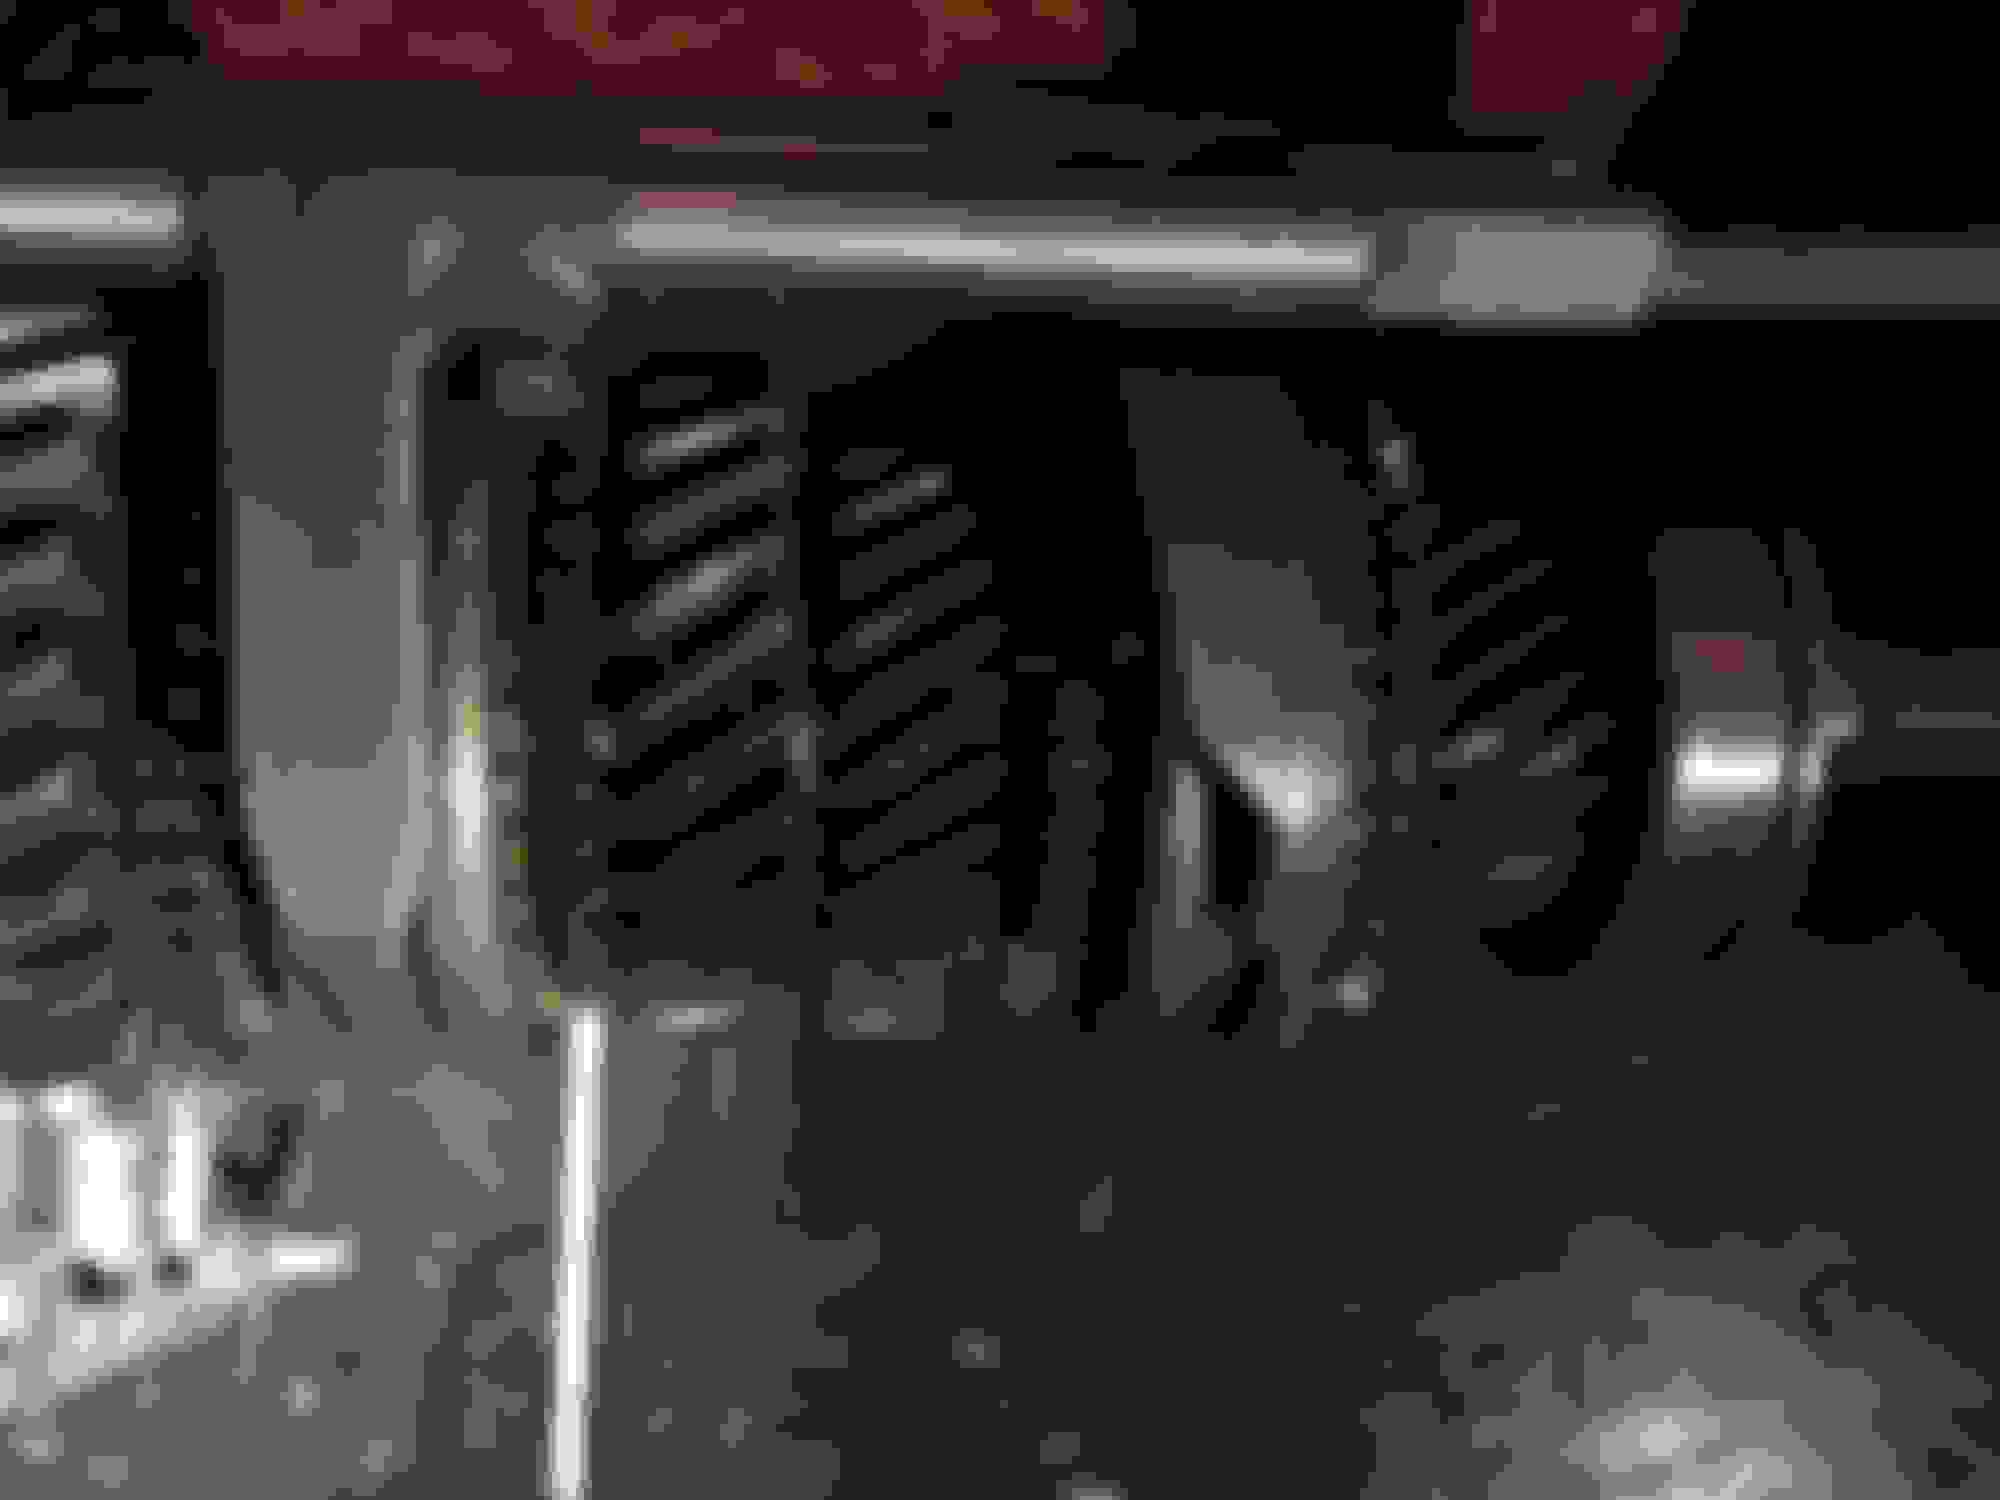
Oh and here is a cleaner rotor housing:


funny how the camera seems to highlight some of the wear. In all, I don't think this was a bad $150 dollar investment at the wreckers. I would like to tape off and soda blast the aluminum and sonic clean the parts. Just need to find a place that does it...
Old 12-31-18, 11:46 PM
  #70  
Damn, it did start!

Thread Starter
 
Richard Miller's Avatar
 
Join Date: Feb 2001
Location: washington
Posts: 2,678
Received 365 Likes on 226 Posts
Roughed this little guy in. Still have a long way to go.

Old 01-28-19, 12:06 AM
  #71  
Damn, it did start!

Thread Starter
 
Richard Miller's Avatar
 
Join Date: Feb 2001
Location: washington
Posts: 2,678
Received 365 Likes on 226 Posts
The GSL-SE transmission was garbage. Which is mostly fine as I had a spare transmission out of a 84 that I will be using.


applesauce and mashed potatoes for these teeth

well that race housing is gone
Old 01-28-19, 12:14 AM
  #72  
Damn, it did start!

Thread Starter
 
Richard Miller's Avatar
 
Join Date: Feb 2001
Location: washington
Posts: 2,678
Received 365 Likes on 226 Posts
everything looks good but waiting on ordering some new bearings and forks as long as I have things torn this far down before assembly.


79 forks in 84 transmission. I should replace the 1-2 and 3-4 forks as they are out of spec.

Replaced the linkage rods and "dogs"
Old 02-11-19, 02:35 AM
  #73  
Full Member
 
aaronbalz's Avatar
 
Join Date: Mar 2017
Location: misawa,japan
Posts: 106
Received 3 Likes on 3 Posts
Man excellent work! we have very similar builds in terms of attention to detail! Cant wait to see more.
Old 02-27-19, 11:26 PM
  #74  
Damn, it did start!

Thread Starter
 
Richard Miller's Avatar
 
Join Date: Feb 2001
Location: washington
Posts: 2,678
Received 365 Likes on 226 Posts
soda blasted transmission housing!

Old 03-23-19, 01:02 PM
  #75  
Damn, it did start!

Thread Starter
 
Richard Miller's Avatar
 
Join Date: Feb 2001
Location: washington
Posts: 2,678
Received 365 Likes on 226 Posts


Just finished this up today. Scotch bright on a rotary tool and a direct to metal clear coat. also the plastic Mazda cap got a quick buffing.
The following users liked this post:
Red1979 (04-27-21)


Quick Reply: 1980 Stardust Blue


All times are GMT -5. The time now is 06:51 PM.