When you click on links to various merchants on this site and make a purchase, this can result in this site earning a commission. Affiliate programs and affiliations include, but are not limited to, the eBay Partner Network.
Hey guys, just joined the forum today after studying these threads nightly for almost a year now, Wohooo! But here is my rebuild on my 1979 Mazda Rx7
*skip this next paragraph for just the build*
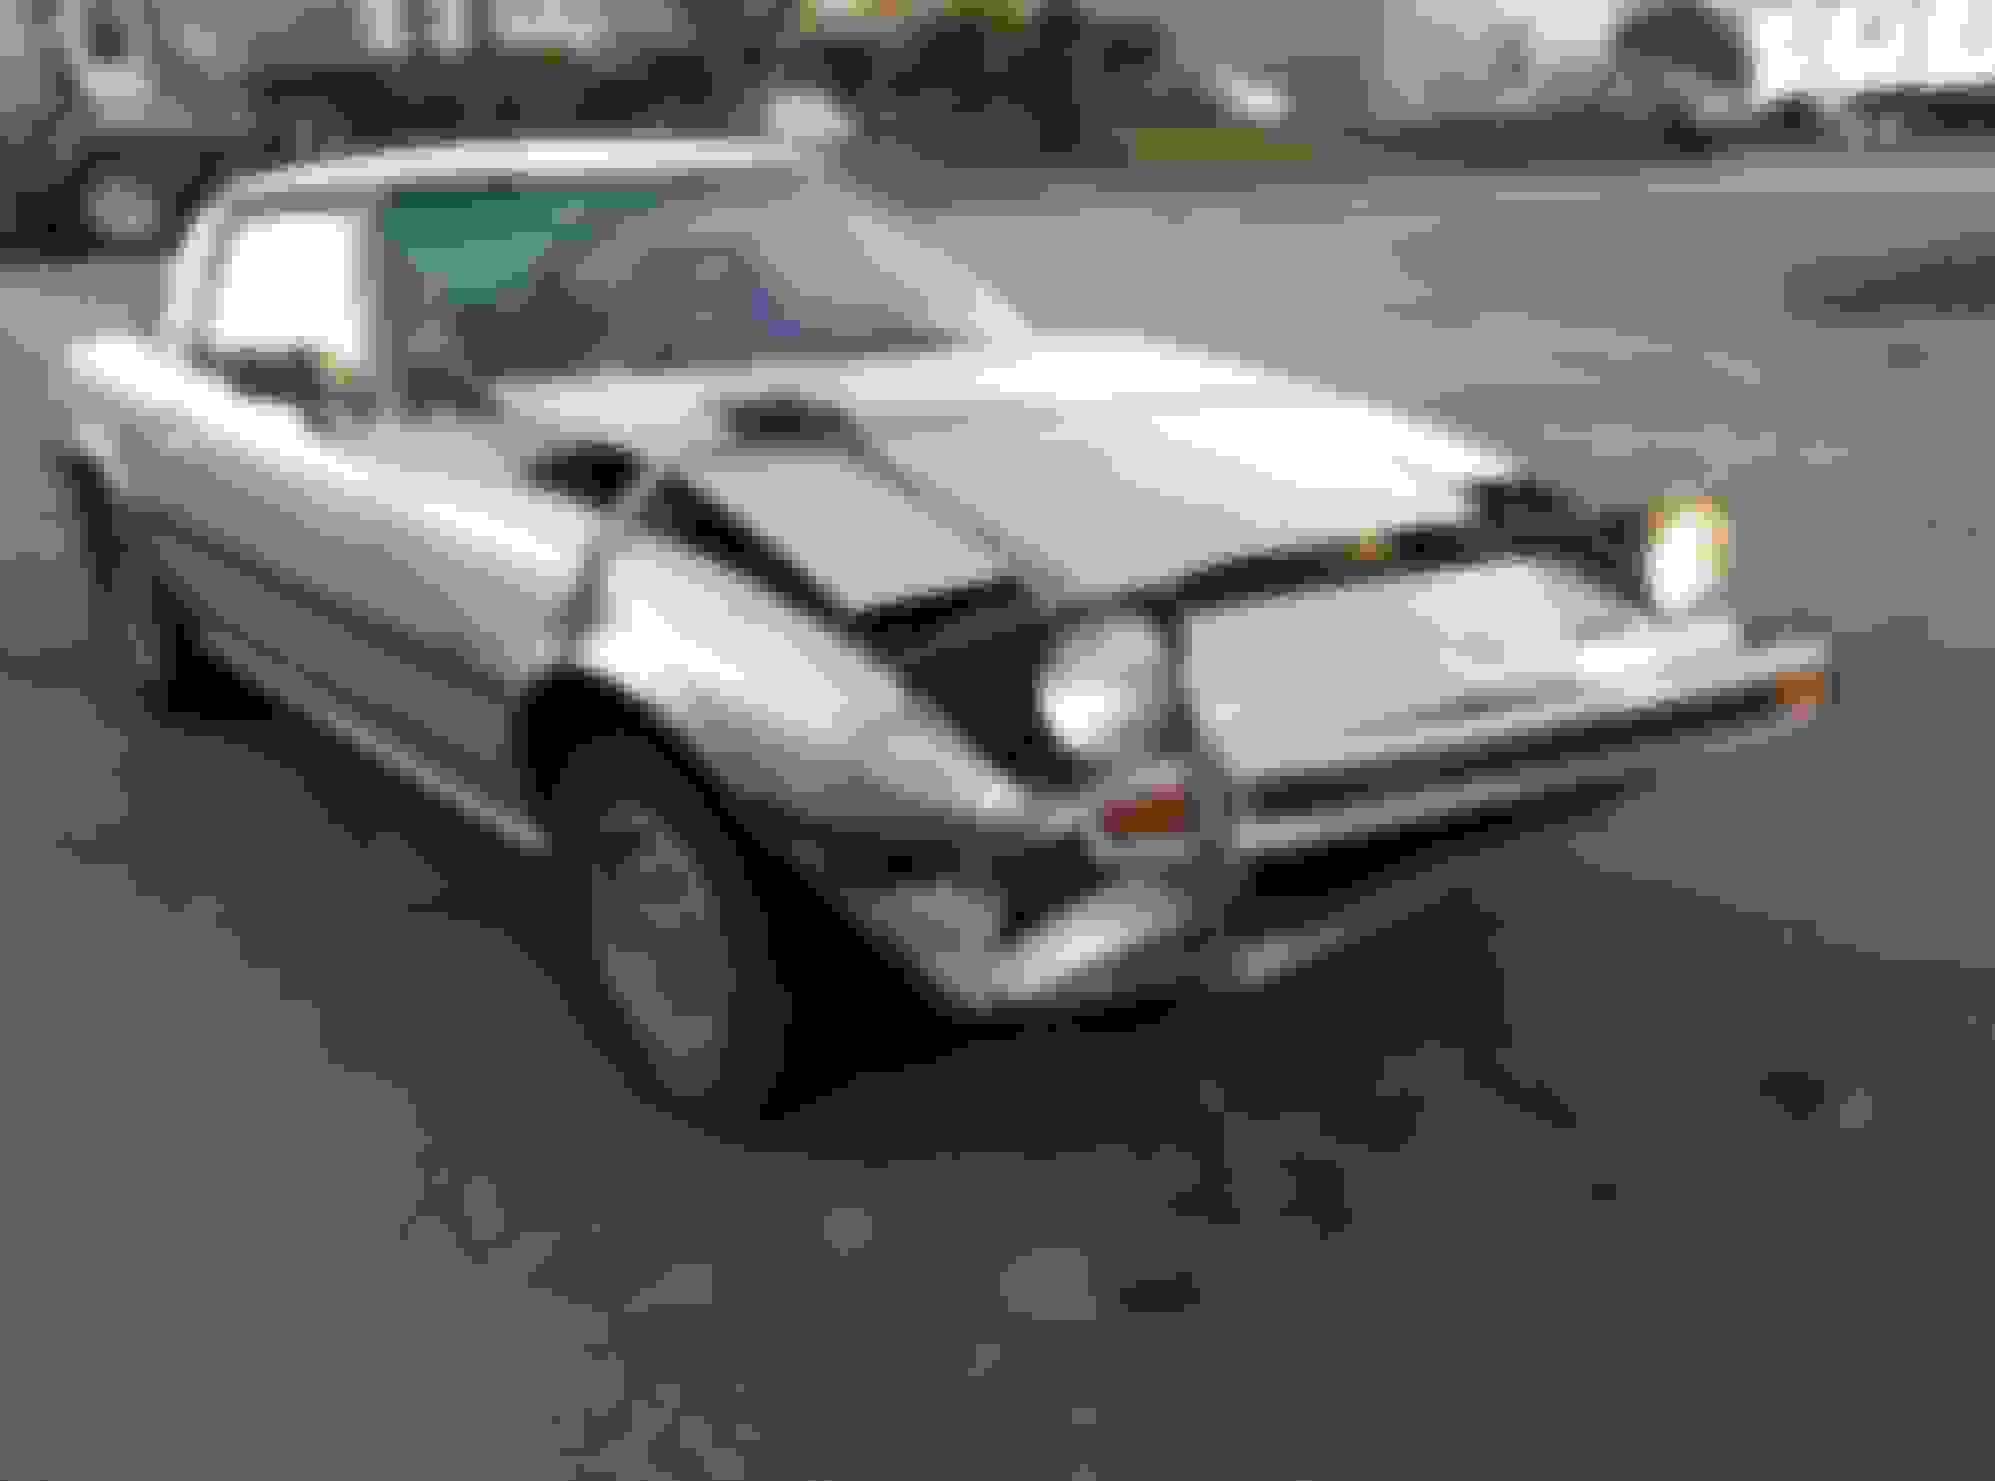
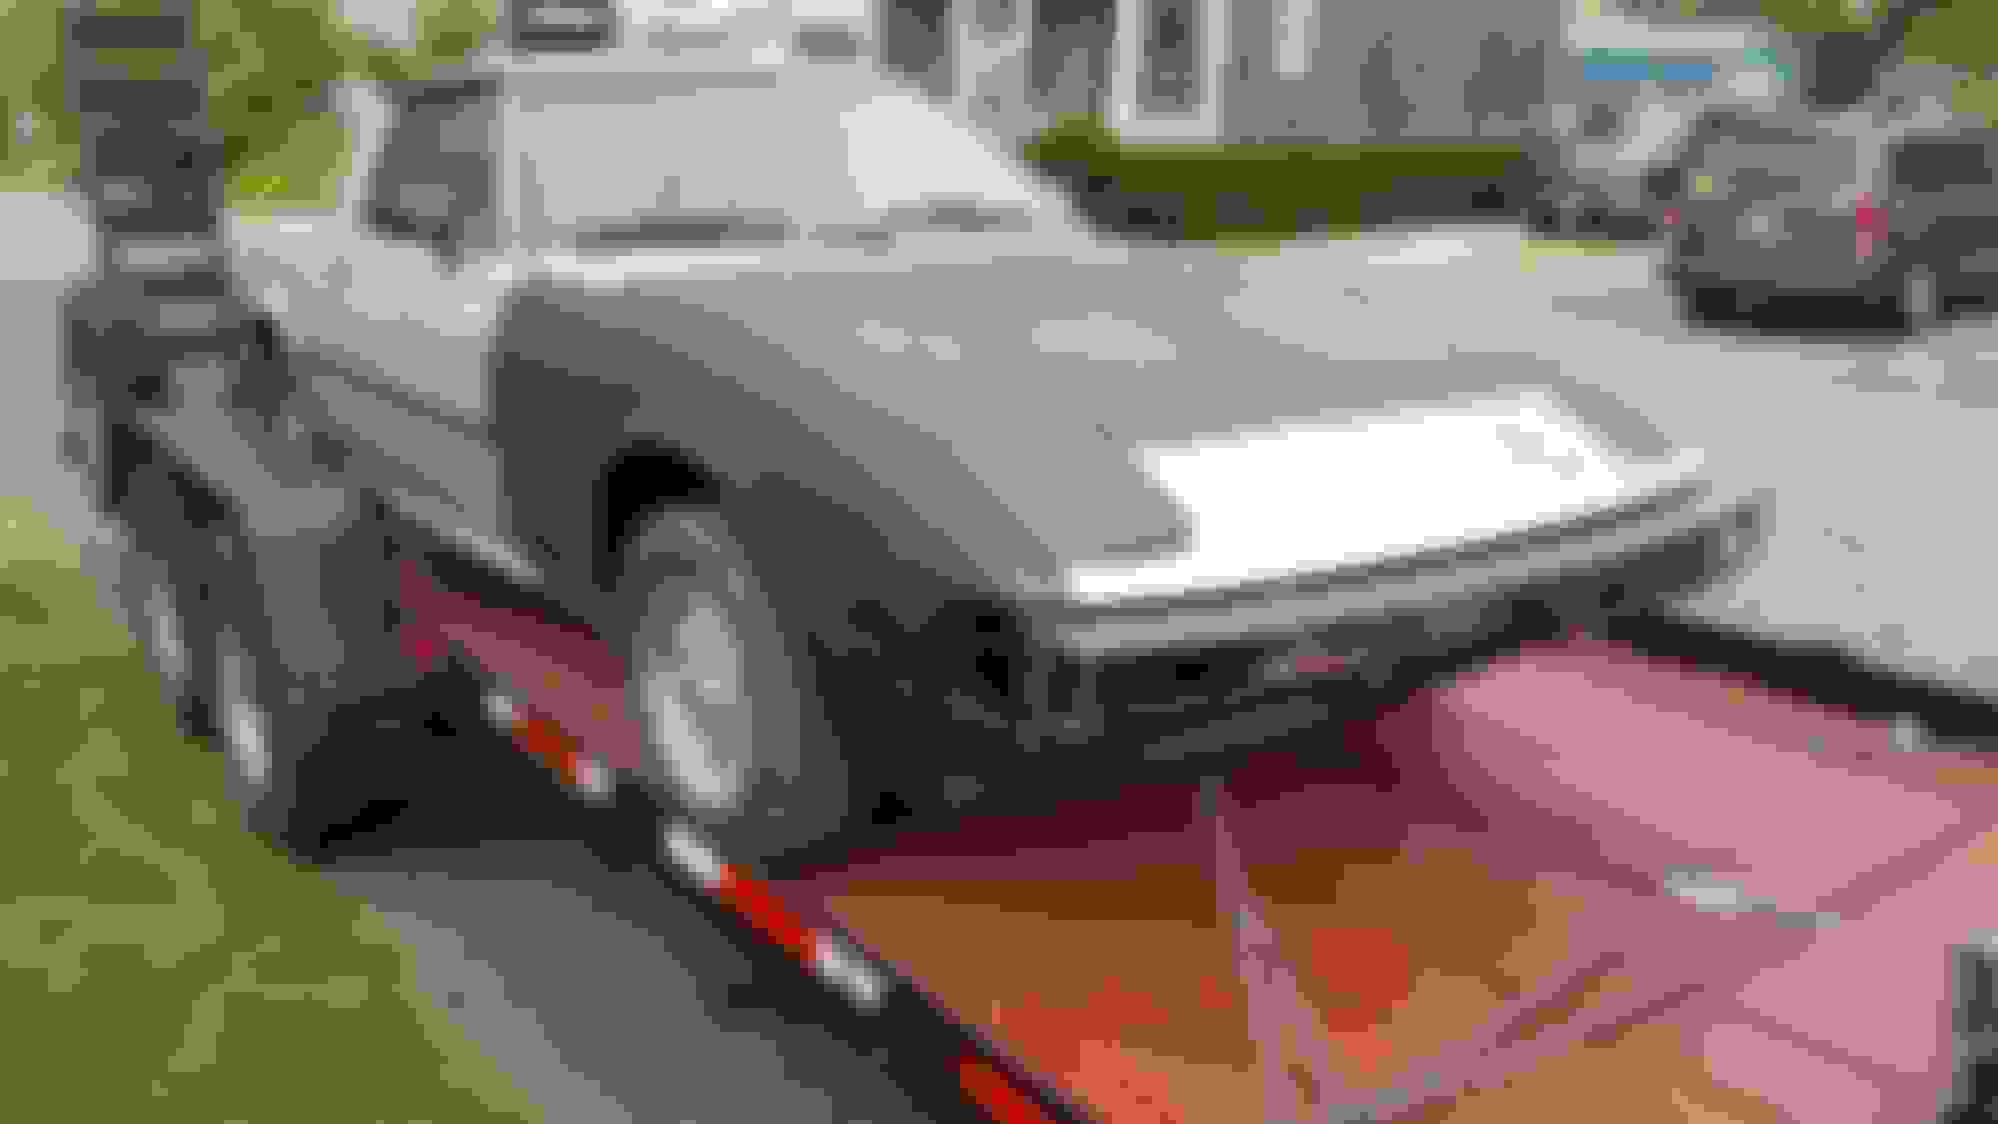
Story Time! Even a year later I still teer up when I tell the story but here it Gose! I bought this car back In march of 2016 It is a Silver 1979 Mazda Rx7 with burgundy interior. It's a 5 speed with only 76k with barely any rot or rust wich is very rare for a car being in New England (aka the salt belt) for coming up on 40 years now. I purchased it from the original owner who purchased it from of Datsun car lot in 1980 came with a little Datsun key tag and all! I couldn't wait to get it home. After a week of fighting with RMV because apparently after a certaint number of years they "kill/throw away" the Info/titles of cars that haven't been registered in a number of years blah blah what ever. So that week I got all the paper work squared away it was a cold rainy night but I just couldn't wait to drive it. So I put the plates on and went for a little drive! But then someone decided the stop signs don't apply to them and just went for. With a combination of old dry tires, not the best breaks and it being cold and wet, there was no stoping :'( I always heard stories of people driving off the lot in there new cars and then Totaling their cars minutes later and thought what a** hat dose that? Well it happens..so here's how the project gose now!
The Next morning after the accident it just looks so sad Didn't waste anytime taking it all apart trying to assess the damage, it was a lot worse than I thought.
After weeks of failed attempt to find replacement parts and trips to every junk yard I knew to find replacement parts and the lack of funds I decided to put her into storage instead of it sitting in my drive way.Finaly!! All my searching pays off! I found a parts car that had a good front end on it so I made it mine.I took all the panels and sent the car to the frame shop to see if there was any frame damage, thankful they were able to get the measurement on the frame right back to where they were before and everything fit up nice. Now it was time to get into this bad larry
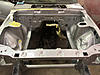
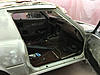
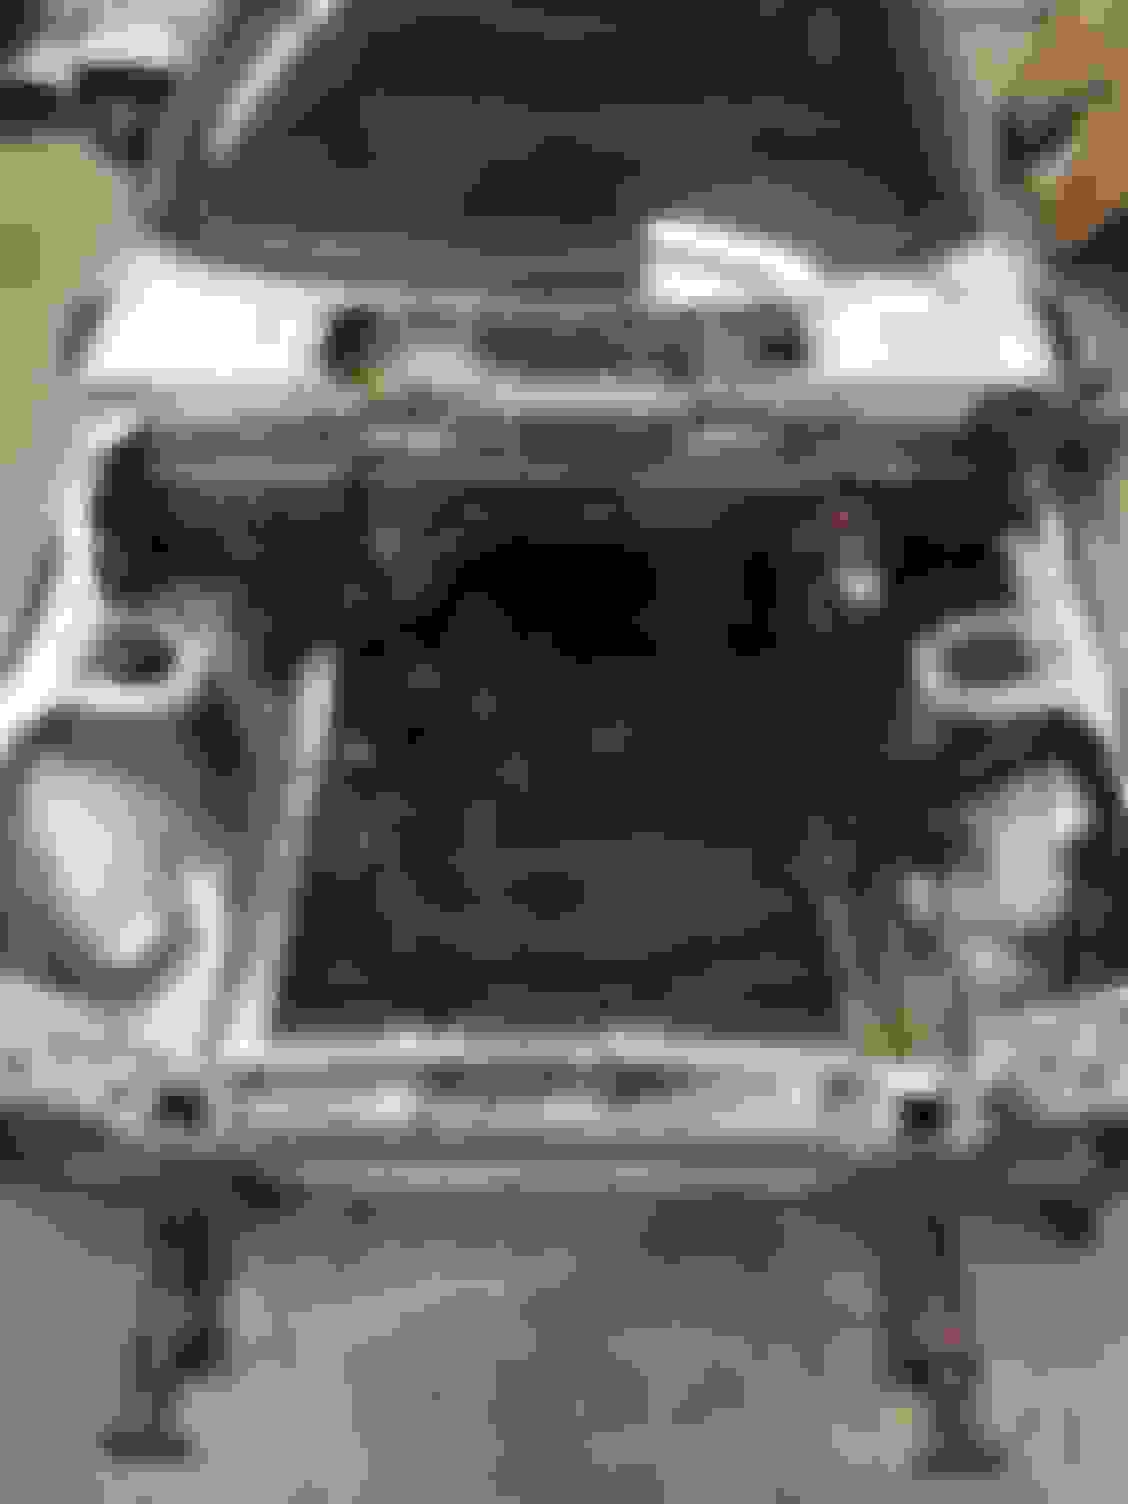
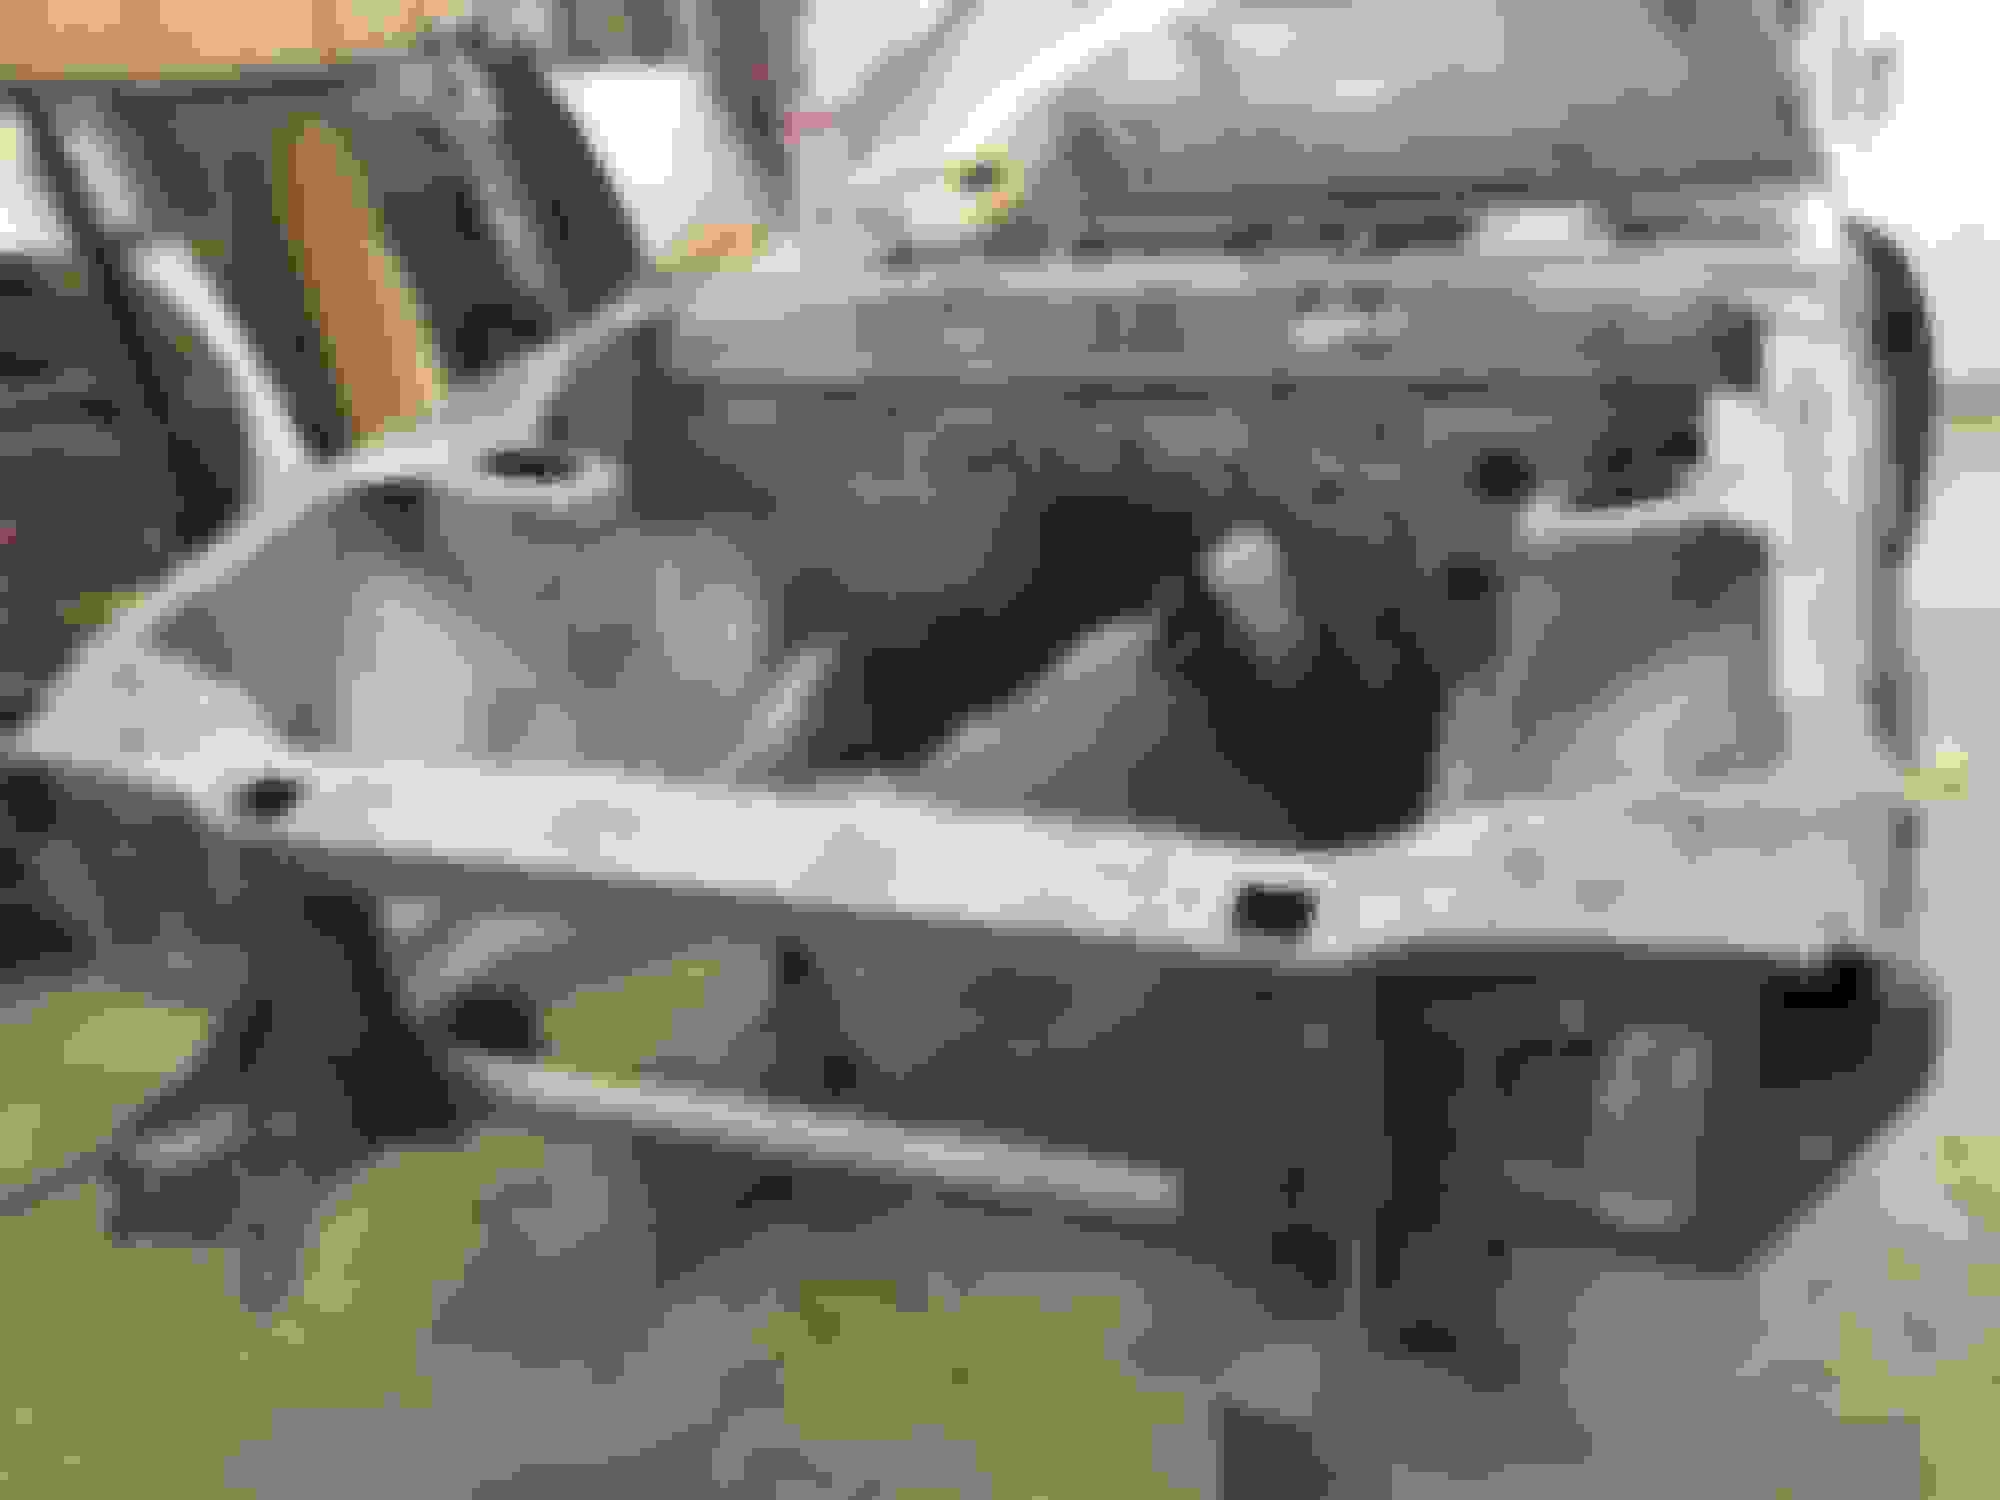
After the frame getting all squared back up again it was time for the games to begin. I pulled the motor and was in the process of cleaning the engine Bay and all the spots that had to be heated up to be bent back again
Since I was painting the engine and most of the front end I figured why not paint the whole car! Drilled out all the spot welds and removed the old radiator support, it could have very easily been used but it was a little wrinkled so I removed it from the parts car I had to ensure it was as nice looking and close to the way it was as before New supports fits up nicely ow to get it spot welded back up Got a little board with doing body work so I decided to remove the front suspension and get everything powdercoated.and replace tie rods, ball joints and all new bushings
This is how the car sits now. I am waiting on suspension parts and I should priming the car and engine bay within the week. I am going to try to keep this build updated. It isn't as cool or interesting as others but it's what I got happy building gentelmen!
Last edited by NathanBoutin; Apr 5, 2017 at 09:23 PM.
Welcome to the site! Very much a shame what happened on 1st ride in new to you car. I had an incident much like yours last year on 1st road test after suspension overhaul-game changer,wrestling with ins.co. over 30+ yr. old car... you seem to have your situation well in hand+skills to do all this yourself. Will be following this(re)build closely.
congrats on the car and sorry to hear about the accident. what's the plan? keeping it stock and restoring it to it's former glory?
I plan on keeping it mostly original for the time being But my ultimate end goal is to do some sort or porting work (haven't decided on a decent sized street port or Bridgeport) and carburetor and ignition upgrades. I'm just looking to make it a little more powerful while still maintaining its drivability. But somthing I'm looking to do now is upgrade the stock open diff for a lsd out of a 81-83 but I feel tracking one of those down will be more of a project than it's worth.
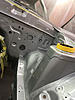
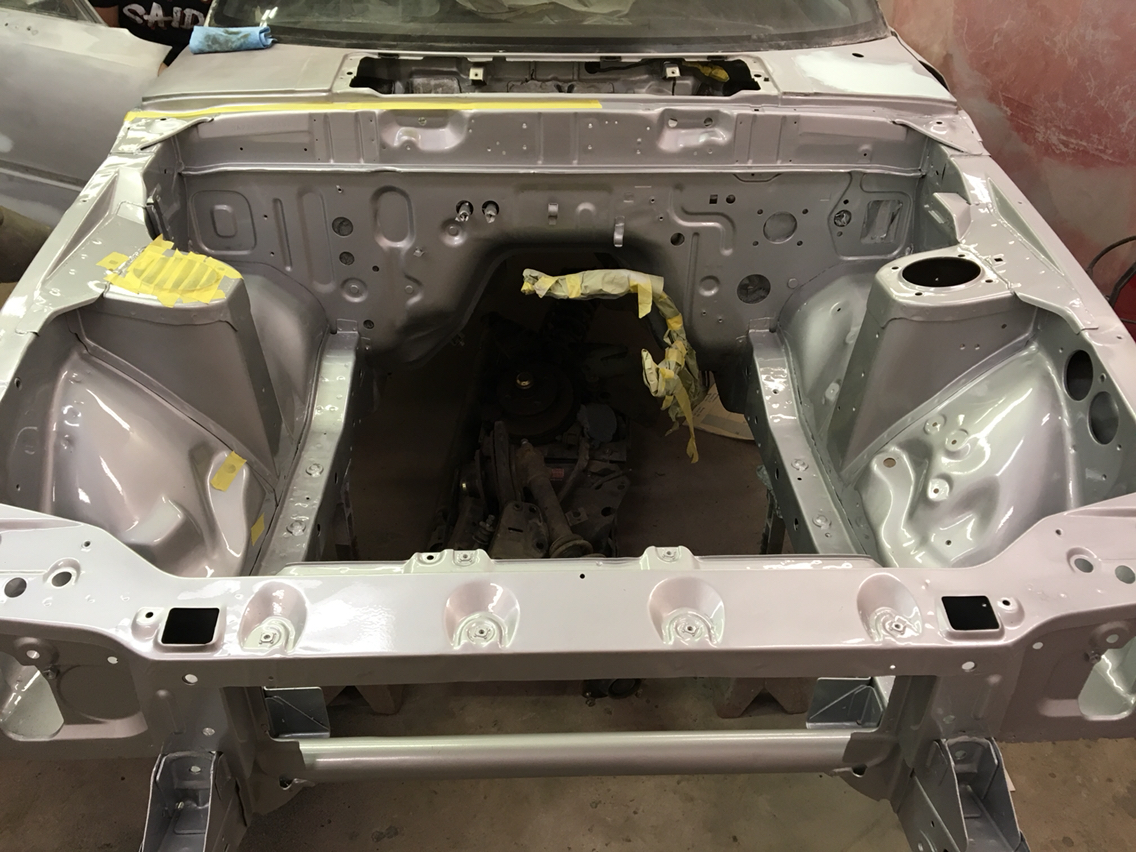
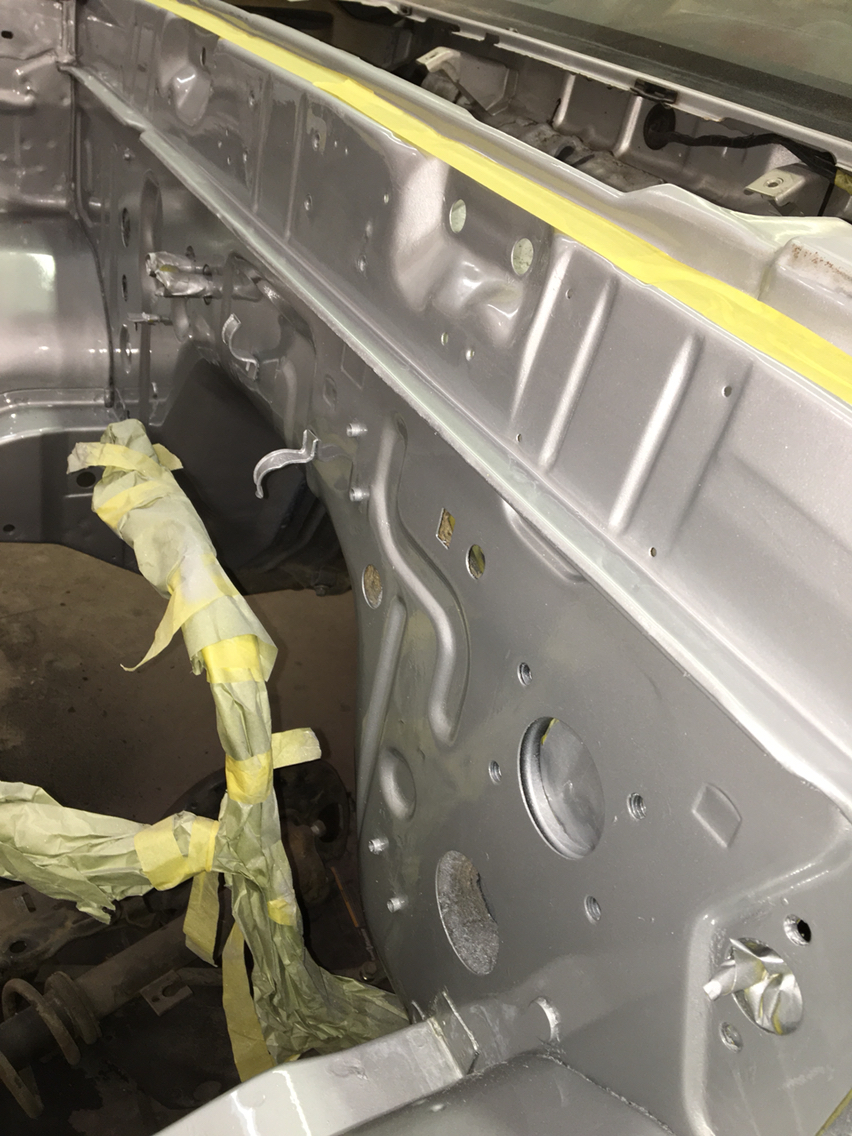
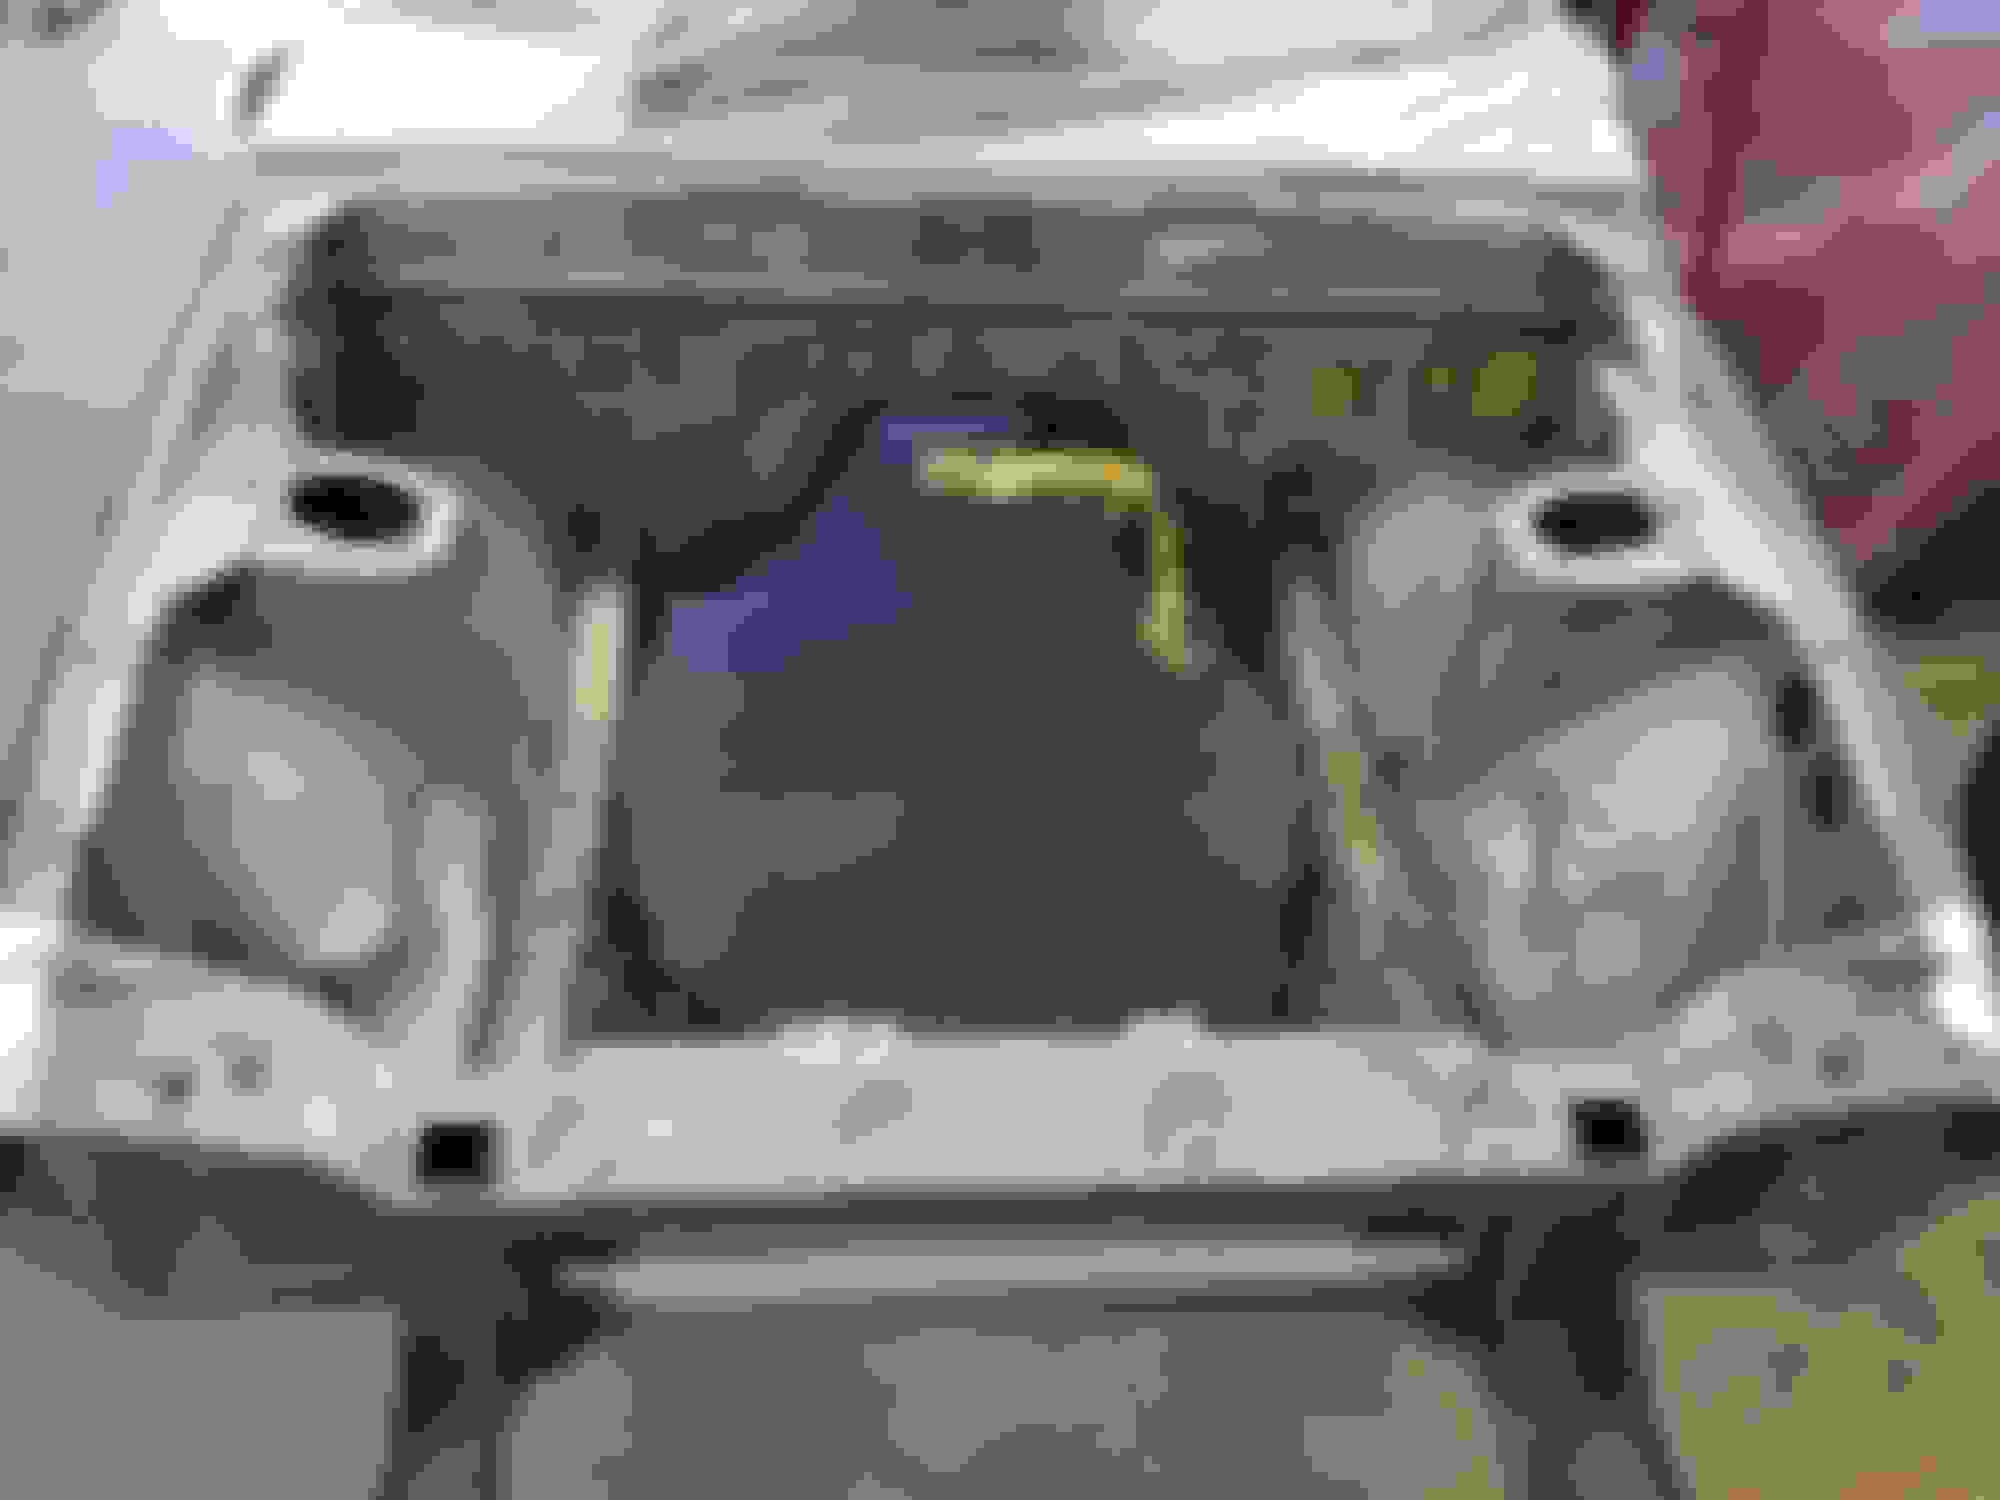
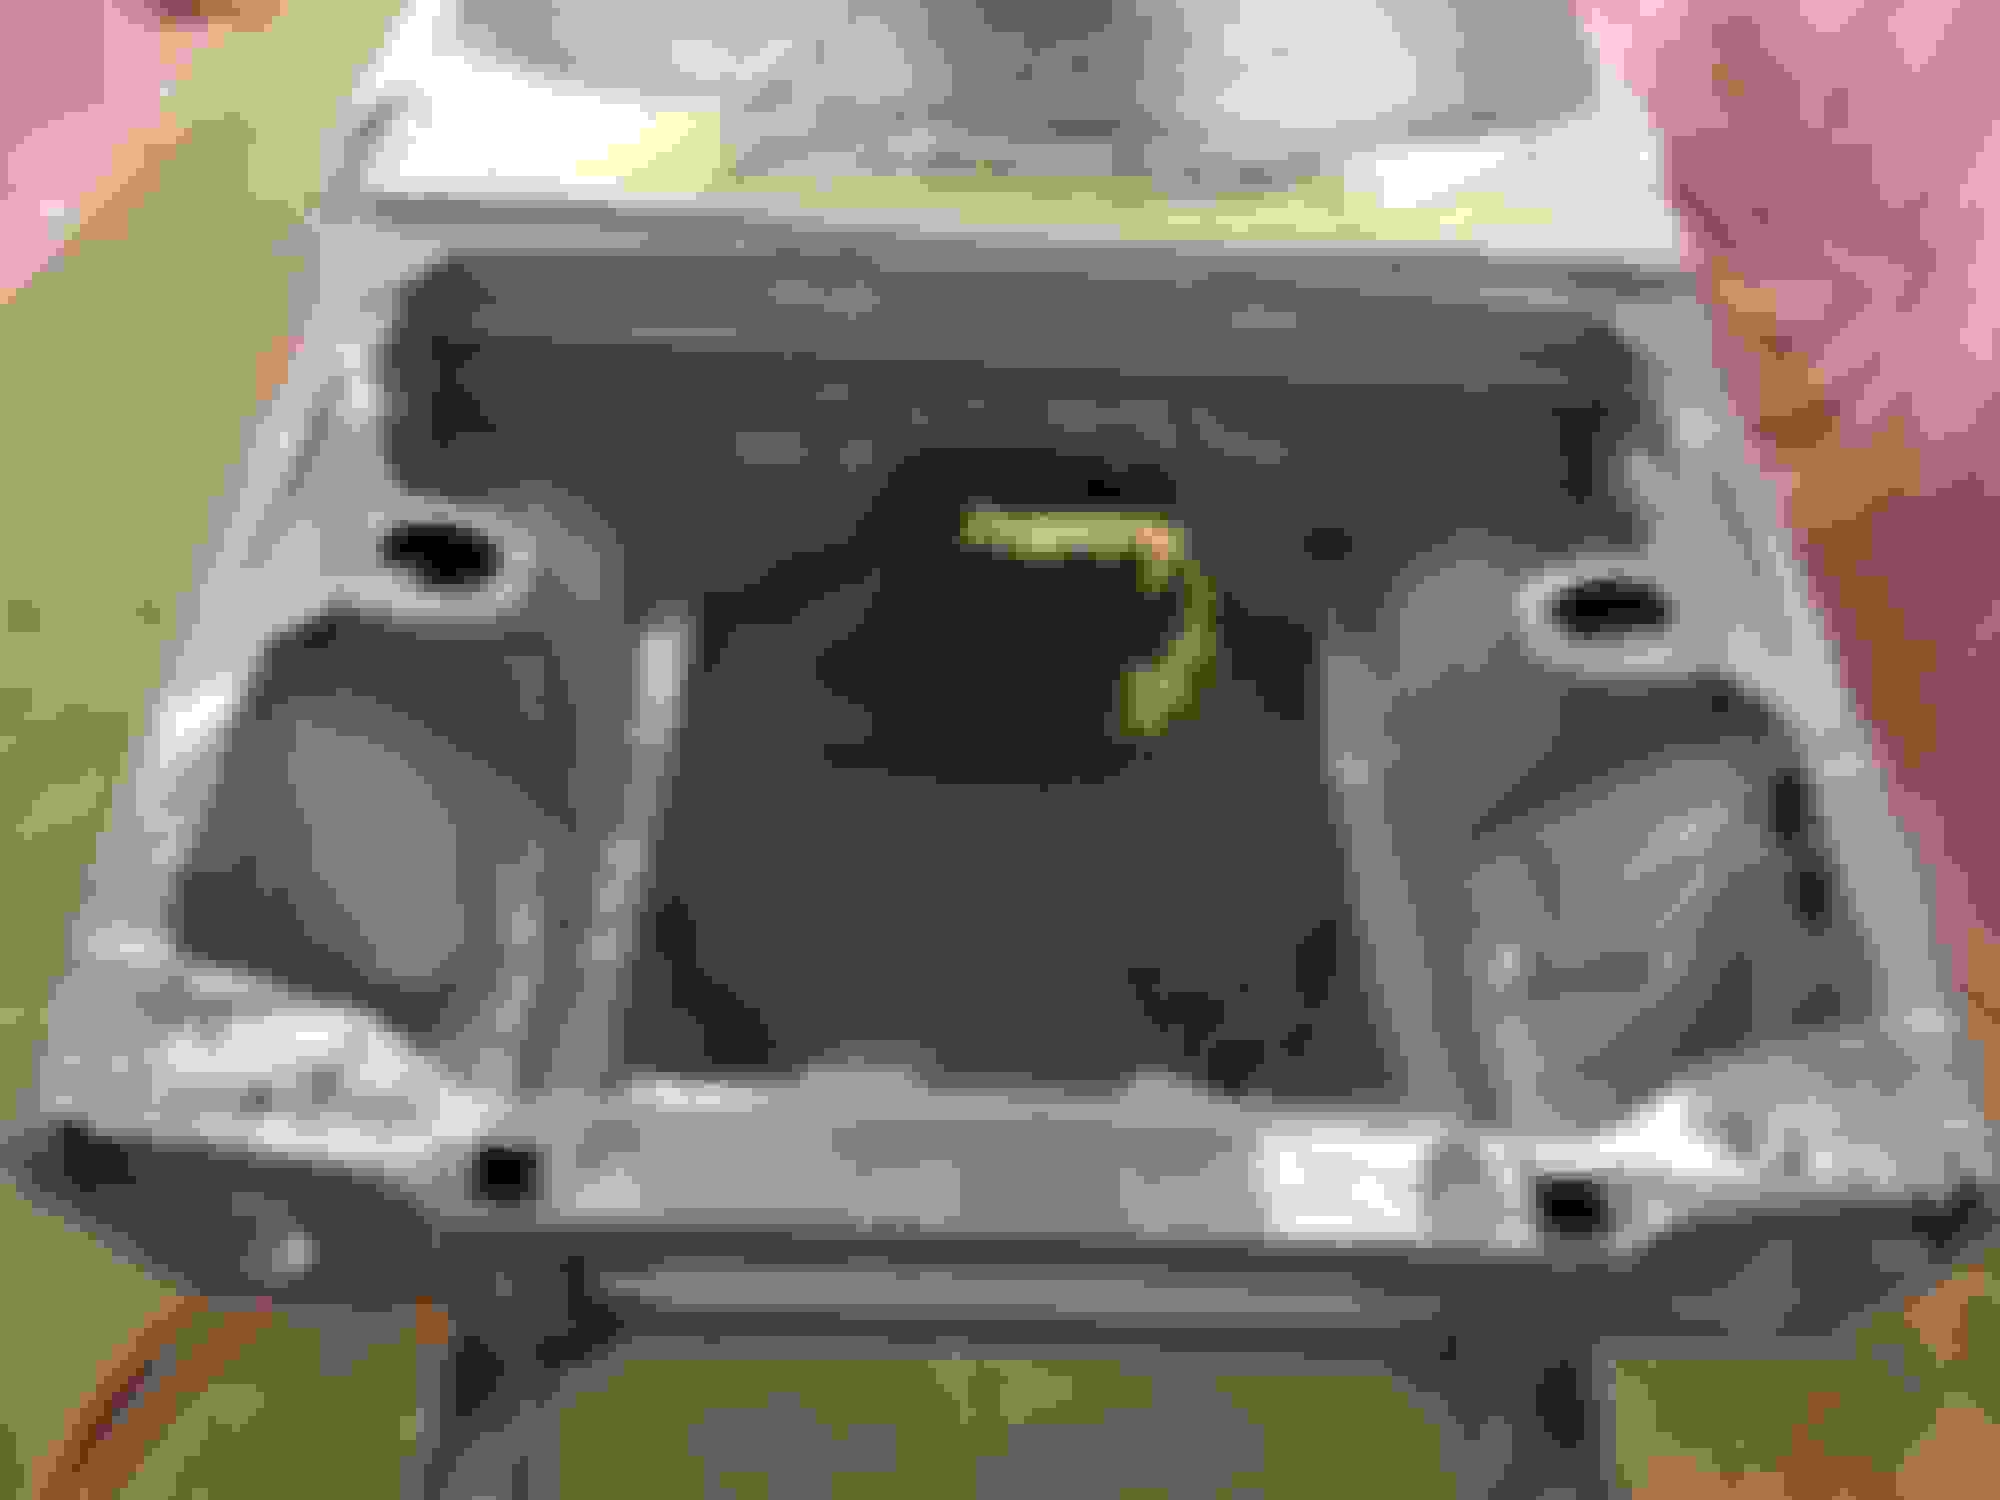
This weekend I was able to finalize the fitment of the front radiator support and sandblast it and get it spot welded back in. I then proceeded to clean up the rest of the bay and get everything scuffed and ready for paint, I also hug up plastic all around my garage to make it into a spray both (work pretty darn well is you ask me)
After getting the support all welded back in it looks just as good as new!
what we did was put brass grommets into a roll of construction plastic then hand hooks from the ceiling to be able to put the "spray booth" up and take it down as wee need it helps keep dust to a minimum and keep the rest of the garage from getting full of paint.
First we sprayed it with some etching primer
then We sprayed a full coat of sealer
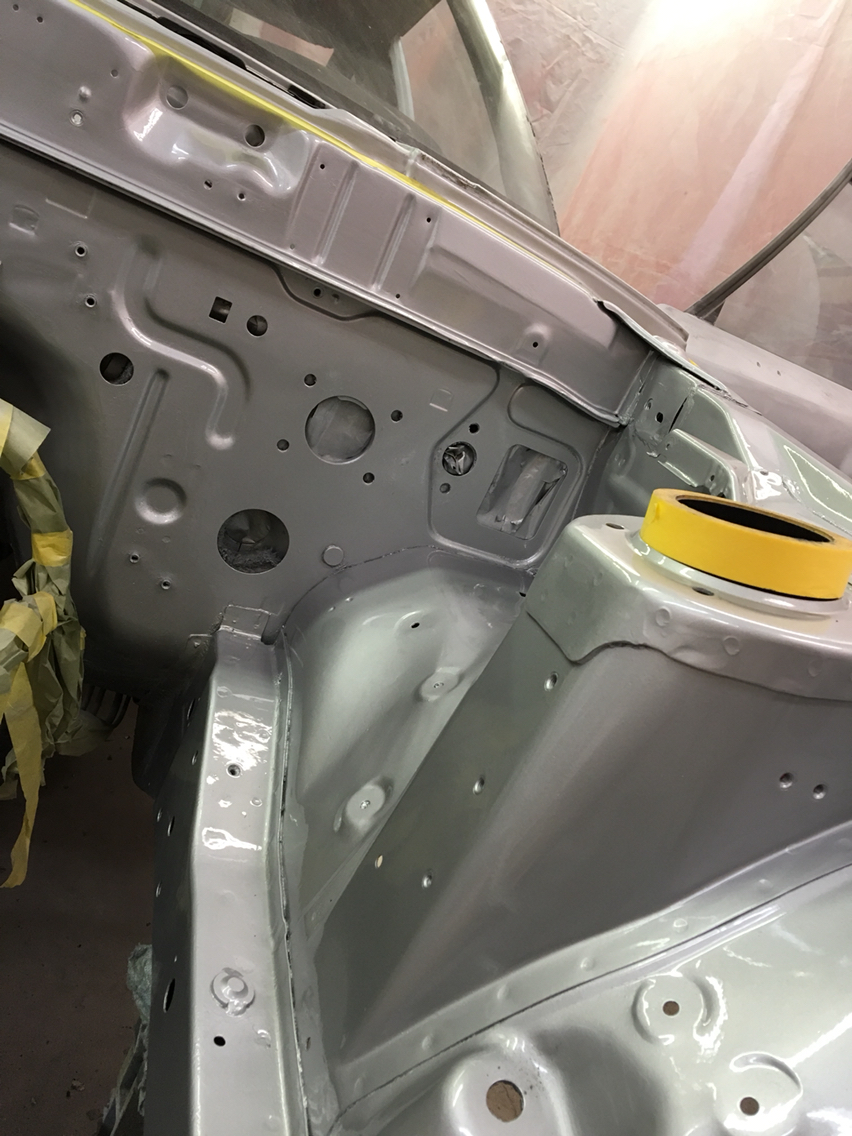
Unfortunately we got a little to excited to spray the base coat down before the sealer was fully dry and the base started to crack so I'm going to have to sand the cracked sports off and resorts the base, I just wish paint wasn't so expensive!
So i am hoping this week I will be able to respray the bay with a nice coat of the silver base then give a few good coats of clear to make it look brand spanking new, other than the paint cracking it was a very productive weekend!
Last edited by NathanBoutin; Apr 9, 2017 at 09:53 PM.
Usually there is a minimum cure time for primer and sealer before you can hit it with color, and from my experience, you need to hit the color with clear within a certain time frame too. What type of paint system are you using?
Usually there is a minimum cure time for primer and sealer before you can hit it with color, and from my experience, you need to hit the color with clear within a certain time frame too. What type of paint system are you using?
Your metal work looks great.
I am using a base/clear coat system. And thanks! I checked out your thread and your paint came out awsome! We also are using a harbor freight spray gun and it works wonders, you just have to clean it out well. I couldn't justify paying $100+ for a gun That's going to sit in the shelf for most of its life and heck if it breaks or stops working I'll just go buy another for 35 bucks with a 20% off coupon also sorry for the late response
Last edited by NathanBoutin; Apr 11, 2017 at 09:35 AM.
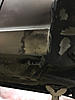
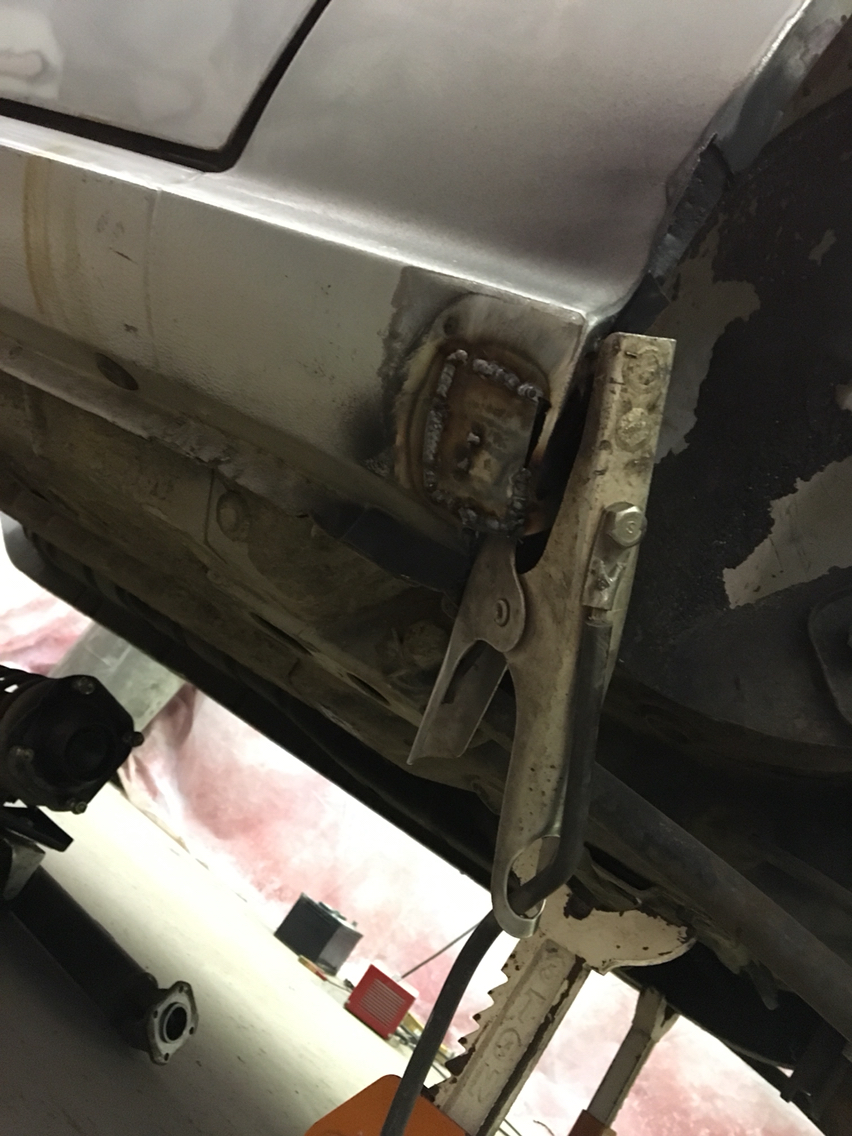
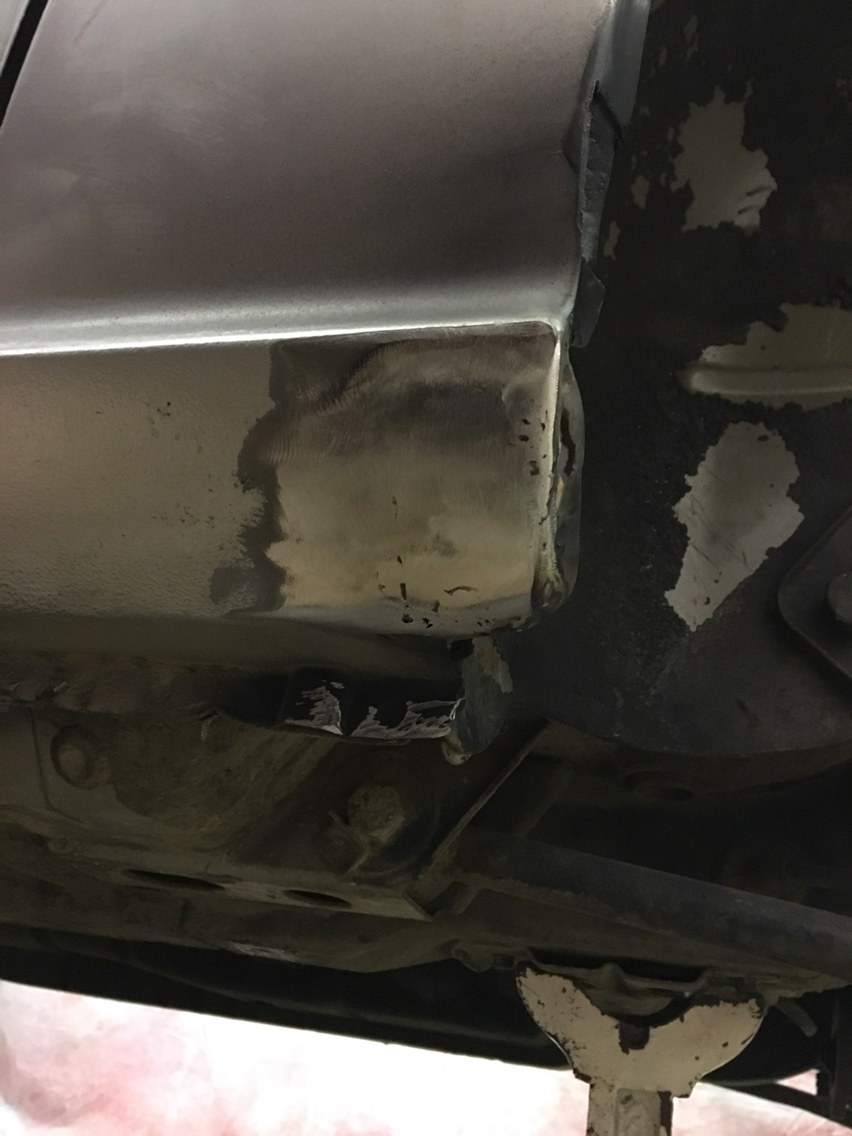
Not very productive last two weeks but we got paint on the bag and it came out awsome! And I looks like I ate my words, I found some rot on the rear drive side rocker wasn't much but it got all cut out, welded and blended up. Also purchased another parts car rx7 for a hood and fender as they were in better condition also you can never have to many spare parts! It's slow progress but it's still progress. Also started to scuff the door jams. I'm going to attempt to paint the jams without removing the doors as my brother removed the doors from his truck and still has nightmares about getting they properly lined up again, anyone take there doors off to paint? If so how was it to get them lined up again?
Last edited by NathanBoutin; Apr 24, 2017 at 08:33 AM.
I took my doors off to paint. I hung them briefly to check fitment but it really wasn't difficult to line up - there isn't a lot of margin in the hinges and they lined up pretty easily.
Sorry for the extended absence, have been super busy with school and graduation. But after painting the engine Bay and prepairing the rest of the car for paint I was starting to lose motivation for body work so I devided to throw the engine back in and finish the engine bay. Figured hearing it running again would give me the final push to finish her up.
Separated the motor and tranny while it was out threw in a Exedy Clutch kit the clutch plate looked to have been replaced and not many miles on it, but it was probably replaced back in the 90's so I might as well while it's out! Took my sweet time and cleaned everything up and painted whatever had chipping before it went back in putting a motor in a freshly painted bay by myself proved to be a challenge but I got it in without a scratch! And just like that 1.1L of happeness was in Finished up a bunch of odds and ends like wiring and lines and all thouse goodies and got the carb on She runs beautiful and I'm sure it would sound great if I had an exaust on it haha waiting for my RB full exaust to come inThe only trouble I'm ran into was the motor mounts I revived arnt for my car/motor combo, then fit and go in but the motor sits a half in higher than before and the fan blades are closer to the shroud than id like so I'm going to put the other ones in until I can track down the proper mounts. Also after filling up the radiator i found out its holier than Swiss cheese, any recommendations on an aluminum after market? The other thing giving me hell is the pitman arm. Ive tried 2 brands (centric and rare parts) and neither slide up the spline of the steering box nearly as close and the original I took out. Maybe it's just me but I also find it hard to believe two different brands would have the same defect in a part. Anyone else go threw this?
Original New Arm
Last edited by NathanBoutin; Jun 9, 2017 at 12:13 PM.
Got a new Aluminum 3 row radiator and fits up perfectly. Got some coolant in it and oil and made sure she ran and it started right up. But my only concern is the amount of oil that came out of the rear exhaust port. I never ran the motor without oil but I would briefly run (2-3minutes max) it without coolant. Is this something to be concerned with?
Just brought the car the the paint shop today after being on the back burner for the better part of a year, motors in and running great. Should have finished pictures of the paint after all is done. Then it�s on to the interior
Ended up going with Maaco for the paint for for my budget and I could be any more pleased it came out, beautiful. I�m going to be have a new set of toyo extensa�s mounted and balanced along with an alignment and she will be be on the road. In the few coming weeks I�ll post more pictures when that is all done, next will be to tackle the interior
Was able to trailor the car to Firestone the other week to have new tires and an alignment. 185/70r13 Toyo Extensa! And since then I�ve been slowly been bolting on trim and buttoning up odds and ends. Also since my antique insurance finally came threw yesterday I will be able to drive it to work tomorrow, my drive to work is a 80 mile round trip so let�s hope I didn�t forget anything!
So after 700 miles of driving the transmission has started to make various whining noises, so being that I have some extra time and all the extra parts I needed (in very good condition at that) fully rebuilt s4 N/A trans out of my brothers 2nd gen with 0 miles who�s going with a t2 trans. And a extra SA transmission out of a 1980 parts car I had. I�m still in the middle of reassembly because on the shifter fingers (I think that�s what it�s called) sits a little to high so I�m going to have to redrill a hole to pin it. Other than that everything else looks to fit perfect. Hopefully it�ll shift a bit smoother now and be much quieter.
Well on my ride home from work the transmission decided it no longer wanted to live and turned itself to spaghetti. So this swap was quickly moved to priority #1 as I have had to drive it these past few days while I also fix my Subaru. the car drives so much smoother and quiter now. Test fit to make sure everything worked
Up next will be mainly interior stuff as I get around to it, I had my seats re foamed and had the RB reupholster kits put on so next is carpet door cards and any other touch ups.
Another extended absence, but some updates are due!
I chose to go with the RB seat reupholstery kits, and i am just now realizing the leather/vinyl parts of the seats should be brown..not maroon but i think it will still match and look good moving forward so I may have to live with that. These are one of the things i didn't personally install but i will say the fitment and quality is top tier and highly recommend My original Maroon/Wine/Brown..(someone correct me) After the covers, also added heated seat pads to the uppers and lowers but am yet to wire and place the switches. ***Not Mine** but the original colors im aiming to match (off to a roaring start..haha)
When i got the car the upper radio bezel hole was already cut to fit an aftermarket radio. So I took it upon myself to fit a modern single din radio, 4 new speakers and called it a day.
Now fast forward 4 years, my taste and plans changed a bit. I managed to acquire almost all amount of the (believe to be) original audio equipment and a good bezel. Now I know quality may be lacking by today's standards..but i'd like for this car to be all back to stock and in its former glory Original owner saved the radio from when he had another installed in 84' The radio bezel. Aaaand its silver..not black but that can be fixed Also picked up a cassette deck and amp that maybe out of a 79-80 limited or a leather sport..? The original "dash" wiring harness was missing the radio power and speaker plugs/sockets so I got and labeled a full replacement harness for testing Tried dry fitting it together while referencing the FSM wiring diagram but came up short on a few connections, with not much info after some digging but im sure im just overlooking and or missing something. To speakers? Din plug on the amp, I don't have a wire but even if I did im not sure if it goes to the deck or radio I found these pictures online from a listing and it matched the amp i was told came from a rx7, which im wondering if it was actually an option or just an aftermarket part?
This is how the center stack currently sits. Once I find the missing info on the stock stuff I will finish the swap. If I could find a deal on a Clarion M508 radio im going to install that in the meantime and maybe fool people and tell them its stock haha
Last edited by NathanBoutin; Sep 10, 2023 at 07:54 PM.
Okay I know I know, "if it ain't broke, dont fix it" but the carb to my knowledge was never opened or cleaned and was visually dirty but was starting and running perfectly. So i opted to just disassemble reseal and reassembly. Had to get a little custom with the upper most paper gasket and was a dummy and scraped the permanent gasket on the plastic spacer plate off *face palm* so I ordered another one of those to wrap it up.
I was always pretty intimidated by the "rats nest" because like i said, if it aint broke.... but having it out of the car and right in front of you makes it easier so i went ahead and replaced all the aged and brittle Vac. lines
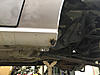
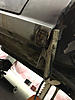
So now its getting good fueling, i went for install pt.2 5 years later on the full Racing Beat Street Port Exhaust. This just consisted of new manifold hardware + gasket and new/proper mount/hangers where needed. Exhaust and Trans Out (ill explain the trans) Who told me to put sealer on the exhaust manifold..you can see clearly where it leaked Cleaned and installed (trans lookin good too..im getting there) First hard mount to the trans. 1st rubber hanger on the mid pipe pretty sure its from my subaru.. had to make a extension for the 1st hanger on the muffler section 2 new OEM rubber hangers at the very end of the muffler not pictured..but i forgot to put the muffler heat shield in so that will be in the "to install" pile for awhile longer
So installing the rebuilt 88' RX7 Transmission really wasn't the best idea. The longer/taller ratio made the car feel so sluggish and borderline unenjoyable to drive. So I did some digging in my parts pile (mountain) and reassembled a trans for my 79' using an 81' Bellhousing and gear Box, Custom gear selector rod fingers/ends, and a 79'-80' tailshaft. This too was no overhaul, just a reseal, assembly and install. Also took this time to swap out my broken speedometer cable which now bounced around a ton but greased the wire and seemed to smooth out. Here we are again..
Changing back to a 1st gen box completely brought the car back to life. Foolish on my part but hey you live and learn


 also sorry for the late response