When you click on links to various merchants on this site and make a purchase, this can result in this site earning a commission. Affiliate programs and affiliations include, but are not limited to, the eBay Partner Network.
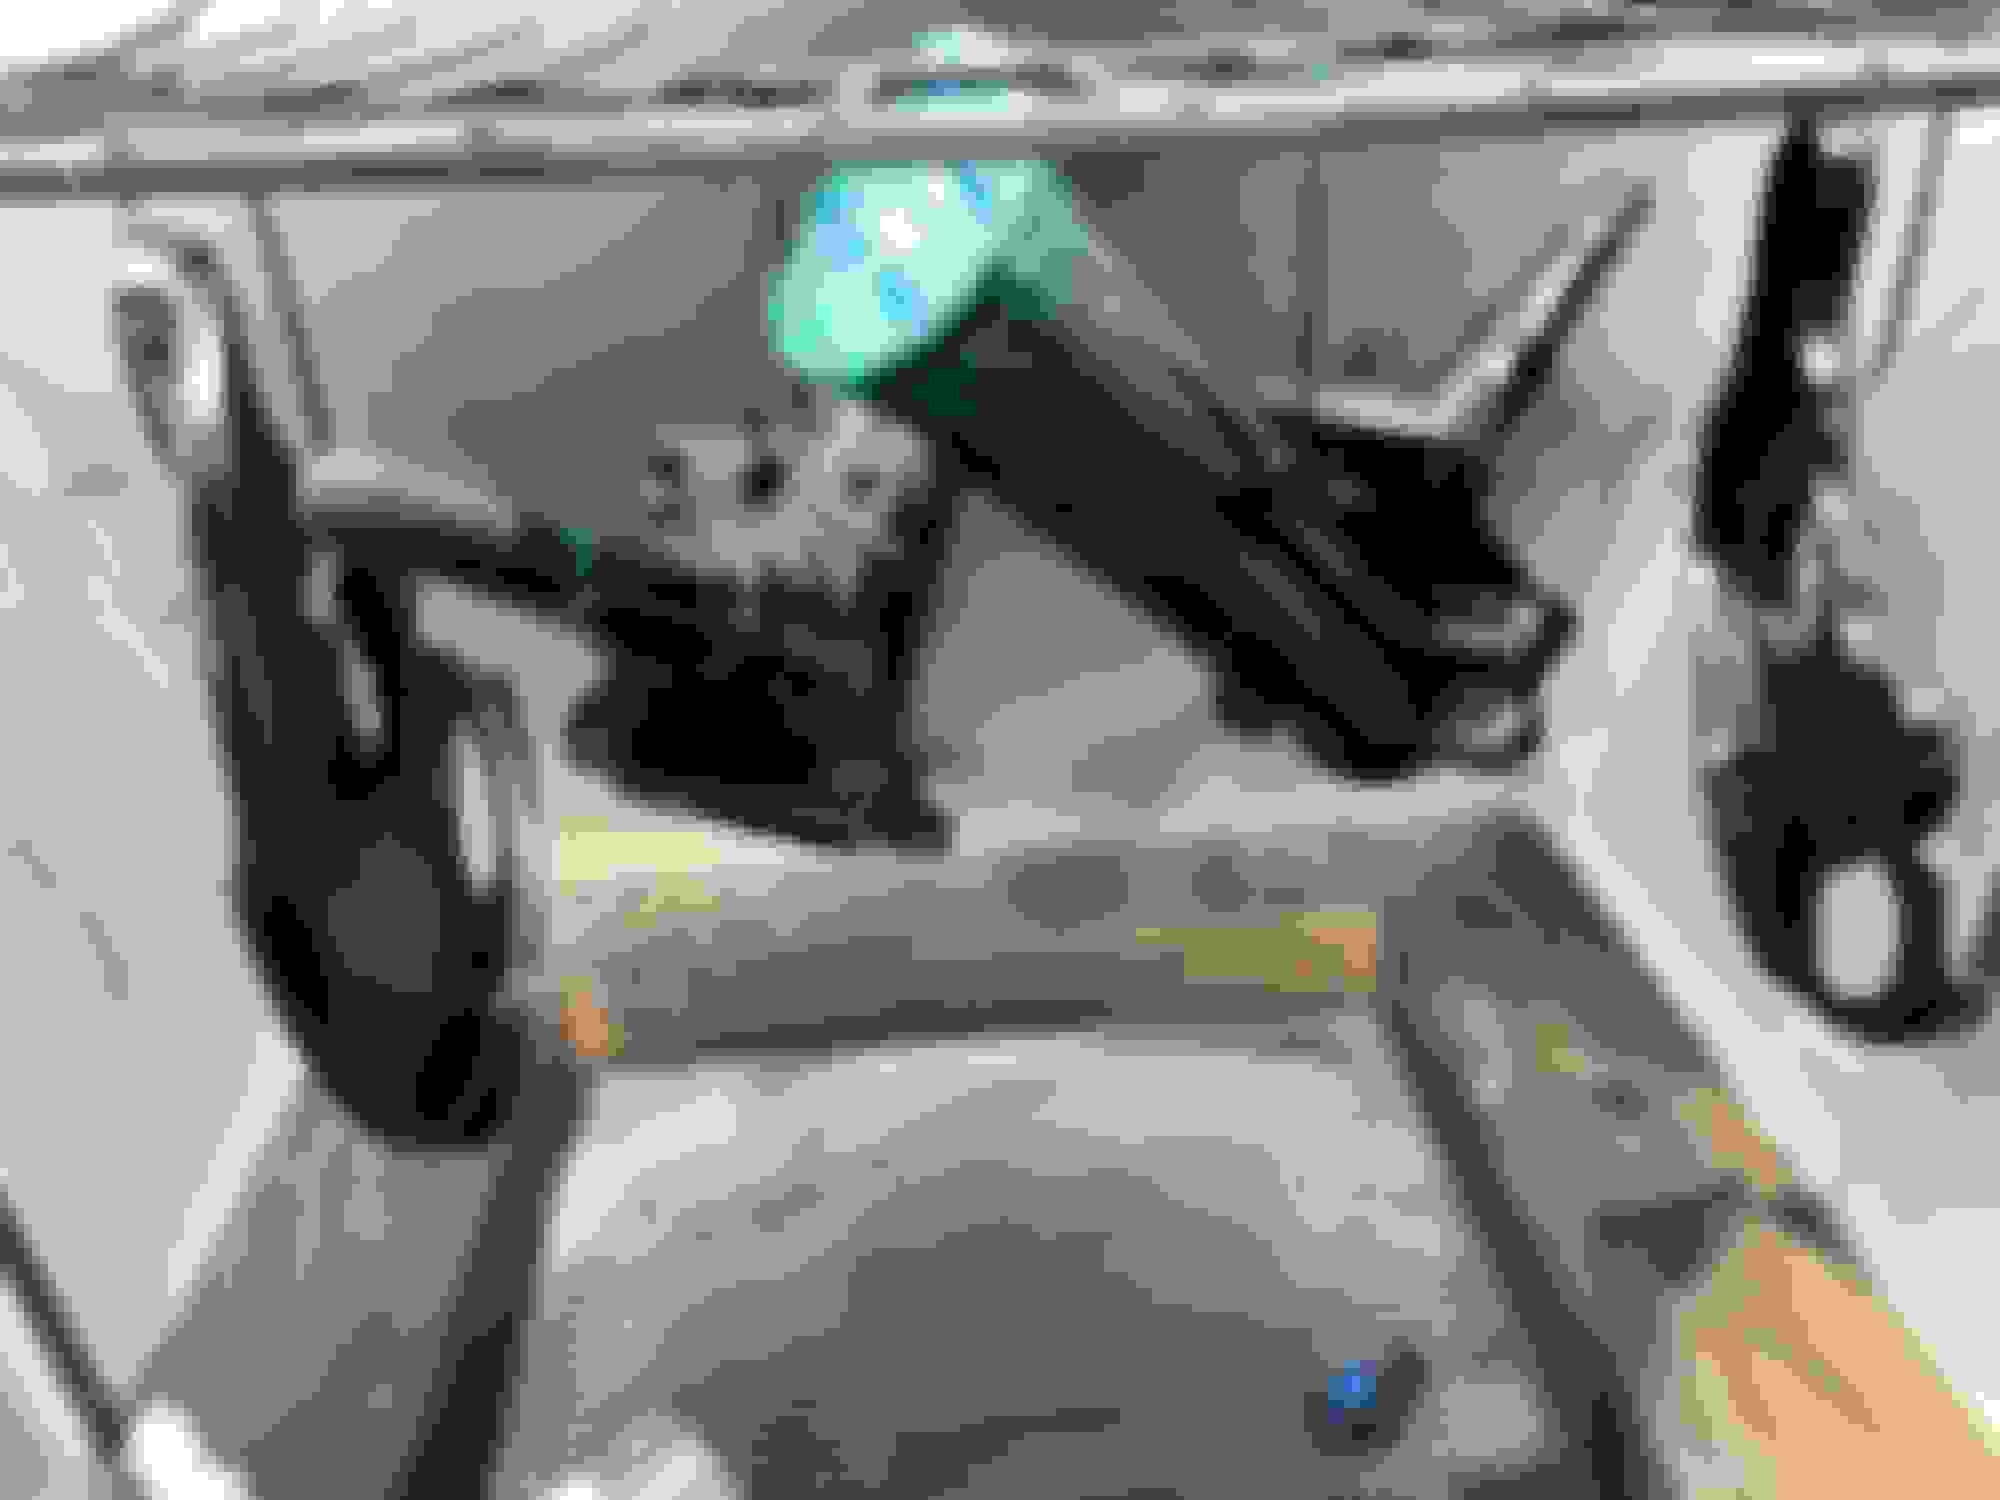
There's a few things im willing to make an exception on being not original, one of those being the points ignition. This stemmed from me trying to set timing using the points dist. and learning the system relative to electronic, was "unreliable"
There's a lot of info out there on the topic so ill just add what i did a bit differently.
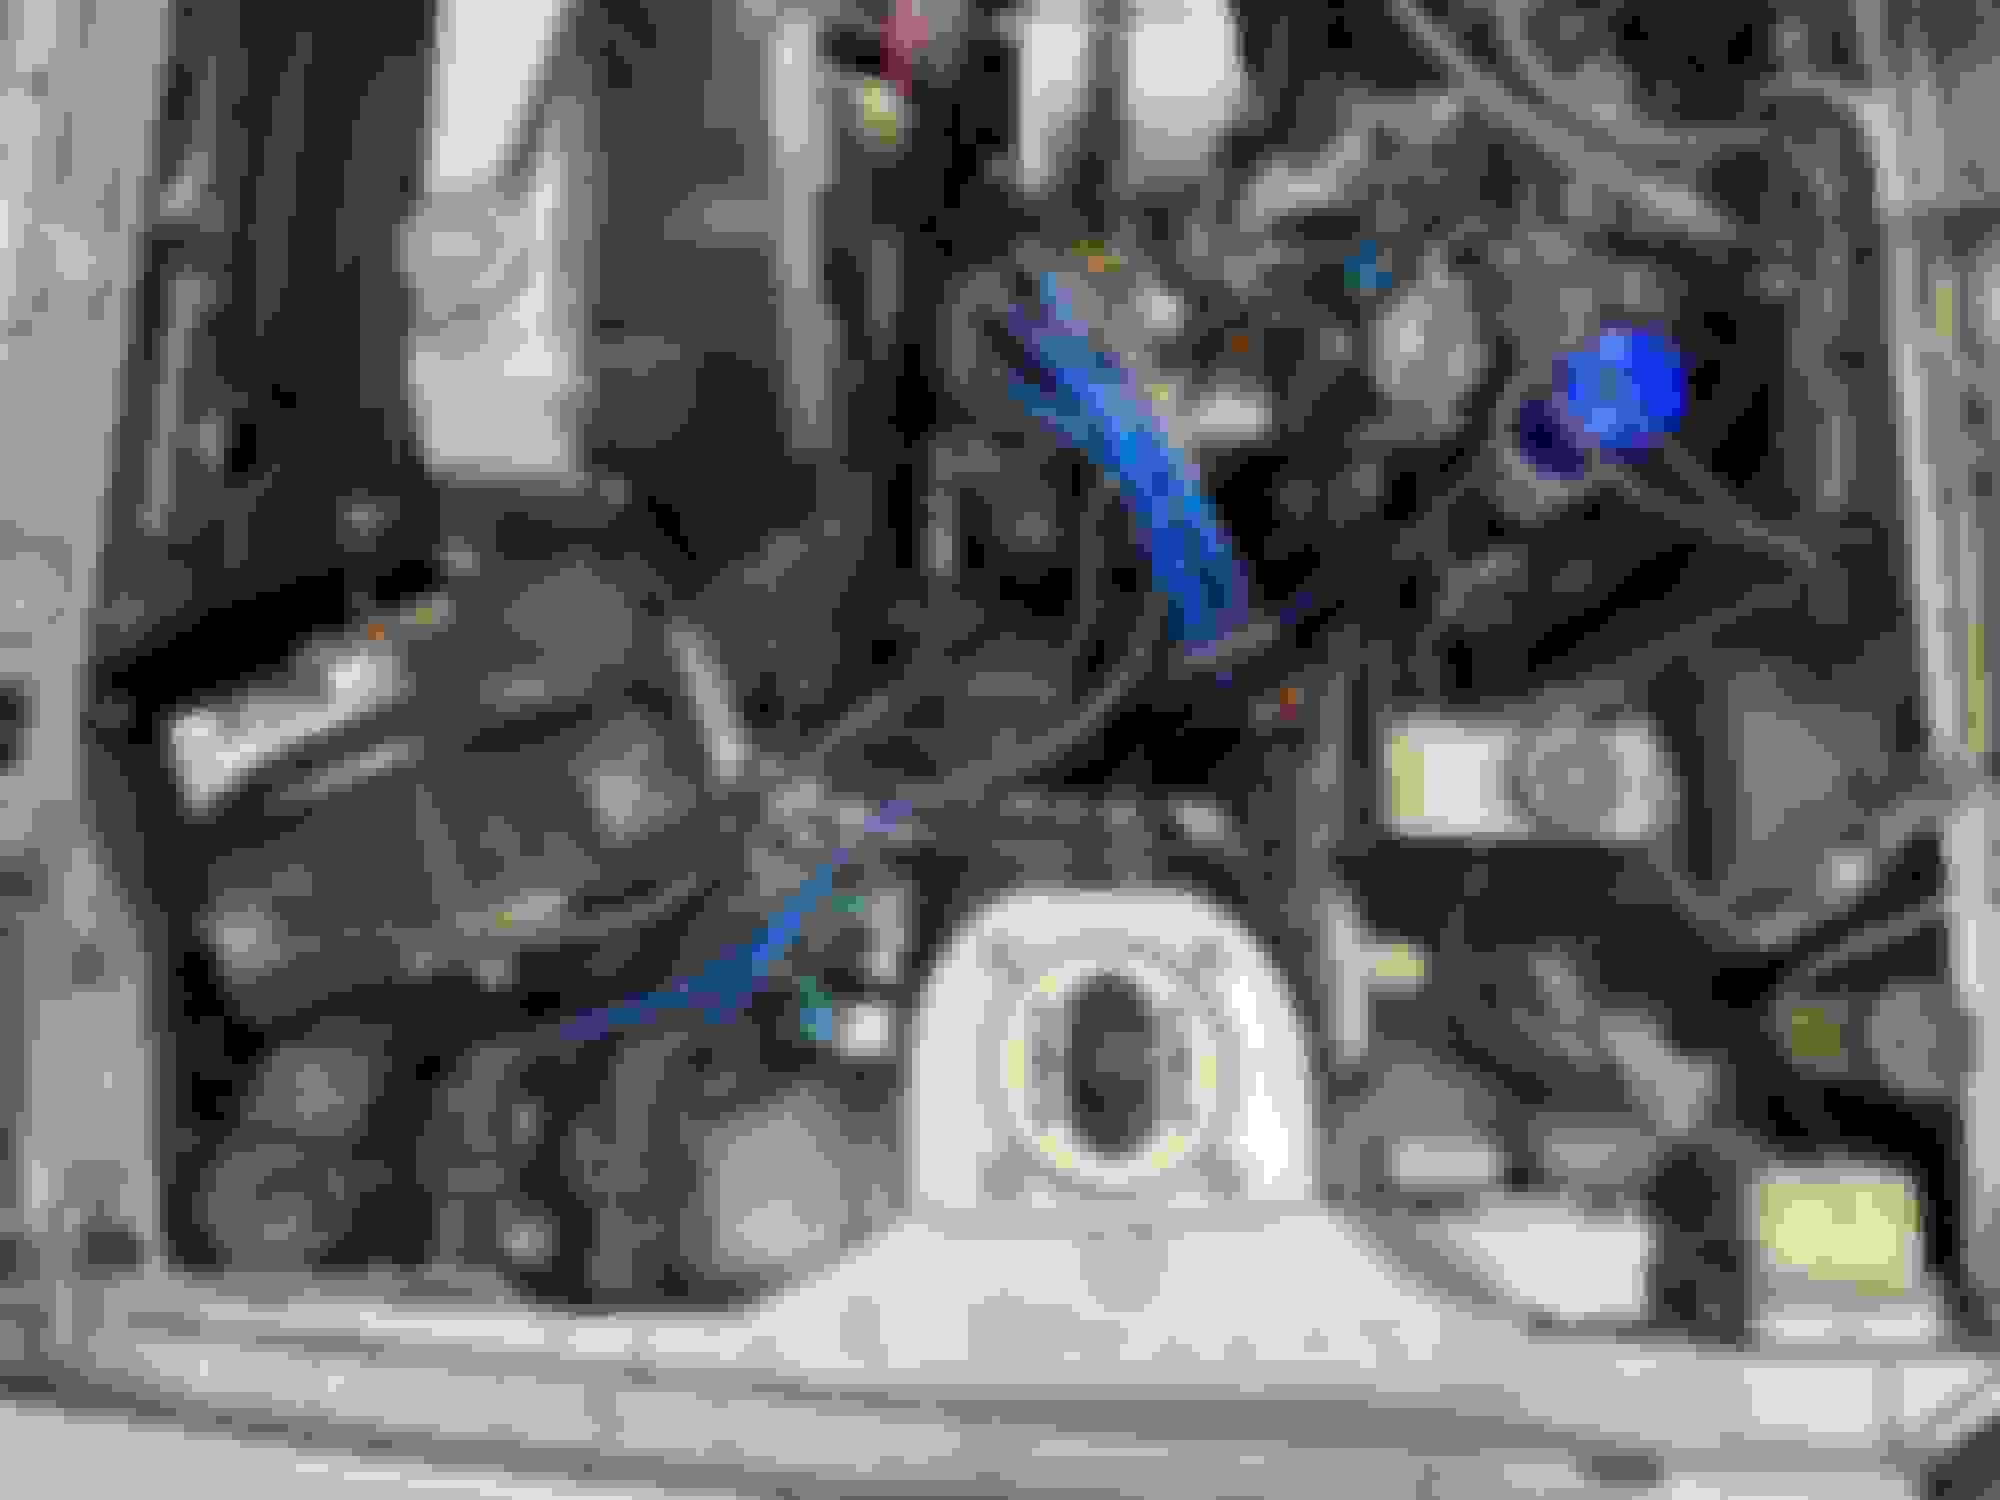
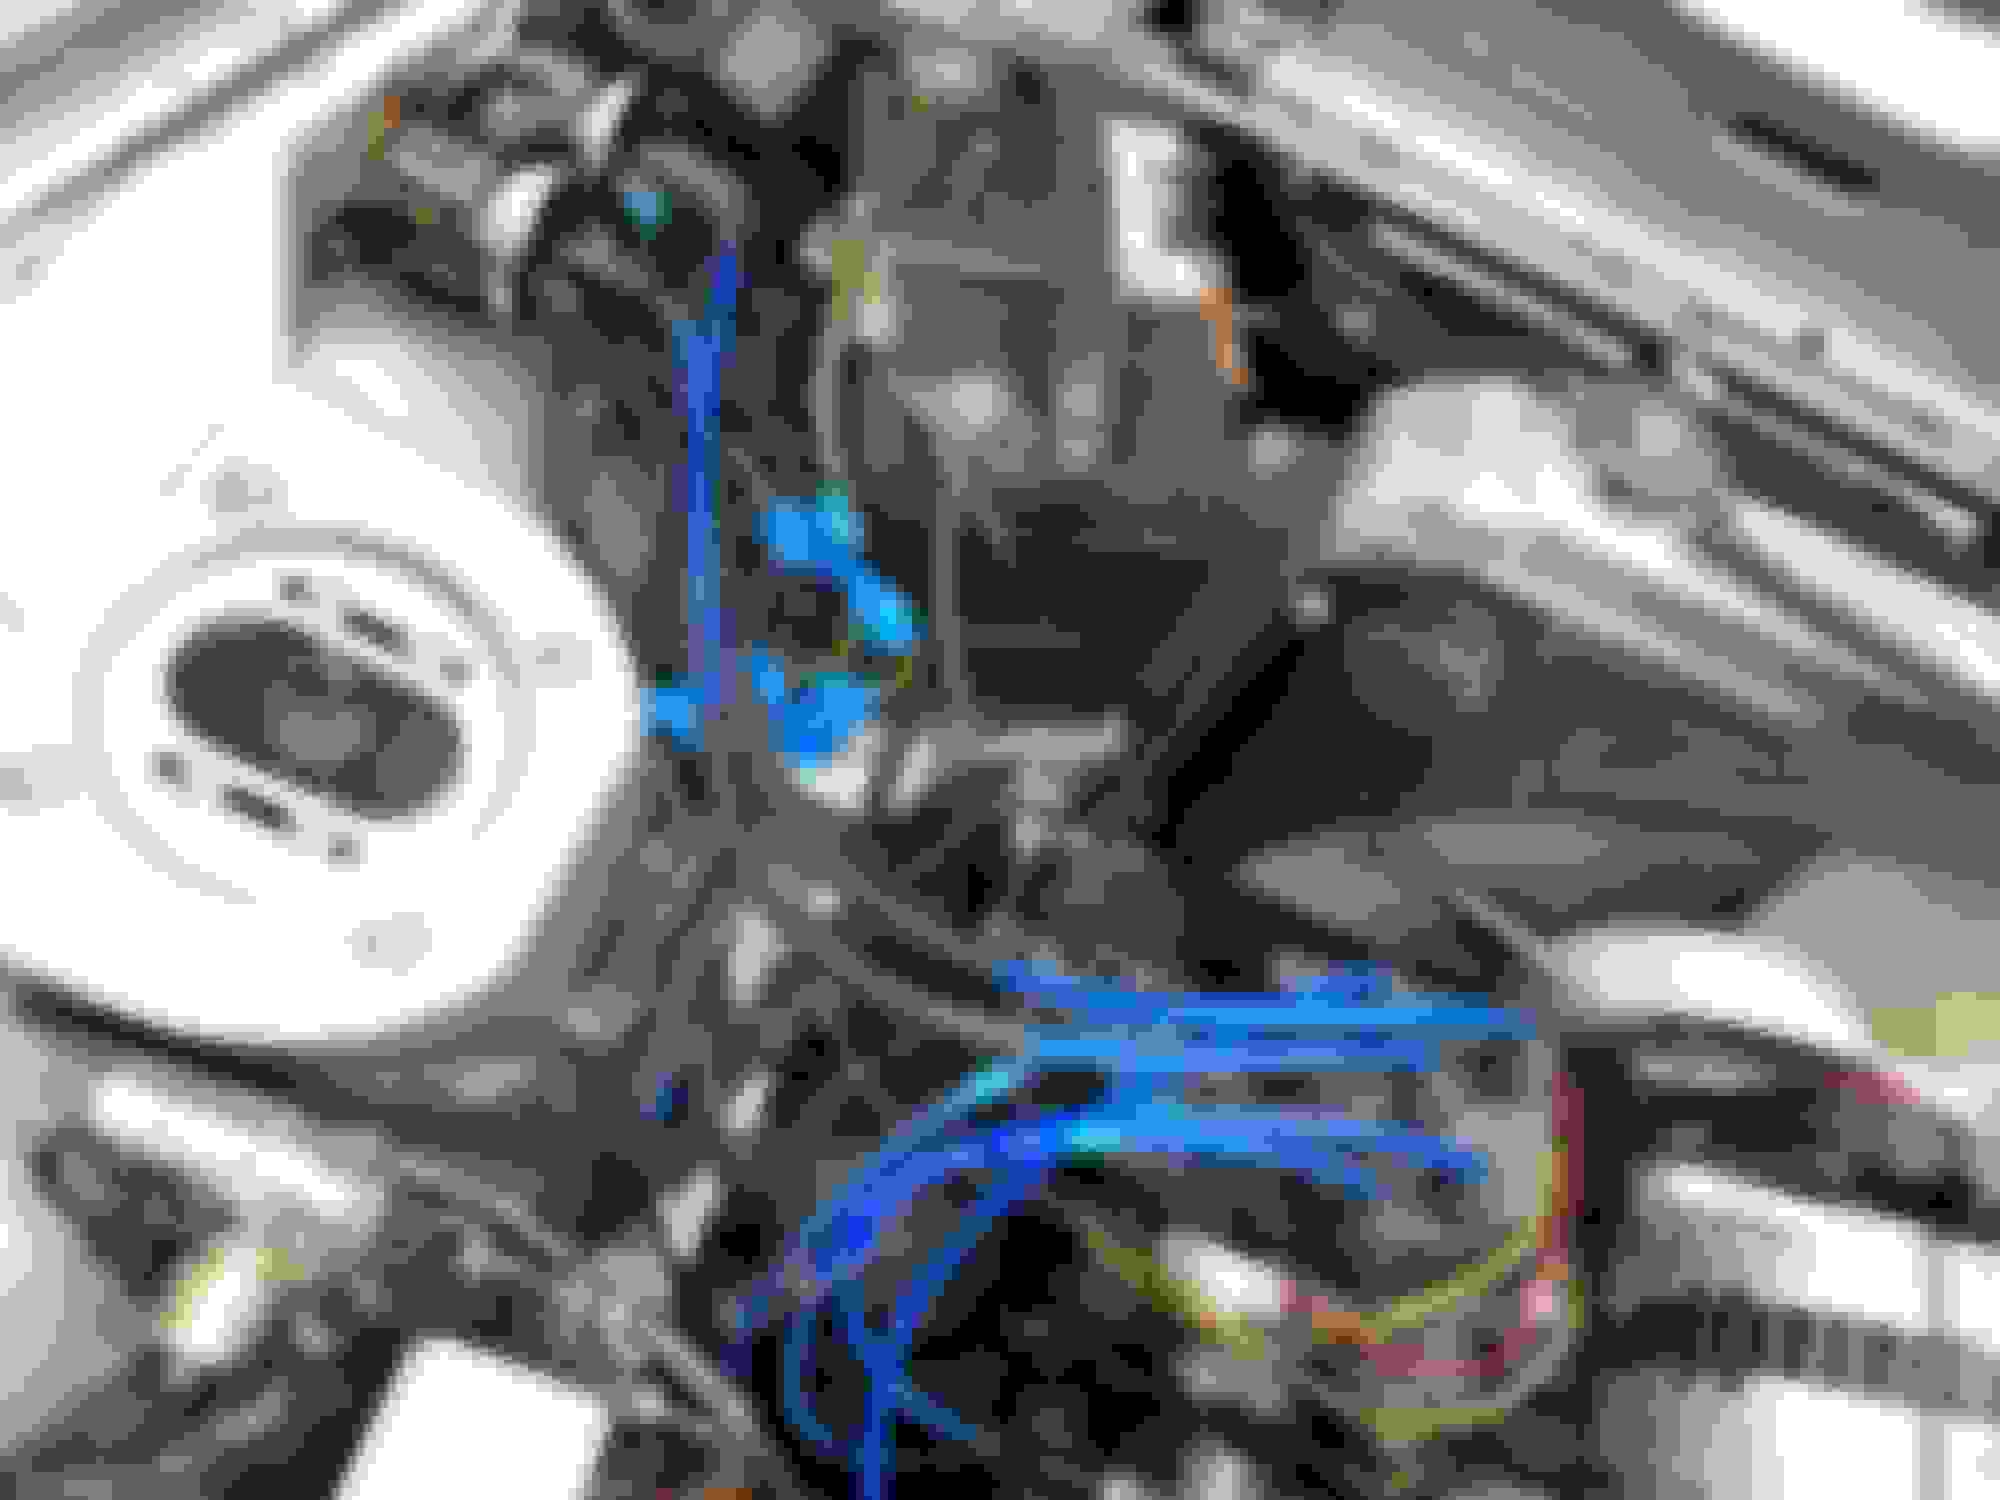
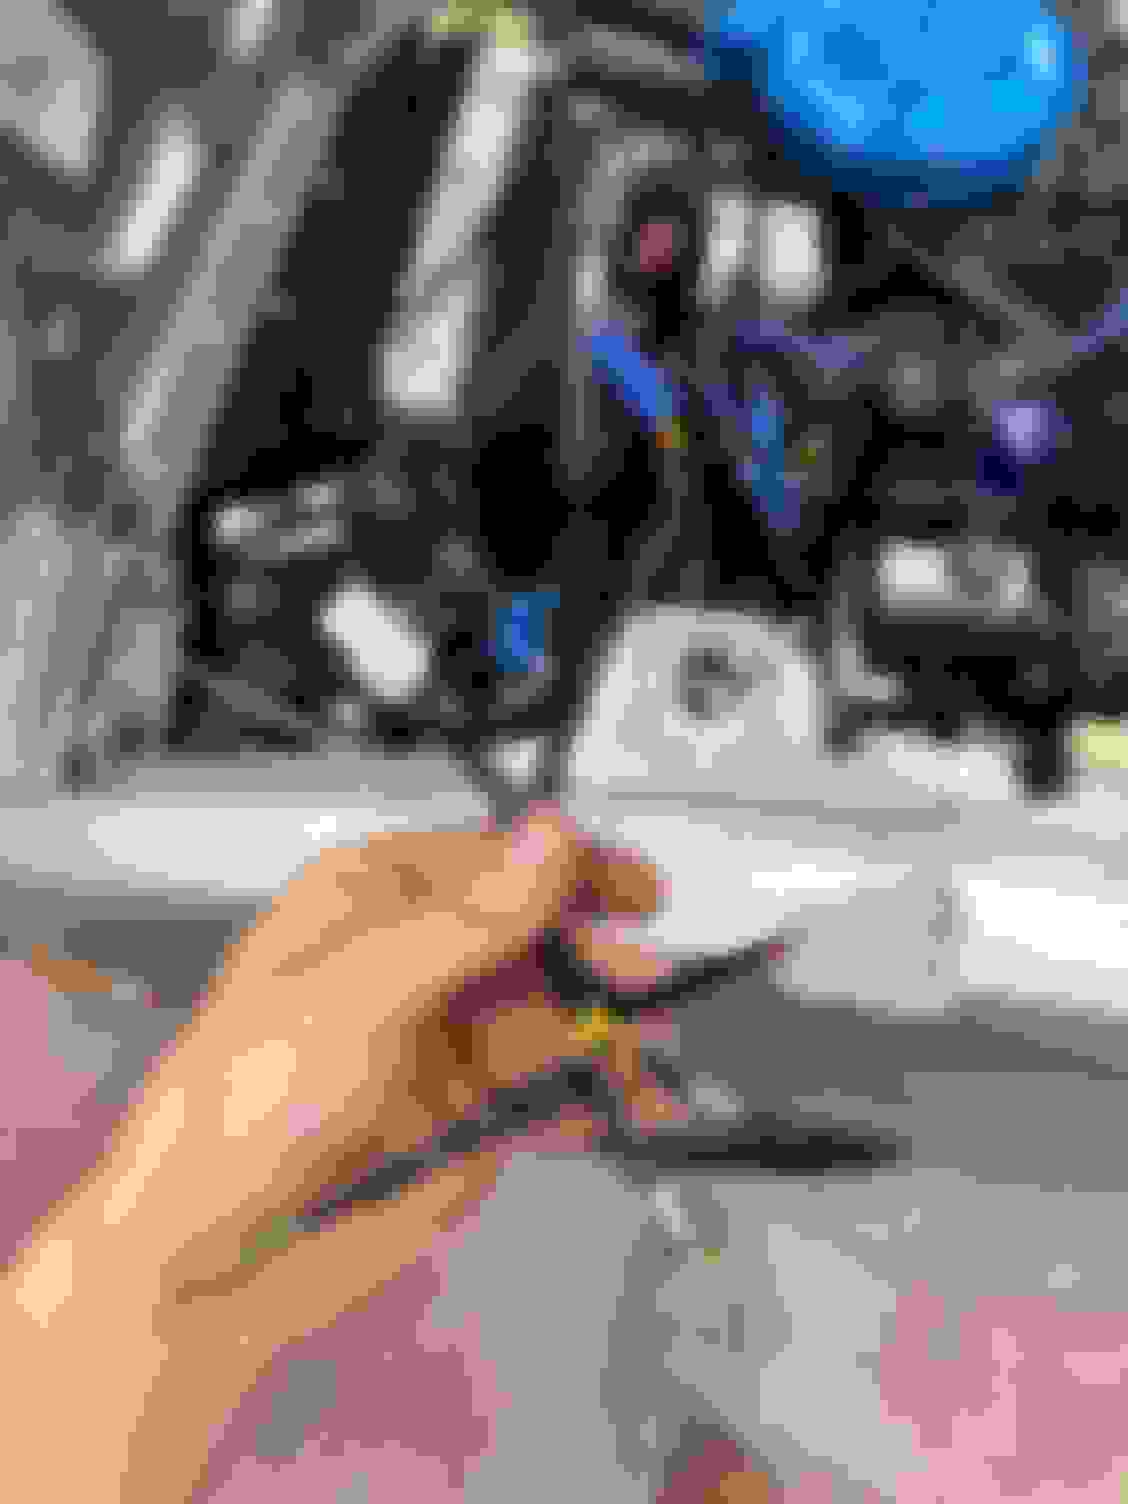
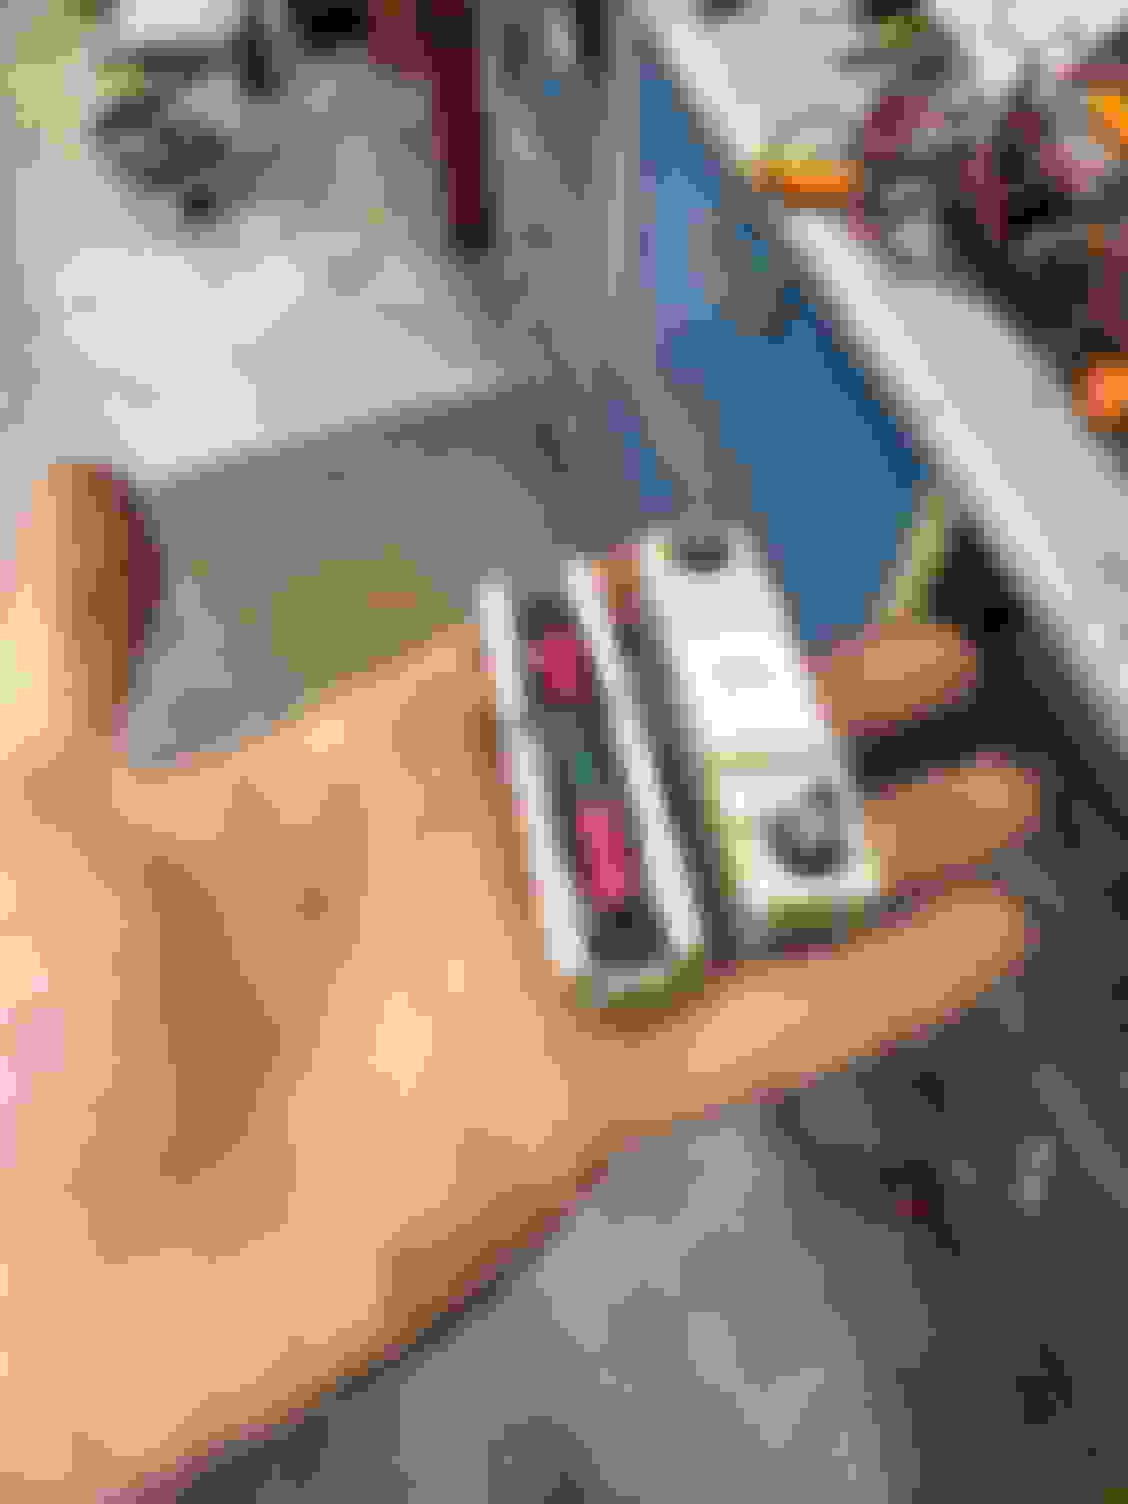
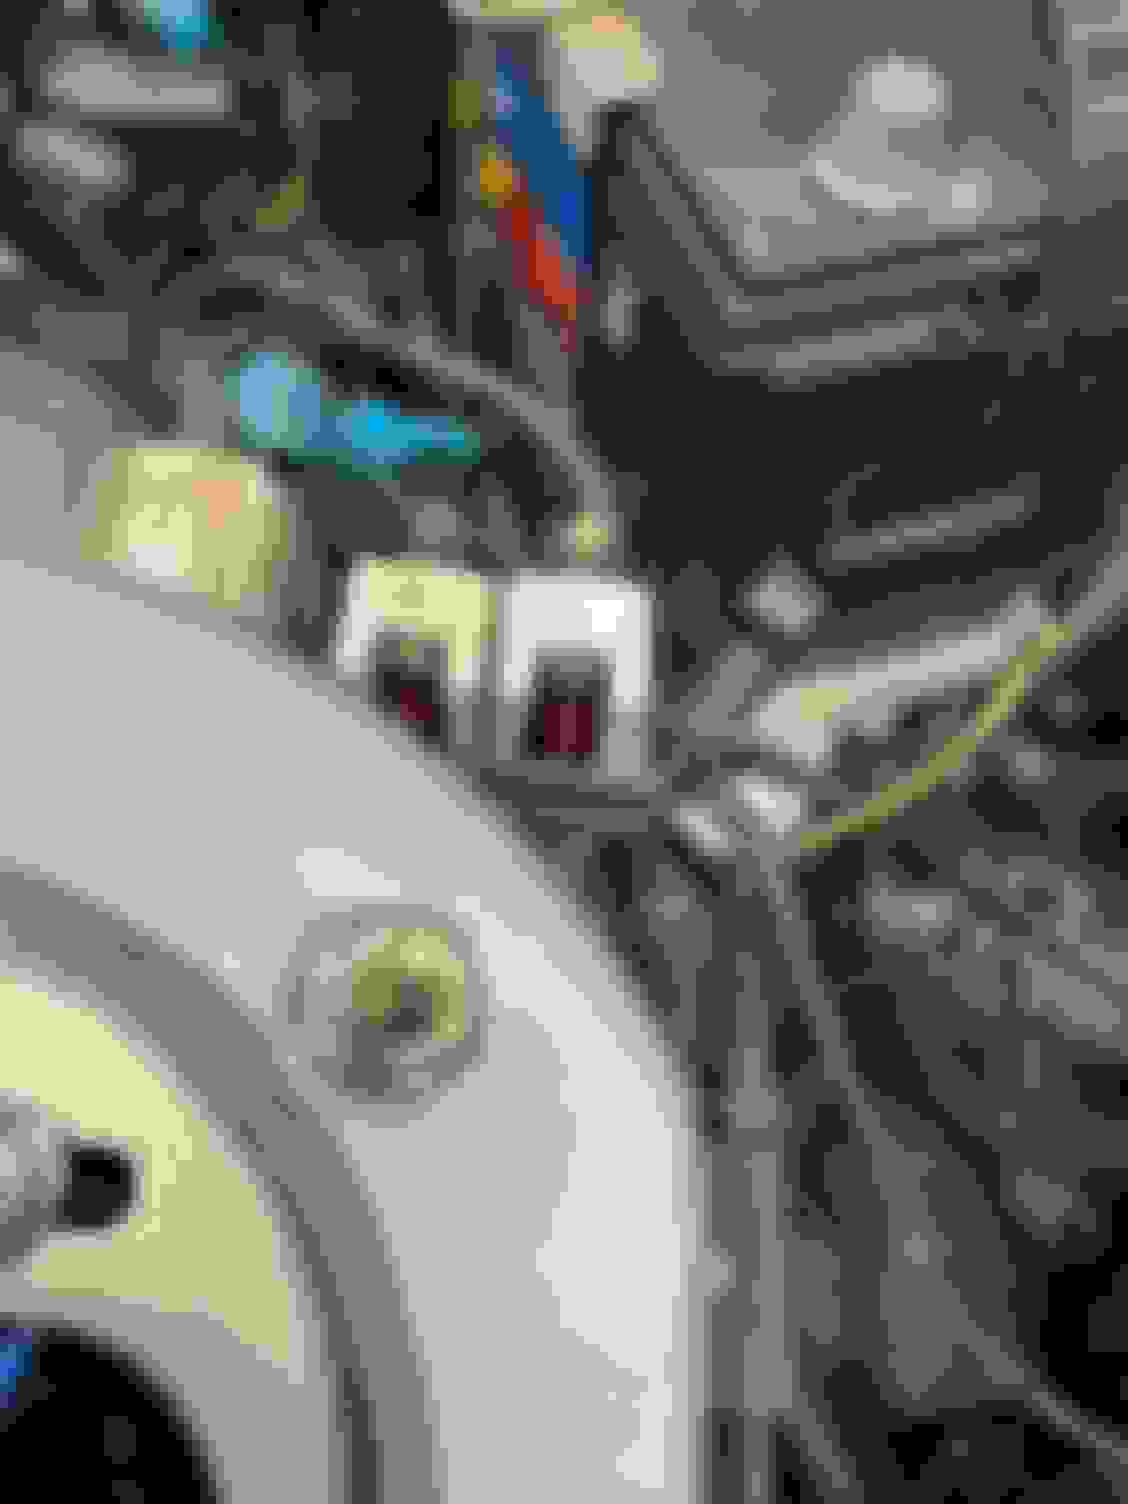
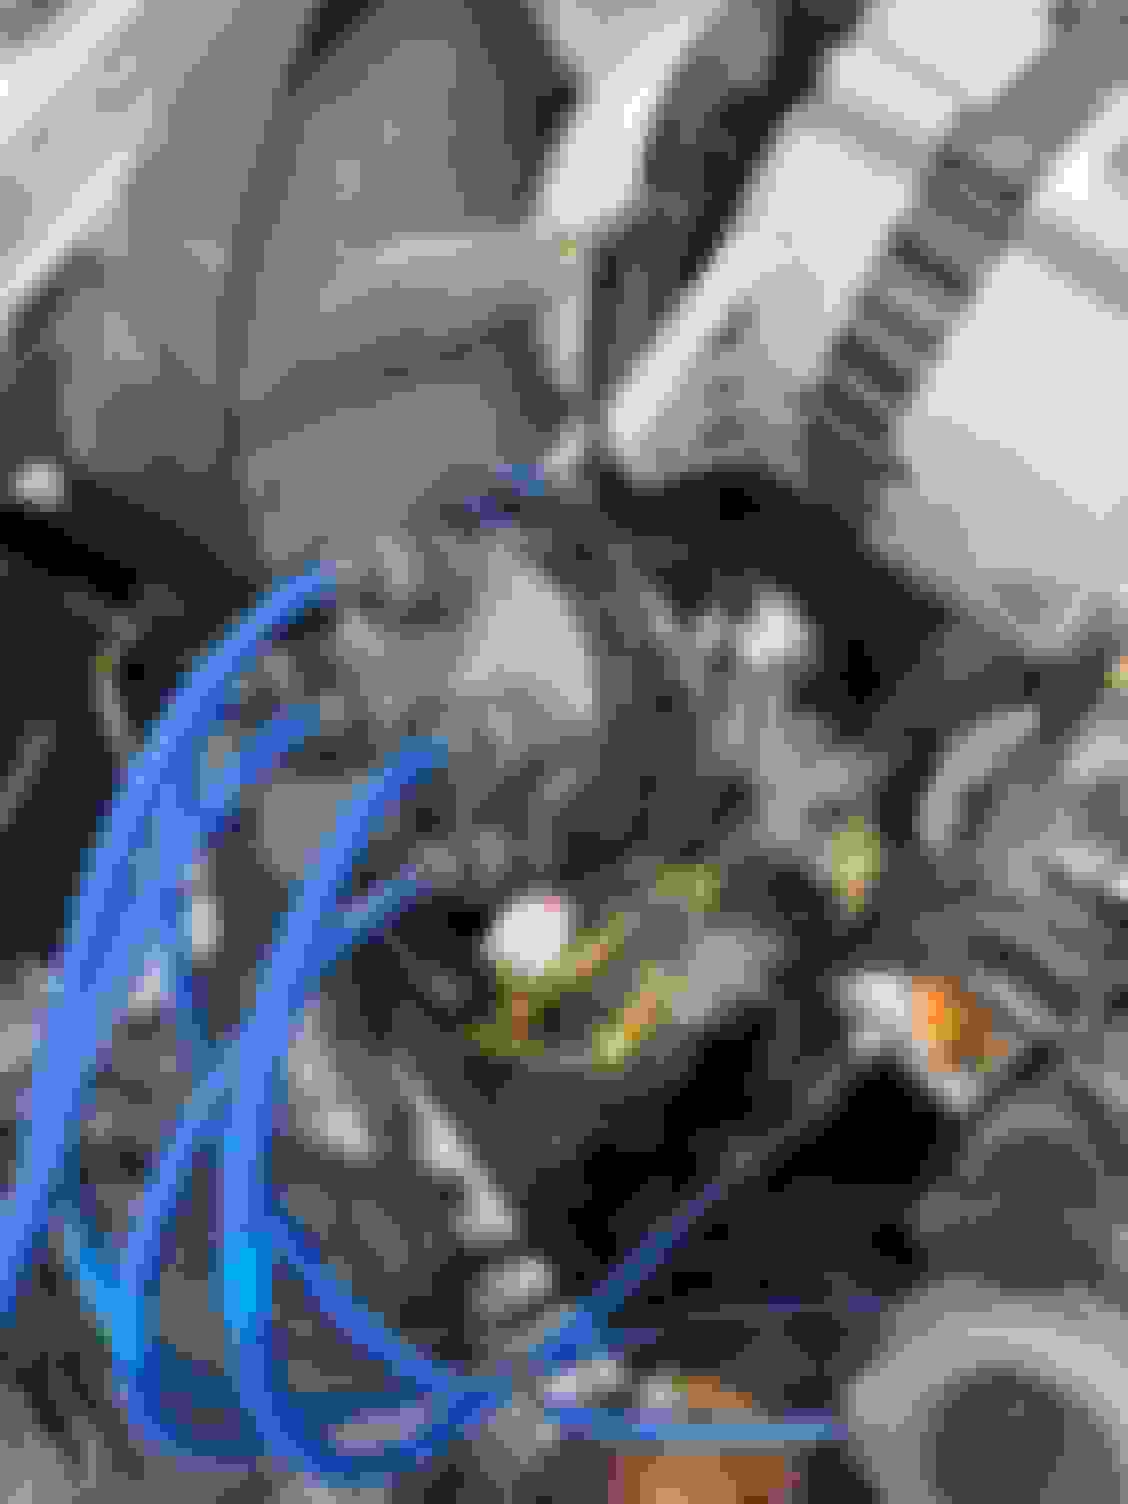
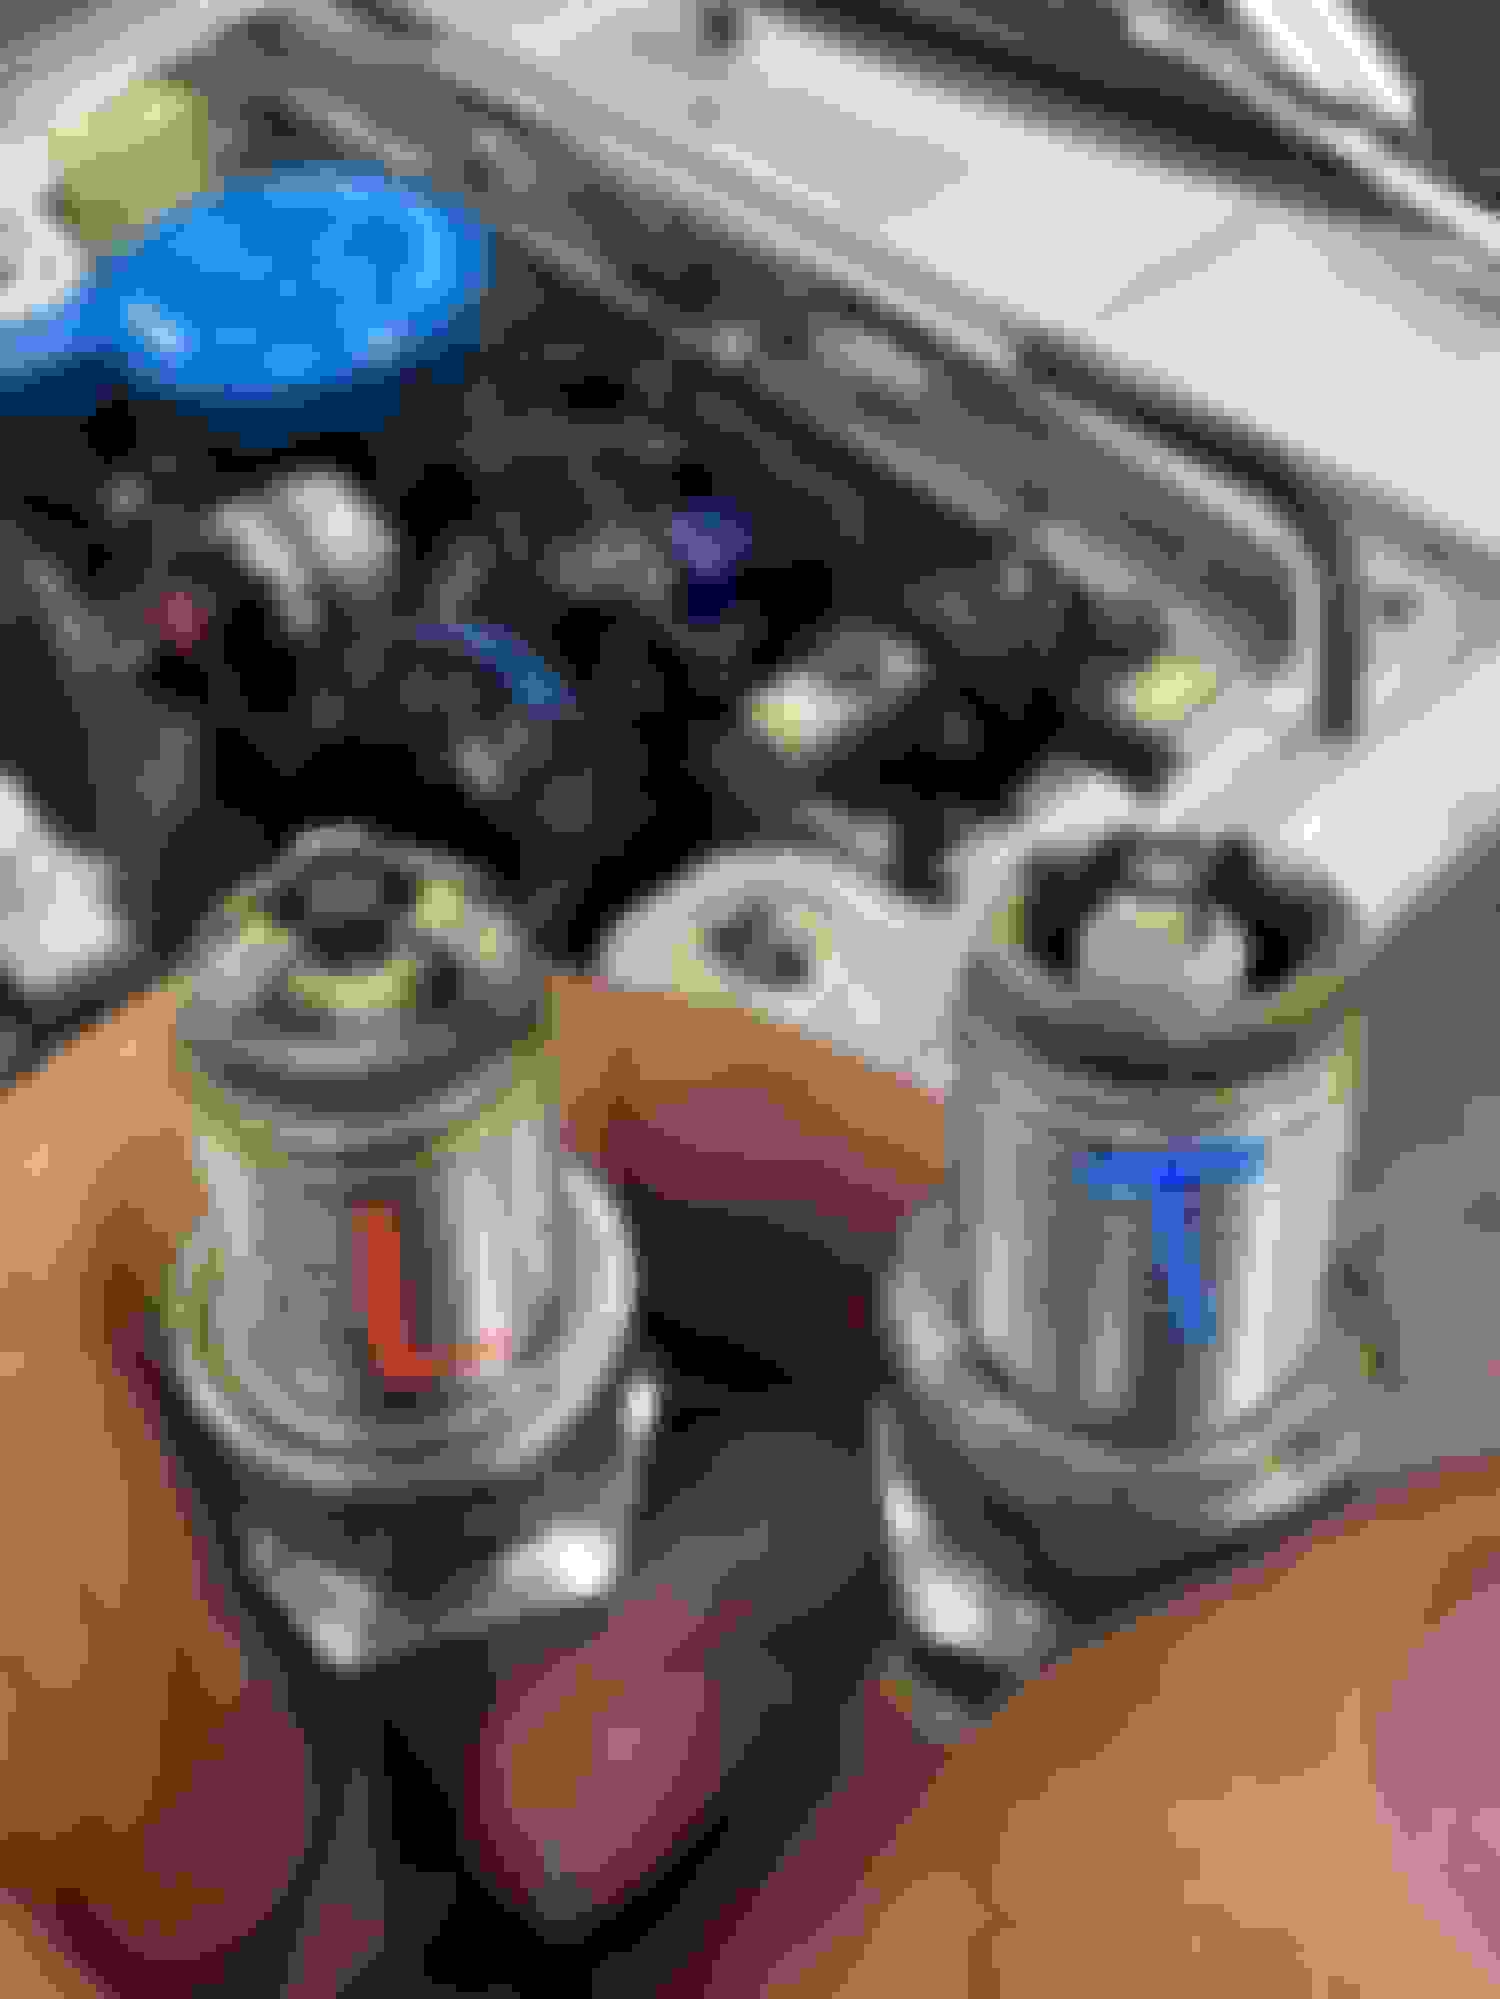
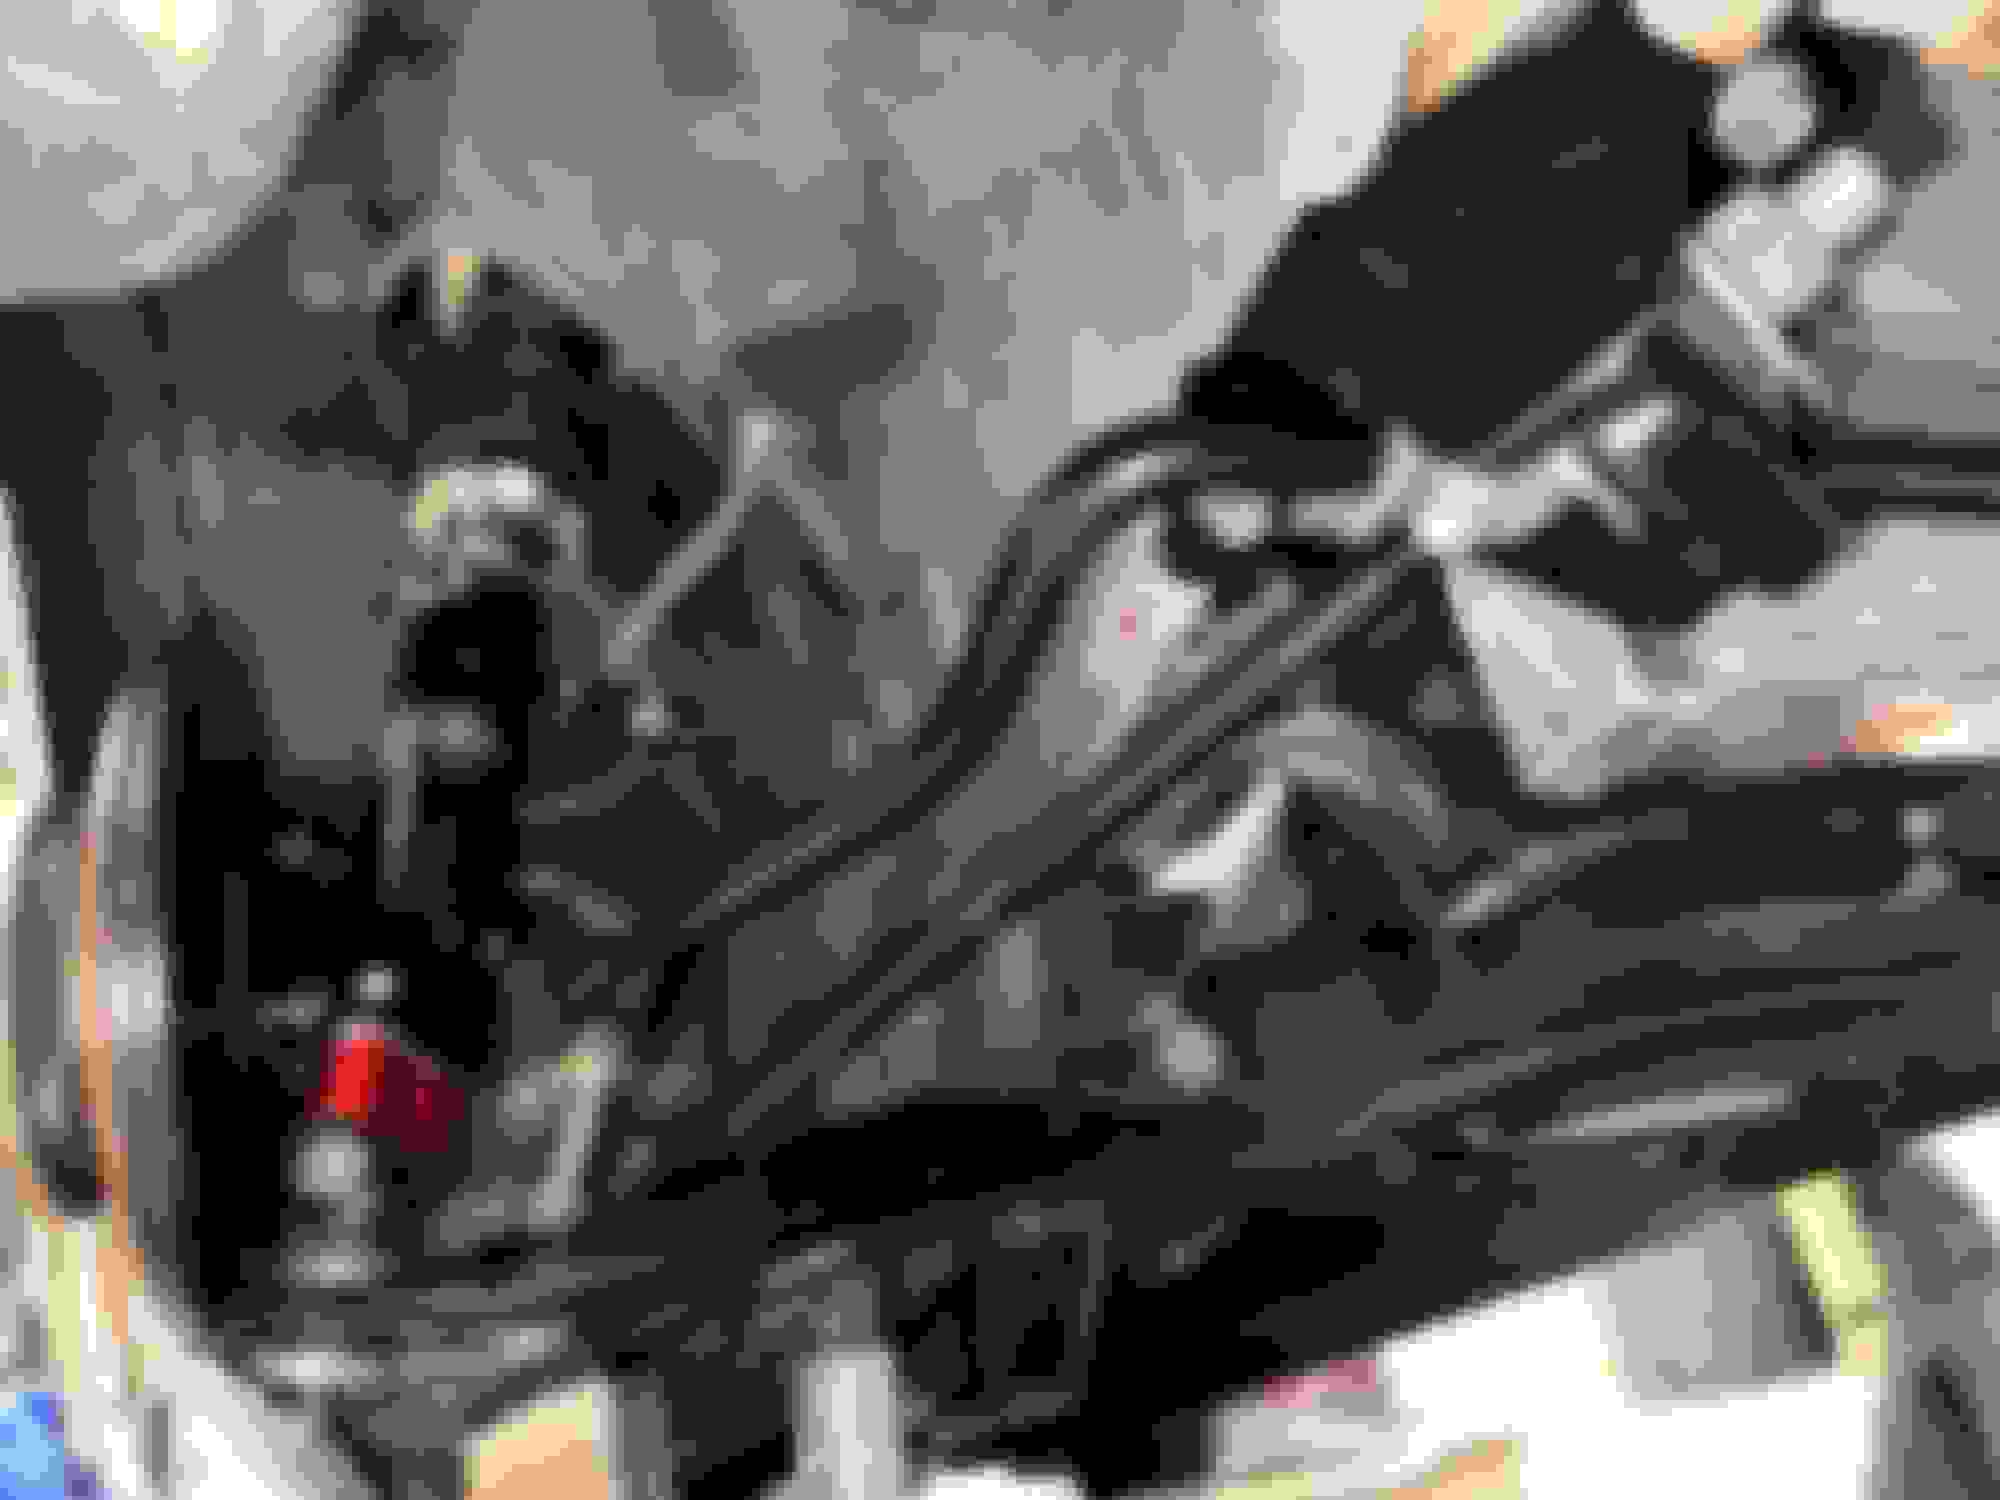
The main goal was to keep it LOOKING stock. No rouge colored wires, extra boxes, brackets ect...I esential just reused the entire stock wiring system, gutted the resistors for the coils and jumped them out internally to maintain the factory ring terminals. i then just repinned the stock distributor signal wires and added the two extra wires and loomed it up (or something like that) Before with stock points distributor testing it out Part store 12v coils my custom harness with OEM plugs gutted the resistors to maintain the 12v Shhhhh they will never know All finished up Bad photo angles but it looks and runs great but most importantly timing adjustment are consistent now and spark is strong.
So now with the Fuel and Spark right on the money the car is running like new. With that said, i'm not to familiar with how the plugs should REALLY look but i think its running lean. These were new plugs after 50-80 miles
So after the initial front suspension install i neglected to paint or powdercoat alot of the front suspension components. So having reign on the garage for a few weeks again i took advantage.
Post-Sandblaster Gloss Black Powder coat Post coating
Finished up buy reinstalling the fender liners and scheduling an alignment
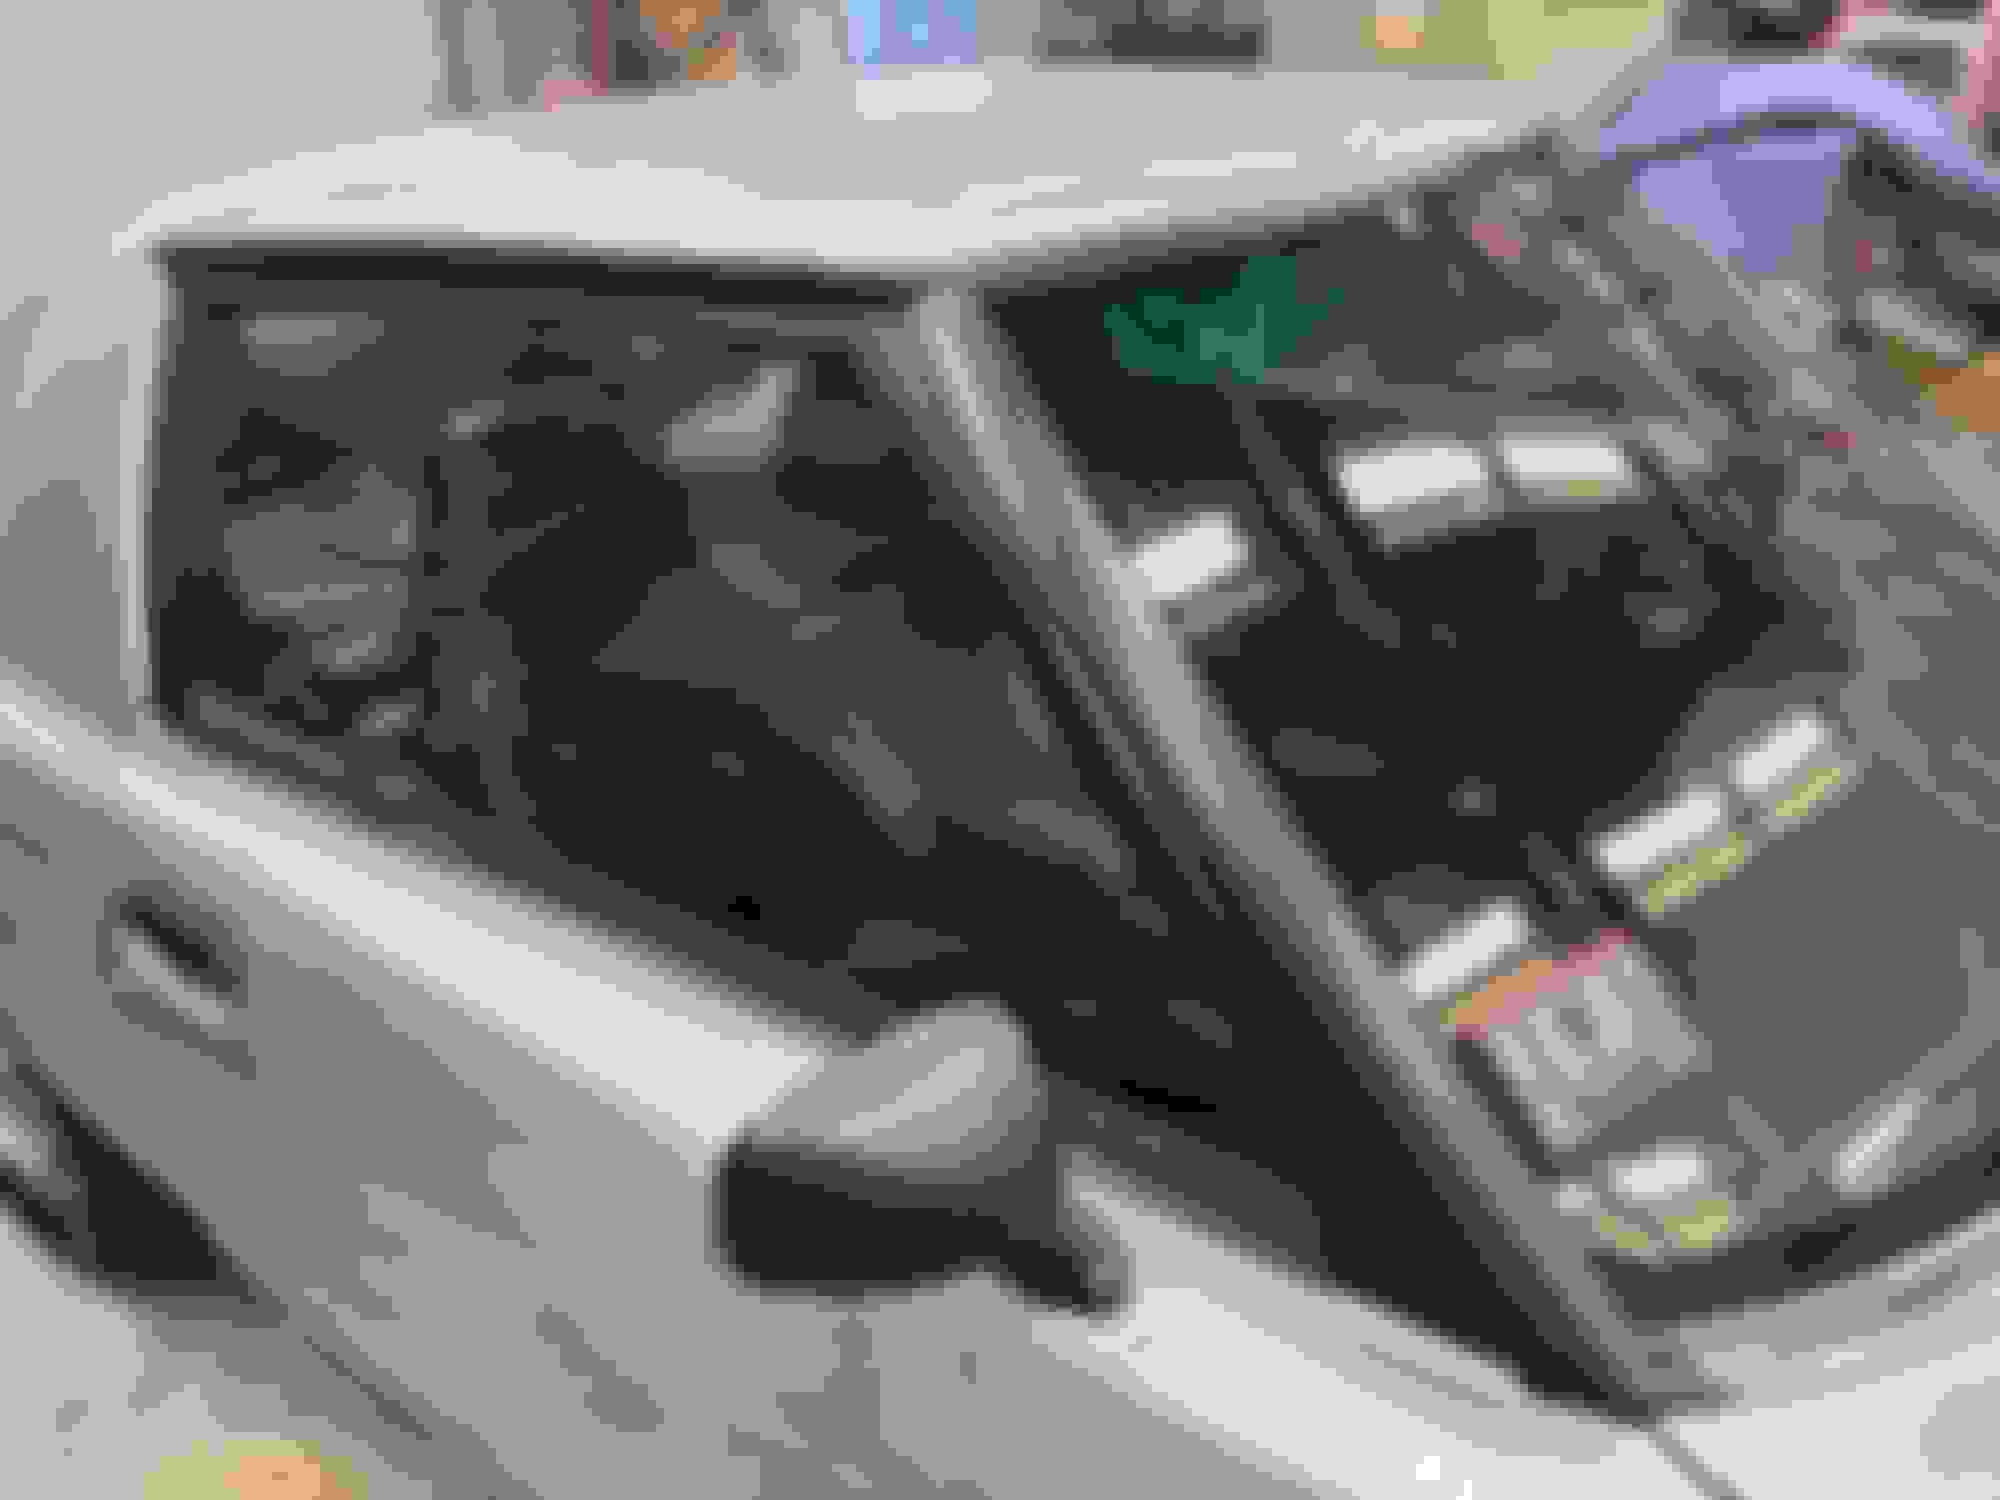
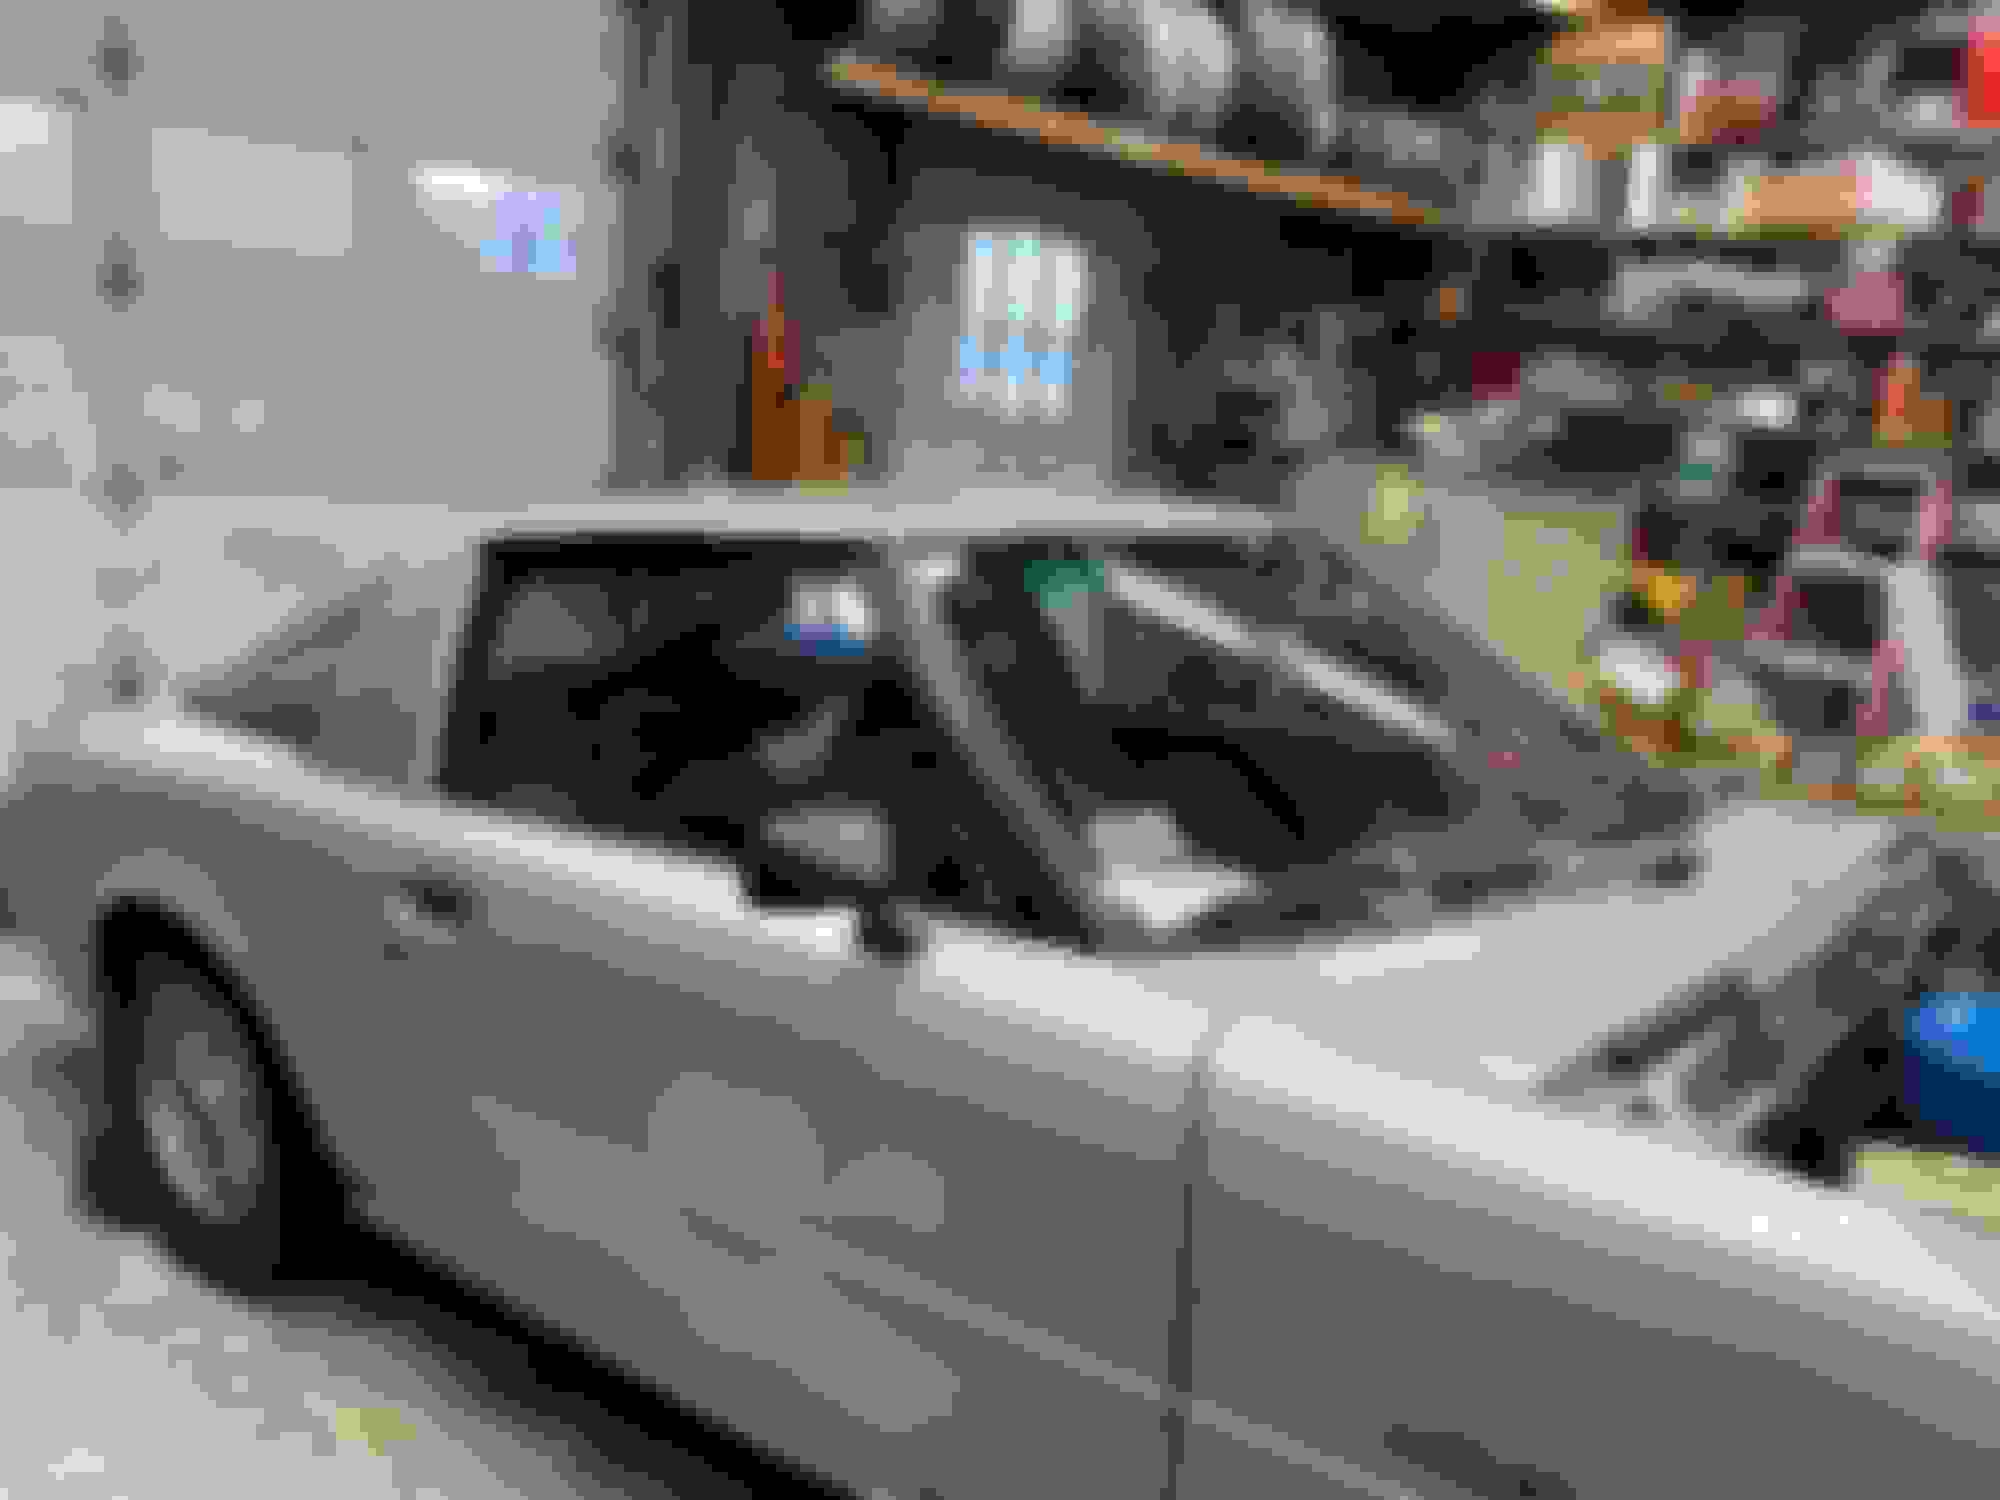
The paint chiped trim around the windows had its run but it was time to get fixed. i used walnut blasting media to clean them, then painted with SEM Trim paint
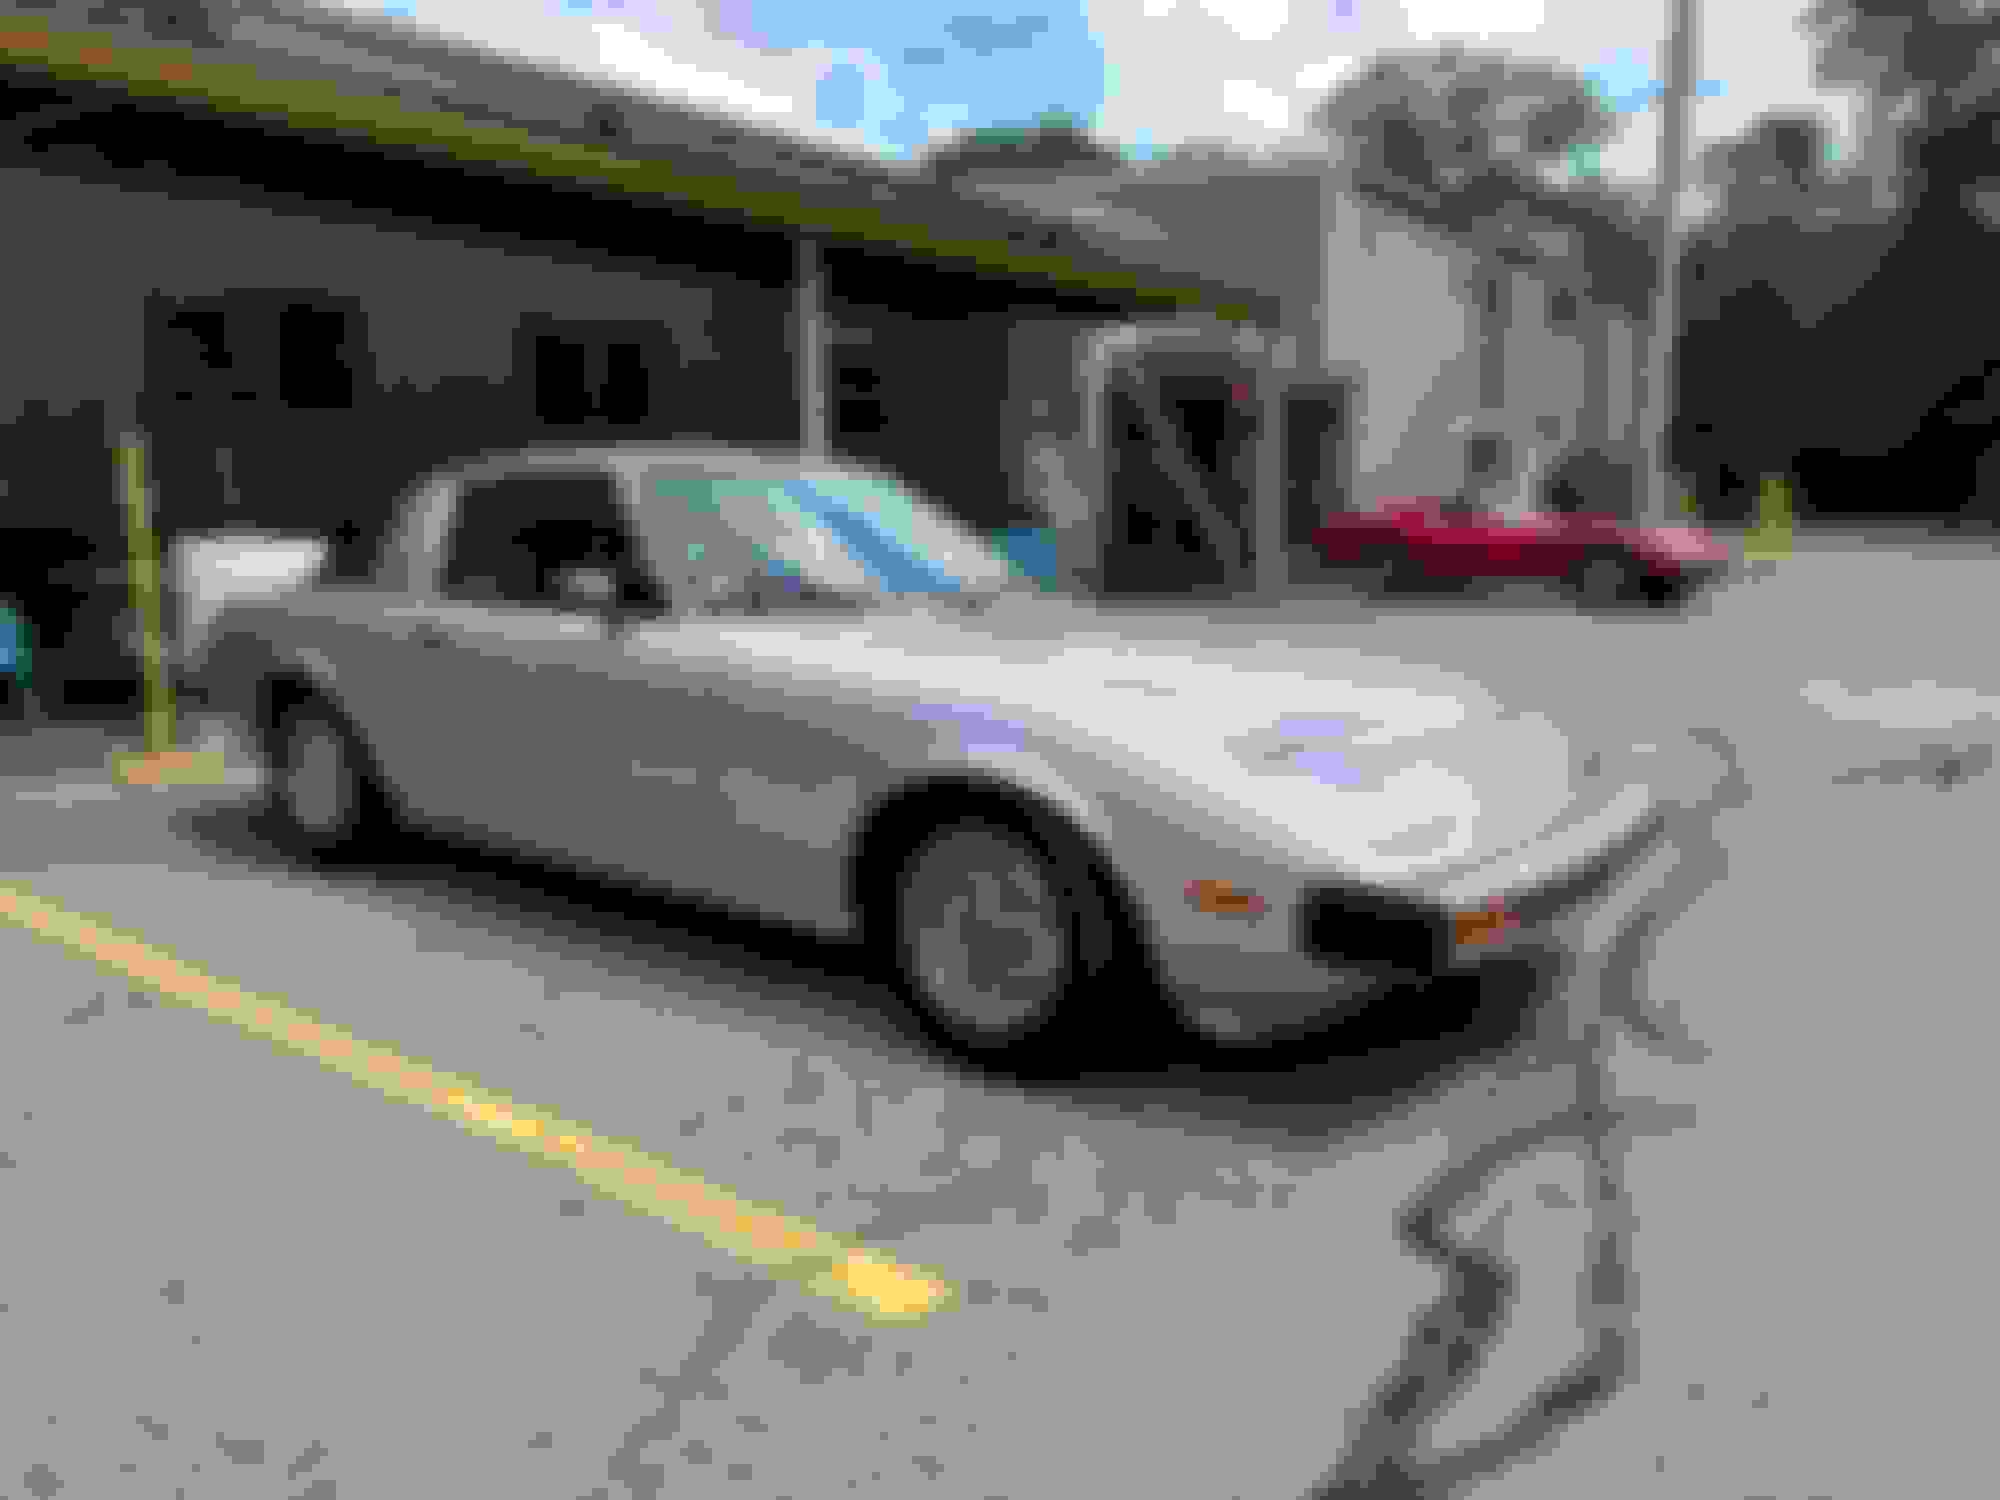
Thanks! The coilovers are awesome, totally changed the handing and feel of the car for the better all around. the only "issue" i've had was running the car at max low in the rear would cause the rear suspension to be audibly unhappy and bind the T3 drop brackets in the rear help with this but not compleatly. raised it up and inch, match the front to tthe rear and it rides and corners awesome. its current ride height
Last edited by NathanBoutin; Sep 11, 2023 at 07:29 AM.
That's good to know, they seen well liked by everyone who has gotten them. I do wish they were cheaper though. You car looks awesome at that ride height.
Great job on your car. I like that you're keeping it true to original. For future reference, the trim color in 79 was more of a metallic grey. Wasn't until 1980 they used black. The 80 trim is on top in the picture and mirror on the left. 79 trim / mirror are on the bottom and right.
Also, a good method to refinish the windshield trim is to use a vinyl wrap instead of painting...no need to remove the trim and break the little plastic clips. And it's more durable to the little stone assaults compared to paint.
Great job on your car. I like that you're keeping it true to original. For future reference, the trim color in 79 was more of a metallic grey. Wasn't until 1980 they used black. The 80 trim is on top in the picture and mirror on the left. 79 trim / mirror are on the bottom and right.
Bahhh�glad I know now but bummed I was off on color because they were tricky to remove/install. Also learned in the process original 79� windshields have a brown sun shade, mines blue but I don�t think I can change that haha. Thank you for the info
Also learned in the process original 79’ windshields have a brown sun shade, mines blue but I don’t think I can change that haha. Thank you for the info
My original 79 I bought new has a Blue tint at the top. I think yours is the original. I've also saw green and the brown you speak of. For some reason, I always believed that the brown didn't come until later on the FB's. Also, the tinted windshield was a GS thing. At least on the SA's. The S models had plain, un-tinted windscreens.
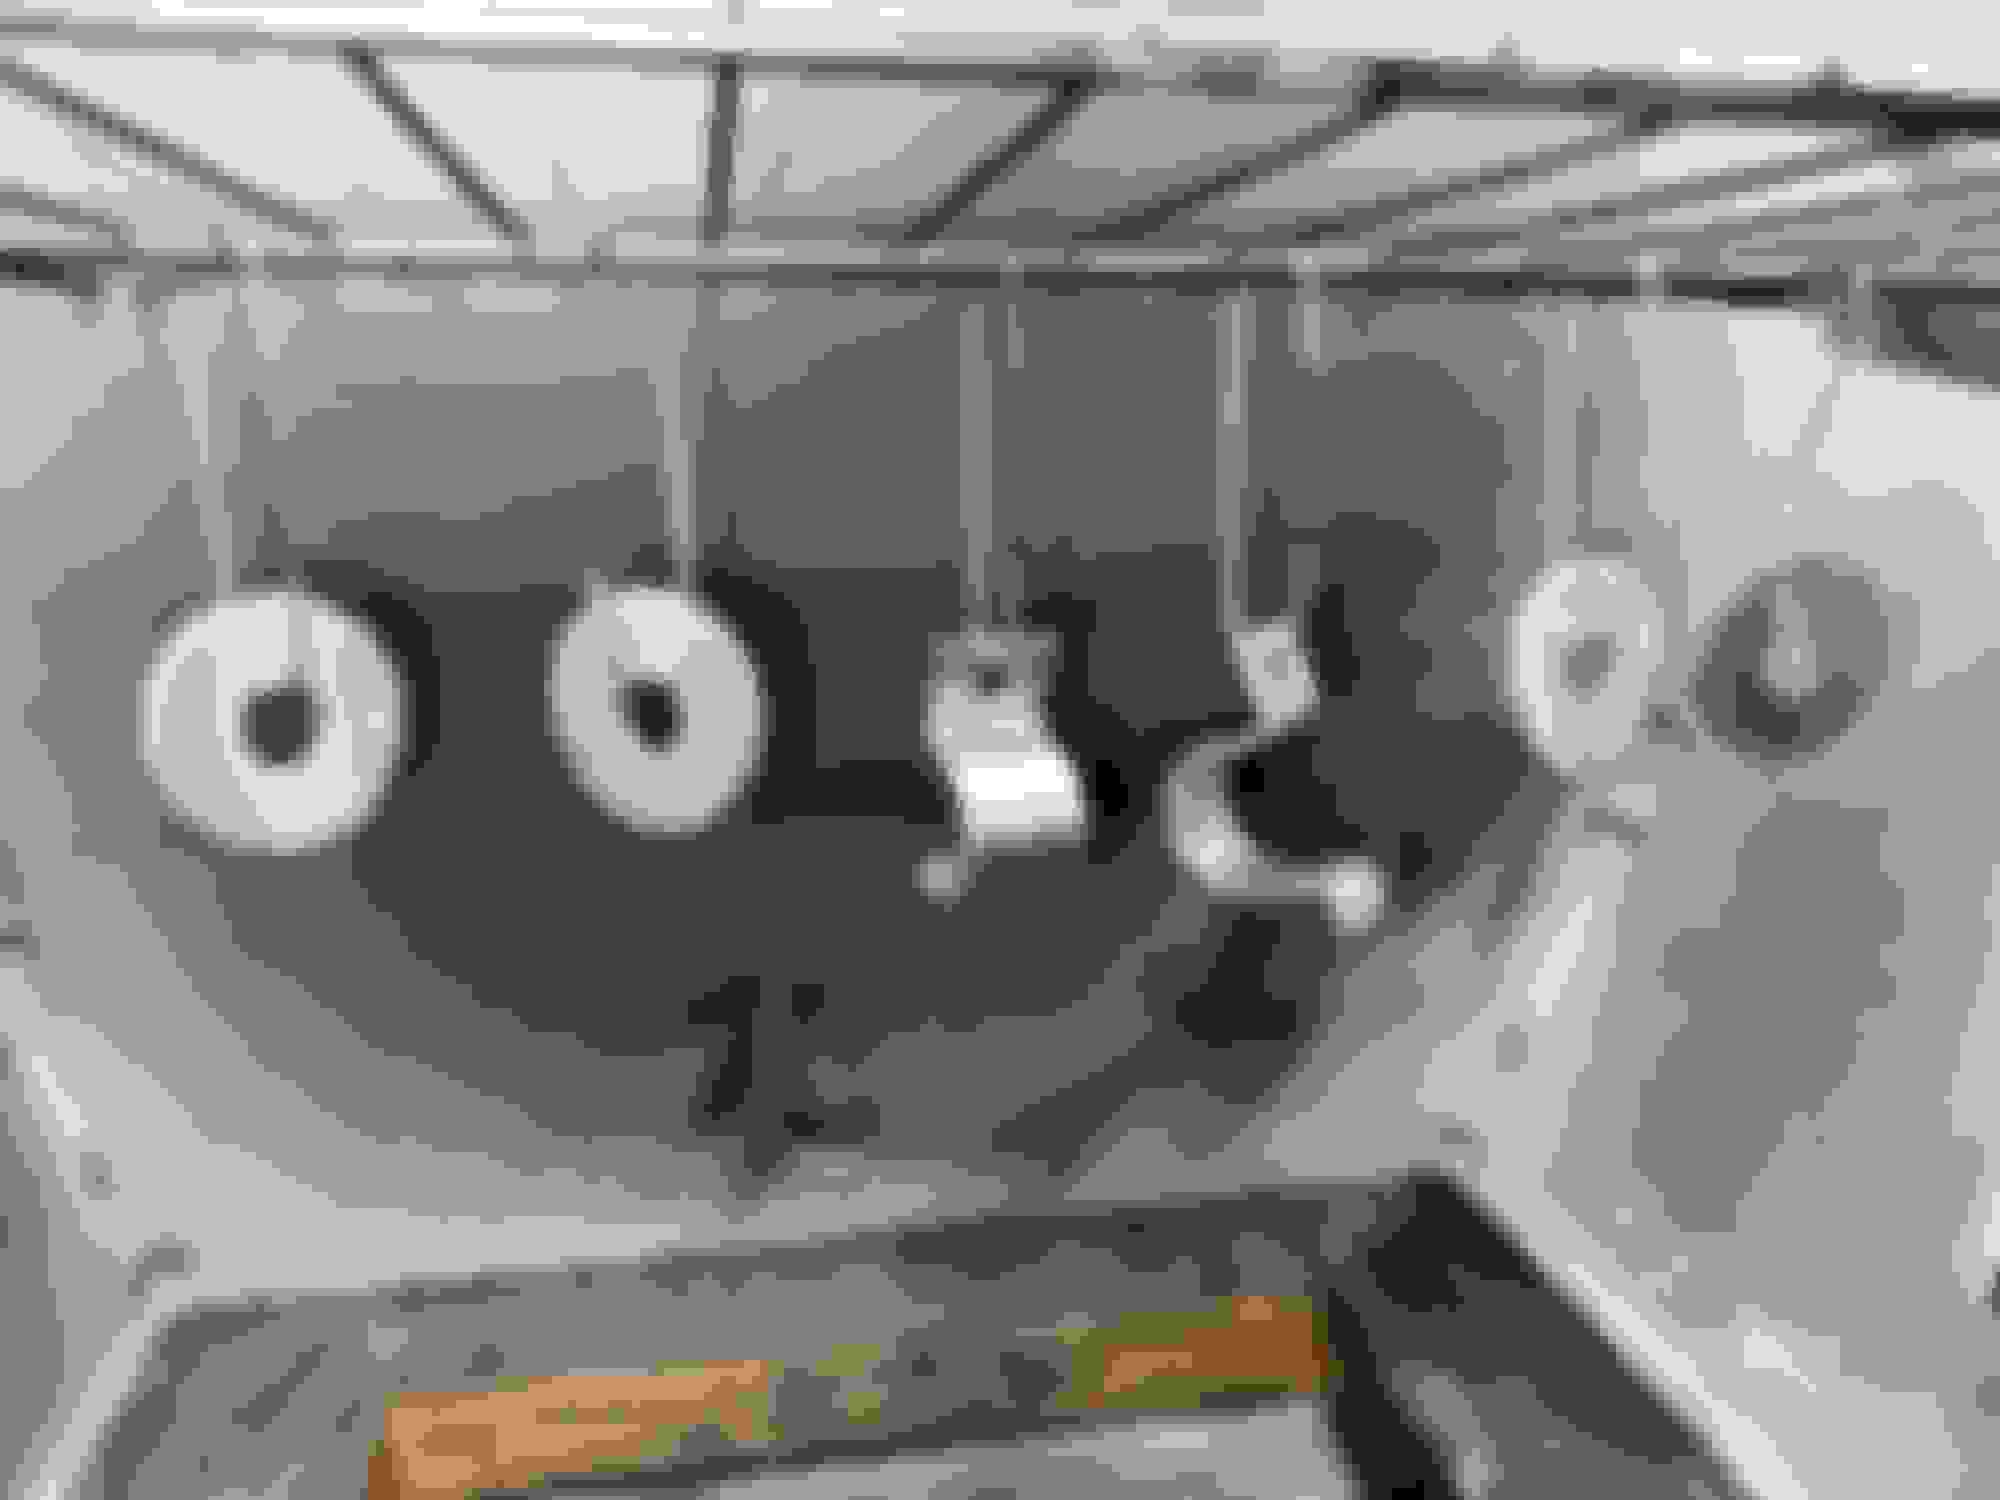
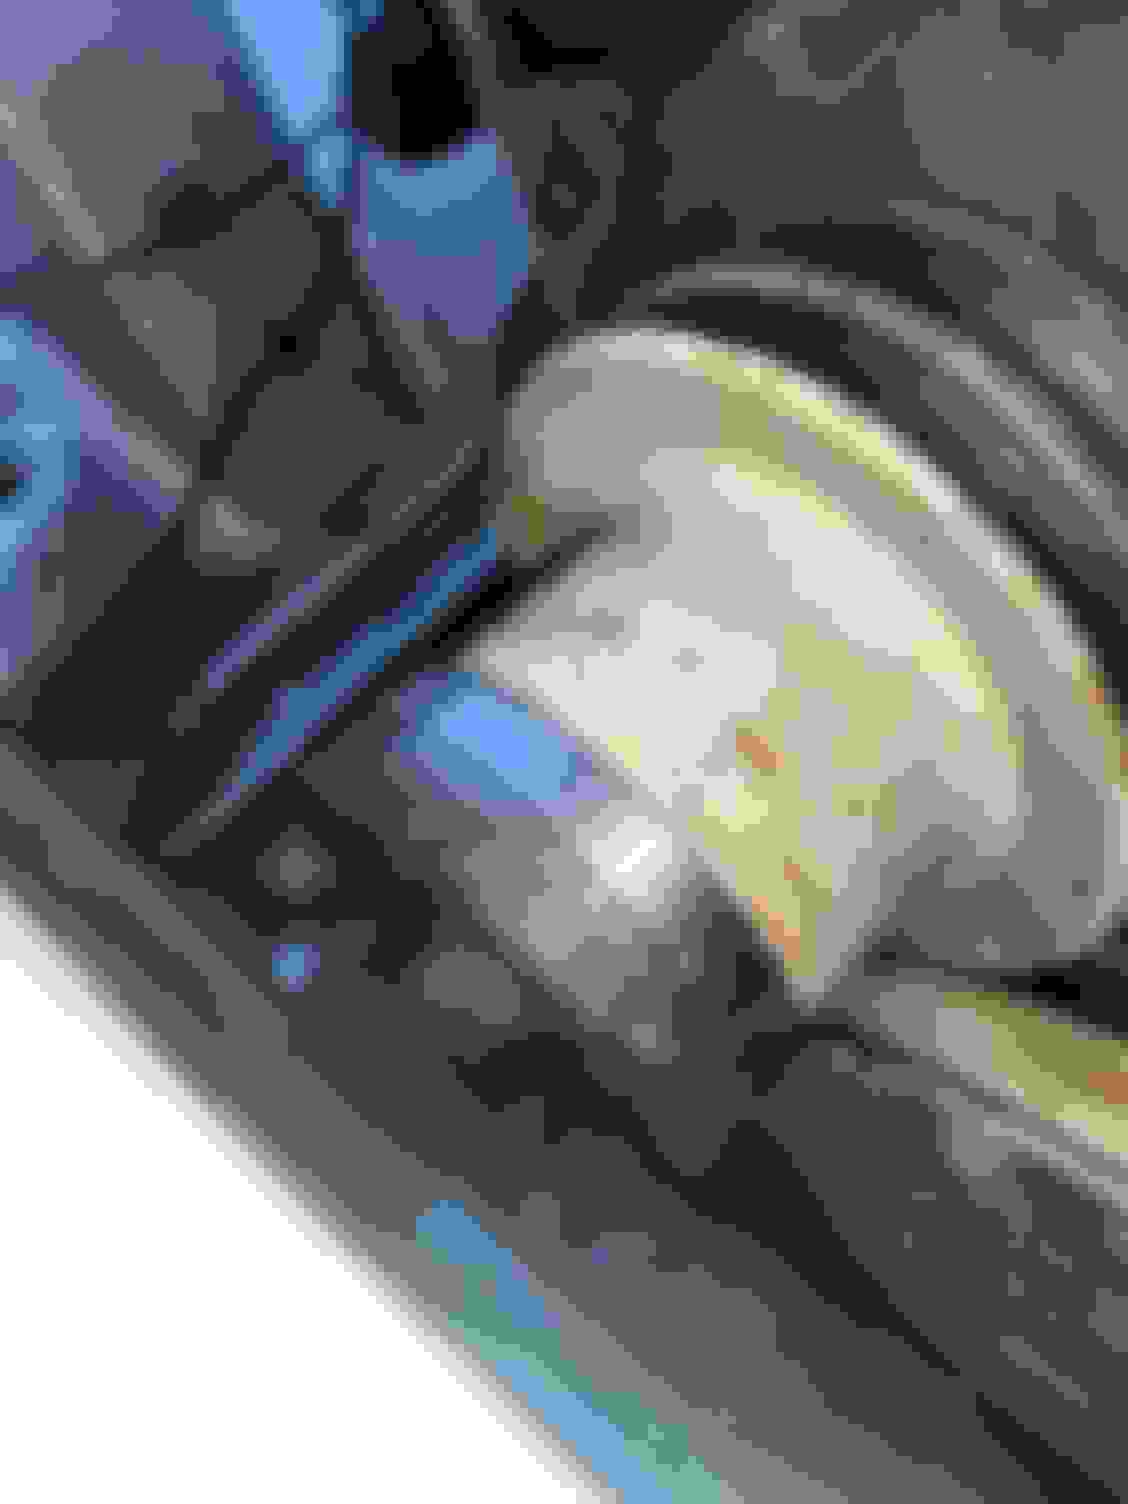
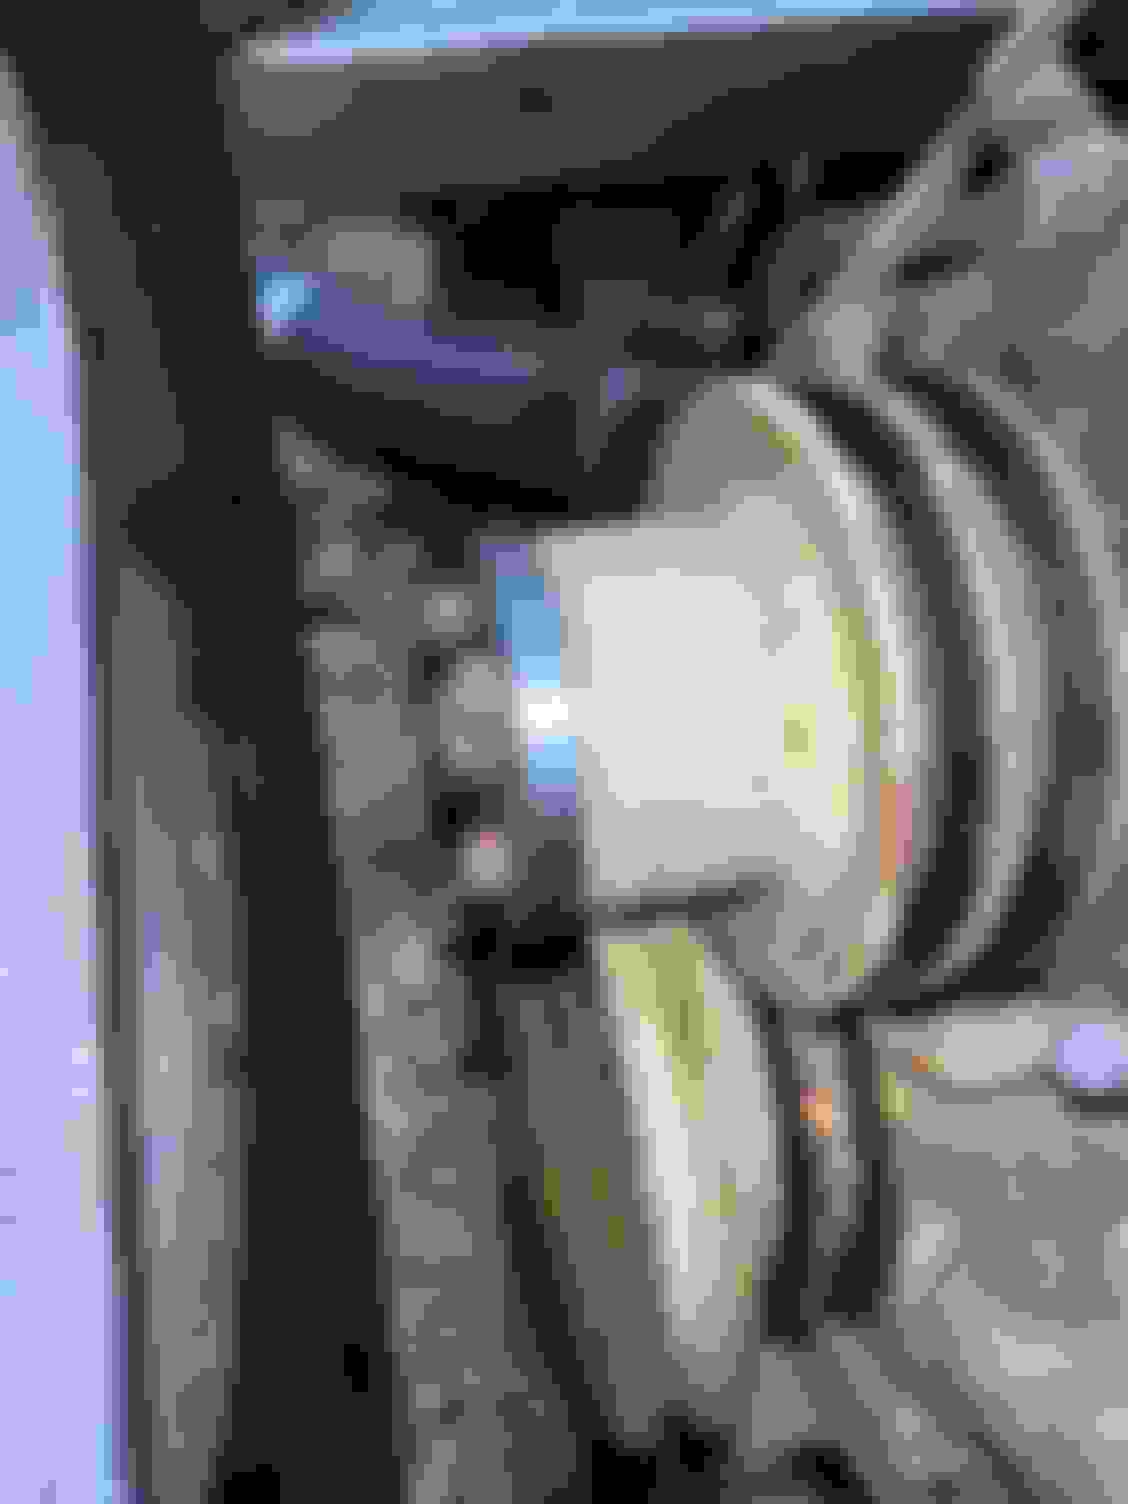
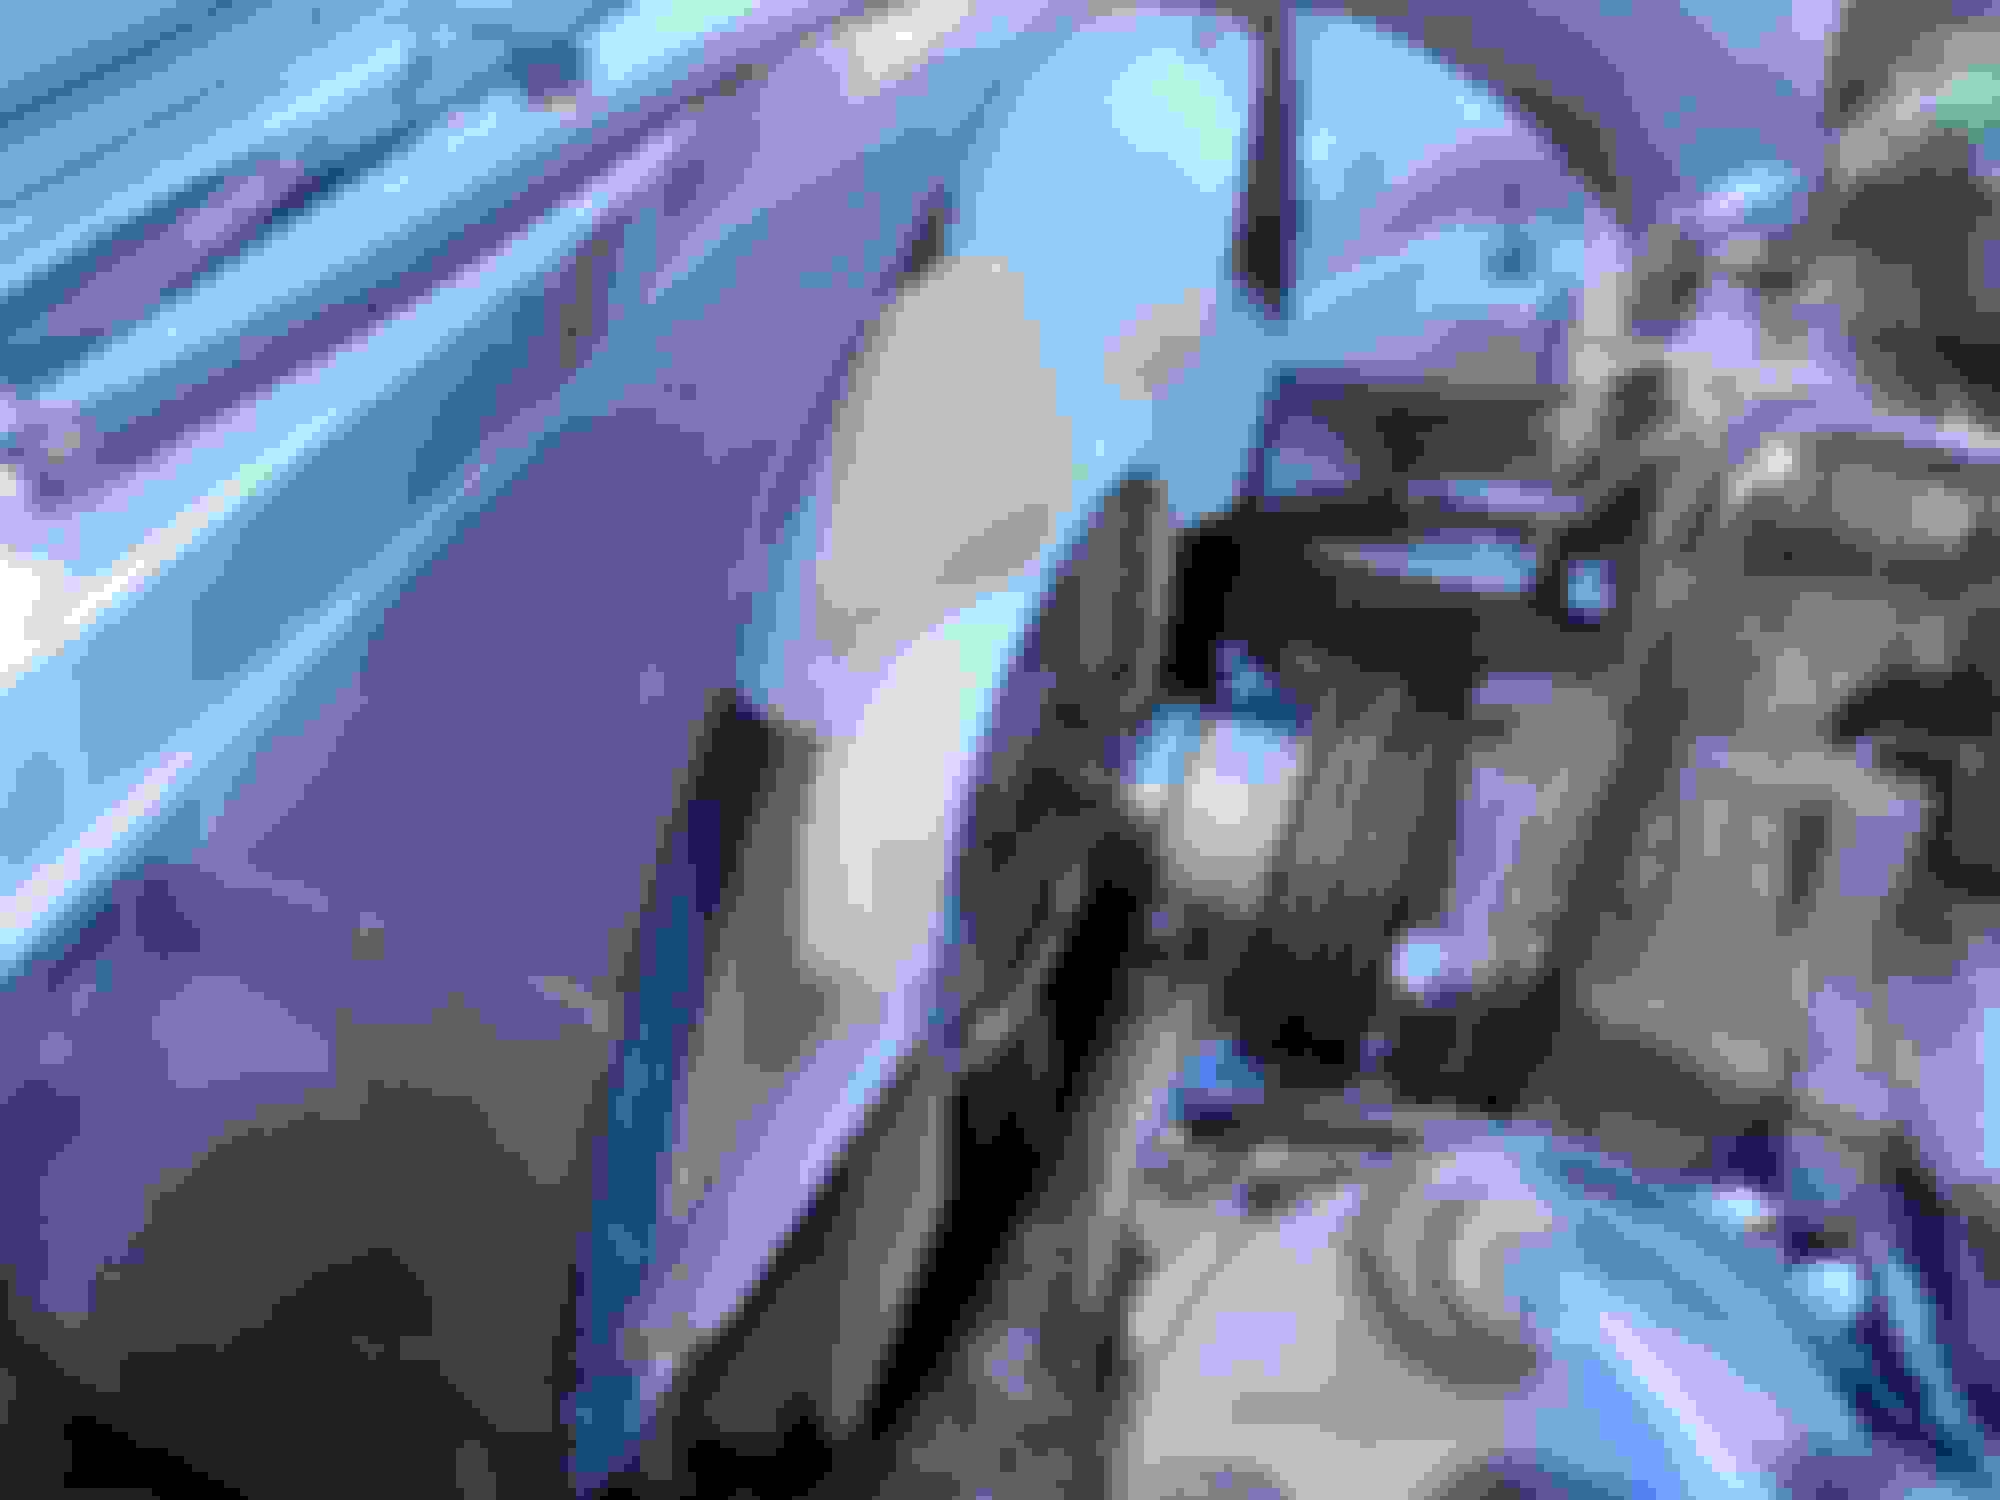
I made it my mission for the beginning of this year to fix my stuck/seized fan clutch once and for all as it was so loud and even with dual belts and proper tensioner managed to shred belts above 3500 rpm.
After seeing a few unsuccessful rebuild attemps on the 79-85 stock fan clutches (mine even has a phillips screw/port on it already..interesting) i opted to raid my brothers FC pile (again) and snagged his fan clutch.
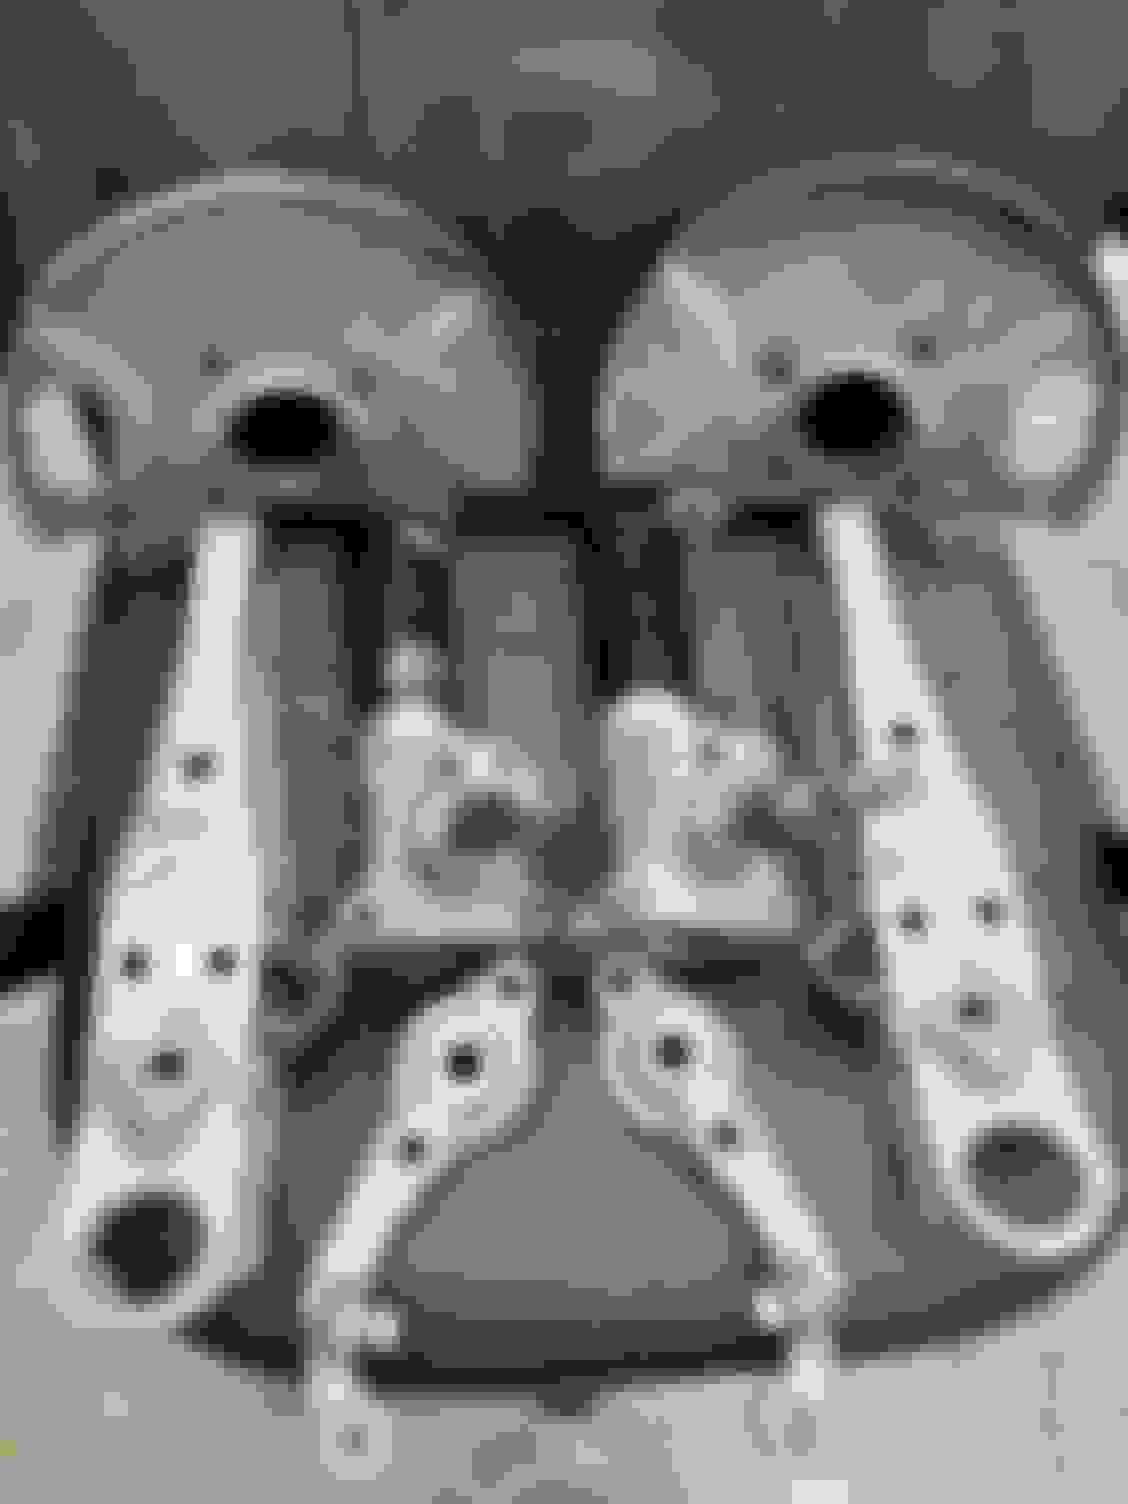
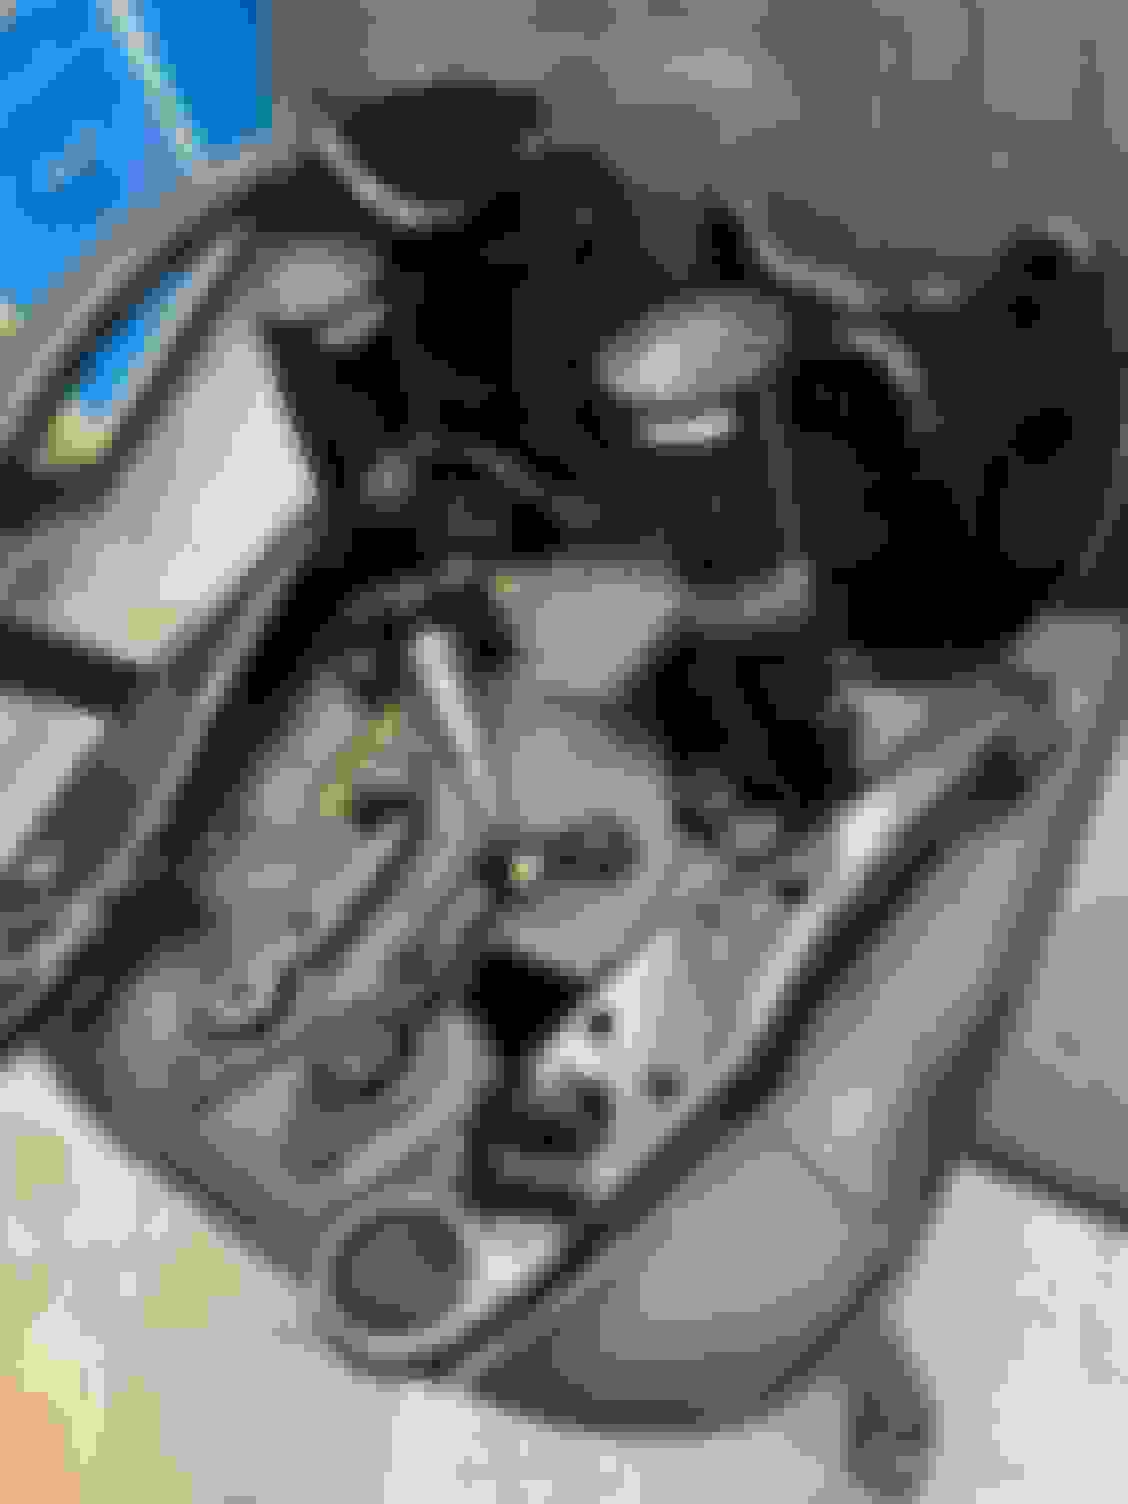
My 79' fan bolted right up to the clutch, but the clutch wouldn't fit the engine, a few machine tools and attempts later and i was left with this.
It was tricky maintaining the stock thread engagement for safety, along with actually making it fit.
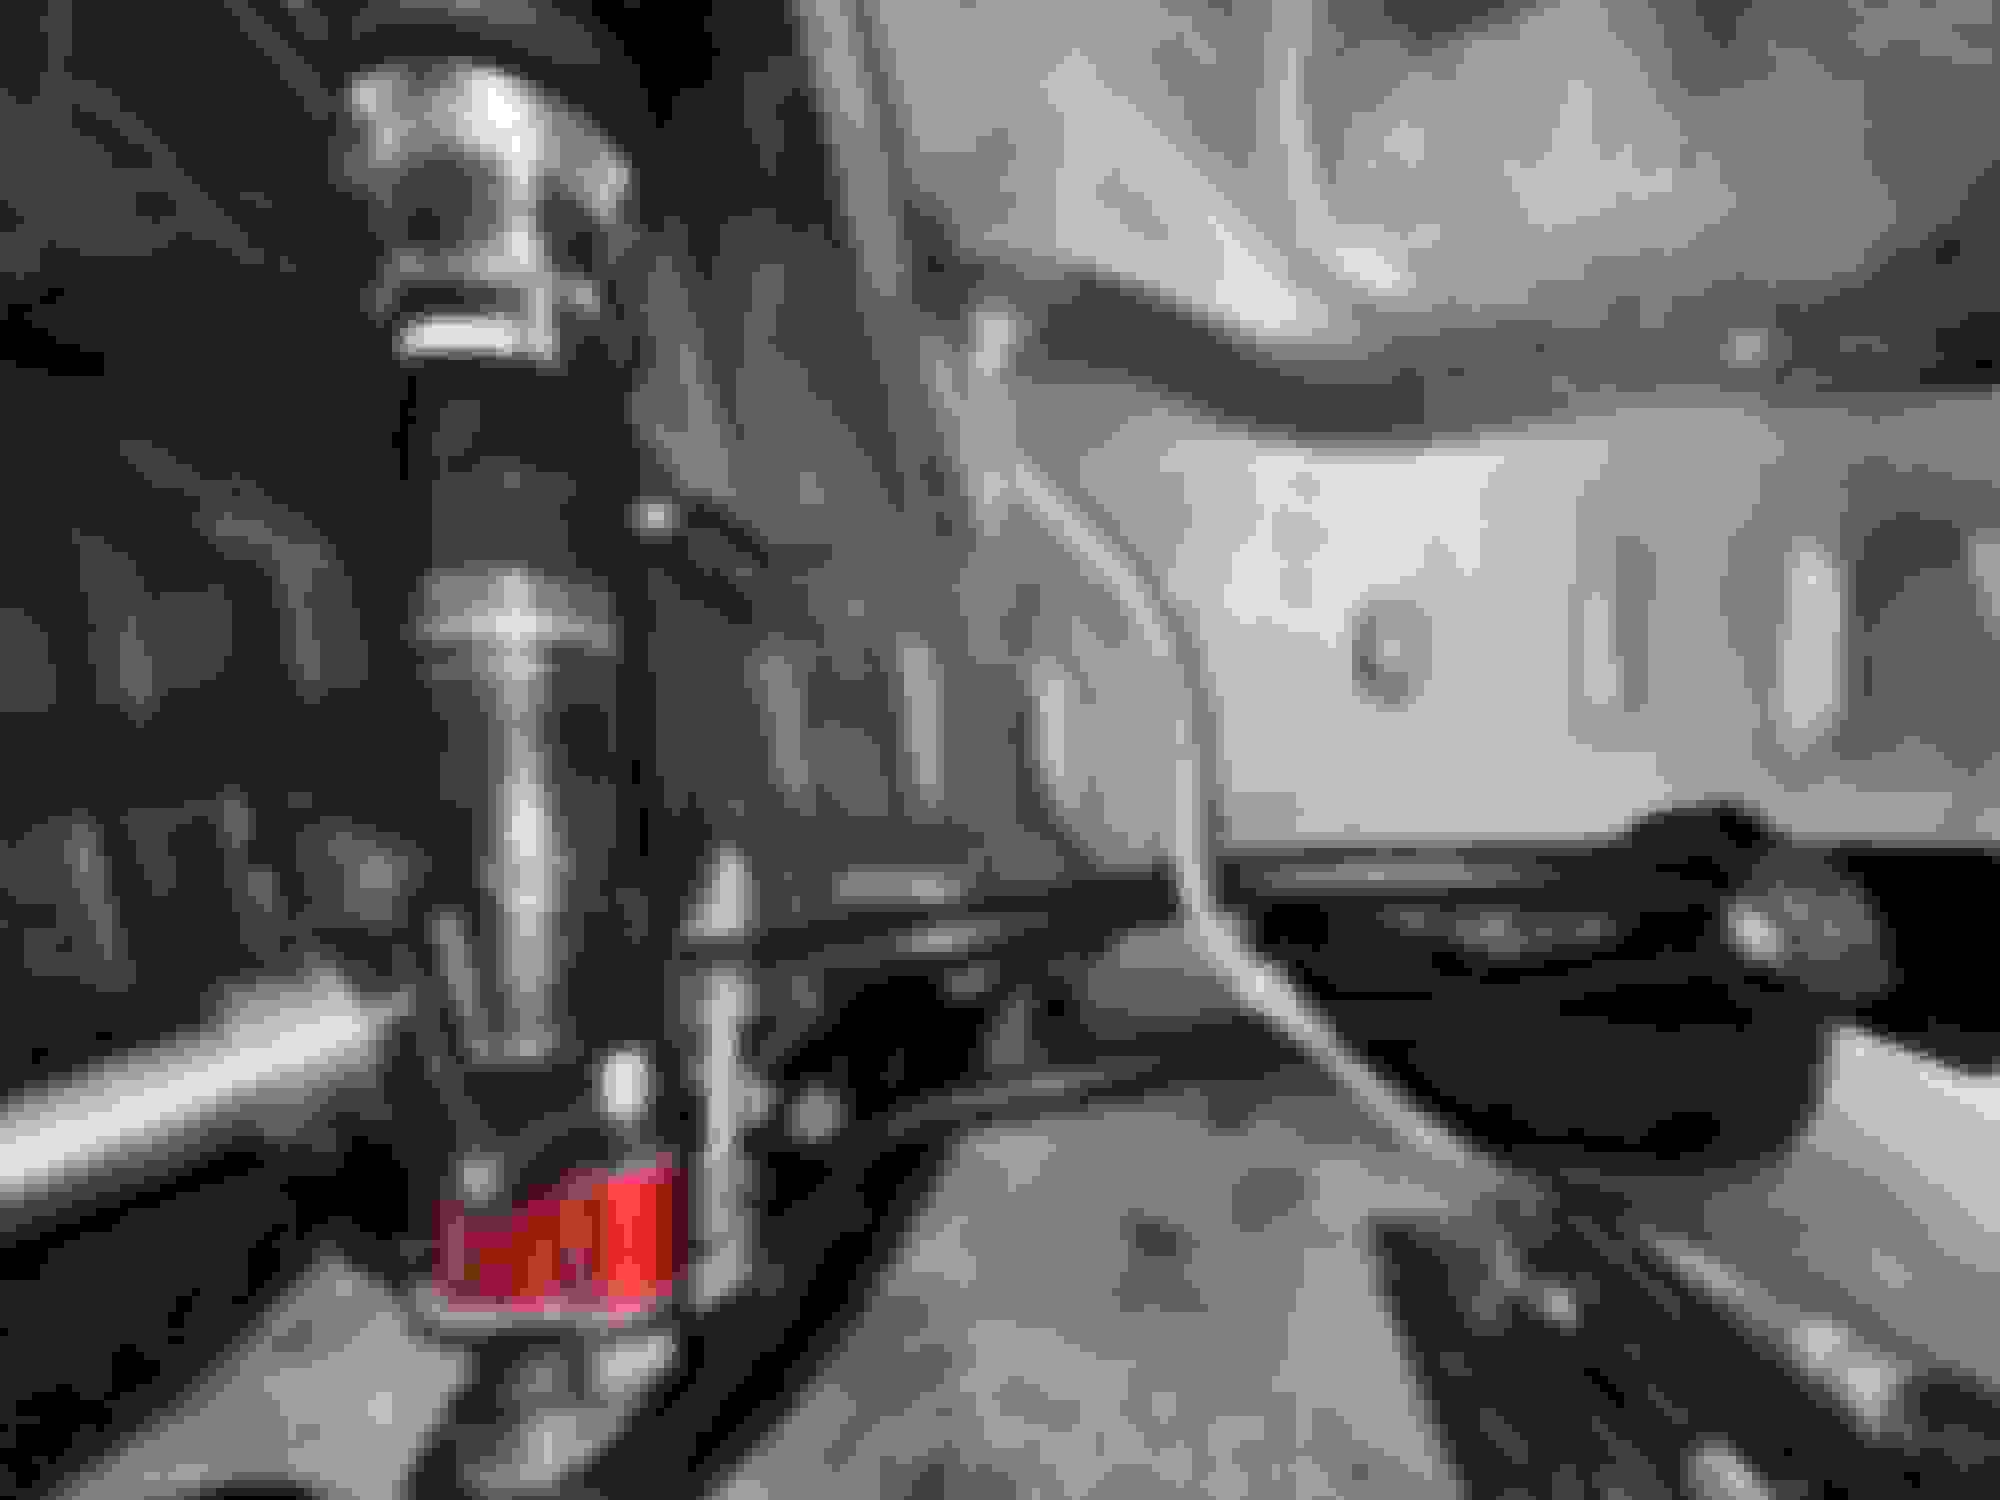
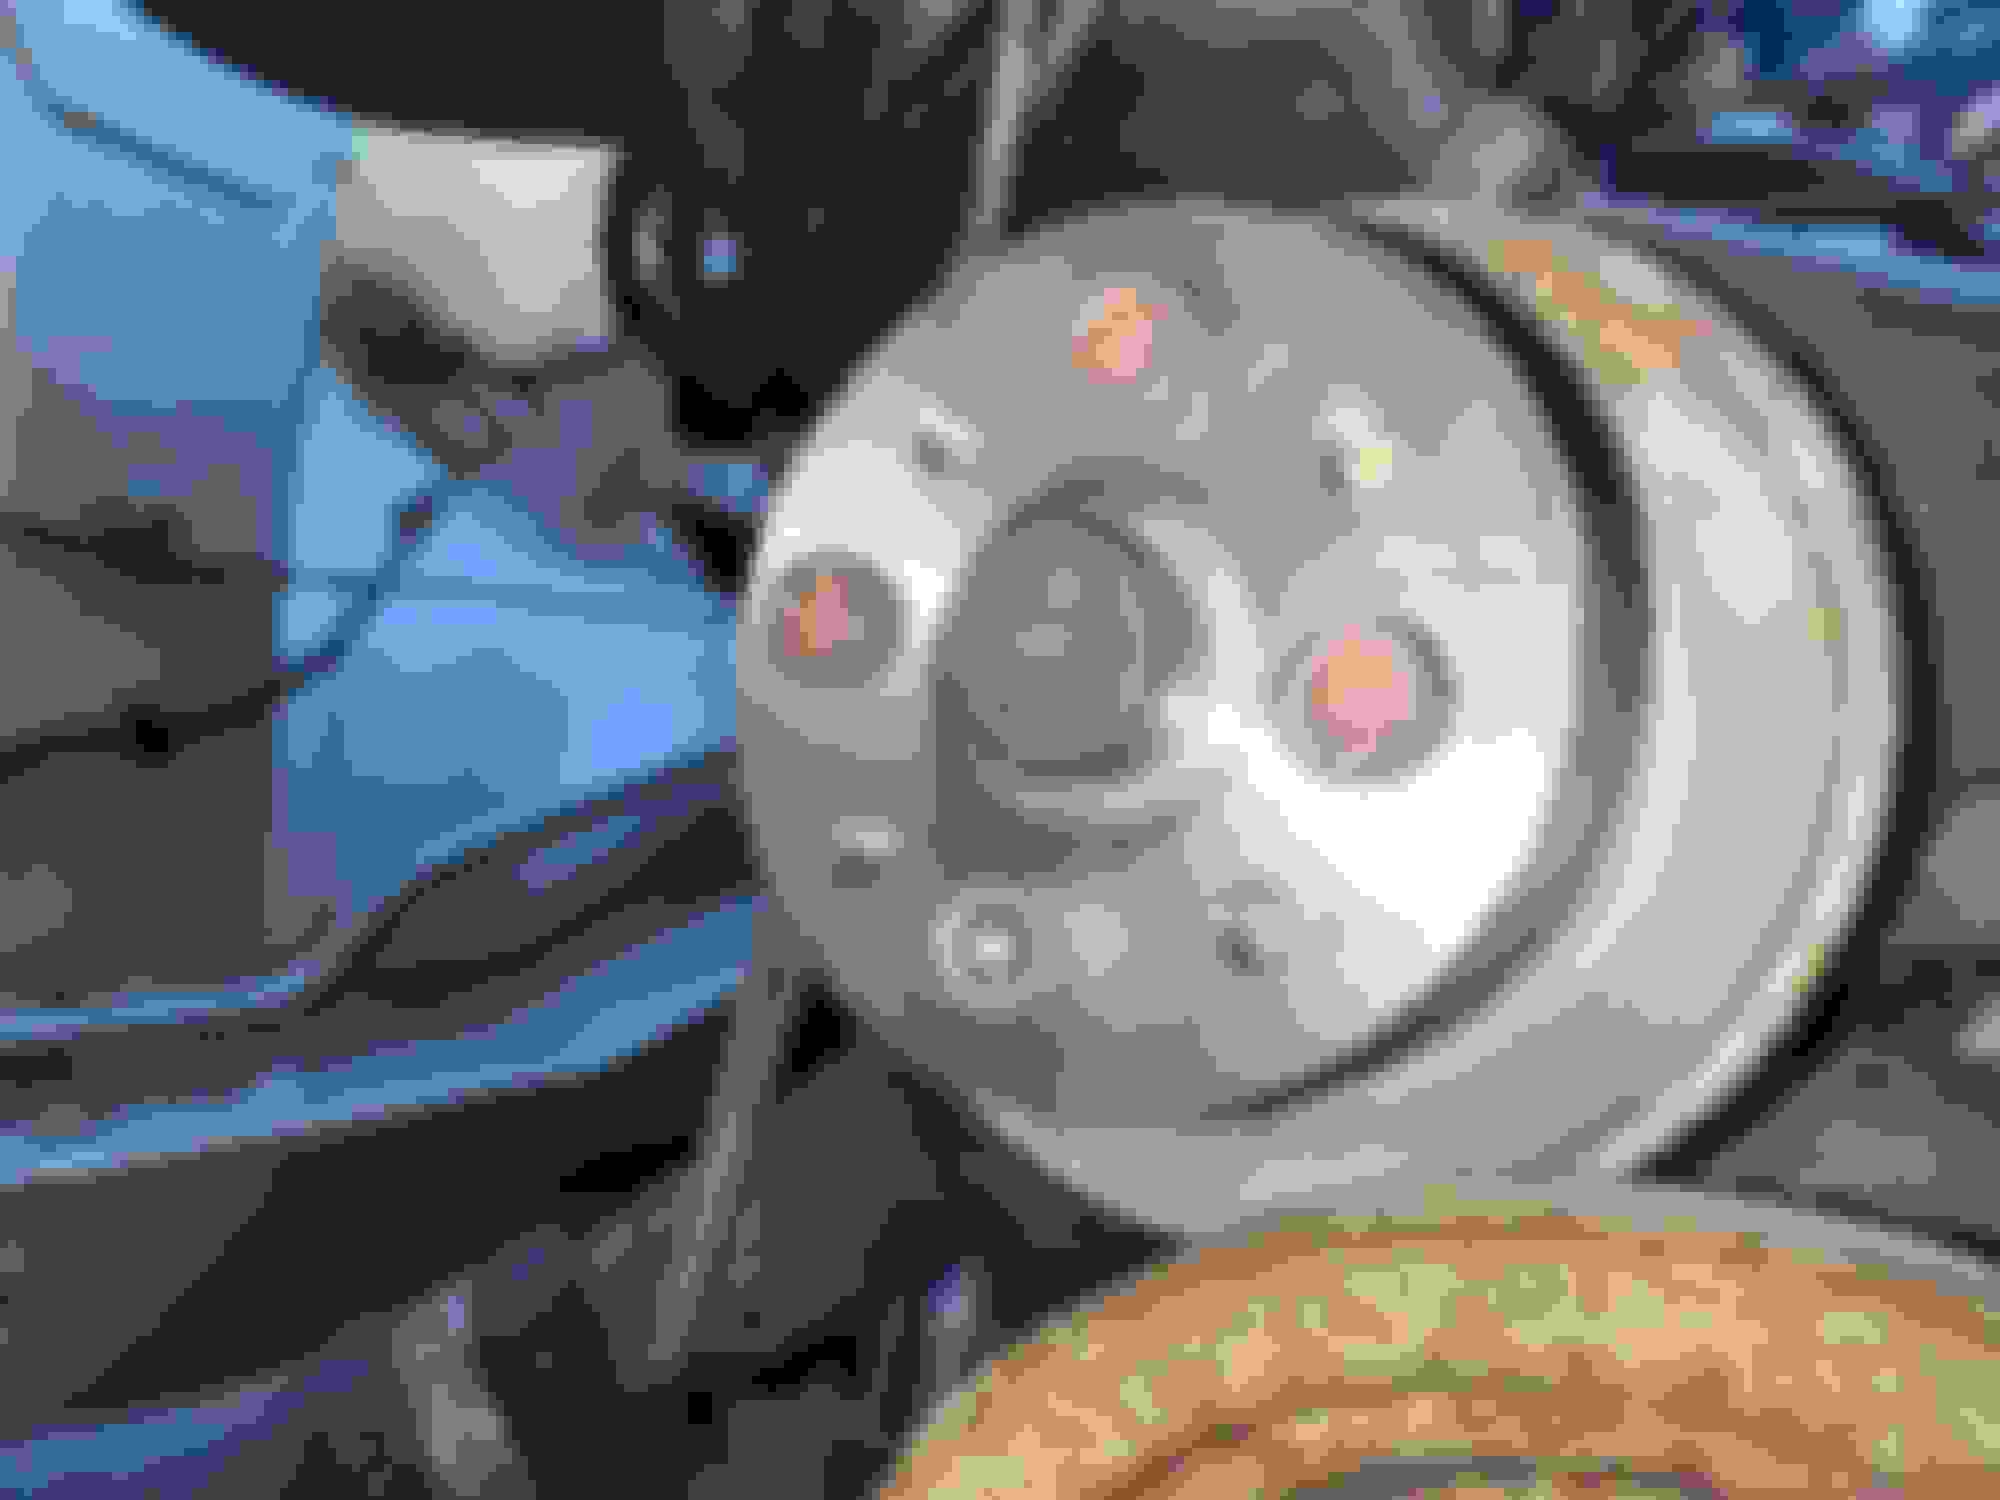
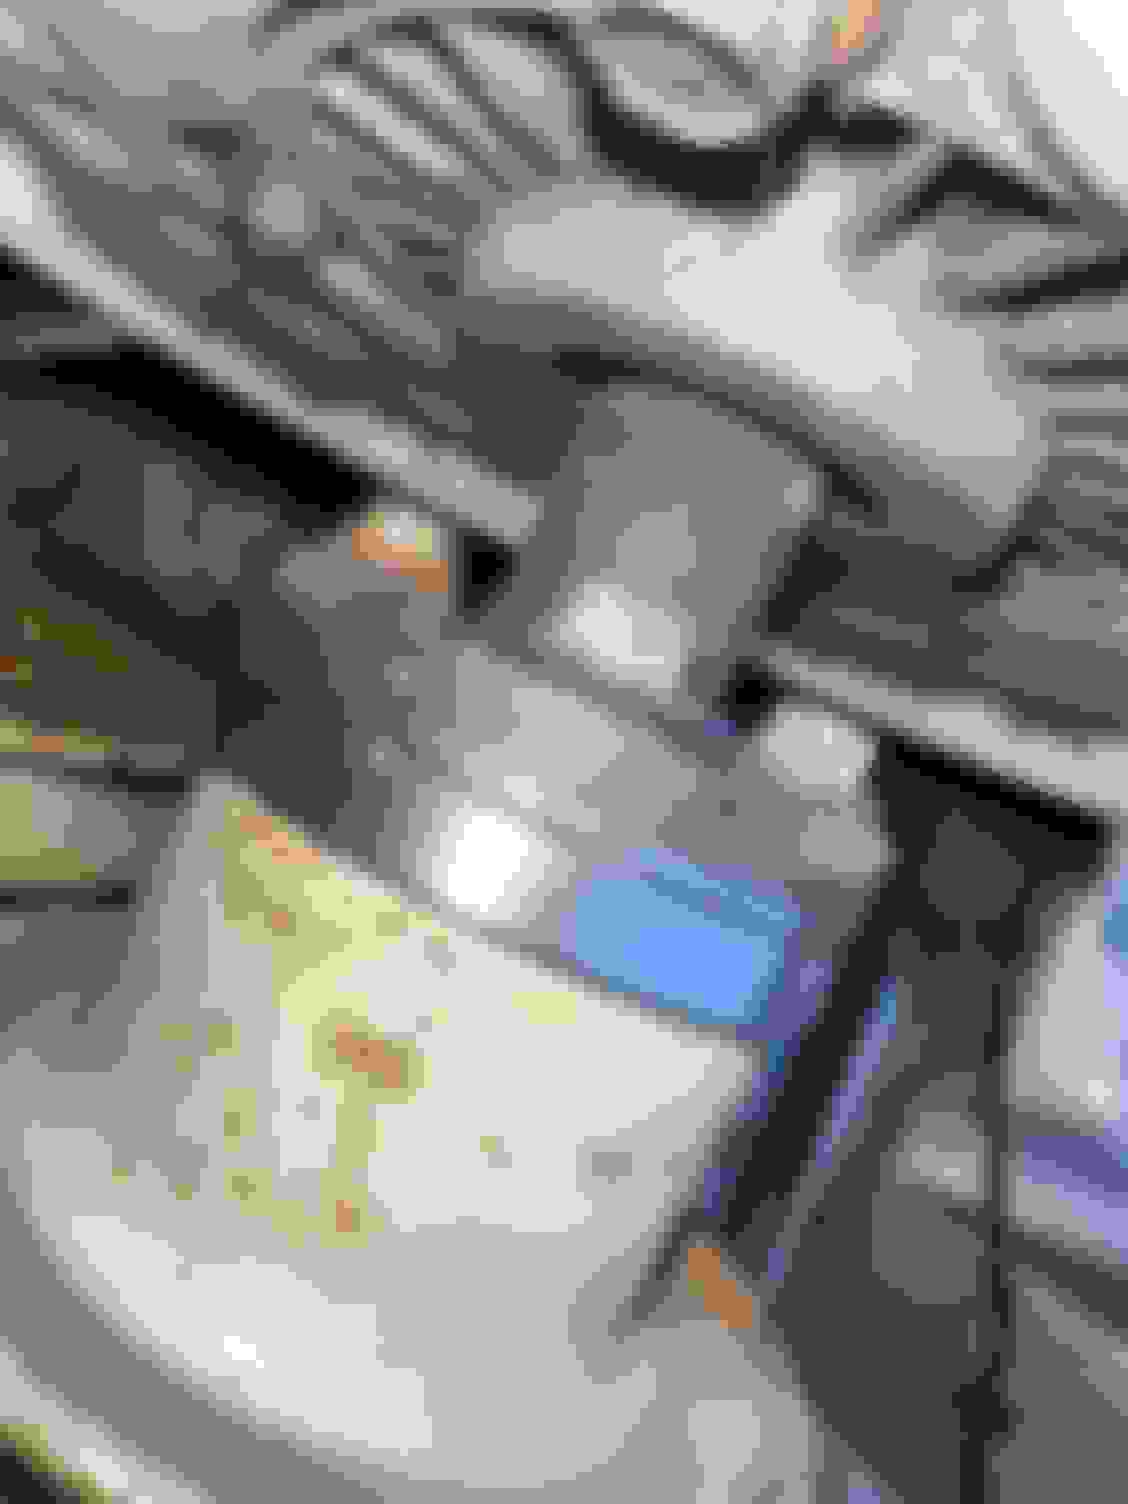
I was really aiming to make these a 100% bolt in part but there were only 2 complications..one of which being i had to ditch the 4 original m6 hex heads that held the adapter to the water pump for socket head ones so they didn't interfere. Along with small trims to the fan itself that can be seen in the pictures of me holding it on the outer parts which was just contacting the shroud.
The difference fixing the fan made driving the car was night and day, i could go on all morning about it but i can finally hear my exhaust again without tuning out the squalls and squeals and i seriously think it picked up a HP or two lol. This should also make checking the timing @5000rpm after the distributor upgrade less frightening
Now i'm not a full blown shop, but I did an extra run of adapters for anyone reading here that may want to do the same with a FC fan clutch for their SA ( maybe FB) and refuses to go E-Fans. Just shoot me a PM or email. I'd also be willing to send or post the blueprint I drew/used for those with that want the full experience
Last edited by NathanBoutin; Mar 17, 2024 at 08:34 AM.
Reason: grammer