When you click on links to various merchants on this site and make a purchase, this can result in this site earning a commission. Affiliate programs and affiliations include, but are not limited to, the eBay Partner Network.
This will be more of a build recollection than an as it happens build. I picked up the car (3rd owner, around 87k miles) in 2015, and have been working on her since. This will be the place, thanks to the Rona, that I will upload images I have saved on my phone and recollect all that has been done, and bring it back to the present, where I am ready to try to start the engine, and tidy up the last things to do. Hopefully this will remind me of the journey, and push me to finish the car. The image was from where the seller had it:
I paid around 12k for this, which wasn't bad at the time, before I realized there was a lot that needed TLC. Pics about 2 months after I saw the vehicle, and I had added windshield wiper arms and wipers.
I was a lot younger and more naive at the time, had wanted a CYM since I was a teenager, and because the engine bay I thought looked decently stock, it would be fine.
Couple of what should have been flags:
-Previous owner didn't have a filter for the rear turbo, saying that since it didn't really kick in before 4.5k rev, as long as you kept it below that you were fine
-Everything was routed to the back of the bins, including the main fuse box that was haphazardly thrown in to the cut out of the driver's side bin
-Didn't have the front windshield wipers when I bought them, he had removed them for some reason, maybe to make a race only vehicle.
-There was a vacuum leak due to how he had the manual boost gauge hooked up, transitioning from the boost gauge's clear tubing to silicone tubing, attached with a zip tie.
-HVAC fan wasn't working
-Someone had stolen the plastic shifter surround, and it was missing before I could drive it
-Front bumper looked weird due to not having the bumper support behind it
-engine moved a lot in the engine bay (due to stock motor mounts being completely destroyed)
-Other stuff I only now realized once I started fixing one thing, which led to fixing another.
-Previous owner had installed a race clutch, one that was unsprung, and was a pain to drive as it had maybe 3mm worth of travel before non engaged to engaged.
Original plan with the vehicle was to do an engine bay refresh in order to do the base reliability mods (DP, new air filters, fixing the boost gauge and vacuum leak, replacing engine mounts that were stock and were causing the engine to flop about the engine bay, and a suspension refresh). As you can tell by this being 2020 and still not having my car running, that plan went south really quick.
2015 June
-Maintenance
-Not shown (Had already done motor mounts with some help from mazdaverx713b, after meeting him at one of the local meets, installed the banzai poly motor mounts, got the shifter panel surround and wiper arms from Fritz)
Tried to repair the HVAC motor, pulled it out and a lot of stuff was inside the HVAC blower fan, didn't connect the dots as I didn't know thats what mice did, but that was evidence #1 that mice had been living in this vehicle prior.
Thought I could rebuild the motor, as it didn't seem to be getting any power, but managed to pull it all apart, but couldn't get it back working or fully back together.
Eventually got a used one from someone on the forums, according to my PM archive haha.
During this time also picked up greddy airinx intakes, SBG xenon headlights that had some small blemishes that saved me a bit of money, and picked up the 93 metal SBG handle, and aragostas, even though one of the turn ***** was busted. Tried for a while to source the ****, but it took asking a japanese co-worker for a favor to contact them directly while on vacation back to Japan, where I got a set of 4, a set of tools, and a whole bunch of stickers.
Had a plan during this time from what I can remember
-Move battery back to front
-Change all suspension bushings to powerflex and put in the aragostas
-Rebuild brake calipers and powdercoat
-Track down all the electrical gremlins I was experiencing (wipers would sometimes not turn on, odometer screen going blank, battery shorting on car due to how previous owner did it.
As I started diving into working on the vehicle, I noticed a lot of things that bothered me:
-Front bumper wasn't attached to anything other than fenders and by top bracket
-Sway bar mounts were jacked. They were probably original, and as you can see, very not straight
-cat was held on partially by wire...
-I'm surprised I don't have a picture of this, but was shocked when I started removing the plastic door trims where the interior harness was located, and noticed that all the main wires were run through there. That wasn't the issue. The issue I found was that the wires were joined there under the door sill trim, and only held together with electrical tape... no crimps, no soldering, nothing... It was at this point that I decided to tear everything down, as I was going to need to replace the front body harness, and do a full overhaul and restoration of the vehicle.
Started Ordering a bunch of items, including:
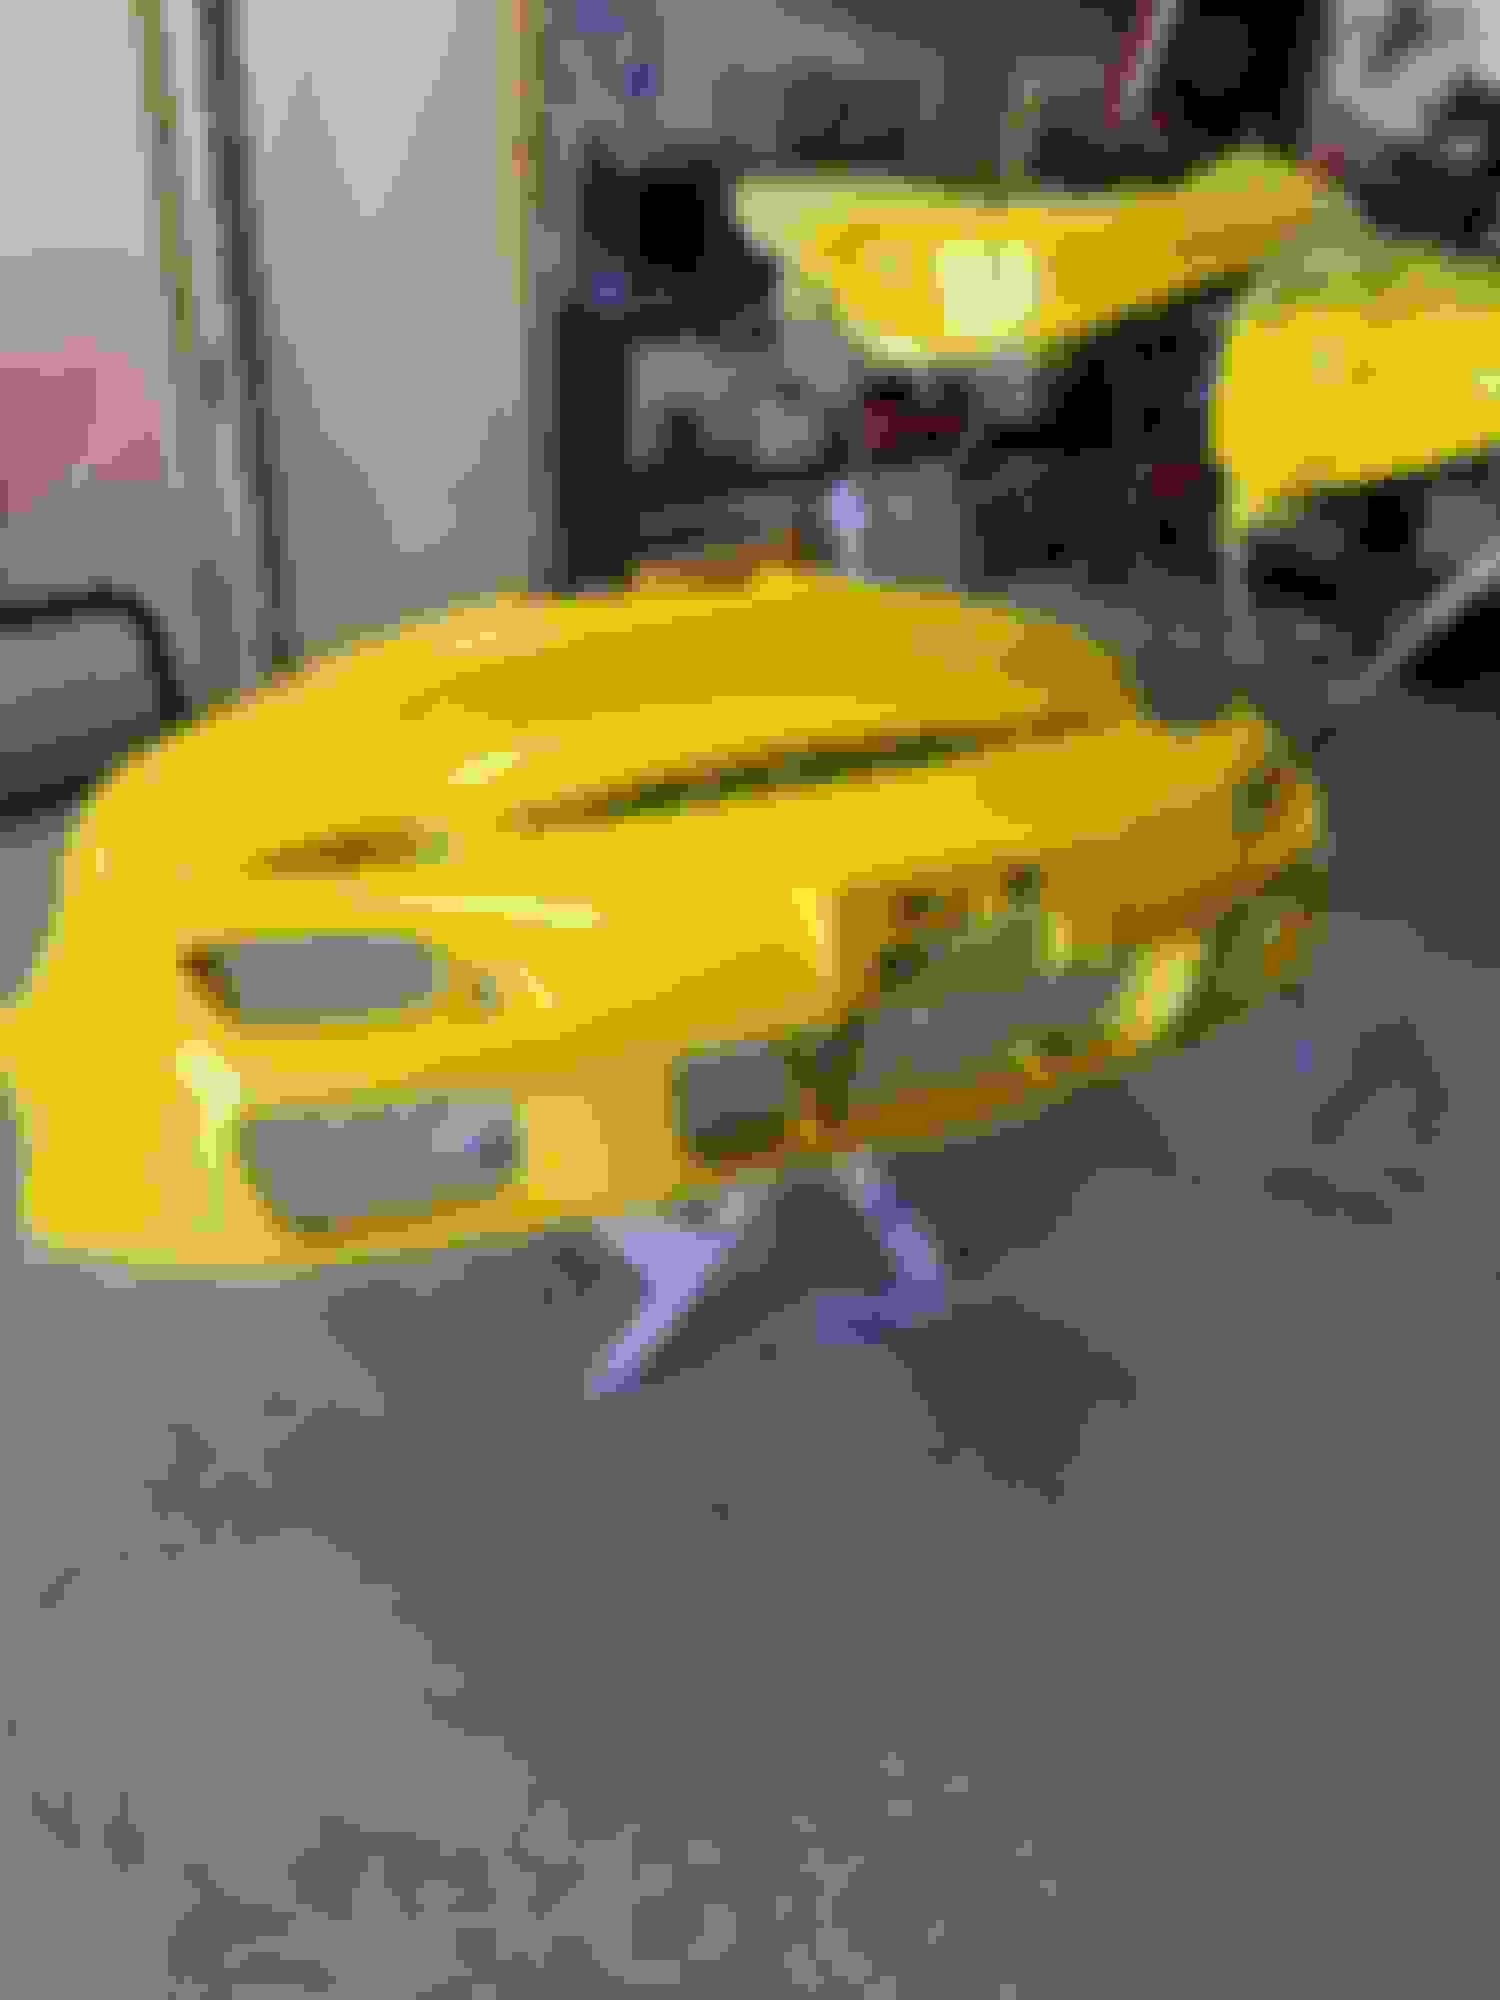
-99 spec bumper and aero
-RX-8 5 speed shifter
Started tearing into the front suspension, and noticed that the front steering rack boot was trashed. Decided to do a steering rack refresh, and convert from Looped power steering rack to convert to a true manual rack, by welding together some of the internal pieces.
Refurbished the brake calipers and had them painted red, with mazda in black
Had all my suspension bushings replaced. Originally was doing it during lunch one bushing at a time, but decided to outsource it to the on-site car repair place, I think they under quoted the work afterwards, but was good bang for the buck. Picture below is what was handed back to me.
Picture of power steering removed
-Time to pull the engine (not pictured, two friends to help with pulling)
Tearing down the engine to the keg, and then replaced the rear main seal as it was leaking.
Torn down to the keg. Now, I regret not trying to rebuild it when I had everything out, but oh well. Below picture is the keg with the V1 IRP oil filler neck, the SBG oil filler sandwich plate, FFE trigger wheel, and ID 1300x in primaries with FFE fuel rail.
-Sending parts out to be coated
--Powdercoating Front and Rear Subframes (Notice the terrible 4 puck unsprung in the top right corner. Bane of my existance.
--Sent LIM, DP, and Exhaust Mani for Jet Hot coating (Ultra extreme 2500)
-Building on the keg
-LIM, exhaust mani, ACT Streetlite flywheel and ACT SS clutch and pressure plate, FFE secondary rails with ID 1700x, OMP removed
-Exhaust mani was drilled and tapped by coworker a lot more skilled than me
-Receiving harness from Chris Ludwig, with additional routings for an SSI-4, flex fuel sensor, SBG coil kit, dual mac valves for stock turbos, etc.
-Putting on stock turbos, JDM y-pipe, SBG EWP setup, and wiring the engine harness up. Had the turbo wastegates ported by a local rotary guy around the area.
Huh the prior owner said the replacement engine/transmission he sourced was JDM, but never really believed him. That makes sense now that LIM and turbo manifold are JDM, and I was wondering why he would have bought a JDM downpipe with no pre-cat material for his engine, but this makes a lot more sense. Thanks Dale, learning something new every day.
Front and rear suspensions fully put back on, had AWR mounts for swaybars/radiator mount, and improved racing rear adjustable sway bar links, and J-Auto for pretty much everything bushing/ front end pieces (adjustable front sway bar links, inner and outer tie rods). Didn't spray oil on the brakes, so now they look a lot different than the below pictures.
-Stripping the car, getting ready for paint
The hacked front wiring harness out of the vehicle. Now used as spare parts if I need a connector or something else.
Partially through with taking stuff out inside and out (HVAC still in, brake lines)
Everything Stripped out of the vehicle. Just had the parking brake for brakes and re-attached the steering wheel to be able to turn it for the paint shop.
-At the paint shop (Got a good deal on the paint, probably under 5k all said and done, but still need to go back to him once its running for some small stuff (paint edges around door frame, and top still has a spider web due to what looks like a chemical reaction.
2017 Continued
-Car Back, engine installed (First front wiring harness installed. Yes, I worded that correctly, first front wiring harness T.T)
Next few months after July 2017 was busy with moving to a new house, moving all the stuff, moving all my parts in the basement to the new house, then moving the car, then doing lots of house stuff. Didn't get back into working on the car til Winter of 2018
2018 Winter
-Fuel pump, fuel pump relay
Put in the walbro 450 fuel pump, and used an aftermarket fitting instead of passing through the existing wiring which is questionable at best, not sure what connector I bought. Also bought Walbro 125-142 fuel filter, which is very similar to the stock oem filter. Don't mind the worm clamps, I have bought the IRP adapter, but haven't had a chance to install it or the surge tank cover.
Installed racetronix dual fuel pump relay (only need one for right now, but future proofing like everything else to ensure if I need to expand, it won't be a pain). Used some of the wires from the previous owner to run the dedicated power line up to the battery. Removed the fuse for the side I wouldn't be using, and coated the open contacts with liquid electrical tape. Had to put down a few coats, and make sure to do it in a well ventilated area, or else you will get a little loopy. Hid this behind the rear driver side trunk plastic, bolted to a non-used bolt around the area.
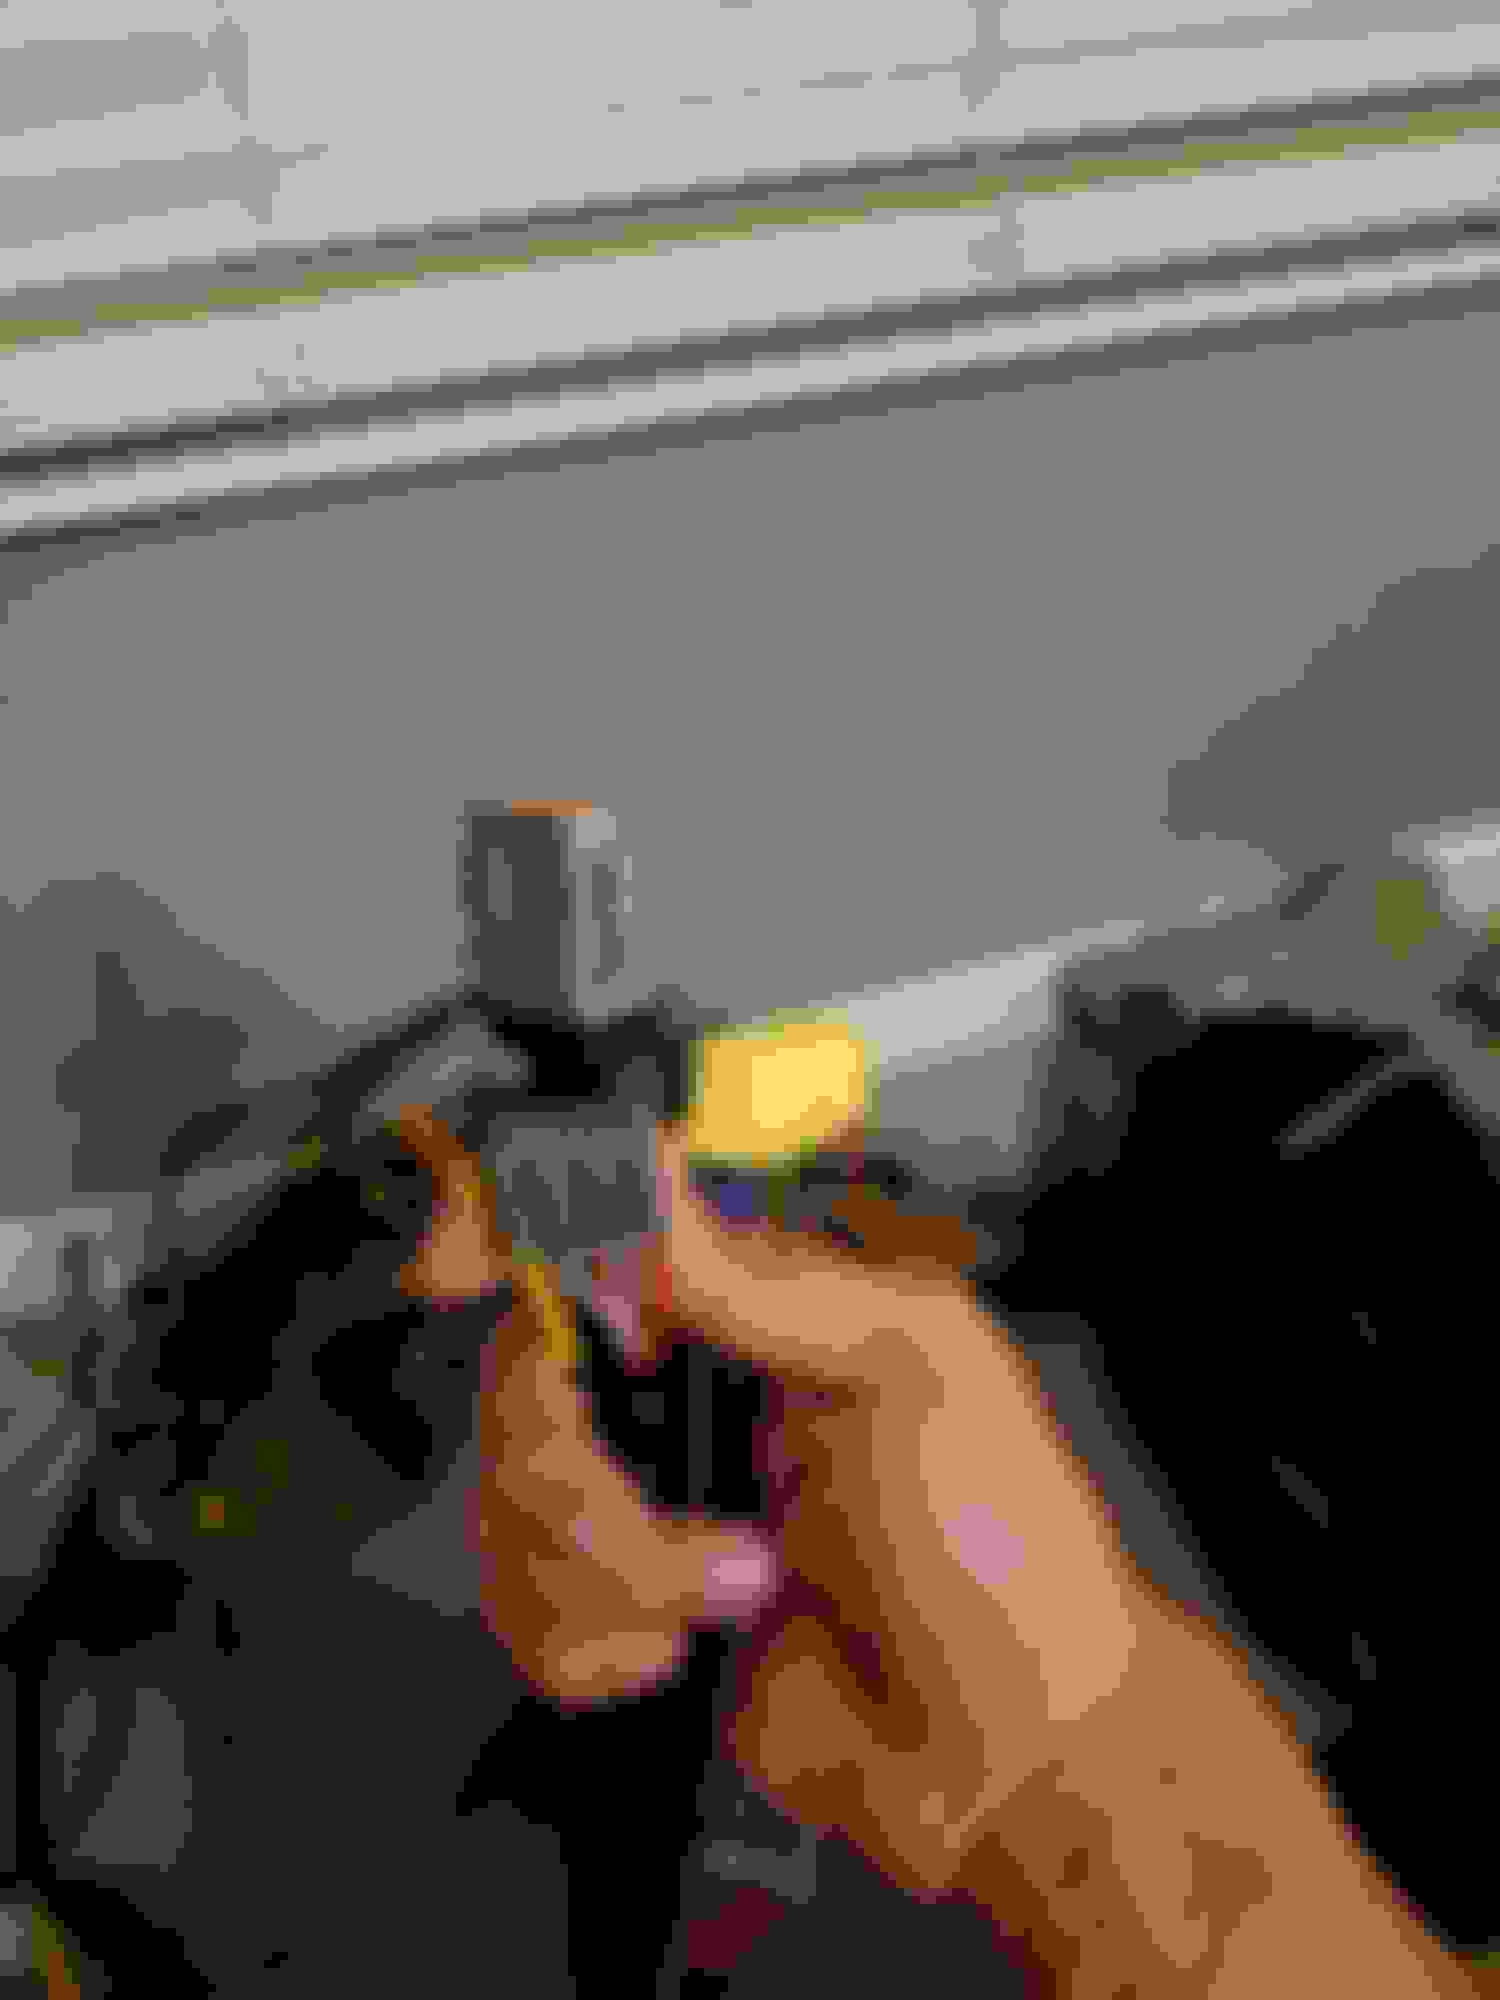
Installed a 3 gauge A pillar, with Boost gauge, oil temp, and PLX DM-100 gauge, as well as a NEX-4200 headunit. Didn't realize it at the time, but I hadn't plugged in the connector for the headunit, and so it wasn't going to turn on.
Installed wiring and SBG HIDs, and started with the EWP wiring.
Installed EWP and coolant lines, but due to where the EWP sits, and wanting to run AC, the AC belt would cut through the oil line in short order. Called SBG, and they said they did all their test fitting on cars with aftermarket oil coolers, which makes sense as they sell a kit like that as well.
My solution? Run a SS hose from front cover to oil cooler. This solution worked out surprisingly well. Eventually I want to get a set of aftermarket oil coolers, but right now I have the R magic oil cooler ducts, so not worth it at the moment.
Routed the AC belt, should be fine with the old idler pulley, as if I lose the belt I only lose AC, but eventually will want to look at replacing it with an idler that has grooves for the belt to ensure that it doesn't come off. Also installed Turbojeff's battery tray, and if I haven't pointed it out prior, I replaced the fans and fan motors with the RX-8 style.
-Vaccuum routing/Fuel hose routing/ Charge Harness
Routed the vacuum lines, vaccuum tanks, and mac valves. Decided to place the mac valves and flex fuel sensor under the UIM, and make the engine bay a bit cleaner looking. Just no one look under the UIM xD.
New charge harness installed. It's amazing how flexible they are when they are new, and everything seems to make sense in terms of clips, connectors, etc.
2019 Spring-Early Summer
-Troubleshooting, Removing the dash for the 3rd time, replacing front harness (PIA), and then trying to tidy things back up
Not a lot of pictures to go with this, but you can imagine the amount of frustration and possibly cursing.
So during initial testing, I jumpered the fuel connectors, and noticed the smell of fuel. Hadn't tightened down some of the connections, and rectified that immediately.
Turned to ACC, and couldn't get the radio to turn on. Pulled out headunit, and found the main connector (black connector) not attached to the headunit....
Thought that was the end of my issues, until... ABS pump kept on running whenever key was turned to on position. Thought it might be a relay, but all those were ok. Turned out to be my front harness wiring for ABS was miswired, and colors did not match up. Tried to see if anything matched up by checking resistances between wires from ABS pump to the ABS computer, but nothing pinged. So I decided to replace the front harness. Got one from a forum member that worked well, and you can see the old front harness on the floor, with the new front body harness attached.
While I was redoing this, I thought I would run all my cables through the main body harness. That includes the temp gauge sensors, EWP wire harness, and LC-2 harness.
-Replaced mirror
As I am 6', the single adjustable rear mirror just wasn't cutting it. Decided to go with a "frameless" gentex mirror from amazon, the same type thats on newer vehicles. Bought a generic rear view mirror tab, glued it on, and mounted it. Ran the wires from the gentex to my power harness I created for my gauges. As an added benefit, I won't need a separate garage door opener, as I can use the mirror.
-Redline Shifter and E-brake Handle
Opted for the boot, handle cover, and e-brake boot. Everything was pretty easy to install, except the e-brake handle. The hole at the top was a bit small, and I had to stretch it out, I think breaking the top 1 or 2 seams in order to get it on. The boot when installed also looks a bit unnatural, but maybe over time and use it will reshape itself.
Today
That brings us to today. Some of the other things I did that I don't have pictures for are:
-Repainted interior plastics
-Didn't realize the throttle cable had brackets originally, so got those from bubbletech
-Re-installed radio and had it running. Had to add an additional cable in the back so android auto would run.
-Installed RE-A old school SMIC, and cut a generic pettit duct to work. Picture below shows current status
Still need to do:
-Fluids (Coolant, Oil, Trans fluid, Diff Fluid)
-Get it started (with help of Tuned by Shawn, wanna make sure all my sensors are working)
-Put Driver's seat back in
-Put Front bumper and front fenders on
-Put undertray, 99 spec brake ducts, wheel well liner
-Eventually put in SBG water injection kit
-Get a proper tune once the rona is done
-Get some of the paint touched up.
-Actually get to enjoy the car
Did fluids, except for transmission. Should have checked to make sure the fill plug was able to be loosened before putting the transmission back in the car. Bought a propane torch, and will hit it with the propane/PB blaster combo to try to get it loosened. If not I have bought a 9/16 female square socket, made by Sumex. Apparently some of the miata guys use this socket for their 14mm fill plug. If I don't get this filled tomorrow, may jeopardize my first start tuning session with Shawn...
Starting with a dry system, as I unhooked the oil coolers as well. Scared putting in 5.5 quarts, but it took it all. Also put like 2.5 bottles of 50/50 peak, and filled diff with redline 75w90.
I think i found out why my brake fluid reservoir dropped from 2018 to now. Looks like it was leaking where the rear line attaches to the hard-line, circled below, there was a bit of coagulated fluid where the top brake connector was, and a very slow slow drip at the bottom of the hard line. Tightened it up about 1/8 of a turn, it didn't move much. Tested the brakes by stomping on them for a bit, and no new fluid formed, so hopefully that's the end of that.
Really nice stuff! Curious was the Pettit duct for the Cool Charge II or the later Cool Charge III? I'm looking to get a Pettit duct for my PFS intercooler.
Hey Mobash, I am not sure. I called them and they have some custom ones they don't list on their website. I gave him the dimensions of the SMIC, and he found something similar, though I had to do some cutting and putting up a plastic cardboard on one side. I uploaded a picture comparing size of the one he sent originally. Worked out pretty well though, at least for me, since some directed airflow is better than none at all. Would have preferred to have the bottom go down a bit further, but if I ever get enough willpower I can modify it to cover the whole fins.
I called them and they have some custom ones they don't list on their website. I gave him the dimensions of the SMIC, and he found something similar, though I had to do some cutting and putting up a plastic cardboard on one side.
That's great to know. I'll give Pettit a call this week and see what they have. Thanks!
Finally got the fill plug off after I bought a propane torch. I used the PB blaster and torch technique, applying PB blaster for about 5 minutes, wiping off excess, then applying propane to bolt for around 30 seconds. That thing came off so easily. Been working on cars for over 10 years now, and have now just tried using heat.... so many wasted hours and possibly stripped bolts. Oh well.
-Wired Banzai starter relay
Wired that up after I filled the tranny. Was straight forward, but arced a bit as I didn't remove the negative terminal. Rectified that after that little scare.
-First start with Shawn scheduled for Friday
Looking forward to getting the engine running again. Praying that I put back everything together. Already verified through the diagnostic box that the fuel pump runs, and that no fuel is pouring out, and the fans trigger using the TFA. everything else should be good.
-Tried to fix CPU#2.
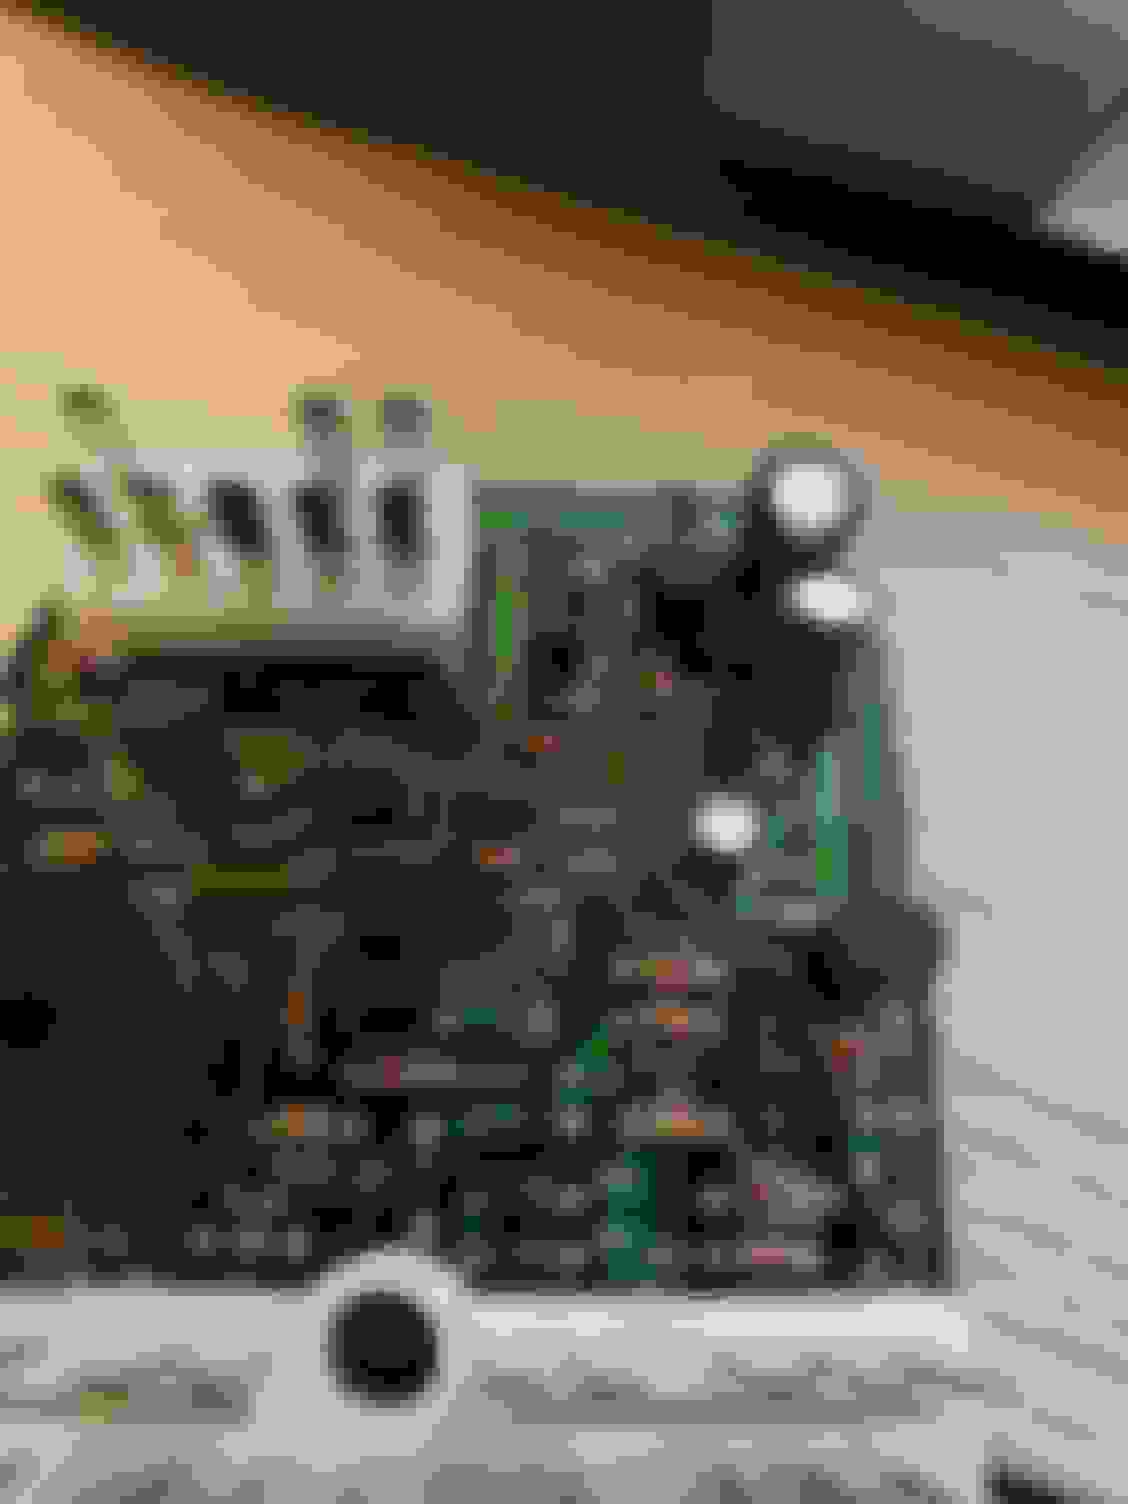
Still having the same issue after replacing the caps, with the coolant warning buzzing after about 10 seconds. Cap #2 was popped on mine. Issue is 1L pin is not getting 12 volts, and that is all contained within CPU #2. Will try to source one of those from a forum member. The only reason I am not trying to re-solder the trouble points is it looks like Q12 and R35 have jumpered together, frying the circuit.
While I was troubleshooting, I borked the tabs that connect the instrument panel hood to the instrument panel face. Tried to just use Plast-aid to glue the pieces back together, but the bond wasn't strong enough with the thin walls. So what I went with instead was #6-32 threaded rods, cut down to size, and then epoxied in with the pieces assembled back together. I also have #6-32 lock nuts so that it doesn't come off. If this works on the hood, I will use this technique on the door plastics as well. I noticed (since the people at Menard's messed up my order) that the #8-32 fits in snugly into the plastic tunnel, but I think in some of the locations if the larger #8-32 is mis-aligned, it may not fit. Also, if this doesn't work, I will use the Nashman69g technique of utilizing plast-aid mixed with ABS cement, and then 3/8 hose as the mold to remake the tabs and re-drill.
I guess the epoxy/threaded rod worked pretty well, along with lock nuts to ensure they don't vibrate off. I will try with the door panel plastics next, but may still need to create one or two plast-aid tabs due to how they are shaped and assembled to the door card. Will cross that bridge when I get there.
Installed the cluster again, and also finally got around to installing the driver's seat. Starting to feel like the finish line now.
Took the clamps off and installed the IRP fuel pump clamp. Great craftsmanship, everything fit well, except the washers felt a bit large and when I tightened it down all the way the pump was tilted slightly up. I don't think it should be a problem, but it is what it is for the fuel pump being mounted on rubber as to lessen noise.
Installed the Garage alpha hyperion style surge tank cover. Wasn't that bad, but figuring out how the bands go takes a bit of playing around. Should have waited til the fuel was lower, but oh well. Also whatever you do, don't do it without gloves. My gloves kept getting filled, so I took one side off, and it felt like burning after a bit. Got 3/4 clamps done, with one being broken by myself, not putting it fully underneath the plastic baffle area. When I got everything hooked back up, added more premix and ran the fuel pump from the diagnostic box, everything was really quiet, and could only hear the fuel returning in the trunk.
Just waiting for Shawn for remote tuning, part of the appointment needed to be postponed due to him needing some numbers for an external map. Hopefully this will run tomorrow night.
4/30 Update
-It ran... for the first time in 5 years it ran.
So right now I have adrenaline coursing through me, but it ran. For starting it for first go, had to pour down a cap full of oil into each of the LIM passages, and it was rough. Had to hold it at around 3-4k to have it constantly run. But after it got up to operating temps, the seals look like they have resealed, and it was running pretty smoothly at 2k. Next step we will be setting the mechanical idle and proceeding from there. Just glad it ran, and doing it right around 10pm, I hope none of the neighbors complain about gunshots (the backfire when it was lumpy and trying to keep running). Also a shoutout to Tuned by Shawn, great guy to work with and was able to easily diagnose. One more thing, looks like the coolant light is still on, so might have to chase that from sensor to the CPU, and had to plug in the LC-2 directly into the adaptronic. Either TC-4 or SSI-4 is bad, or the adaptronic adapter board is bad. Will have to test its getting ground, power, etc. Overall happy with today, even though I now have more to track down and troubleshoot.