When you click on links to various merchants on this site and make a purchase, this can result in this site earning a commission. Affiliate programs and affiliations include, but are not limited to, the eBay Partner Network.
Lots of little improvements add up. We are all working towards that goal. I would suggest you upgrade your alcohol though. That $4 stuff will rot your gut.
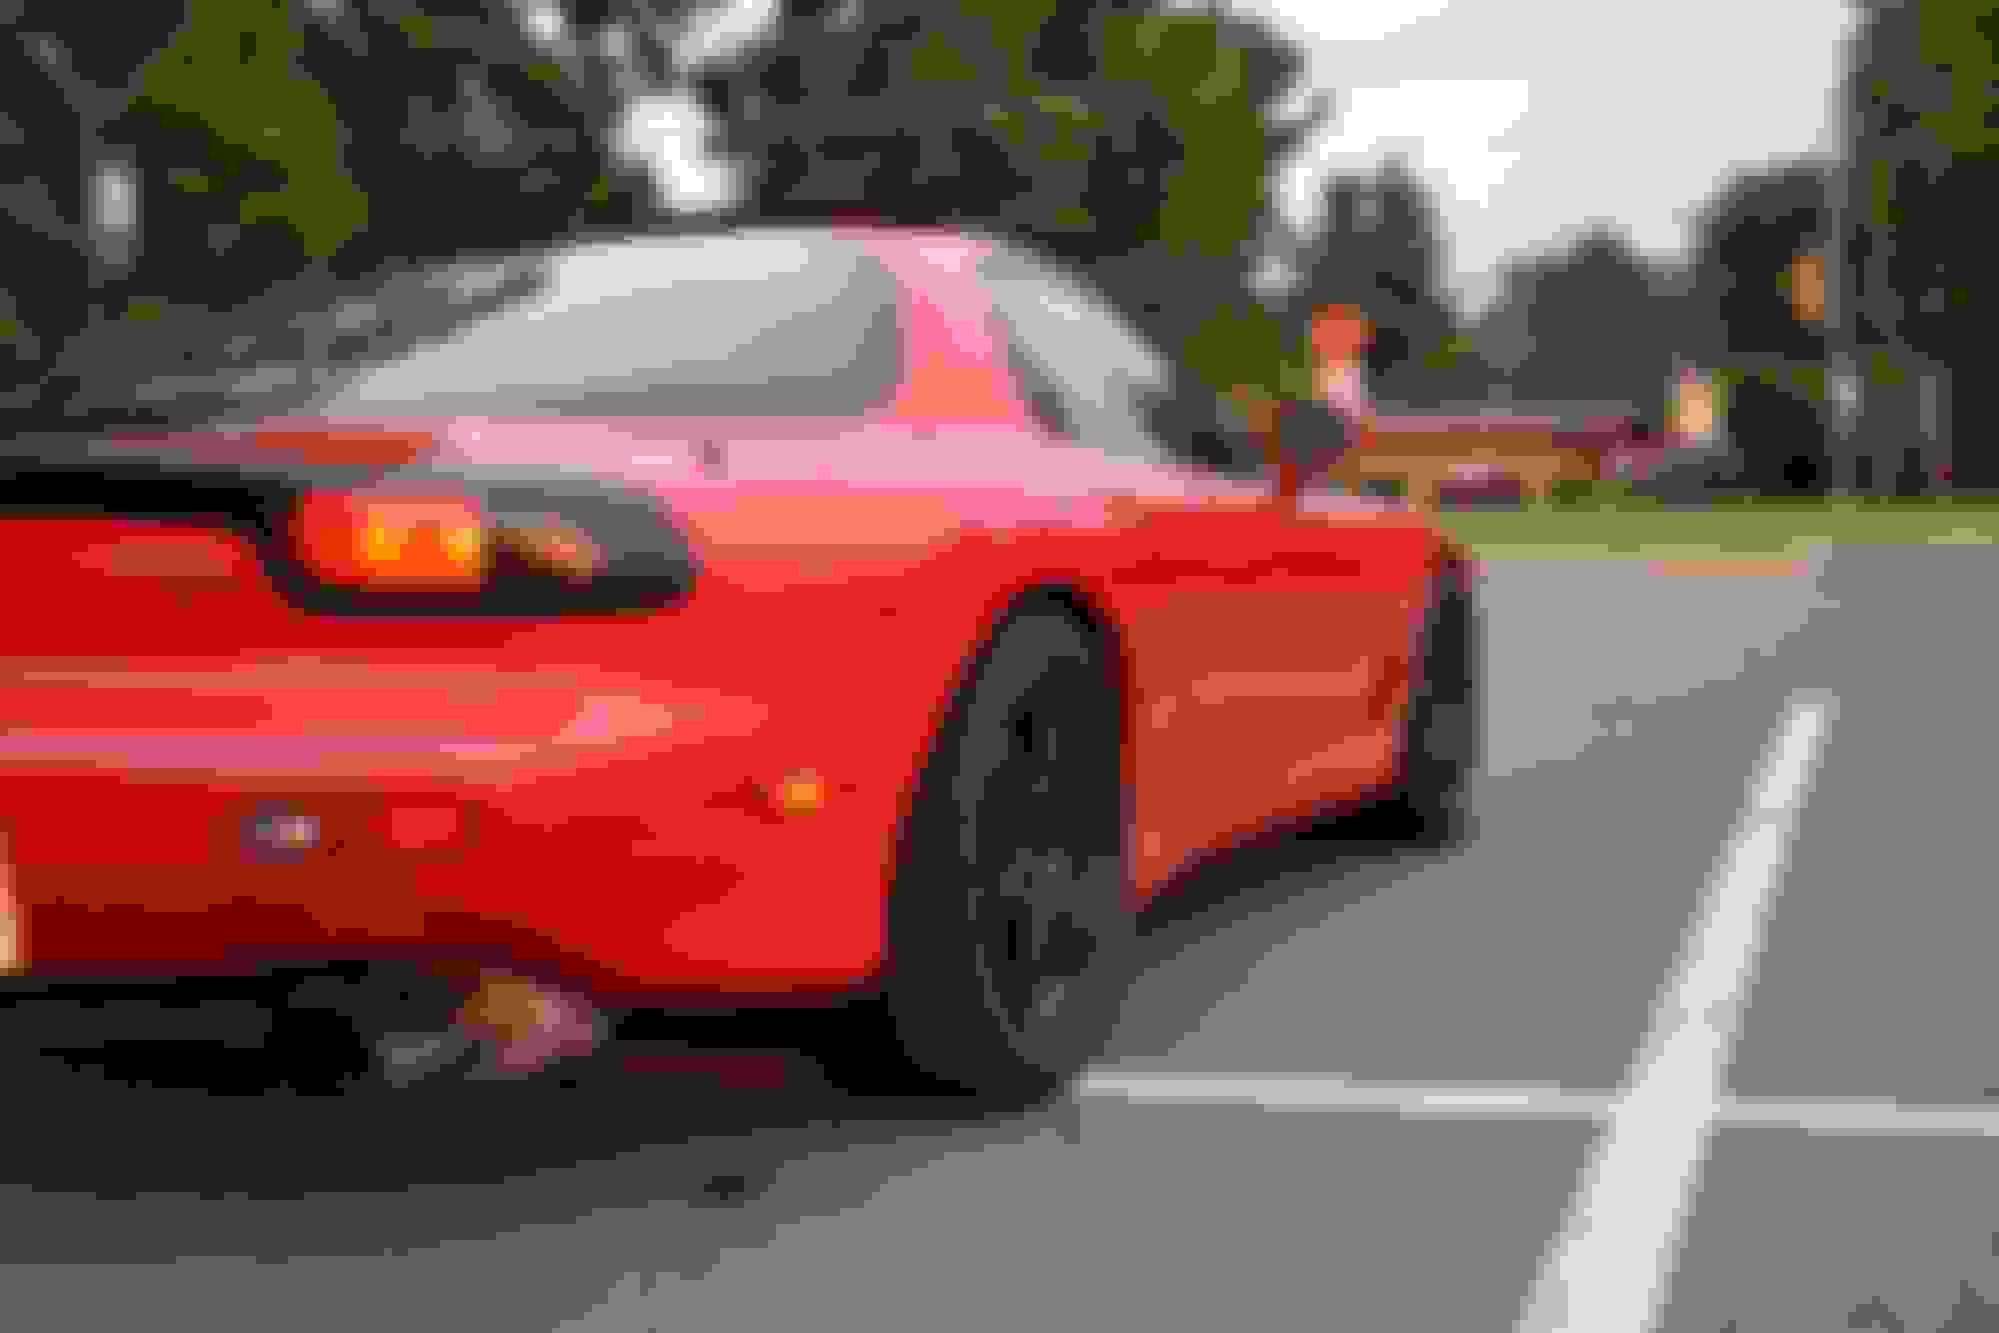
Installed some used Tein Super Street coilovers I picked up from ZoomZoom. He was gracious enough to help with the install as well. A couple of pictures after the alignment.
Trying to get some last minute things disassembled for the winter while we still have a little sun and warmth. I am hopefully getting the car painted and I'd rather pull all of this out now rather then the dead of winter.
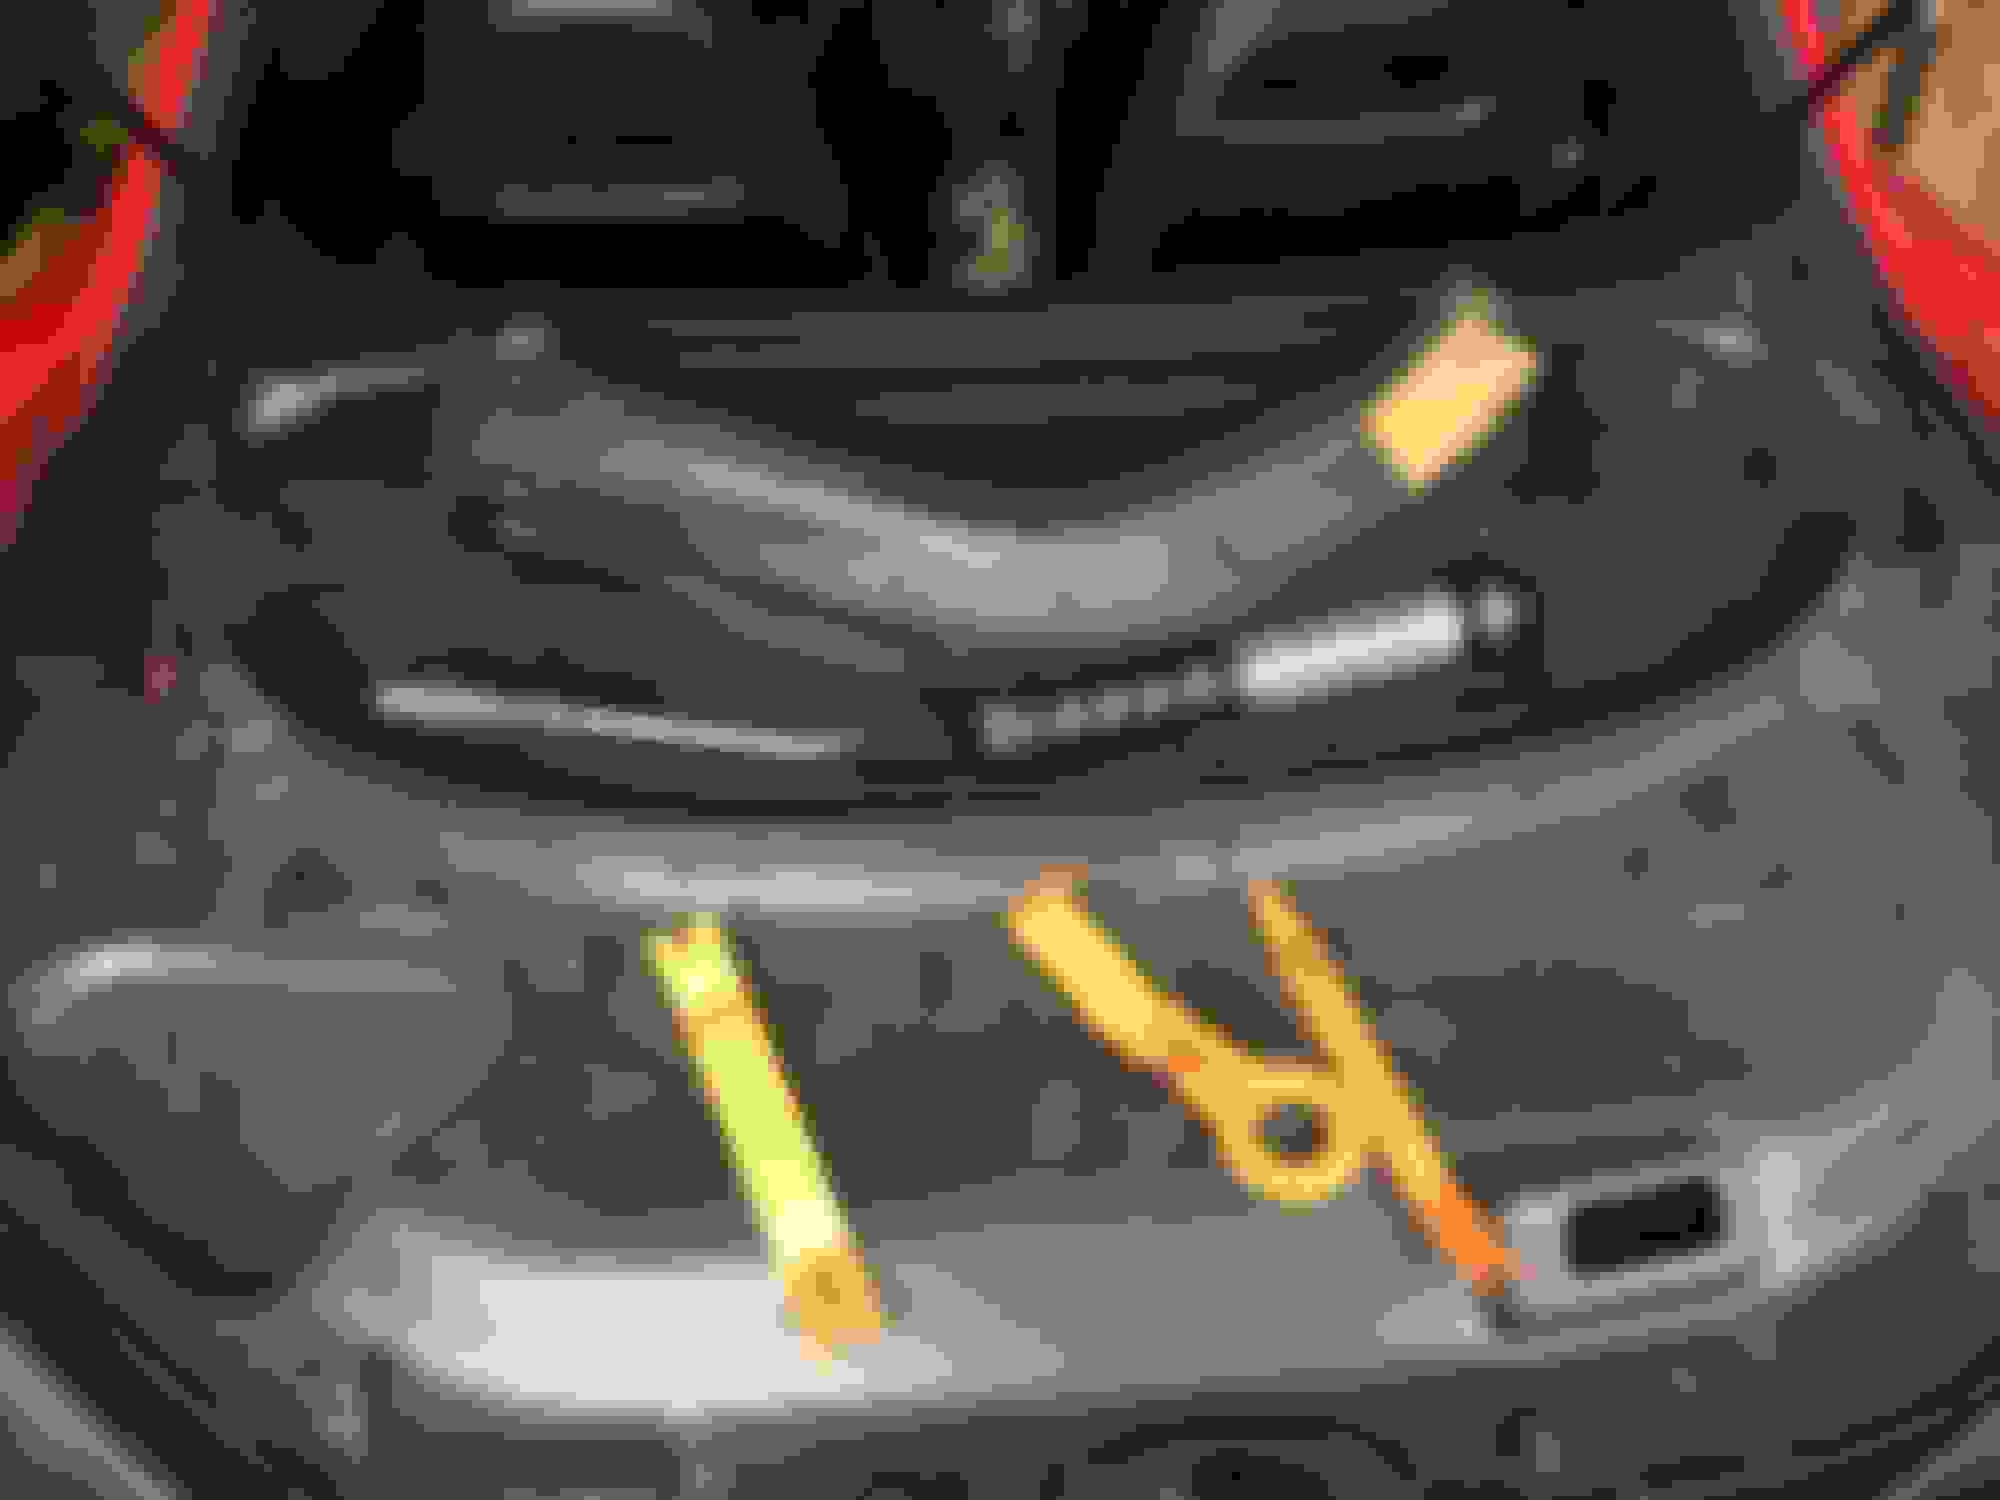
Pulled out all of the interior from the seats back. I bought the orange plastic pry bar set from Amazon. Came in real handy.
My car sat in the woods the summer of 2015 while my motor was getting rebuilt as chronicled in early posts. The car has always had a faint odor of mouse **** etc., esp when the humidity was high. Well as I pulled out the panels I found a little more remnants of the visitors.
Then I got to the bins. Holy RAT F$CK BATMAN!! Massive nest under the pass side bin.
I thought I had pulled the DS seat out when I first bought the car. Apparently not, I have been riding around sitting on all this gas money. It was all under the carpet where the outer seatbelt anchor is bolted.
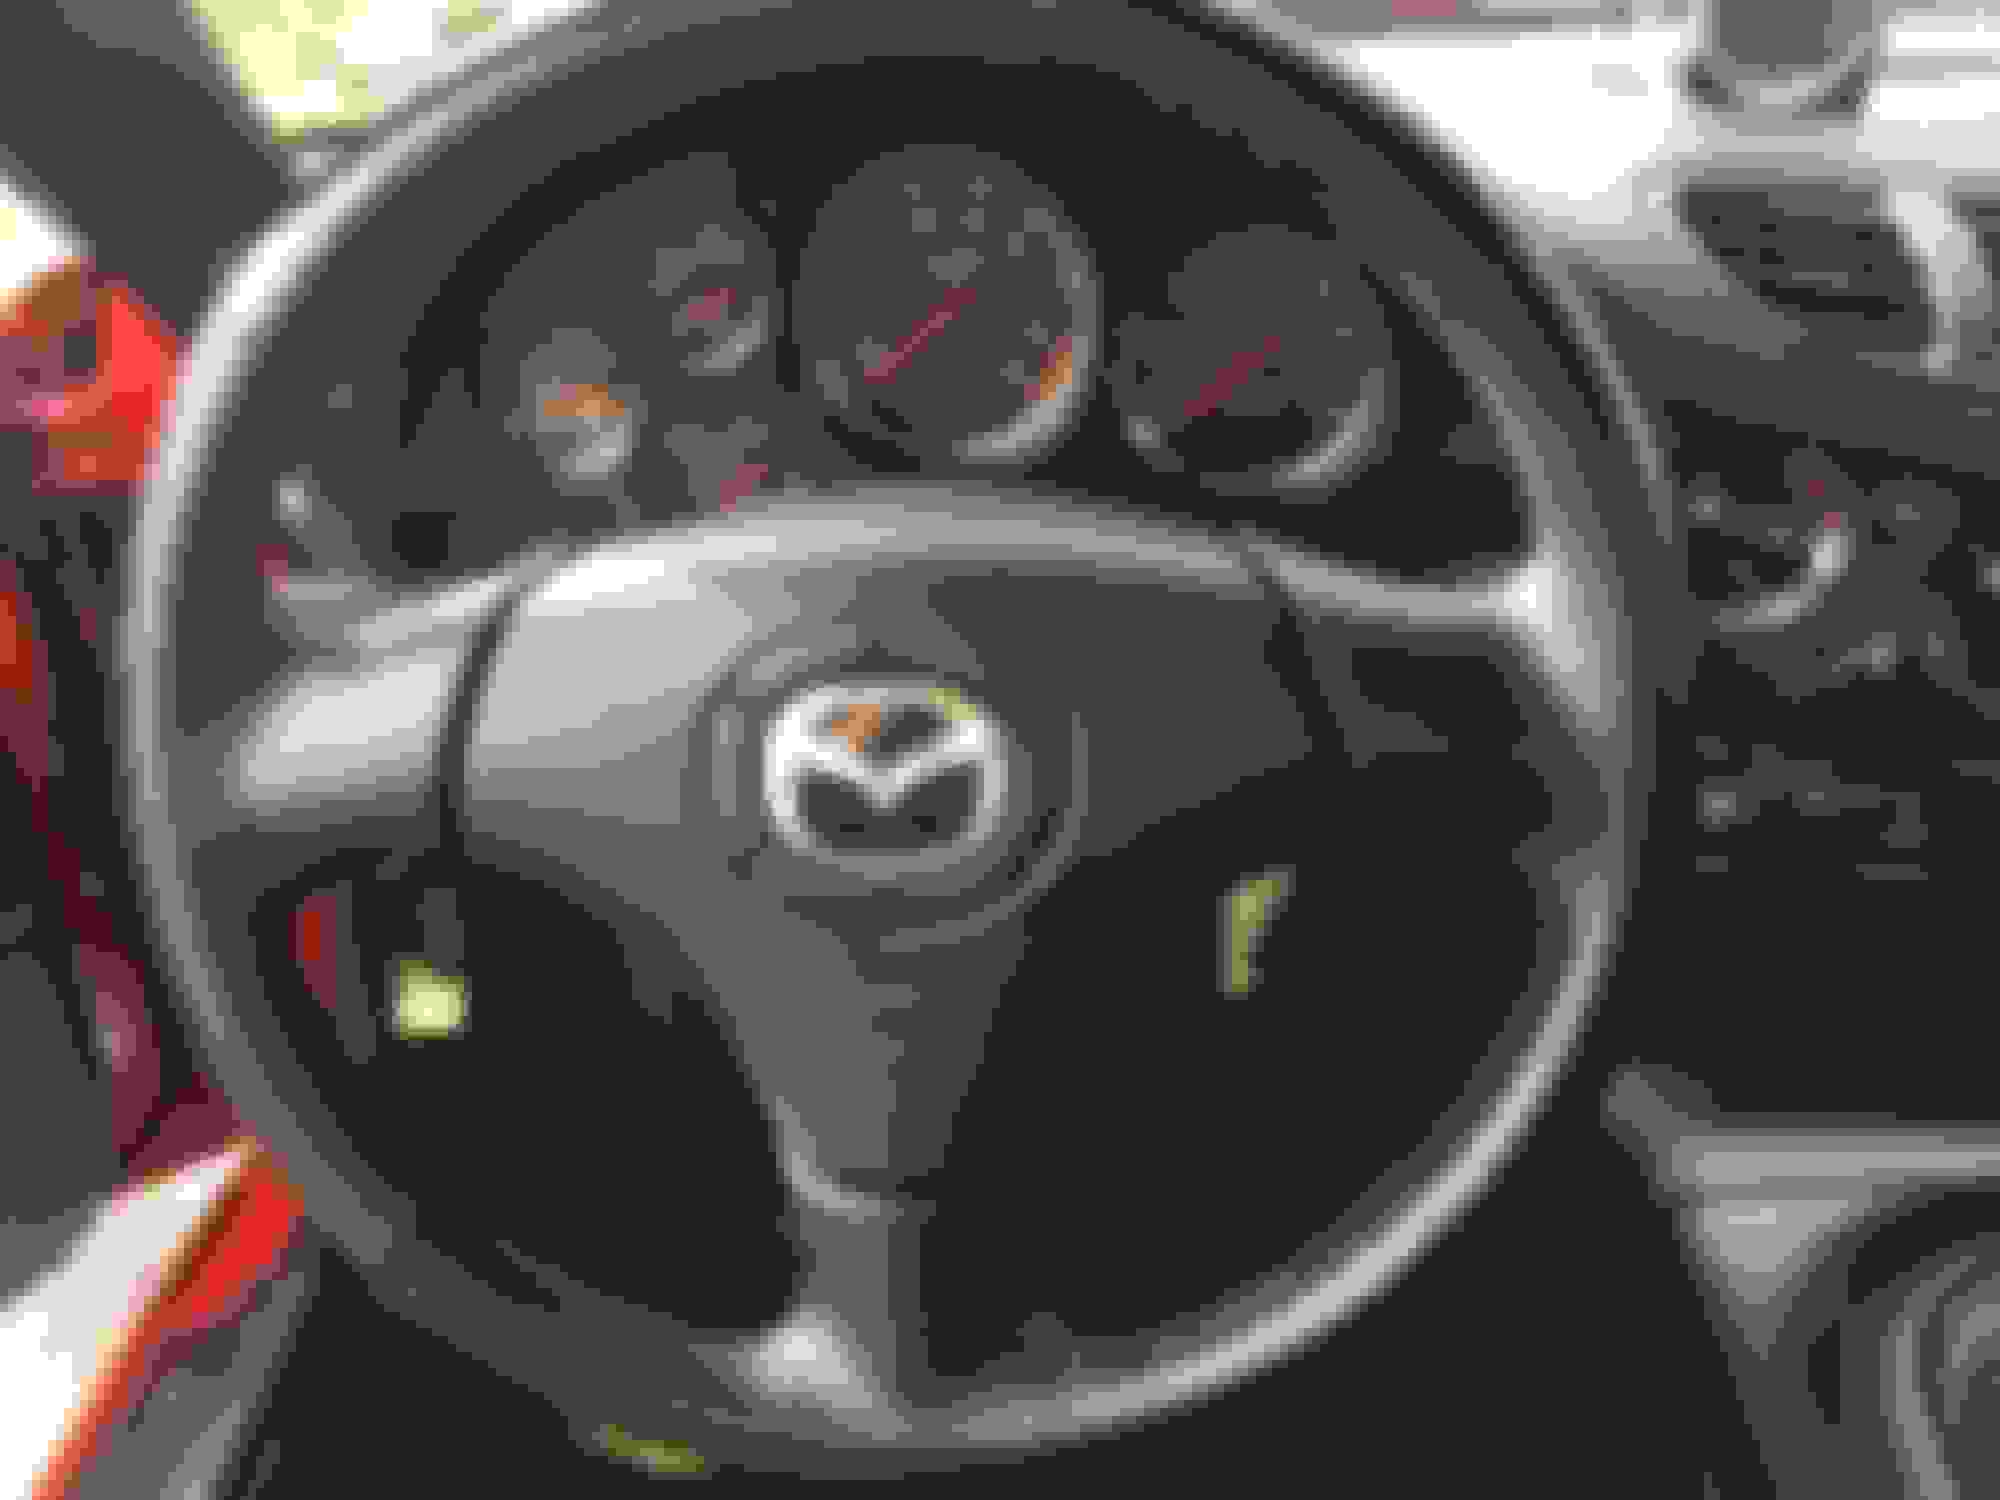
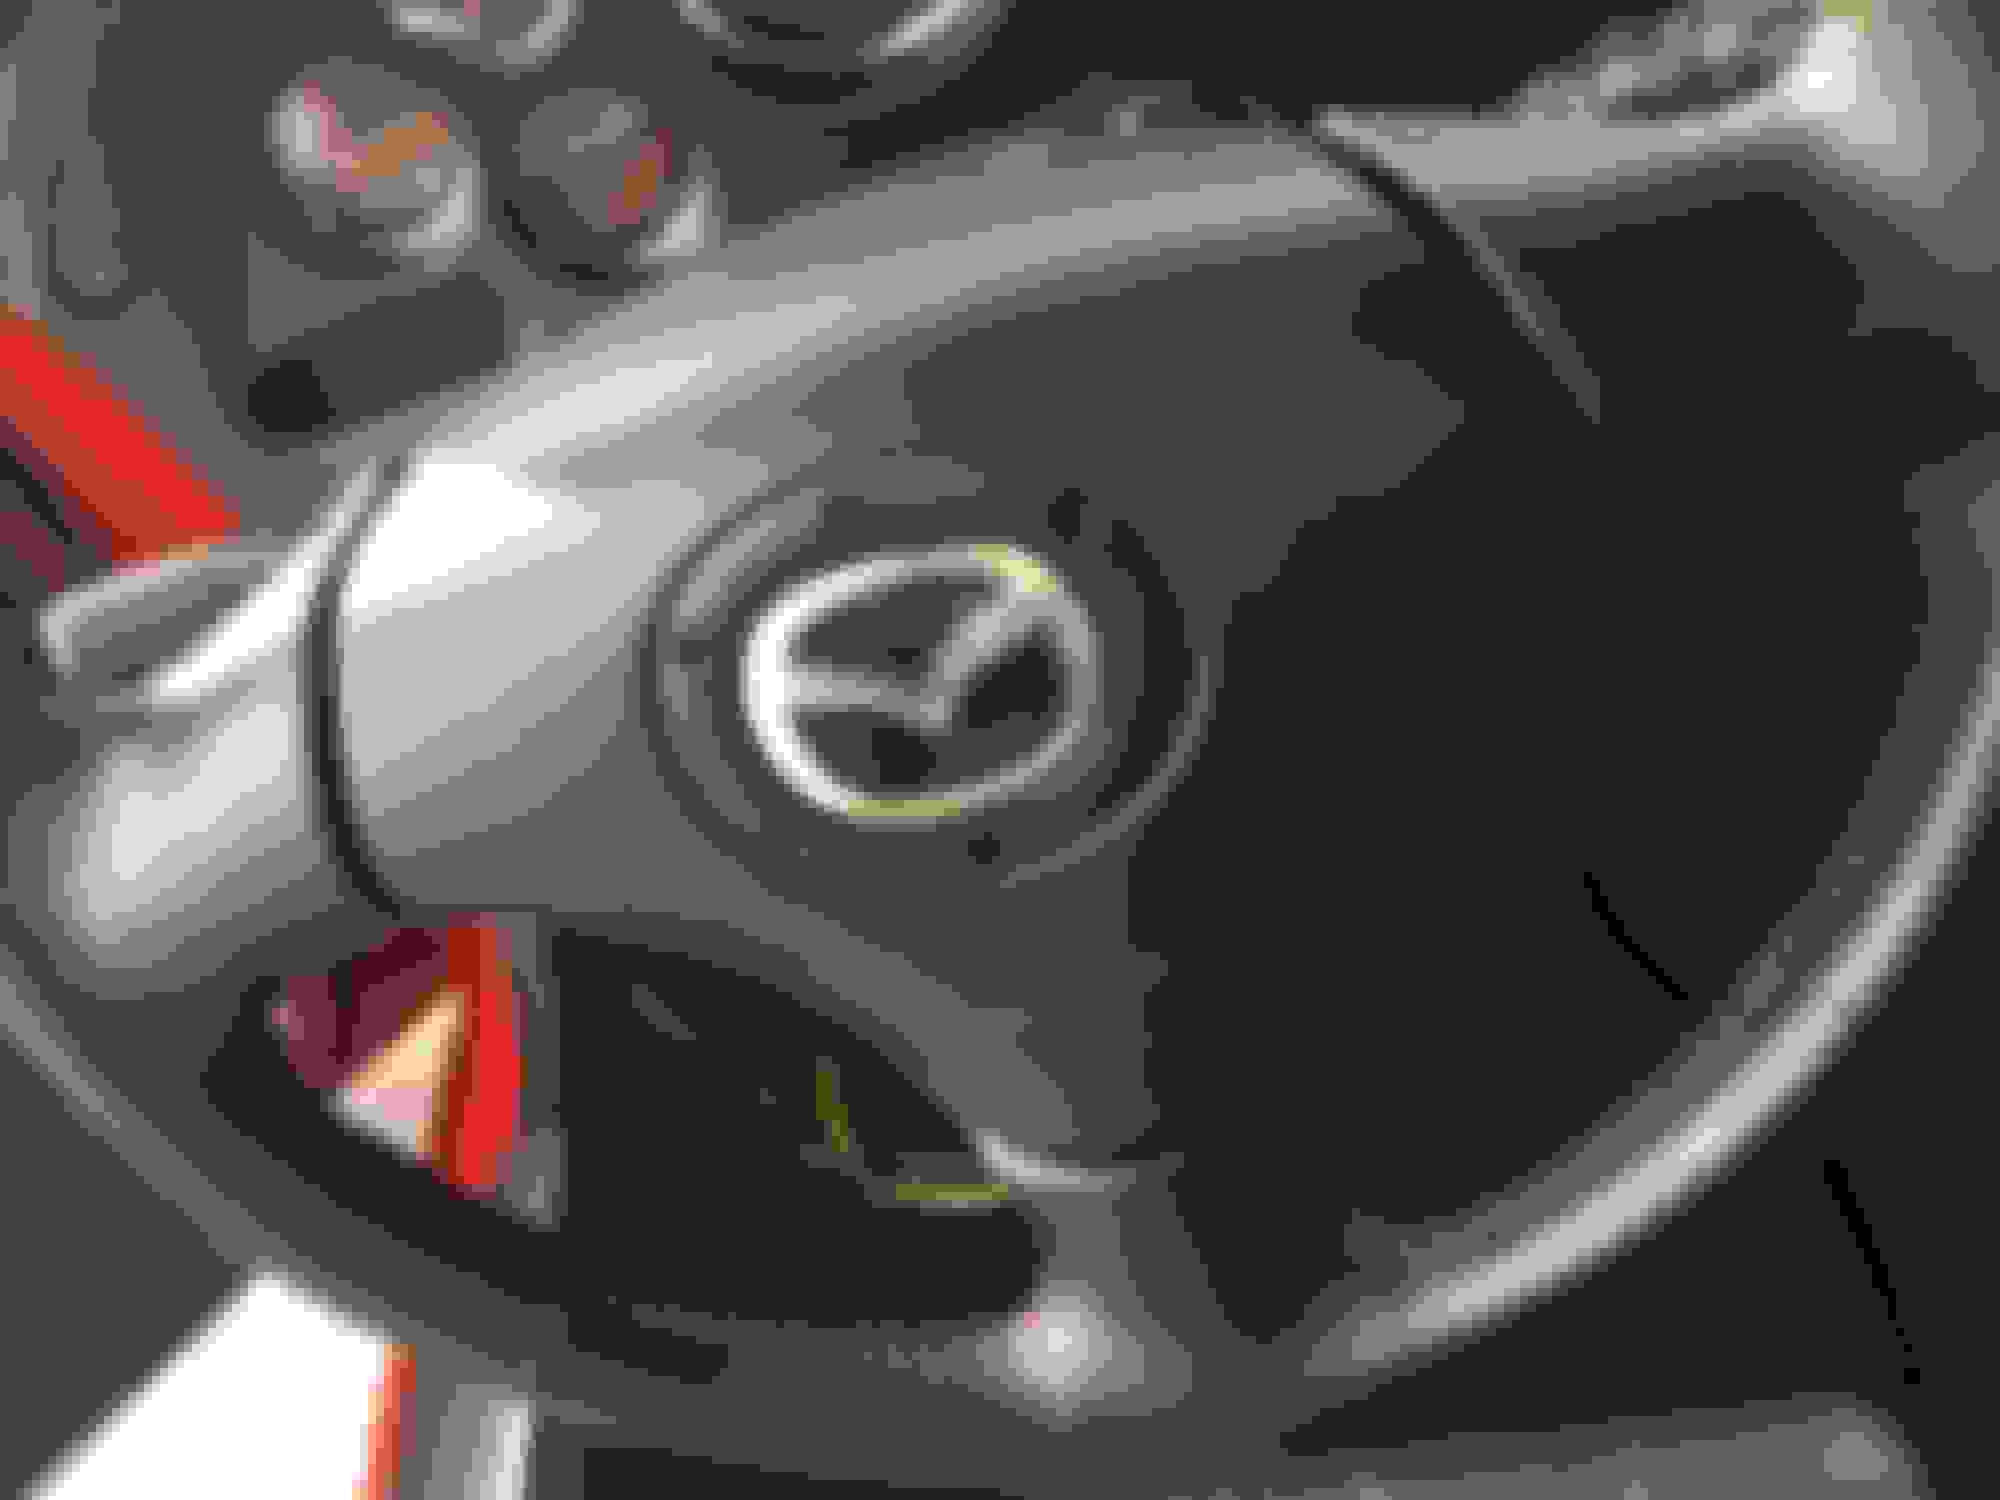
I picked this up off of the eBBayy, bought the wheel and airbag separate. I never knew how much I hated the stock wheel until I put this on. Everyone should get one.
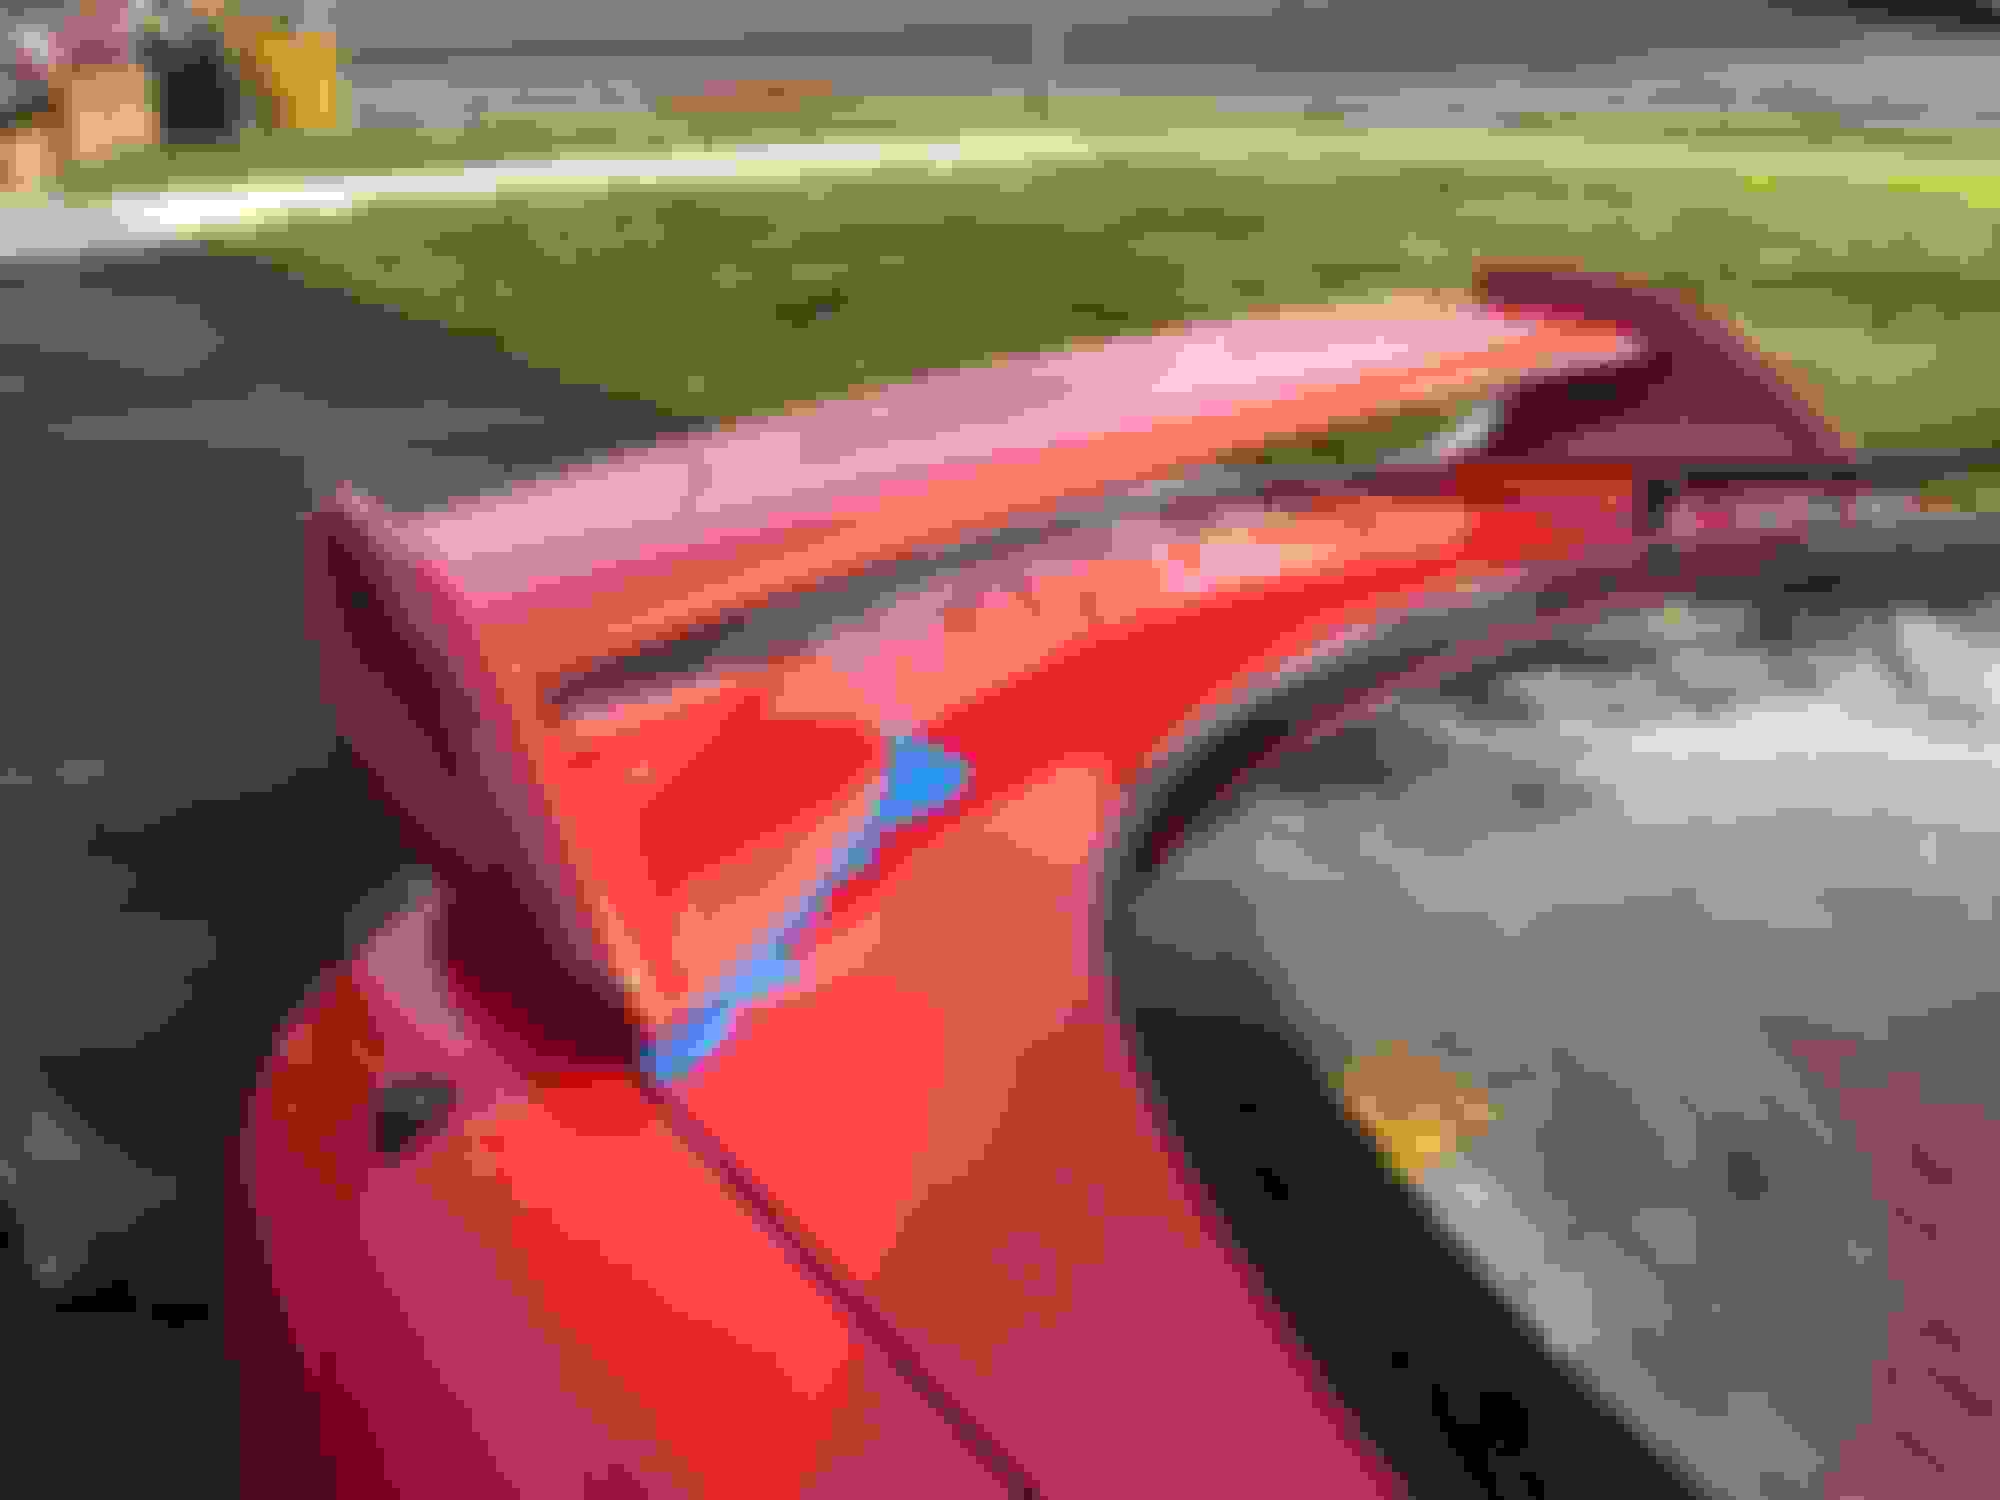
And lastly I took a drill to my hatch unholey Touring hatch. I wanted to see what the FD would look like in person with the wing before going to paint. If I didn't like it I could have the holes filled by the body shop.
The 99 bumper skin has shipped from Mazda so I couldn't wait to put this on. Ignoring those who said to the wait for the pros to do it (they may still be right), I decided to tackle it. I downloaded the templates from this website.
What I found was, the left side JPGs would not really print to scale. I tried tweaking the zoom and other settings and gave up. Printed the right side and they were much closer, if not correct. So I moved forward with the right side, printed it twice and just flipped it over.
love your setup .. can you tell me your exact wheel fitment? offset tire size etcetc. beautiful FD.
Thanks. I can tell you the details that I know.
I bought the wheels from FourtyOunce last year. They are a staggered Volk TE37, 8.5x17F (225/45) 9.5x17R (255/40). No rolling of the fenders or rubbing as of yet. What we don't know is the offset. The wheels had been repainted and the decals with the specs weren't there. To the best of my recollection when we were doing calculations with a straightedge and a tape measure, they are in the 35-39 offset range. Or possibly just a little more aggressive than that.
Cutting and pasting from the oil cooler thread. Many delays this winter, mostly life related. Just didn't have the time to put in. Back up and running now, onto the mods. The R-magic 99 oil cooler ducts took every bit of 8 weeks to come in from RHDJapan, so if you are going to go with them, plan ahead.
Still having issues getting the 2nd drivers side cooler fitted and aligned on the passenger side. I was close with the 1st round, but once I started to fit the bumper and the ducts, I was off. So I have more time to put in tweaking the homemade brackets.
I'll just start off with this. For whatever reason, I thought I needed to pull the AC/PS bracket in order to get enough clearance to pull the banjo fitting off the front cover. I pulled the PS pump and had the AC comp loose before I even tried to unbolt the banjo. Guess what, it came right out. I have read this and other cooler threads over and over, not sure why I even thought that was necessary. The learning curve is so steep on these cars, like nothing else I have ever owned.
My order came in from BAT. Cost was roughly $190 shipped. 8 ft of line. I had them install two of the fittings on the full 8ft. Then I cut it to length and installed the last two.
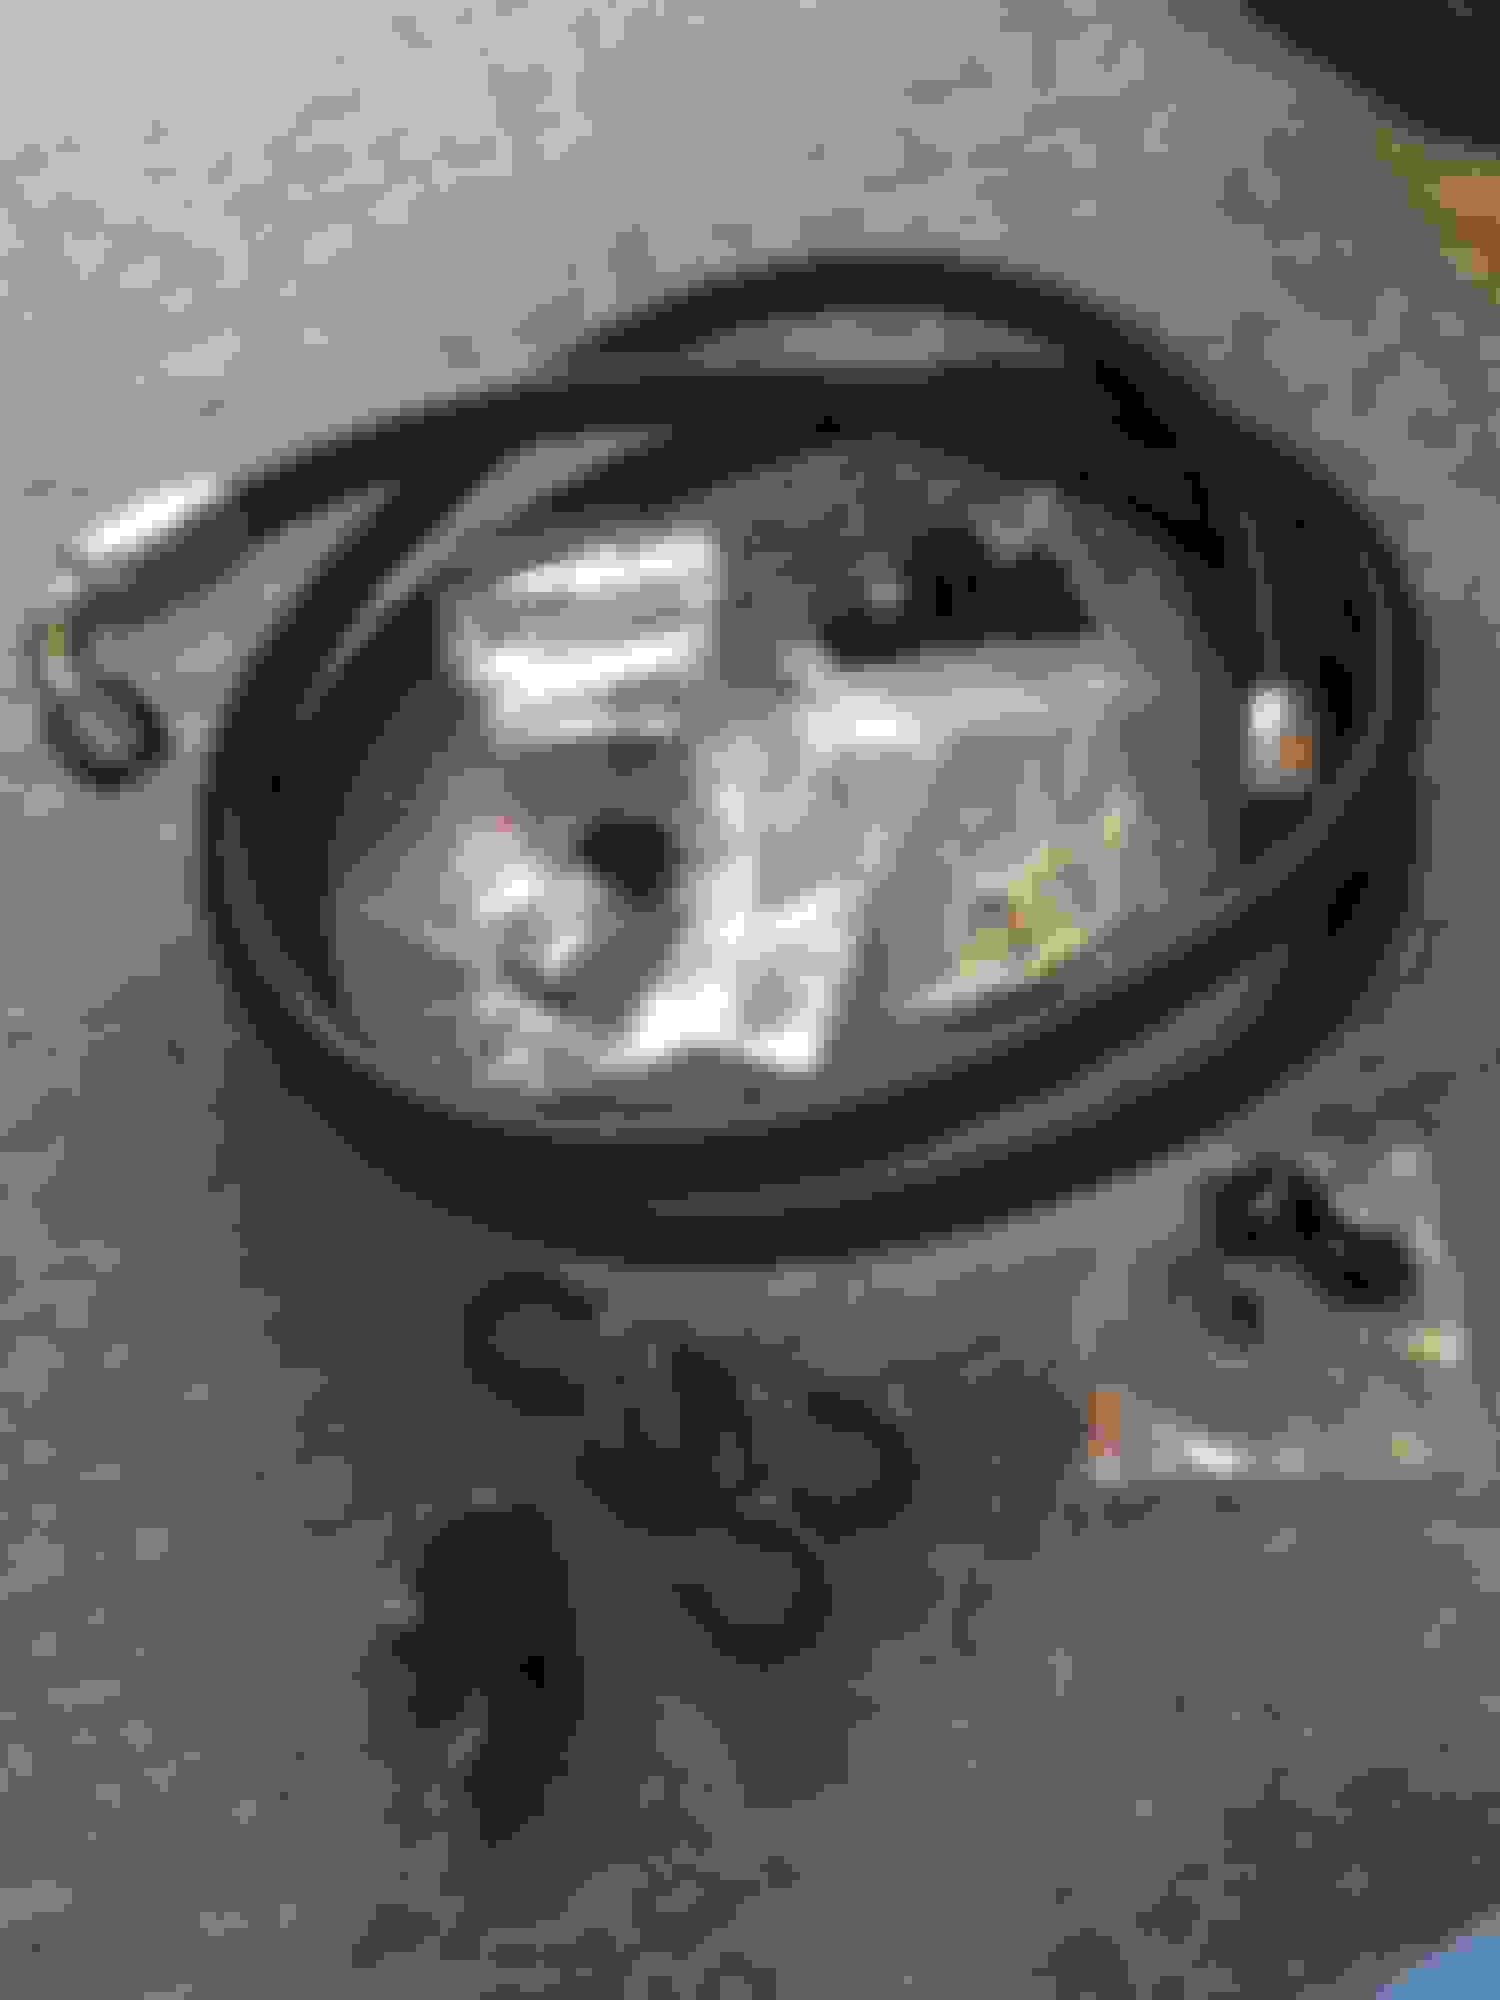
The stainless screen. It is pretty stiff and not that easy to work with. You need tin snips. I got them sized right and I have them cut down so they just fit snugly between the duct tabs. With the R-magic ducts bolted on, it all fits together pretty nicely.
Now, the 90 degree fitting coming off the front cover. I am not likely this approach, maybe others have just gone with it. At this angle, the AN line needs to run behind the lower rad hose and over the hardline on the steering rack. I was hoping it was going to fall under the cross brace which is where I was going to run the line from the left cooler to the right. I am considering getting a 45 degree fitting, that would get it heading in the right direction and then I could just use the line to complete the turn.
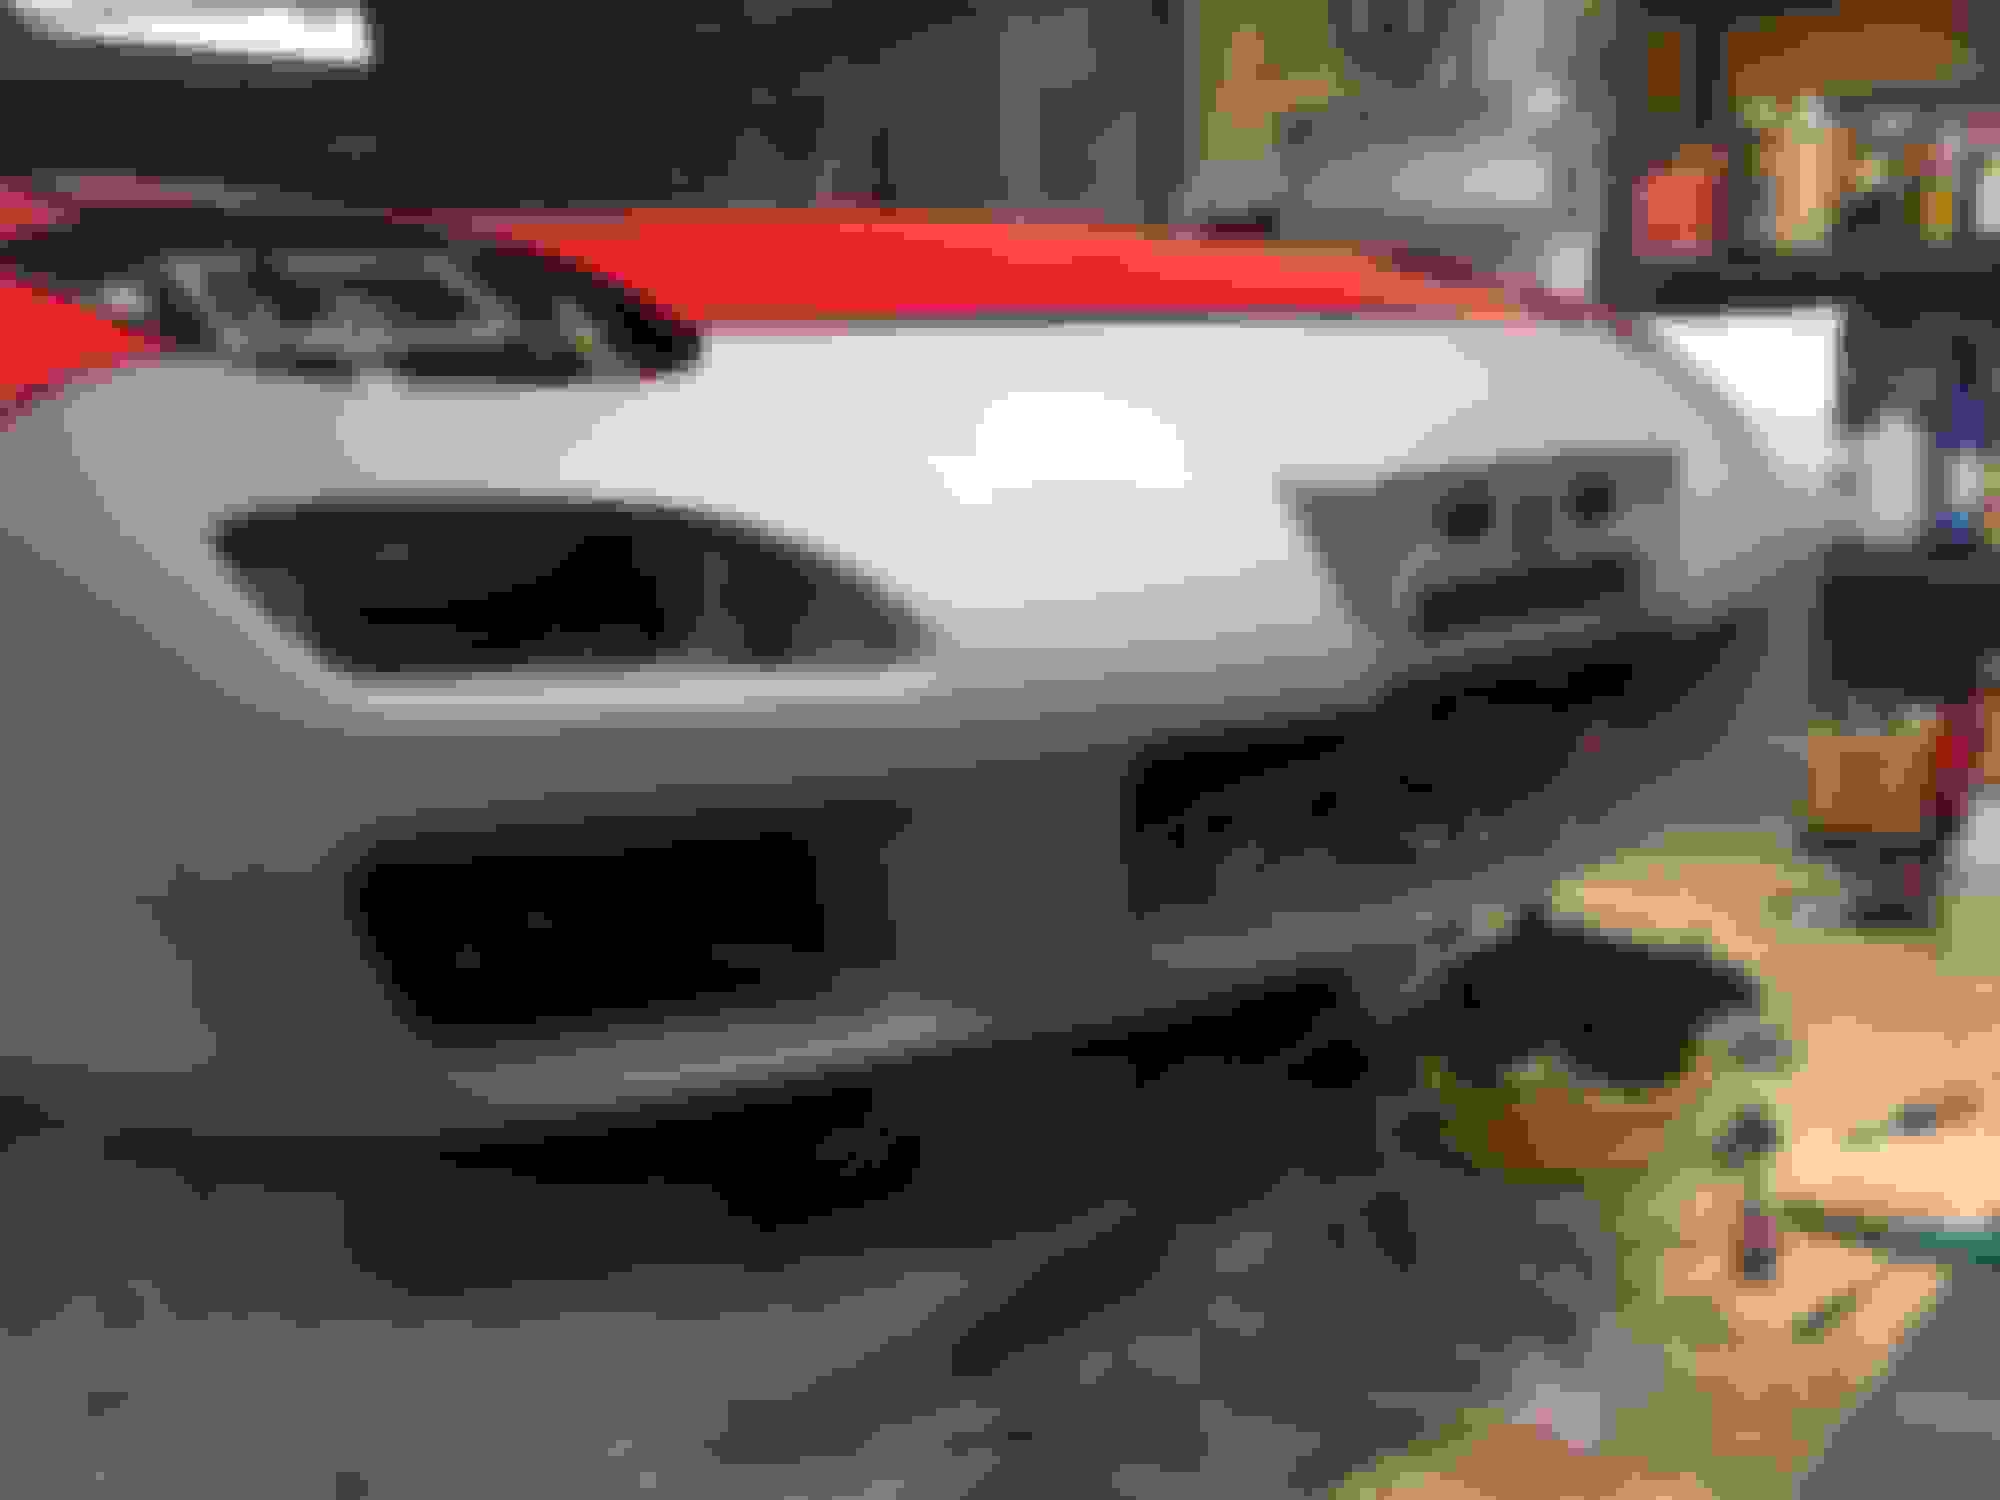
Front bumper skin mock up. The OEM piece fits well so far. I have no doubt the body shop will be able to get all the gaps just right.


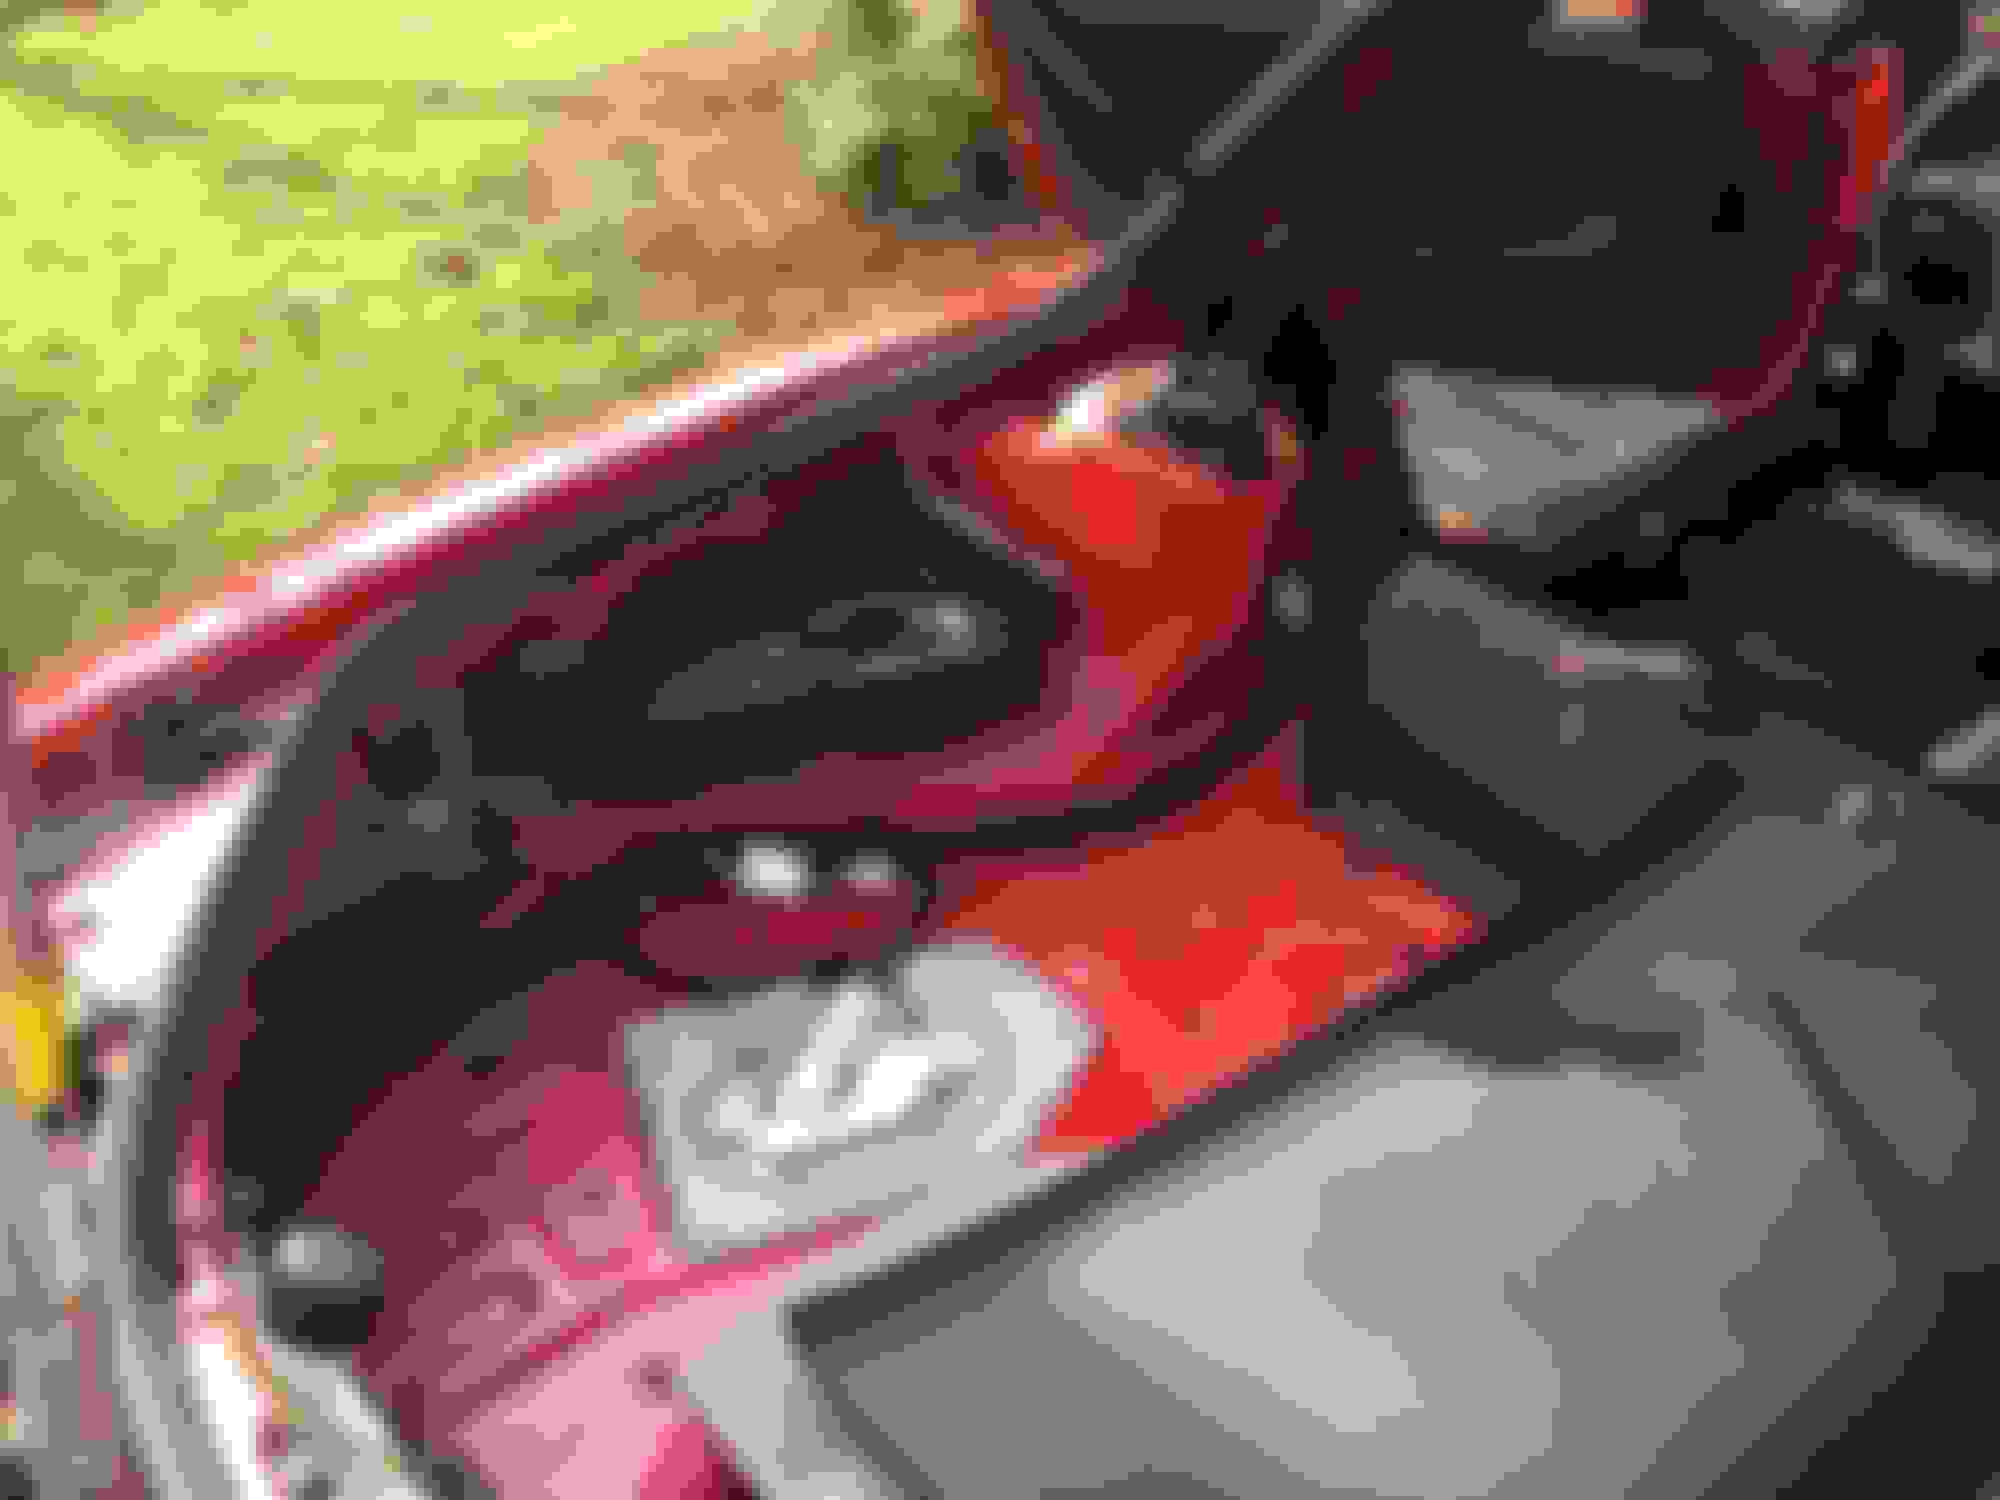


 It was all under the carpet where the outer seatbelt anchor is bolted.