When you click on links to various merchants on this site and make a purchase, this can result in this site earning a commission. Affiliate programs and affiliations include, but are not limited to, the eBay Partner Network.
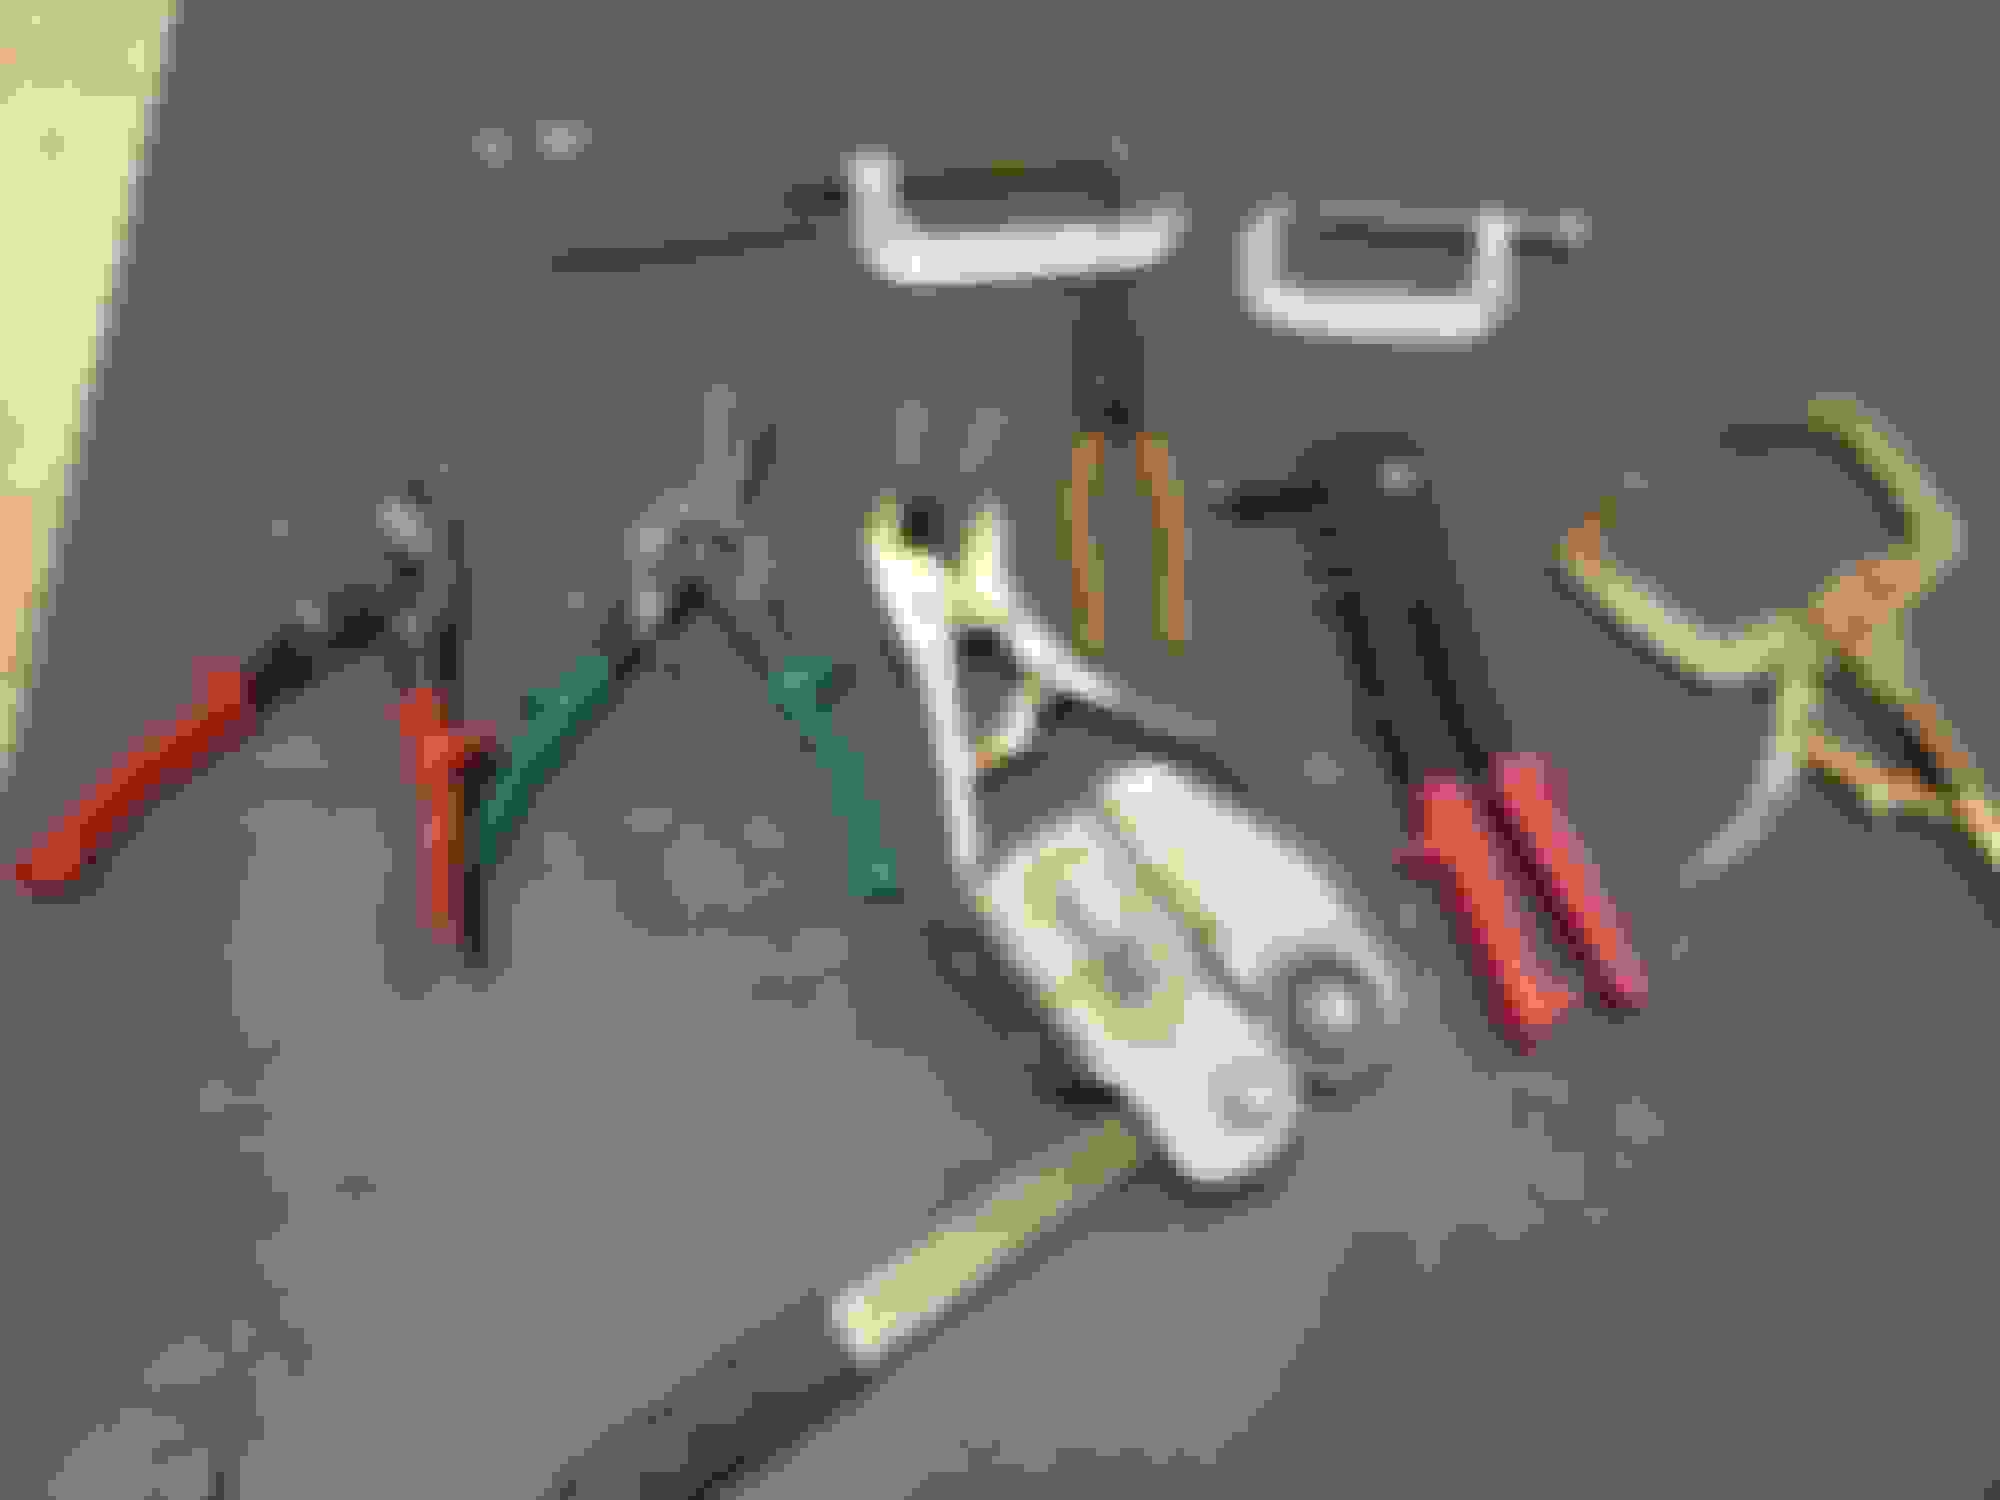
In case anyone cares or it helps someone out in the future, here's the set of tools I have been using. All of it from a time in the distant past when I was restoring rust on more than one Early Ford Bronco 66-77 BITD. All I can say is that .040 alum is a lot easier to work with than 18ga steel.
Funds are tight so I have a few DIYs going on. These rims had a red pinstripe around them and I decided to eliminate it. Hit them with a D/A, wiped down with lacquer thinner. Found some old plastic place mats cut them to mask the rim. Half a can of gloss black caliper paint and done.
Looks like that came out pretty good on the wheels. Like to see how it holds up. You can always have them powder coated if it doesn't and get new stickers.
Btw I have those same tires on my car. Don't know how they perform but they pick up plenty of rocks so they might just be sticky street tires for the win.
Last edited by ZoomZoom; Mar 26, 2016 at 10:47 AM.
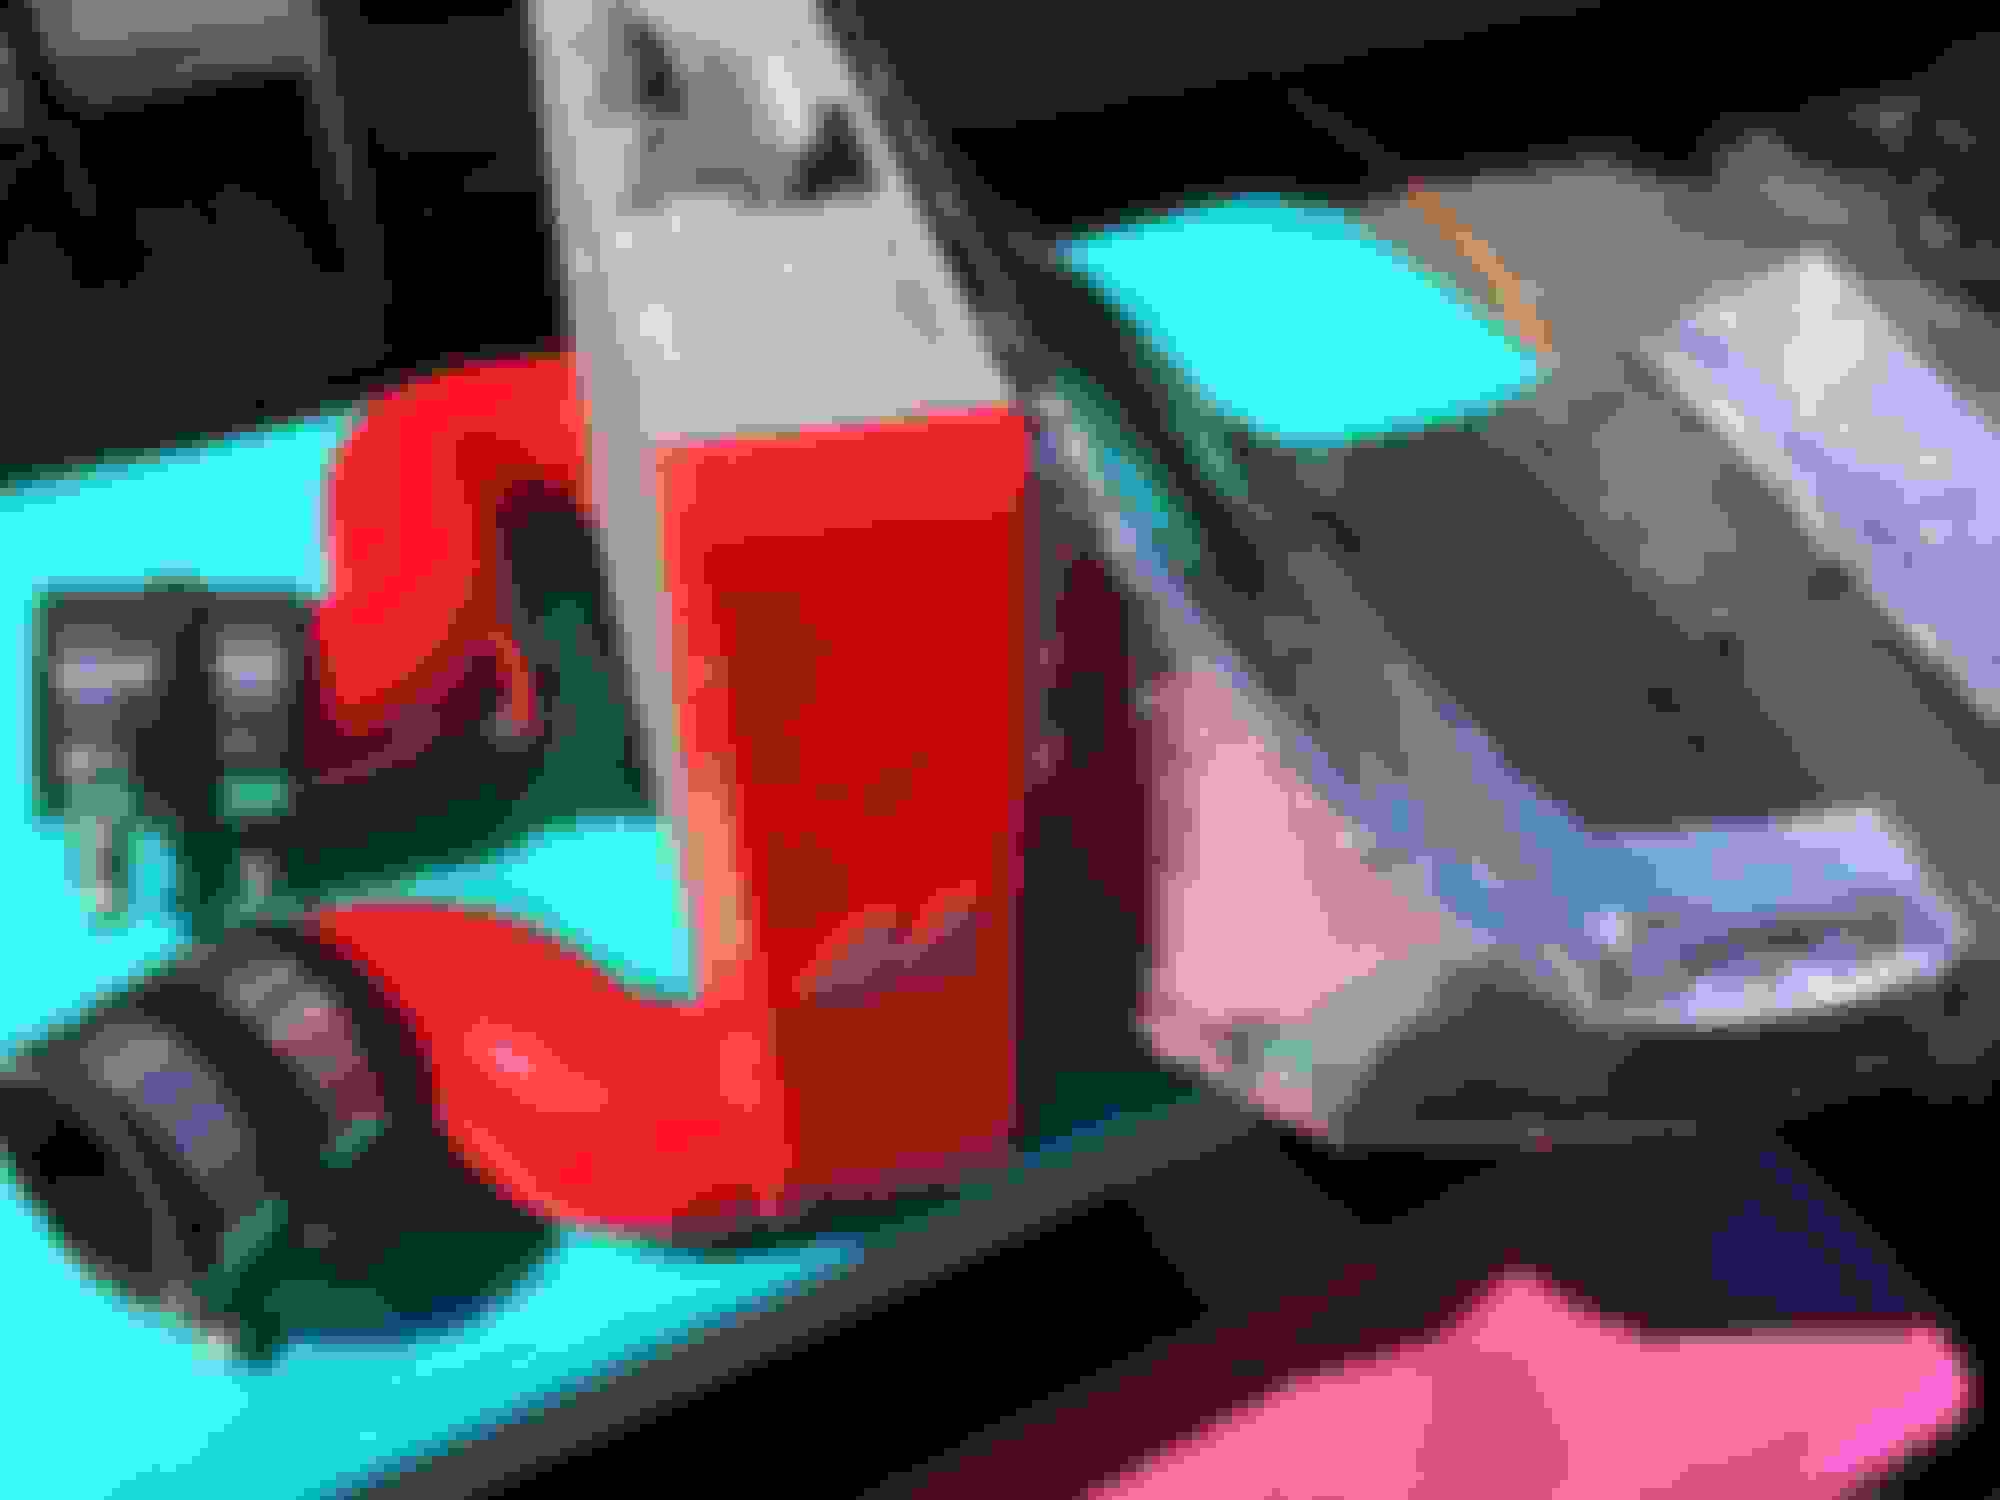
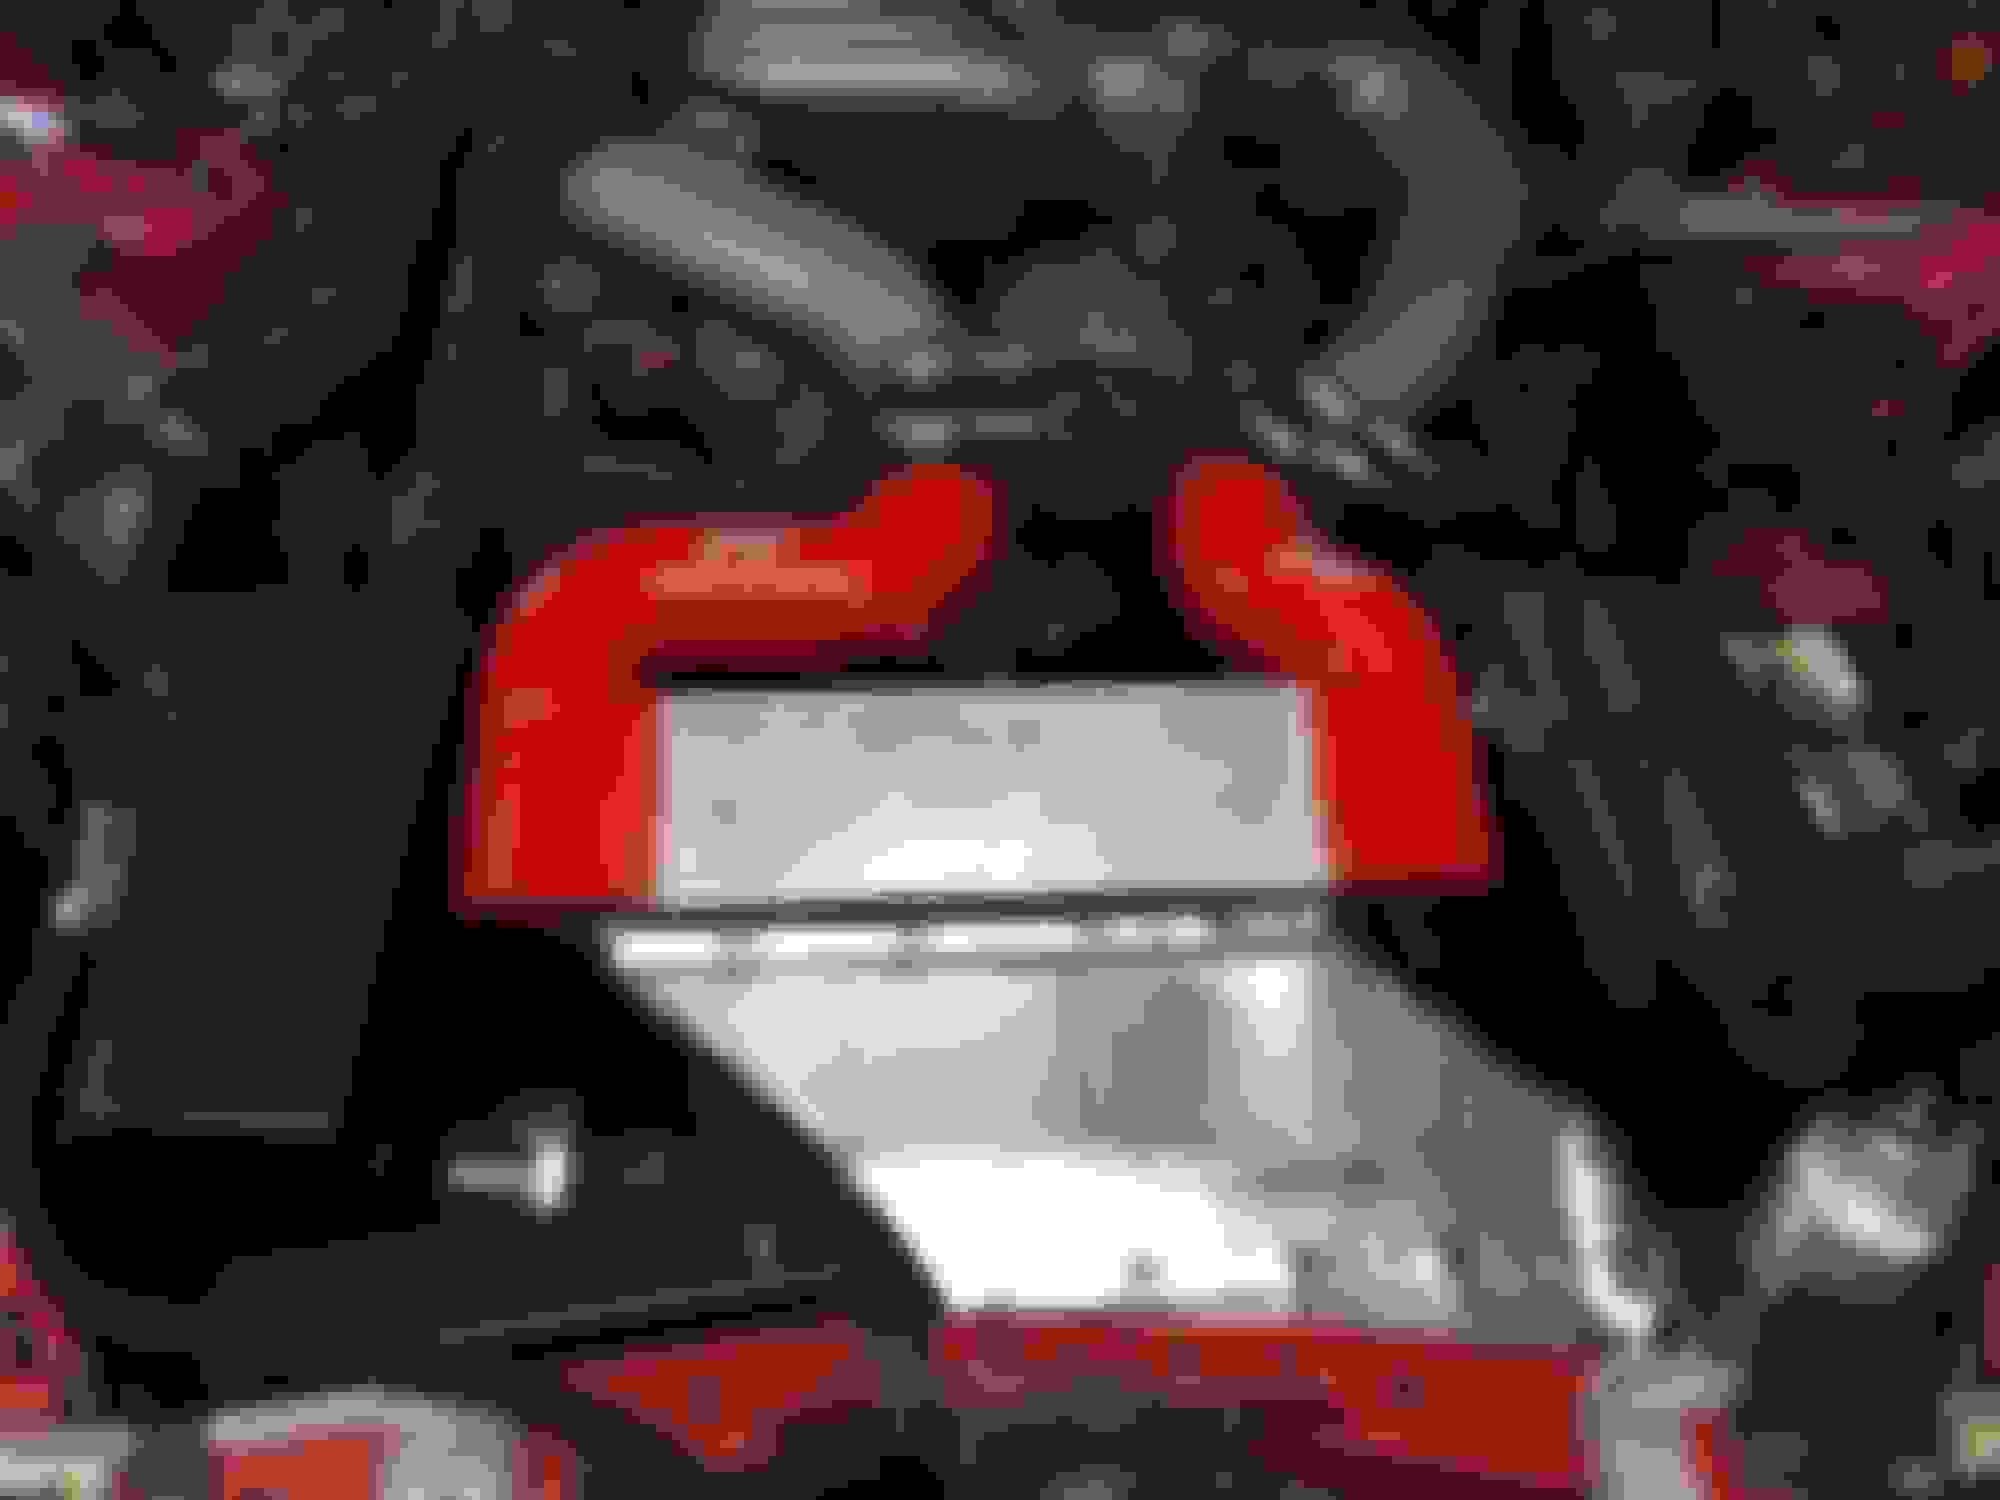
Duct is done. It was determined that I wasn't going to plumb the airbox into the IC duct. The PO of the airbox had cut two large holes in the bottom. I contemplated replicating the FG part of the box out of alum but realized it would be a miracle to pull that off. So I checked and measured and determined I could use the "even cheaper bastard" CAI mod with the PFS box. Seal for the duct to IC is 7/32" vacuum hose. I split it down the middle and slid it over the 'flange' created by the edge of the duct.
My interior panels suffered from the typical 93 sticky goo issues. I was able to strip the parts just using plain rubbing alcohol. I purchased two SEM products and laid on 4 coats of color. It came out pretty good overall for the time and money invested.
Side note, it didn't look like I could easily get the HVAC backing indicators off the panel. So I attempted to protect them with vaseline instead of trying to mask each little spot. I probably didn't use enough because the paint stuck on a few places.
Picked these boots up last year from Goodfella. Not sure why I took so long to install them but it wasn't all that hard. I used a hot glue gun to attach the boot to the small ring below the shifter. And a staple gun for the lower rings on both the shifter and e-brake boots. Also picked up some spring clips and insulation pad from my dealer. Online is fine for big order when the discounts cover the minimum shipping. In this case going local was more cost effective. And my dealer (Hamilton Mazda) supplies most of the parts for one of the local rotary shops according to the parts guy.
We should sweet talk the parts manager at Hamilton Mazda into coming up with RX7Club.com discounts
^This. That's what I am thinking after a few more trips. Mazda-parts.com has a minimum of $12.95 shipping. So unless I am saving more than that..... Plus it shows up in 2 days if its in the local dist center.
There's going to be a few pics below. Basically when I took the DS door plastic out, I collected all of the pieces and was able to semi-successfully reconstruct the important parts. The car had a new Bubbletech map lid that wasn't really connected to anything. So I created a new set of holes out of alum for a roll pin (spring pin) to engage so the lid would work. It works, aesthetics are not quite where I wanted it to be, pretty big gap once it was assembled. None of this effort makes the car any faster. LOL
These are the pieces from the front half of the door plastic. Near the rear ahead of the map lid.
Came out pretty good overall for spray cans. A couple of imperfections but what can you do. The SEM can of black hasn't been spraying as nice a pattern on the last few parts as I get towards the end of the can.
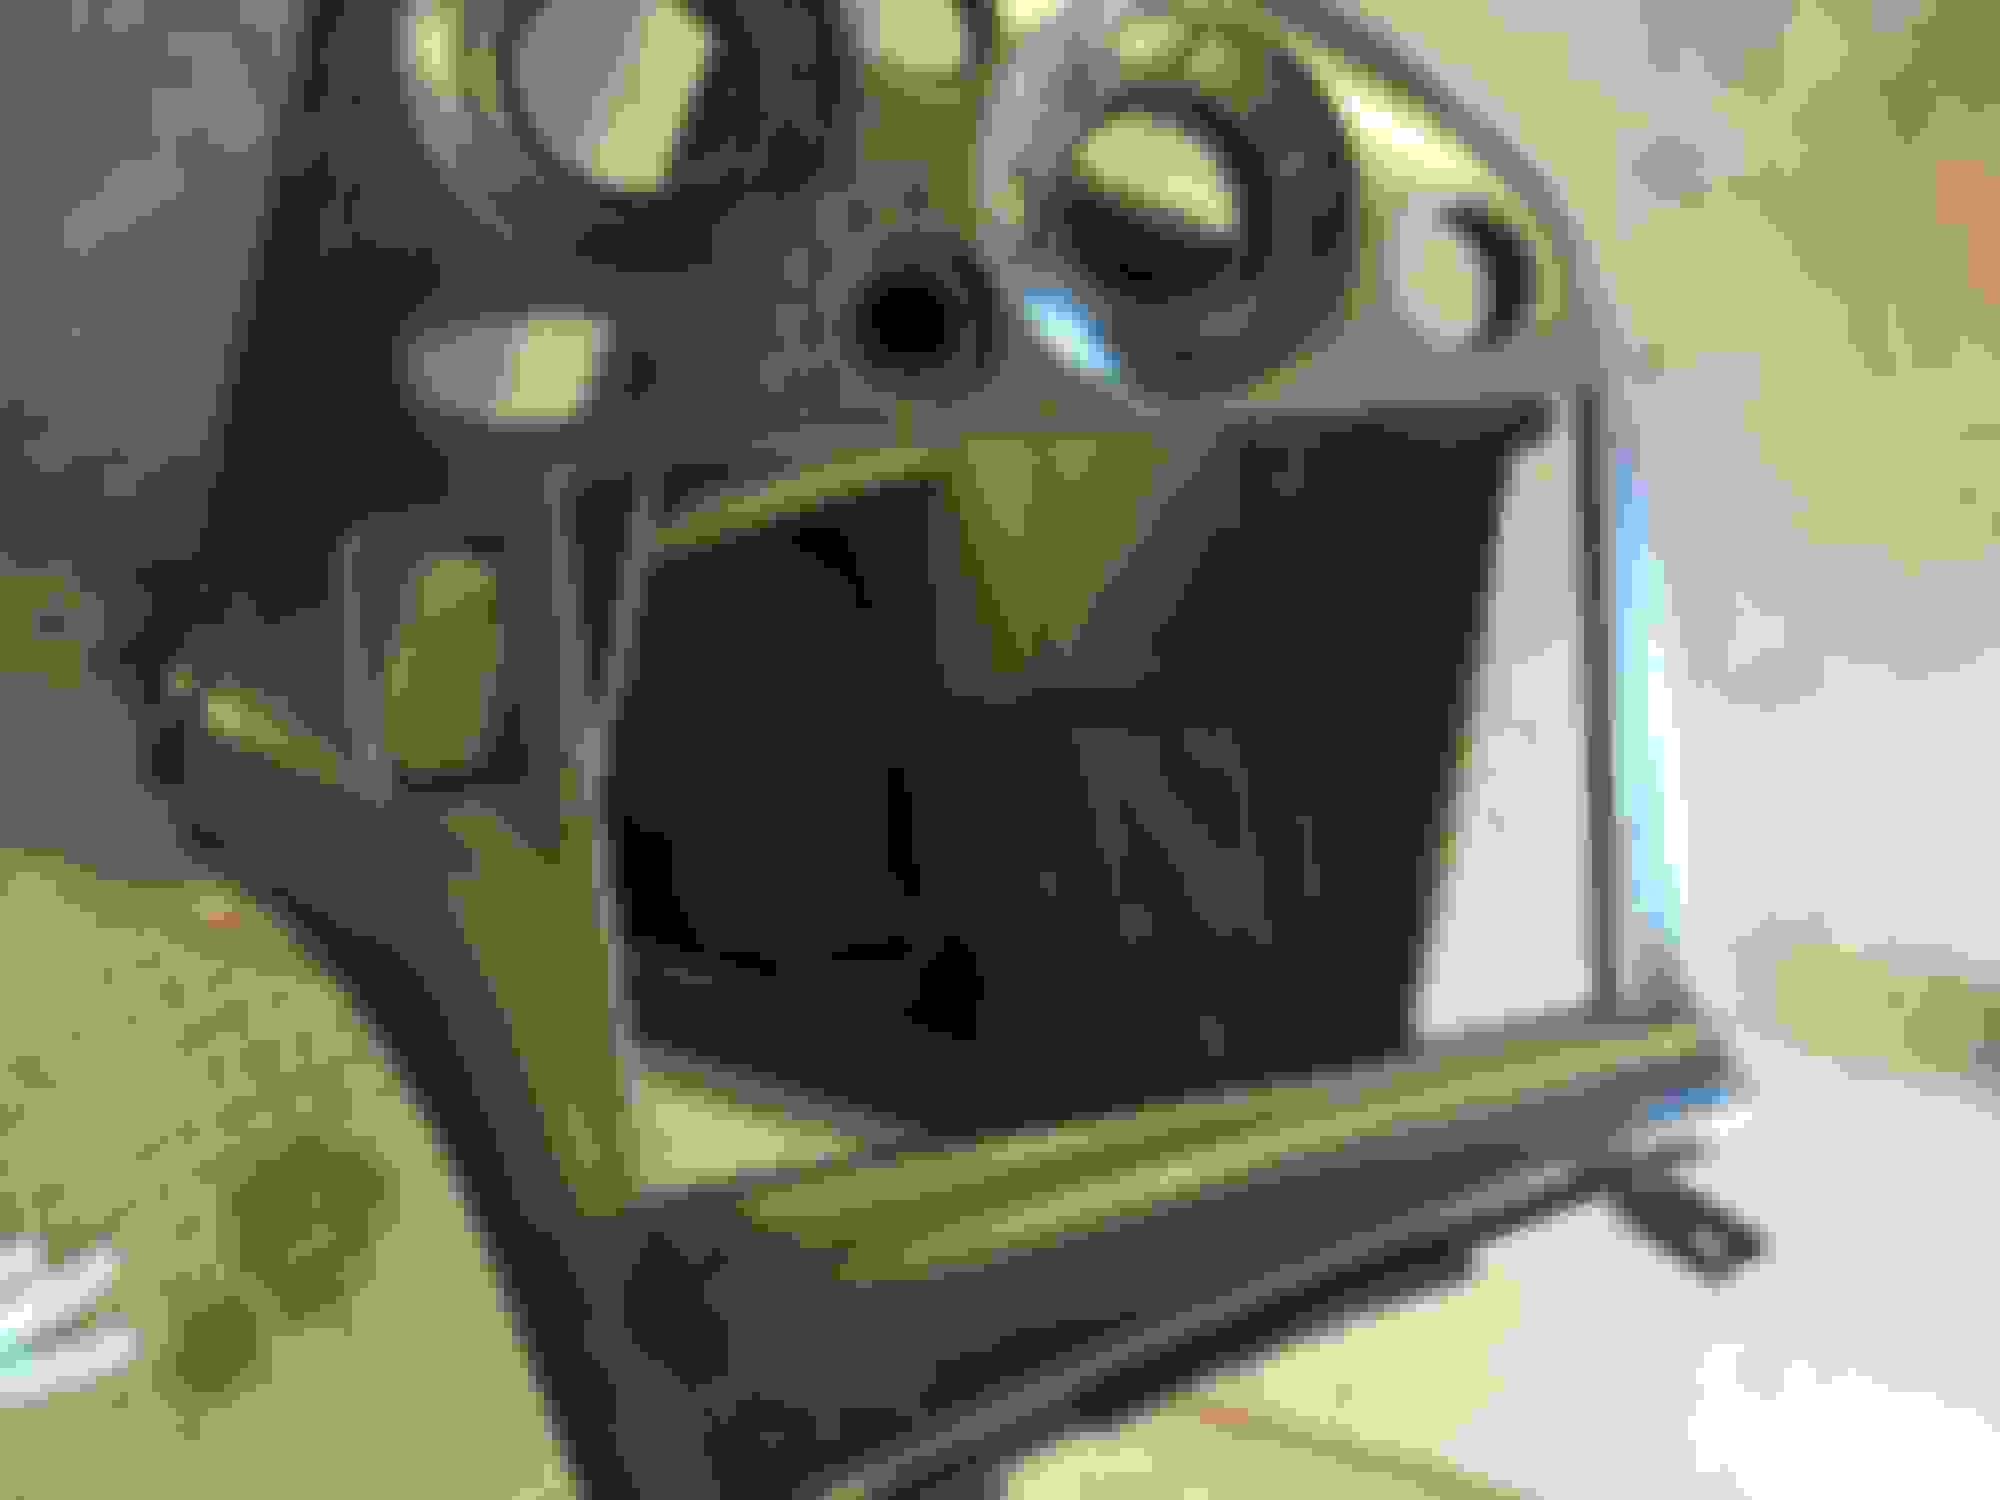
So the upper set of pics show what it looked like after the normal 4 coats. There were some issues in the sheen, some spotting that were similar to what happened on the HVAC piece I did last summer. So this time I decided to scuff it with 1500 and I hit it with 3 more coats. Looks 100% better. May have to pull the HVAC do it over.
--
Four coats. You can kind of see the issues around the gauge holes.
--
--
--
This is after the next few coats and then installed. Much better overall.
--
I think you both would agree, if my car had 33k on it, it would have been worth tracking down mint and NOS interior parts that would have cost upwards of $600+. I'm at 133k, and including the $4 in alcohol, I have about $45 in the interior. The learning curve wasn't that steep. The parts from last year are holding up good so far. But the car was down for the motor rebuild most of that time. This year will be more telling.


 .032 alum.