When you click on links to various merchants on this site and make a purchase, this can result in this site earning a commission. Affiliate programs and affiliations include, but are not limited to, the eBay Partner Network.
I dropped the seats off to be recovered Saturday, and they got them finished today! Unfortunately, it will be Friday before I get off early enough to go get them
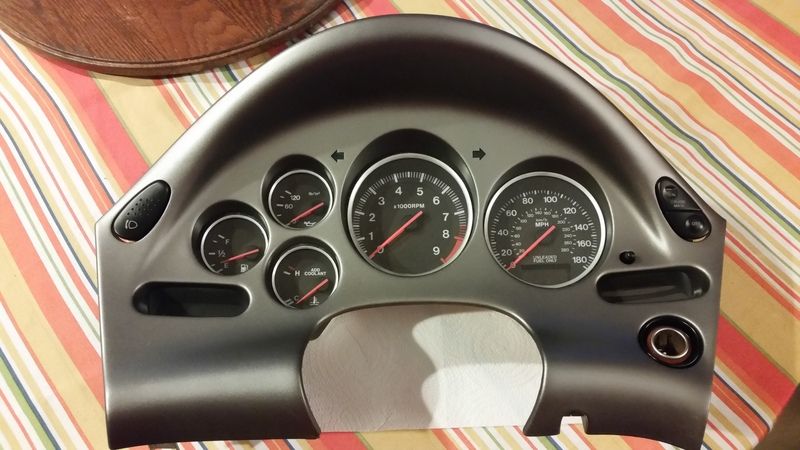
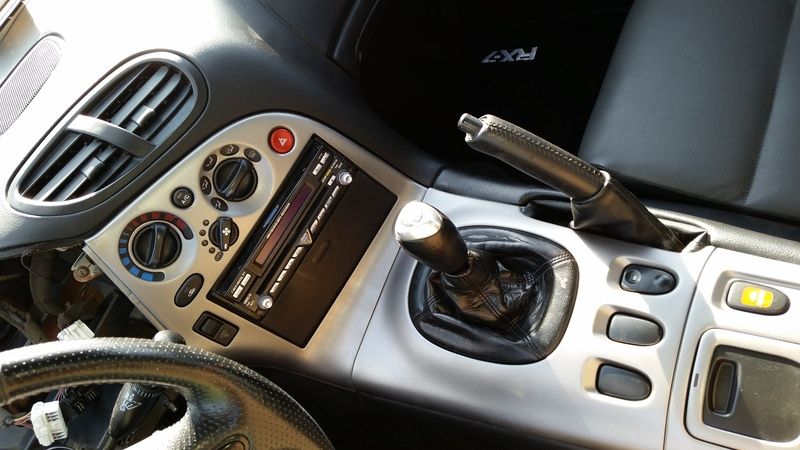
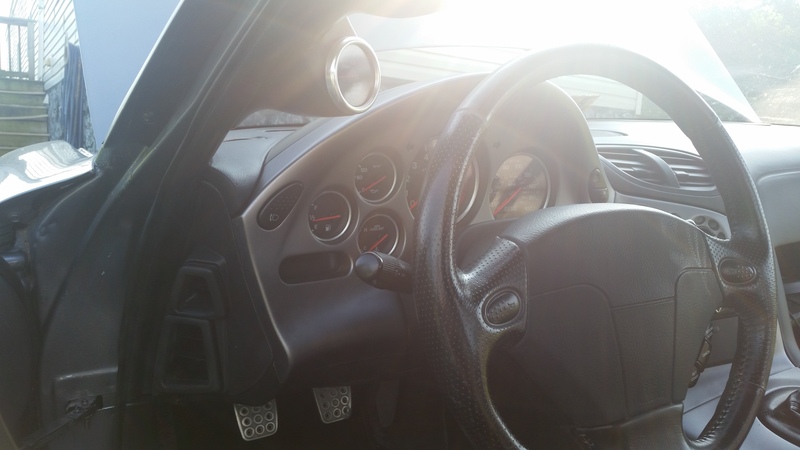
Also, I painted the gauge cluster surround with Duplicolor Custom Wrap Matte Graphite Metallic. It turned out really well I think:
I dropped the seats off to be recovered Saturday, and they got them finished today! Unfortunately, it will be Friday before I get off early enough to go get them
Also, I painted the gauge cluster surround with Duplicolor Custom Wrap Matte Graphite Metallic. It turned out really well I think:
Looks like I may get this done one day!
Vince
This looks great! Mind throwing up a quick how-to and photo of the can?
I've been crazy busy, but finally got back to working on the car.
Where I left off:
Vacuumed all the sanding dust out and cleaned the carpet.
Sanded and POR-15 the rusted seat rails.
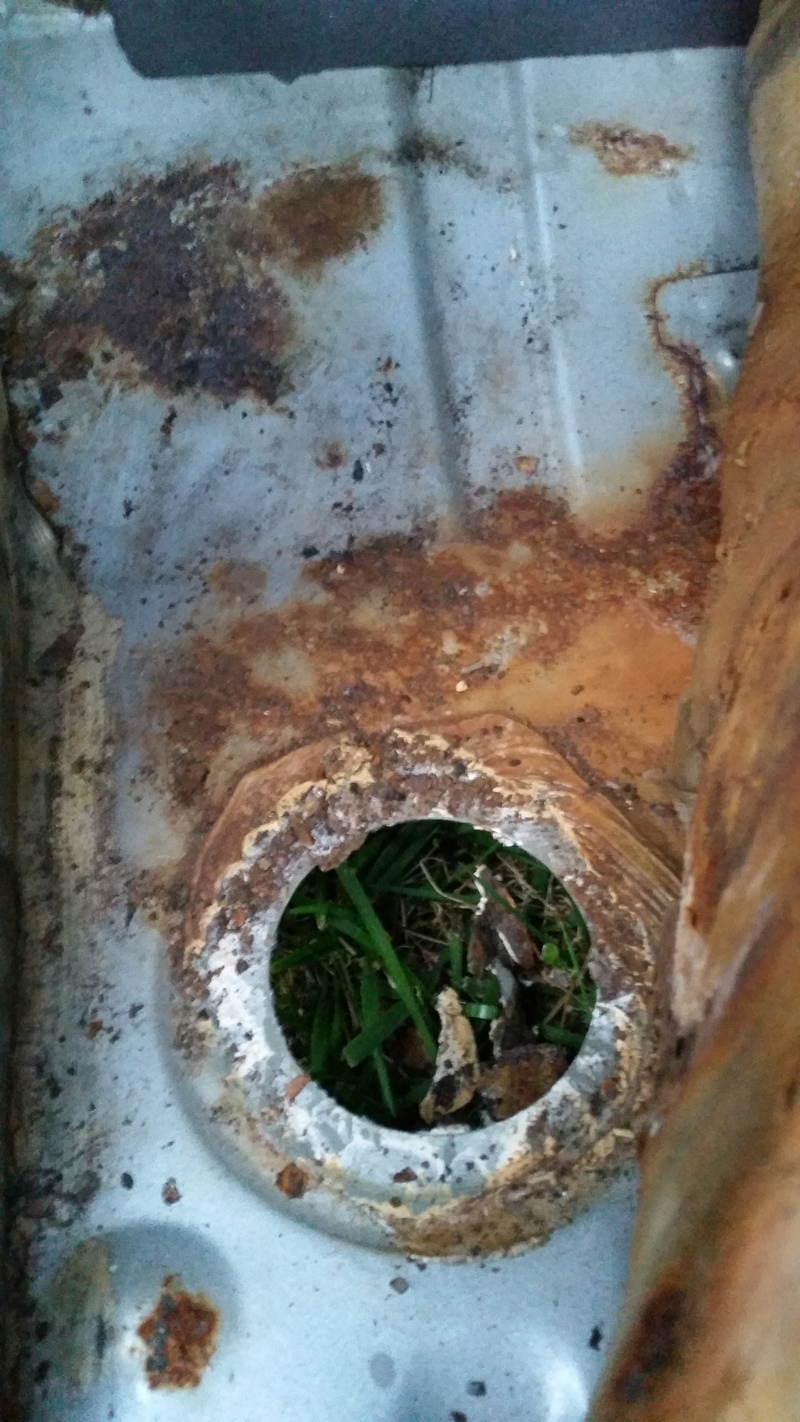
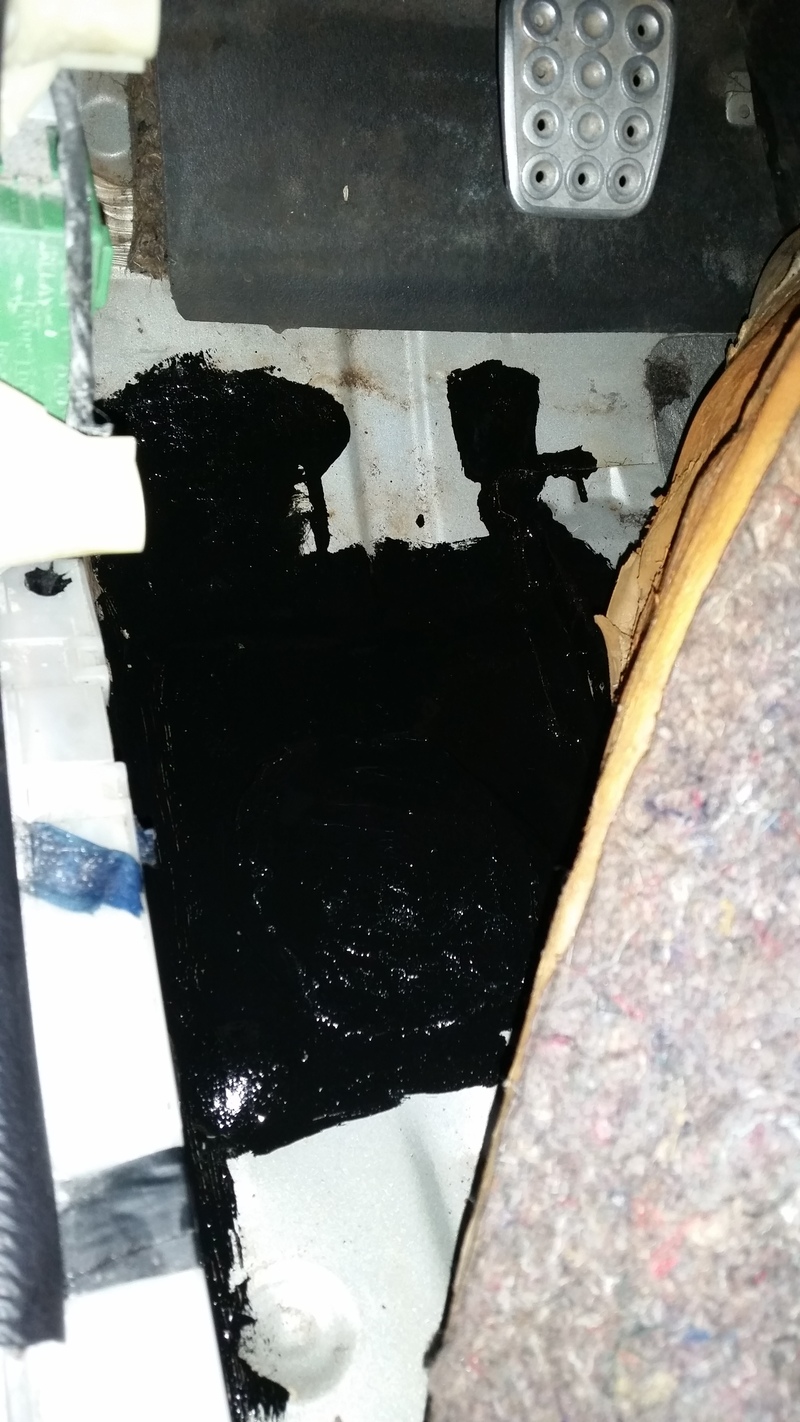
Pulled up the driver's side carpet and found this:
Luckily, it was just the metal plug that was rusted out, the actual floor was solid. So, I removed it and sanded all the rust down. I made a new plug out of aluminum and put it in with seam sealer, and covered all of it in POR-15 so it should not happed again!
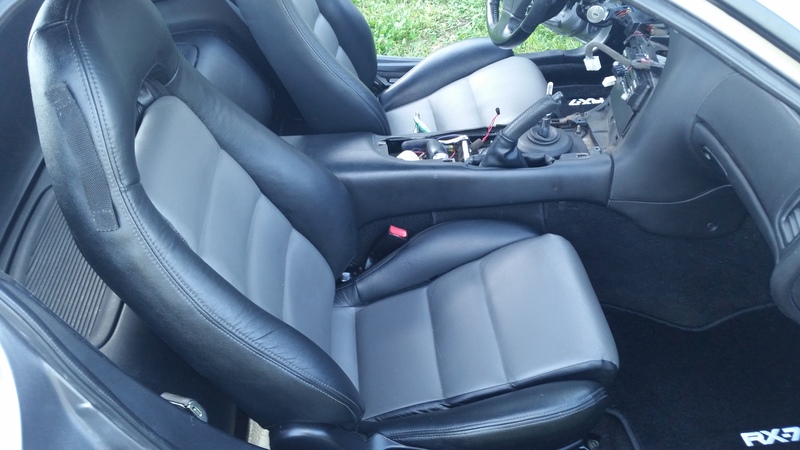
Installed my newly recovered seats and JasonS floor mats:
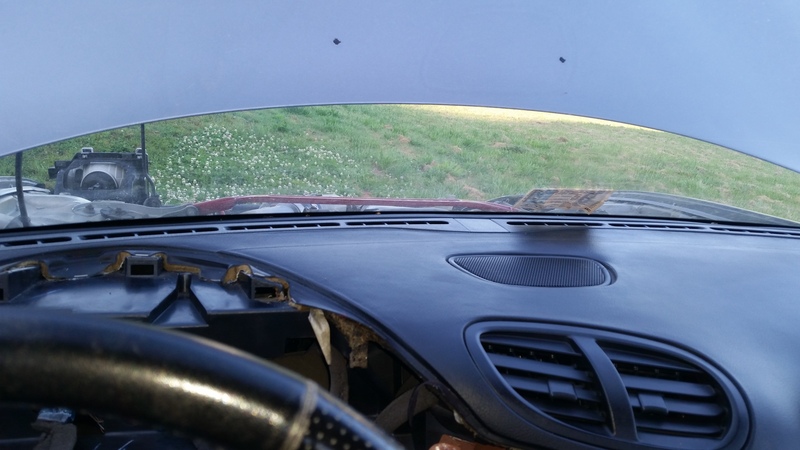
And lastly replaced the busted and cracked defroster vents:
I still got a ways to go, but it is starting to look almost as good inside as it does outside!
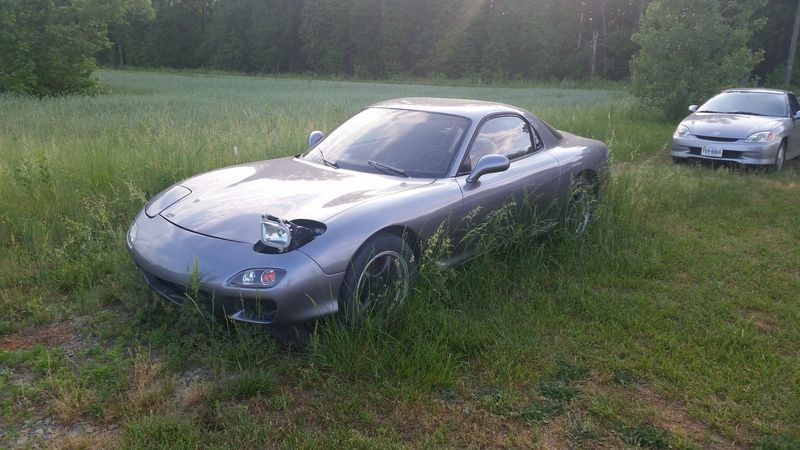
Titanium gray exterior
Black and gray seats
Graphite gray interior plastics
Still undecided on what to do on the steering wheel. I've got a Protege wheel that I'll be recovering. Either going to stay with black leather but perforated on the sides, and have gray stitching.
OR go with black and gray leather on the sides like this:
Today's progress
Did not get a lot done today, but it was time consuming.
Finally installed the DS headlight cover and trim (no picture).
Finished disassembling, sanding, painting, and reassembling the A/C panel. Then installed it and the console trim.
Did not get the gauge cluster back in as I wanted to drop the steering column down so I have a bit more room.
Finally got the gauge cluster back in. That took some time, I dropped the steering column to get a little more room, but it was still tedious to try and get it into place and plugged up without scratching it!
SPECIAL THANKS to DaleClark and his write up on the gauge cluster, I successfully swapped the mileage chip from my original to this new one and it WORKED!
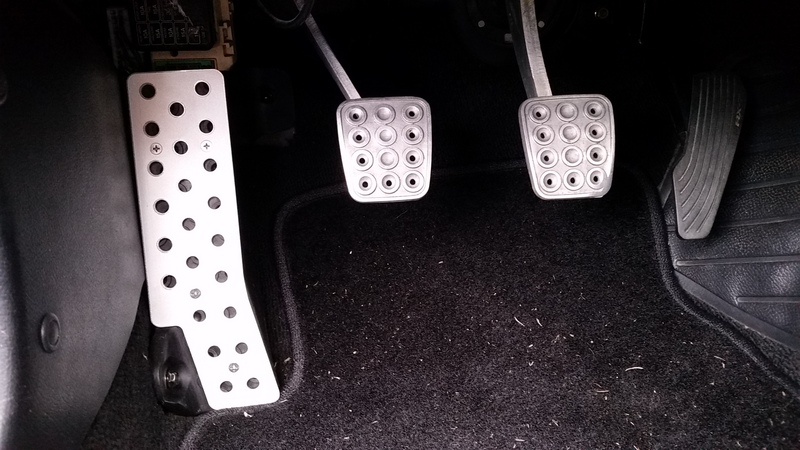
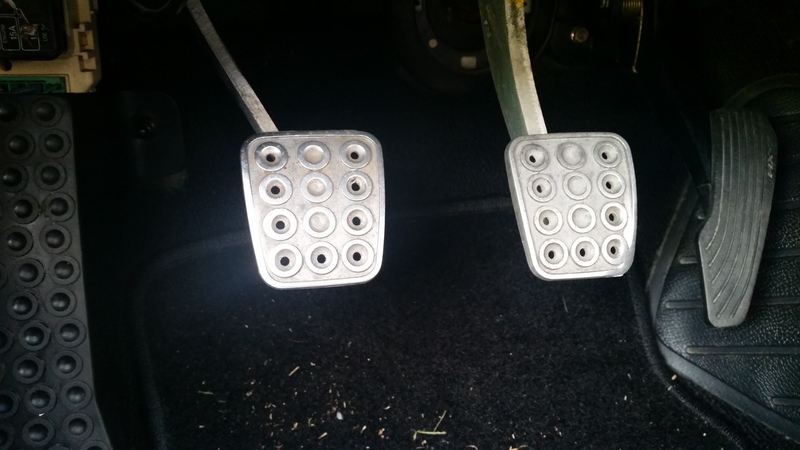
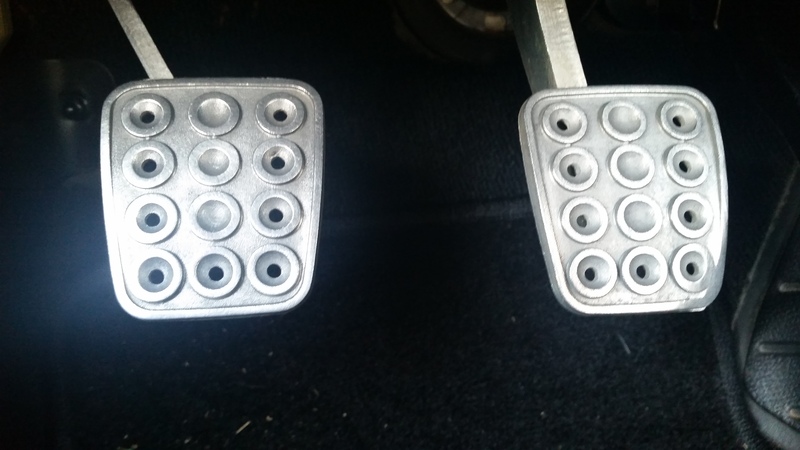
Then, I used a brass brush to clean up the aluminum pedals.
BEFORE:
AFTER:
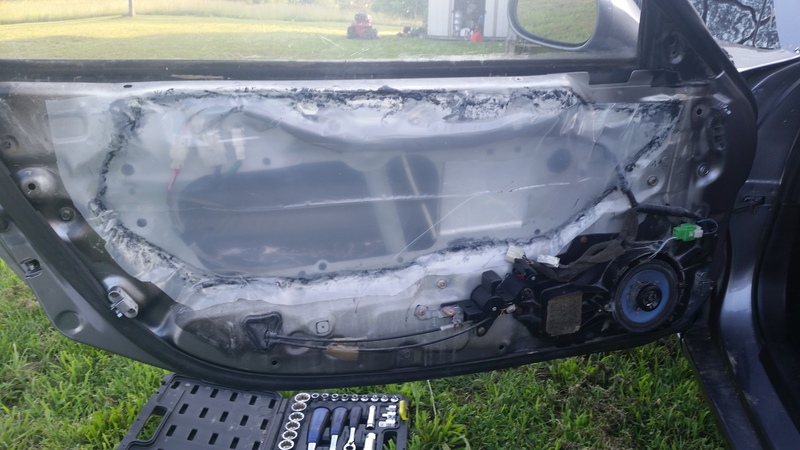
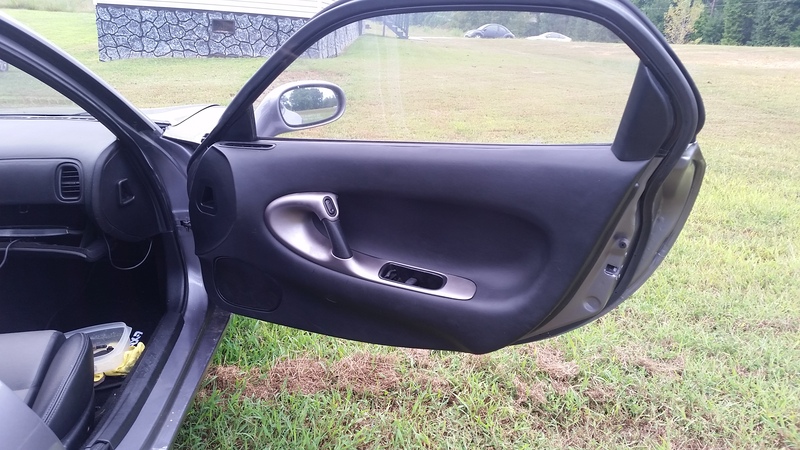
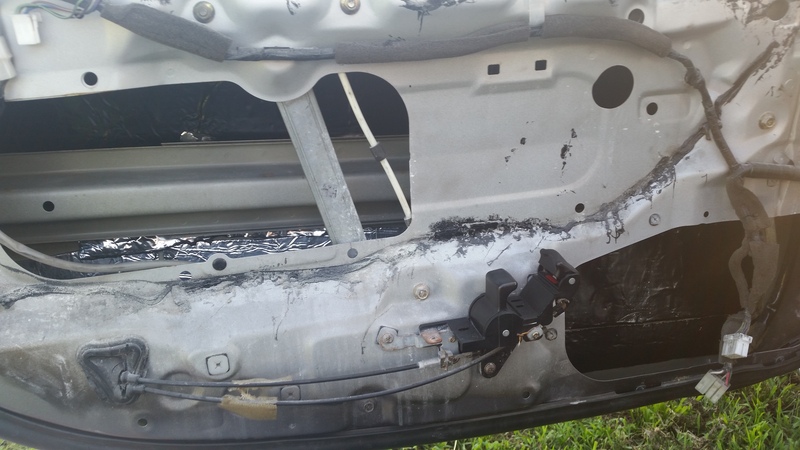
Next, installed some hushmat on the doorskin:
Might not make any difference at all, but it was cheap/easy enough to do I had to do it If nothing else, the door does sound less tinny.
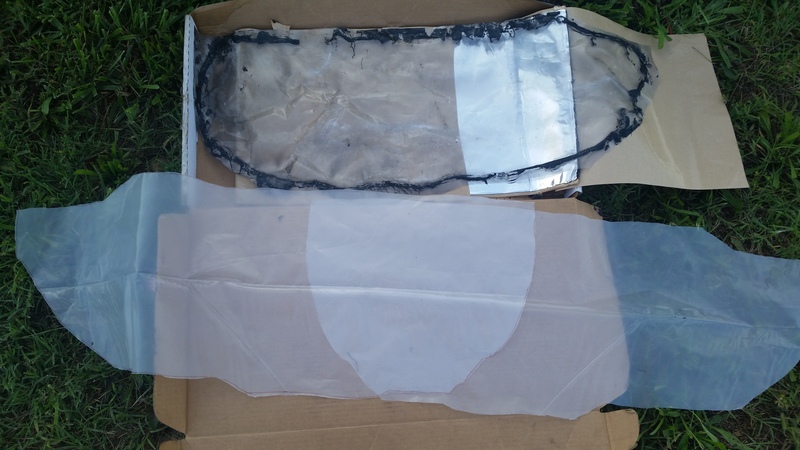
I made some new door water shields since one was MIA and the other was trashed!
And finally, installed the water shields and speakers. All I could do for one day.
Also, got a 99 spec lip I need to paint/renew and install. Still need to get the new flying M emblems, but that'll be a bit further down the road.
Resurrecting the FD or "How I spent a week's vacation"
Wow Vince! It's been a while since I've been on here. Your car is looking great!
I just sanded and sprayed my center console with dupli-color flat black bumper coating since it was already out and the color is pretty similar to stock next to all the other interior parts.. How hard was it to pull the gauges and a that?
Looking good. I love threads like this because they give me a good idea on what's missing from my car lol. Anyway the color change on the plastics look good. I've got some duplicator paint and I'm going to attempt to paint a few pieces (vent frames, and some other parts).
Pulling the gauge cluster is not too bad. Here is the short version:
Pull off the side cover on the left side of dash.
Remove 2 screws on knee panel below steering column and 1 screw on left side.
Pull knee panel off.
Then remove screws from clamshell on steering column and remove it.
Remove 2 bolts holding steering column so it will drop down.
Remove 2 screws at bottom edge of gauge cluster surround.
And the HARD part. The cluster and hood come out as a unit and are held in with clips. You may want a helper to assist you. The cluster pulls straight out to the rear. Be sure to pull level and attempt to spread the force evenly or things will break!
So, I did manage to get up the courage to finally drill the holes and install the 99 spec spoiler a few weeks ago.
I installed an Autovation CNC aluminum dead pedal cover last week, and I really like it a lot.
Then, today I finally installed the passenger door panel after having to do some surgery to repair the "handle."
Finally, I went to move the car closer to the house so I could wash it and nothing happened. No click. Nothing. Jacked it up to check out the starter:
The S terminal had corroded. Cleaned and greased it and it would turn over, but no joy! That was when I noticed I could not hear the fuel pump. I had power to the pump, but it would not run. Pulled it and confirmed it was bad!
It was the original pump, so it had done it's time. When a new pump arrives, the journey shall continue...
After several fights with the starter and fuel pump power sources, a new Walbro 255 pump and lots of effort, the car is alive!
Then I had to fight with the wiper motor as it wanted to start going down instead of up. Ended up resetting the arm on the motor to fix it.
It even passed state inspection. Although the backup lights would not work. Turns out the reverse switch had a wire break. A new switch is on the way for that.
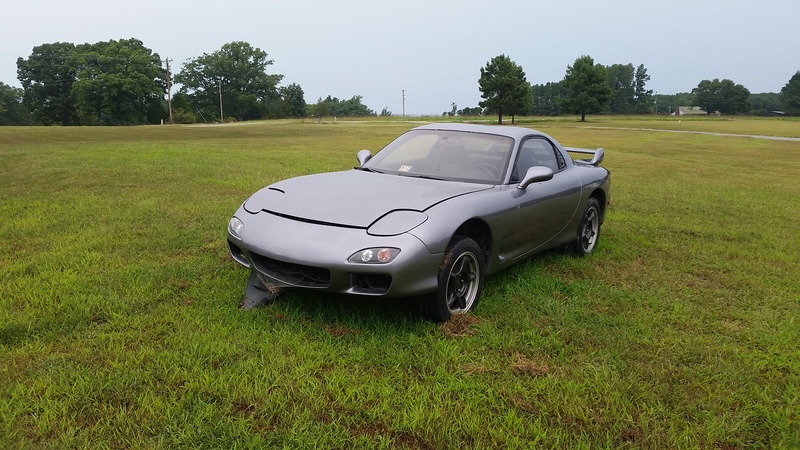
Then, I mounted the inner fenders, 99 spec lip, made a new offset front plate bracket, and changed the oil.
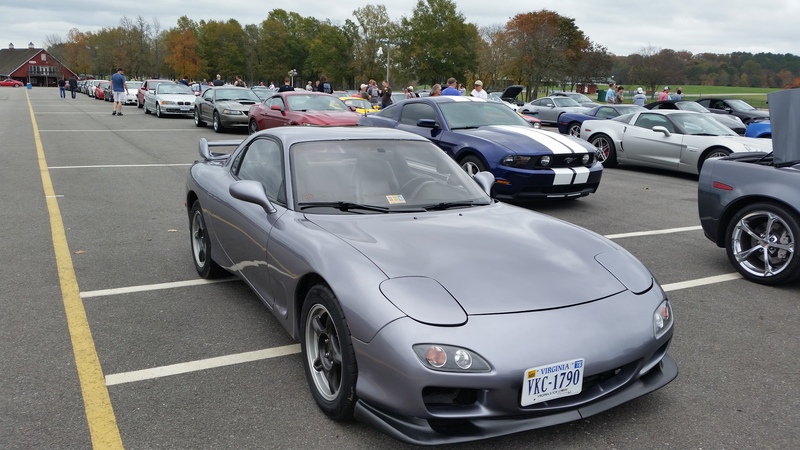
Drove it for a few days, and then went to holiday laps at VIR.
Waiting in line:
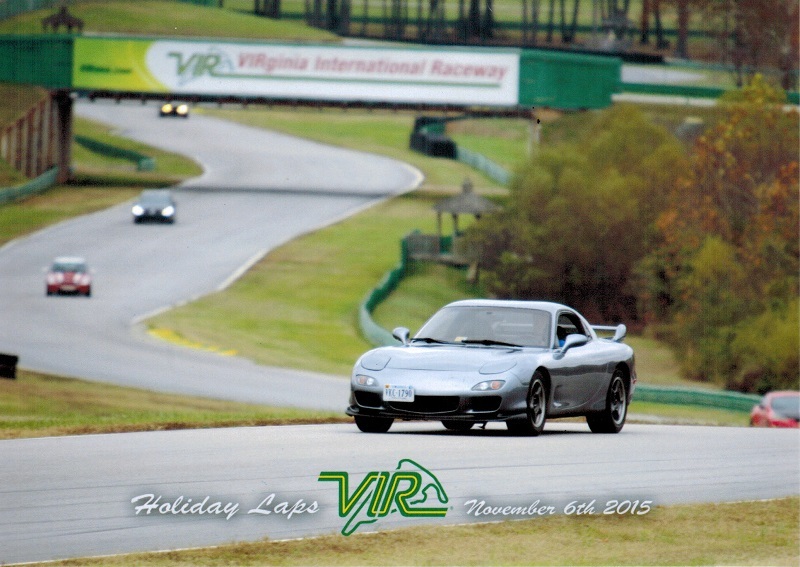
Out on the track:
What a blast! I love this car. Need to drive it more!
TO DO LIST
Install new reverse switch to fix backup lamps.
Order and install new flying m emblems and rx7 emblems.
New windshield and surround, and get new trim installed on rear hatch glass.
Repaint the wheels at some point.
And a buddy of mine is giving me a set of Tokicos with eibach springs.
RH rear wheel bearing has some noise, so it's next to be replaced.
Replace factory steering wheel with the Protege wheel once I get it modified to fit.
Maybe a set of Feed style side skirt.
I pulled it into the shop the other night and got a few things off my to do list!
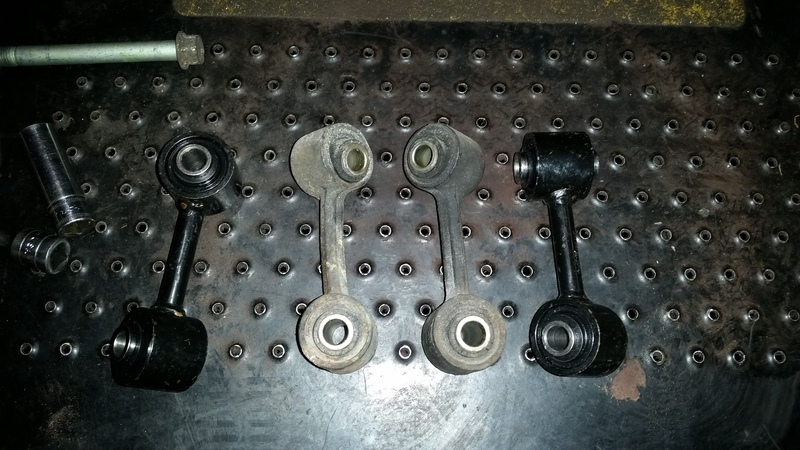
Replaced the worn out front sway bar links and found out 1 was BENT!
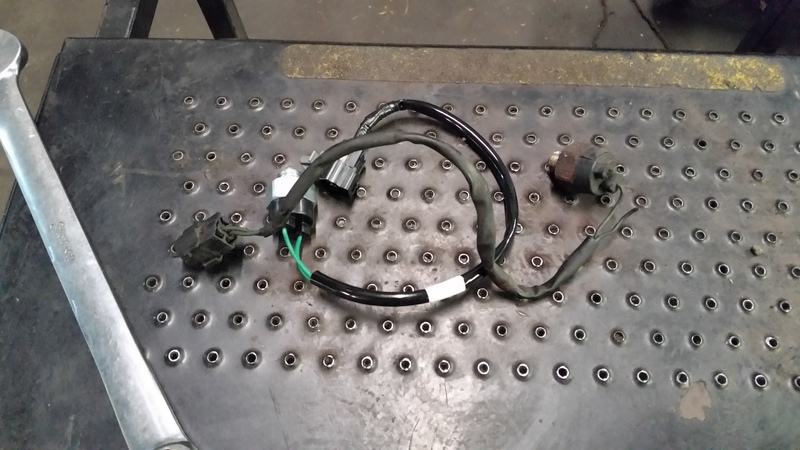
Replaced the broken back-up light switch so we have working reverse lights now:
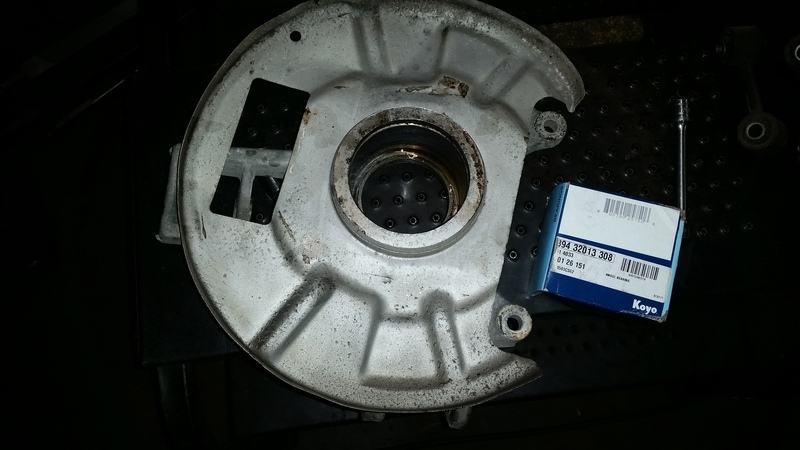
Replaced the PS rear wheel bearing with an OEM KOYO bearing as it had become loose.
I discovered 2 other issues that will need to be corrected.
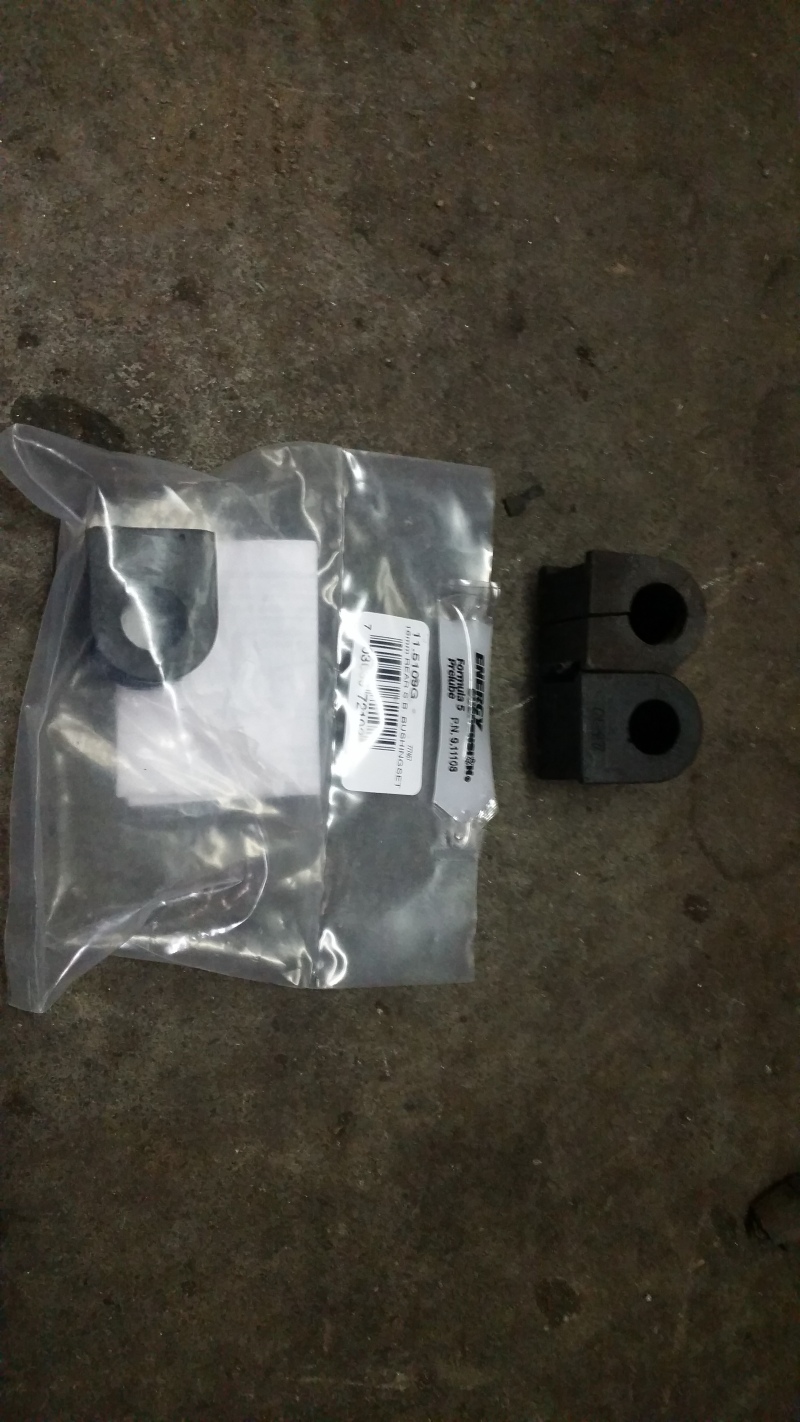
The rear sway bar mount bushings are worn and loose, they will need to be replaced.
The PS rear lower control arm camber bolt was not tightened when the alignment was done. I will have it realigned when I get the new shocks/springs.
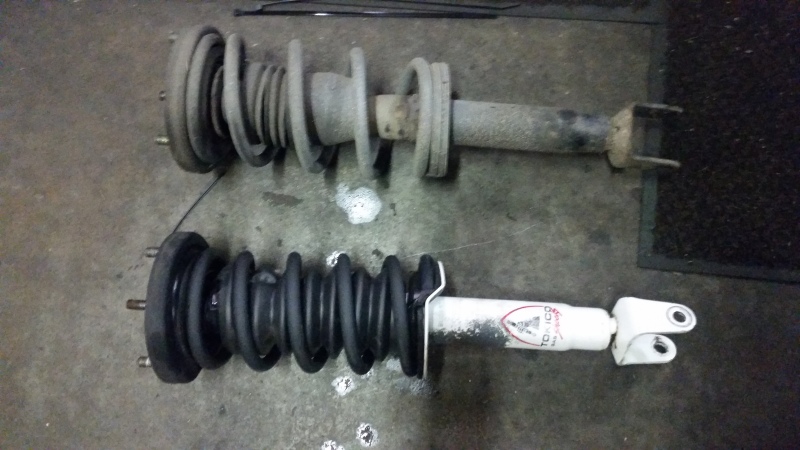
So, I was able to pick up the Tokico adjustables with Eibach Pro-Kit springs from my buddy over the Christmas break. He did not many miles on them, but replaced them with K-Sport coil overs.
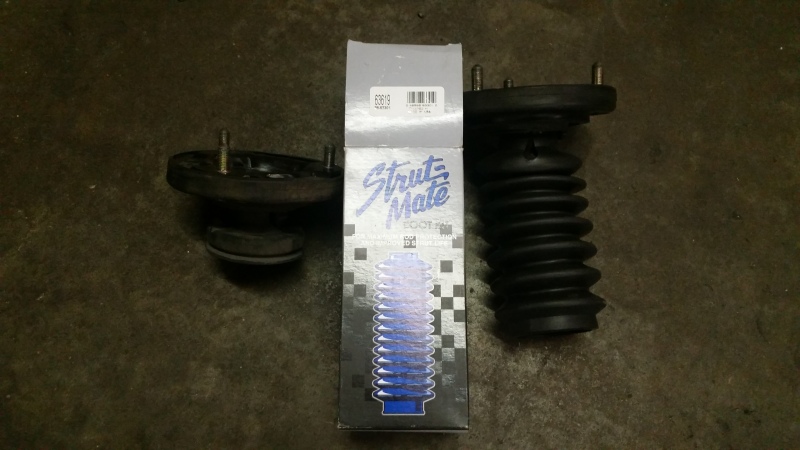
The only thing they were lacking was the strut boots. However, they are part of the upper perch. So, I MacGuyvered a solution. Using Monroe Strutmate 63619, I was able to fix them.
On the rear, I had to zip tie them to the upper mounts. On the front, I was able to stretch them over what was left and used a zip tie at the bottom. Also, not pictured, I cut the included bump stops in half and replaced the missing ones on the rear.
I cleaned up the struts and springs, and painted the springs with flat black epoxy paint.
Ignore the fact that I have a front spring mounted on the rear shock in this photo, because I'm dumb. Luckily, I realized this before I reassembled any more of these. The black on the shock is overspray from when his car was painted.
I also replaced the rear sway bar mount bushings with Energy Suspension polyurethane ones.
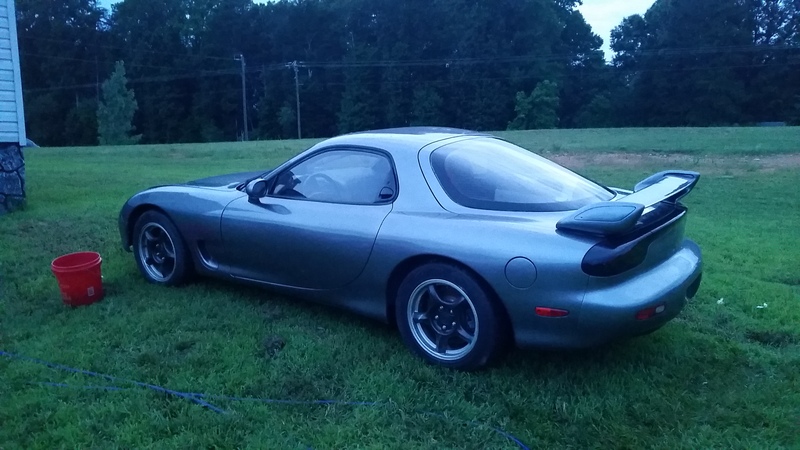
And here is the after, no longer 4X4 status:
REACTIONS
What a difference! Both of the front shocks were leaking badly and completely shot. Between these and replacing the rear sway bar bushings, it feels like a completely different car. The shudder and sometimes darty feel after a bump are gone. Now it just feels stable and planted!
I'm going to replace the tie rods and get it realigned before I drive it again.
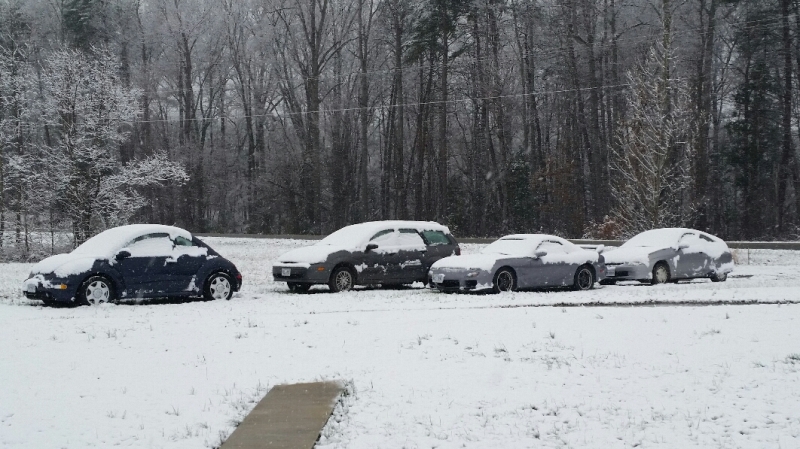
But that may be a while:
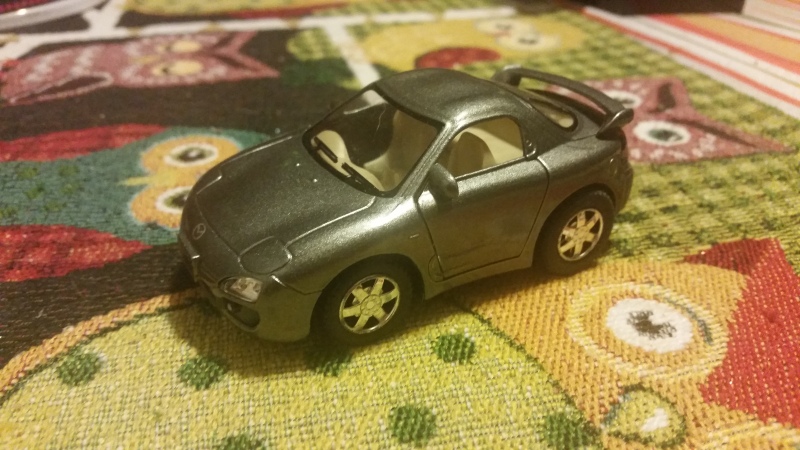
BONUS CONTENT!
I found this at Cracker Barrel. It's nearly a perfect copy of my car.
So, it's been another crazy year. Got a few more things done. Still have things to do, but it's getting closer and closer.
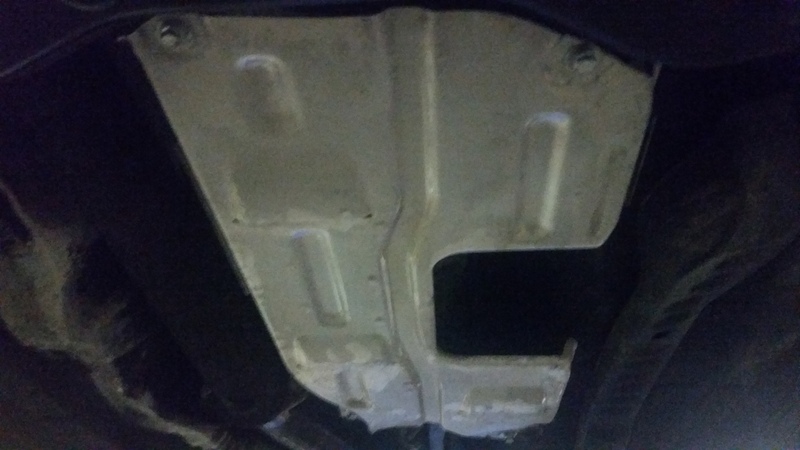
Managed to get a starter cover panel, since it was missing on my car.
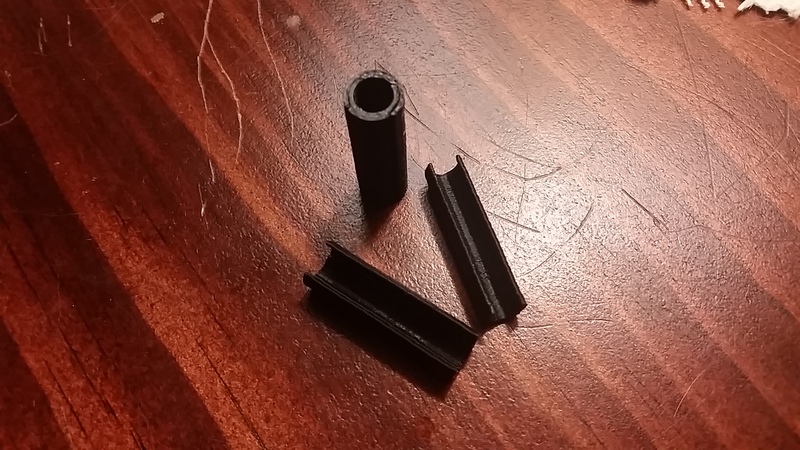
Picked up these sweet 3D printed sun visor repair kits from ESH Upholstery, and they worked great.
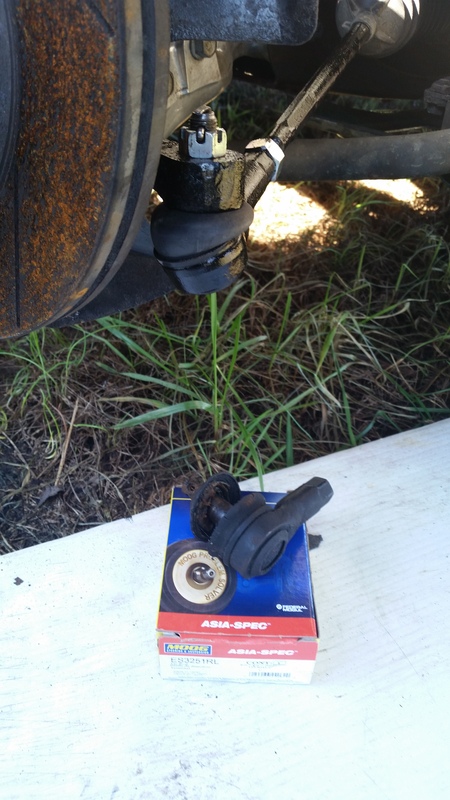
Replaced the outer tie rod ends with Moog ones and had it realigned.
Then, a few months ago we moved back to MD.
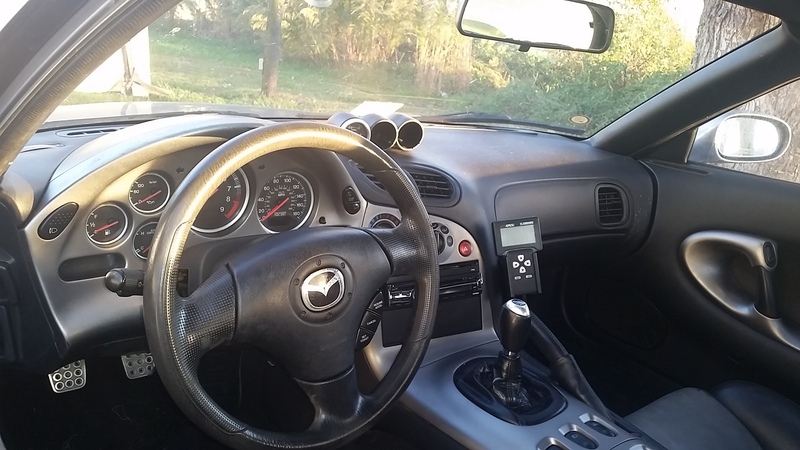
Recently, I swapped out the factory steering wheel for a Prot�g� wheel, ditched the A-Pillar gauge pod for the Prosport Triple pod that replaces the center speaker, installed a Banzai Racing commander holder, and a cheap flip-out DVD/Bluetooth radio.
In tracking down my intermittent A/C operation, I pulled the dash panels out again. That of course went terribly, with most of the plastic parts breaking. I took apart the blower fan switch and cleaned the contacts, which were green and corroded. Then, coated the parts with dielectric grease.
After several tubes of plastic weld epoxy, and some MacGuyvering, I got the interior reassembled. I will need to repaint the dash plastics, because the paint got damaged. I didn't want to wait any longer so I could use what little time was left before winter to drive it a few more times.
Everything has been pretty good with the car, but the ABS light started coming on as soon as the car starts to roll and the clutch slips in 5th if you roll into the throttle (high boost low RPM).
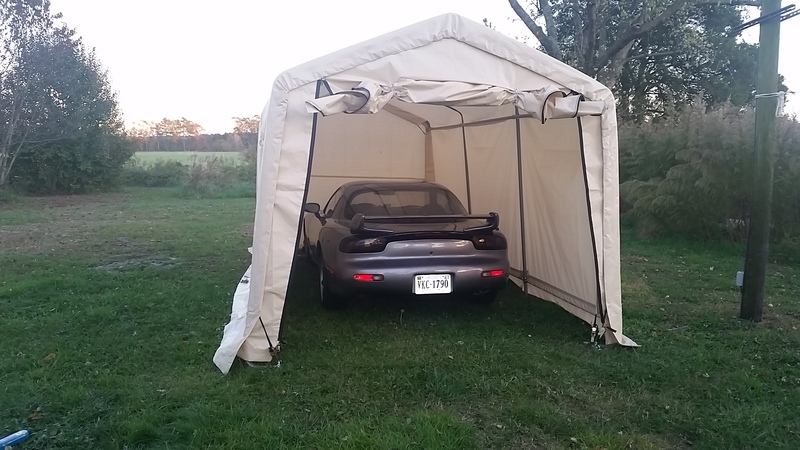
SO, I just put up this sweet temporary garage from Harbor Freight that I got for my birthday and put the car up for winter.
TO DO LIST
Replace clutch and possibly lightweight flywheel
Diagnose ABS issue
Diagnose battery drain issue
Delete giant BOV on intercooler and remake duct
Swap mileage chip and convert 99 spec cluster
Repaint dash plastics
Recover A-pillar after removing pillar pod
Get a wideband and water temp gauge
Get Redline goods leather wheel wrap
Still haven't got flying M emblems
Maybe a Twinpower
Most of this will have to wait until my other house sells, since $ is tight paying mortgage and rent, lol.
So, a lot more time has gone by and nothing more has been done. I did get my house in VA sold a few months ago and I'm finally in good financial standing to start working on the FD again.
I may not have gotten any work done, but I have amassed some parts.
Feed side skirt replicas
Banzai underdrive main pulley
Lightweight steel flywheel
ACT Street/Strip clutch
Pettit intake heat shield
I swapped my buddy Dave's ACT clutch for a OEM Exedy clutch as the ACT was too hard on his knee. That went really well all the way up until it got about 100 FT from his house and the clutch pedal stayed on the floor. AWESOME! So, once that issue is solved, then I will put his ACT clutch in my car, then finally get it MD inspected/Titled/Tagged!
Photo of picking up his car and our combined Insight sickness
I do miss driving my car. Just driving my buddies car the short distance from his house to my dad's garage was great!
Then most recently, Photobucket decided to take a giant leap into doucheland and all of the photos are no longer viewable. So, I'm tempted to remake this thread if I can get all of my photos downloaded. I will then attempt to host them here.


 If nothing else, the door does sound less tinny.