
rebuild of a 95 fd shave, tuck and going to make a lot of power with a 13b


Thread Starter
Full Member
Joined: Oct 2011
Posts: 199
Likes: 0
From: maryland
sry i havent posted a lot latley work has been crazy but here are something things that i have been working on when i do have time.
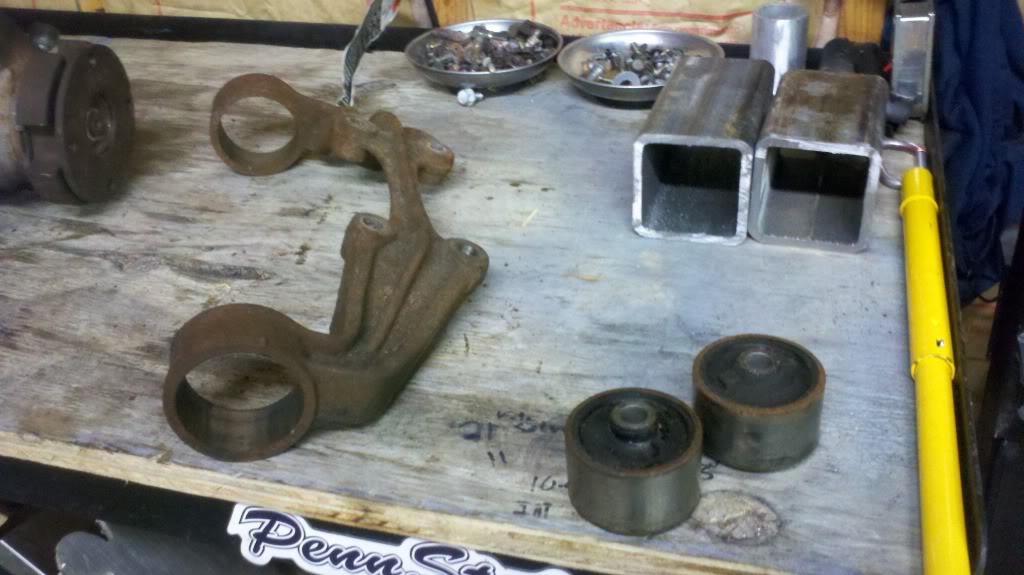
built a press at work so it will be much easier for me to do all my bushing and pillow *****
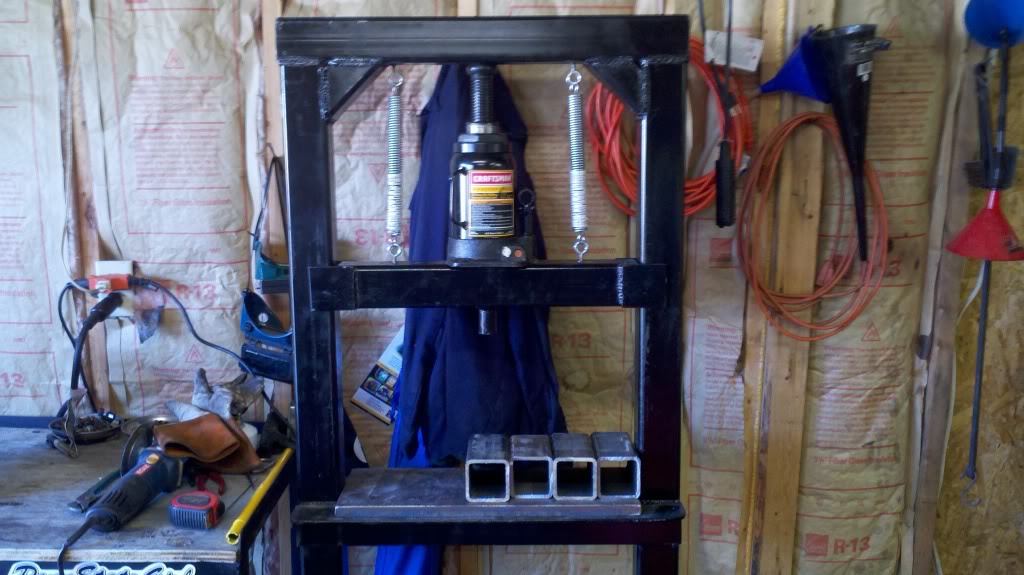
just to see how the press worked out i pressed the bushing out of the mustach bar and it works like a charm.
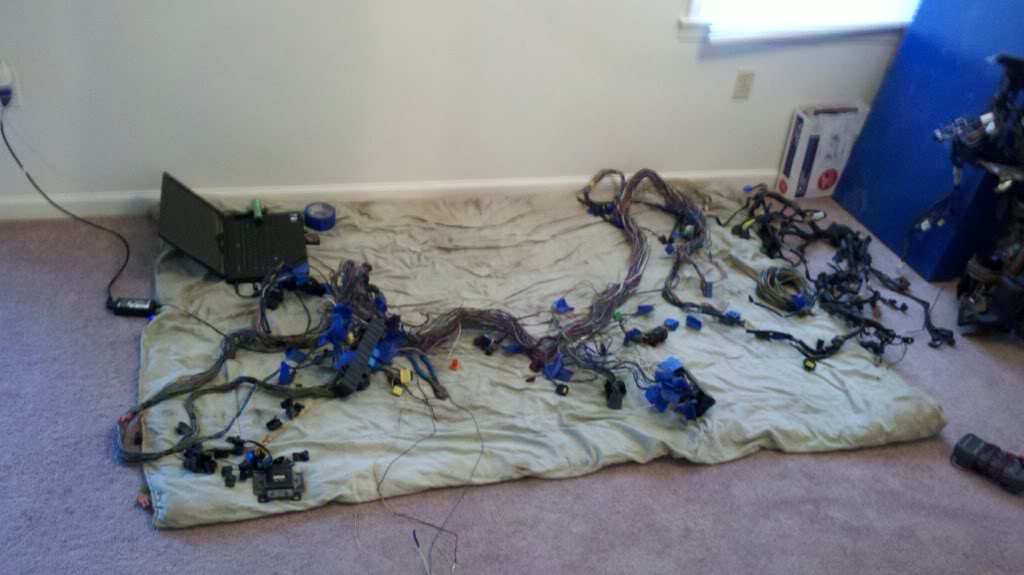
working on more wiring i think i finally have everything i need deleted from the front harness
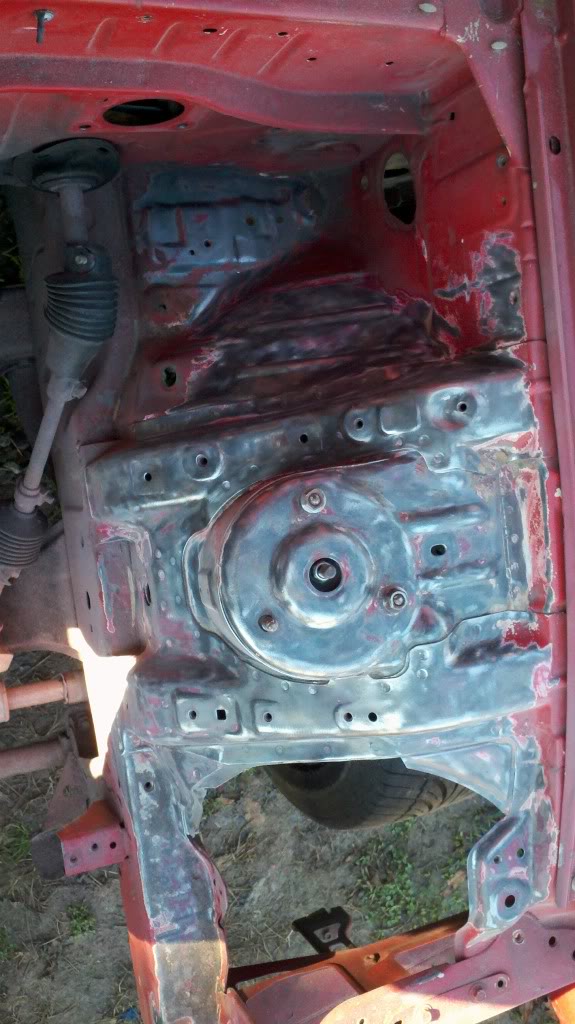
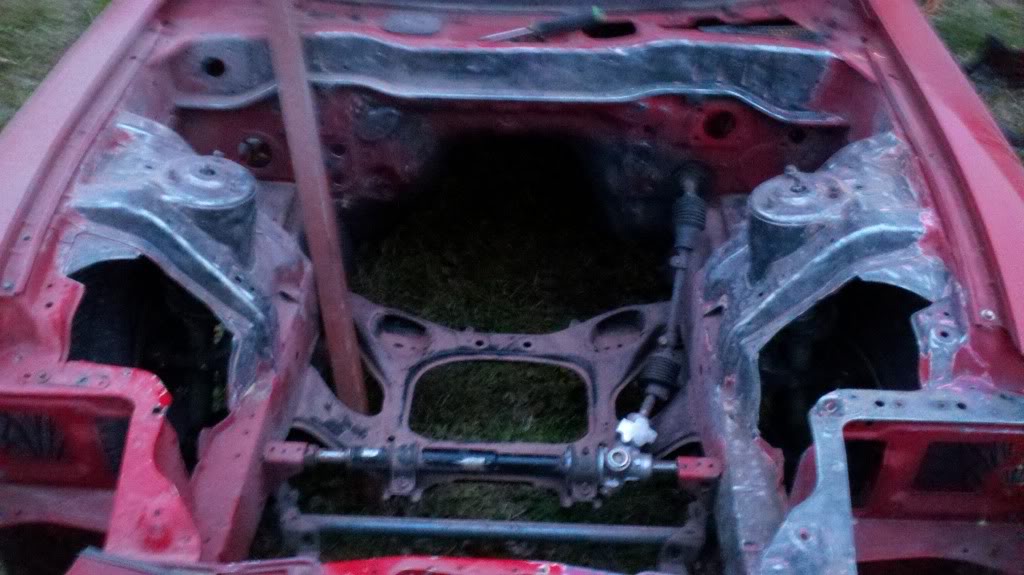
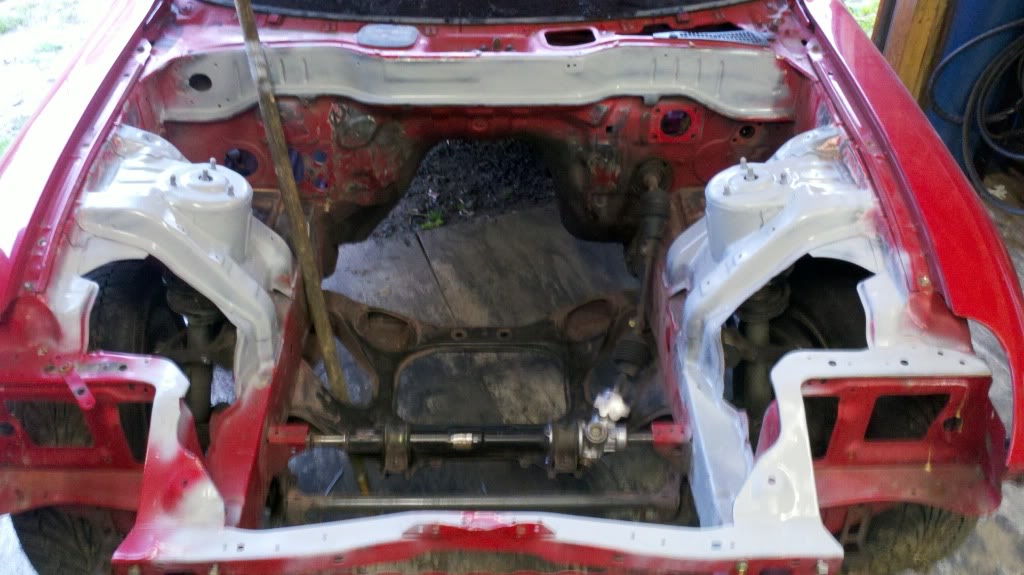
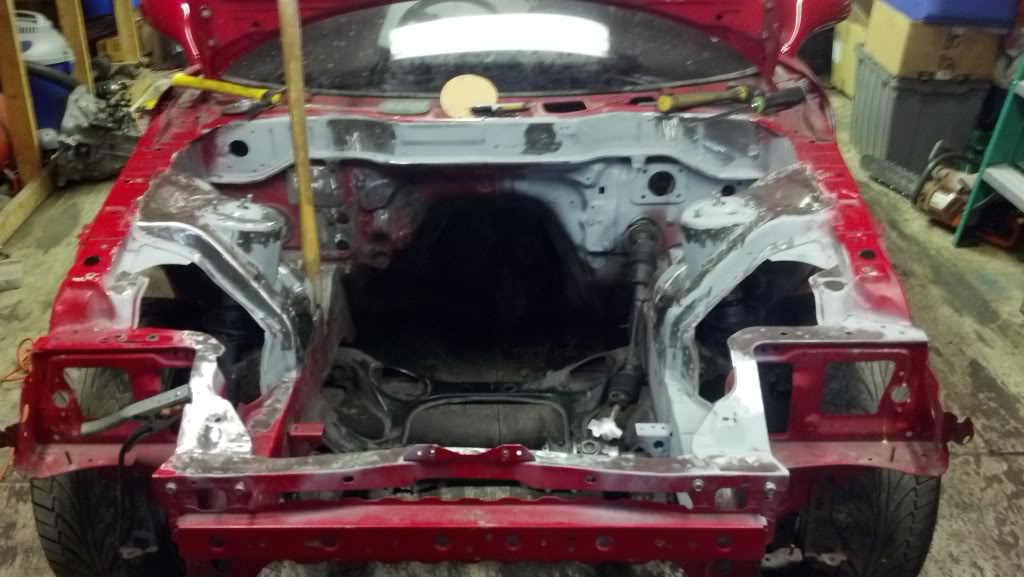
started on the engine bay

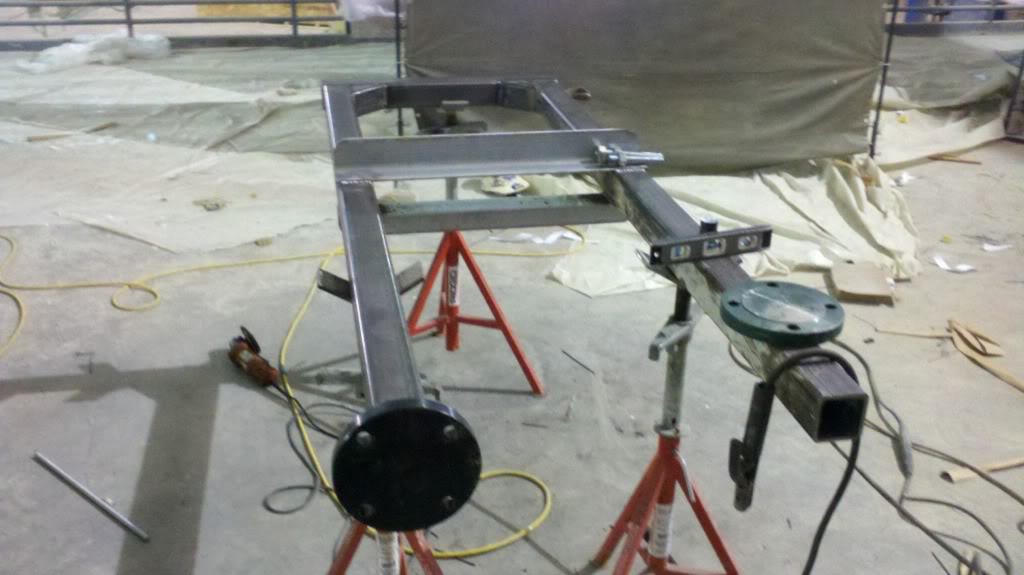
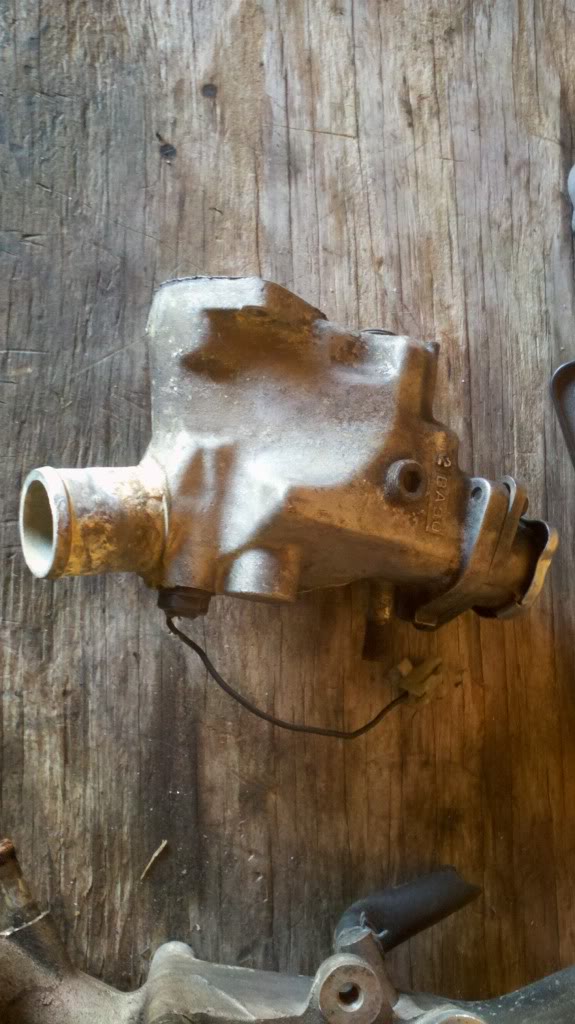
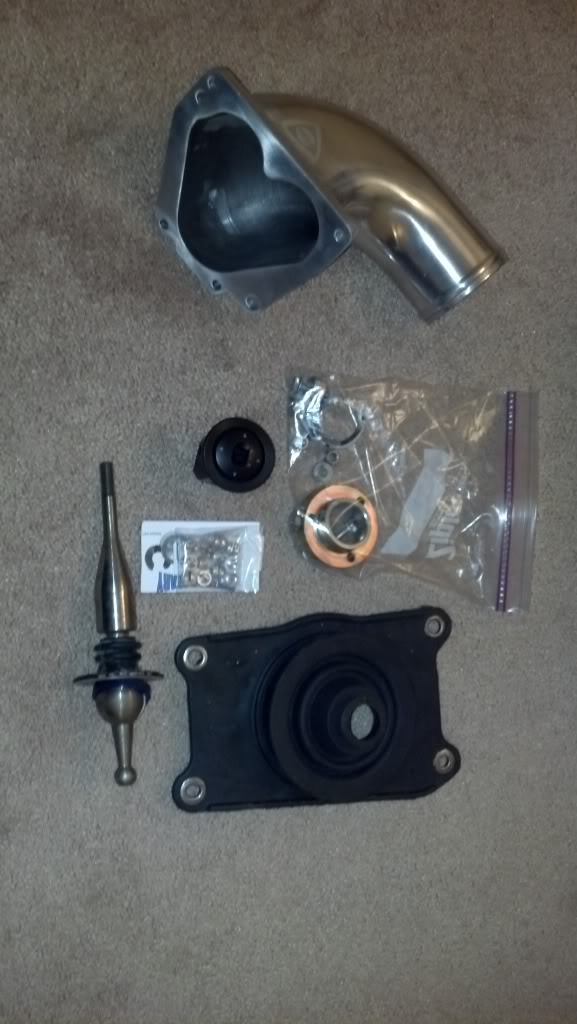
lastly i started working on a new water neck for the car the other one is to big and bulky
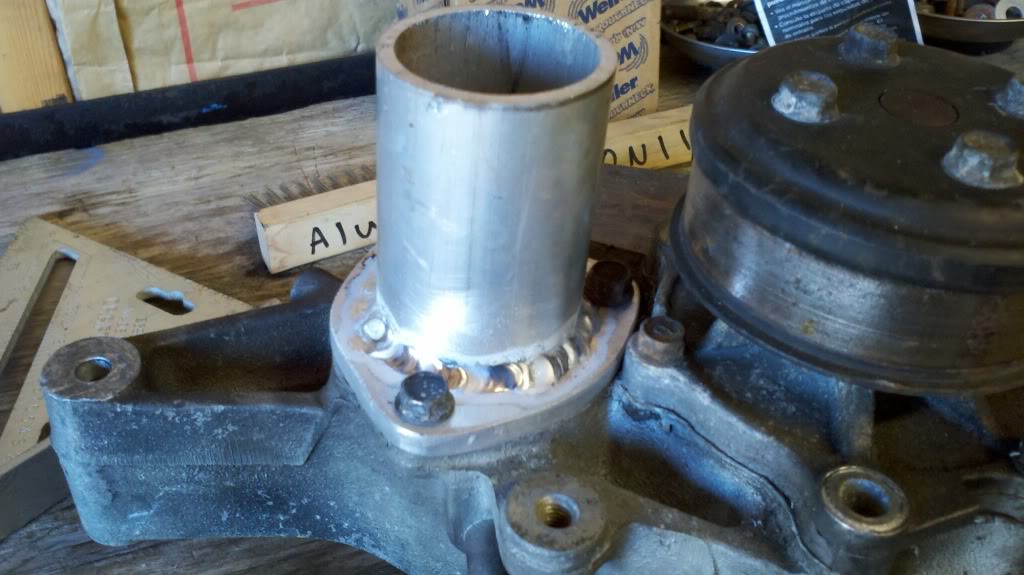
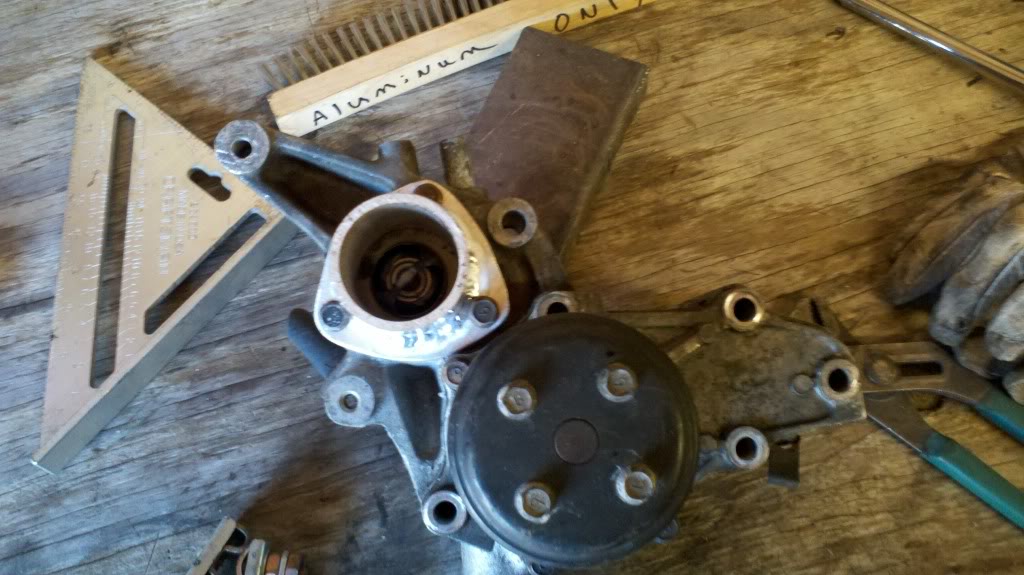
new flange

then the neck welded onto it
will have more updates the weekend hopfully thanx for looking guys
built a press at work so it will be much easier for me to do all my bushing and pillow *****
just to see how the press worked out i pressed the bushing out of the mustach bar and it works like a charm.
working on more wiring i think i finally have everything i need deleted from the front harness
started on the engine bay
lastly i started working on a new water neck for the car the other one is to big and bulky
new flange
then the neck welded onto it
will have more updates the weekend hopfully thanx for looking guys

Subscribing. I am really interested to see how the harness tuck turns out. I just want to hide my fuse boxes beneath the driver headlight bucket and try to clean up the bay a little.
I've thought about making a filler neck/ thermostat housing too. First time I seen one was off that yellow fd at sevenstock with license plates rspecfd. Looked like they took an ast and welded it to it
Thread Starter
Full Member
Joined: Oct 2011
Posts: 199
Likes: 0
From: maryland
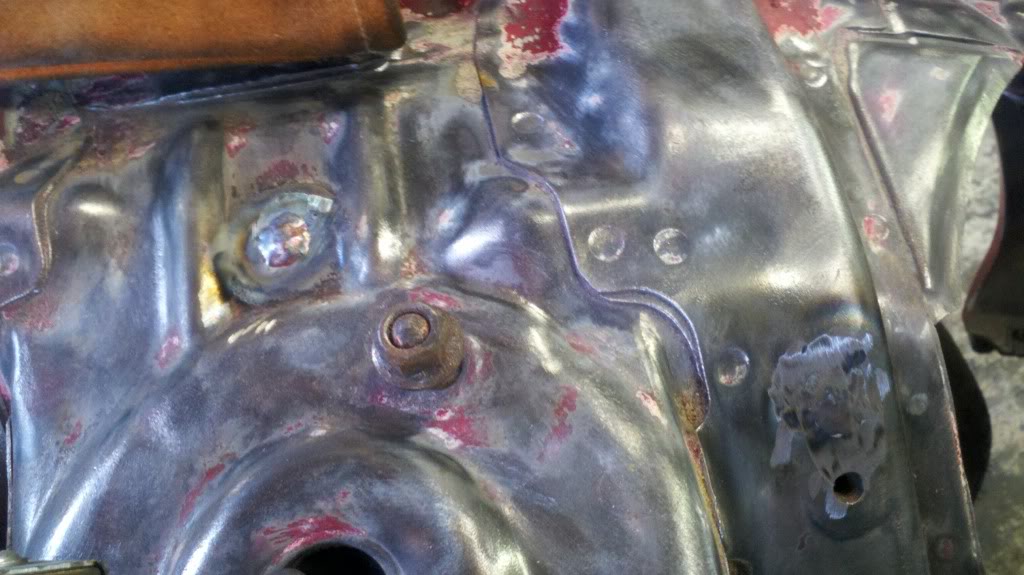
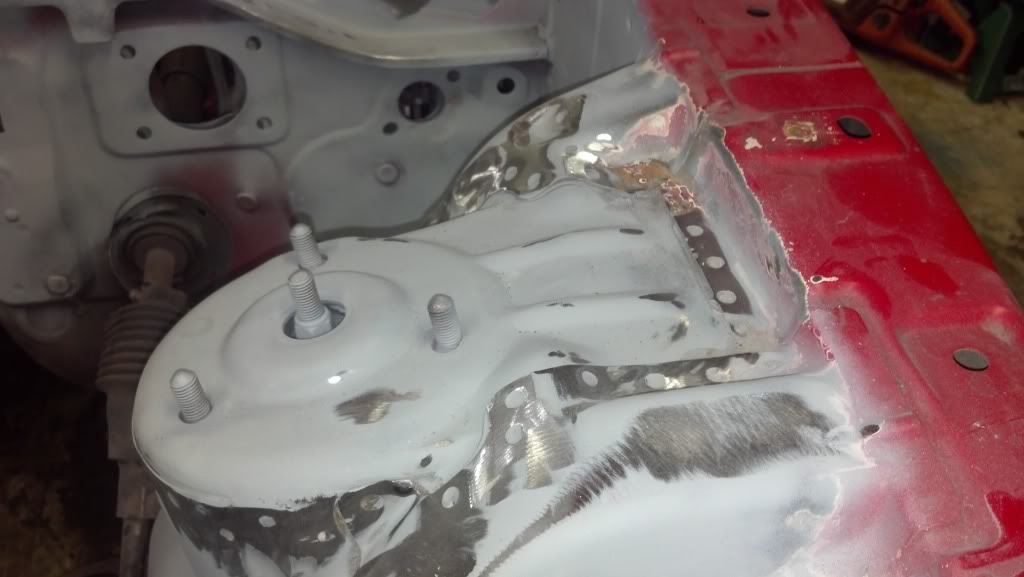
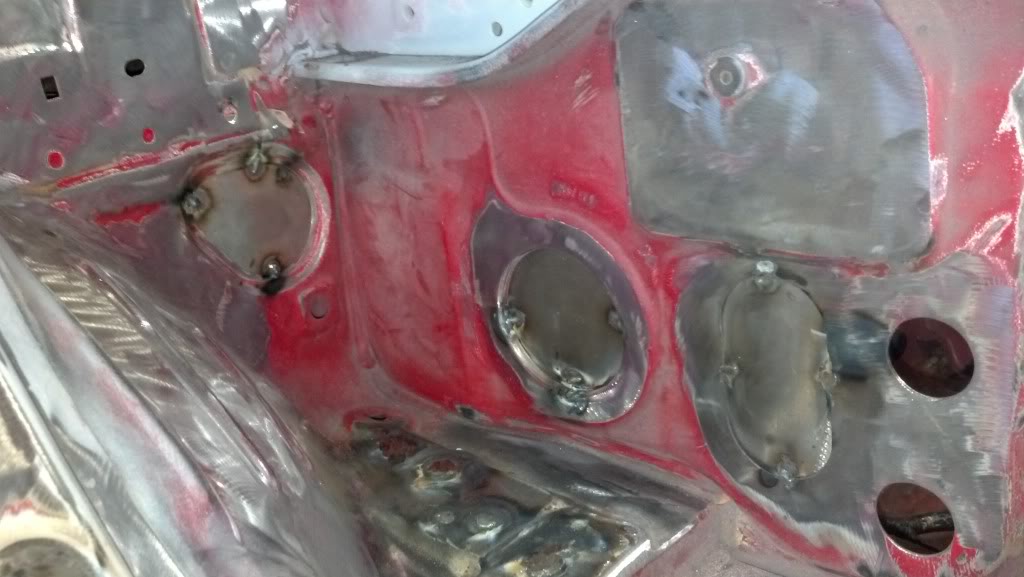
did some work on the bay the other day. welded up a lot of holes and wat not
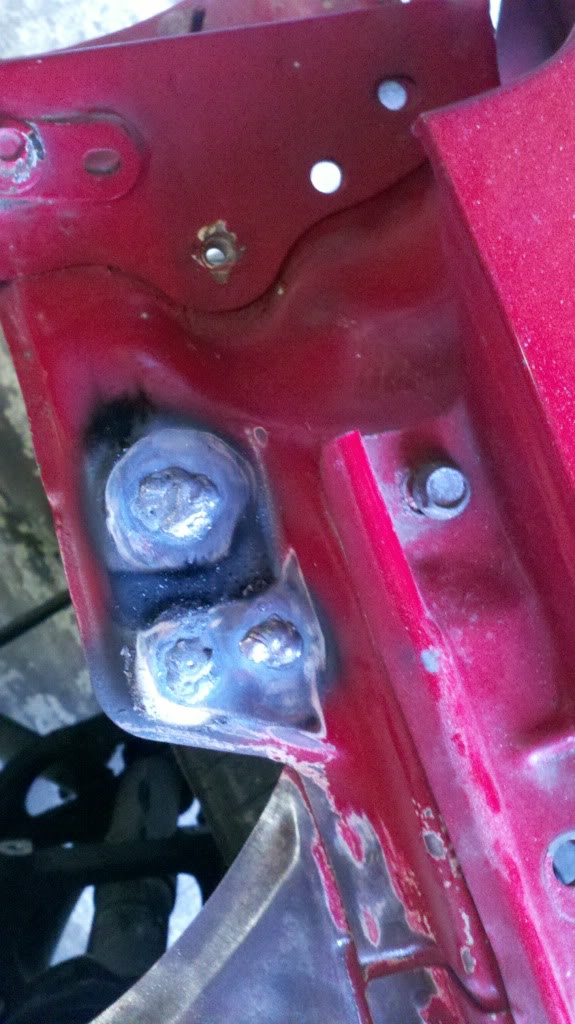
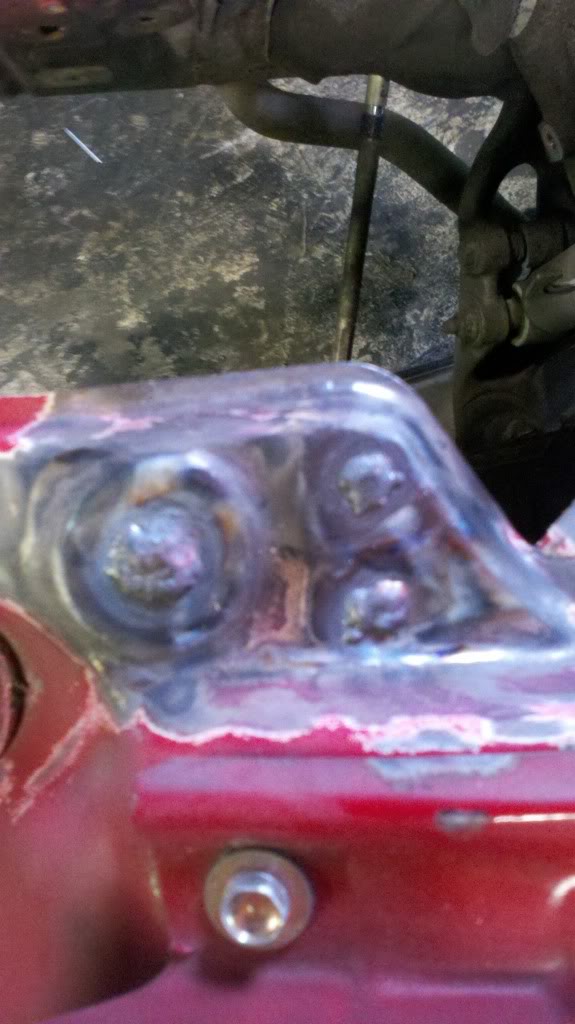
sry that some of the pics are blurry cell phone pics
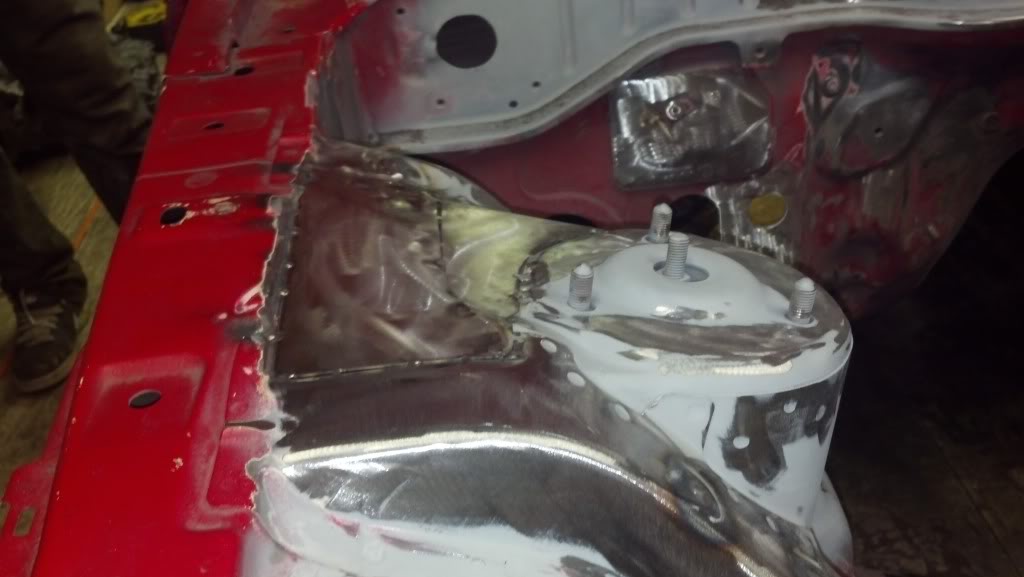
and how i left it still have a lot of work to do but i just put some temporary primer on it some it dosent rust.
sry that some of the pics are blurry cell phone pics
and how i left it still have a lot of work to do but i just put some temporary primer on it some it dosent rust.


Thread Starter
Full Member
Joined: Oct 2011
Posts: 199
Likes: 0
From: maryland
so i got some more done on the car this week.
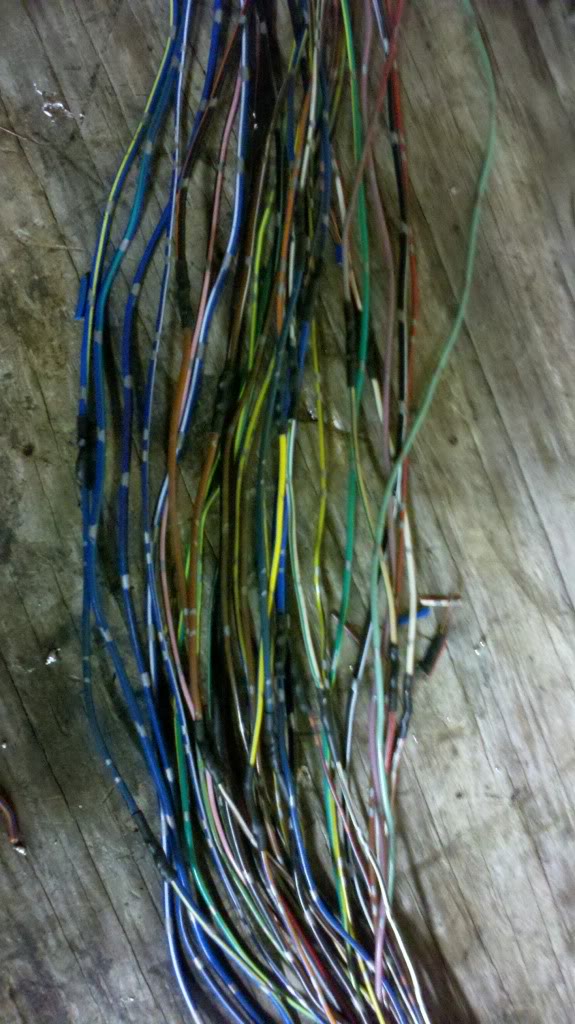
who ever owned the car before me butt spliced so much of the harness, this is just some of them.
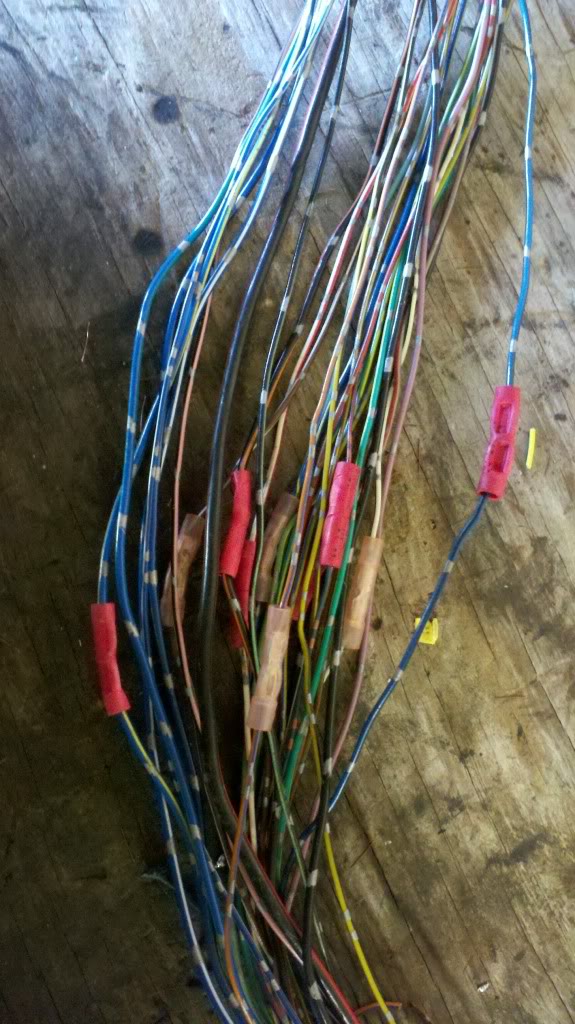
and its fixed
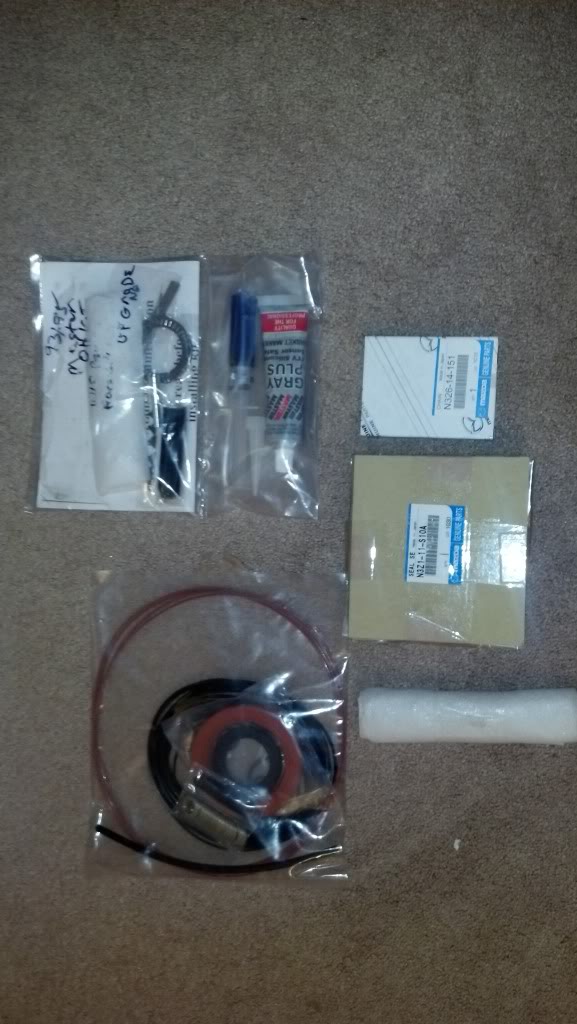
i have also been stacking parts for a little while
this is my master over haul kit from rotary aviations with race springs and ra super seals 2mm
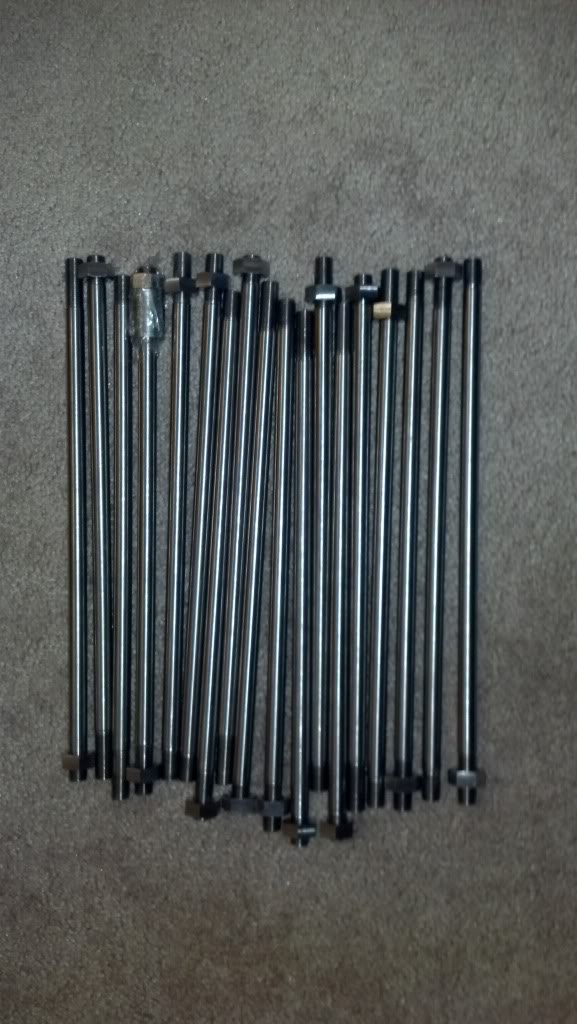
rotary works titanium studs
working on getting a clutch now then ill be getting the motor rebuilt
who ever owned the car before me butt spliced so much of the harness, this is just some of them.
and its fixed
i have also been stacking parts for a little while
this is my master over haul kit from rotary aviations with race springs and ra super seals 2mm
rotary works titanium studs
working on getting a clutch now then ill be getting the motor rebuilt
Thread Starter
Full Member
Joined: Oct 2011
Posts: 199
Likes: 0
From: maryland
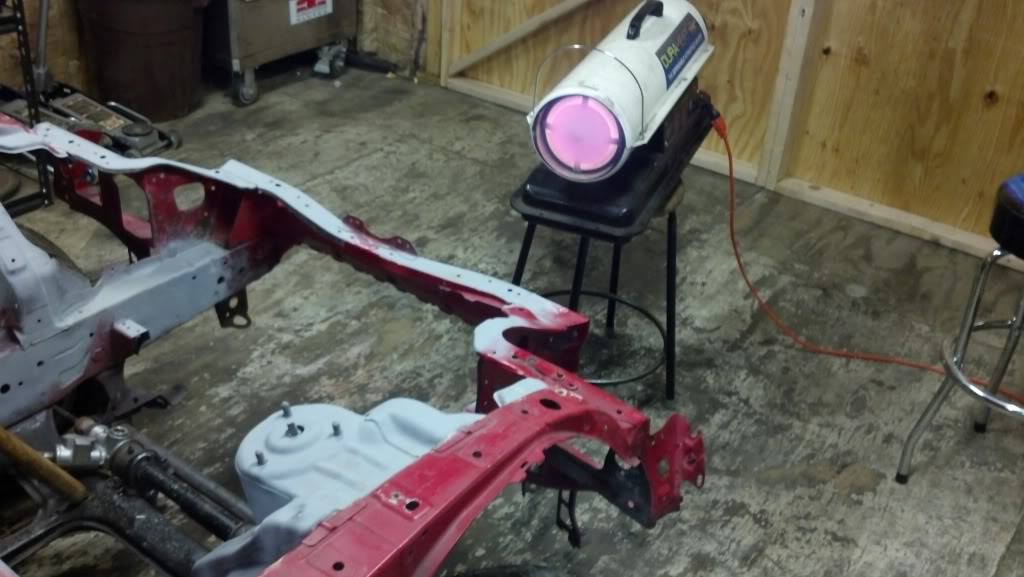
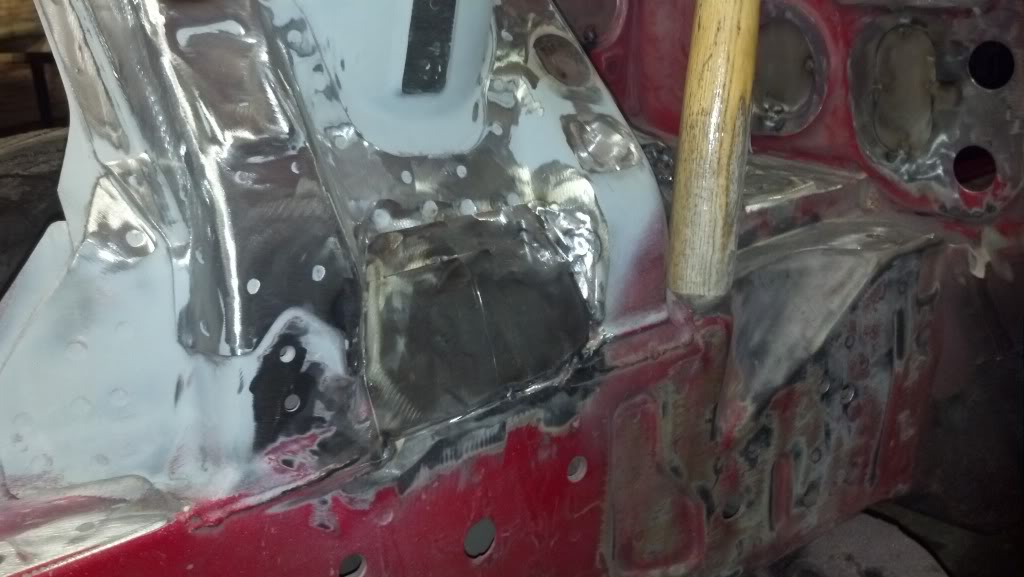
so me and my buddy decided to go all out on the bay so we started it last night still have a lot of work to do.
heating up the bay plus our shop
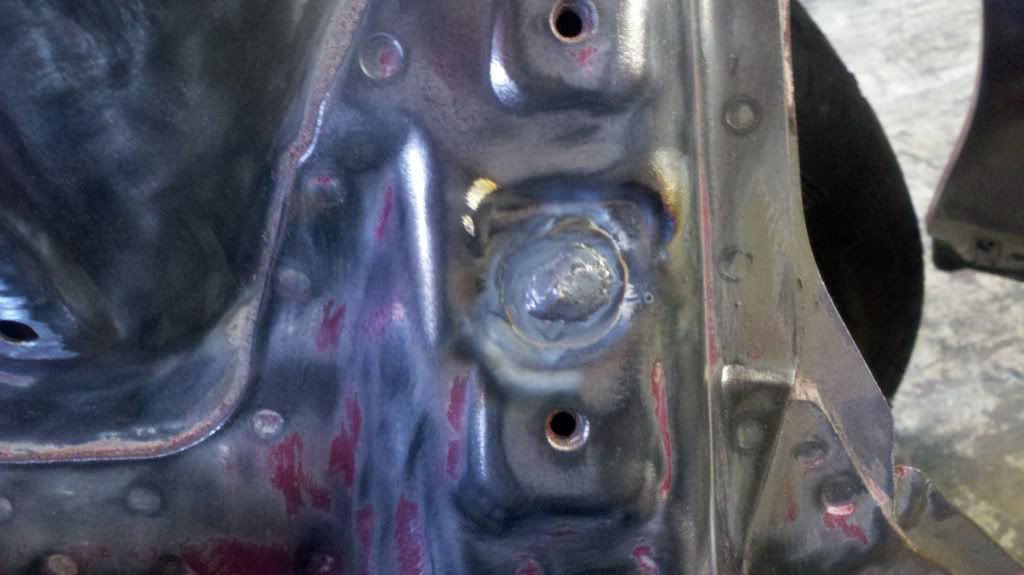
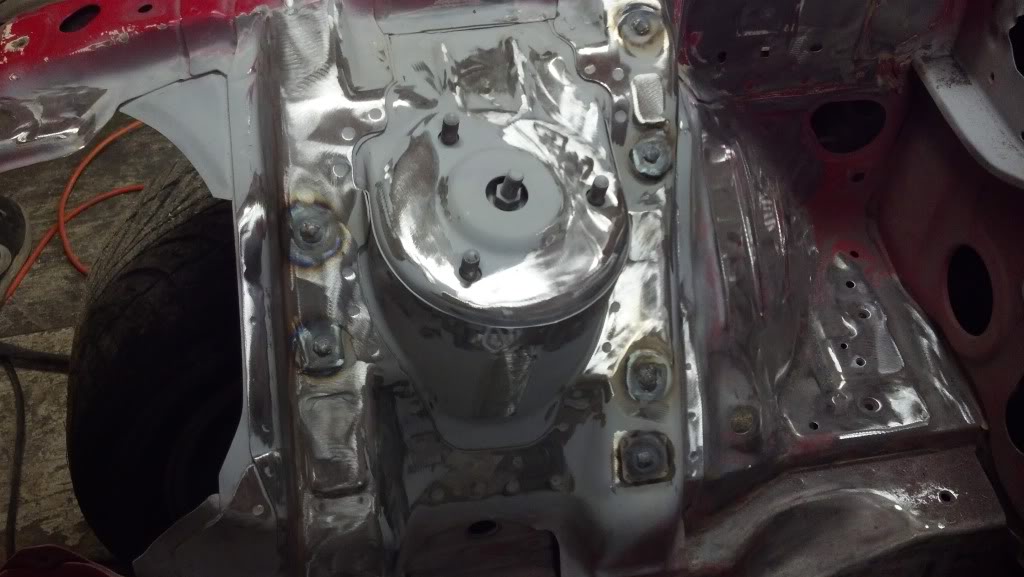
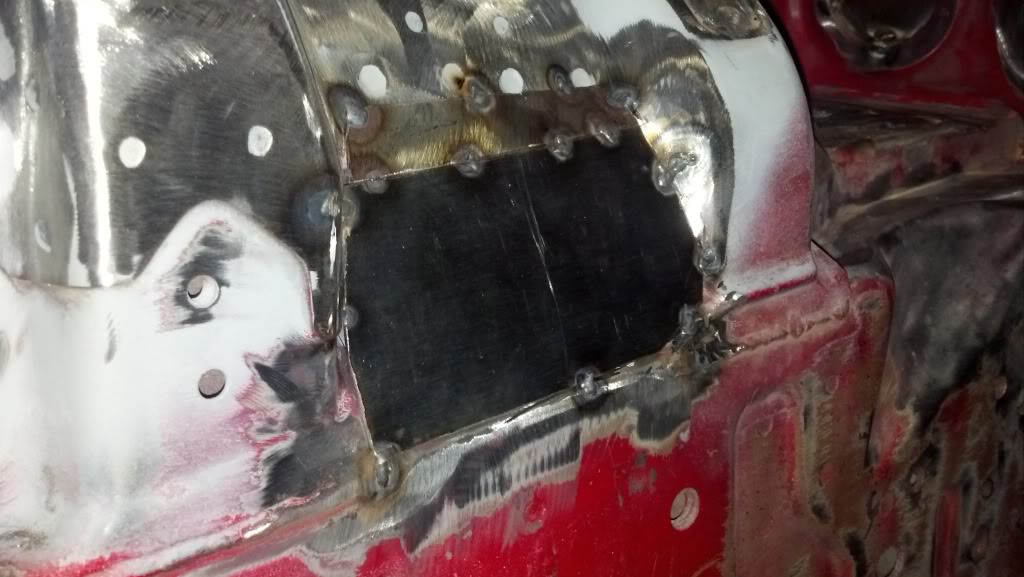
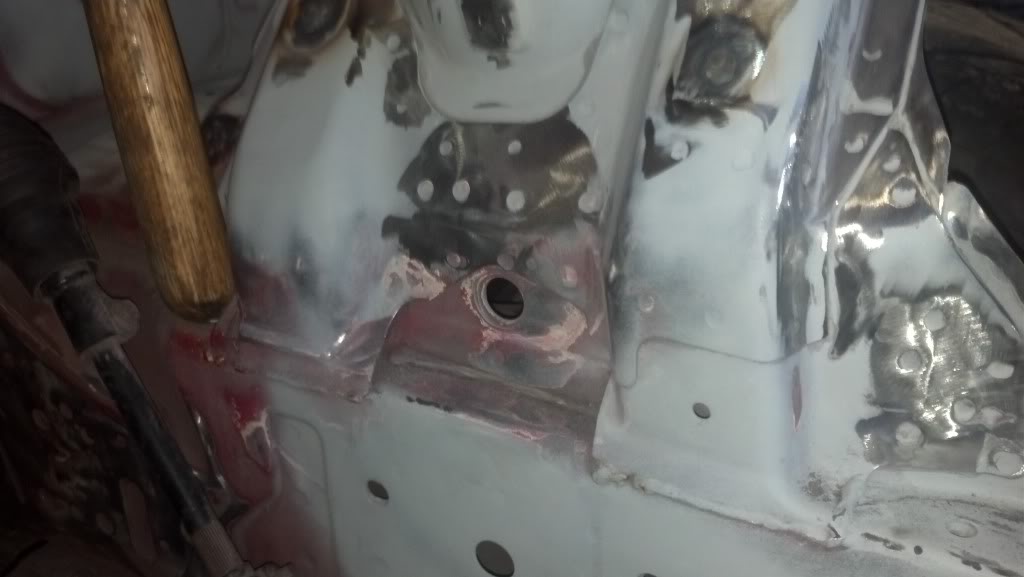
welded up some more holes
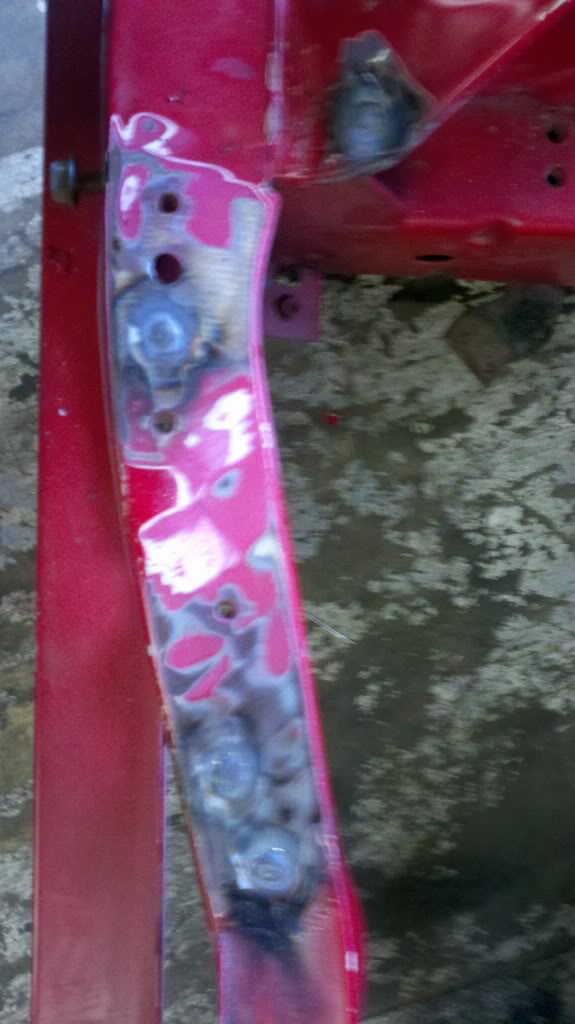
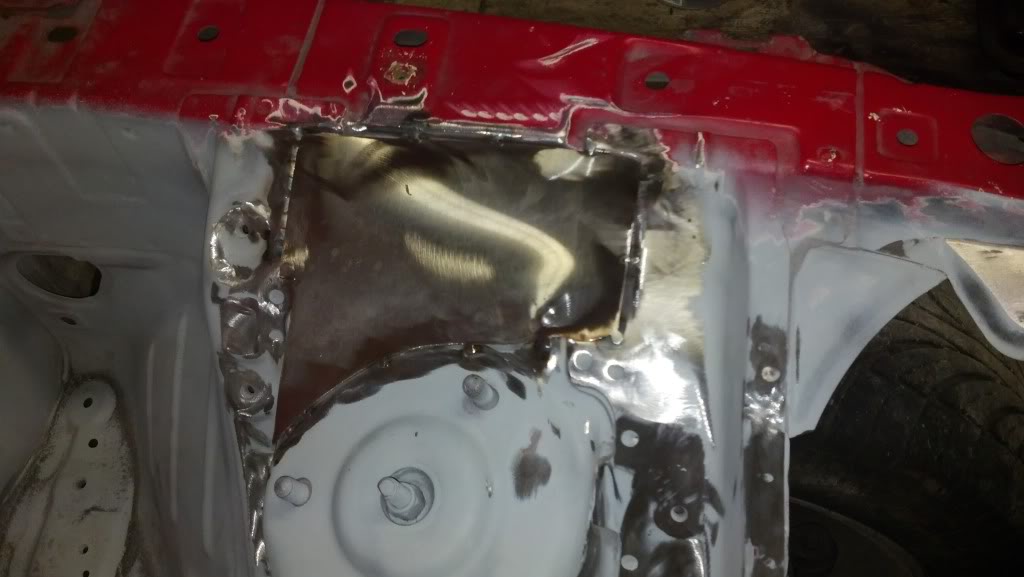
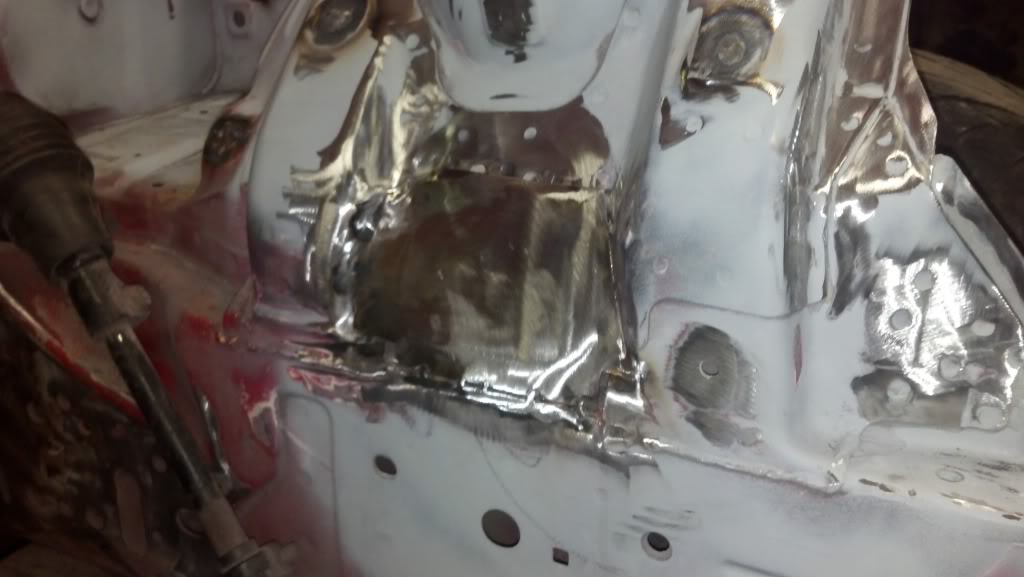
then started fabbing up some sheet metal to start covering up some of the ugly *** spots on this bay
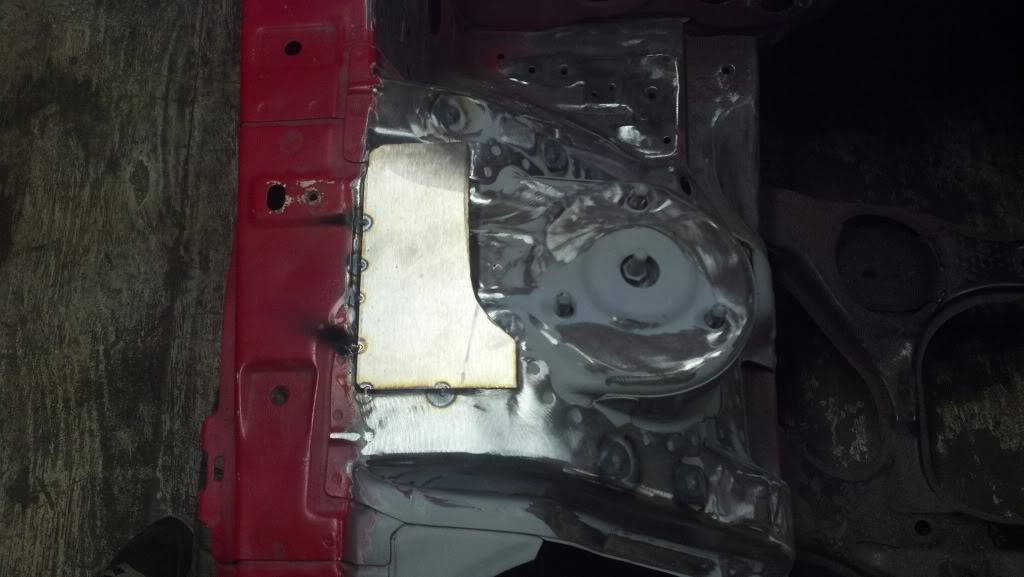
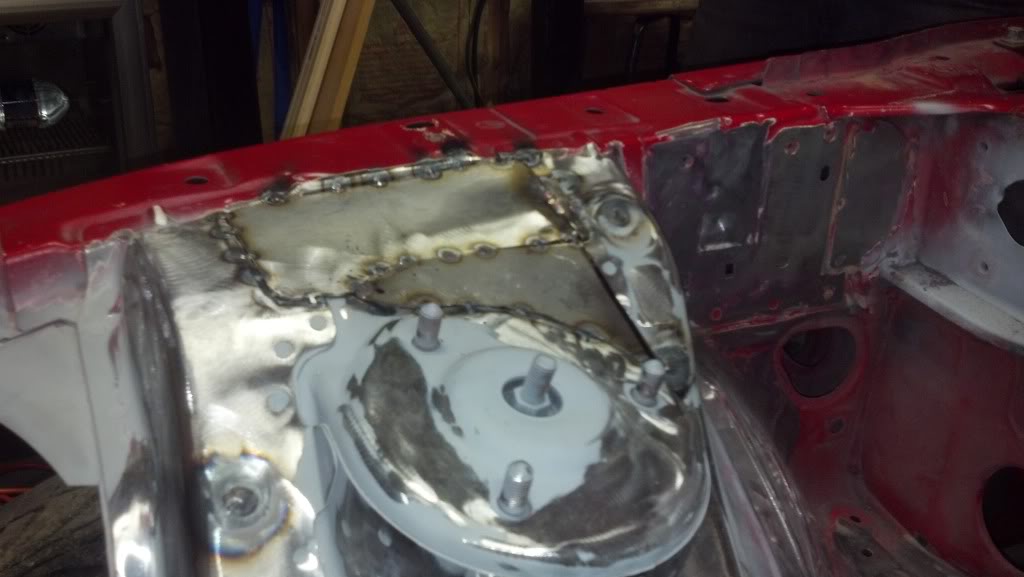
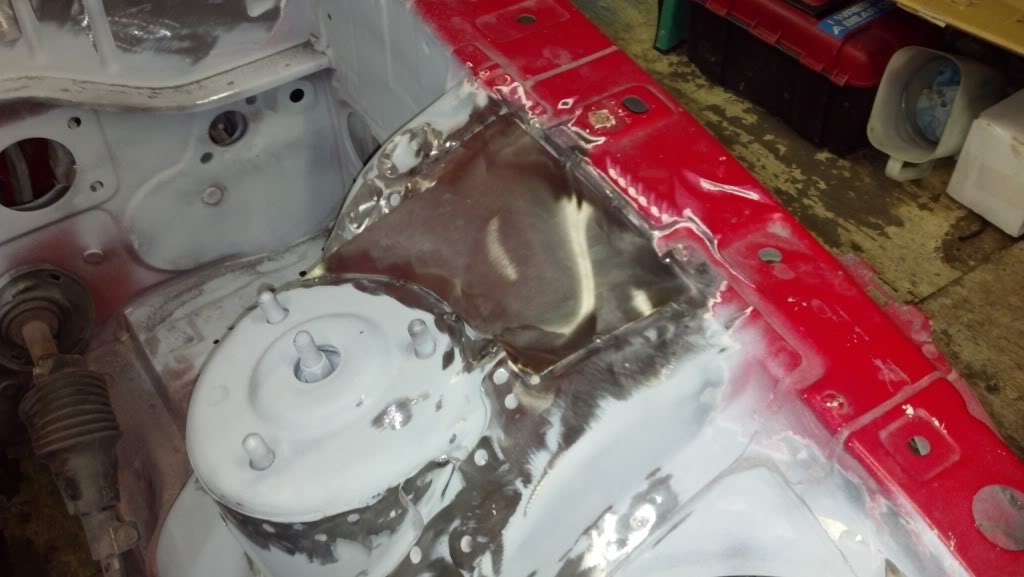
all the fab is done on the part just need to put filler in it
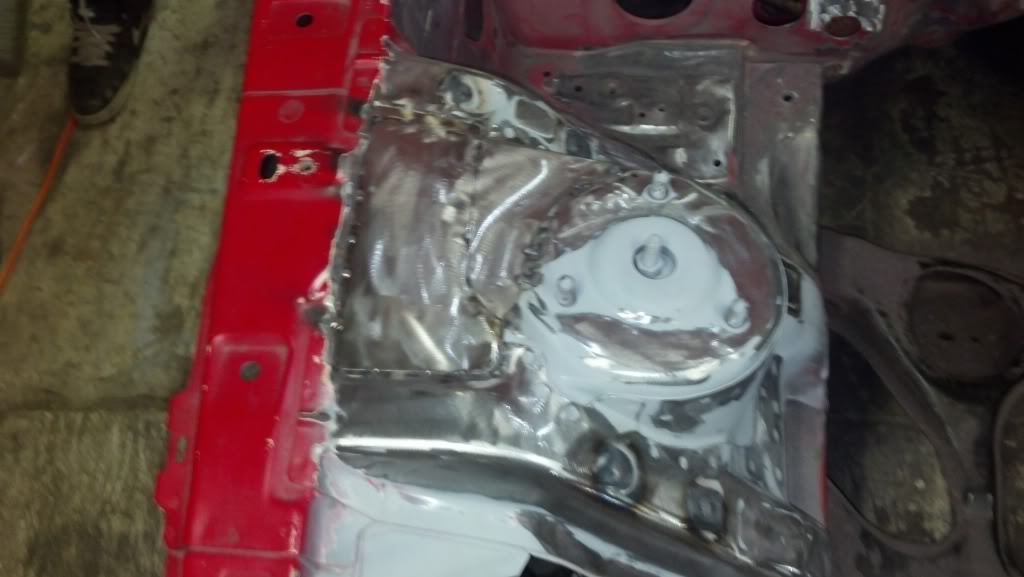
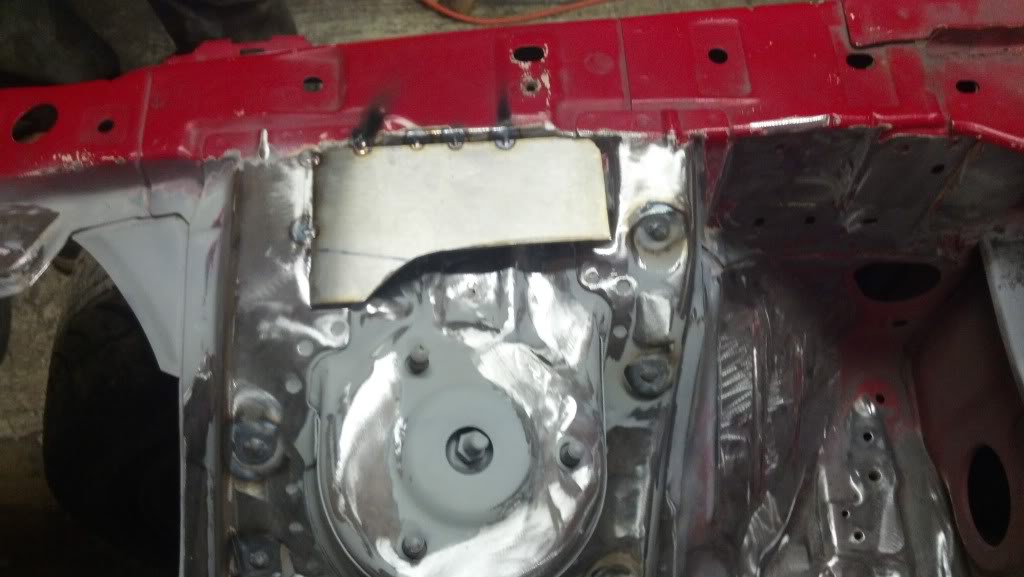
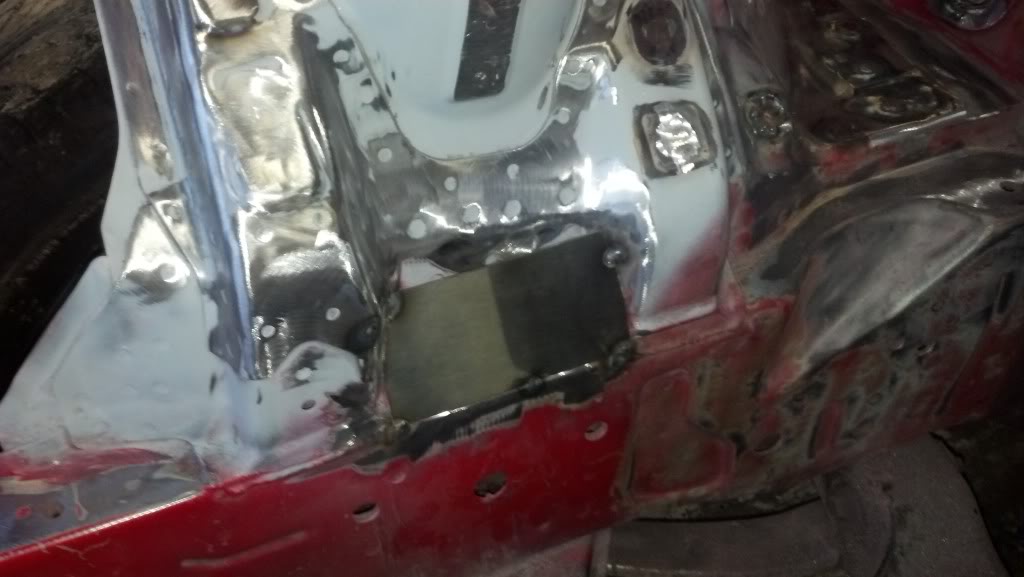
then i started on the other side
then to finish off the night
heating up the bay plus our shop
welded up some more holes
then started fabbing up some sheet metal to start covering up some of the ugly *** spots on this bay
all the fab is done on the part just need to put filler in it
then i started on the other side
then to finish off the night

Im very anxious to see how this turns out...Im doing the same thing with my bay right now. Should be interesting to compare once your finished. Ill have to check this out if im ever in your next of the woods.
Keep up the good work.
-Austin
Keep up the good work.
-Austin
Thread Starter
Full Member
Joined: Oct 2011
Posts: 199
Likes: 0
From: maryland
you wouldnt happen to be the guy that has the black one with green enikis on it do you? and yea for sure i need some 7 guys to hangout with. there are none on my side of the bridge. if you have any pic would u mind posting them. see if i can get some more ideas from you.
Thread Starter
Full Member
Joined: Oct 2011
Posts: 199
Likes: 0
From: maryland
do it i really wanna start seeing more clean bays in these cars it seems to be the one thing that ppl skip out on and it drives me nuts


Thread Starter
Full Member
Joined: Oct 2011
Posts: 199
Likes: 0
From: maryland
Thread Starter
Full Member
Joined: Oct 2011
Posts: 199
Likes: 0
From: maryland

It helps remove air from the system. You can get away without having it, I did for a few years. But I'm adding it back in, it makes it super easy to fill the system, it will basically burp itself.
It is the highest point in the system, and has a pressure cap with the overflow line going to the overflow tank. I then took the too highest points in the system (non-AST), top of water pump housing and top of radiator, and they feed into the AST. This way the air in the radiator or highest part of the engine goes to the AST and out of the system.
It is the highest point in the system, and has a pressure cap with the overflow line going to the overflow tank. I then took the too highest points in the system (non-AST), top of water pump housing and top of radiator, and they feed into the AST. This way the air in the radiator or highest part of the engine goes to the AST and out of the system.
Thread Starter
Full Member
Joined: Oct 2011
Posts: 199
Likes: 0
From: maryland
It helps remove air from the system. You can get away without having it, I did for a few years. But I'm adding it back in, it makes it super easy to fill the system, it will basically burp itself.
It is the highest point in the system, and has a pressure cap with the overflow line going to the overflow tank. I then took the too highest points in the system (non-AST), top of water pump housing and top of radiator, and they feed into the AST. This way the air in the radiator or highest part of the engine goes to the AST and out of the system.
It is the highest point in the system, and has a pressure cap with the overflow line going to the overflow tank. I then took the too highest points in the system (non-AST), top of water pump housing and top of radiator, and they feed into the AST. This way the air in the radiator or highest part of the engine goes to the AST and out of the system.
