My take on the perfect road going FD
 07-11-13, 11:06 AM
#101

Yes...I got some rather bad burns as my leather welding apron was lent out at the time

The undertray did a good job of reflecting the weld spatter off me, though

Seam welding the arches is a good preventative job imo - No gaps for moisture to lurk in and start rotting.
 07-18-13, 09:40 AM
#105
Thanks guys, seems like a never ending project! 
Couldn't agree more - Although I have deviated from my original "keep it standard" plan. Hopefully will end up with a fun/comfortable road car that sees the odd track day
Made some progress over the last few days...And some more sill butchering has taken place...This FD is now officially rust free

Will post up pics tonight.
Made some progress over the last few days...And some more sill butchering has taken place...This FD is now officially rust free
Will post up pics tonight.
07-19-13, 05:26 AM
#106
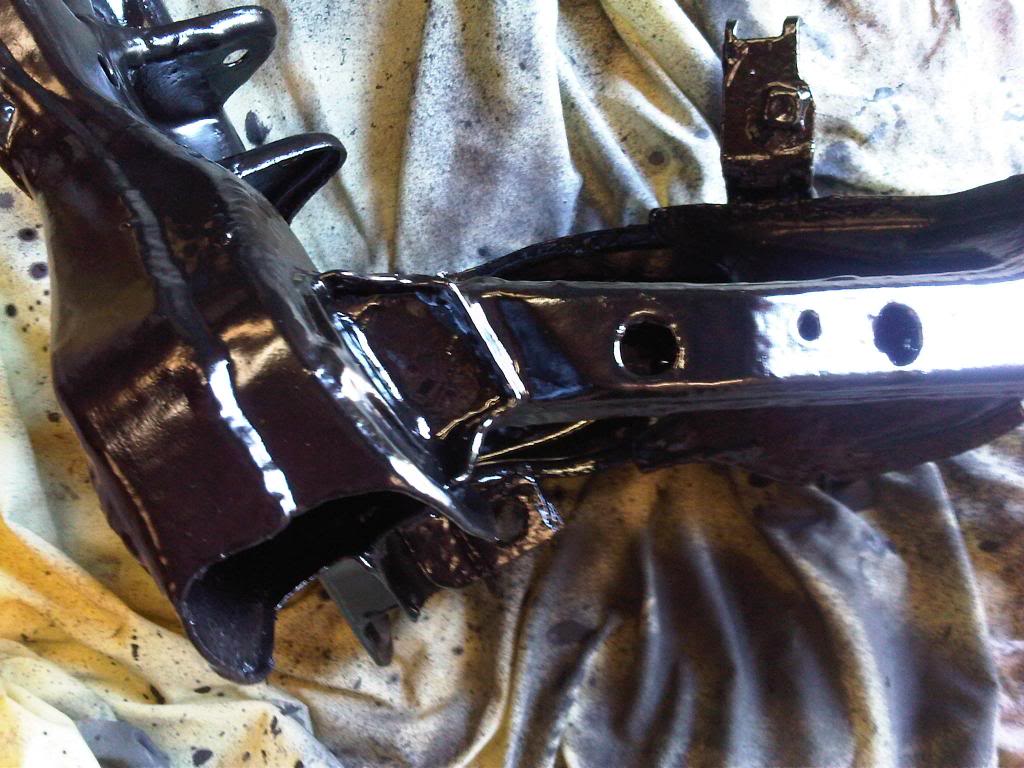
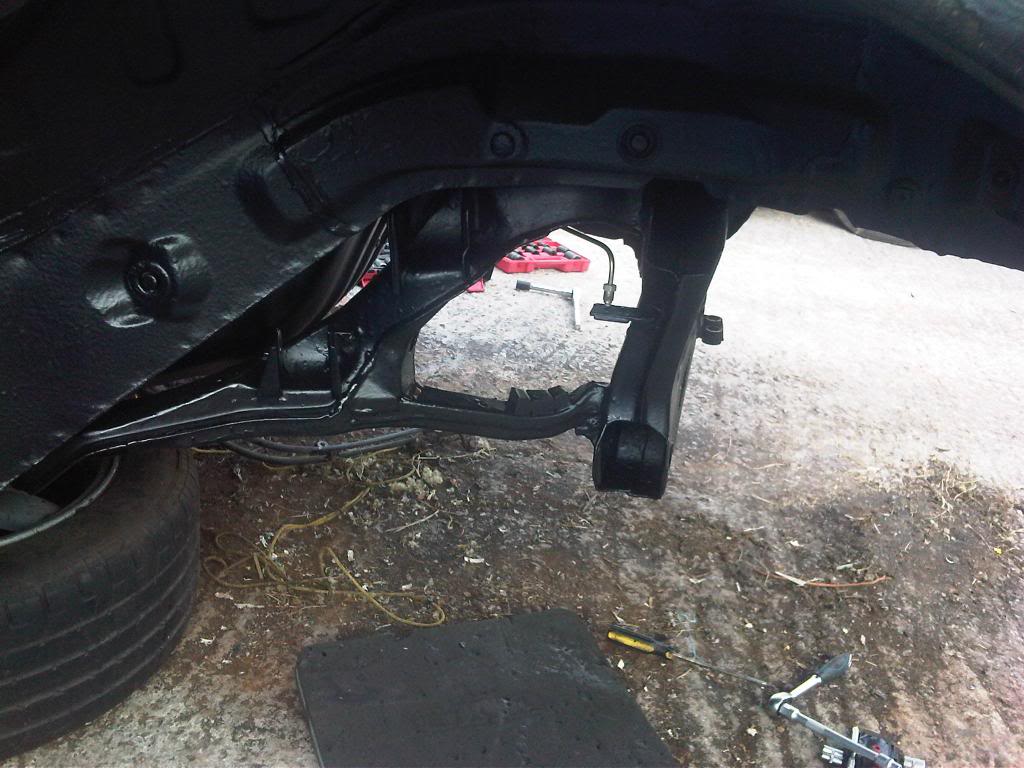
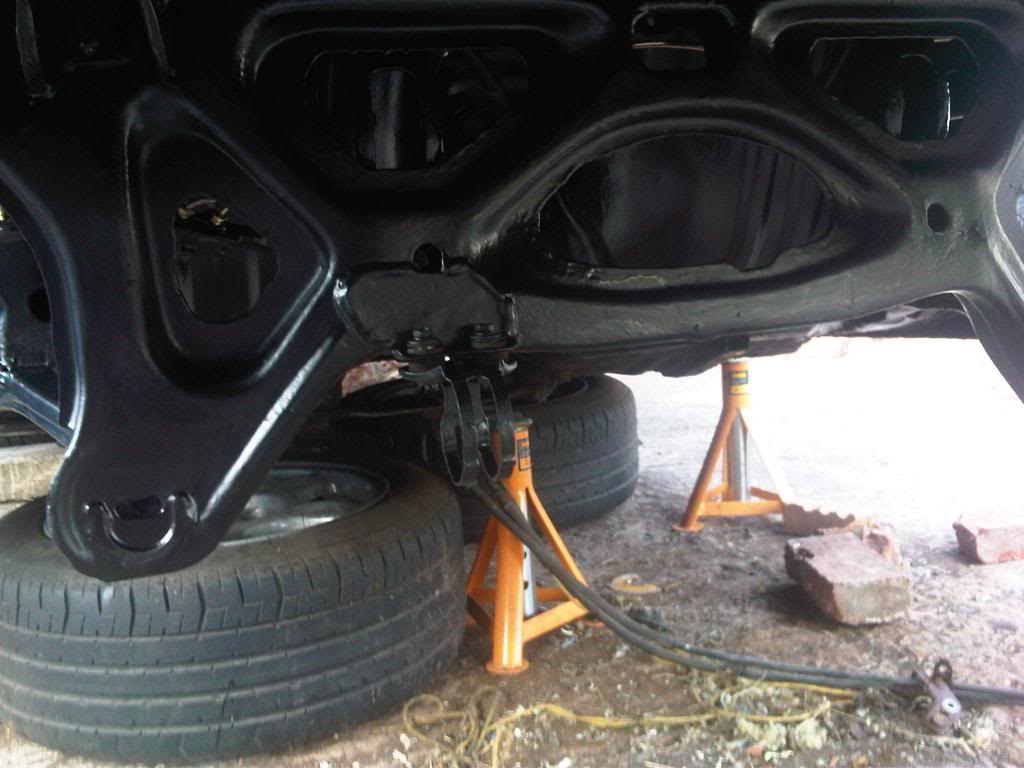
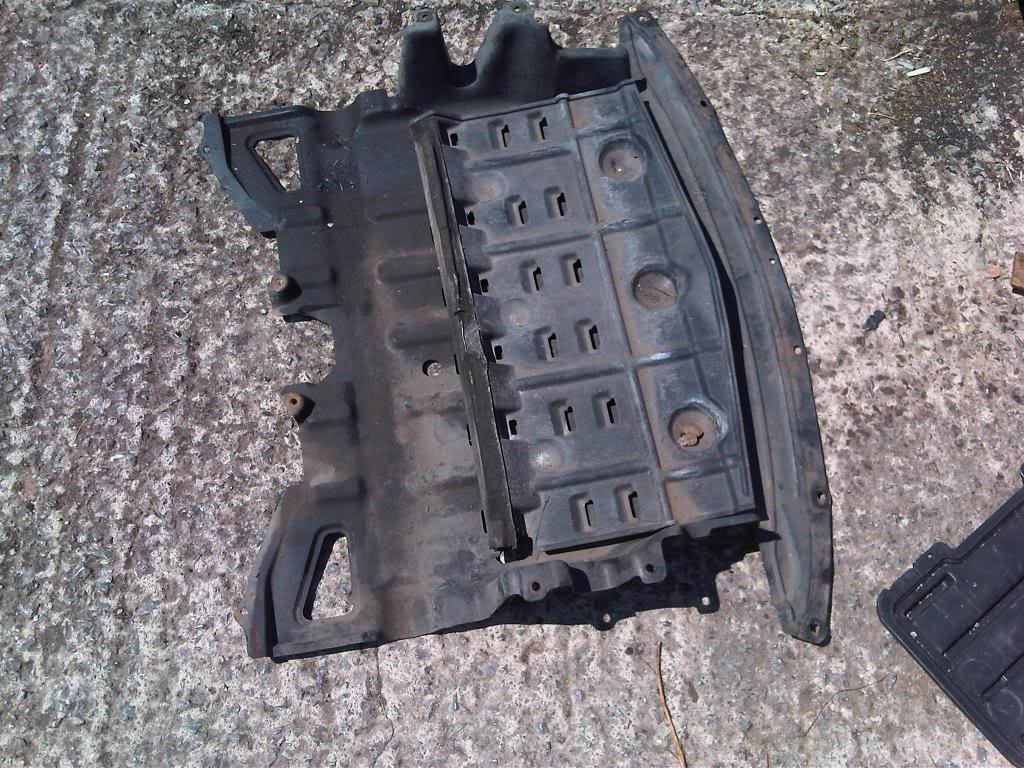
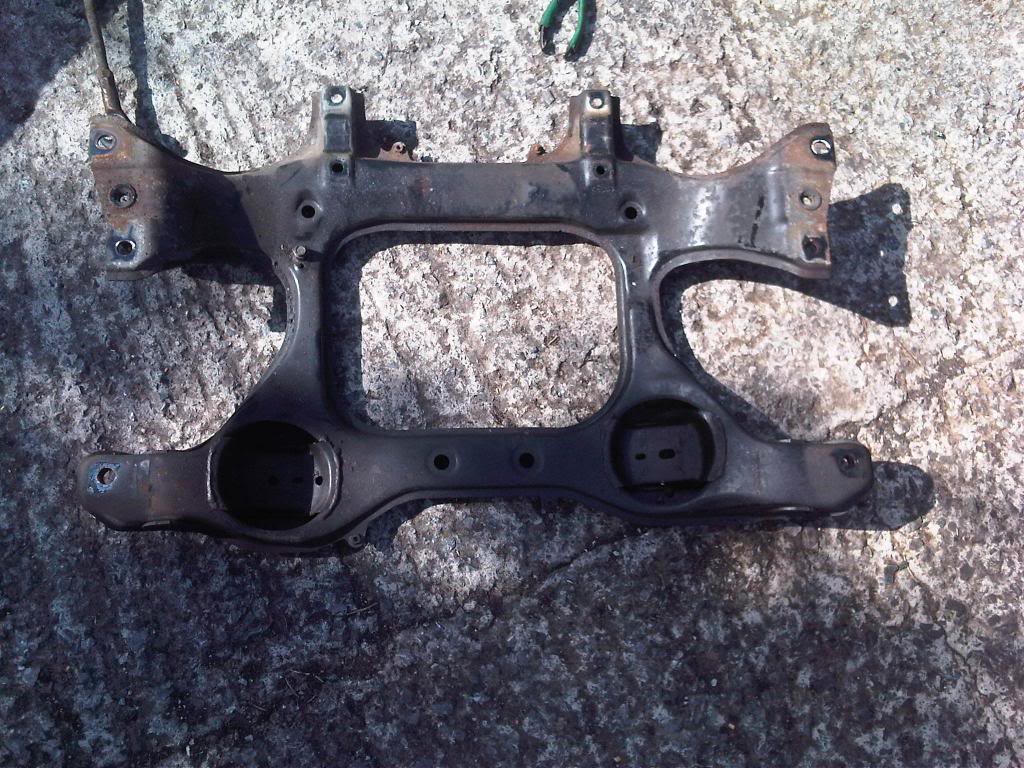
The rear sub frame came out quite nice imo, considering I sprayed it with the schultz gun as I didn't want epoxy mastic in my bodywork guns
Made a huge mess with the cavity nozzle, but the result is smooth & shiny protected cavities, so I'm happy
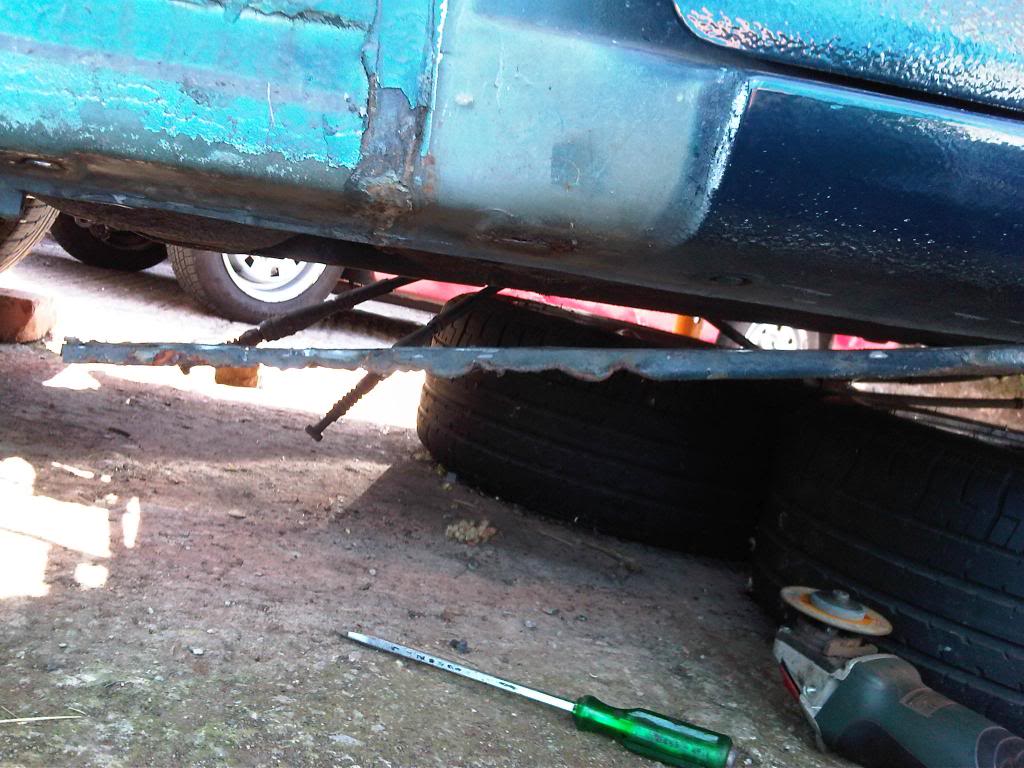
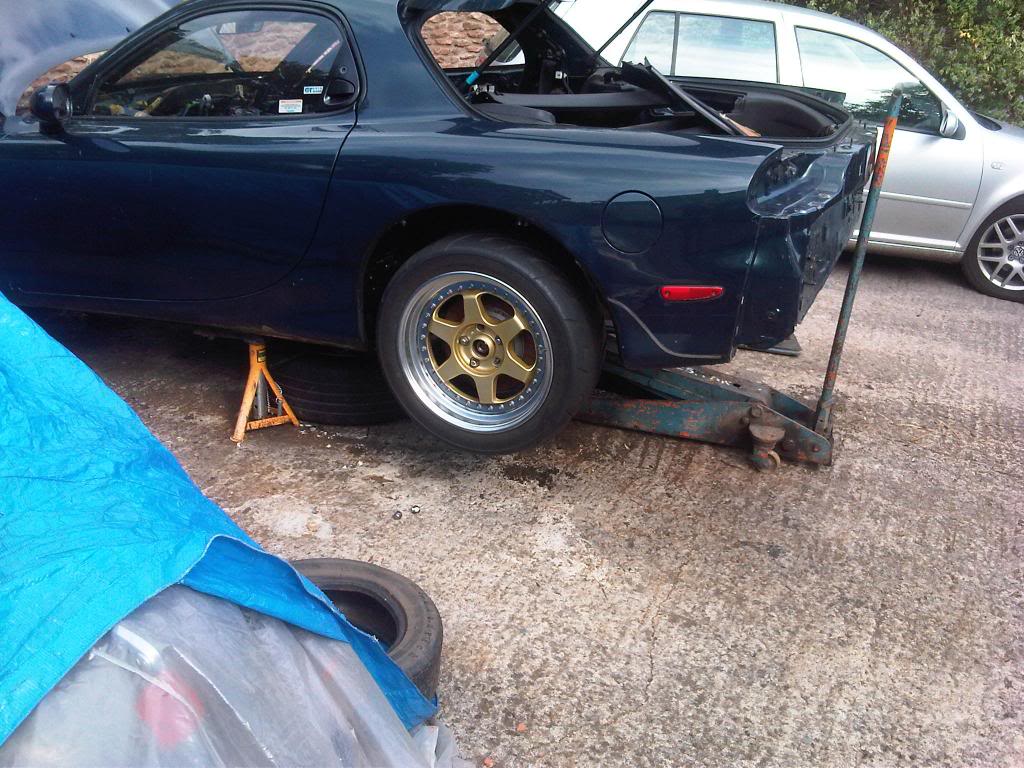
The front sills we're damaged by a previous owner that obviously didn't understand how to jack a car.....You'd think after doing the damage the first time you'd learn..Nope...All four corners ruined
Cut back to good:
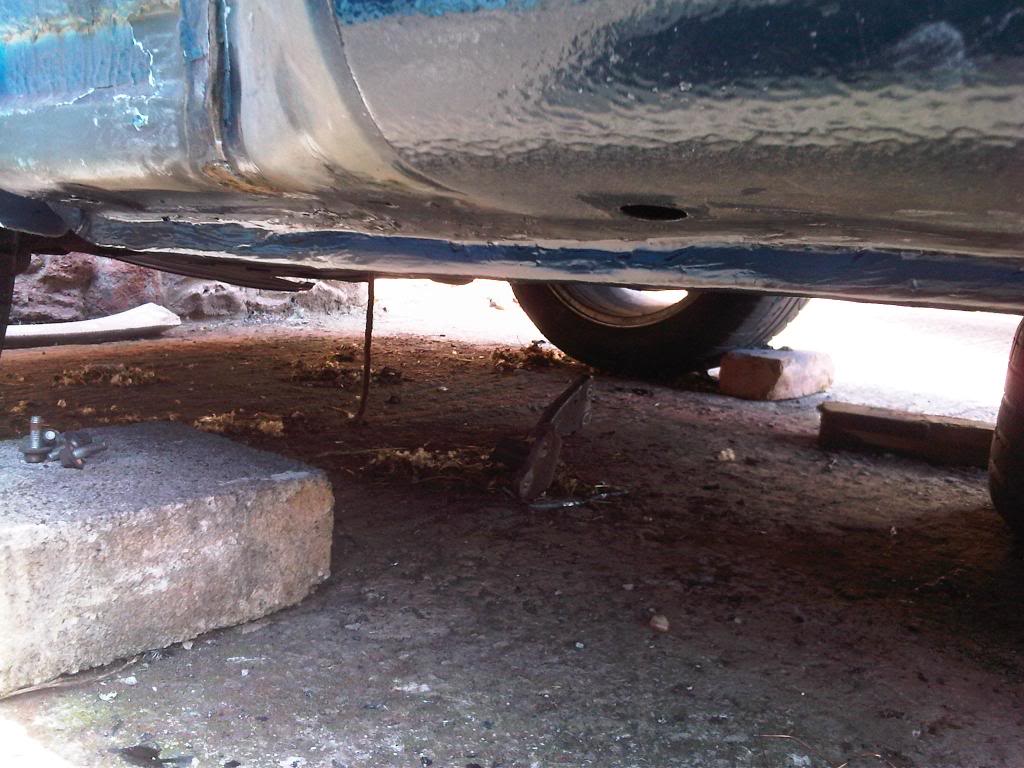
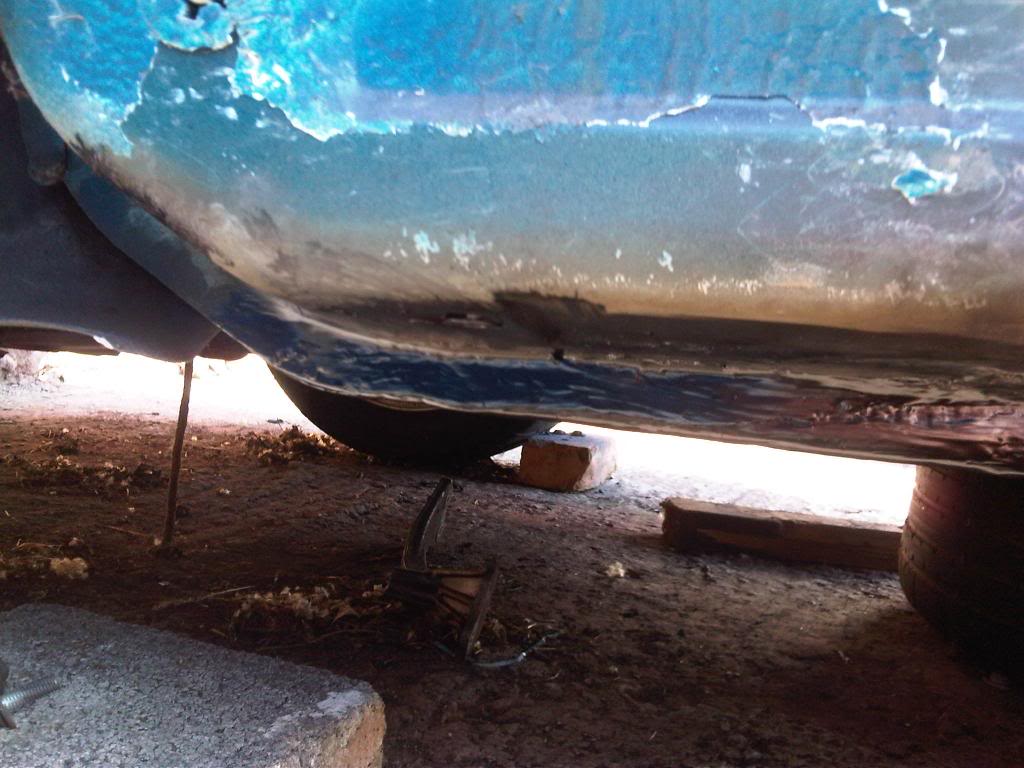
New sill in and painted to temp protect from rust (Laid on real thick, hence the lumpy texture, the sill is actually smooth). Will be stripped and filled when the car goes in for its repsray, but tbh, it looks stock & I'm quite pleased with it:
Both sides had the same treatment. The repaired section is a strip of 3mm steel bar, welded with full penetration to the inside 3 sections that make up the stock sill. Then a 4th .9mm piece of steel has been joined the the external sill and bent over to keep the stock look, this is then plug welded to the 3mm bar to create the same look at the stock spot welds. You wont damage that with a jack
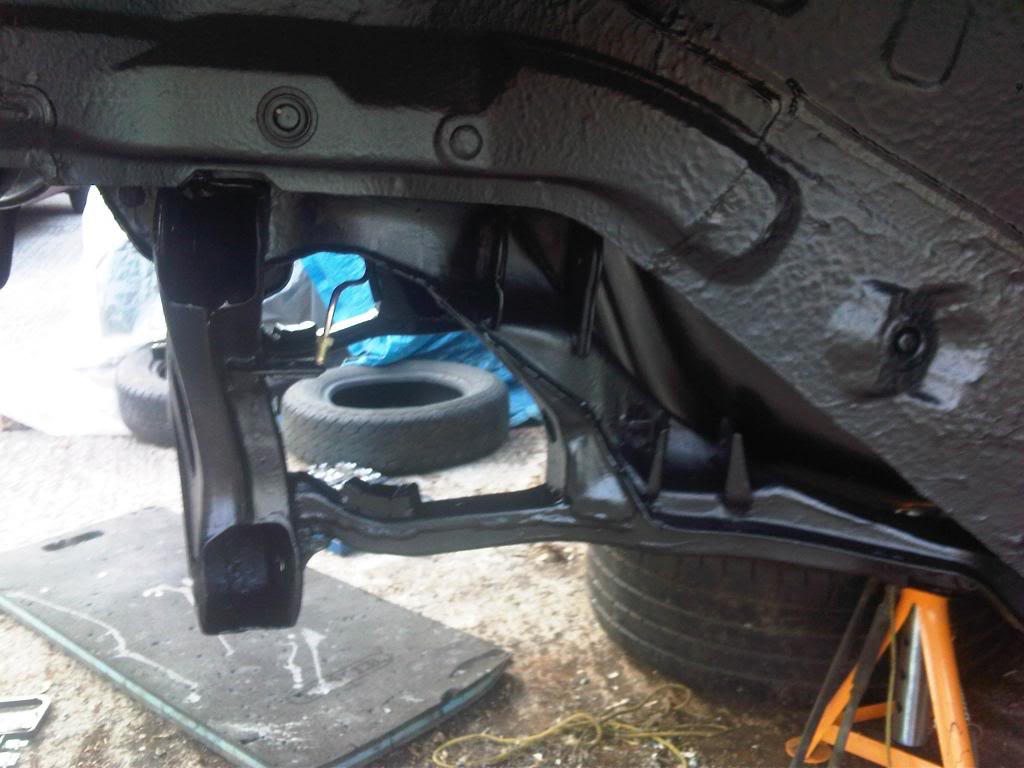
The subframe has been out in the sun for nearly a week, so should be fully cured. Hoping to get it installed along with the diff and rear suspension this weekend
Made a huge mess with the cavity nozzle, but the result is smooth & shiny protected cavities, so I'm happy
The front sills we're damaged by a previous owner that obviously didn't understand how to jack a car.....You'd think after doing the damage the first time you'd learn..Nope...All four corners ruined
Cut back to good:
New sill in and painted to temp protect from rust (Laid on real thick, hence the lumpy texture, the sill is actually smooth). Will be stripped and filled when the car goes in for its repsray, but tbh, it looks stock & I'm quite pleased with it
:Both sides had the same treatment. The repaired section is a strip of 3mm steel bar, welded with full penetration to the inside 3 sections that make up the stock sill. Then a 4th .9mm piece of steel has been joined the the external sill and bent over to keep the stock look, this is then plug welded to the 3mm bar to create the same look at the stock spot welds. You wont damage that with a jack
The subframe has been out in the sun for nearly a week, so should be fully cured. Hoping to get it installed along with the diff and rear suspension this weekend
 07-22-13, 04:18 PM
#109
Got some work done today.
Went over to Minotaur racing to pickup this monster of an intercooler:
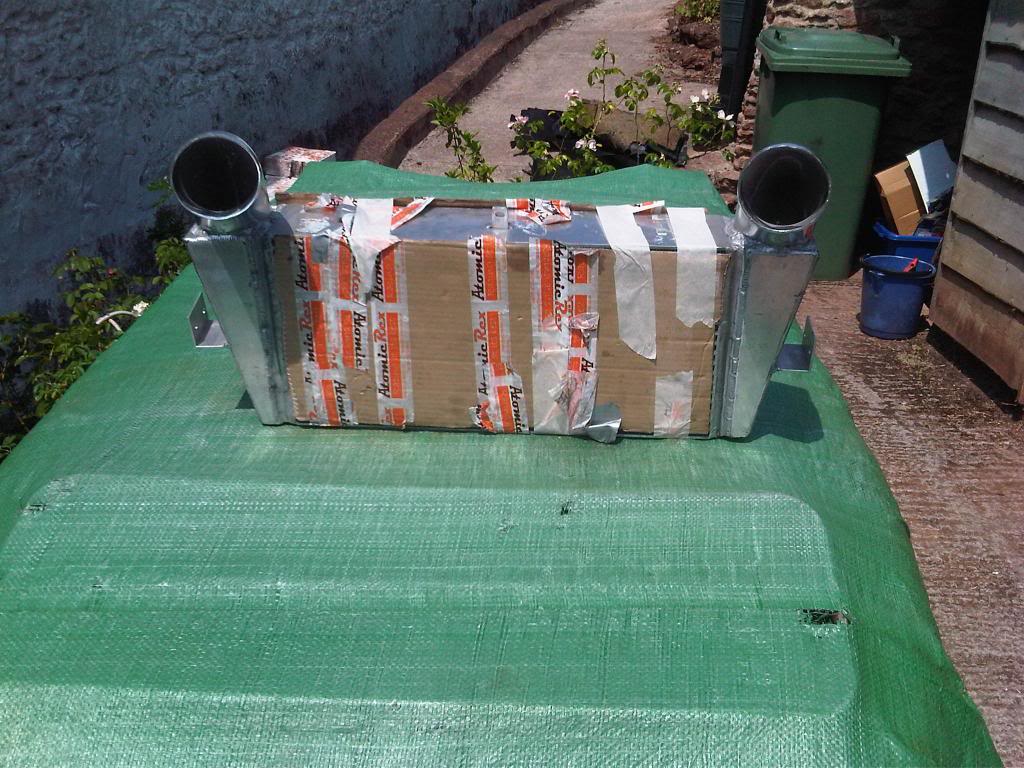
If anyone is wondering, the car its sat on is a '59 sprite mk1 & my next project
Shamefully the intercooler has to go back tomorrow as its too big to fit an FD without cutting the chassis legs
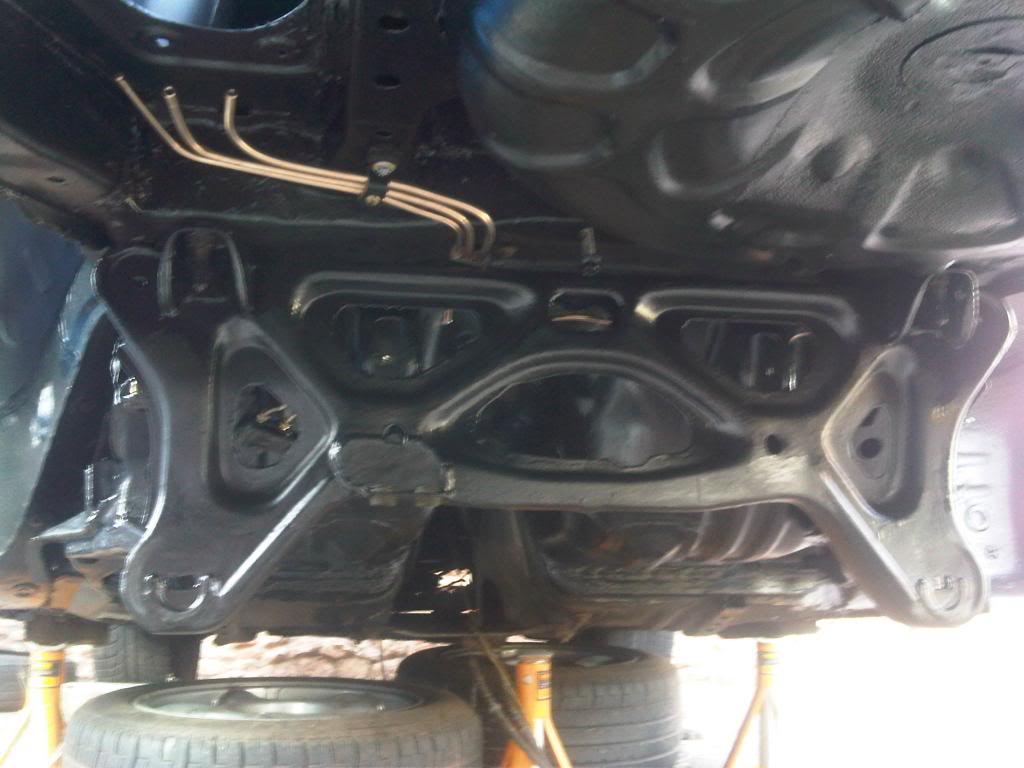
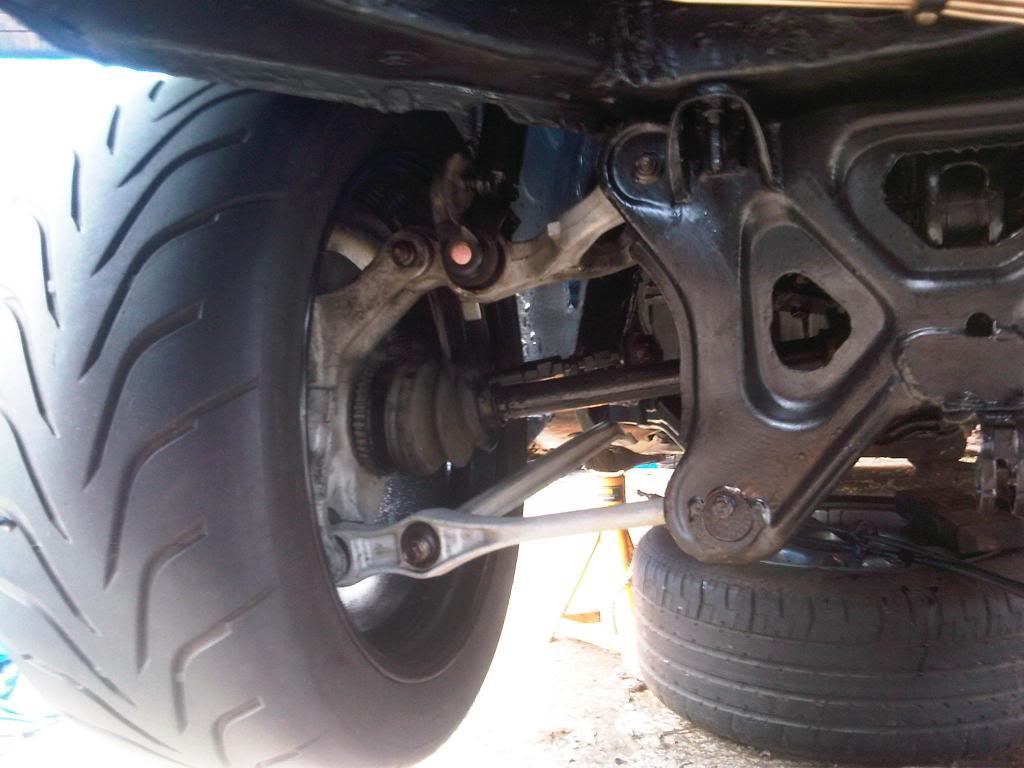
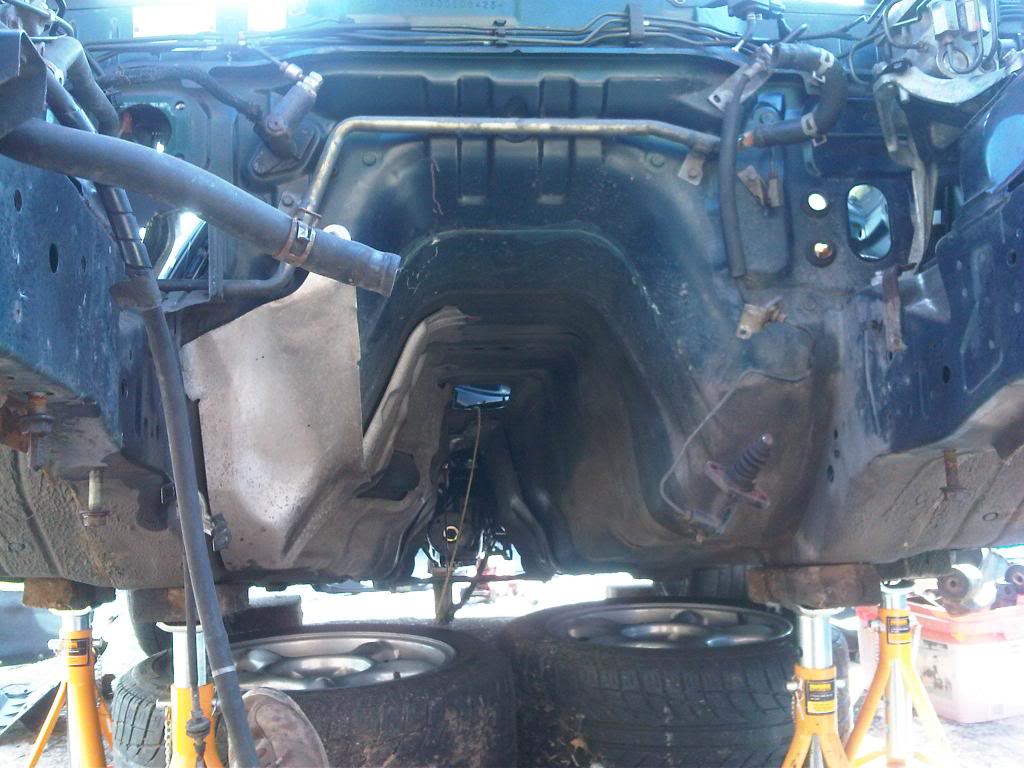
Got the diff, drive shafts & most of the rear suspension in this evening. Copious amounts of copper slip used just incase it ever needs to come apart in future
Pics are kinda dark as I didn't finish until 9pm.
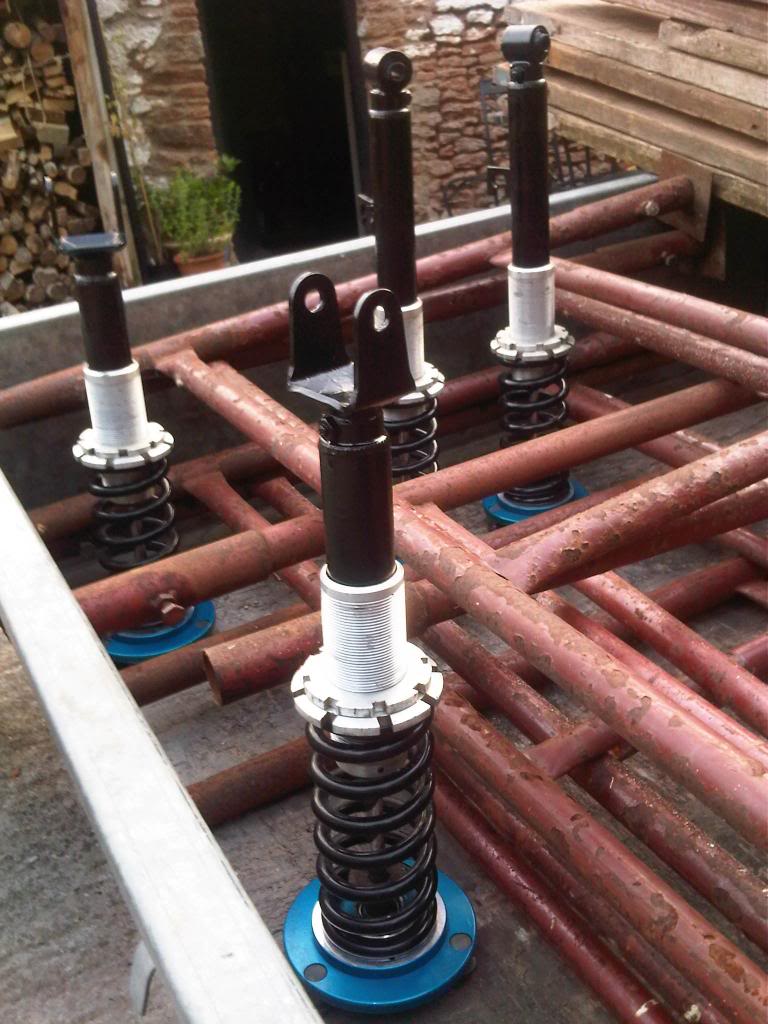
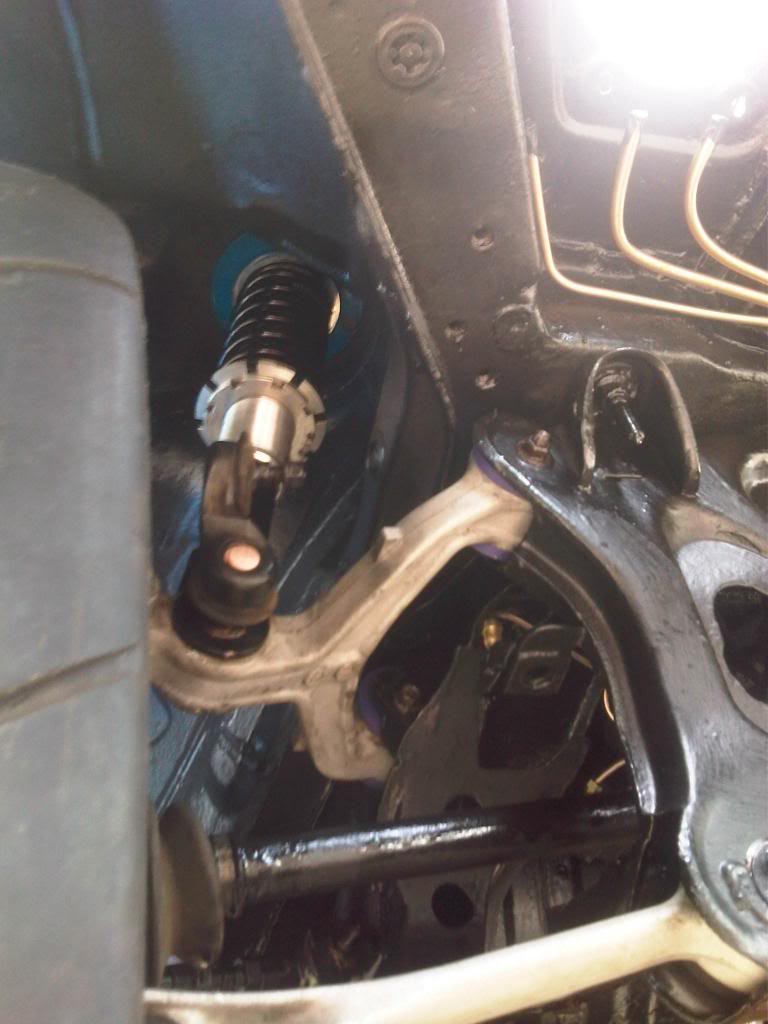
Ohlins painted, re-assembled and given a dose of ACF50, ready to go in tomorrow
Went over to Minotaur racing to pickup this monster of an intercooler:
If anyone is wondering, the car its sat on is a '59 sprite mk1 & my next project
Shamefully the intercooler has to go back tomorrow as its too big to fit an FD without cutting the chassis legs
Got the diff, drive shafts & most of the rear suspension in this evening. Copious amounts of copper slip used just incase it ever needs to come apart in future
Pics are kinda dark as I didn't finish until 9pm.
Ohlins painted, re-assembled and given a dose of ACF50, ready to go in tomorrow
07-23-13, 12:16 PM
#110
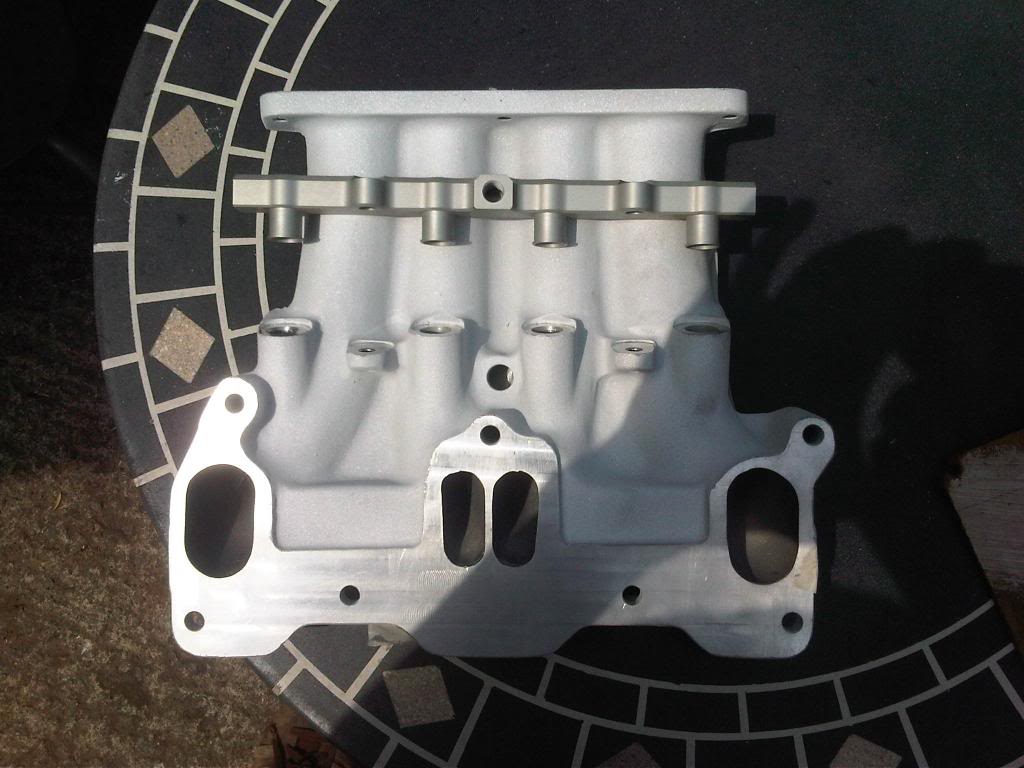
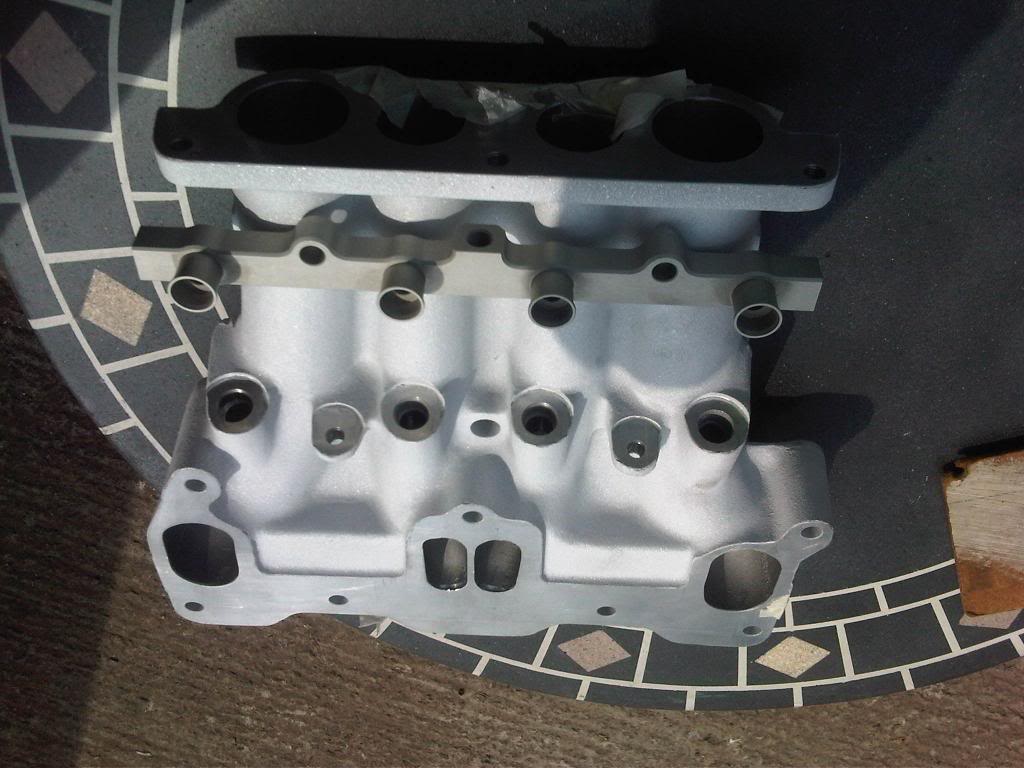
Picked up this today from Minotaur Racing, going to run a single fuel rail for simplicity
The LIM is coated to reflect the turbo heat & hopefully help keep the IAT's lower.
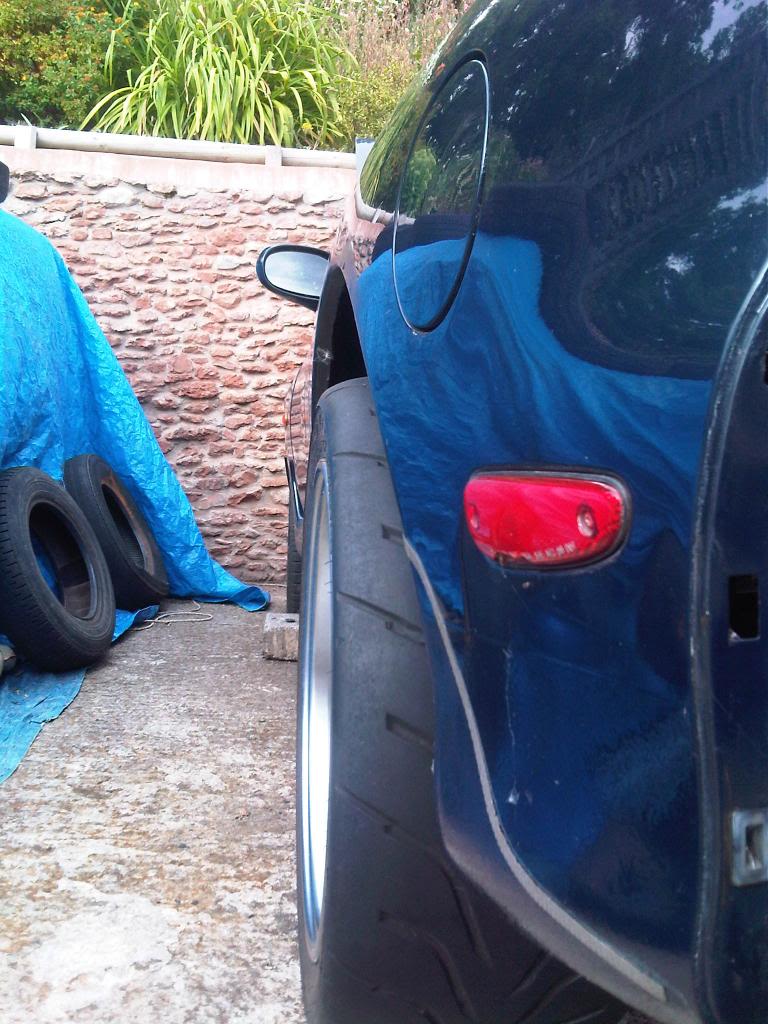
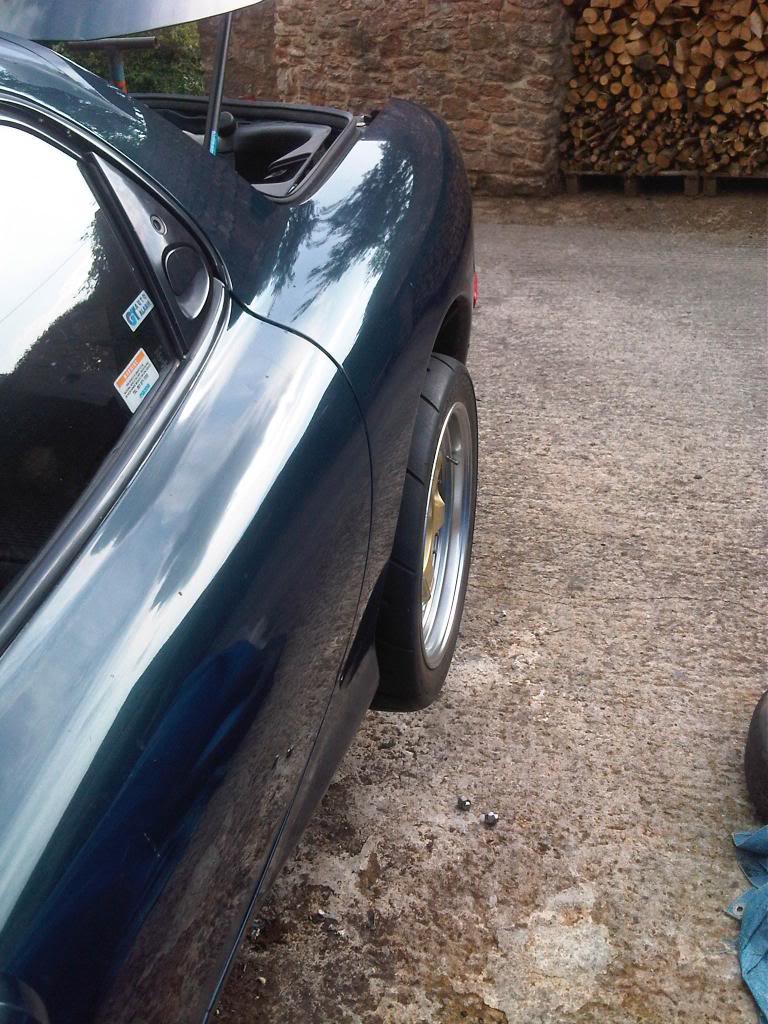
Got the rear coilovers in, and couldn't resist test fitting the new wheels - I cant wait to drive this thing!

New IC test fit:
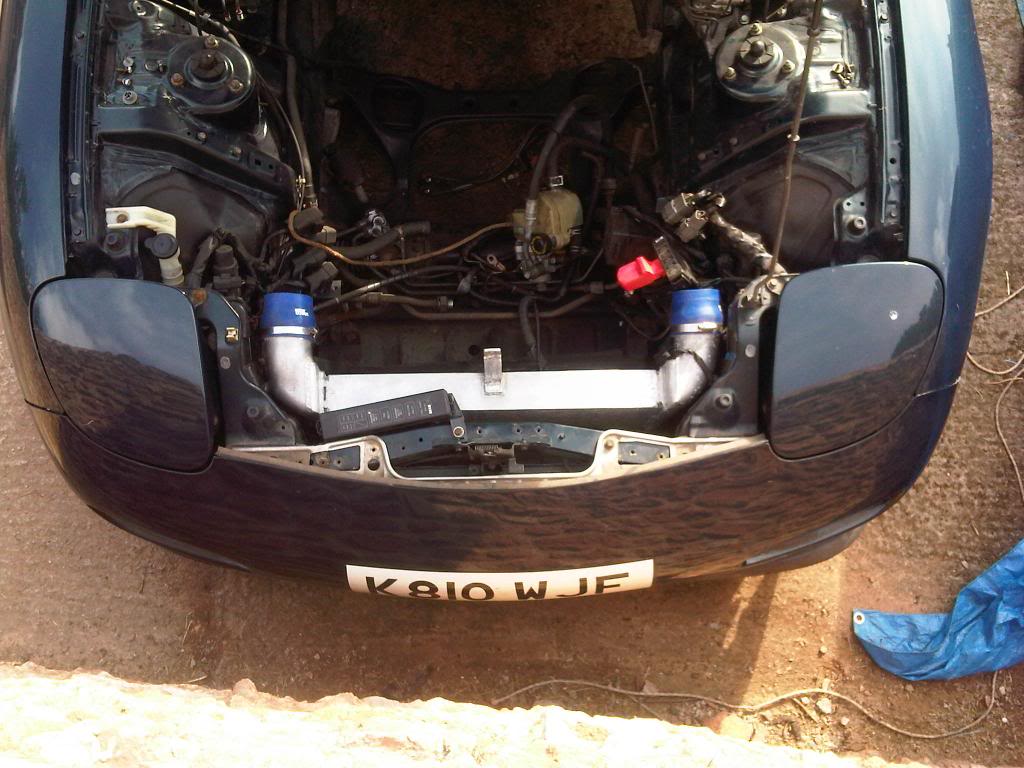
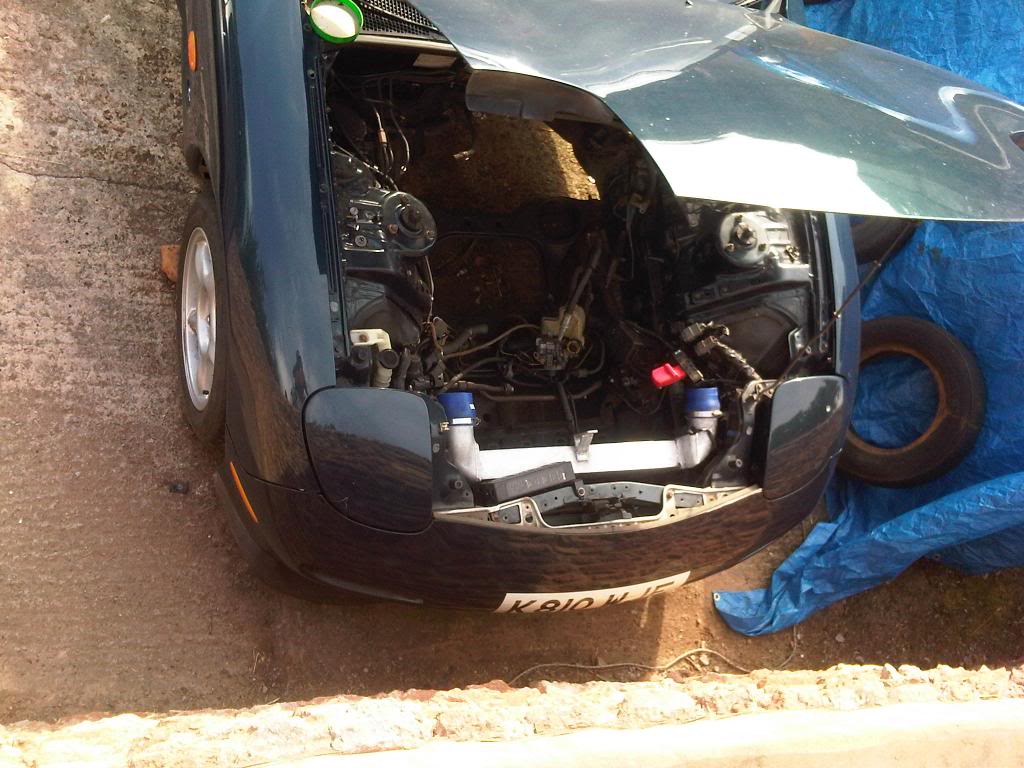
Will sit a little further forward when the PS lines are removed. Fits like a glove, nice and low, in the air flow
The LIM is coated to reflect the turbo heat & hopefully help keep the IAT's lower.
Got the rear coilovers in, and couldn't resist test fitting the new wheels - I cant wait to drive this thing!
New IC test fit:
Will sit a little further forward when the PS lines are removed. Fits like a glove, nice and low, in the air flow
07-24-13, 02:53 PM
#112
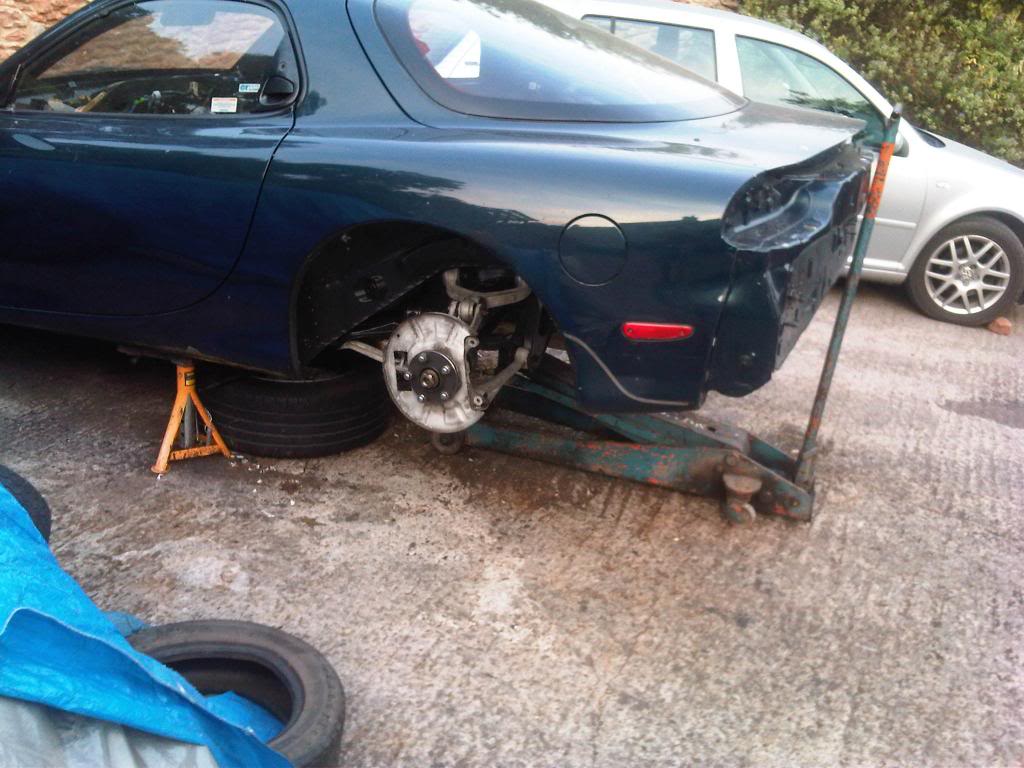
The car had all four wheels on the ground today..
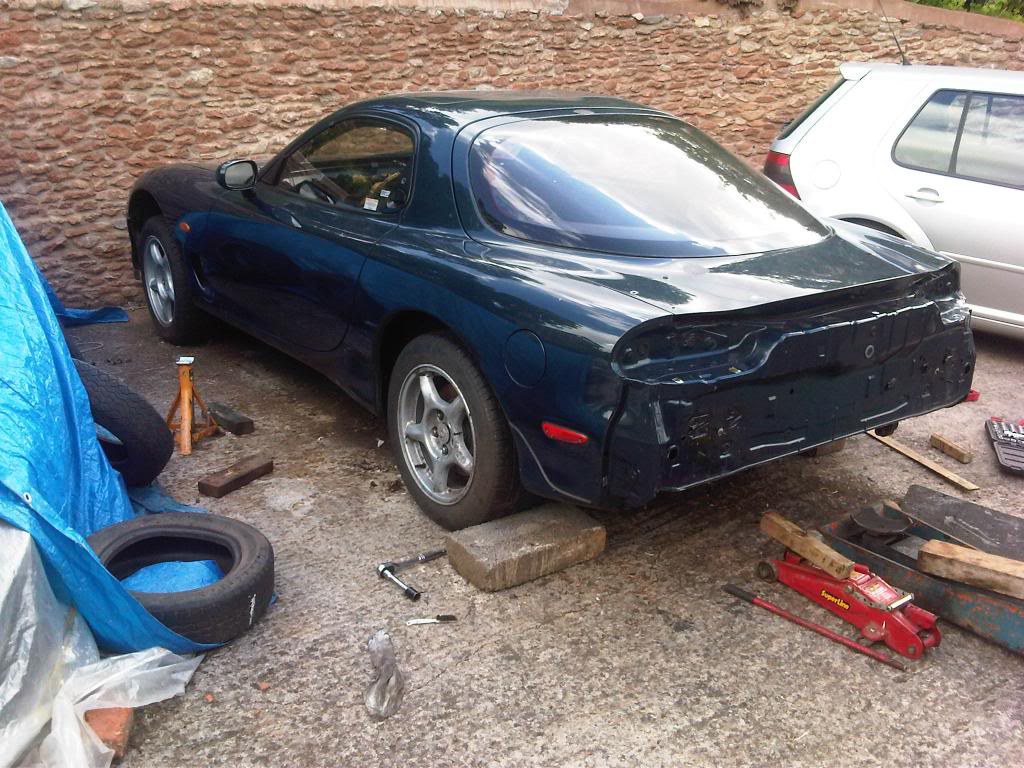
......For five minutes
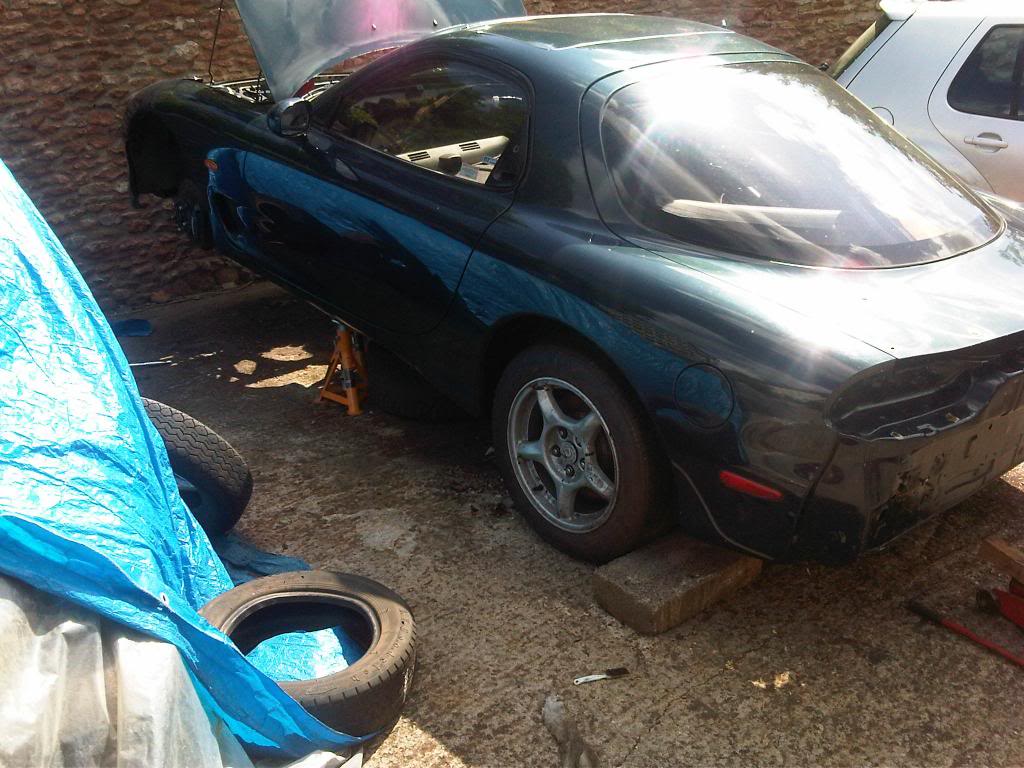
Safety first
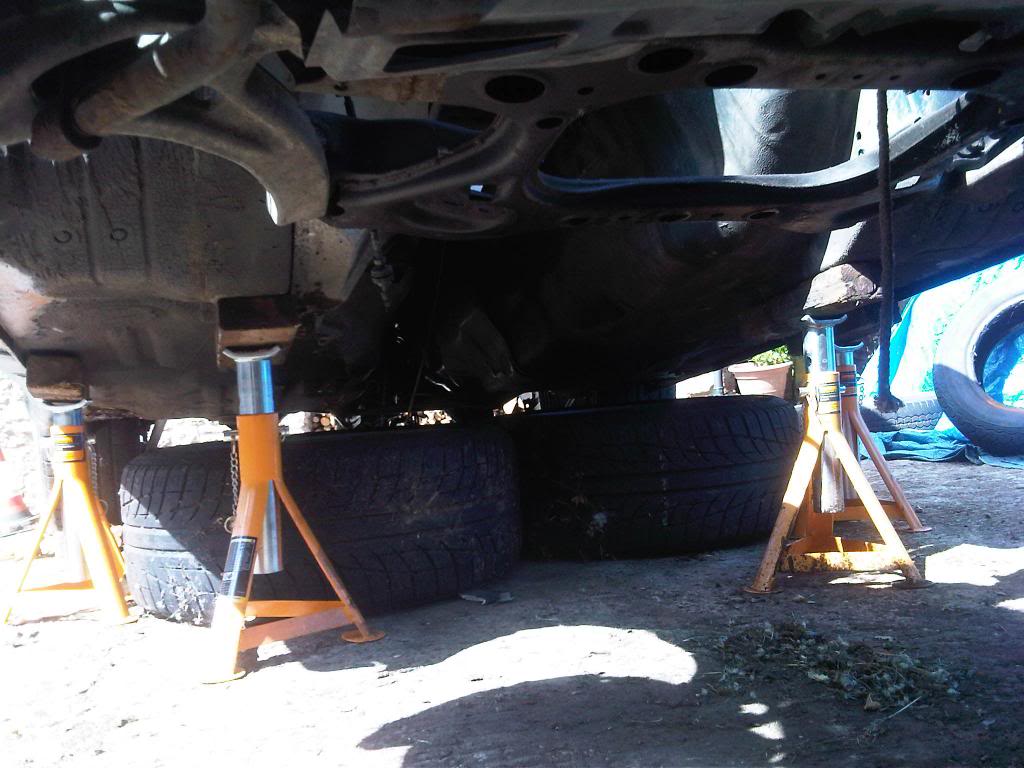
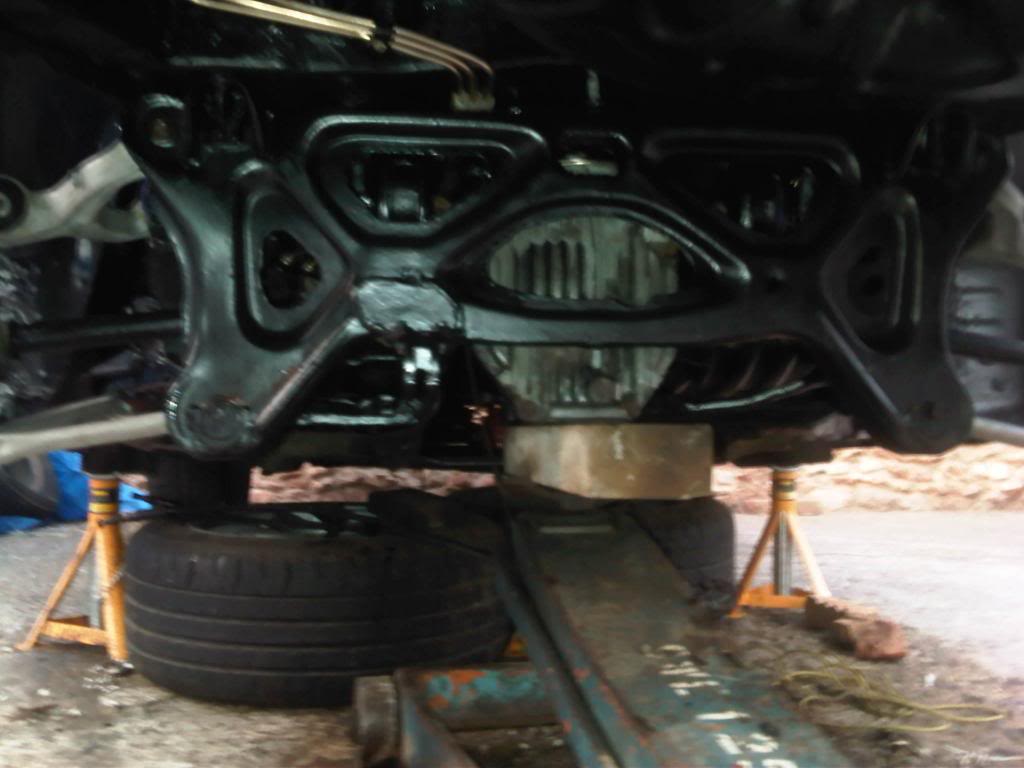
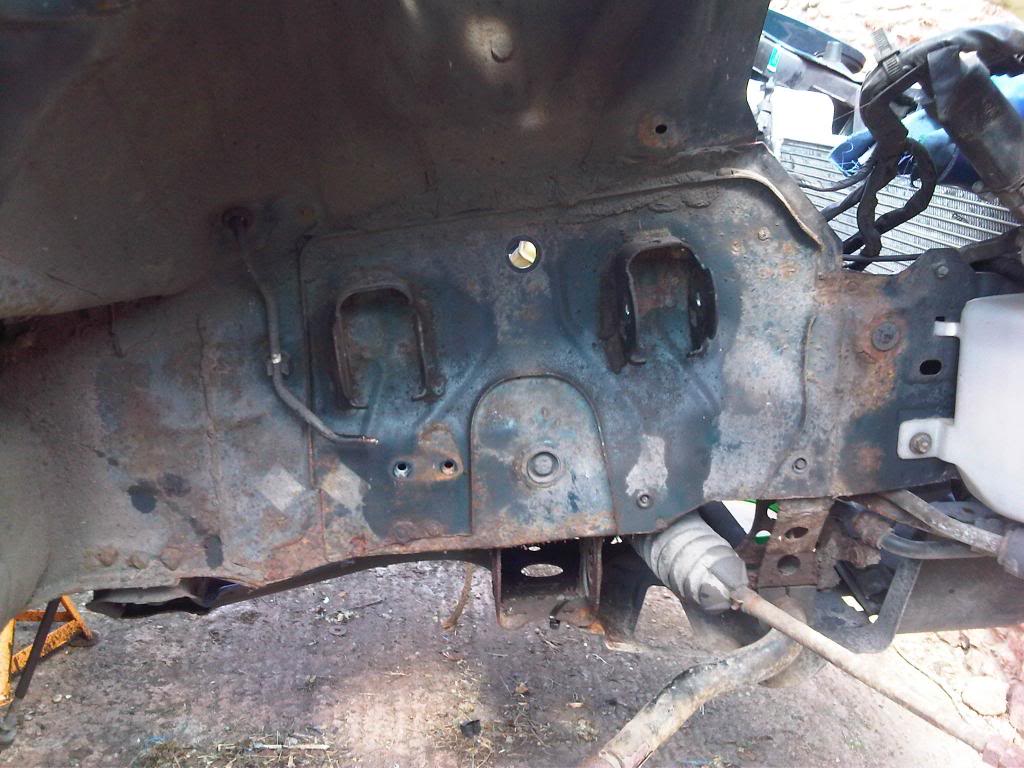
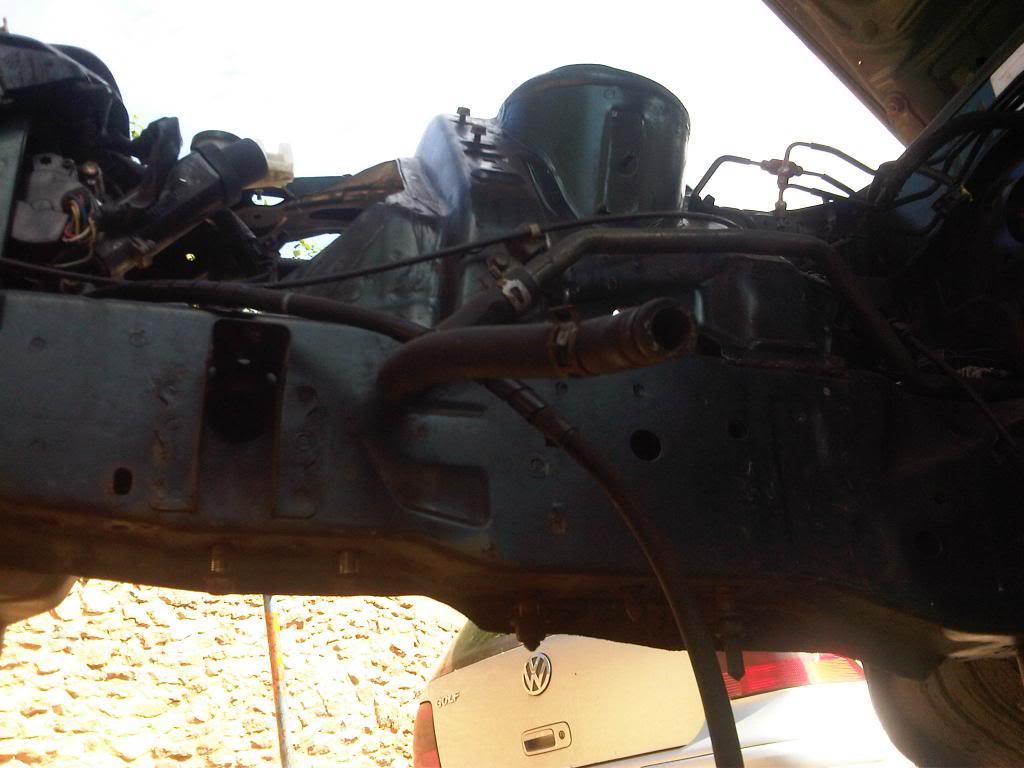
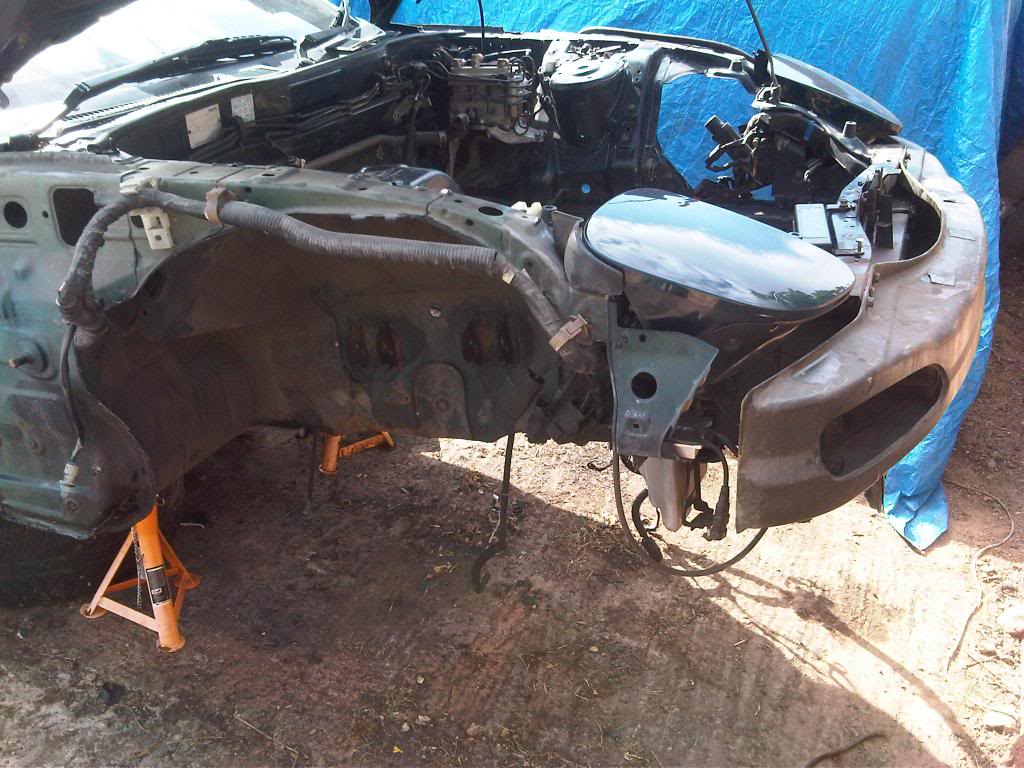
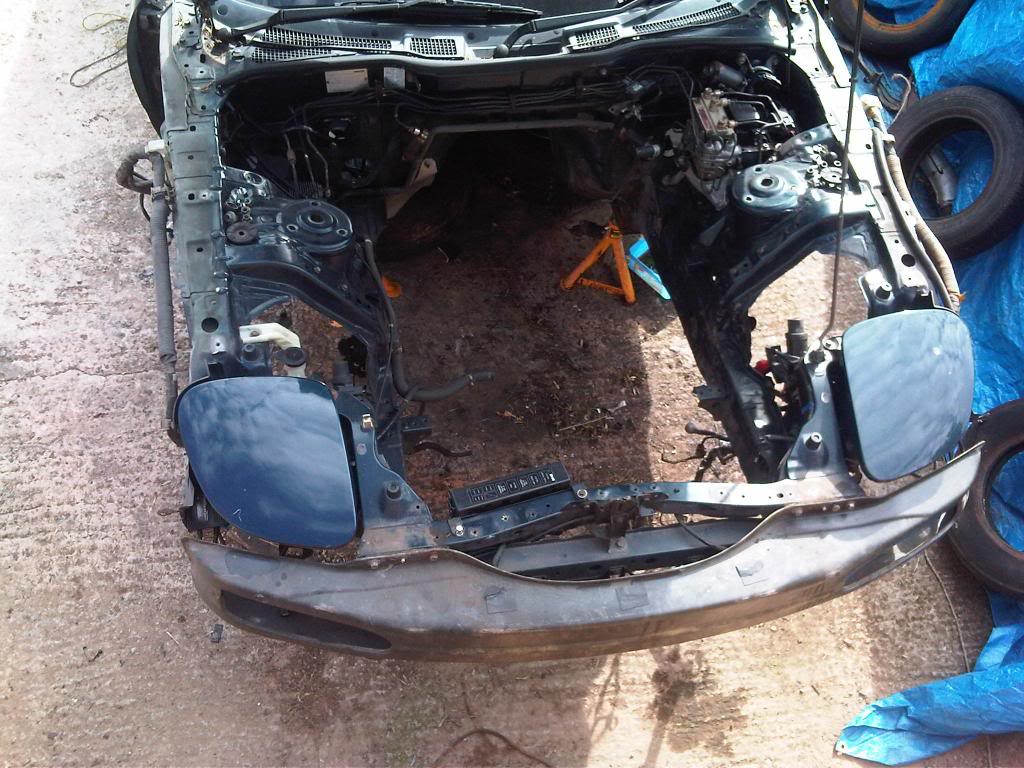
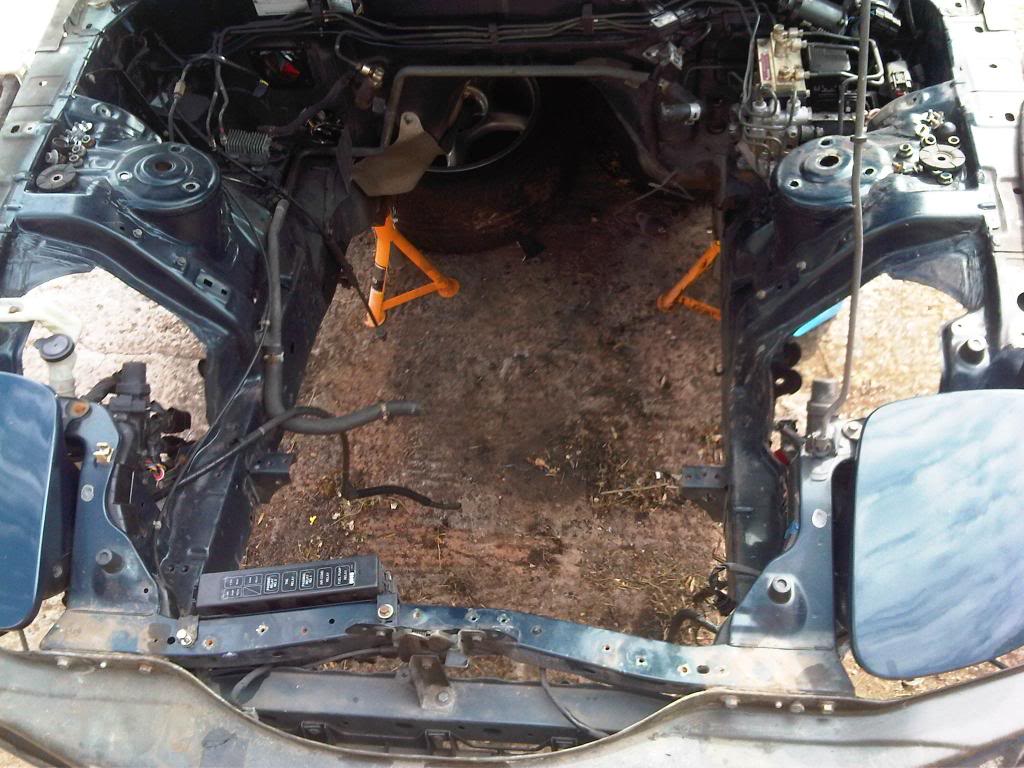
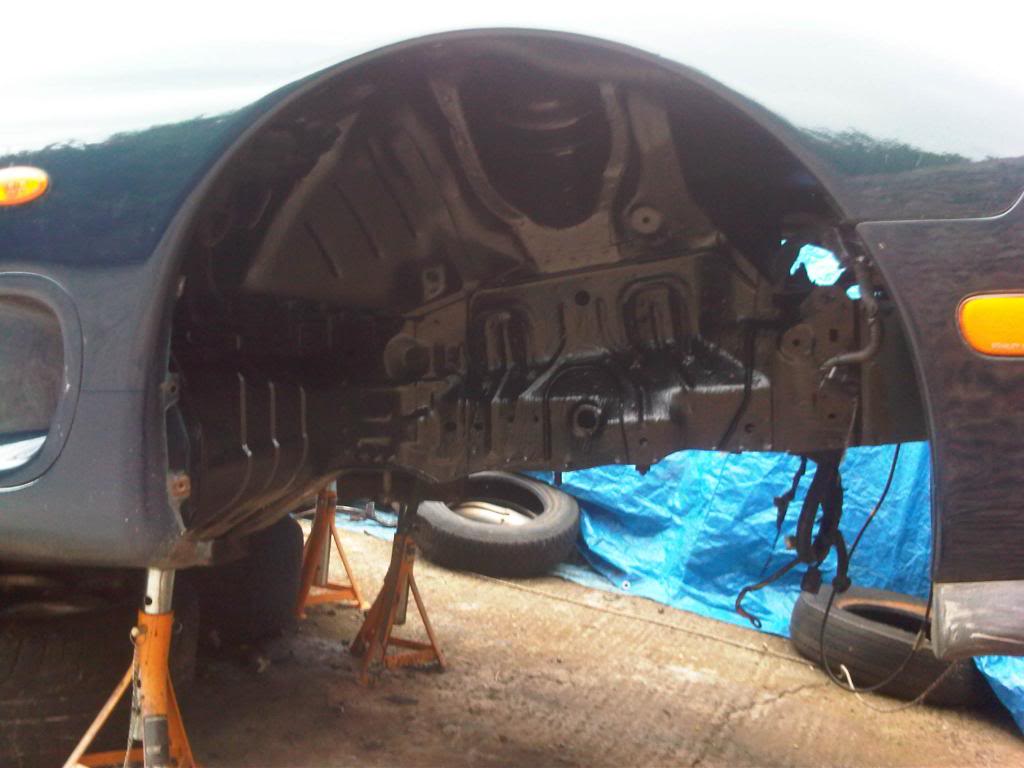
Nice surprise, all in pretty good condition & def no welding required.
I am obviously the first person to remove the arch liners, every single one of these was intact :thumbsup:
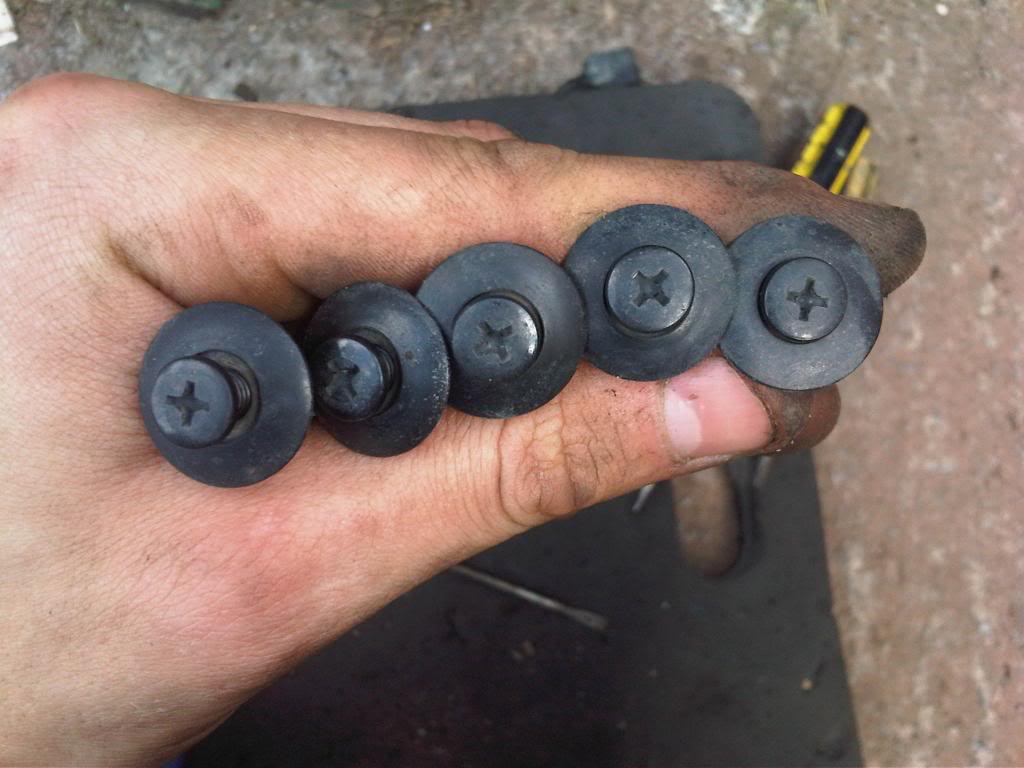
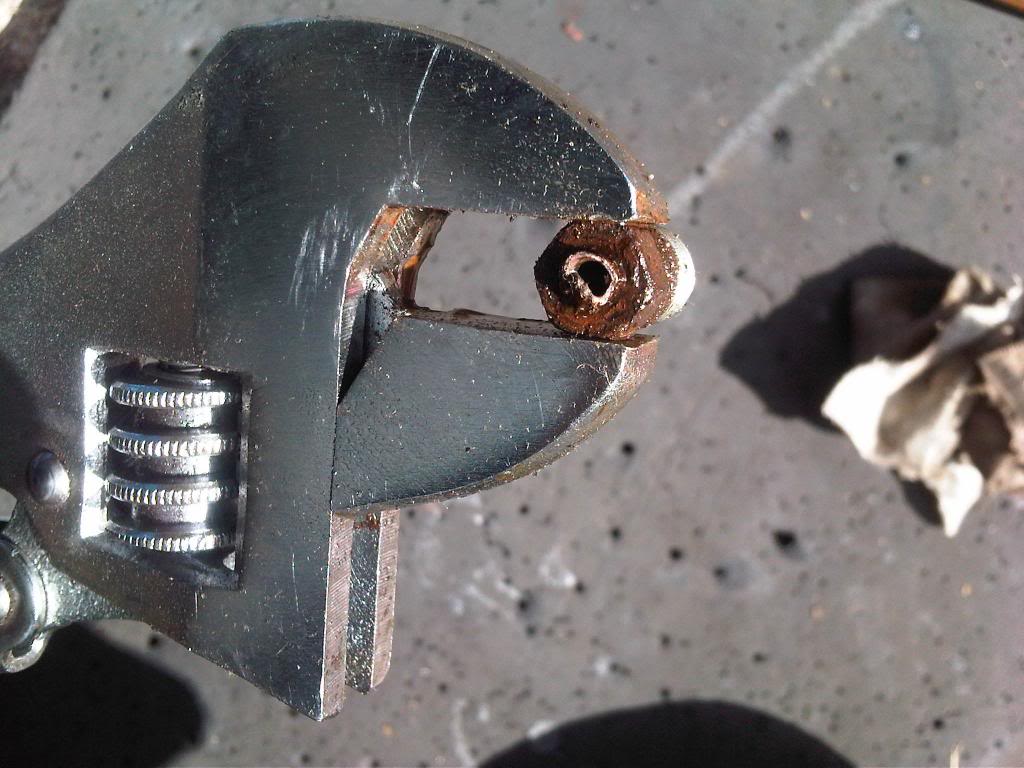
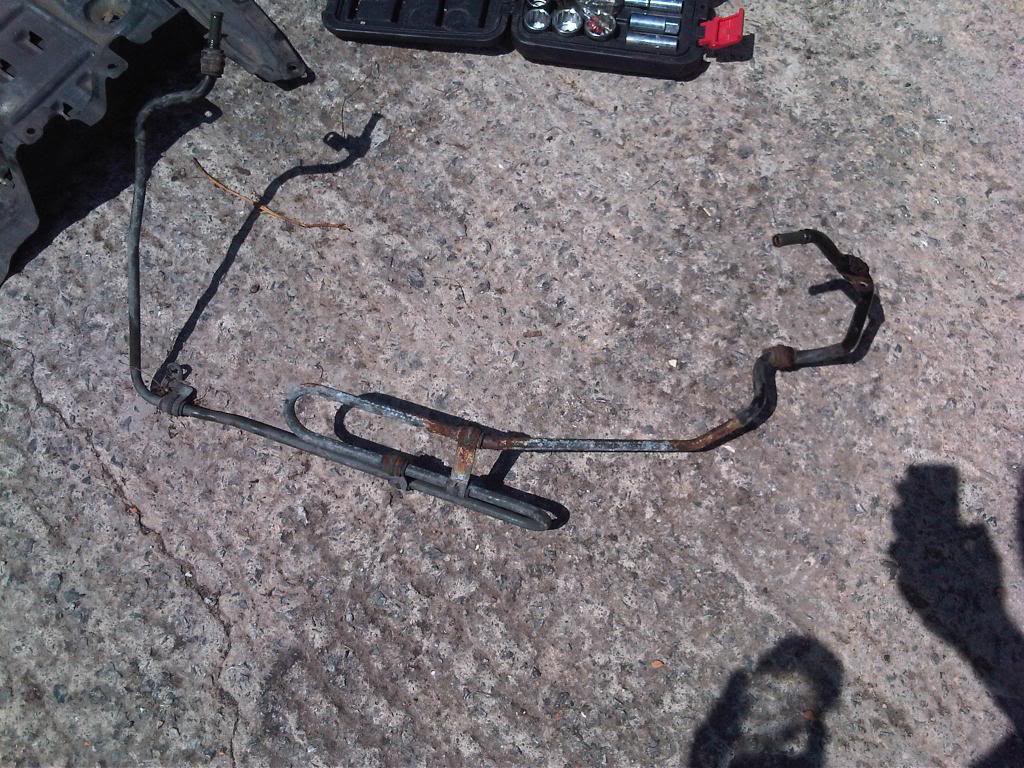
Best tool for removing brake lines hands down imo.
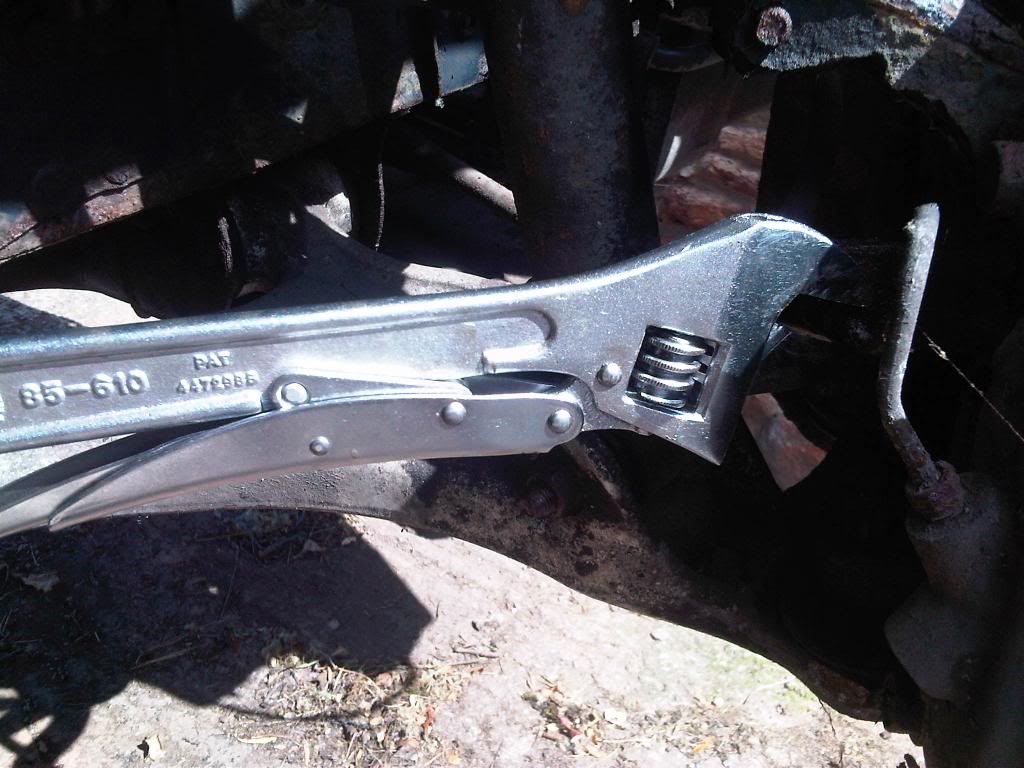
Even if they are rotten!

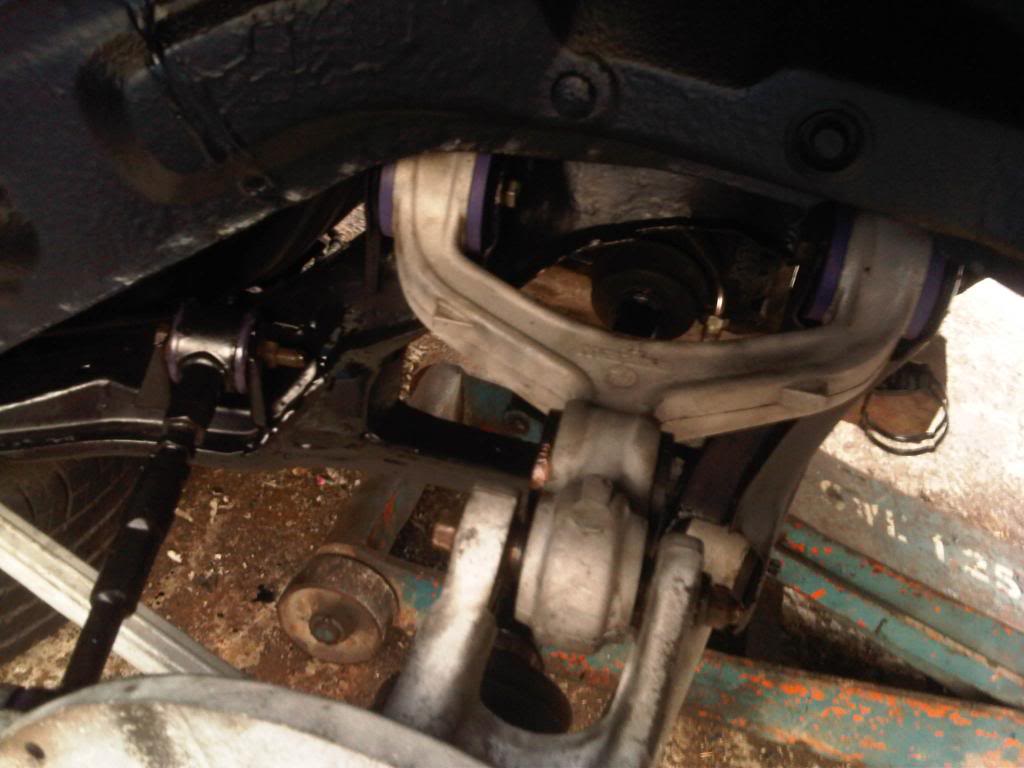
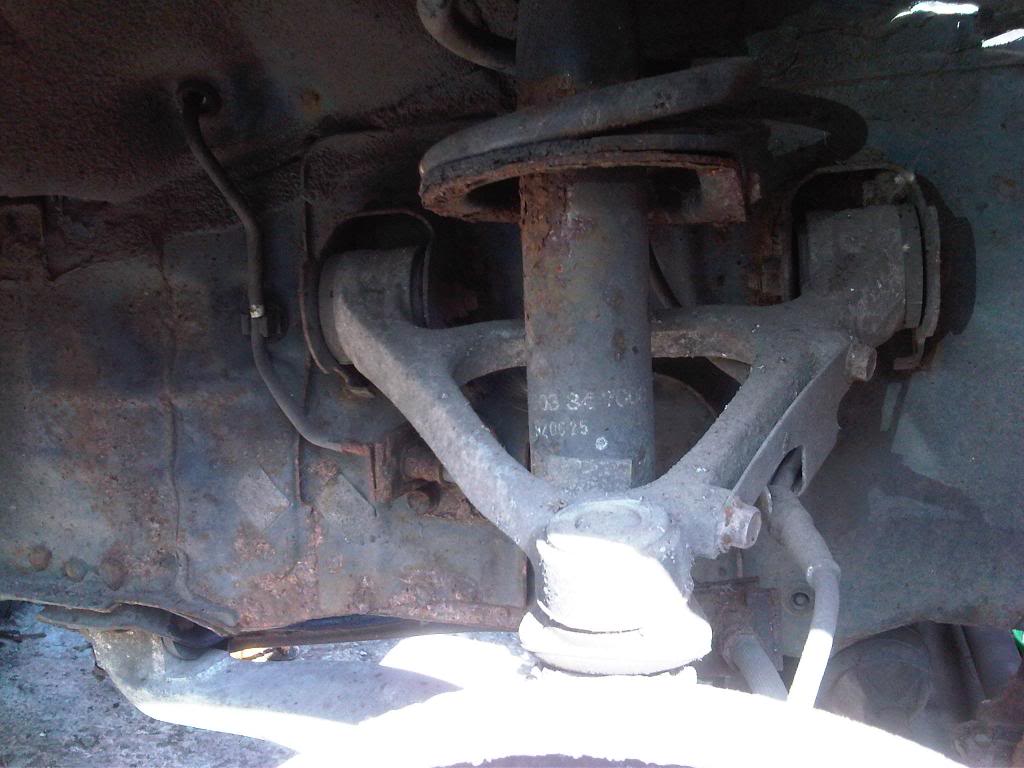
Pleased with how good it is in the front end:
......For five minutes
Safety first
Nice surprise, all in pretty good condition & def no welding required.
I am obviously the first person to remove the arch liners, every single one of these was intact
:thumbsup:Best tool for removing brake lines hands down imo.
Even if they are rotten!
Pleased with how good it is in the front end:


 07-24-13, 05:14 PM
#115
. The only rust left on the car is v.minor surface in the front wheel arches & will be gone this week It wasn't quite as bad as the pics made out. If the sill was not damaged from bad jacking, I wouldn't have noticed. I only discovered the sill rust by tapping a screw driver through the sill with a hammer. So I imagine there are FDs out there that are just as bad, but the owners don't know.
07-25-13, 01:00 PM
#116
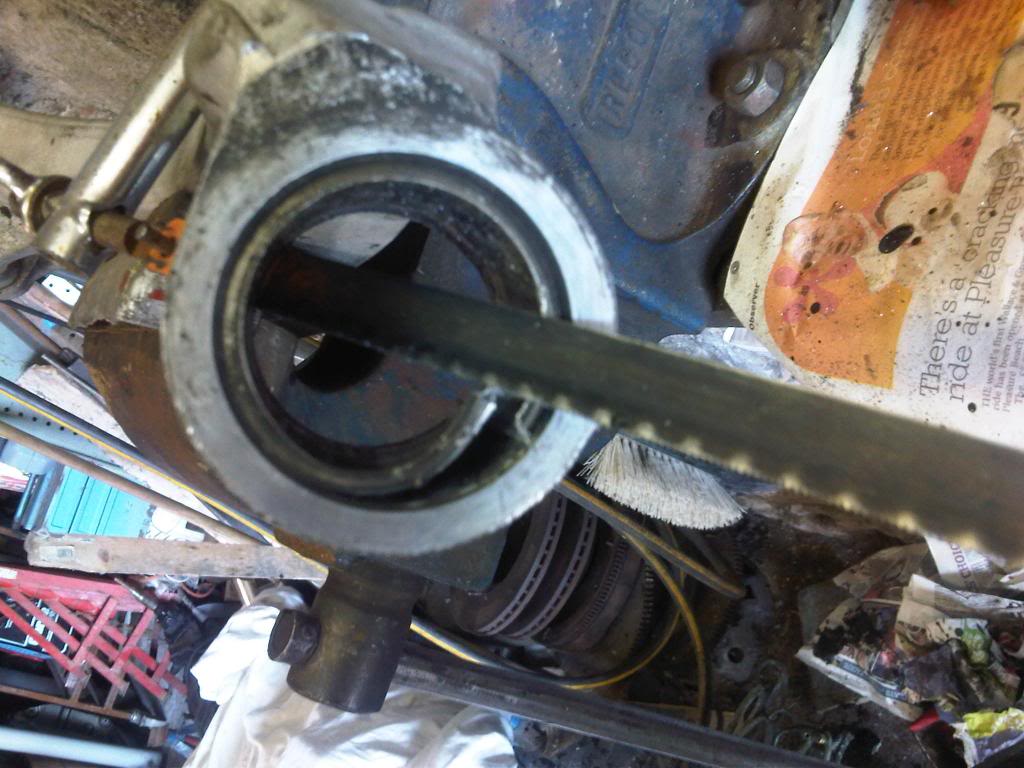
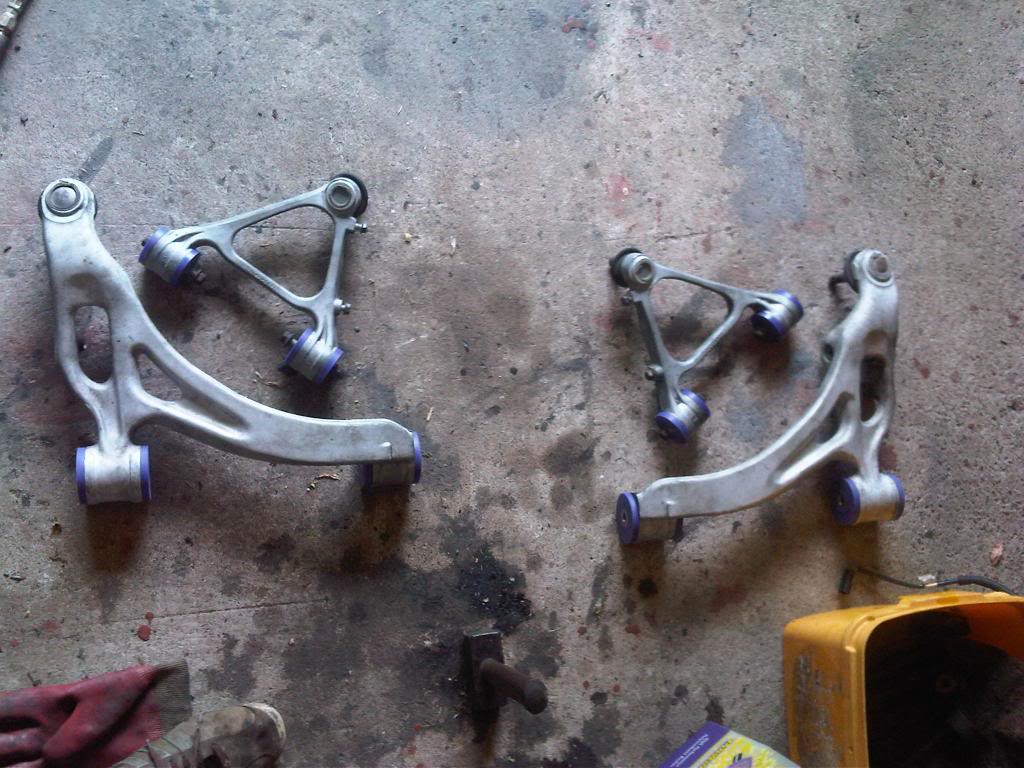
Shot blasted the front suspension & fitted the new bushes
All went fine apart from the two oil filled bushes. Had to cut them out as my 10 ton press didn't have enough grunt

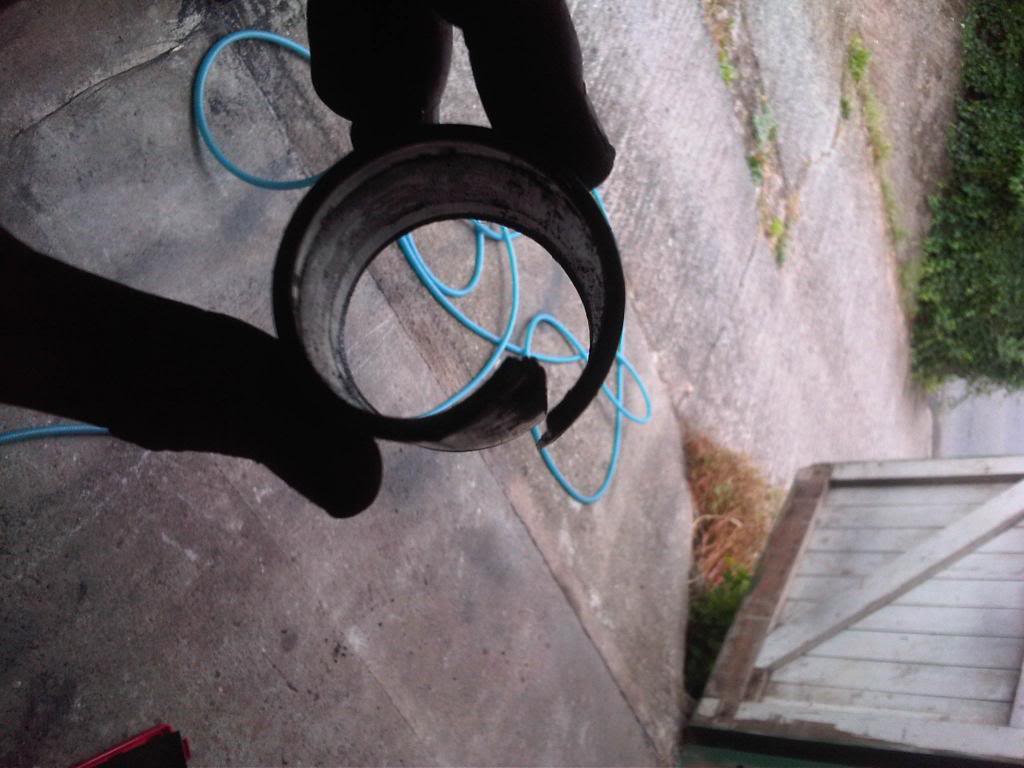
Result:
Shot blasted the hubs and pressed in new wheel bearings. Ready for top coat tomorrow
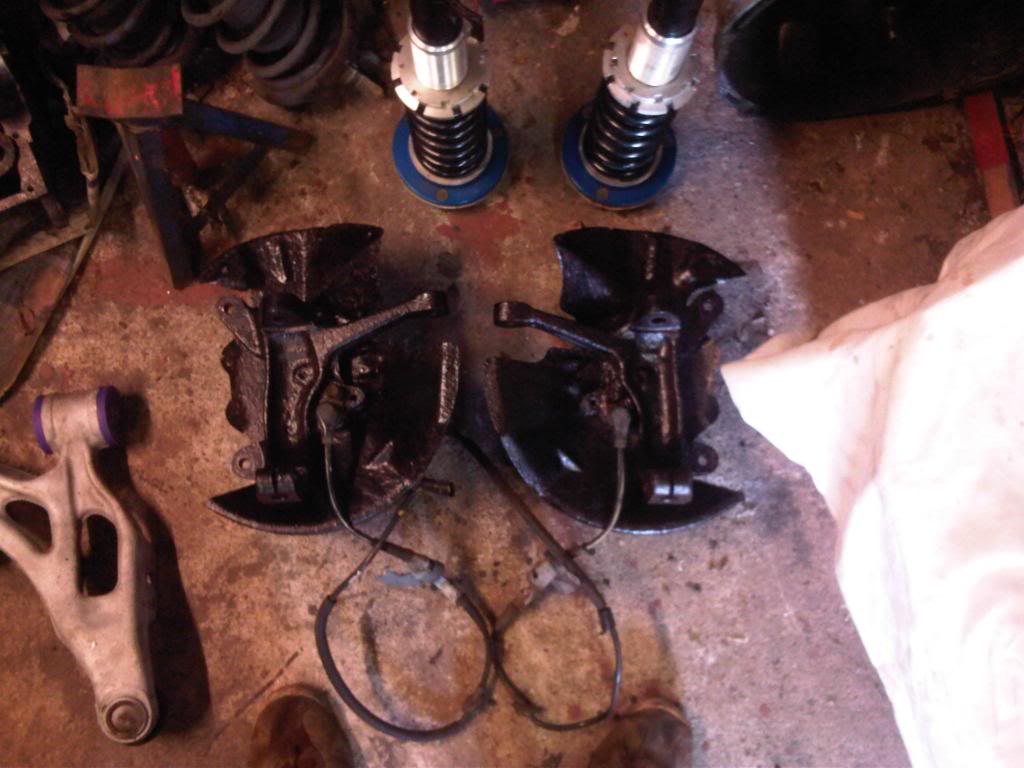
All went fine apart from the two oil filled bushes. Had to cut them out as my 10 ton press didn't have enough grunt
Result:
Shot blasted the hubs and pressed in new wheel bearings. Ready for top coat tomorrow

 08-02-13, 02:22 PM
#121
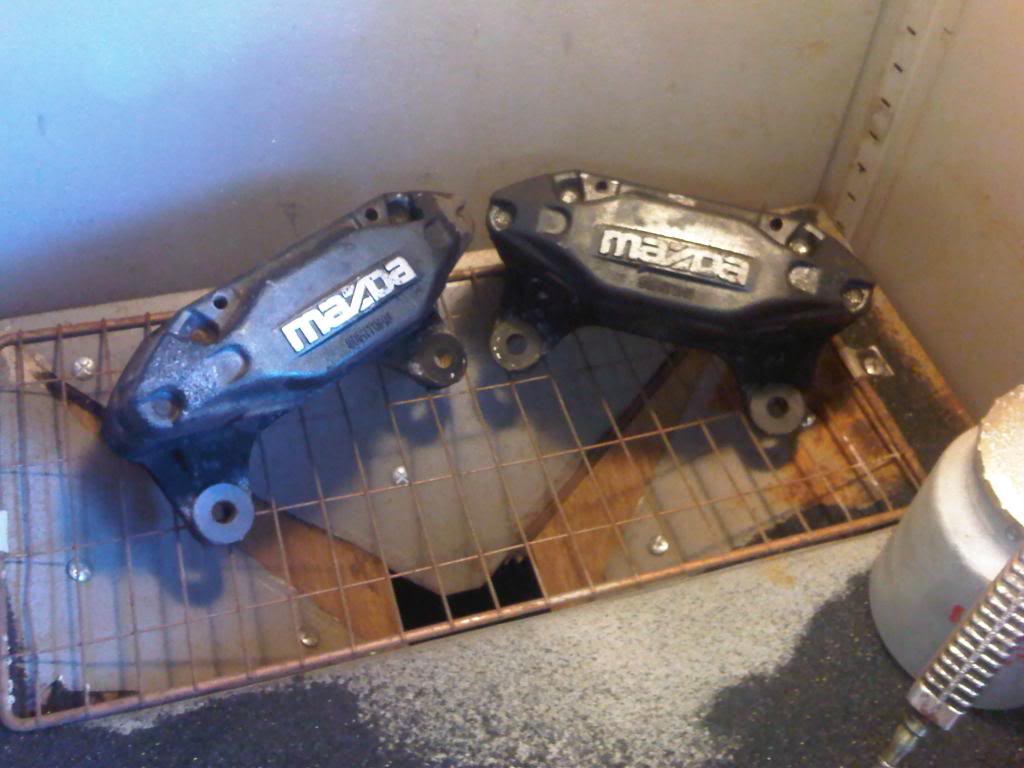
Calipers in caliper primer:
http://www.flickr.com/photos/98724842@N07/9425012180/http://www.flickr.com/photos/98724842@N07/9425012180/ by http://www.flickr.com/people/98724842@N07/, on Flickr
Air con removed.....Permanently
Should have spent a little more time in prep work and it would have welded nicer...After frapping it wont notice, though
http://www.flickr.com/photos/98724842@N07/9422242815/http://www.flickr.com/photos/98724842@N07/9422242815/ by http://www.flickr.com/people/98724842@N07/, on Flickr
http://www.flickr.com/photos/98724842@N07/9422241429/http://www.flickr.com/photos/98724842@N07/9422241429/ by http://www.flickr.com/people/98724842@N07/, on Flickr
Two holes for a bonnet open sensor for the old alarm, now welded up.
http://www.flickr.com/photos/98724842@N07/9425011594/http://www.flickr.com/photos/98724842@N07/9425011594/ by http://www.flickr.com/people/98724842@N07/, on Flickr
http://www.flickr.com/photos/98724842@N07/9422240735/http://www.flickr.com/photos/98724842@N07/9422240735/ by http://www.flickr.com/people/98724842@N07/, on Flickr
http://www.flickr.com/photos/98724842@N07/9422241821/http://www.flickr.com/photos/98724842@N07/9422241821/ by http://www.flickr.com/people/98724842@N07/, on Flickr
Fitted a DM brass shifter collar and a short shifter (Yes, my gearbox needs a good clean..).
http://www.flickr.com/photos/98724842@N07/9425010482/http://www.flickr.com/photos/98724842@N07/9425010482/ by http://www.flickr.com/people/98724842@N07/, on Flickr
http://www.flickr.com/photos/98724842@N07/9425009988/http://www.flickr.com/photos/98724842@N07/9425009988/ by http://www.flickr.com/people/98724842@N07/, on Flickr
After the mixed views on short shifters...I didn't really know what to expect. Got to say, I love it, was sat on the garage floor shifting fast & making car noises
It feels very precise and solid, sounds like a bolt action. Also eliminated all the slop I had from my worn stock one, awesome :thumbsup:
08-05-13, 10:29 AM
#123
There are other updates, but I don't fancy going outside and getting wet to take pics
Had a little experiment, love how it looks
http://www.flickr.com/photos/98724842@N07/9442516917/http://www.flickr.com/photos/98724842@N07/9442516917/ by http://www.flickr.com/people/98724842@N07/, on Flickr
http://www.flickr.com/photos/98724842@N07/9445305356/http://www.flickr.com/photos/98724842@N07/9445305356/ by http://www.flickr.com/people/98724842@N07/, on Flickr
08-05-13, 03:48 PM
#124
Spent the last few days working on this....
http://www.flickr.com/photos/98724842@N07/9447376420/http://www.flickr.com/photos/98724842@N07/9447376420/ by http://www.flickr.com/people/98724842@N07/, on Flickr
http://www.flickr.com/photos/98724842@N07/9444591237/http://www.flickr.com/photos/98724842@N07/9444591237/ by http://www.flickr.com/people/98724842@N07/, on Flickr
http://www.flickr.com/photos/98724842@N07/9447375366/http://www.flickr.com/photos/98724842@N07/9447375366/ by http://www.flickr.com/people/98724842@N07/, on Flickr
All seals replaced & parts renovated/polished/plated by me
Shamefully...I'm probably not going to be using it as I'm now thinking of removing the ABS...Still not 100%...


