Mannykillers/ AAPARKAH Street/time Attack/Drift Build (heavy Pics) #Thisisthewolf

 03-04-13, 12:47 PM
#1278
Junior Member

Join Date: Feb 2013
Location: Cali
Posts: 17
Likes: 0
Received 0 Likes
on
0 Posts
So huge mistake on my part. I was mocking up my fuel rail/LIM a couple days ago and realized that I never checked to see if the rails would actually fit. The guy i baught them from told me they were KG parts Fuel Rails off his FD.. I got them for 100 shipped. So when they got here I checked to make sure they were in-fact KG parts rails.. and then looked for any defects.. They seemed fine..but I never mocked them to my manifold.. Lesson learned.. If it's too good to be true.. then it's just too good to be true haha. They're now for sale in the 2nd gen parts forum. Lesson learned though...be more dilligent!!
Also decided that i won't be selling my Greddy FMIC.. I've seen an example that has inspired me to keep it for my V-mount set up. It's going to work beautifully. Cut off the tabs and started griding it last night. I love the way brushed Aluminum looks!!
And once again.. i might have changed my mind on rear wide fenders i'll be riviting. I think if I do it right... I can pull it off. Chargespeed Rear +50 over fenders...
So it's up in the air again..
This

or this

Also decided that i won't be selling my Greddy FMIC.. I've seen an example that has inspired me to keep it for my V-mount set up. It's going to work beautifully. Cut off the tabs and started griding it last night. I love the way brushed Aluminum looks!!
And once again.. i might have changed my mind on rear wide fenders i'll be riviting. I think if I do it right... I can pull it off. Chargespeed Rear +50 over fenders...
So it's up in the air again..
This
or this
what front bumper is that and hood??
03-05-13, 12:36 PM
#1280
Not much done yesterday but I did get really frustrated over a stupid plug...and had to take a break haha. Usually I escape to the garage as my "Happy Place," and it really relaxes me. Yesterday I realized I was kinda angry haha... which means break time. I think it's because I was transferred to a really tough classroom and the kids were just out of control and "ED" emotionally disturbed. I knew I was in trouble when every teacher I talked to said "ohhh....good luck." When they heard what class I was transferred to. Good thing was I was offered a better position in a much better classroom that isn't "ED" so I took it no questions asked. It's a hell of a difference being in a classroom with kids that don't have major behavioral problems. Anyways!!
My Full Function Trigger wheel came in (Thanks Aaron)
And Ryan @ Rywire got my harness back to me within 3 days.. The guys a work-a-holic... a very professional guy. He almost Talked me into letting him wire my entire Car with a PDM. But the $1700 module price kinda detered me haha. Either way if professional wiring is going to be done on my car.....it will be him doing it. Anyways...Installed the Harness... and looking at how to hook up my Coolant Expansion Tank.
Also!!! decided against running the Evans NPG stuff. Don't want to run into cooling problems in 100 degree temps out here... or be "That guy" if I get a coolant leak and coat the track with black ice evans haha. I may end up running straight Distilled water, but either way I'm not running an AST. Just the Coolant Over-flow. And yea...I don't mind doing coolant flushes..so I don't think the water will be much of a problem.
other updates:
Side skirts Ordered should be here in the next week
wiring up full function trigger wheel
hoping the rest of my lubes come in today Engine Oil/Trans fluid/pre-mix
AND any recommendation's for a barreled crimper? thats not over 50 bucks that works well?
03-05-13, 03:48 PM
#1281
Also I am seriously an idiot when it comes to wiring...i've read quite a few how to "re-wire" threads but I'm a visual person, so I need a diagram. Came across this on engine basics and figured i'd follow it as it looks fine....
Any Objections??
And can I just T the power wires to the relay for the dual pumps?
How to rewire install fuel pump relay mod
Any Objections??
And can I just T the power wires to the relay for the dual pumps?
How to rewire install fuel pump relay mod
03-06-13, 11:29 AM
#1284
^Thanks guys! will do... I was really looking for a tool under 50 bucks. but maybe I'll non-chalantly mention it to my girlfriend.. then she'll buy it for me hahaha.
Anyways i'll get to wiring soon.
Small update:
Got all my idemitsu products in. Transmission oil, Motor Oil, Pre-mix
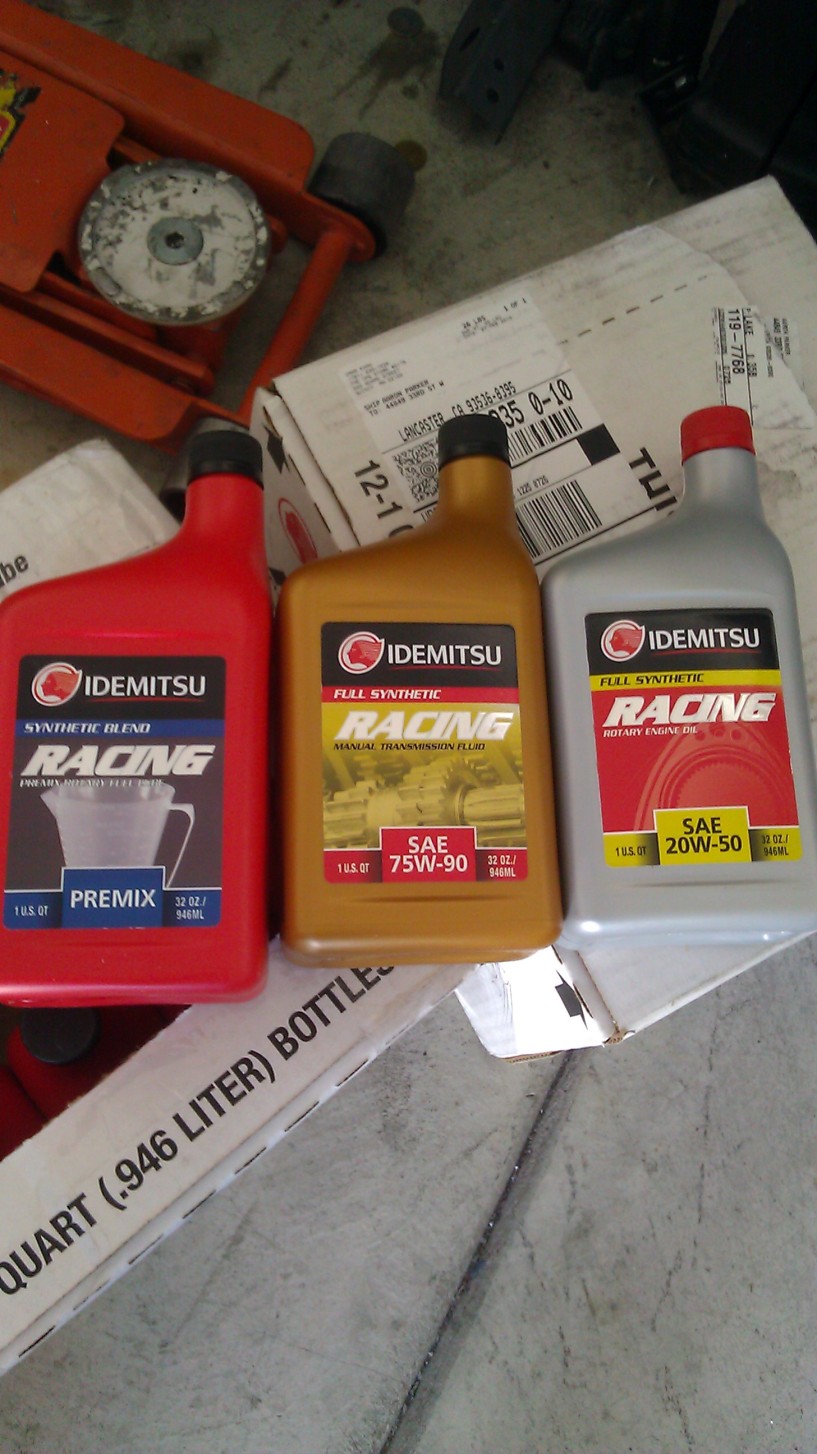
Nice to have a little back stock. I have enough pre-mix for a looooong time haha. Full case of it! Enough oil for another 2 changes as well. And enough diff fluid for the break in and first change.
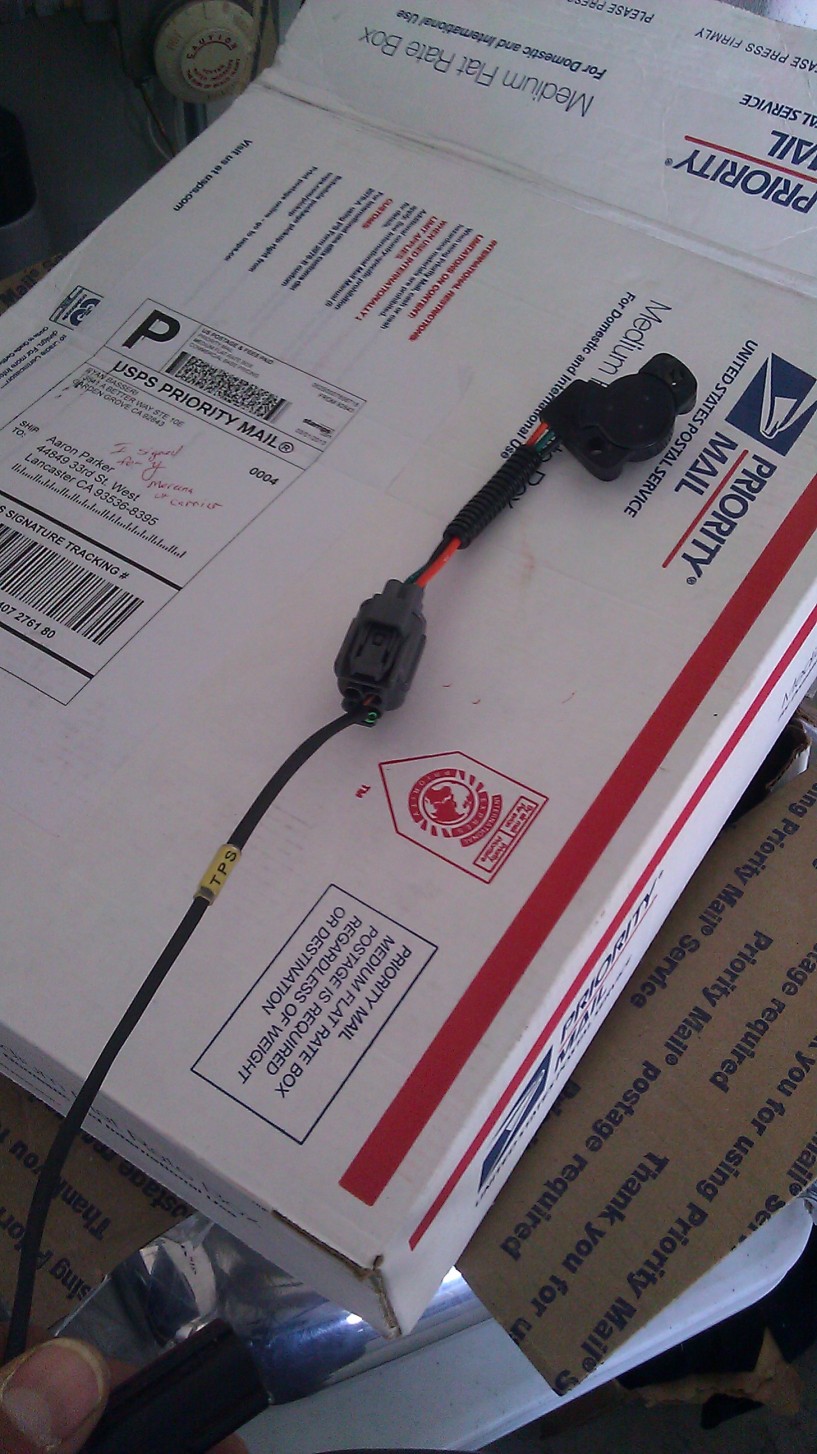
Pic of the TPS sensor...guess I could've had some raychem put on it..but kinda slipped my mind in the jist of getting a lot of things done at once...
ANd put on the Full Function Engineering Triggger wheel. Still need to install the rest of it though.

So last night I was in bed... not able to eat and decided to eat a bowl of cereal. Good ol' captain cruch berries. Ate the cereal and decided I wasn't tired. Suited up and filled the Transmission up with fluid, Motor up with Oil and even filled up my oil coolers so I won't have to top it off as much. With the dual 25 Row Mocal coolers and lines my bone dry system drank 4 full quarts and i'm estimating it'll hold another 1/3rd quart in my lines.
Hey quick Question....what size TAP is the OEM IAT sensor? going to tap the UIM for it today. Also... I read that "dudemananswer" was selling fast reacting IAT's for cheap... anyone know if he's still around?
Moving along!...updates soon!
Anyways i'll get to wiring soon.
Small update:
Got all my idemitsu products in. Transmission oil, Motor Oil, Pre-mix
Nice to have a little back stock. I have enough pre-mix for a looooong time haha. Full case of it! Enough oil for another 2 changes as well. And enough diff fluid for the break in and first change.
Pic of the TPS sensor...guess I could've had some raychem put on it..but kinda slipped my mind in the jist of getting a lot of things done at once...
ANd put on the Full Function Engineering Triggger wheel. Still need to install the rest of it though.
So last night I was in bed... not able to eat and decided to eat a bowl of cereal. Good ol' captain cruch berries. Ate the cereal and decided I wasn't tired. Suited up and filled the Transmission up with fluid, Motor up with Oil and even filled up my oil coolers so I won't have to top it off as much. With the dual 25 Row Mocal coolers and lines my bone dry system drank 4 full quarts and i'm estimating it'll hold another 1/3rd quart in my lines.
Hey quick Question....what size TAP is the OEM IAT sensor? going to tap the UIM for it today. Also... I read that "dudemananswer" was selling fast reacting IAT's for cheap... anyone know if he's still around?
Moving along!...updates soon!
Last edited by mannykiller; 03-06-13 at 11:47 AM.
03-06-13, 11:38 AM
#1285
Full Member
iTrader: (19)

Join Date: Jul 2012
Location: painesville oh
Posts: 225
Likes: 0
Received 0 Likes
on
0 Posts
I believe "Brent"(i think is his name) is still around. His website still up.
Wannaspeed.com!, For all your Go-Fast Needs!
Wannaspeed.com!, For all your Go-Fast Needs!
03-07-13, 08:46 AM
#1286
Nice progress Aaron. It's been a while since I've stopped by your thread so I'm catching up. I'm digging the check valve for the master cylinder. I am a little concerned about your placement of the AEM water/meth controller on top of the brake booster. Do you have your hood on? If so have you tried to close it?
The only reason I ask is because I put a fuel filter there, and while my hoot would 'shut,' it was making a lot of contact in that spot which cause the back drivers corner of the hood to pop up ~1/4" and caused the hood top pop up over the fender ~1/4"
It drove me crazy till I figured out what it was. I ended up relocating the filter to solve the problem. Here's a pic of the filter installed:
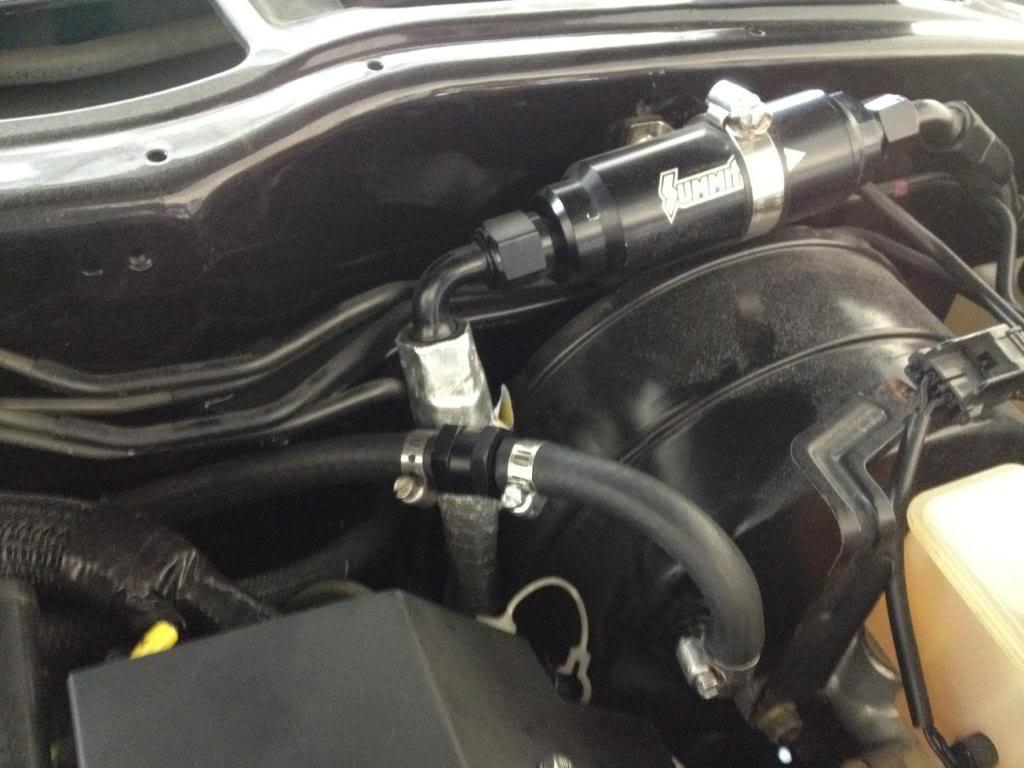
Granted, it's bigger than your parts, but the height is what concerned me and it looks like you're getting close to the height I was having problems with.
Lane
The only reason I ask is because I put a fuel filter there, and while my hoot would 'shut,' it was making a lot of contact in that spot which cause the back drivers corner of the hood to pop up ~1/4" and caused the hood top pop up over the fender ~1/4"
It drove me crazy till I figured out what it was. I ended up relocating the filter to solve the problem. Here's a pic of the filter installed:
Granted, it's bigger than your parts, but the height is what concerned me and it looks like you're getting close to the height I was having problems with.
Lane
03-07-13, 10:57 AM
#1288
Lane
03-07-13, 11:12 AM
#1289
Hey whats going on Lane?!! your right...long time!!
I actually haven't even mounted the AEM water/meth controller just yet. It's literally just sitting there un-attatched. But I was planning on drilling it into the brake booster. <-----totally joking haha. I was thinking of using some high temp double sided tape just to make the controls easy to get to.. so it's either on the brake booster with doubel sided tape or mounted to the firewall...backwards with screws. haha. we'll see.
p.s. colin can you pm me your address I came across something you may like..
03-08-13, 11:26 AM
#1290
Small Update:
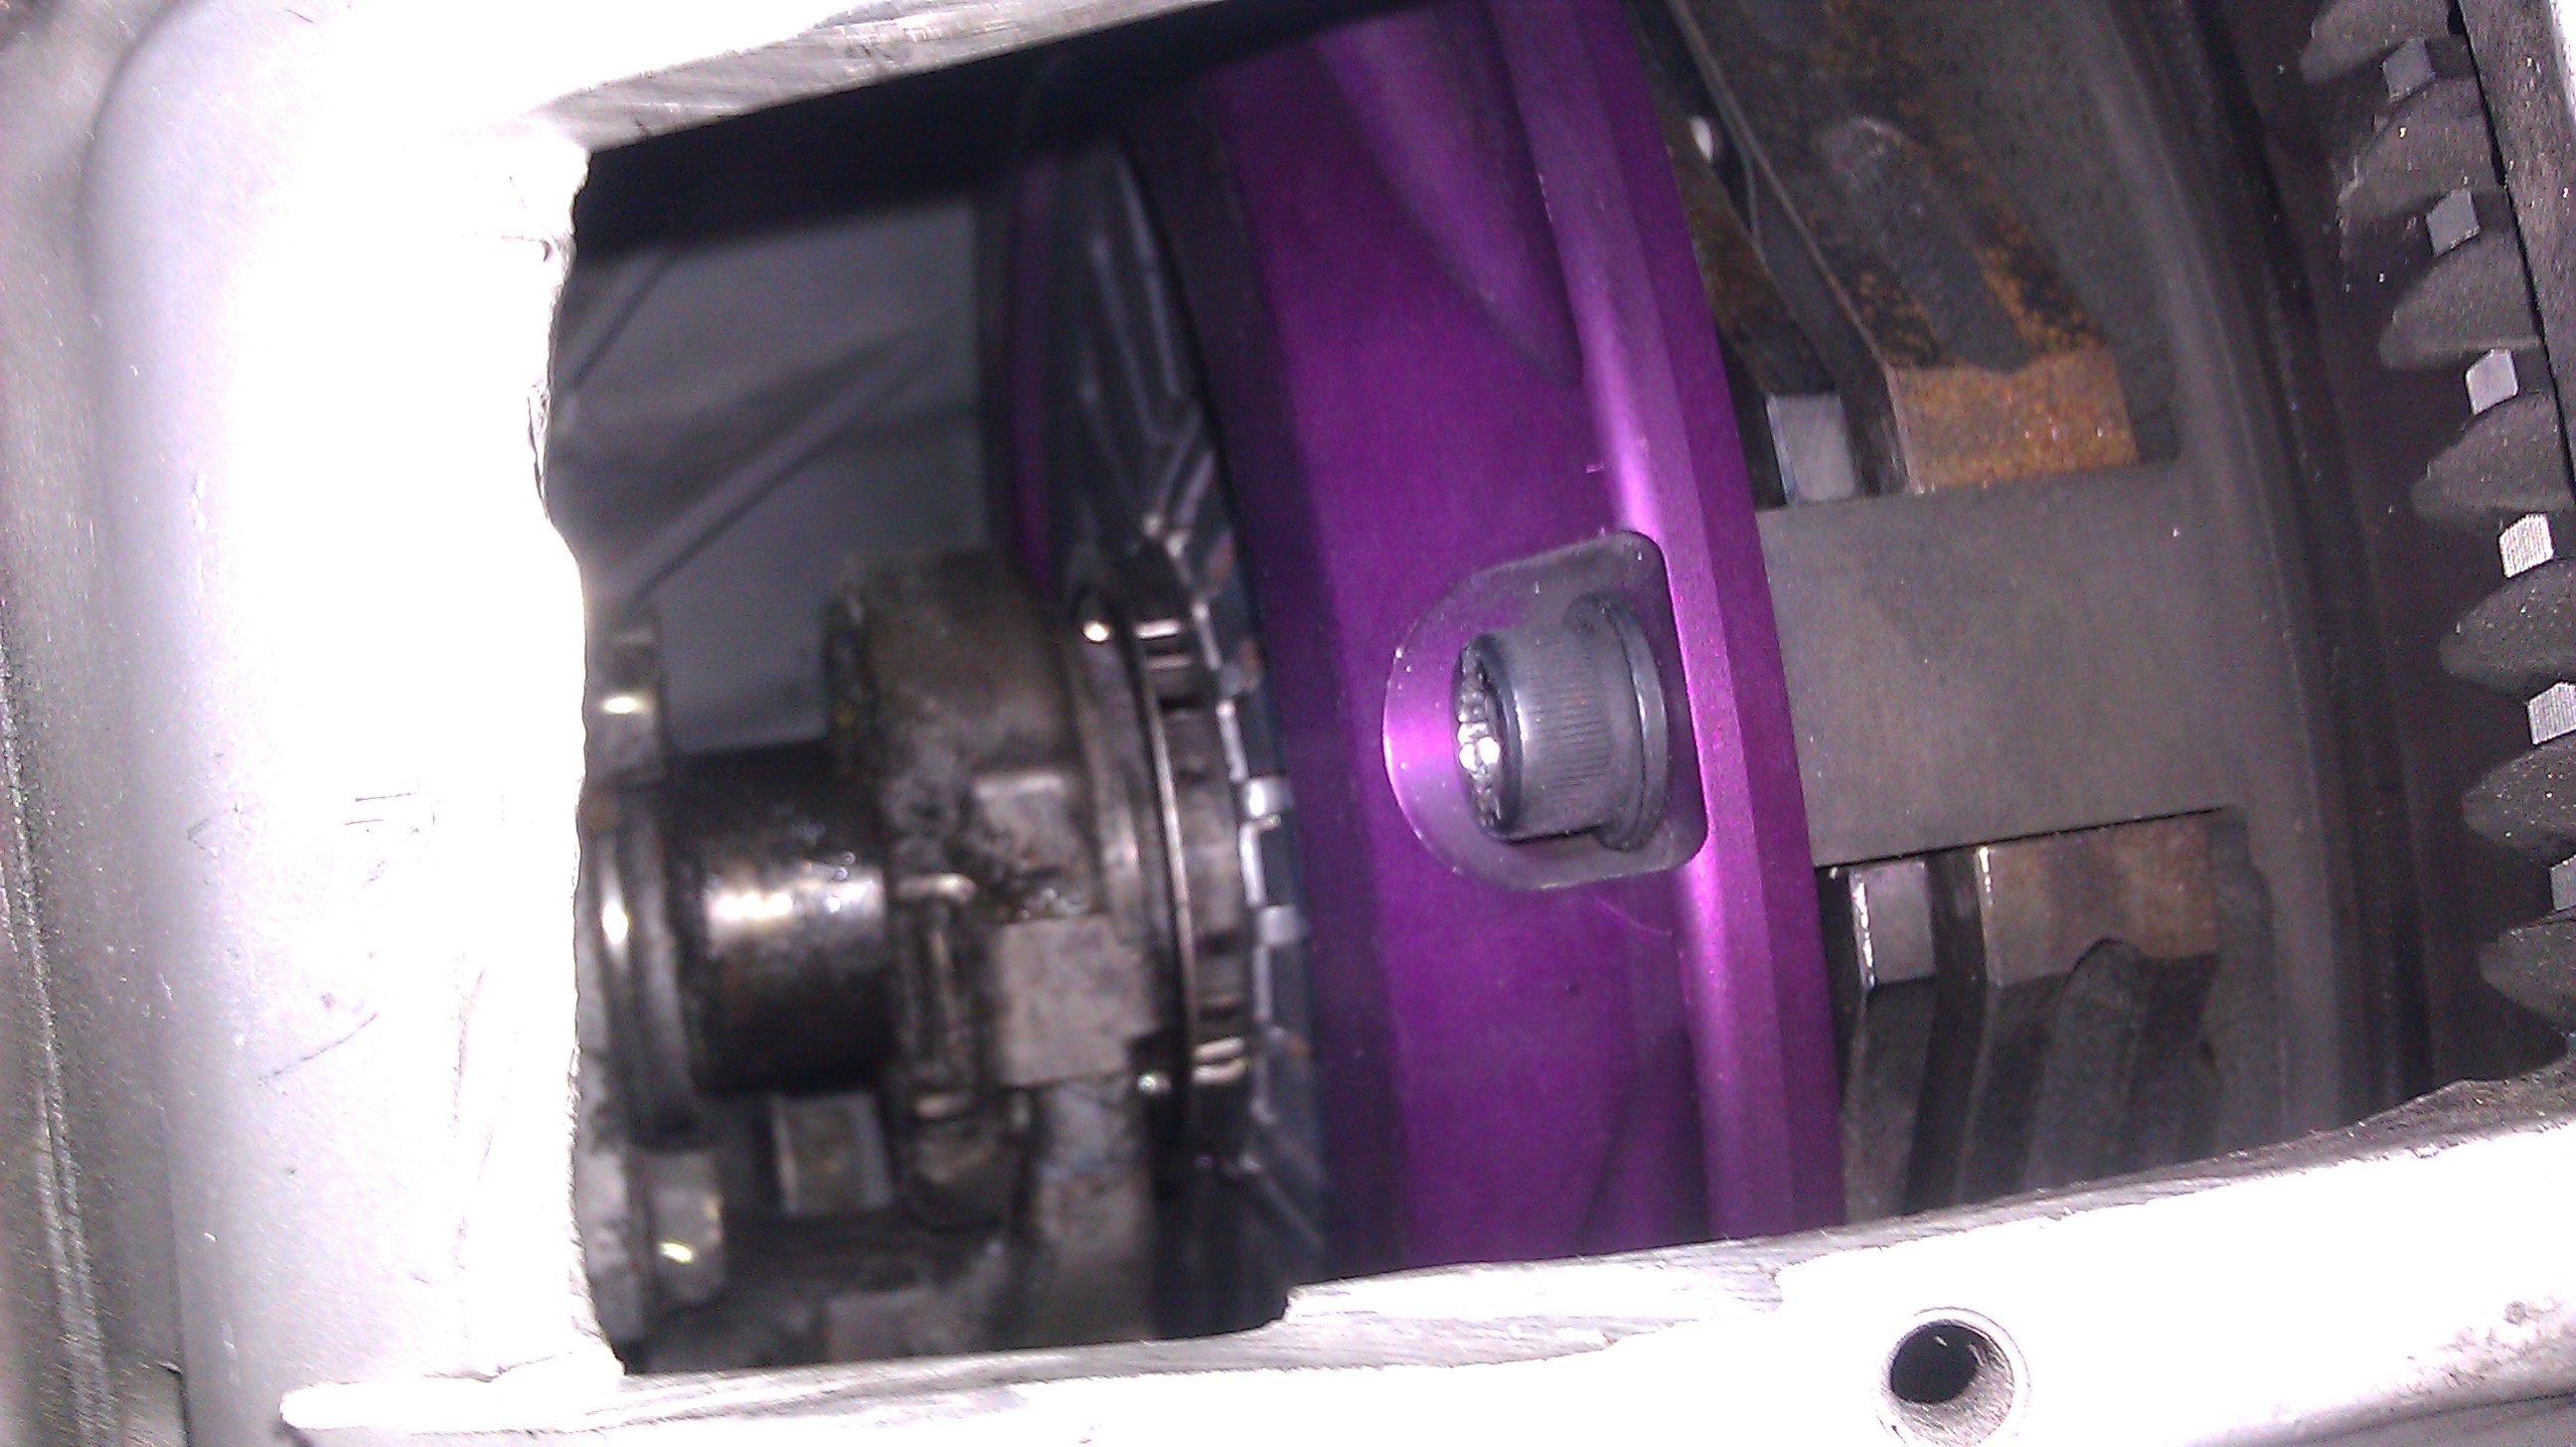
Trigger kit completely installed with new bracket and pick-up!! can't wait to see the difference! The Adaptronic plug in select teamed up with the Full Function Engineering Trigger wheel should make for a huge improvement in power delivery...should be night and day smoothness wise!!
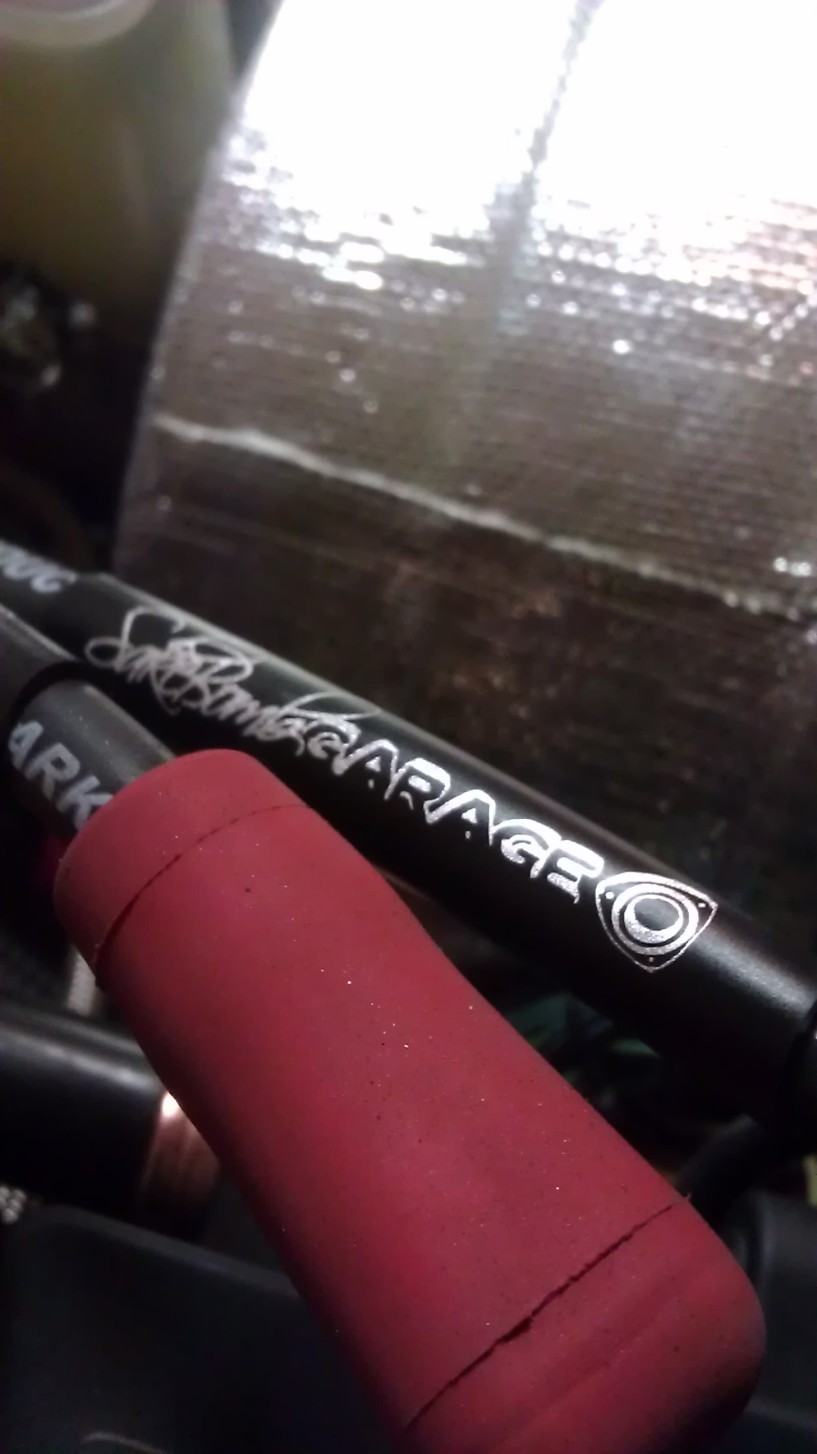
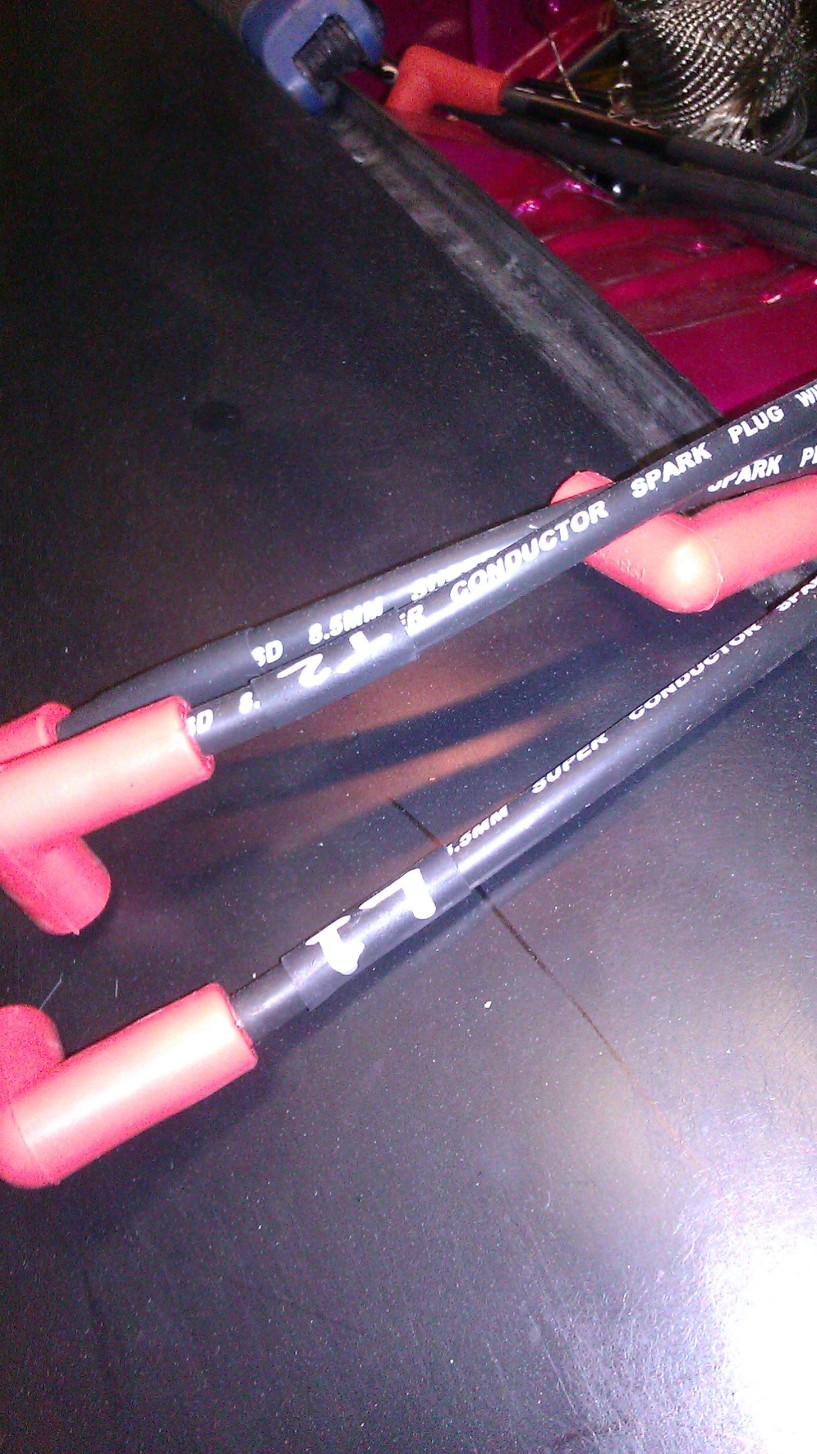
Sake Bomb Garage Custom Plug wires... They should be doing an actual group buy of these bad boys pretty soon here!! I'll have to give you guys the low down on them when I get a little more free time!
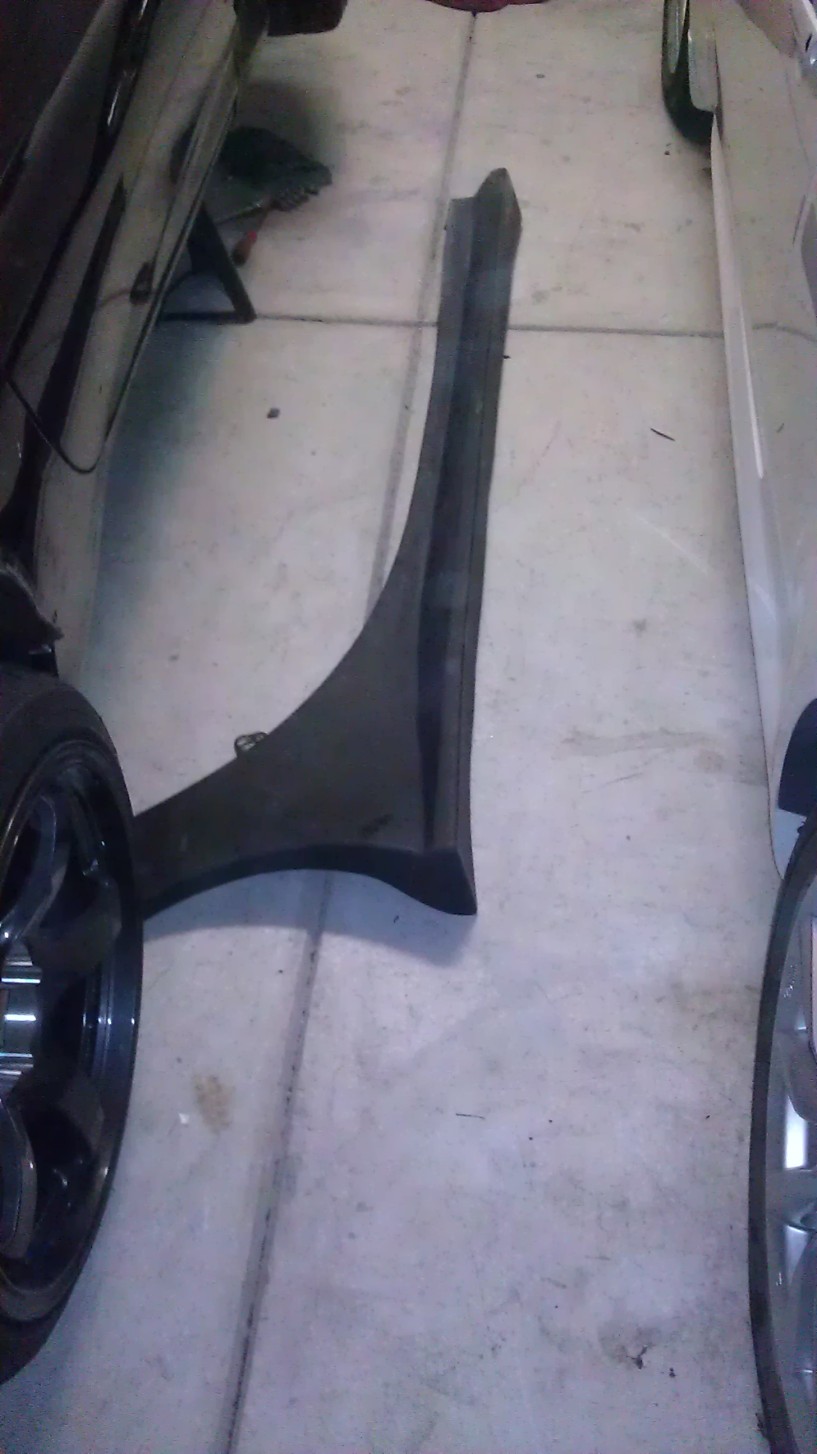
My side skirts came in. Bodykits.com had them for pretty cheap....and yes by pretty cheap I mean bloody hell they fit like "pretty cheap." I mean wow they're warped...and about a inch shorter than they should be in the wrong places and an inch longer than they should be in other places.. this may be a nightmare haha.
From the front....
Also going to test fit them with the Burnout front fenders to see which one I like better. But I'm liking the Feed fitement/look so far.
And this is where I left off for the night..."motor assembly wise."
TPS installed
Throttlebody Installed with AEM Water/meth nozzle
Throttle cable installed..may need a new cable..this one is crap
Drilled and tapped UIM for IAT and installed
All engine Harness plugs now fit and are installed on correct plugs
trigger wheel kit installed
Vac-block fully sealed up with one extra plug and port for ECU ready
Sake Bomb Garage Plug wires installed to coils but still need mounting bracket
So today I'll install my ECU and put the dash back in the car, and get started on the worst part.. the body harness wiring. Going to hate this entirely. Wish I had someone to come help me with this part...not looking forward to it in any way.
More Updates soon!
Trigger kit completely installed with new bracket and pick-up!! can't wait to see the difference! The Adaptronic plug in select teamed up with the Full Function Engineering Trigger wheel should make for a huge improvement in power delivery...should be night and day smoothness wise!!
Sake Bomb Garage Custom Plug wires... They should be doing an actual group buy of these bad boys pretty soon here!! I'll have to give you guys the low down on them when I get a little more free time!
My side skirts came in. Bodykits.com had them for pretty cheap....and yes by pretty cheap I mean bloody hell they fit like "pretty cheap." I mean wow they're warped...and about a inch shorter than they should be in the wrong places and an inch longer than they should be in other places.. this may be a nightmare haha.
From the front....
Also going to test fit them with the Burnout front fenders to see which one I like better. But I'm liking the Feed fitement/look so far.
And this is where I left off for the night..."motor assembly wise."
TPS installed
Throttlebody Installed with AEM Water/meth nozzle
Throttle cable installed..may need a new cable..this one is crap
Drilled and tapped UIM for IAT and installed
All engine Harness plugs now fit and are installed on correct plugs
trigger wheel kit installed
Vac-block fully sealed up with one extra plug and port for ECU ready
Sake Bomb Garage Plug wires installed to coils but still need mounting bracket
So today I'll install my ECU and put the dash back in the car, and get started on the worst part.. the body harness wiring. Going to hate this entirely. Wish I had someone to come help me with this part...not looking forward to it in any way.
More Updates soon!
03-08-13, 11:48 AM
#1292
I'm so excited to work on the car....actually the past year and a half has been exciting everytime I work on the car. But the past couple weeks everytime I say "I should really pull out the body harness and get started" I walk over to it and just look at it....much like this:


 03-11-13, 01:19 PM
#1296
OR
Put the harness in and delete everything I don't need...like your doing. I'm not sure which one I want. All I am sure of is that I want the car running.
So I think i'm just going to throw the harness in there and save some cash and have ryan knock it out all rywire bad *** style.
03-11-13, 02:14 PM
#1297
Anyways....
Status update: Nothing
So friday and saturday were very frustrating for me. So first I started on engaging the Throw out to the Pressure plate. Well...when I was having trouble pushing it far enough into the pressure plate for it to "snap" in. So I got top side of the motor and removed the drivers side view cover on the transmission and ......SOB. I dropped the bolt that holds the thin view plate into the transmission. And worse..it went on the motor side of the flywheel. I lost my Retracting magnet tool a loooong time ago so I'll have to find another one and bend it up to try and get it out. So thats a bummer... So I couldnt figure out why the t/o bearing wouldn't engage to the pressure plate. So I decided to take a break. Then i spent the next 4 hours bleeding the brakes...to no avail. After hours with a buddy of mine working the pedal I realized my little Vac hose on the bleeder side had a hole in it and I had been sucking in air the whole time. Stupid me...should've been using a clear hose the entire time instead of black vac hose wher eyou couldn't see anything but bubbles escape. So then I said eff it..i'll move onto something else and go back to bleeding the brakes another day. So I went to open my drivers side door and the worst crap ever happened... And everyone that it's happened to knows exactly why it sucks so bad. Damn Drivers side door handle gave and gave and let go... the Infamous door handle problem. I did my passenger side and drivers side sooo long ago..and I have both metal handles but the linkage is just crap. So after not getting the clutch engaged,...brakes bled, and the door handle breaking... I took my gloves off...didn't even clean up as I do every time i'm done working on the car, closed the garage door and turned the lights off in the garage and said I'm done for the weekend. Sometimes its just best to admit defeat and save it for another day...because it was one of those days.
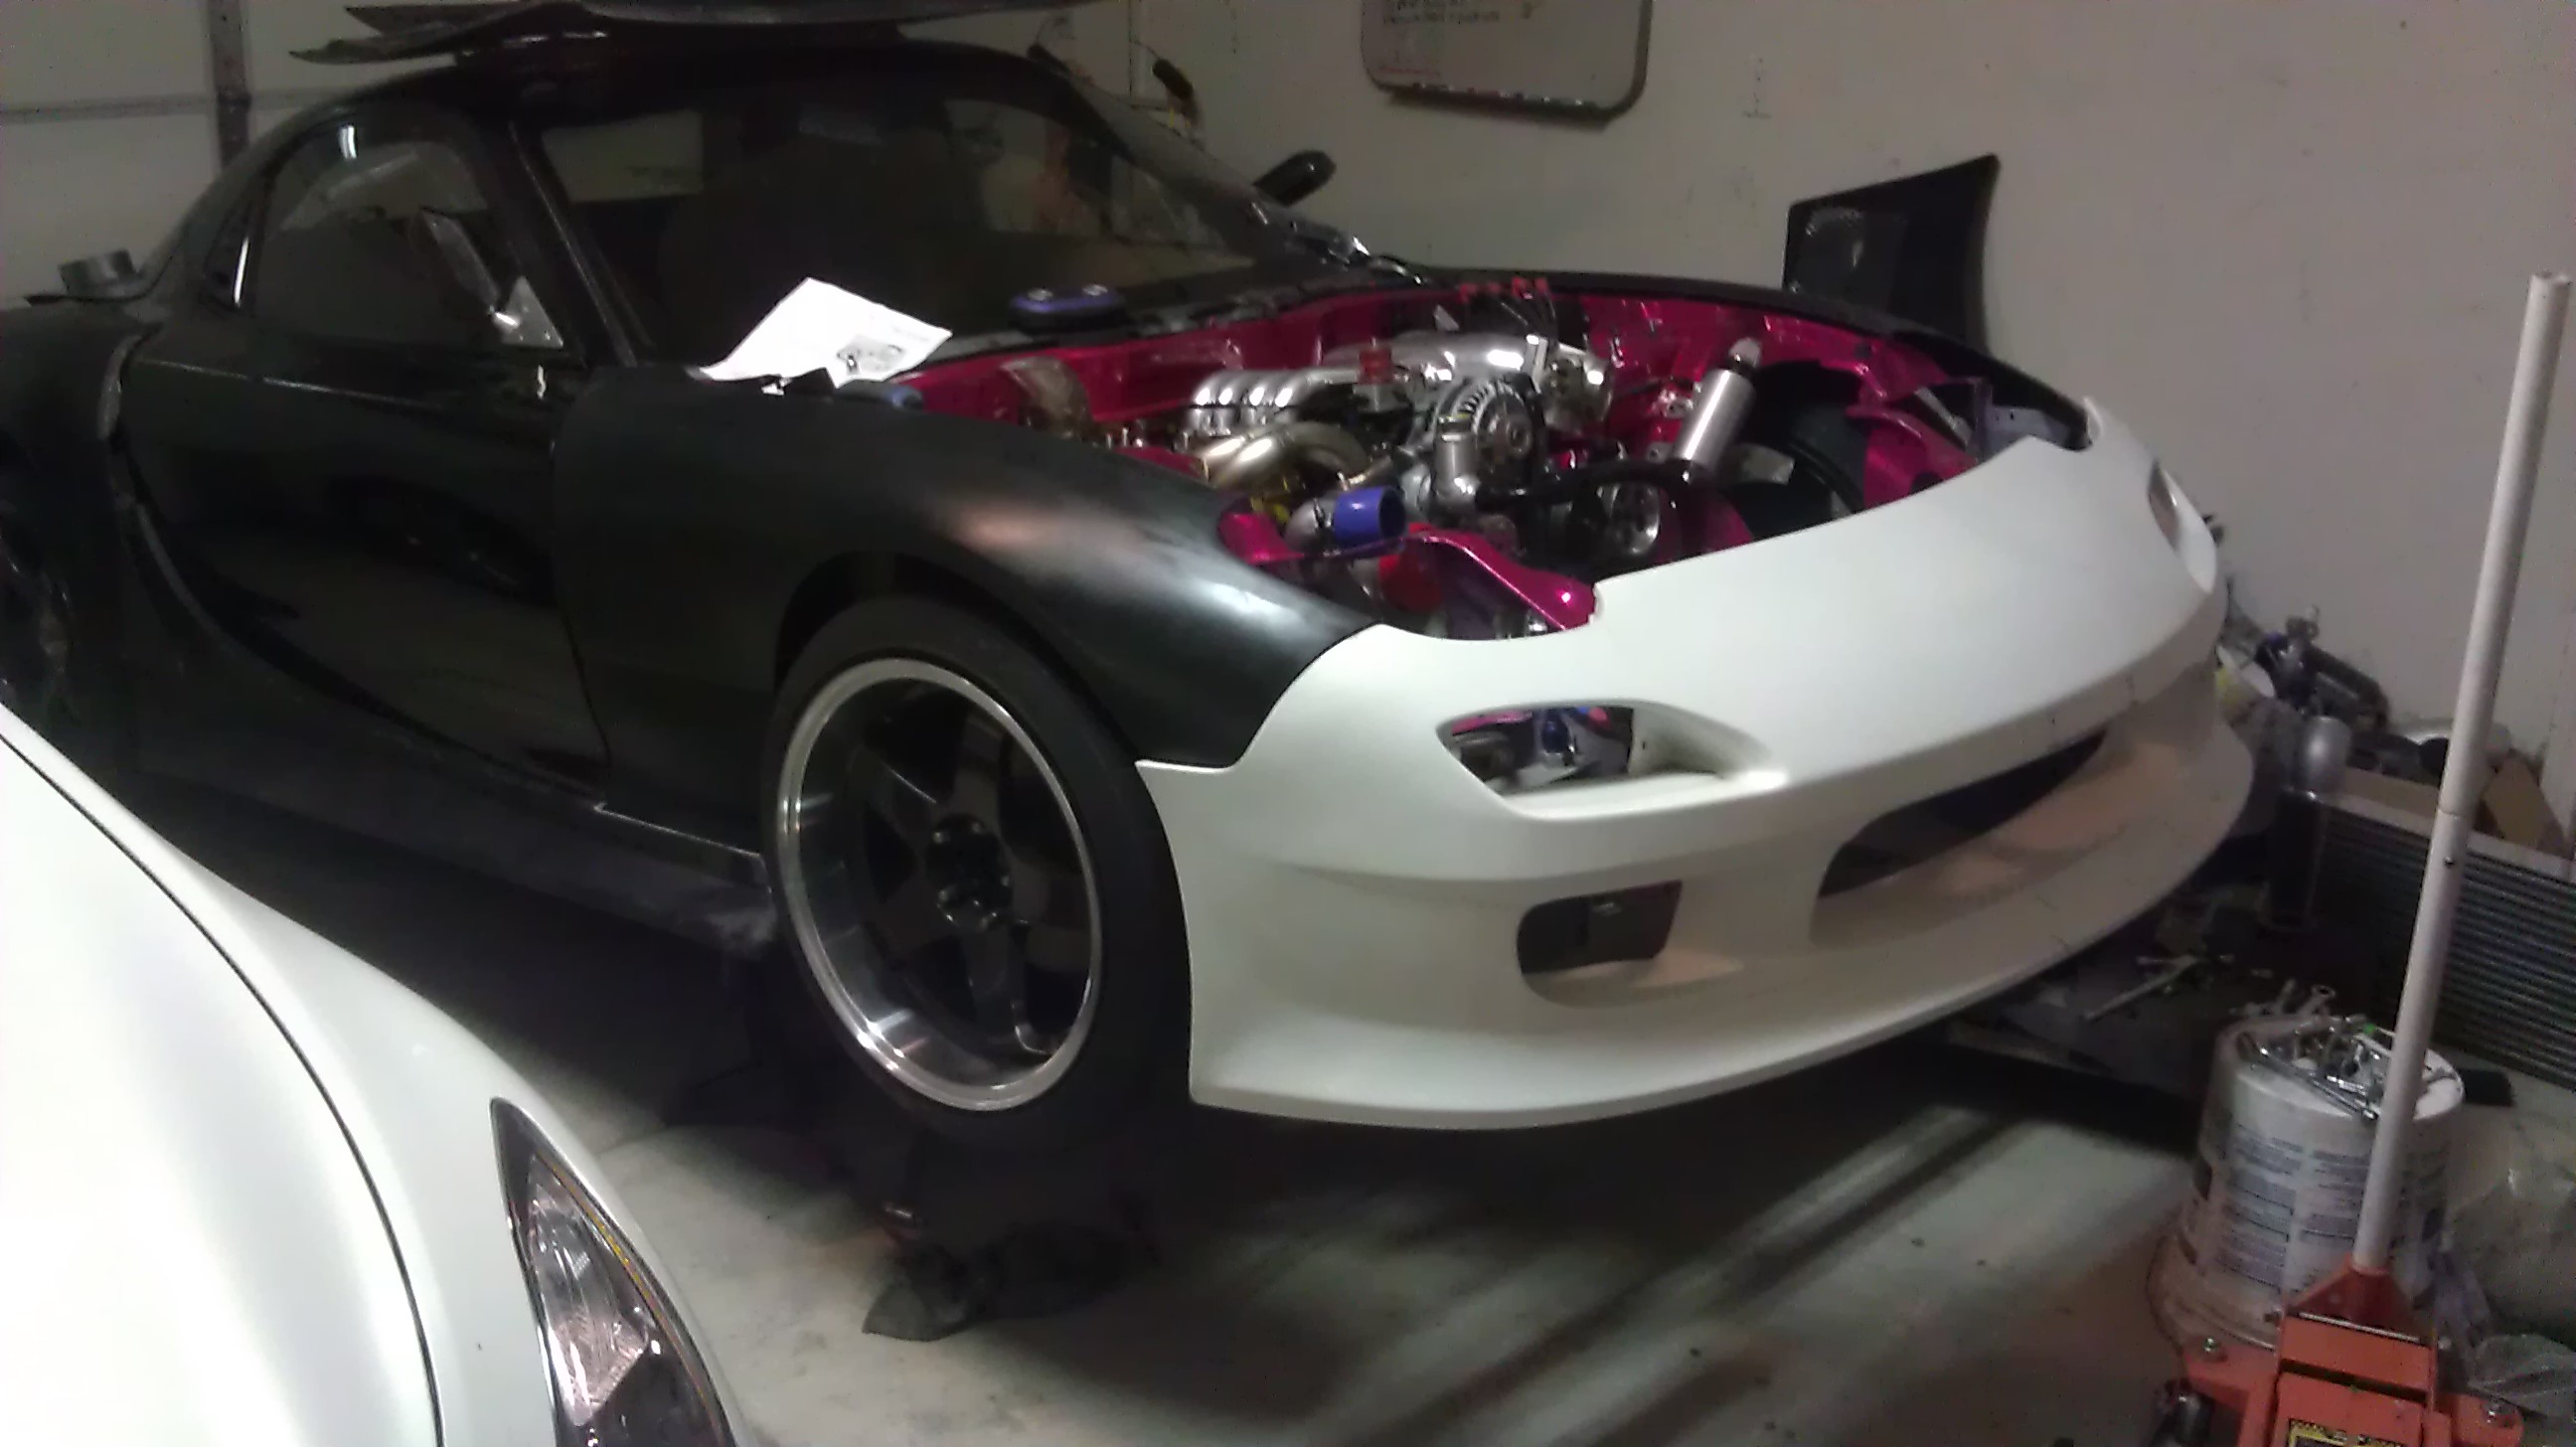
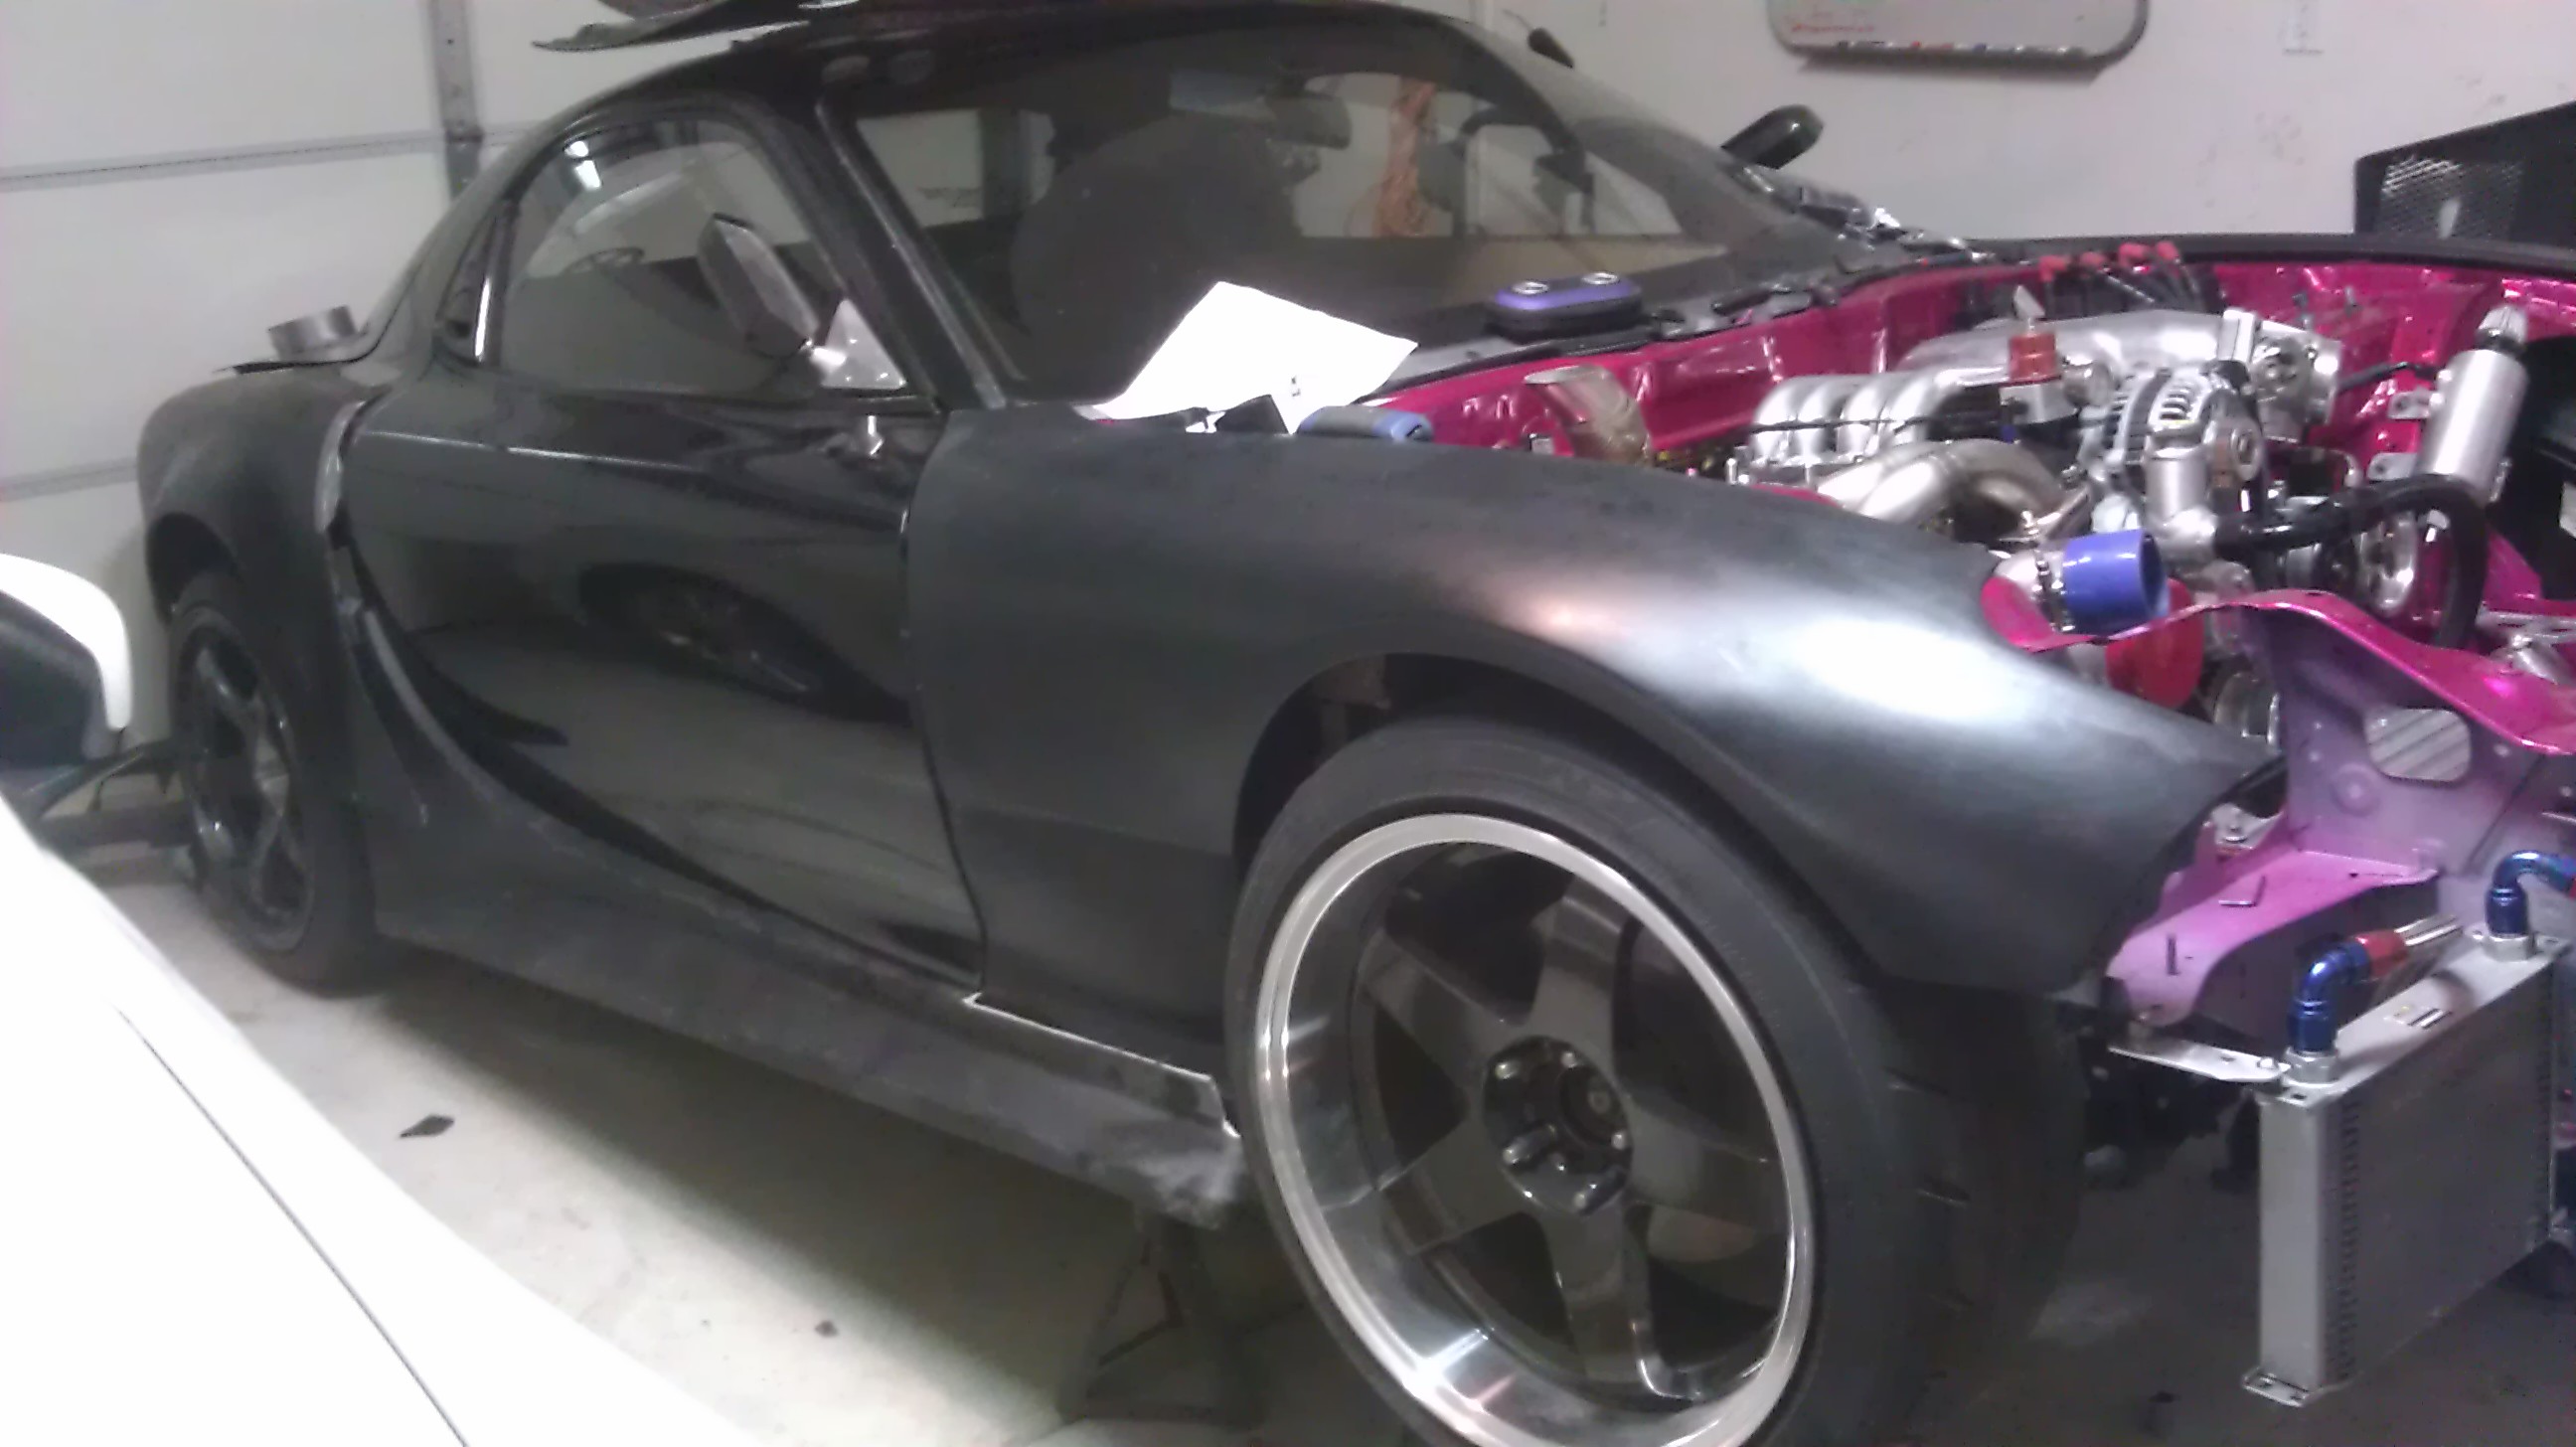
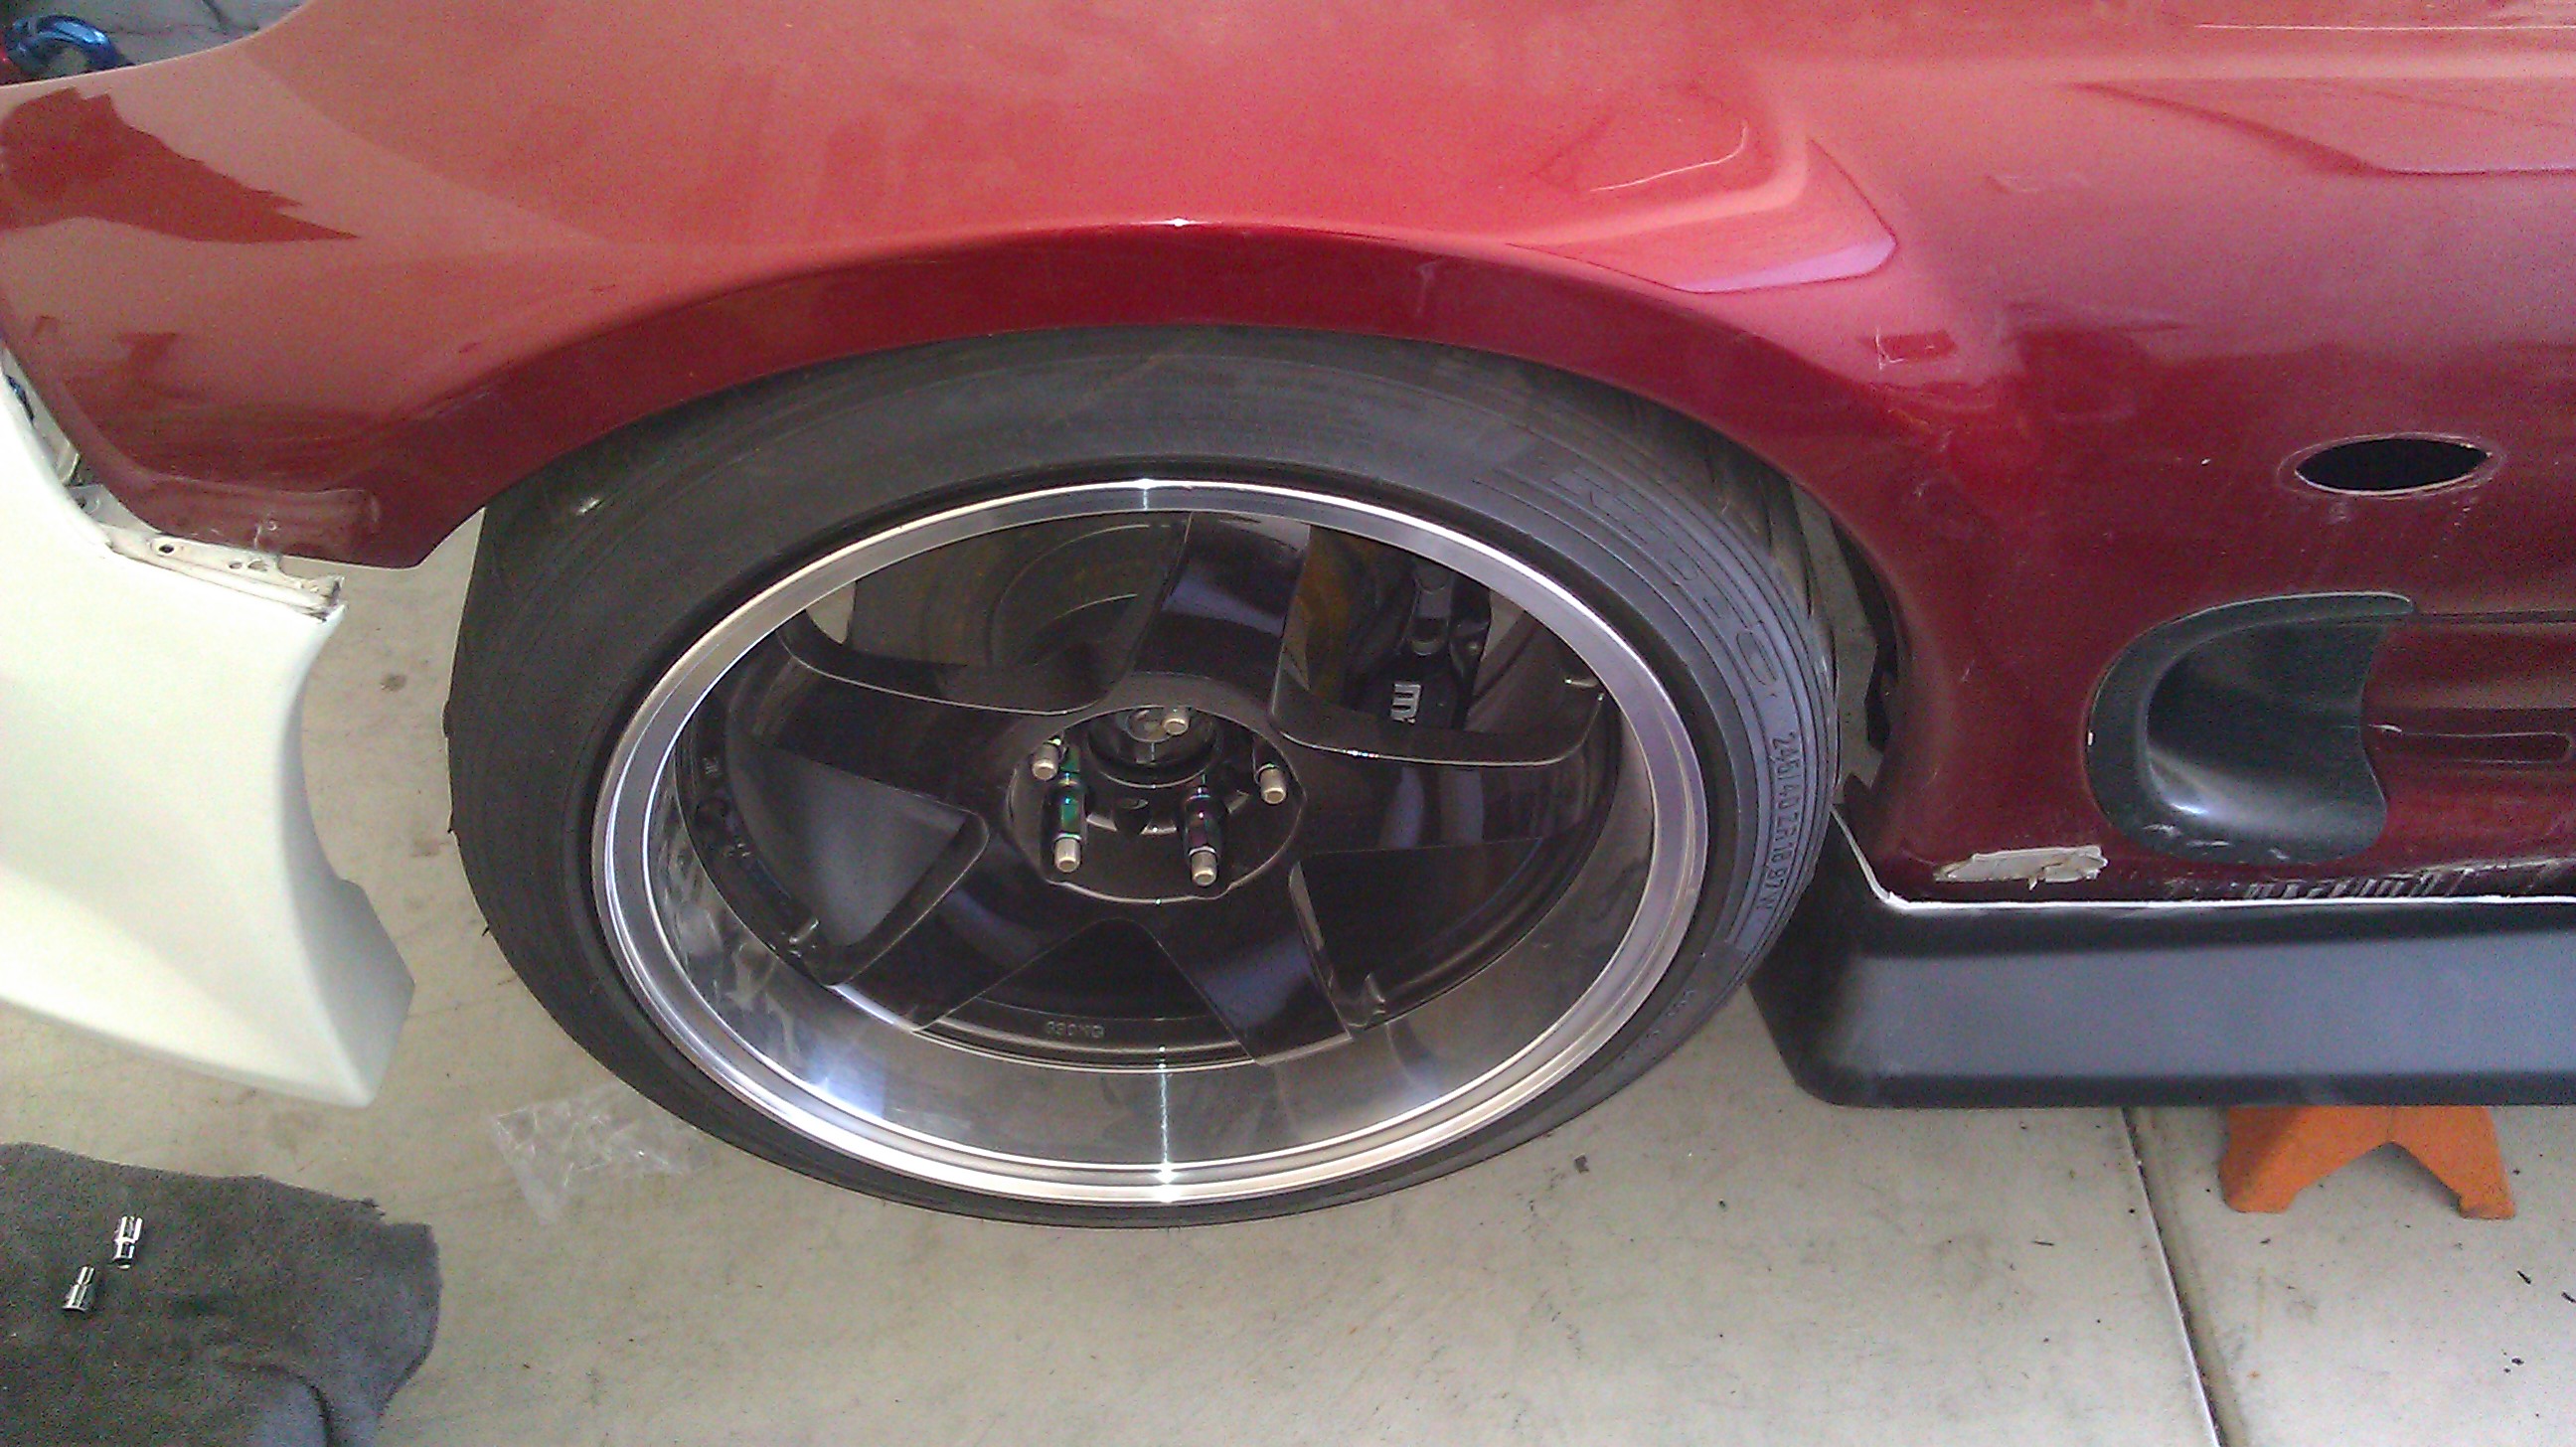
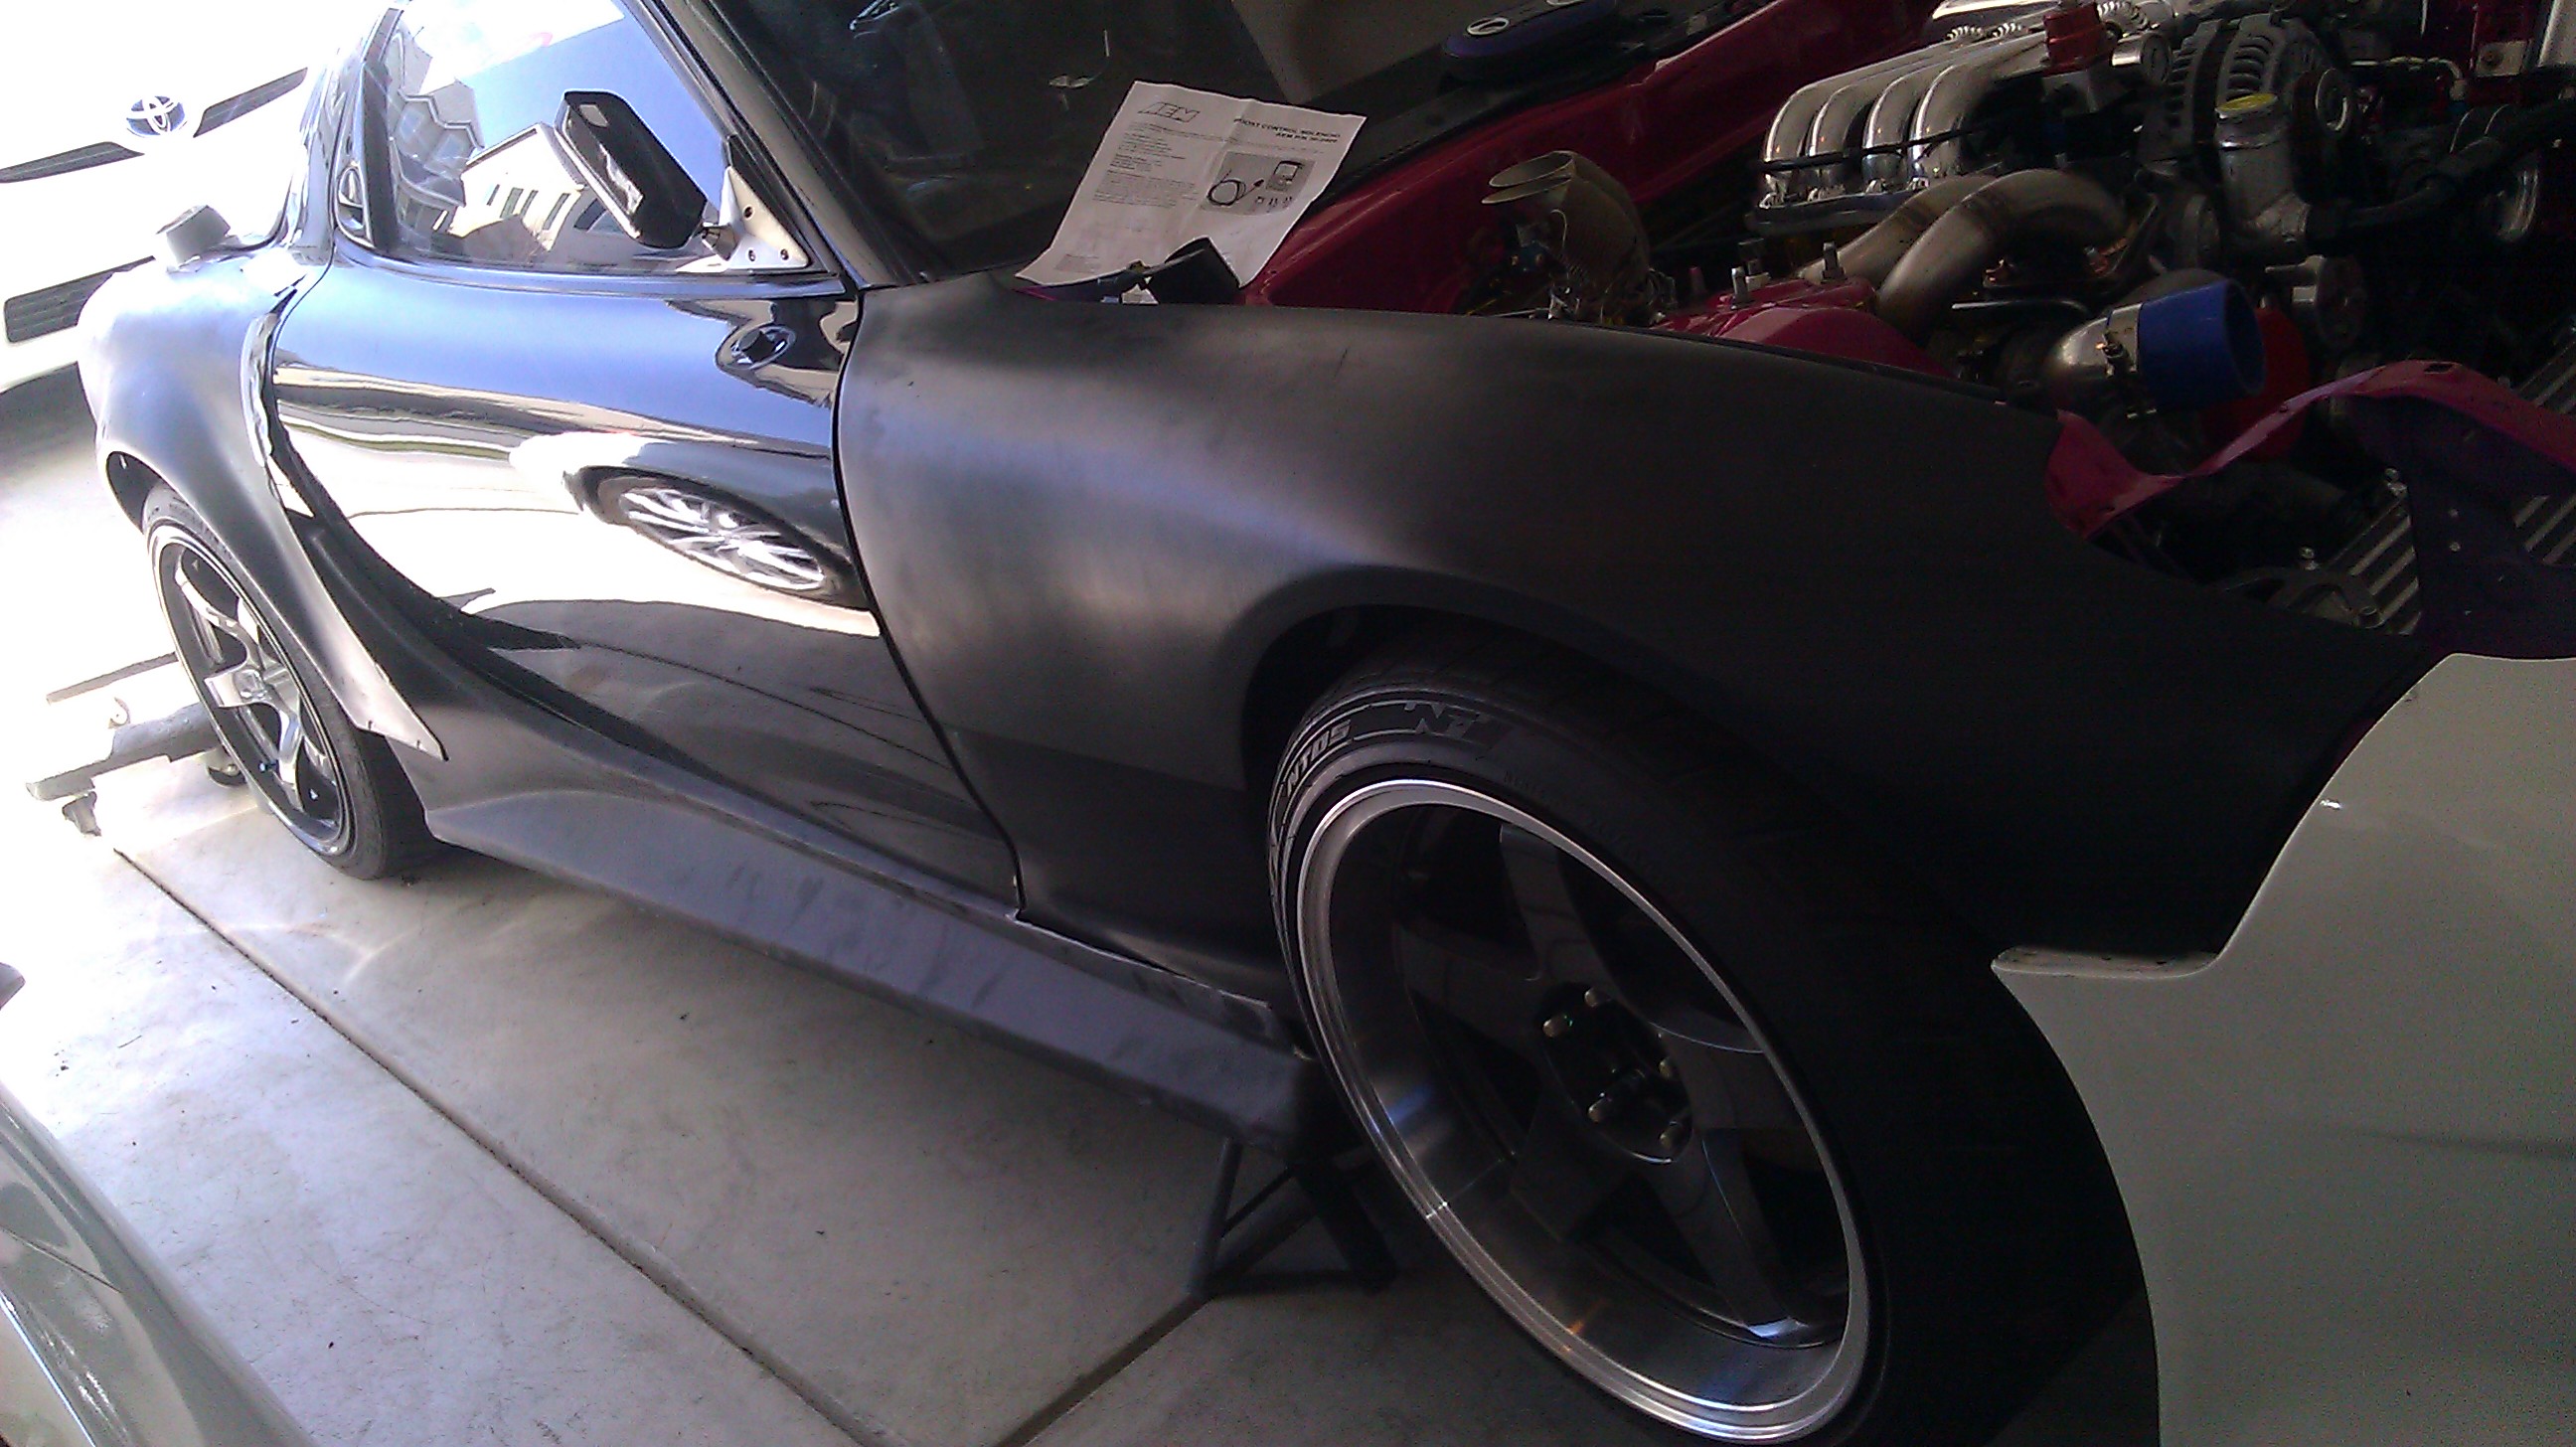
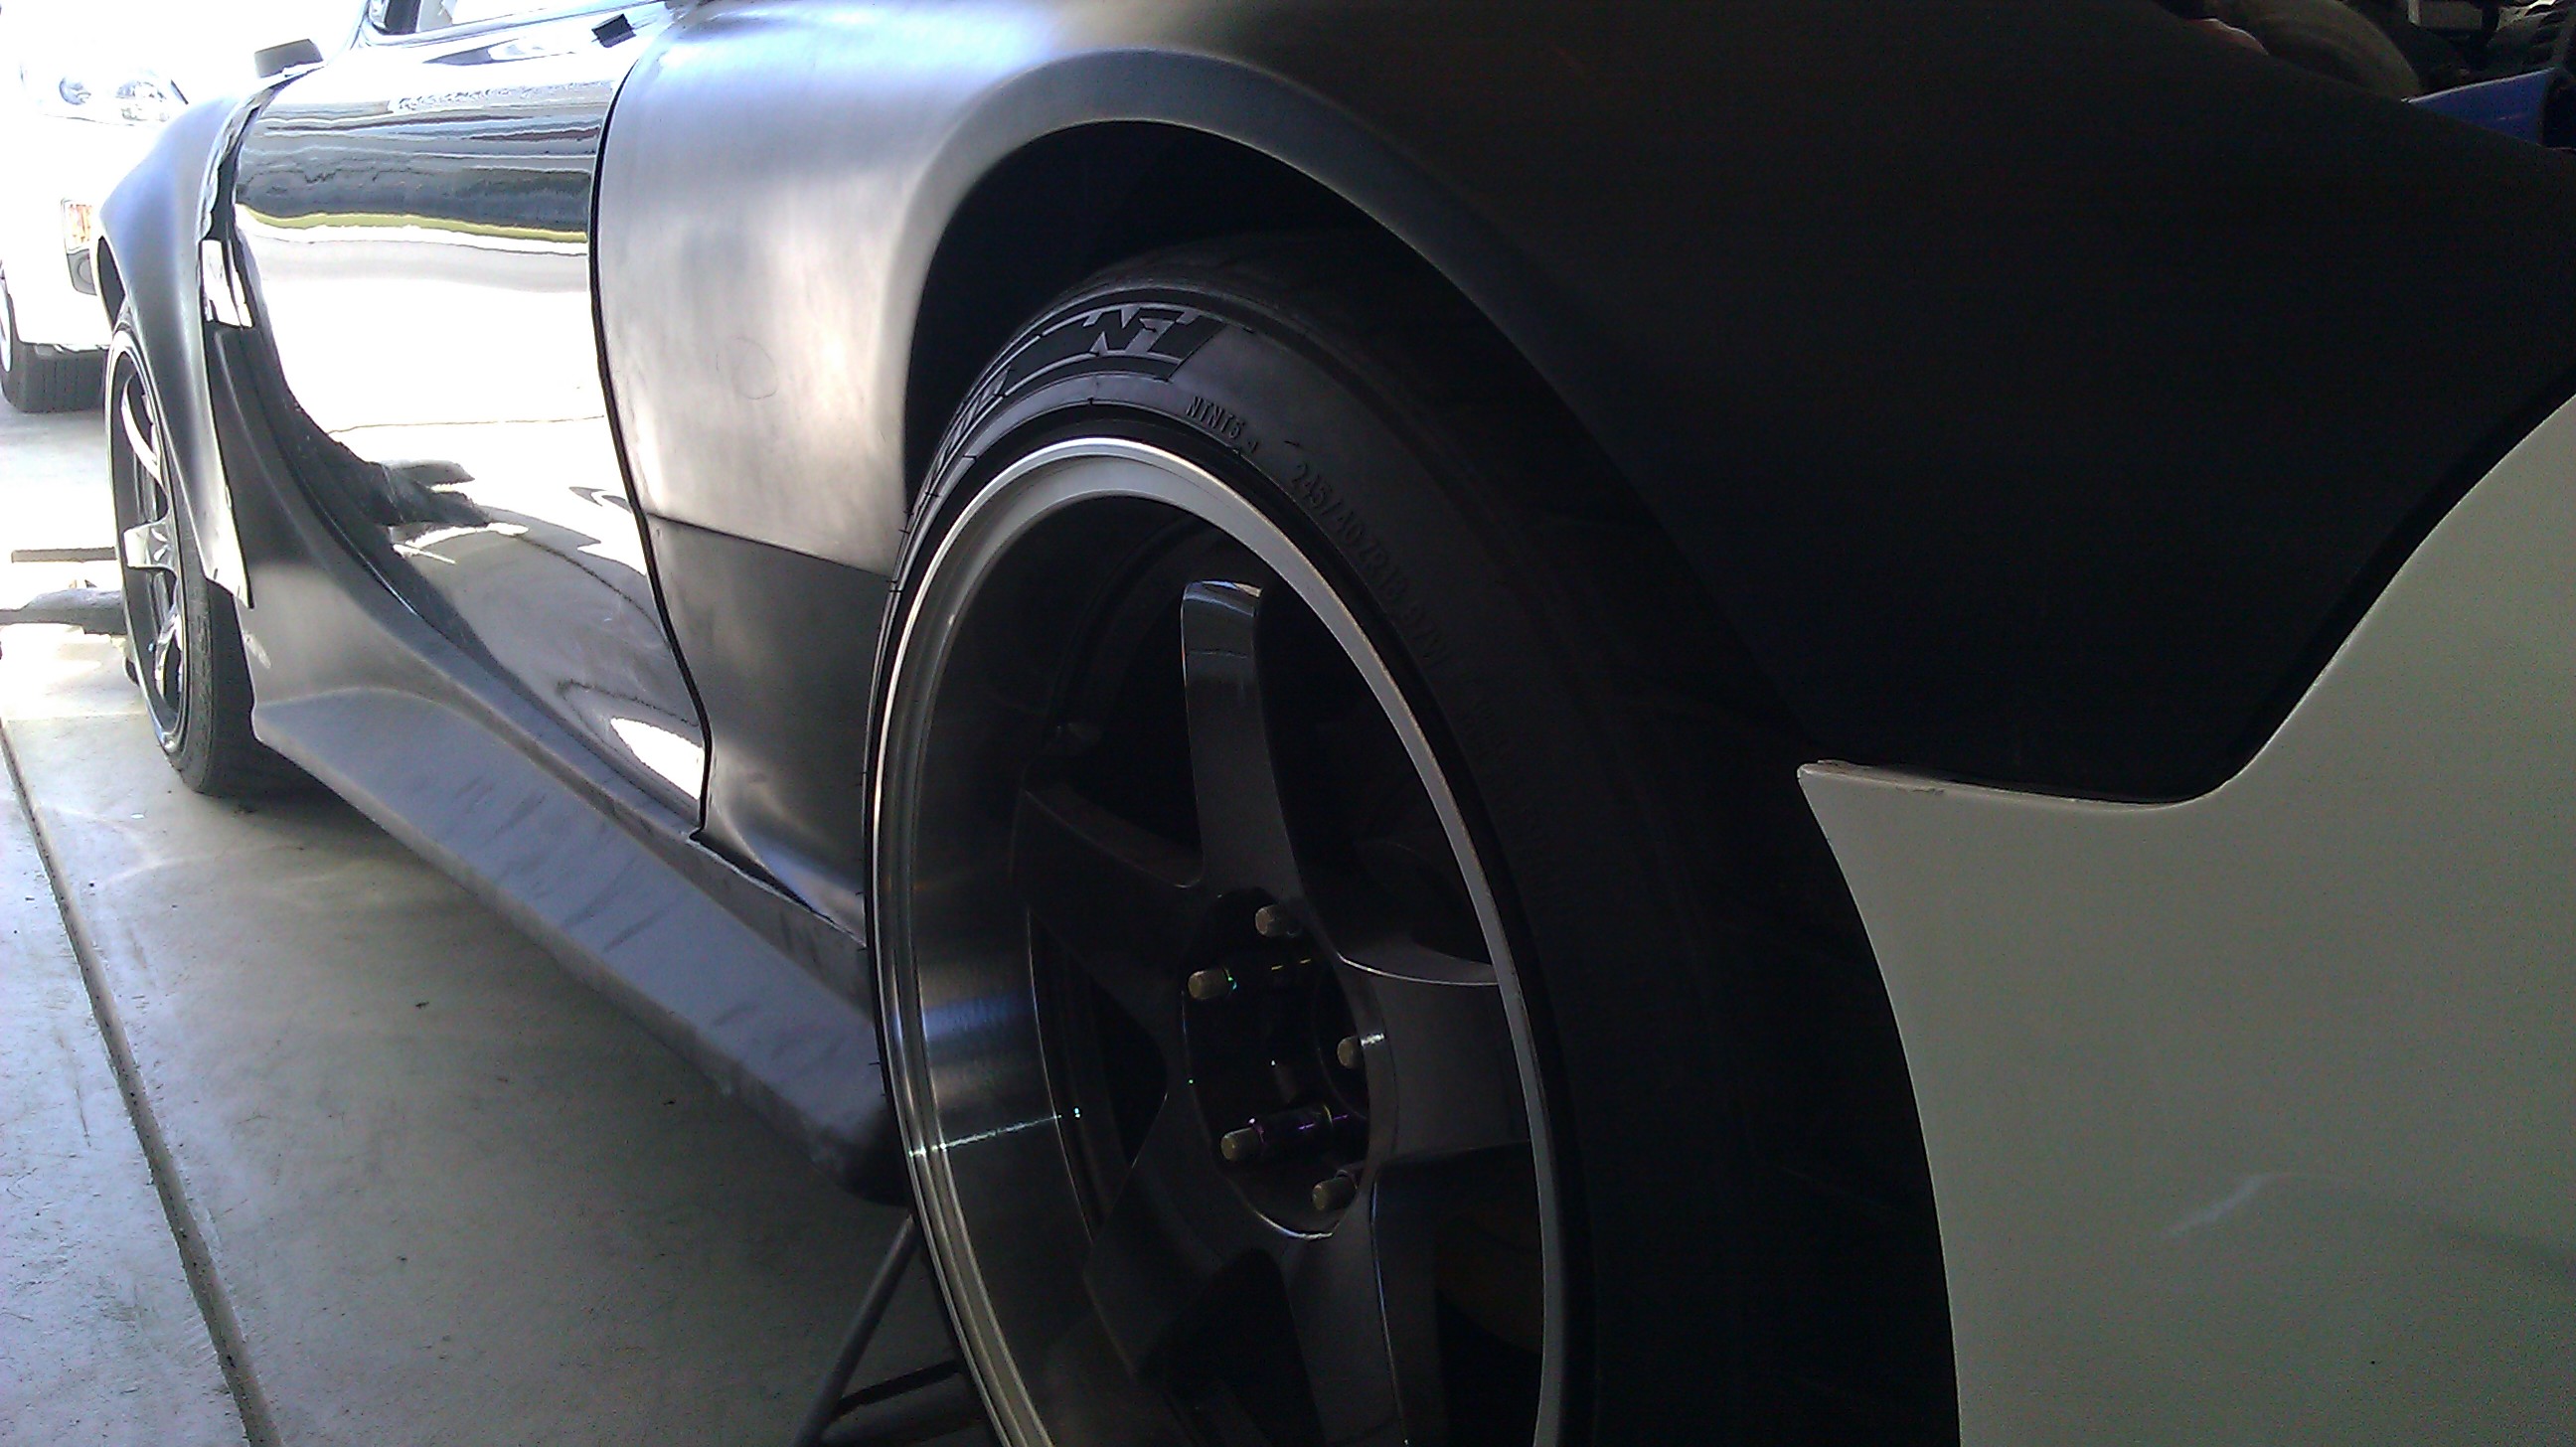
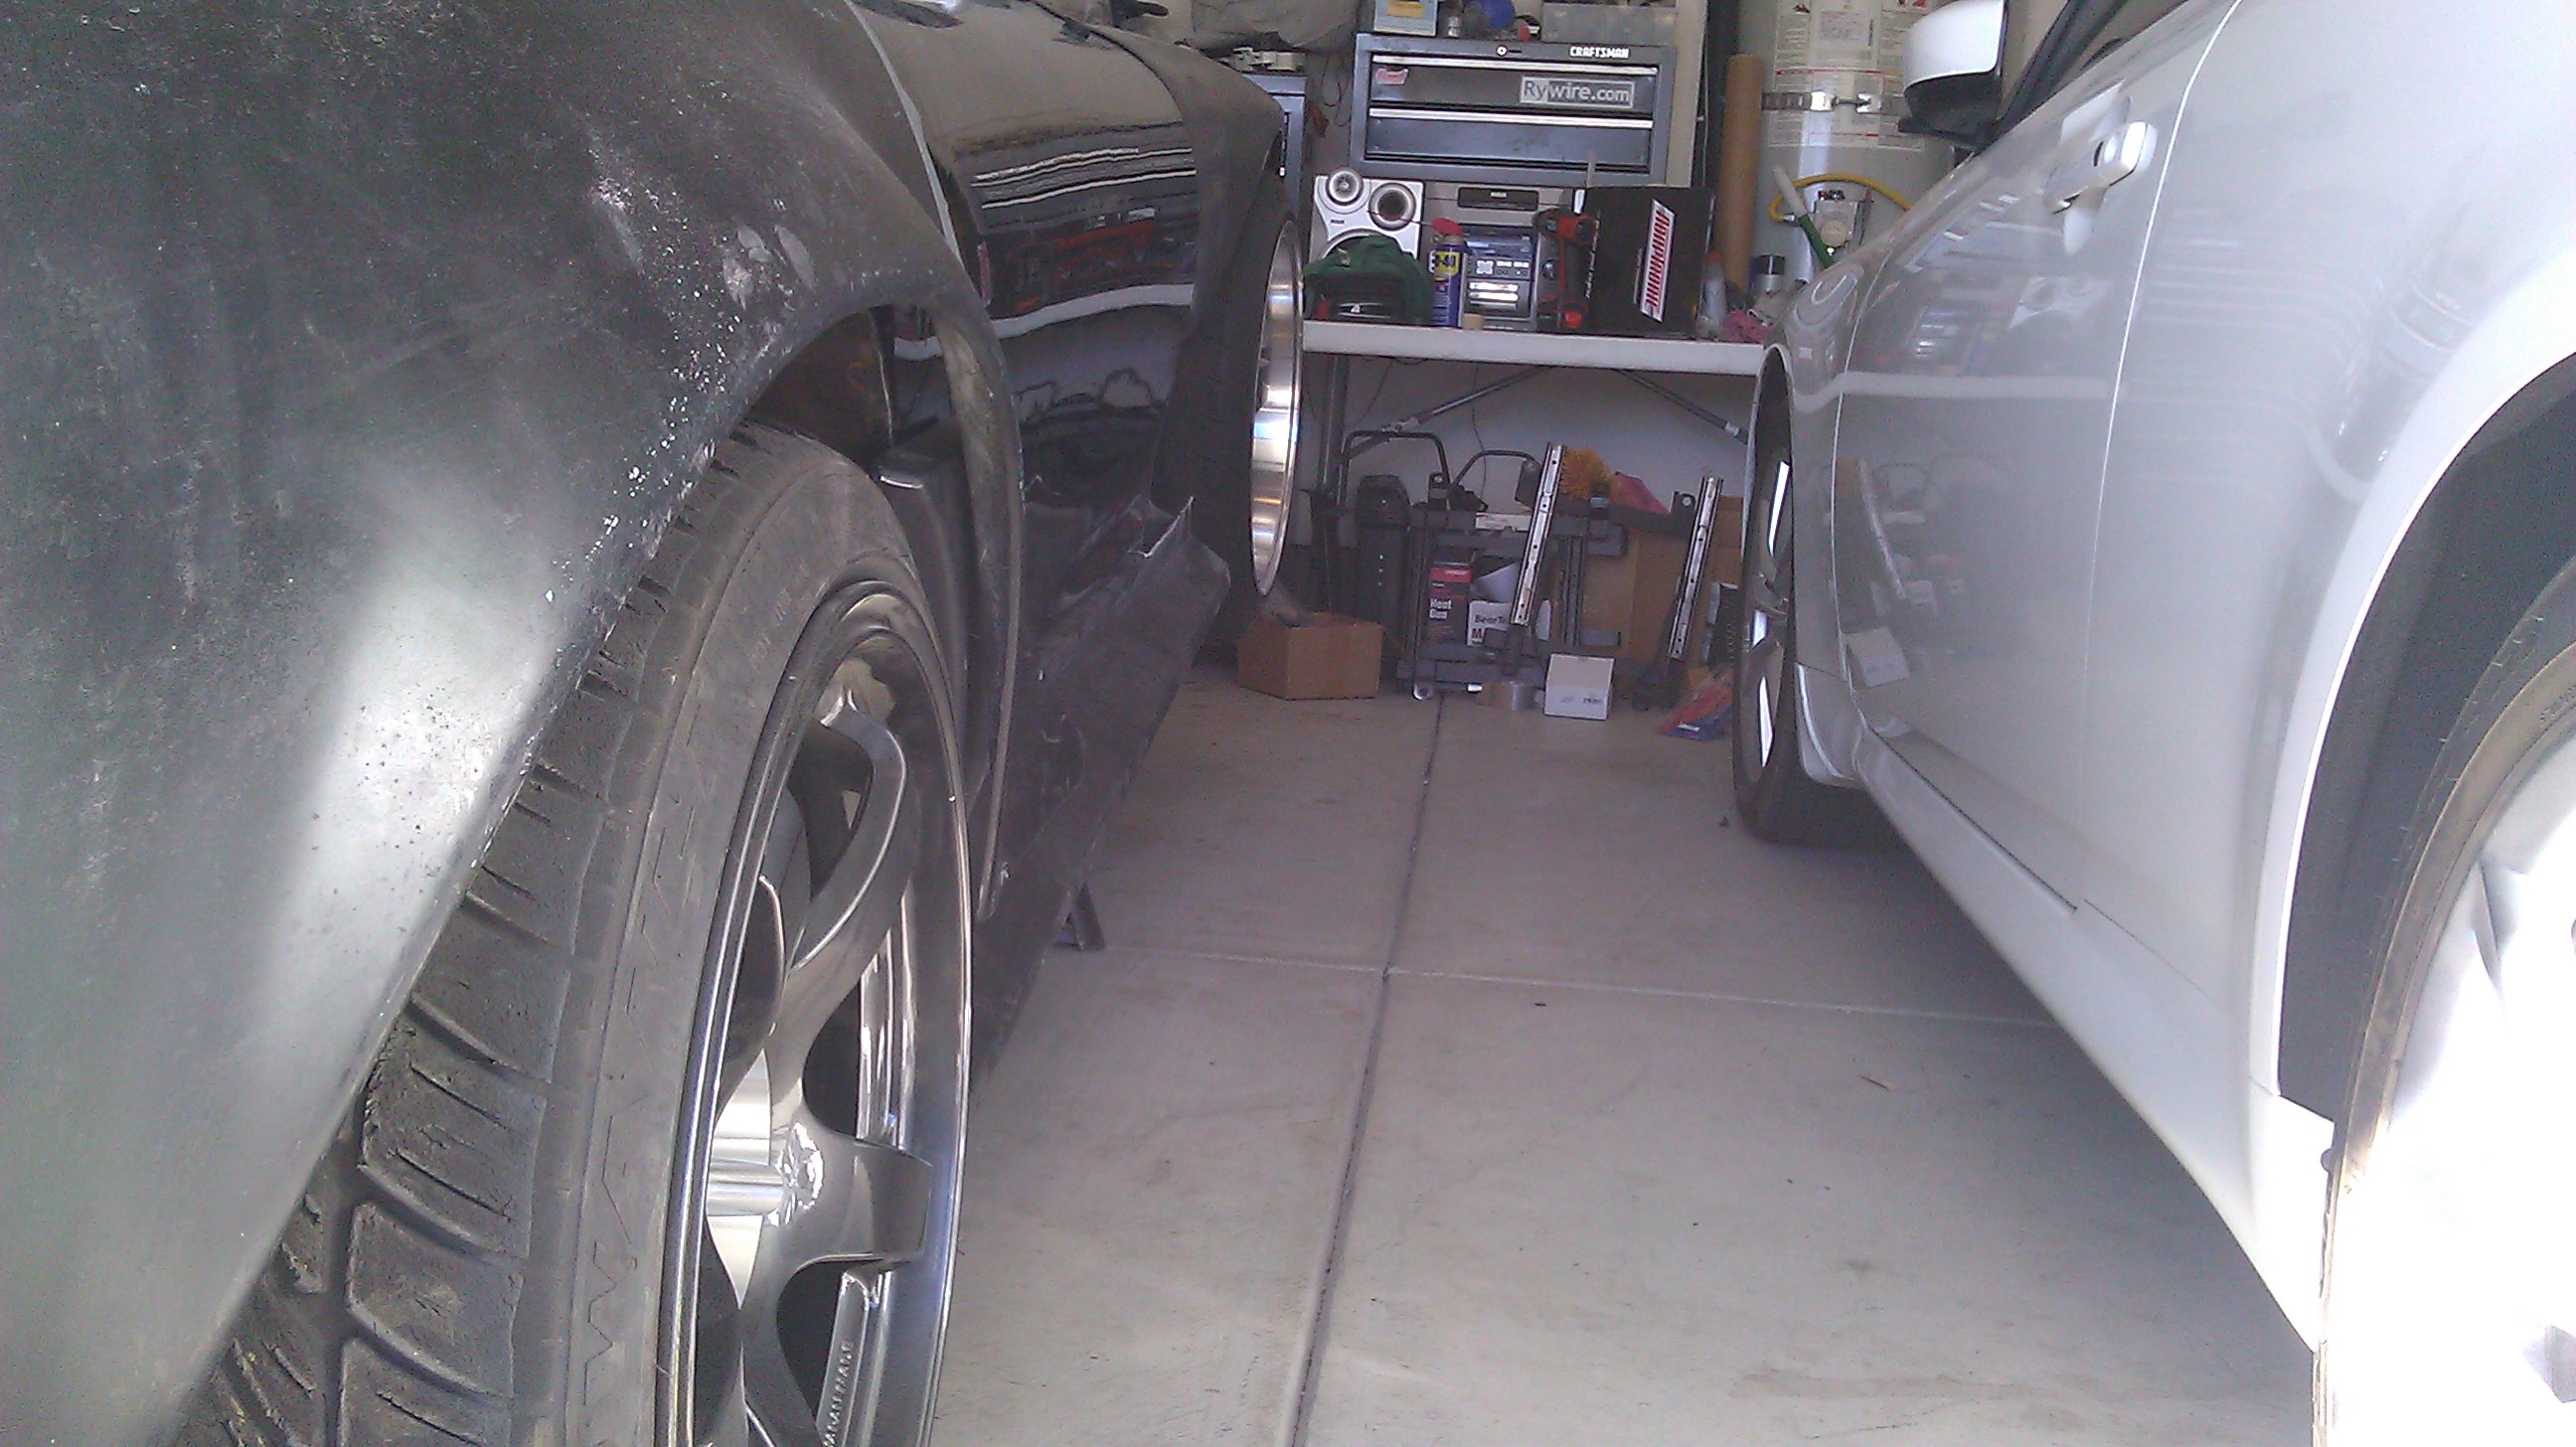
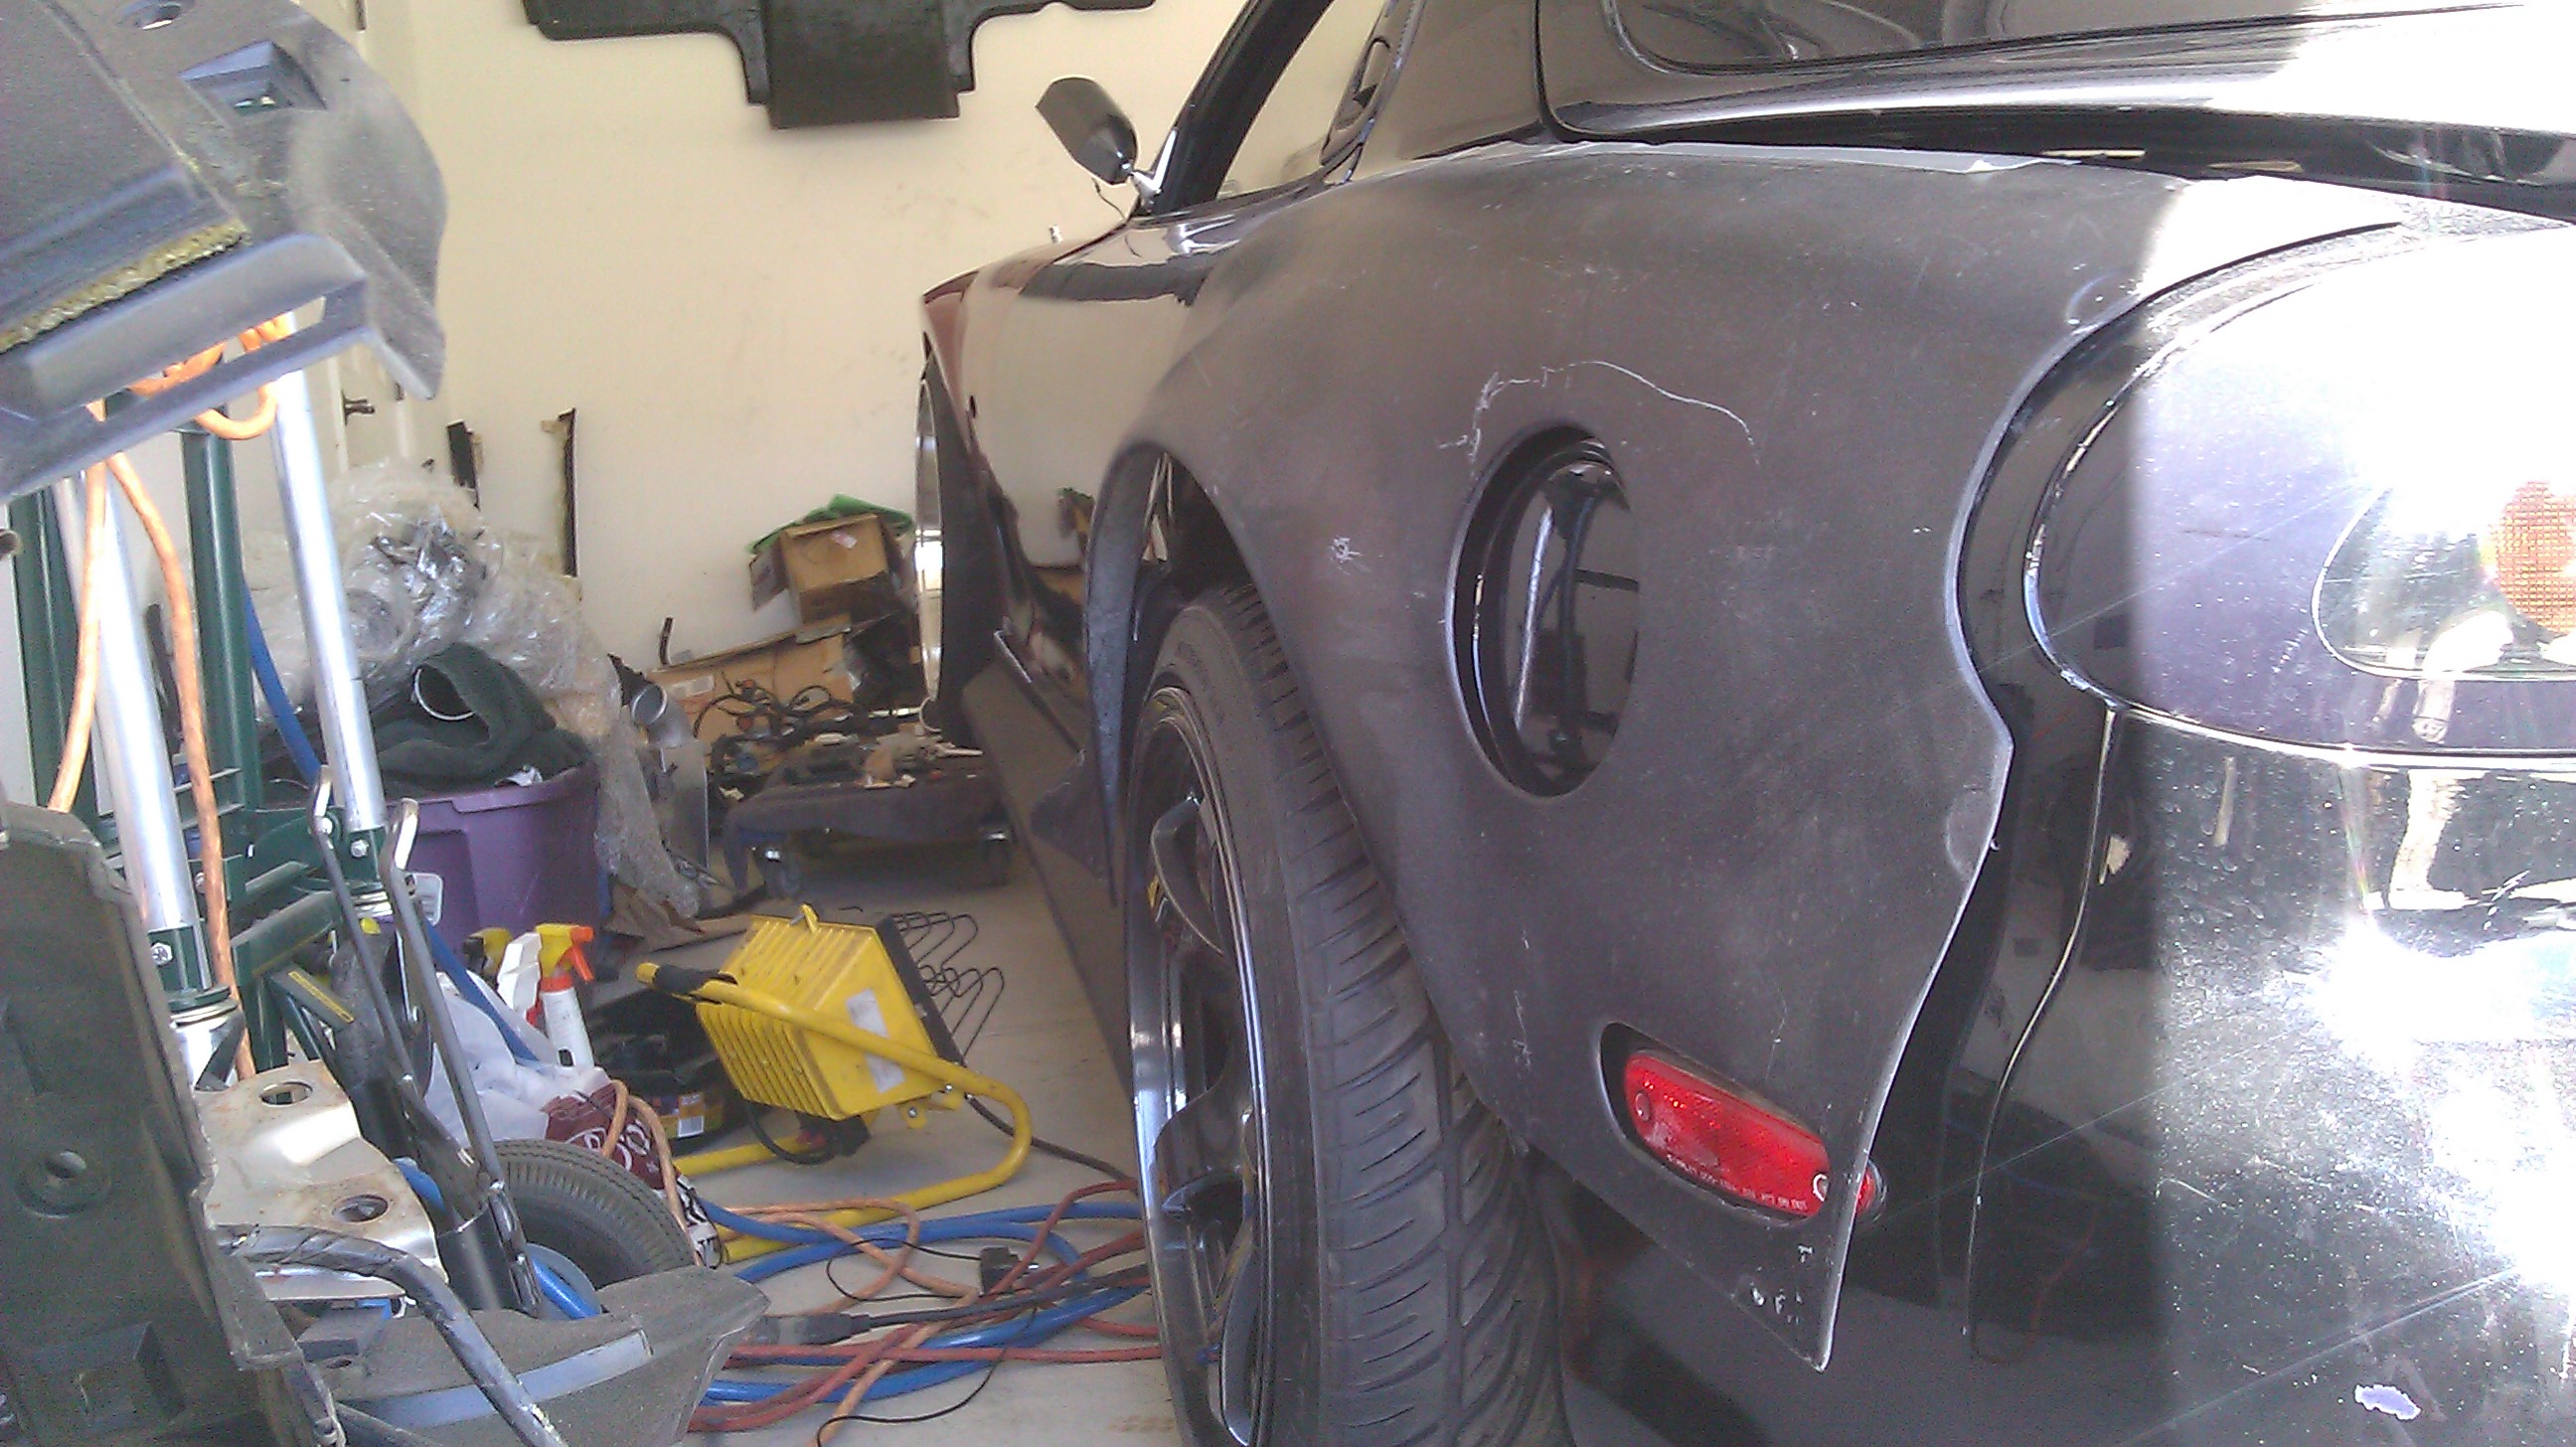
I guess I forgot to post some of these pics though. I got my Side skirts in and was able to mock up the feed fenders and the burnout fenders with them. I'm glad I got the chance to try out both sets of fenders with the skirts because it would've made the difference in looks IMO.
So here is what it looked like with the feed fenders vs Burnout fenders:
Feed fenders
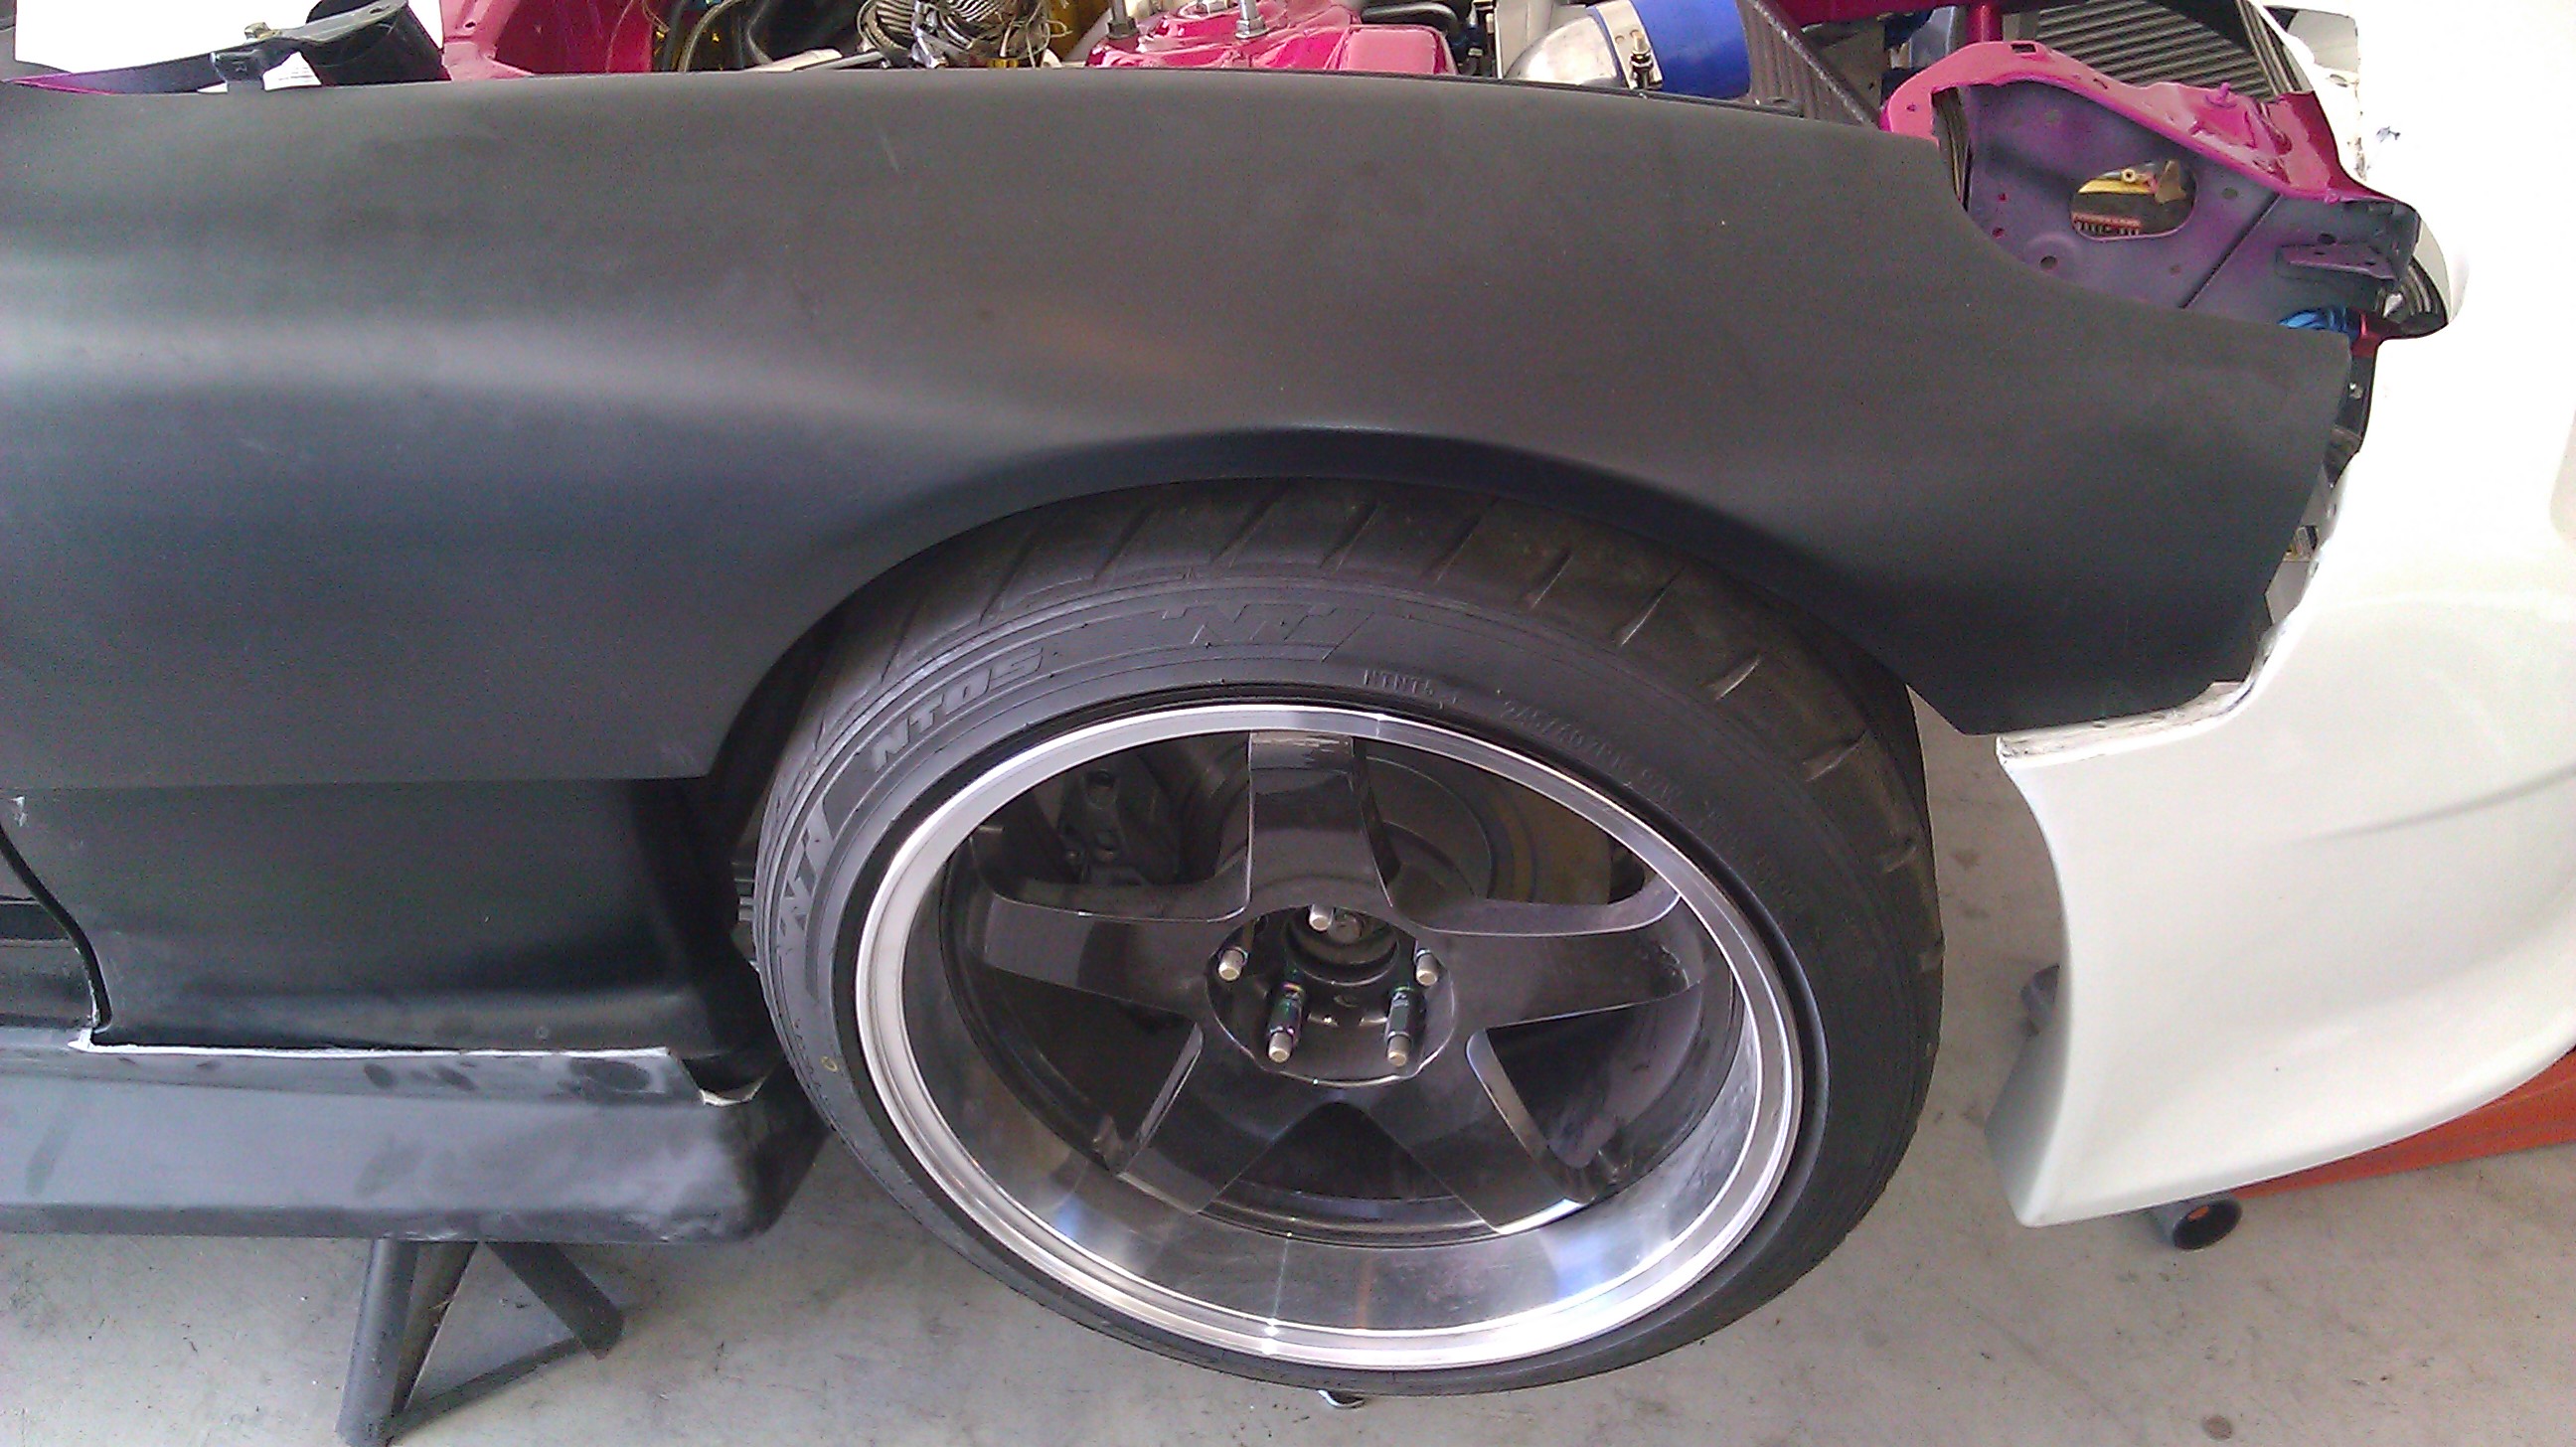
Burnout fenders
Feed fenders
Burnout fenders
feed
Burnout
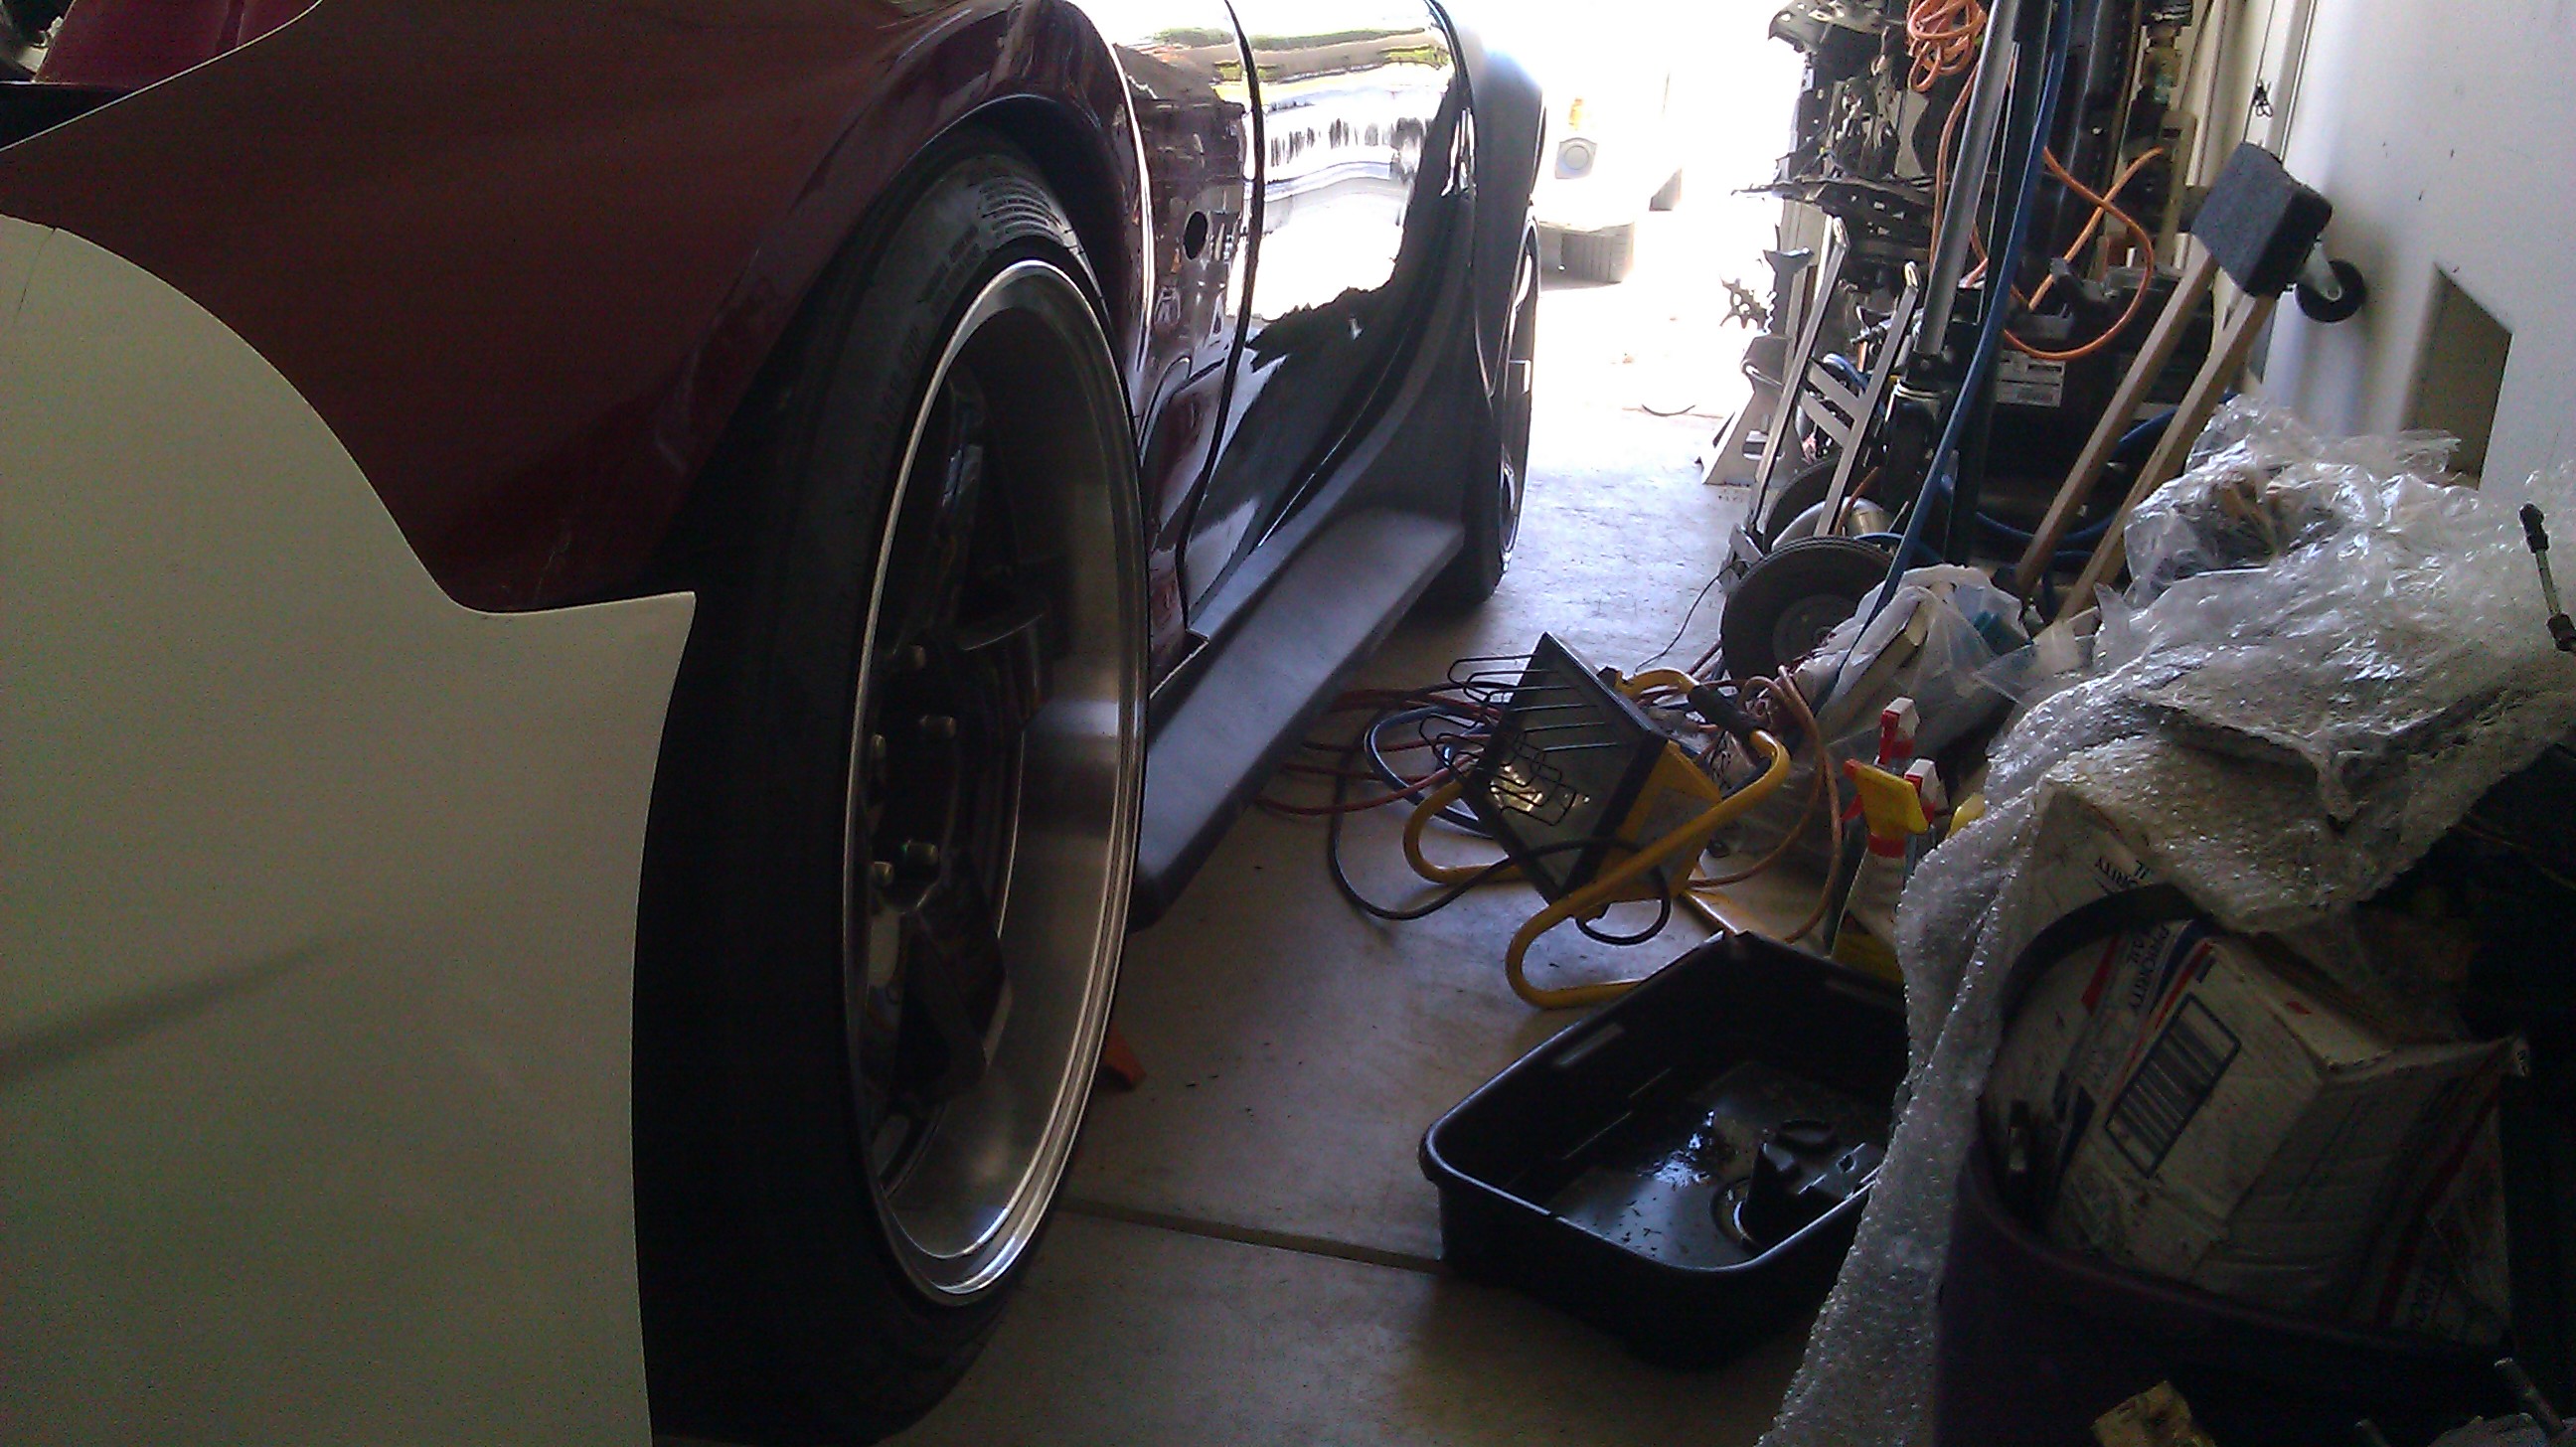
And THIS was the angle that did it for me and made me go with the Burnout Fenders. As you can see the feed fenders....despite the fact that they are +20 vs the feeds + 25.....stick out and match my rear over fenders much better. From the rear the car looks much more squared off front to rear...which In my opinion makes the car look more track oriented rather than Huge rear over fenders.....and smaller fronts with the feed fenders (more of a drag look IMO).
Feed..still look good....but I just like the burnout better =-)
Burnout (Winning Ticket)
I'll get started back on the brakes/clutch/harness today! More updates soon!
Status update: Nothing
So friday and saturday were very frustrating for me. So first I started on engaging the Throw out to the Pressure plate. Well...when I was having trouble pushing it far enough into the pressure plate for it to "snap" in. So I got top side of the motor and removed the drivers side view cover on the transmission and ......SOB. I dropped the bolt that holds the thin view plate into the transmission. And worse..it went on the motor side of the flywheel. I lost my Retracting magnet tool a loooong time ago so I'll have to find another one and bend it up to try and get it out. So thats a bummer... So I couldnt figure out why the t/o bearing wouldn't engage to the pressure plate. So I decided to take a break. Then i spent the next 4 hours bleeding the brakes...to no avail. After hours with a buddy of mine working the pedal I realized my little Vac hose on the bleeder side had a hole in it and I had been sucking in air the whole time. Stupid me...should've been using a clear hose the entire time instead of black vac hose wher eyou couldn't see anything but bubbles escape. So then I said eff it..i'll move onto something else and go back to bleeding the brakes another day. So I went to open my drivers side door and the worst crap ever happened... And everyone that it's happened to knows exactly why it sucks so bad. Damn Drivers side door handle gave and gave and let go... the Infamous door handle problem. I did my passenger side and drivers side sooo long ago..and I have both metal handles but the linkage is just crap. So after not getting the clutch engaged,...brakes bled, and the door handle breaking... I took my gloves off...didn't even clean up as I do every time i'm done working on the car, closed the garage door and turned the lights off in the garage and said I'm done for the weekend. Sometimes its just best to admit defeat and save it for another day...because it was one of those days.
I guess I forgot to post some of these pics though. I got my Side skirts in and was able to mock up the feed fenders and the burnout fenders with them. I'm glad I got the chance to try out both sets of fenders with the skirts because it would've made the difference in looks IMO.
So here is what it looked like with the feed fenders vs Burnout fenders:
Feed fenders
Burnout fenders
Feed fenders
Burnout fenders
feed
Burnout
And THIS was the angle that did it for me and made me go with the Burnout Fenders. As you can see the feed fenders....despite the fact that they are +20 vs the feeds + 25.....stick out and match my rear over fenders much better. From the rear the car looks much more squared off front to rear...which In my opinion makes the car look more track oriented rather than Huge rear over fenders.....and smaller fronts with the feed fenders (more of a drag look IMO).
Feed..still look good....but I just like the burnout better =-)
Burnout (Winning Ticket)
I'll get started back on the brakes/clutch/harness today! More updates soon!
03-12-13, 12:38 PM
#1300
Update:
So last night went a hell of a lot better than fri/sat.
Turns out the throw out bearing wouldn't click in because the slave cylinder end was limp and in the way of the range of "throw," which wouldn't let the pull type be pushed all the way back if that makes sense. I moved it out of the way and it snapped right in.
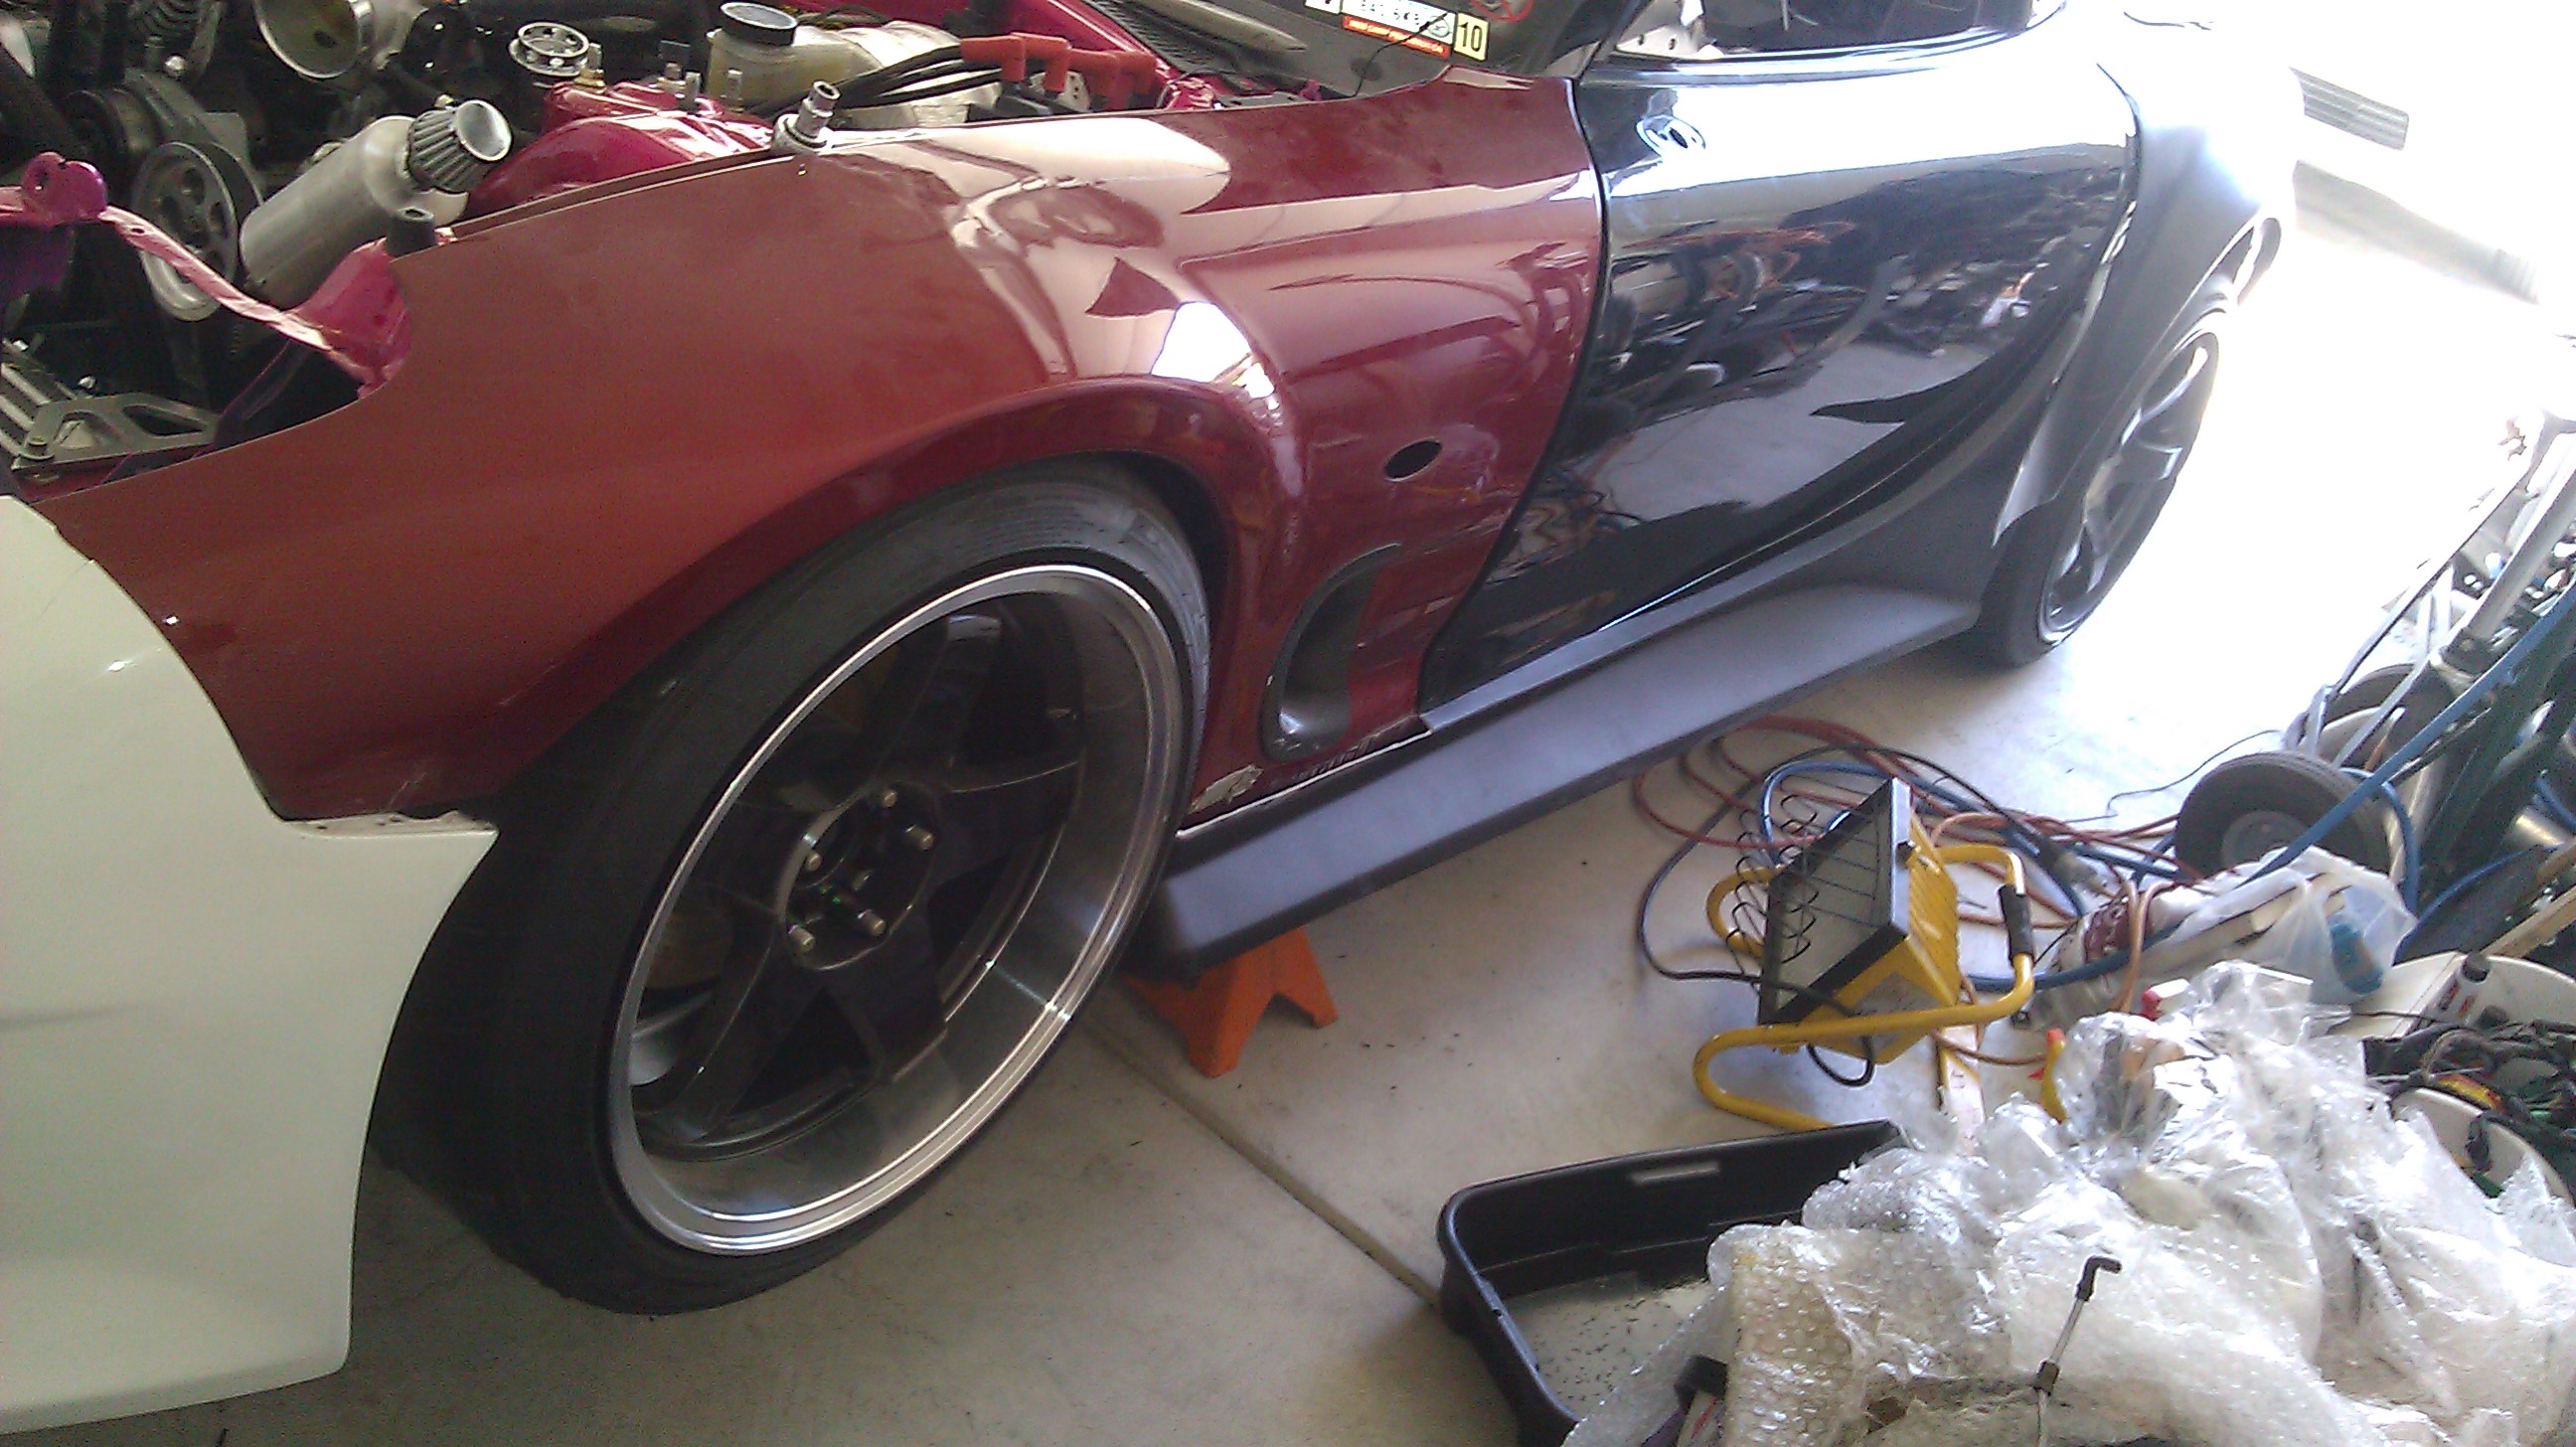
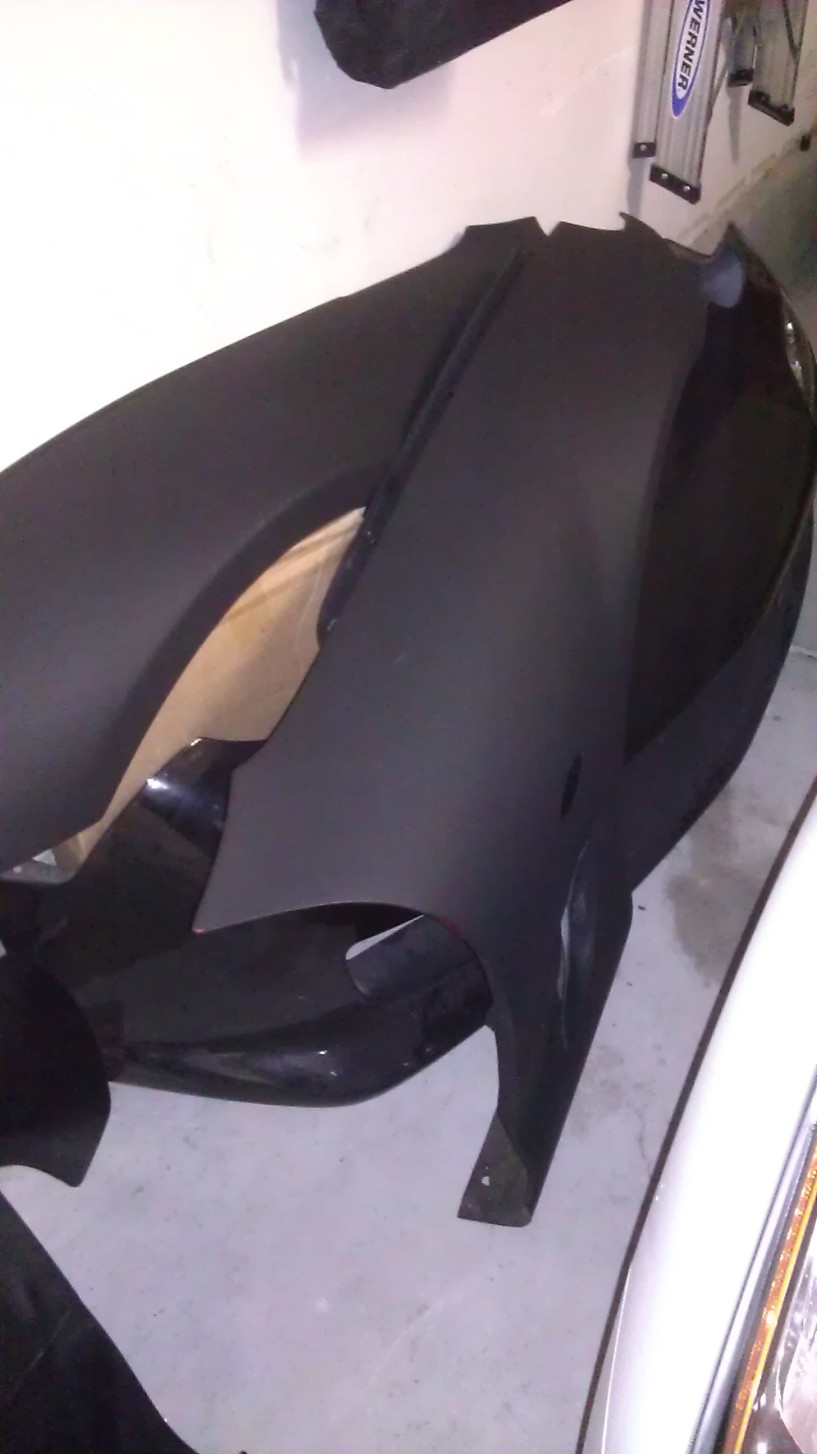
Hit the fenders with a little left over cheap primer just because the red was killing me..
Did the bumper as well. Brought out all the cracks, dings, spider cracks etc too so i'll be able to see what needs to be repaired. The bumper also has a hard time mounting up on the drivers side . Not even sure how the previous owner mounted it up.. I'm sure John's frustrations go far past mine as I just got the bumper hahaha. but the white was killing me too hah
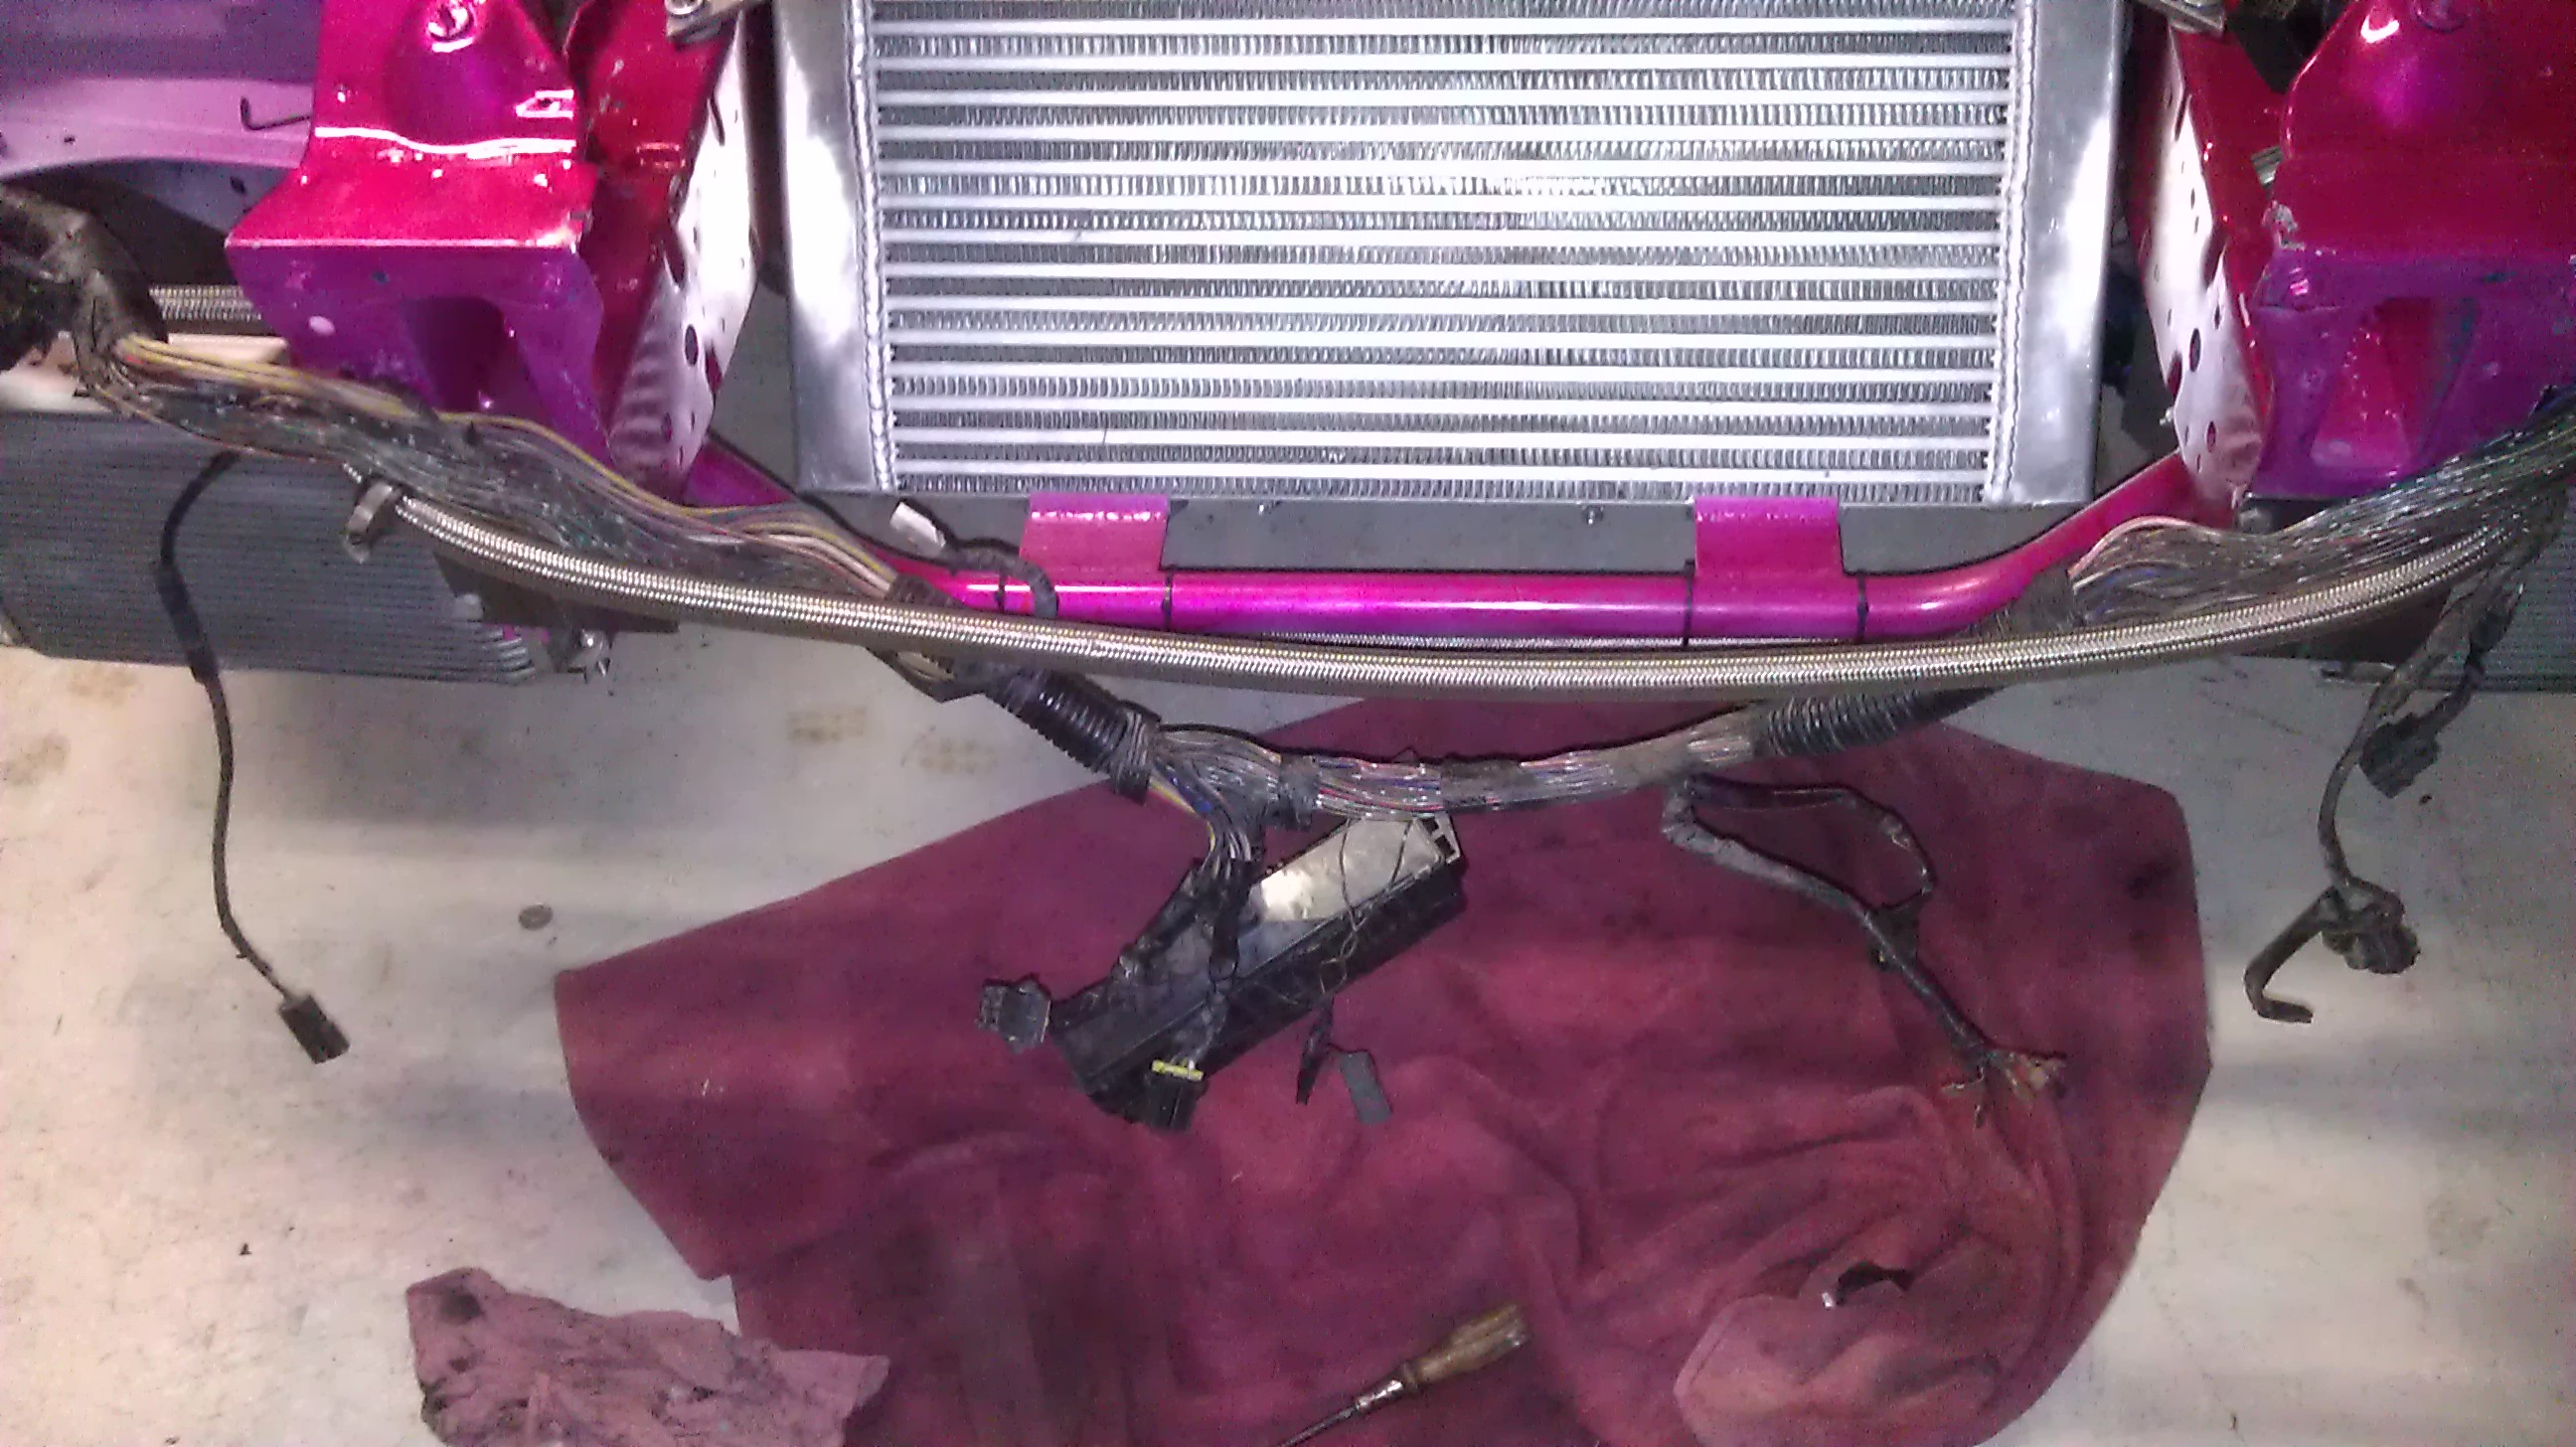
And FINALLY I got started on the Body Harness... My plan of attack is Mount it. Cut it and suite to my likeing. Then whatever is left over I'll literally just cut out all Ape-Crazy like...just without damaging anything in the process.
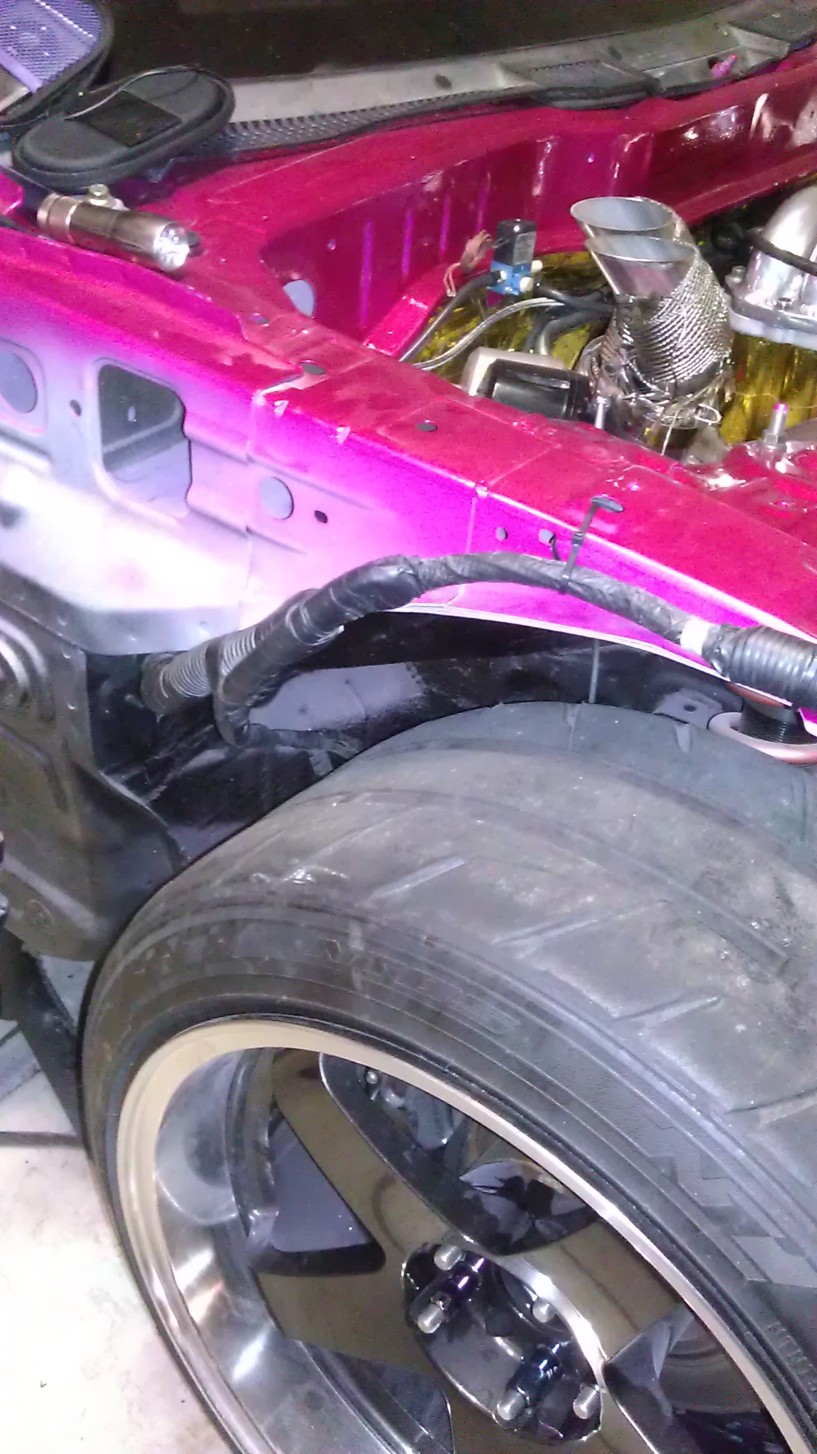
Got all the plugs on the inside connected, and ran it up and over the wheel arch so it doesn't get rubbed and chewed up.
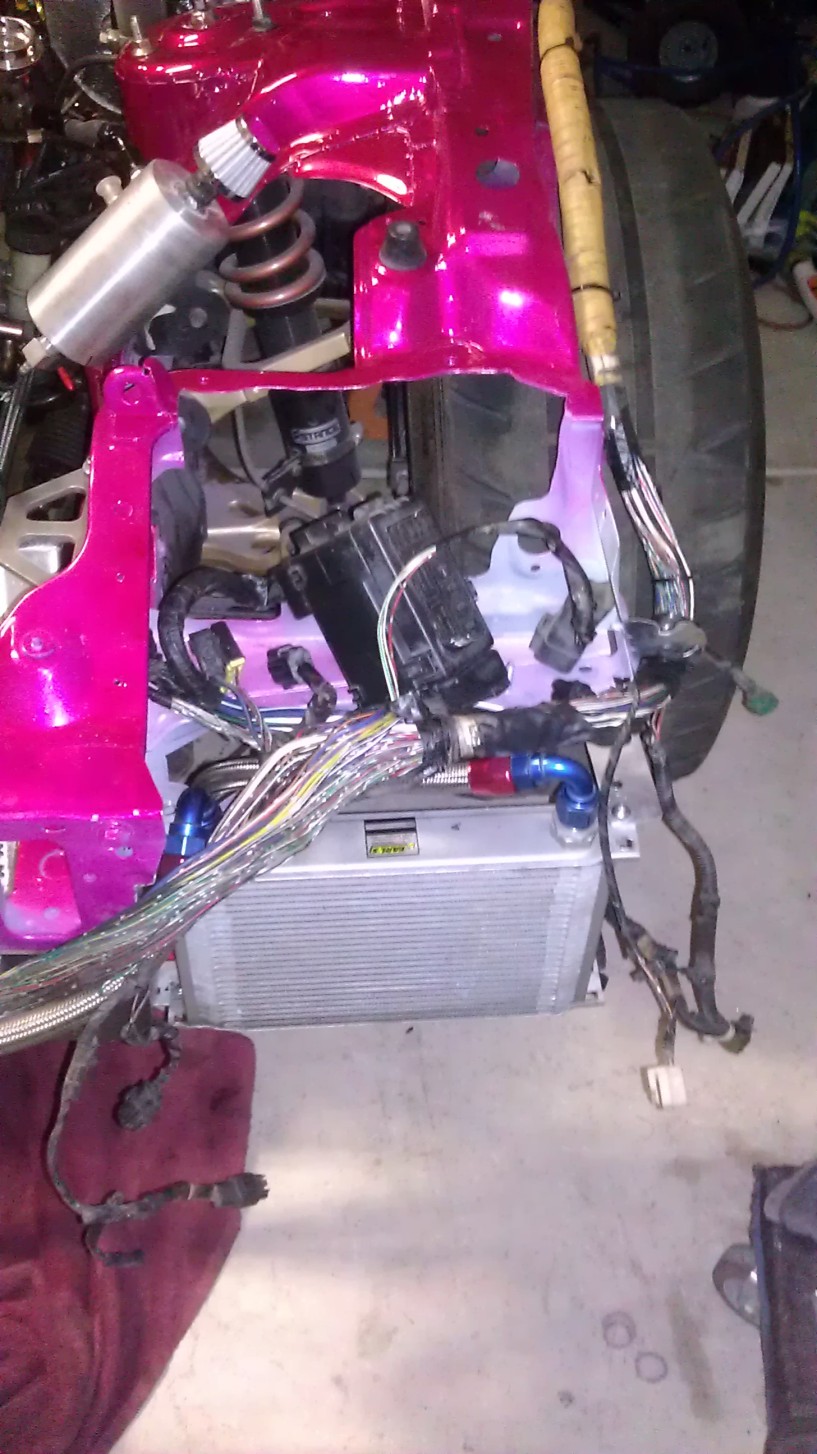
going to mount the fan relays and major relay box under my headlight bucket. There's enough room for sure, just need to find a nice neat place, cut and get the soldering iron out.
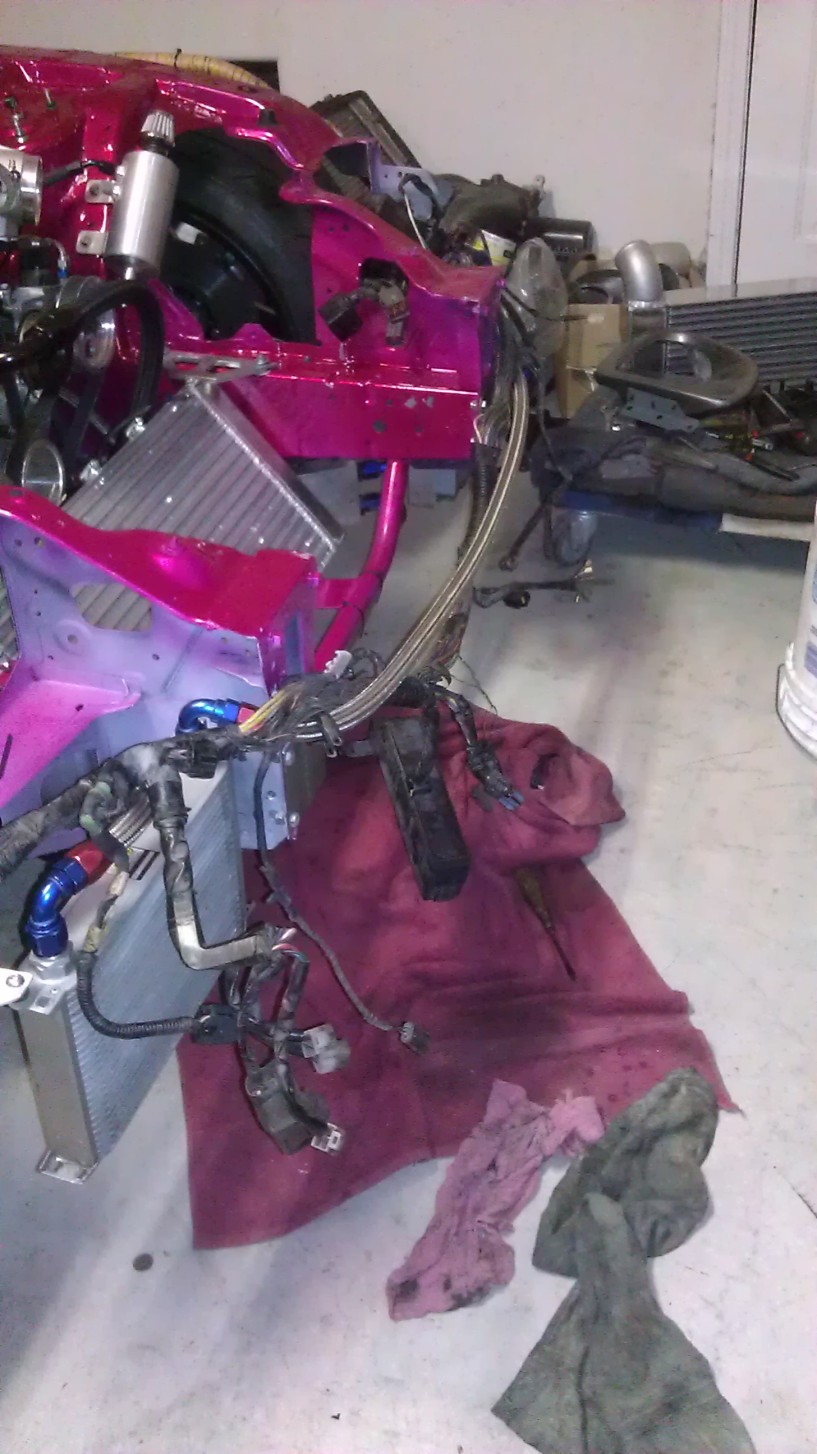
Same goes for this side... moving the relays and fuse box under my headlight bucket. Sucks I baught a sleek light kit from someone a while back and just now got to opening it up..and the damn thing has NO light mounts. So now I have to source some or make them.. was really looking forward to just bolting them on. Oh well...another box on the "to do" list.
And the drivers side. Same same same...Move out of harms way/eliminate everything I don't need, and re wrap. Got all the connectors through the fire-wall and I'll be connecting everything today after work.
Really sucks to put such a Hot Ugly Mess on the car...I'm really looking forward to having the car professionally wired up/tucked, i'm sure it'll be night and day, and much more simple.
Other news...got a telescoping magnet..and fished it allllll around under in/out of the trans bell housing and never found the bolt. I never actually saw the Bolt drop into it..so i'm not 100% positive it even fell in there..but I just assumed it did because I couldn't find it on the ground. Going to try again today just to make sure...but I just hope it fell somewhere else stupid..like in the engine subframe out of sight or something.
Bled the brakes some more and although they're better... and the pedal feels like it's 100% the front wheels still don't lock up. Which has me thinking.... where should I start with my Manual Brake Bias? dead center? The rears lock up no problem.. but the fronts take a pump before they work.
Also, any good tips on bleeding the Clutch? I spent an 2 hours yesterday doing it to no avail. Do I bleed it the same way as the brakes? any tips will help! thanks much!
More Updates soon! Stay Tuned!
So last night went a hell of a lot better than fri/sat.
Turns out the throw out bearing wouldn't click in because the slave cylinder end was limp and in the way of the range of "throw," which wouldn't let the pull type be pushed all the way back if that makes sense. I moved it out of the way and it snapped right in.
Hit the fenders with a little left over cheap primer just because the red was killing me..
Did the bumper as well. Brought out all the cracks, dings, spider cracks etc too so i'll be able to see what needs to be repaired. The bumper also has a hard time mounting up on the drivers side . Not even sure how the previous owner mounted it up.. I'm sure John's frustrations go far past mine as I just got the bumper hahaha. but the white was killing me too hah
And FINALLY I got started on the Body Harness... My plan of attack is Mount it. Cut it and suite to my likeing. Then whatever is left over I'll literally just cut out all Ape-Crazy like...just without damaging anything in the process.
Got all the plugs on the inside connected, and ran it up and over the wheel arch so it doesn't get rubbed and chewed up.
going to mount the fan relays and major relay box under my headlight bucket. There's enough room for sure, just need to find a nice neat place, cut and get the soldering iron out.
Same goes for this side... moving the relays and fuse box under my headlight bucket. Sucks I baught a sleek light kit from someone a while back and just now got to opening it up..and the damn thing has NO light mounts. So now I have to source some or make them.. was really looking forward to just bolting them on. Oh well...another box on the "to do" list.
And the drivers side. Same same same...Move out of harms way/eliminate everything I don't need, and re wrap. Got all the connectors through the fire-wall and I'll be connecting everything today after work.
Really sucks to put such a Hot Ugly Mess on the car...I'm really looking forward to having the car professionally wired up/tucked, i'm sure it'll be night and day, and much more simple.
Other news...got a telescoping magnet..and fished it allllll around under in/out of the trans bell housing and never found the bolt. I never actually saw the Bolt drop into it..so i'm not 100% positive it even fell in there..but I just assumed it did because I couldn't find it on the ground. Going to try again today just to make sure...but I just hope it fell somewhere else stupid..like in the engine subframe out of sight or something.
Bled the brakes some more and although they're better... and the pedal feels like it's 100% the front wheels still don't lock up. Which has me thinking.... where should I start with my Manual Brake Bias? dead center? The rears lock up no problem.. but the fronts take a pump before they work.
Also, any good tips on bleeding the Clutch? I spent an 2 hours yesterday doing it to no avail. Do I bleed it the same way as the brakes? any tips will help! thanks much!
More Updates soon! Stay Tuned!