When you click on links to various merchants on this site and make a purchase, this can result in this site earning a commission. Affiliate programs and affiliations include, but are not limited to, the eBay Partner Network.
Those should help flatten the lower arm, though they'd leave the upper arm at the same angle, so it would change the roll center but maintain the extreme camber change you get on a lowered car.
The window nets showed up this week.
The rectangular one is from TeamTech and will be affixed with the metal rod pictured above. We will be threading the end of it so as to locate it into a female thread heim joint that will affix to a threaded stud welded onto the cage.
The triangular looking contraption is a Safecraft driver restraint net. You'll commonly see these used by themselves on IMSA and the old Grand Am cars as they all had polycarbonate side windows and functioned as part of the driver restraint system. This probably could have been used by itself and satisfy the window net regulations of NASA and SCCA, but the issue was that this is primarily a driver restraint net, and if you mount it in such a way that would give it the most coverage of the window areas, it would obstruct view of the side mirror. I went with the SFI net because Safecraft offers recertification and replacement nets for a fair sum of monies. (and there was no need for the FIA cert)
I would have held off on these for later given that IIRC window nets aren't run at DE's, but they need to be welded to the cage and it's going to cost me more monies and time to do it after the fact in the form of transportation, paint/ paint consumables, and labor for welding. (this fundamental conundrum is one of the main reasons I have gone to such lengths with this car)
I also had a horrible idea that I am probably going to follow through with for my turbo manifold. (I have my reasons (that may or may not entirely be sound), as I will explain shortly)
1. Found a 10 1/16" x 10 1/16" x 1.588" of Inconel 718 on the ebay. This was my first mistake!
2. Tracked down some 2" OD x 0.049" inconel (625 iirc) tubing in the form of NOS aircraft exhaust pipes in appropriate lengths (and bends) for the job.
3. confirmed with one of the local FD guys here who works in a machine shop that they have the equipment (and willingness) to handle this material.
4. confirmed w/ my general fab guy that he can (and is also willing to) work with it. (he says it welds like dirty stainless)
Q: "Why would you do this when everyone uses manifolds made from 304SS and when manufacturers offer cast 347SS manifolds?"
I had been planning on using the Coleman Precision Rotaries manifold that I have had sitting around for the past couple of years, as I like the design, but have reservations regarding the suitability of a fabricated 304SS manifold with respect to warping flanges and failure of weldment heat affected zones in road racing applications. Realistically, I know that manifolds become a consumable when you do stuff like this and also does the need to periodically plane the manifold mounting surfaces due to warping from heat cycles and exposure. One of the fundamental challenges with this build (and moving forward) is that I am largely the only person maintaining and doing work on this thing with (comparatively) limited funding, so I believe (at the moment with what I currently know, and seeing other forum members who heavily track deal with this), I am probably best served by selling my current manifold, putting the funds towards the construction of one made out of nickel alloy for a little more monies if it means that I can significantly extend maintenance intervals and improve component longevity.
I may have the wastegate mounted to the turbine housing (will likely move it farther back to lower diaphragm heat exposure and utilize water cooling), as it appears to be one of the better methods of controlling boost. Ideally I would have the diversion as close to the flange as possible but we will see how that packages as I would like to have the manifold runners as short as realistically possible. Will also have provisions for egt probes.
I had looked into cast 347 stainless steel manifold offerings from a well-known manufacturer, but I am disenchanted with some of their business practices, so I did not consider further.
I'll be turning 23 in a couple of days, and I''ll probably spend it doing who knows what to this car at 3:00 AM as I have for the past two years so at the very least, there is something to look towards in the interim. It's looking like we're about 6 weeks out from the cage being installed given that I am waiting to receive the design(s) and then the lead time from the cnc mandrel bending facility.
Next step will probably be painting some of the newly fabricated bracketry and after the car comes back, we'll drop the rear subframe and repaint it, the differential case, and the axles as they look exactly how one would expect after spending time in Illinois and New Jersey over the course of 18 years. (Non structural surface corrosion, but I still can't stand to look at it! ) and then I will work on having my dampers rebuilt by Penske in Reading and revalved for higher rates (I'm thinking either 900F/800R or 900F/900R depending on the aero situation, but I think the valving range is such that I can valve for the latter rates and run the former if required). Some custom suspension components will also have to be remanufactured since they're almost 26 years old and also the fact that I think I can do a better job.
Engine and electronics will probably be the last things I do as (Aarkaah) and I have done this enough times that it isn't any trouble in the single turbo configuration, and I want to keep the electronics relatively basic. (no CANBUS if not absolutely necessary as I do not want to have to set up my own message template if I can do the same thing with less trouble with an analog system) And I found (and strongly considering) a Motec ADL2 pulled out of a wrecked (to no fault of the owner) 996 cup for less than what any new digital display with the same fundamental capabilities would run me, and several add ons that I should be able to easily make use of (steering angle, brake pressures, datalogging, and GPS)
Thanks for reading.
Last edited by SETaylor; Jan 26, 2024 at 09:30 PM.
My 50 lb 10-1/16" x 10-1/16" x 1.588" inconel 718 plate (of the ebay variety) showed up this week. This should give me enough material to have a manifold to engine and manifold to turbine housing flange created. Slowly working on procuring the tubing and round stock that will be used to create bungs for the k-type thermocouples that will be used to monitor EGT(s). Side note, I didn't realize how dense this stuff was. I ought to keep it around and use it as a weight!
This might take me a while to get this fixtured as it is at the bottom of the priority list given that my focus is still on the chassis (I finally saved up enough pennies for the roll cage, just waiting on the designs from the fabricator) and then suspension/brake component which entails replacing some parts and doing a rebuild/revalve for the dampers for higher rates. and sorting out the rear brake system. Engine related parts and chassis/engine wiring will be last on the list.
So I got my (discount) inconel tubing today. It was procured from an aircraft part retailer. This is 2" X 0.049" wall tubing.
I should be able to make use of the mandrel bent section of the pipe as a means of placing the turbocharger in such a way that it fits in between the frame rail/shock tower on the passenger side of the engine bay. I may also have mitered sections (pie cuts) made if needed to adjust the bend radii but this will likely cost me bigly as I suspect that this material will render the saw blade ineffective in short order.
I also have some 718 round stock that I can use to make weld bungs for the EGT probes on the way.
Today I made a pleasant discovery regarding the bend radii of the pipe I procured. I did a very crude test fit and it appears that all that will need to do to get it to fit is to cut down the shorter side to get the (currently theoretical) turbocharger to sit where I want.
I also received word from my roll cage fabricator that he has started on the design. Attached below is what we have so far. Note that the triangulated section between the main/forward hoop and the "halo" section are to be "taco-style" gussets. Seat head restraint clearance will dictate how far we can go with the triangulation with the forward and main hoop.
Drove up to Turk82's place earlier today and got to check out his project(s) (ranging from FD to home improvement) and installed an Exedy twin plate on his new engine.
I was also able to pick up some of the 3d printed pieces he had done for me, being the bracket that I will use to affix my second-hand calipers to the front spindle and some pieces that will allow me to use a Deutsch DT connector to extend wires from the chassis to the door without having to adapt the OE connector. These were designed by Ben West of BW Tuning over in Oklahoma, who was kind enough to provide the file.
While the current iteration of the bracket isn't a perfect fit, and only needs to have one dimension adjusted to fit properly, it worked well enough for me to confirm that it would clear the wheels (though I am planning on using the Rays wheels that Mazda Motorsports offers or CCW C14's like a certain forum member should I win the lottery)
I was able to calculate what should be the proper rotor hat height, so I will draw that up and have it converted by Turk82. We may also need to 3d print a rotor for prototyping as the manufacturer of the hats also advertises custom rotors and I need to have a specific rotor annulus dimension.
I'll start working on the rears (including a standalone parking brake caliper) as soon as I can figure out what caliper I want to use. I had initially planned on using a ZR20 but the somewhat limited pad options (PFC doesn't offer an endurance compound for them iirc) has me thinking of adapting another ZR22 with a smaller rotor diameter, appropriate master cylinder bore and still allow me to exploit a 29mm thick pad.
Still waiting on roll cage designed to be confirmed and then 4-6 weeks for tube bending at the cnc facility prior to fabrication. Problem is that the next steps of chassis preparation require me to remove subframes thus no longer allowing the chassis to roll. While I asses myself to be in exceptional physical shape, it is unlikely that I would be able to pick up the vehicle and walk off with it...
Super Now! offers spherical replacements for the OE bushings that look to be suitable for my purposes, so I may procure some and install them into the arms in the interim, though this will more than likely cost me bigly...
I will also start looking at how I want to implement the "pseudo-returnless" fuel system and how it will package with my remote damper compression reservoir, fuel tank and water tank prototype, which should be somewhat enjoyable.
i just want to say that the title of your thread is my favorite of all the threads i have viewed in the 20+ years on this forum
Thanks Howard.
I figured that it would be a fitting title for this undertaking. To "properly" do something that would otherwise be unadvisable (like building a race-prepared third gen in this day and age instead of subscribing to the "OEM plus" or "dual purpose" schools of thought that are prevalent (likely for good reason)), I would have to take a step back, start researching and solicit advice and recommendations from those who understood both the theoretical and practical aspect of it while maintaining the understanding that more may not necessarily be better and that is dependent on what one wishes to do. Is it better? how are we going to quantify that? Why do you believe it to be so?
Poorly defined build objectives tend to produce a product that doesn't really do anything well, and you pay a premium in your time, resources, and capital, which is unfortunately what I have noticed many fall into the trap of not knowing (or having an idea) of what they want, and then attempting to build. I also believe this is part of the reason these vehicles have the reputation that they do amongst those not directly involved.
I'm interested to see how it will turn out, as we have come quite a ways with respect to technologies, knowledge, and methods available to us since the days of the mailing list, and they were able to do quite a bit armed with just a power fc (or a PFS PMC) and a dream and helped us get to where we are now.
Last edited by SETaylor; Mar 12, 2024 at 10:57 AM.
Back with another update. Cage design should be done this week, which is exciting. Fabricator had a civic that he was caging take longer than expected, but it looks like we're still on track.
I started working on some of the suspension related parts and had some of the pieces that I had from the Tri-Point Penske dampers that I purchased from MilesBFree about a year ago. had the brackets that connected the rear damper to the upper control arm sandblasted and sprayed it with "steel it", which looks like it should hold up nicely.
I also made a development regarding the spherical bushings. Many folks will allege that such bushings (or bearings, for that matter) will make for a back-breaking ride on anything other than a glass-smooth road. Yesterday I was poking around Aarkaah's 3 rotor and noticed that there wasn't a single rubber or poly bushing in the entirety of the suspension, and while this might be because I am not discerning as others, I honestly could not tell the difference in ride quality from my car with stock dampers and bushings before the "great dismantling". I suspect that this may be another case of misinformation or I may just be a ginormous idiot. Either way, I thought it was novel and wanted to share.
I also got behind the wheel of the 750 WHP Supra (He made me drive it) and it drove just like my hand-me-down Avalon, minus the 750 hp at the wheels. Was way easier to drive than a third gen with a 3.9 final drive and an organic clutch disc with the stock flywheel (I didn't like that combo). Whatever transmission they put in that thing felt way better than the R15M-D.
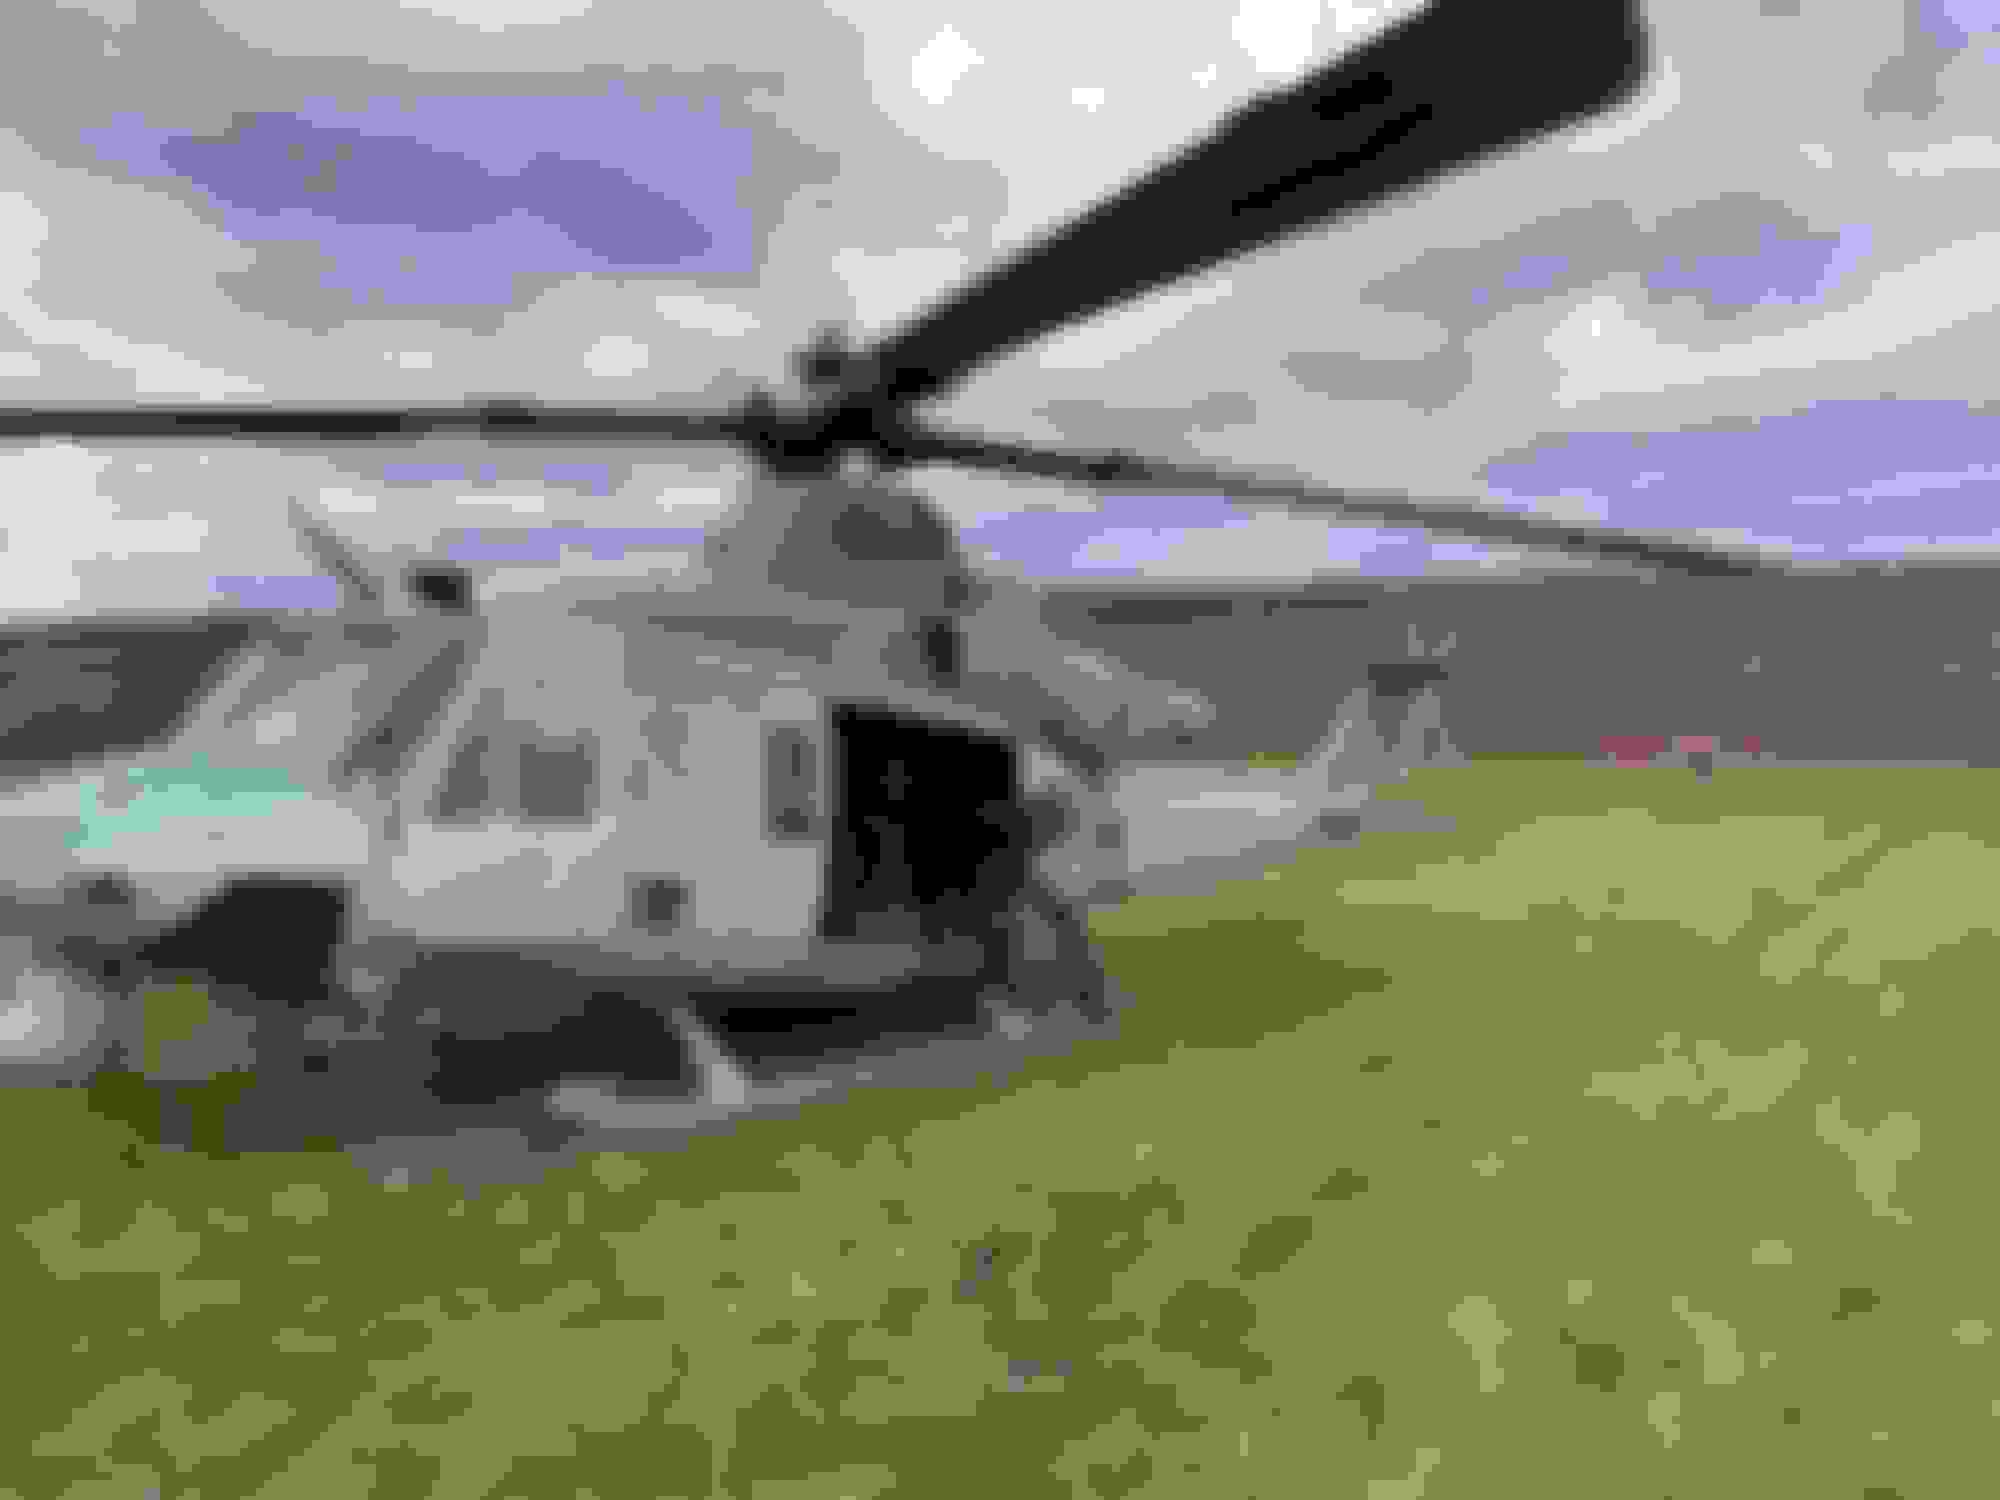
I also got to mess around with some other rotary (wing) machinery on Saturday. Got to check out an AH-1Z, UH-1Y and also hitched a ride over I-78 in a CH53E. The 53 is very fast for 38K lbs...
I also noticed that like our third gens, these things (the CH53E) are covered in oil, use a ton of fuel (the Major who flew it there alleged that he burns through 3600 lbs of fuel in an hour, has a 15000 lbs capacity)
AN fitting sighting. About as cramped as a third gen. Refinished bracket. Need to do the other one. Zip tie sighting Got to speak with the nice lady that operates it.
In my (slightly) younger days, I wanted to pursue naval aviation as a WSO/NFO on the old legacy hornets (the Delta variant), but with the advent of the F-35B and the fact that it is single seat, they got rid of the MOS and I decided to try for a career as a (motivated) Judge Advocate.
I think the thing with bearings is that there is a wide range of quality and also less forgiving over time if not maintained. I've taken apart a control arm with a used bearing and it was just rattling around completely worn out. If you rode in one that had good quality bearings and they weren't worn out, ride quality shouldn't be bad.
We recently finalized the cage design and paid for the tube bending and materials. Was pleasantly surprised to learn that it was less than what one of the other commercially-available 3d scanned "pre-fab" offerings with what I believe to be a superior design (slightly biased as I helped design it) and exactly what I wanted for less money. (The price difference between this and the cagekits offering was $251 and the figure included palletized shipping from California, which was very cool)
Below is the design we went with. This was done in Fusion360 with the dimensional constraints that we were able to get from my chassis with the 3d scanner. Keep in mind that there will be additional gusseting not shown in this photo.
I also ended up revising the idea for the water tank for the a/i system. I initially wanted to put it next to the stock fuel tank, which there is space to do but if I ever end up having to move to a fuel cell, I'd have to throw it in the scrap pile as it's a rather complex shape that won't fit anywhere else if done that way. Below is a rough idea of what I/we are working on.
This will be placed in the bin area on the passenger side, but I only had a photo of the driver's side at the time so I drew it up in that position. (which I will have revised and drawn up in fusion360 and fabricated after the cage is installed) The neat thing about this placement is that it frees up more space in the trunk area under the aluminum cover for my "pseudo returnless" fuel system that I made reference to previously and also my damper reservoirs in the rear. I will also be able to place weight even closer to the rear axle, which is nice as the more weight I can put there (up to a point, of course), the better off I will be with respect to performance.
If you look at some of the old photos of FDs that were running around in "super taikyu" years ago, you might notice that an overwhelming amount were running around with mid-mounted fuel cells, which I thought was pretty cool, and thought about until I found out how much a custom bladder would run me, and the recurring replacement costs when it inevitably falls apart periodically. I think that this water tank placement is about as close as I can get to optimizing the weight placement without going even farther off the deep end... Note the firewall enclosure and fill necks. This was on one of the Okabe Jidosha ST3 cars.
I will also be able to make use of the hole left by the metal body plugs seen in the photo where I drew up the tank (there is one on each side) to pass the feed line to the a/i pump, which I am still thinking about where to locate.
I also started cleaning up the surface corrosion that you tend to see on the steering column with a scouring pad and "Picklex 20" (expensive and smells horrible but works very well and apparently won't give you some terminal illness, though I still used a respirator with it) I also plan to use this on the roll cage tubing to prevent it from oxidizing as it may be a while before everything gets painted.
Thanks for reading.
Last edited by SETaylor; May 18, 2024 at 12:17 AM.
In an effort to keep with the "ill advised and somewhat humorous" theme of this "build" (read: an exercise of implementing borderline/explicitly less than reasonable measures to solve problems that one might have when attempting to fixture a third gen for serious road course and hill climb use), I have a solution for the gearbox selection for activities that we know are likely to break our OE transmissions in short order.
First, I should probably explain how I reached this conclusion. For heavily tracked cars, all information I could find suggested that an OE box would last on average 12-15 track days/race weekends before shearing third gear in cars making anywhere from 375-400+ hp at the wheels. Not a bad deal when you could get a stock transmission for $200, but they've become a bit expensive for those kinds of intervals. Conventional wisdom is/was to have parts of the transmission reinforced by companies that offer upgraded parts, but with the prices of our stock transmissions today and the fact that case deflection (due to heat and torque) means that buying (and breaking) just two of these transmissions would put me in the price range of a used dog ring 4 speed designed for abuse in professional circle track and road racing applications behind engines that make more torque than many of ours would ever see. Do you see where I am going with this?
In light of this, I went and did something that I was not planning on doing just yet, but the price was right and it actually costs less than converting after I destroyed my stock one.
I bought an Andrews A431 from a race part reseller in North Carolina.
I was able to get technical documentation from the manufacturer and torque specs, which was pretty cool. I still need to ask them about how much oil goes into it and how much monies they want for the oil pump that bolts to the thing. I was also able to procure most of the ratios that I wanted for both road racing and a second for hill climb, auto x and "street" use. The neat thing about this transmission is that I can get used parts for it for a fraction of what they would cost new as many are in use by NASCAR/ARCA and Trans Am and teams that run tube chassis GT cars.
Below is a screen capture from my spreadsheet with the ratios I have (in blue cells) and the ratios I need (in red cells)
Here are some photos of the gearbox. Pleasantly surprised as the faceplates and dog rings look really good.
Input shaft pilot measures out to the same diameter as my stock transmission did. Pleasantly surprised.
I'll still more than likely need to mess around with the shift rods and setback to fit the car without messing with the transmission tunnel. Everyone with an FD that has a transmission of this nature that I spoke to strongly suggested that I get one that did not have the side mounted shifter as I would rack up enough fab time to offset the cost of one with a top mounted shifter in addition to pushing the car into the NASA super unlimited class. I do not want to be out there with an LMP3 or a D sports racer .
The major conversion parts are a bell housing from HGT, a fabricated transmission crossmember and a powerplant frame delete type differential mount or an 8.8 conversion (need to do the math on that as I do like the rear end ratios available)
I also thought up a transmission cooling solution that involved mounting a water to oil heat exchanger from a BMW 650i to the driver side crossmember bolts under the car and found an area where I could pull coolant from.
Still waiting on the roll cage tubing to get made and then sent to the fabricator, then I can load the thing up and take it to Maryland. Otherwise, this has proven to be a nice diversion.
Thanks for reading.
Last edited by SETaylor; Jun 20, 2024 at 10:04 PM.
FYI "finger lock" used a G Force 4 speed race trans on his race car - which is now owned by Sakebomb. Worked well for him.
Yep! I remember reading his posts about it and actually got a starting point for the gearing ratios from what he used. He engineered what is probably one of the most well developed track prepared third gens out there and I definitely learned a lot from how he had it set up and the reasonings behind it. If I hadn't already taken mine apart I would have tried to buy it, but building your own is fun too (though it comes with its own predicaments at times...)
I have "developed" (er, rediscovered) some budget conscious solutions for a low moment of inertia flywheel. I have also come full circle and am using automatic transmission parts to do it!
For some time I had been looking at the (very nice) flywheels that both Mazdatrix and Taylor Race Engineering offer for 7.25" and for those so inclined, 5.5" clutches. However, $495-$550 is a lot of monies and I think that the funds spent would probably be of better use elsewhere. This prompted me to research button flywheel solutions that utilize an automatic transmission flex plate.
No chance I was going to find one that was pulled off of a third gen without a transmission attached to it, so I went and found one from an RX-8 with some mounting paraphernalia that I can have planed down to use as a spacer for the button flywheel that I will need to procure later. I should be able to have this together (excluding the clutch) for less than $250 instead of the prices referenced for the aforementioned flywheels that I had previously considered. I will take the $30 option...
The flex plate requires a little more disassembly but otherwise should work well. The complete flywheel assembly should come out to about 10-12.2 lbs, but likely more due to the added weight of whatever that spacer ends up adding once machined down. This figure includes the flex plate, rear counterweight, button flywheel and the spacer.
Last edited by SETaylor; Jun 27, 2024 at 09:19 PM.
They do really nice work with better timelines and communication than you might find elsewhere. The guy who co-owns it and does all of the fabrication work actually owns two first gens, one of which being a tube chassis which is pretty neat. I think that they do most of their work on NSXs and the like, but as you saw with the craziness I have going on, they have the capabilities to do a lot of cool stuff like 3d scanning for making parts and the equipment to crimp brake lines and the larger diameter stuff you would see used for fuel and oil.
Cal West recently finished the tubing and it arrived at the fabrication shop. Here are some photos for you all courtesy of Justin from Bad Cat Engineering.
I am planning on bringing the car down in a couple of weeks to finally get this thing installed. Very excited to see how it comes out and then I can start "fixing" the rest of the car.
Some folks just can't be normal. Unfortunately, I am one such individual when it comes to vehicle development for better or for worse...
I have procured a radiator that uses microtubes (alien technology if you will) instead of the traditional tube and fin/ bar and plate construction methods from a gentleman that had a few of them laying around for whatever reason. I should receive it in about two weeks. It has very similar dimensions to my current GReddy v mount radiator (that I now need to sell)
This particular radiator was a test unit for one of the 2021 Penske indycars. I am told that they are also found on F1, LMP1, GT3 cars, and also aerospace/defense applications. This makes sense as no one in their right mind would purchase one of these new (Mezzo Technologies will sell you one pictured for $10,000 but that was a bit much for me, so I went used for about what a GReddy v mount radiator alone might run you...)
Indycar teams are reporting 38-45f lower water temperatures with these in relation to a similarly sized traditionally constructed core. I am very curious to see how it will perform on one of our (turbocharged) engines on a road course in ambient temperatures at or near 100f. I plan on using some of the extra thermal capacity afforded by it to control my gearbox temperatures via an oil to water heat exchanger tied into the cooling system like Porsche does on their cup cars that has seemed to work very well.
This brings us to my next section (that I will need input from knowledgeable folk on). Ducting!
Below is a drawing that should give you an idea of what I am trying to do. The only thing I am trying to work out is packaging. Courtesy of the Professional Awesome Tech Forum facebook group.
I don't believe that I will have any issues ducting the intercooler outlet, but am unsure of how aggressive of an angle I can have with the radiator due to packaging. It looks like if I remove the OE front radiator support and and replace with a square tube as pictured above, I might be able to gain the space to move it forward a bit to clear everything on the front of the engine.
I have read that for ducting, a good starting point for sizing the inlet is 1/3 of the surface area of the heat exchanger for both the inlet and outlet. I think it is something that I will have to play around with in CAD (cardboard aided design).
Perhaps the outlet sizing and angle of attack might be less important as long a I have sufficient pressure differential through the intercooler and radiator? I know everyone loves the '99 spec and GTC bumpers for their larger openings but it does lower the speed/pressure of the air going through the core but does seem to work if you aren't controlling the air after it leaves the heat exchangers in the engine bay. I would like to retain the '93 front bumper (I think it looks better and this build still has a "theme" that I would like to keep with).
I am considering an electric water pump for this as it may be beneficial to modulate the flow of coolant. Not too concerned at the moment as I am still working on completing all of the chassis stuff before worrying on what is going on in the engine bay. (Next on the list after roll cage are subframes (repaint/ 8.8 conversion so I can use a 3.73 or 3.55 rear end due to no longer having an overdrive gear and might be able to design a pinion mounted parking brake for it, brake system, suspension and then I can start worrying about the engine/cooling/electrical stuff)
Thanks for reading and any input is greatly appreciated.
I think you can get even more aggressive with ducting opening than 1/3. The 1/3 rule of thumb is due to the area available for the radiator to let air through (the other 2/3 is how much room the fins and tubes take). That means your alien radiator likely has even less room for air to exhaust so you can use less space for ducting. That's why Indy cars and F1 cars look like there is barely any room for heat exchangers, they are super efficient and don't require much air.
I think you can get even more aggressive with ducting opening than 1/3. The 1/3 rule of thumb is due to the area available for the radiator to let air through (the other 2/3 is how much room the fins and tubes take). That means your alien radiator likely has even less room for air to exhaust so you can use less space for ducting. That's why Indy cars and F1 cars look like there is barely any room for heat exchangers, they are super efficient and don't require much air.
TwinCharged, I think you're right. Don't know why I hadn't realized that sooner!
I took a look at the radiator placement on some F1 and Indycars and it looks like they're able to reduce the frontal surface area of the radiator which is sort of what is going on with the radiator orientation in a v mount setup albeit the other way around. I'll try basing my ducting sizing within 25% of the frontal surface area (depends on mounting angle) and seeing what kinds of numbers I get. Note the orientation of the radiator on this Dallara DW12 Radiator orientation on a Scuderia Toro Rosso STR6
In one of the Facebook groups I am in I saw some photos of an FD that uses what the owner refers to as an "L mount" radiator/intercooler setup (pictured below) I am told that they have had good results with it but my unwillingness to move from the '93 front bumper precludes me from doing it the way they did on the intercooler. Courtesy of the Professional Awesome Tech forum Facebook group.
I drew this up in paint. I'm going to try and see how it packages. I think it may work a bit better than the design in my previous post as the outlet ducting has more of a straight shot through cutout/vent that will be in the hood and I should be able to gain more space in between the engine and ducting while being a little more compact over the first example.
I may revise this further but I think it is a good start.
ive been looking at the MP4/4. i'm kind of impressed at how simple it is, or maybe straightforward
anyways, the radiator/IC setup kind of looks like the FD on its side?
now that i'm looking at this, i wonder about the exit


 ) and then I will work on having my dampers rebuilt by Penske in Reading and revalved for higher rates (I'm thinking either 900F/800R or 900F/900R depending on the aero situation, but I think the valving range is such that I can valve for the latter rates and run the former if required). Some custom suspension components will also have to be remanufactured since they're almost 26 years old and also the fact that I think I can do a better job.