
FD #6 "build" - combining two cars into one

Thread Starter
Joined: Jul 2002
Posts: 9,387
Likes: 4
From: Nashville, TN
Looks awesome! Will you try to block off the open section near the passenger headlight of the cxracing intake and cut out the bottom to match the vmount opening? Sorry if I missed a beat about it.
Also, did you refurb the oil cooler ducts with new rivets and covers? If so, what material did you use and where did you get it?
Also, did you refurb the oil cooler ducts with new rivets and covers? If so, what material did you use and where did you get it?

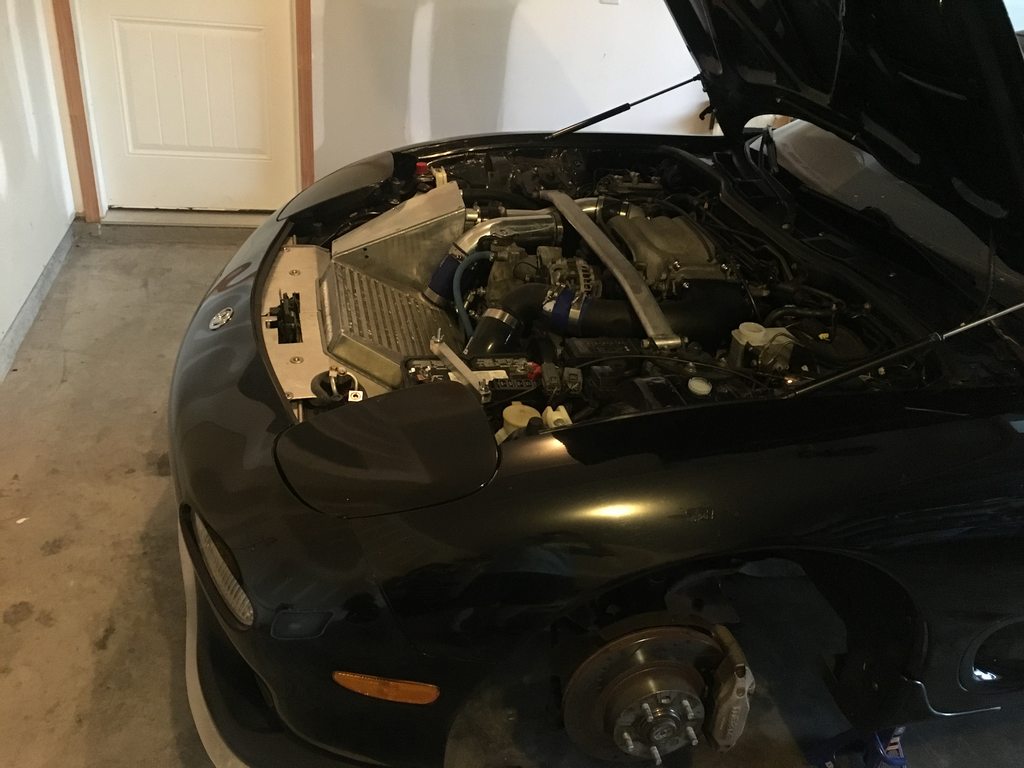
1. about the intake opening, it is actually open on the bottom (inside the "V") - there are two openings. it appears that they left the top (near the headlight) open for cost savings. the M2 intake, which this was copied from, has that opening sealed. I guess a multi-angle seal in that top intake opening would have cost too much? haha.
2. they are new OEM oil cooler ducts. I got the part numbers from jimellismazda, which is a great resource for finding OE #s btw, and googled them and found an online mazda parts retailer for about $80 each, IIRC. They were cheaper than I thought, and at $160 total, I figured that was worth the materials + an entire weekend i'd have to spend to make my own ducts that wouldn't do much better, right?


thanks guy
1. about the intake opening, it is actually open on the bottom (inside the "V") - there are two openings. it appears that they left the top (near the headlight) open for cost savings. the M2 intake, which this was copied from, has that opening sealed. I guess a multi-angle seal in that top intake opening would have cost too much? haha.
2. they are new OEM oil cooler ducts. I got the part numbers from jimellismazda, which is a great resource for finding OE #s btw, and googled them and found an online mazda parts retailer for about $80 each, IIRC. They were cheaper than I thought, and at $160 total, I figured that was worth the materials + an entire weekend i'd have to spend to make my own ducts that wouldn't do much better, right?

FYI, if you ever need any more oil cooler ducts for a future project Ray Crowe sells the ducts for around $50 apiece. I just bought a left and right set from him recently.
thanks guy
1. about the intake opening, it is actually open on the bottom (inside the "V") - there are two openings. it appears that they left the top (near the headlight) open for cost savings. the M2 intake, which this was copied from, has that opening sealed. I guess a multi-angle seal in that top intake opening would have cost too much? haha.
2. they are new OEM oil cooler ducts. I got the part numbers from jimellismazda, which is a great resource for finding OE #s btw, and googled them and found an online mazda parts retailer for about $80 each, IIRC. They were cheaper than I thought, and at $160 total, I figured that was worth the materials + an entire weekend i'd have to spend to make my own ducts that wouldn't do much better, right?
1. about the intake opening, it is actually open on the bottom (inside the "V") - there are two openings. it appears that they left the top (near the headlight) open for cost savings. the M2 intake, which this was copied from, has that opening sealed. I guess a multi-angle seal in that top intake opening would have cost too much? haha.
2. they are new OEM oil cooler ducts. I got the part numbers from jimellismazda, which is a great resource for finding OE #s btw, and googled them and found an online mazda parts retailer for about $80 each, IIRC. They were cheaper than I thought, and at $160 total, I figured that was worth the materials + an entire weekend i'd have to spend to make my own ducts that wouldn't do much better, right?
Thread Starter
Joined: Jul 2002
Posts: 9,387
Likes: 4
From: Nashville, TN
Thread Starter
Joined: Jul 2002
Posts: 9,387
Likes: 4
From: Nashville, TN
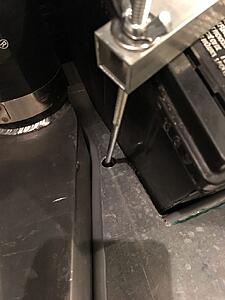
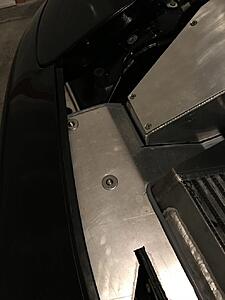
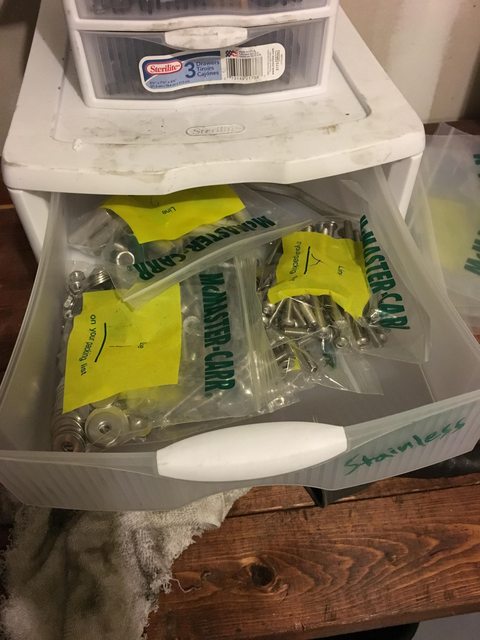
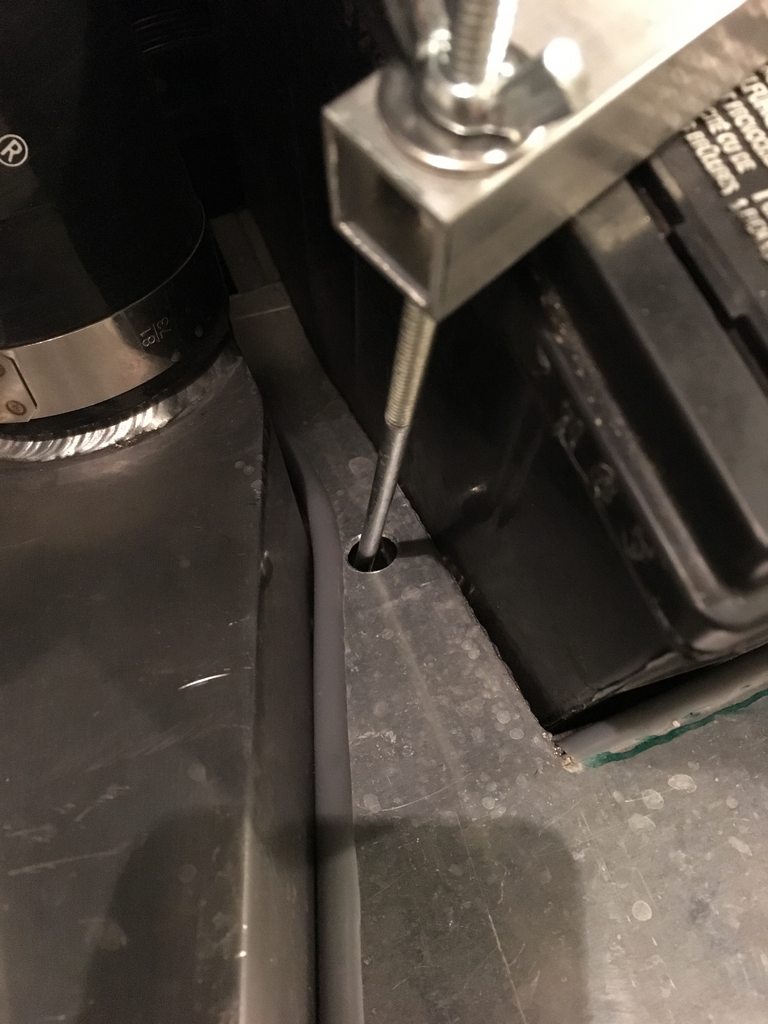
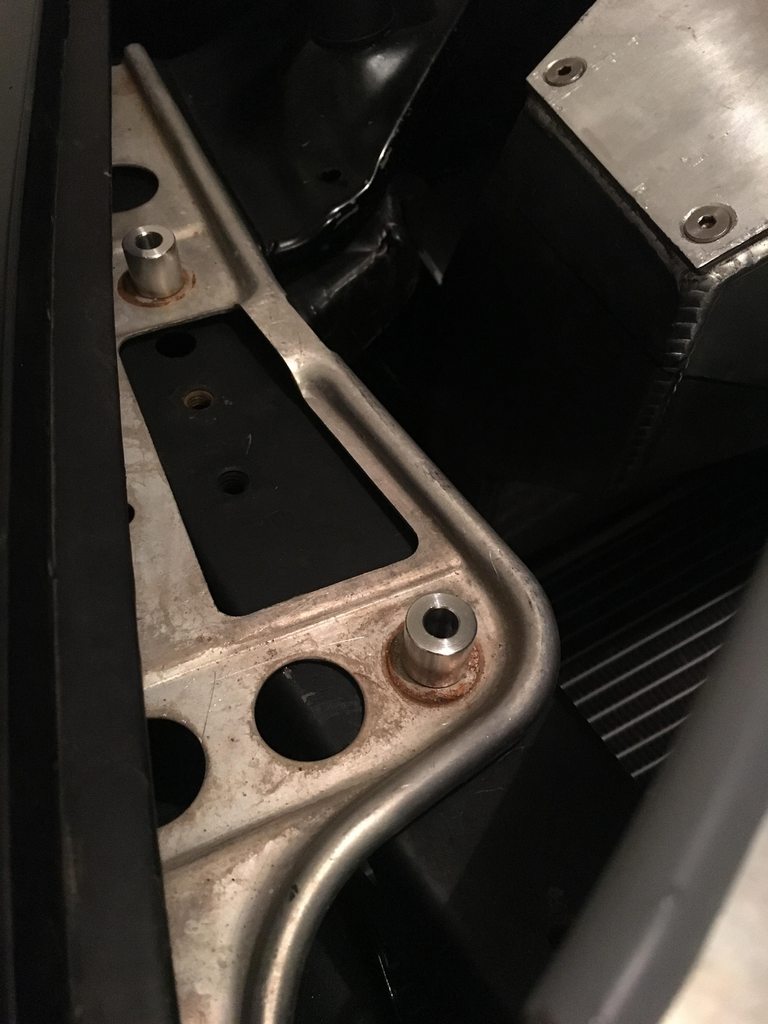
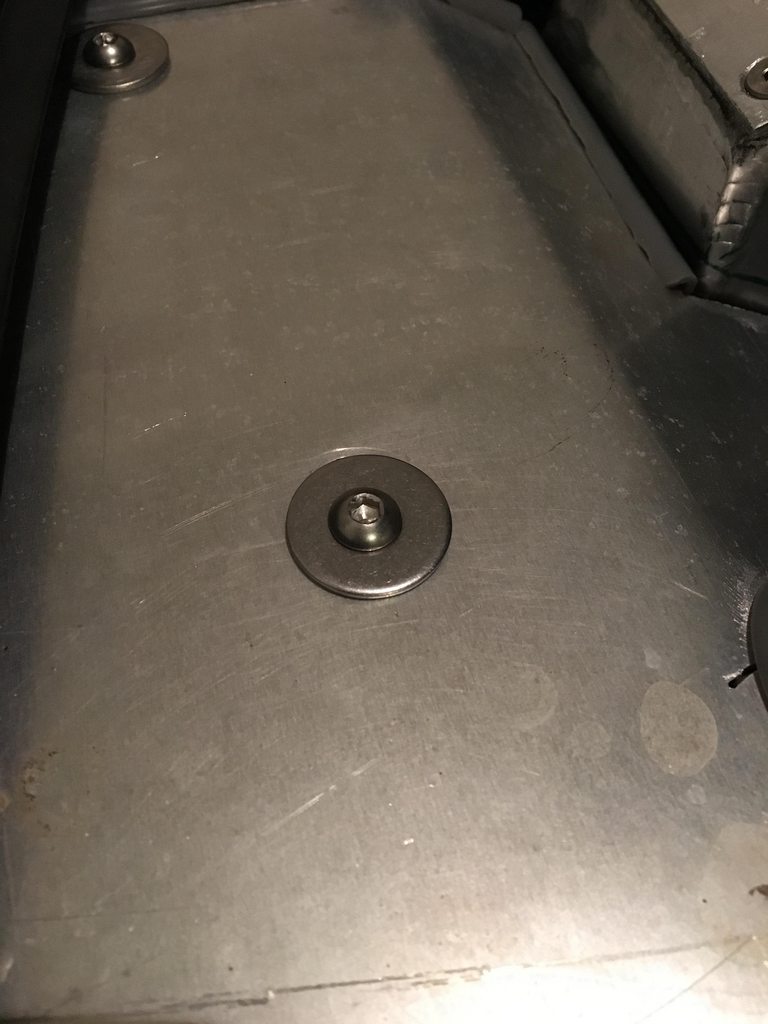
i mounted my vmic ducts. i've discovered that i may have an addiction to online shopping on mcmaster.com for 18-8 stainless hardware (and aluminum standoffs and spacers).
i also went out and did some repeated 3rd and 4th gear full boost redline pulls (i'm talking some serious heat generation) over the course of about 5 miles in the 70*F weather on the way home from work, and the IATs didn't get over 42*C (107*F)


i also went out and did some repeated 3rd and 4th gear full boost redline pulls (i'm talking some serious heat generation) over the course of about 5 miles in the 70*F weather on the way home from work, and the IATs didn't get over 42*C (107*F)

Last edited by jacobcartmill; Mar 27, 2017 at 11:25 PM.


Thread Starter
Joined: Jul 2002
Posts: 9,387
Likes: 4
From: Nashville, TN
its been awhile!
let me please share my frustrations with the last hurdle on this project:
back story:
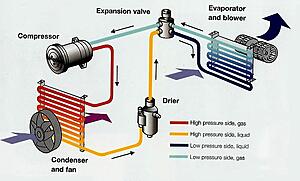
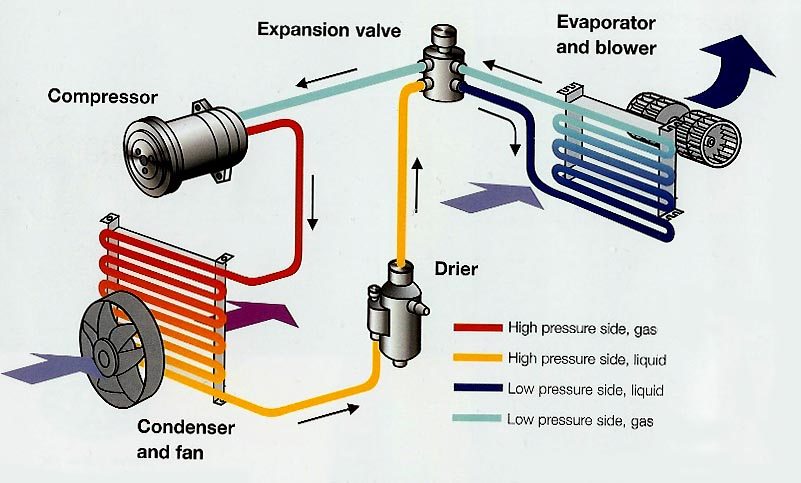
I have a MANA system from a 1994 (with the more conventional-looking expansion valve, not the denso block style).
^this all came from the 94 salvage title donor car that had functioning AC, but the high pressure side of the system only ran about 120-130psi, low side about 40psi.
^so, I figured the compressor was weak.
fast forward to now:
the last hurdle is the A/C. I have reinstalled everything after cleaning the evaporator box, all lines, re-welded the high pressure line between the condenser and dryer, and installed a reman compressor from 4seasons.
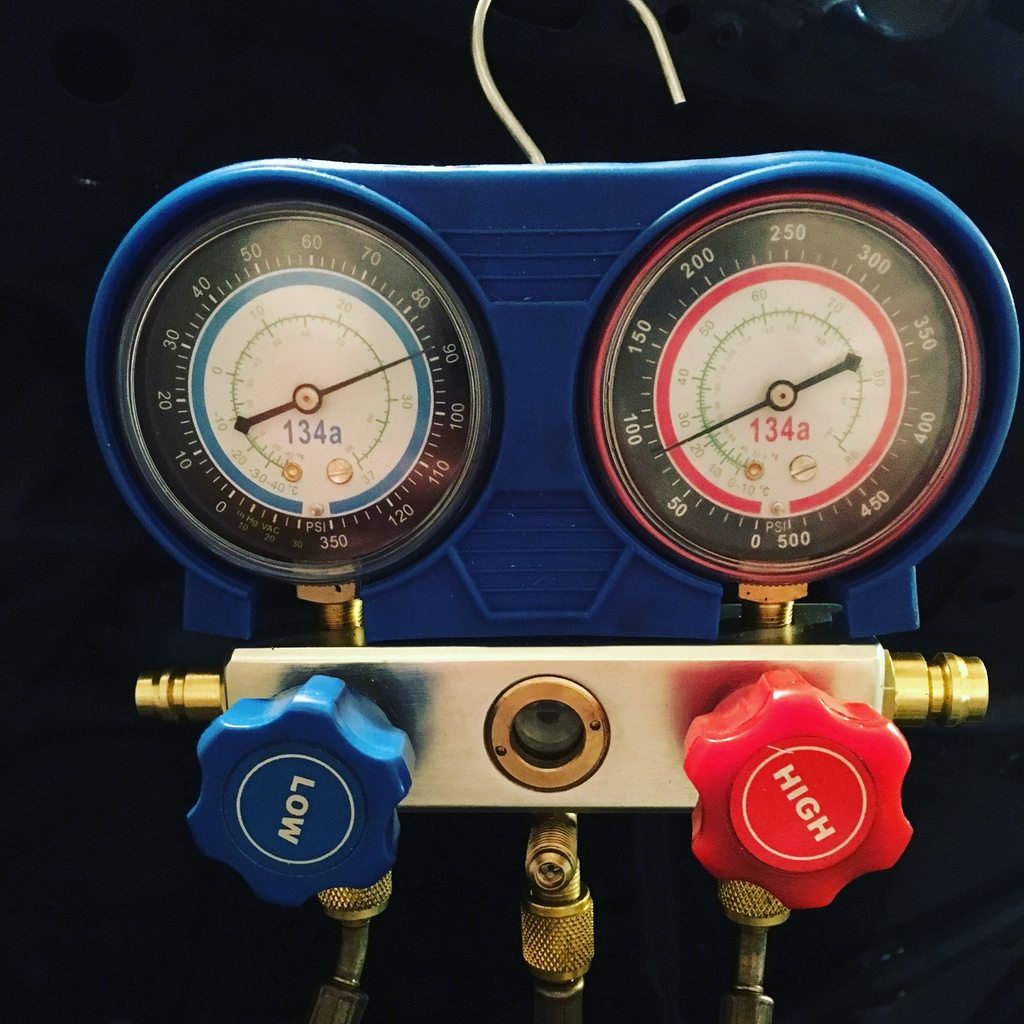
here's the problem: (pic while compressor is running)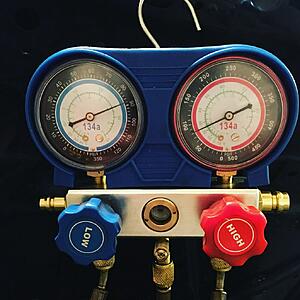
it seems like the compressor isn't compressing. I can't get the high side pressure to go any higher than the low side. there's also zero pressure drop on the low side when I kick the compressor on and off and back on...
I pulled a vacuum on the system for about 30 minutes, purged the line and charged a few ounces into the low side, started the car and got the compressor to activate, and the pressure on the high side simply doesn't go up higher than the low side.
I drained the system and blew through all the lines to make sure there were no strange restrictions, and all pipes are clear of debris and restriction. (and a restriction would cause the pressure to go up on one end anyway) I then re-charged and tested again, just to make sure. same result.
it's like I have a LACK of restriction, so the compressor has no resistance at the expansion valve and the gas is freely flowing through both sides easily.
things of note:
1. I can hear gas flowing through the expansion valve when the compressor is activated, but it sounds like a hissing sound, similar to what it sounds like when the system is low on refrigerant.
2. I purchased and installed the reman compressor only because I had the exact same symptom with my previous compressor.
3. I had the expansion valve out to inspect it (I blew through it with my mouth to check how much restriction there was vs a valve I had sitting around for a different car) and the restriction seems to be about the same between the two. I am currently waiting for a new expansion valve to arrive in the mail, but I am skeptical that the valve is the issue. has anyone ever seen an expansion valve fail in a way that would create "not enough restriction" ? I've only heard of them getting clogged and making the pressure spike up on the high side.
i'm basically out of things to check, i'm doubtful the expansion valve is the entire issue, and i'm very frustrated!
let me please share my frustrations with the last hurdle on this project:
back story:
I have a MANA system from a 1994 (with the more conventional-looking expansion valve, not the denso block style).
^this all came from the 94 salvage title donor car that had functioning AC, but the high pressure side of the system only ran about 120-130psi, low side about 40psi.
^so, I figured the compressor was weak.
fast forward to now:
the last hurdle is the A/C. I have reinstalled everything after cleaning the evaporator box, all lines, re-welded the high pressure line between the condenser and dryer, and installed a reman compressor from 4seasons.
here's the problem: (pic while compressor is running)
it seems like the compressor isn't compressing. I can't get the high side pressure to go any higher than the low side. there's also zero pressure drop on the low side when I kick the compressor on and off and back on...
I pulled a vacuum on the system for about 30 minutes, purged the line and charged a few ounces into the low side, started the car and got the compressor to activate, and the pressure on the high side simply doesn't go up higher than the low side.
I drained the system and blew through all the lines to make sure there were no strange restrictions, and all pipes are clear of debris and restriction. (and a restriction would cause the pressure to go up on one end anyway) I then re-charged and tested again, just to make sure. same result.
it's like I have a LACK of restriction, so the compressor has no resistance at the expansion valve and the gas is freely flowing through both sides easily.
things of note:
1. I can hear gas flowing through the expansion valve when the compressor is activated, but it sounds like a hissing sound, similar to what it sounds like when the system is low on refrigerant.
2. I purchased and installed the reman compressor only because I had the exact same symptom with my previous compressor.
3. I had the expansion valve out to inspect it (I blew through it with my mouth to check how much restriction there was vs a valve I had sitting around for a different car) and the restriction seems to be about the same between the two. I am currently waiting for a new expansion valve to arrive in the mail, but I am skeptical that the valve is the issue. has anyone ever seen an expansion valve fail in a way that would create "not enough restriction" ? I've only heard of them getting clogged and making the pressure spike up on the high side.
i'm basically out of things to check, i'm doubtful the expansion valve is the entire issue, and i'm very frustrated!
Last edited by jacobcartmill; May 22, 2017 at 10:44 AM.
Thread Starter
Joined: Jul 2002
Posts: 9,387
Likes: 4
From: Nashville, TN
yesterday I had an epiphany, so last night I did some research on some hotrod forums (mostly of guys building custom AC systems) and discovered that my own incompetence is the reason the AC isn't working (isn't that usually the case with custom stuff like this?)
i mounted it this way because it was easier (bigger pipe on the condenser facing the correct way), so if it doesn't matter, then "why not" ?
I actually built a custom AC system for a previous FD of mine (red track-ish car) and I guess I just got lucky on that one because I was not aware of this concept.
i have the condenser mounted upside down. the compressor discharge hose (the condenser inlet) on the BOTTOM, and the liquid outlet on the TOP.
---inside the condenser the refrigerant turns back to liquid (to then be sent on to the dryer and then expansion valve and evap to do the magic).
well, if the liquid outlet of the condenser isn't at the bottom, gravity holds the liquid at the bottom and it can't get out of the condenser, so the only thing that can get out is the gas. the gas just bubbles up through the liquid and exits out of the top, then through the rest of the system.
the gas then easily flows through the dryer, expansion valve, and evaporator, and no compressing gets done on the high side because there's no restriction at the expansion valve.
---this makes perfect sense now because i could hear gas flowing through the expansion valve with the compressor running (like a constant hissing sound).
i now have the condenser flipped into the correct orientation, so a friend welded the outlet again for the correct orientation/mounting. this required also making a 180* for the inlet which i will have finished tonight.
this has been quite frustrating, but i now have a fresh compressor and expansion valve, so this thing is gonna be blowing cold!!!! and I've learned more than i thought i would.
also, i picked up some R152a air duster like I've used in my previous cars (after wasting several cans on r134) so i will be using that.
Thread Starter
Joined: Jul 2002
Posts: 9,387
Likes: 4
From: Nashville, TN
another AC update:
last night I flipped the condenser to put the liquid outlet on the bottom, and had the larger inlet re-welded to accept the compressor discharge.
I did all this work, reinstalled my reman compressor, vacuumed the system, charged the system, and *same issue*.
it seems that when I release the refrigerant into the vacuumed system it takes 4-5oz and just stops charging. I jumpered the pressure switch to activate the compressor, and it draws maybe one more ounce then won't take any more.
at that point I could see some flow inside the sight glass: a very fast flowing fine-bubbly (maybe cloudy?) like the system is low on refrigerant, and I could heard the expansion valve faintly hissing with flow. gas was apparently moving around in the system. I felt the temperature of each of the pipes:
the compressor discharge and condenser inlet were both too hot to touch.
the condenser liquid outlet to dryer line was cooler, close to room temperature (80*F).
the liquid line from dryer to expansion valve was about room temperature
the suction pipe going from the evap to the compressor was cool but not cold.
it seemed to me at this point that the compressor was simply not sucking and pressing hard enough, but the compressor itself was hot. not quite too hot to touch, but close.
I drained the system, reinstalled my original compressor (that last summer showed low side of ~40psi and high side ~150psi, a little low) and the exact same conditions happened.
i'm now complete out of ideas. what else is there?

Junior Member
Joined: Jan 2007
Posts: 19
Likes: 1
From: Georgia
I think the issue lies with your expansion valve. It sounds like you have a TXV expansion valve. If so, are the bulbs mounted to the compressor line properly? One should be taped to the outside with a thick tar like covering to isolate it from the ambient temperature, and the other should be mounted with a fitting. Also, be sure they are not kinked? These contain mercury and regulate the opening and closing of the valve. If they are not mounted properly they could prevent the system from flowing correctly.
Thread Starter
Joined: Jul 2002
Posts: 9,387
Likes: 4
From: Nashville, TN
i finally got it figured out.
it turns out that the issue (on top of the initial flipped condenser inlet/out) was that my garage and condenser were way too hot.
i picked up some r134a cans on my way home from work, vacuumed the system down, and recharged with a few ounces of r134 to get the system pressurized and the compressor to kick on.
it still wasnt compressing, so i pulled the car out of the garage where there was a breeze (still 85*F ambient temp outside today), and i sprayed ice water onto the condenser out of a bottle while i had the compressor running.
WALLAH.
it started accepting more refrigerant. the high side pressure was rising and dropping quite a bit depending on the temperature of the condenser. i also raised the RPM to 1500 as the FSM states, and the pressures actually started looking pretty good. i got them to about 30psi on the low side and about 200 on the high side.
i ended at about 18oz of r134 and one 3oz can of r134a/PAG oil charge (100wt) and the thermostat is now cycling the compressor on and off. this was music to my earz.
the vent temp is about 50*F sitting at idle in 85*F ambient temp. 50*F at idle in 85*F ambient is good. this is what my previous FDs have been.
i haven't yet cruised on the highway, but i will be in a couple hours. i'll report back. i am assuming it will stay at about 35*F with the RPMs up and lots of airflow through the condenser.
today is a good day!
Thread Starter
Joined: Jul 2002
Posts: 9,387
Likes: 4
From: Nashville, TN
road test was great!!!!
the thermostat cycles the AC off/on at about 45-50*F vent temp.
i cant pull a vacuum harder than about 24", and i accidentally shot a tiny spurt of air (didn't purge the line on the first can).
so i'll re-do it and get it even colder.
the thermostat cycles the AC off/on at about 45-50*F vent temp.
i cant pull a vacuum harder than about 24", and i accidentally shot a tiny spurt of air (didn't purge the line on the first can).
so i'll re-do it and get it even colder.
Thread Starter
Joined: Jul 2002
Posts: 9,387
Likes: 4
From: Nashville, TN
update:
I swapped the autozone loan-a-tool gauges and vacuum pump for better units at a different store, and recharged the system with r134a. this time I got a hard vacuum of at least 29inHg, and I let it stay in vacuum for about an hour. I recharged it and it got very cold.
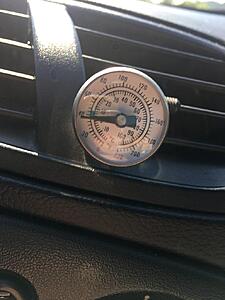
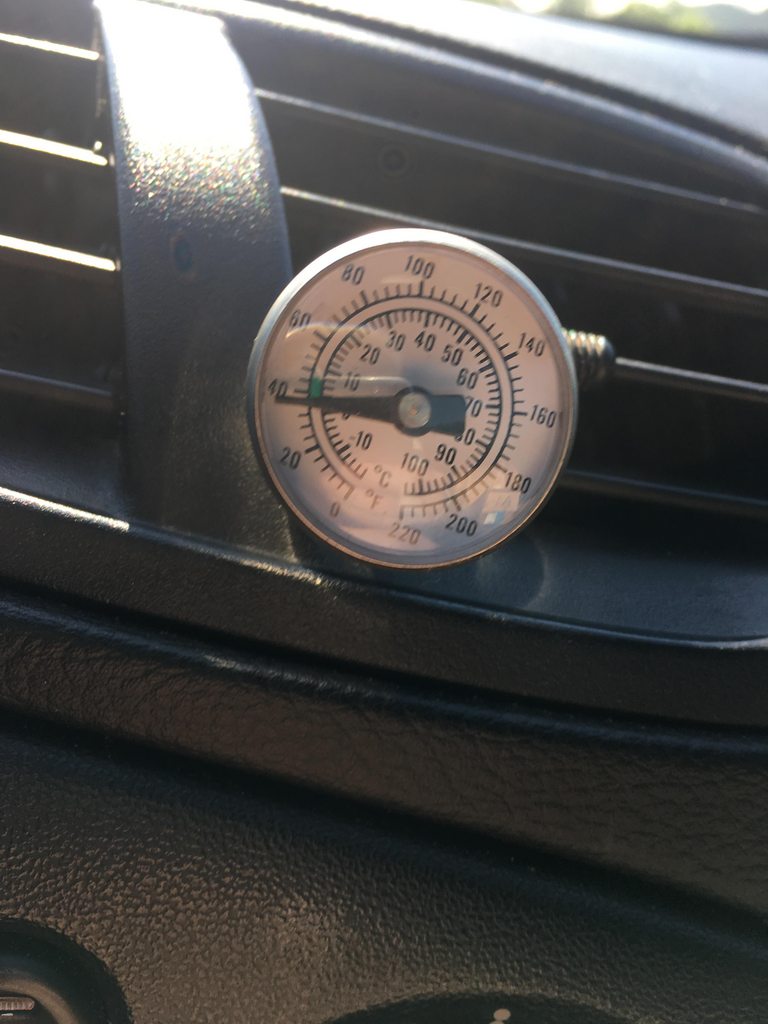
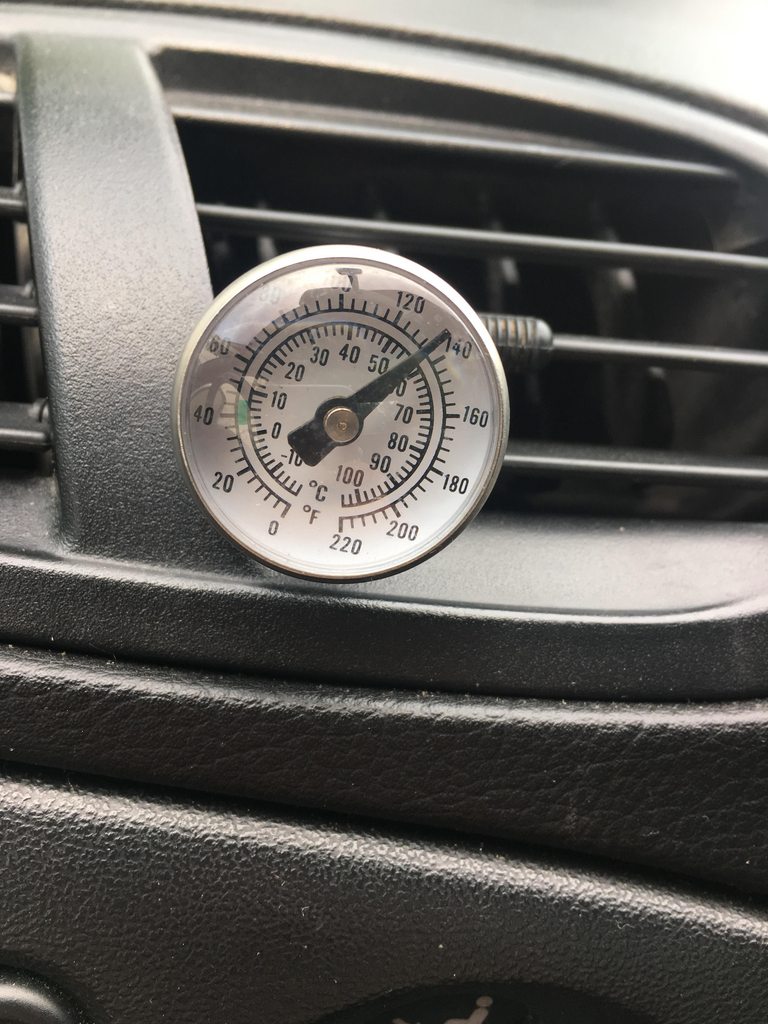
here is the vent temp after the car greenhoused for several hours in 85*F+ heat last weekend:
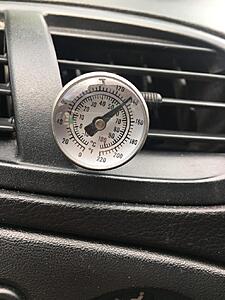
and here is the temp after about 10 minutes of AC running:

fast forward one week to today, and the AC is still ~38-40*F at the vents. I am quite pleased with this MANA ac system with a new expansion valve, hard vacuum pull/charge, and R134a. the AC is colder than most new cars I've been in (and I drive a lot of new vehicles for my job)
I swapped the autozone loan-a-tool gauges and vacuum pump for better units at a different store, and recharged the system with r134a. this time I got a hard vacuum of at least 29inHg, and I let it stay in vacuum for about an hour. I recharged it and it got very cold.
here is the vent temp after the car greenhoused for several hours in 85*F+ heat last weekend:
and here is the temp after about 10 minutes of AC running:
fast forward one week to today, and the AC is still ~38-40*F at the vents. I am quite pleased with this MANA ac system with a new expansion valve, hard vacuum pull/charge, and R134a. the AC is colder than most new cars I've been in (and I drive a lot of new vehicles for my job)
Thread Starter
Joined: Jul 2002
Posts: 9,387
Likes: 4
From: Nashville, TN
track day prep

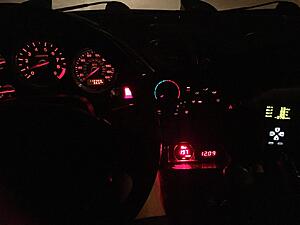
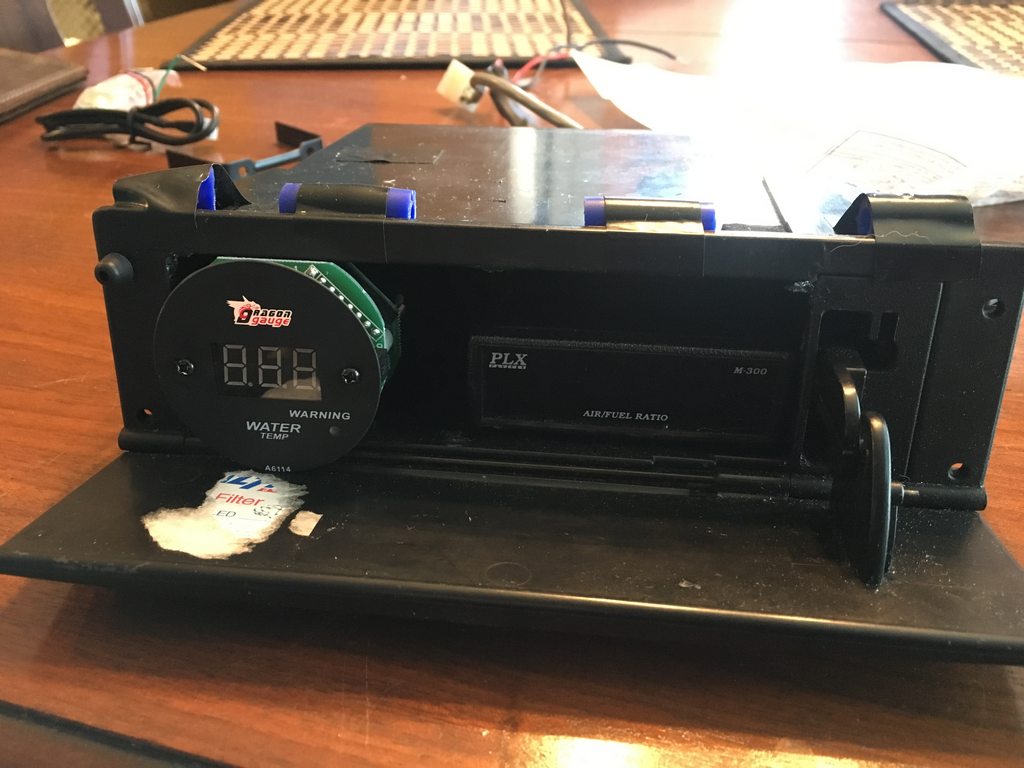
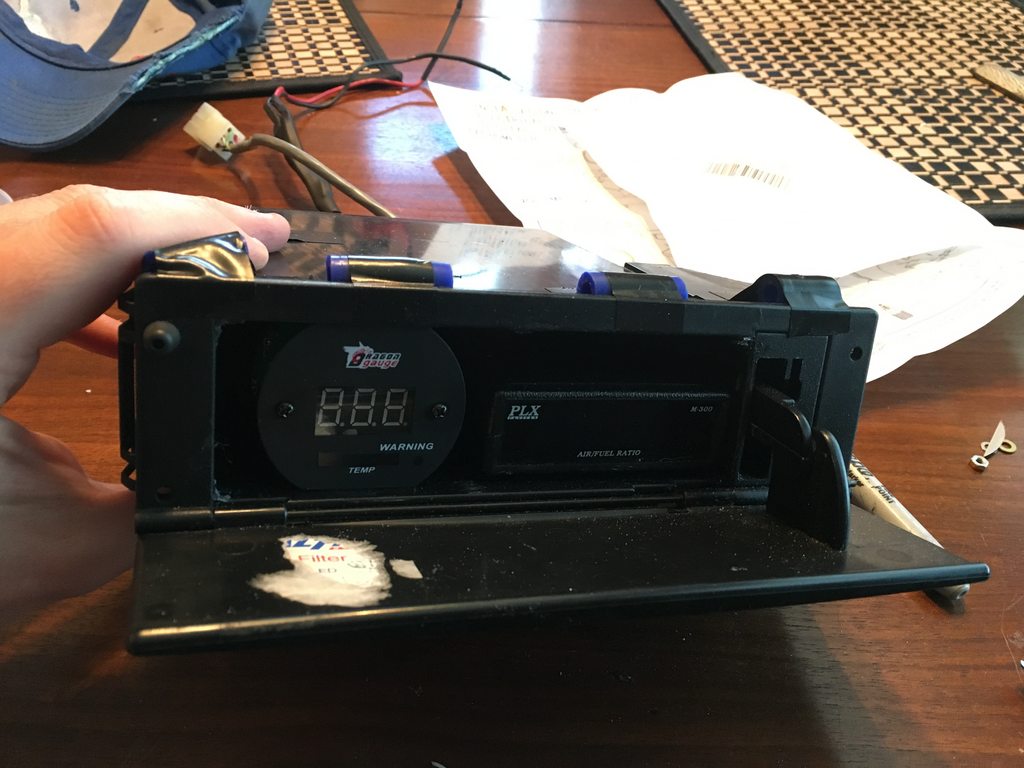
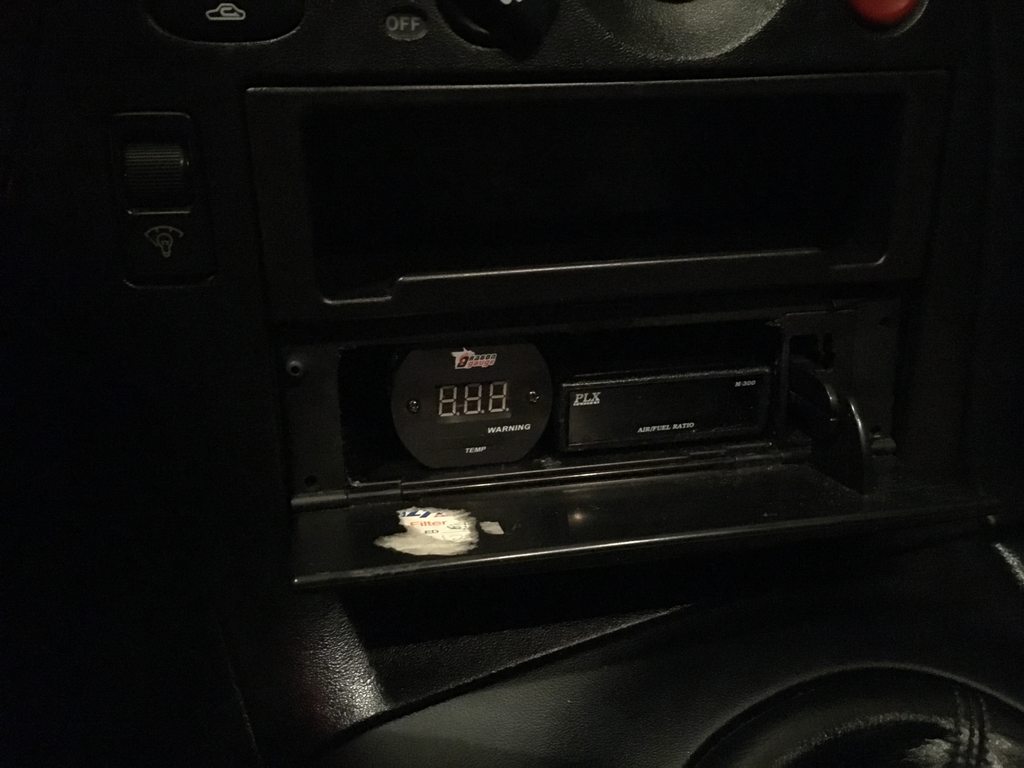
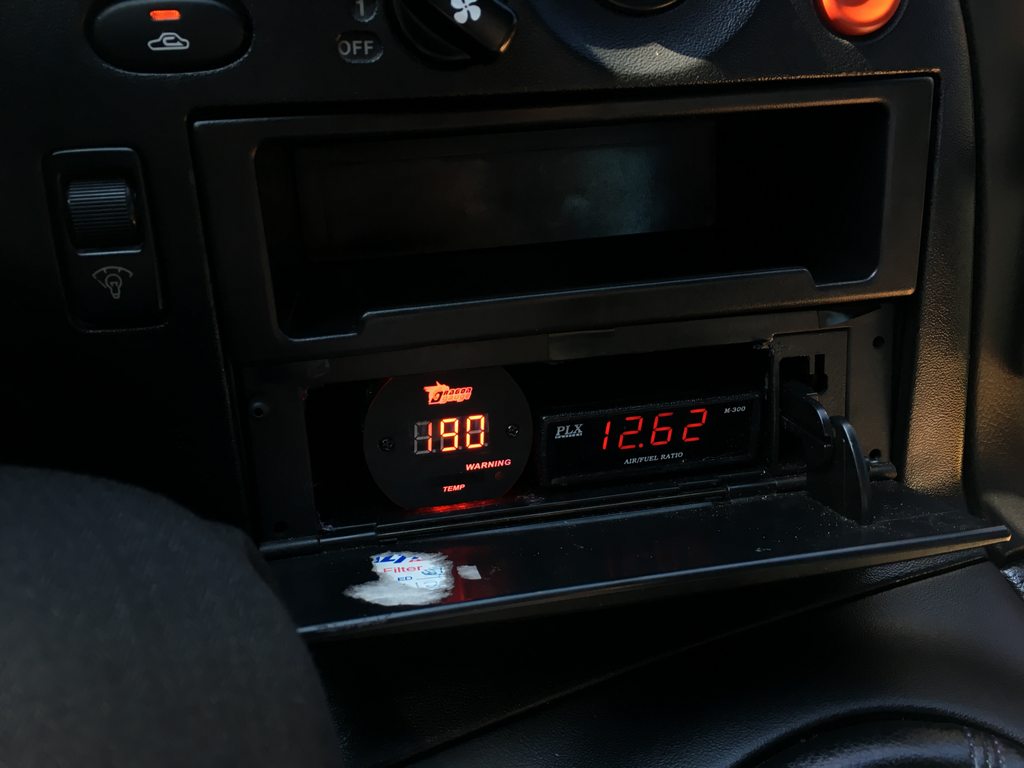
I need to see oil temps! I got this cheapo Chinese oil temp gauge to fit into the DIN pocket. it closes and it's out of my face. I love it. (1/8npt sensor is in the oil pay drain bolt)
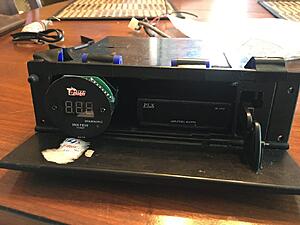
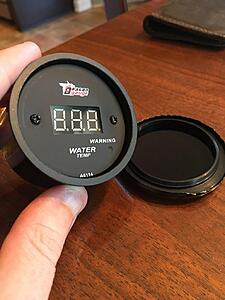
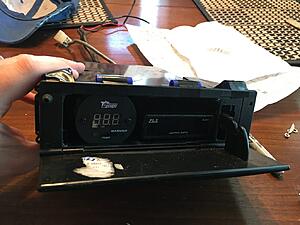
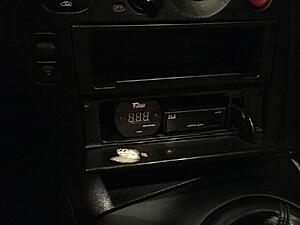
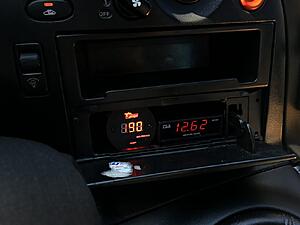
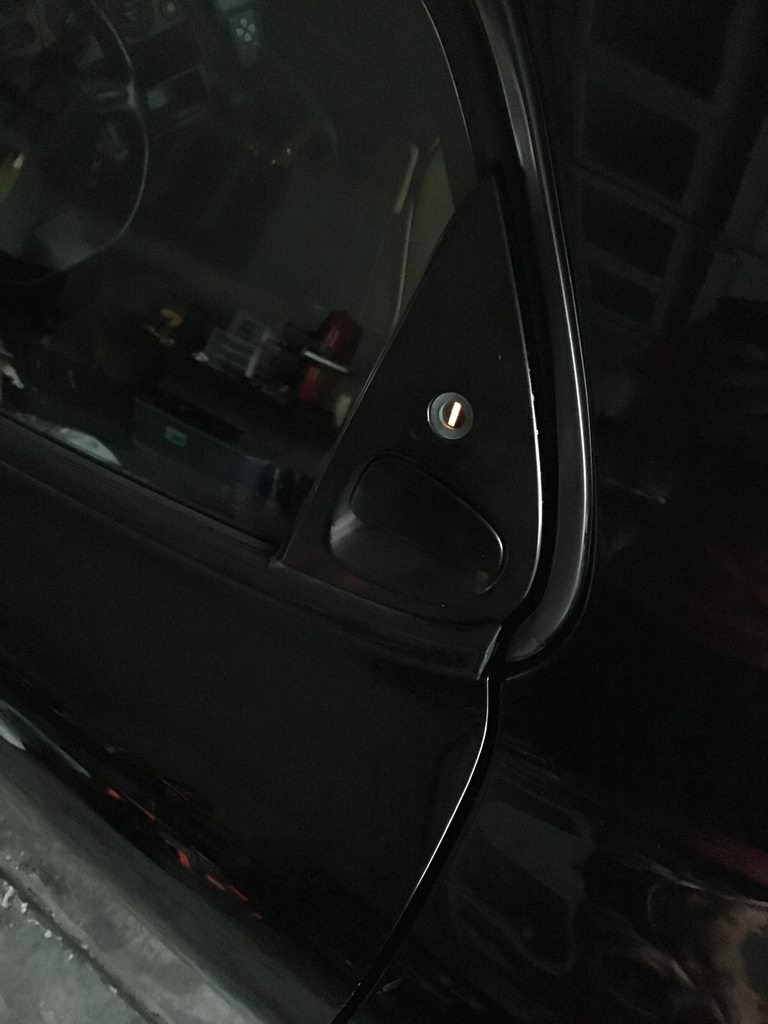
random: I just discovered the 1994 lit keyhole actually works on this car. I love it.


I need to see oil temps! I got this cheapo Chinese oil temp gauge to fit into the DIN pocket. it closes and it's out of my face. I love it. (1/8npt sensor is in the oil pay drain bolt)


random: I just discovered the 1994 lit keyhole actually works on this car. I love it.
Last edited by jacobcartmill; Aug 3, 2017 at 12:15 PM.
Thread Starter
Joined: Jul 2002
Posts: 9,387
Likes: 4
From: Nashville, TN
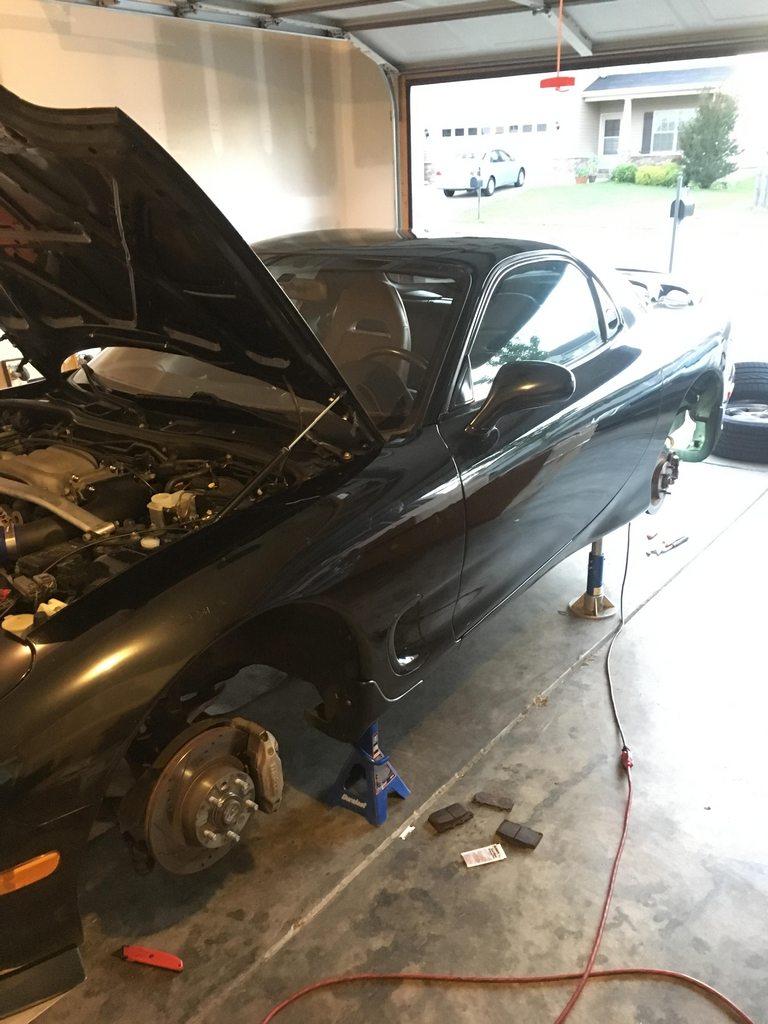
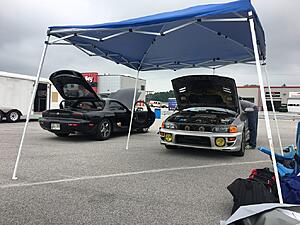
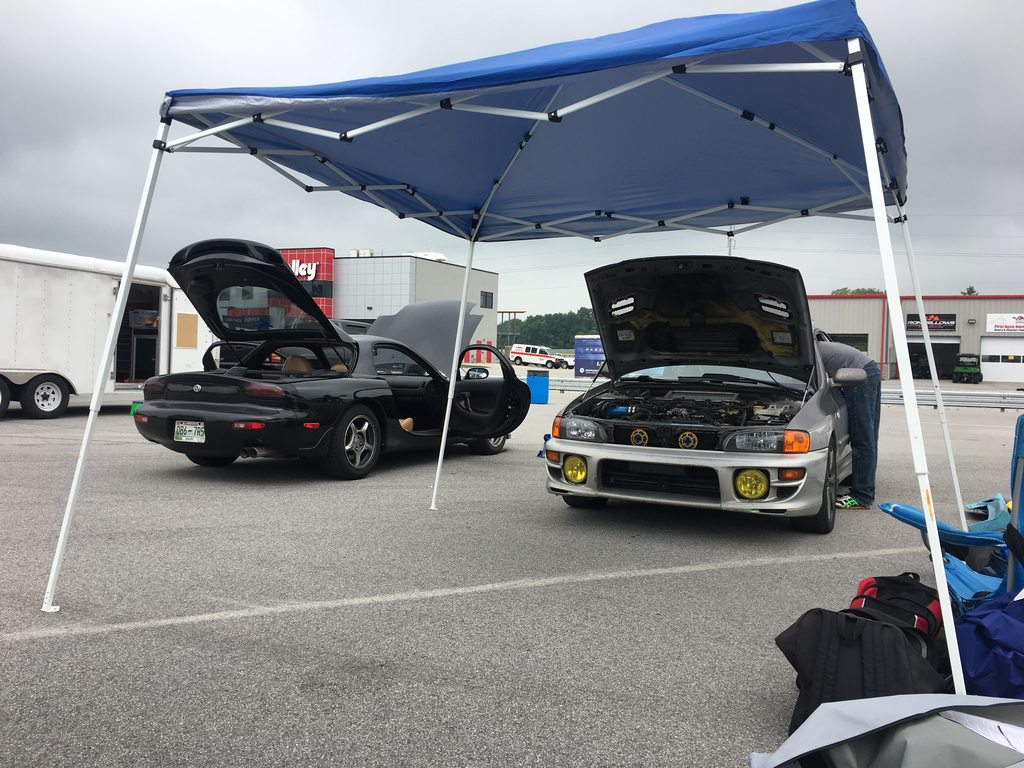
track day !!!!

almost ready to go
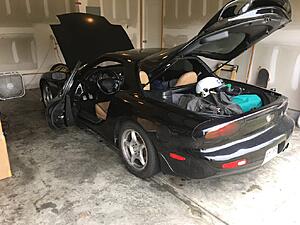

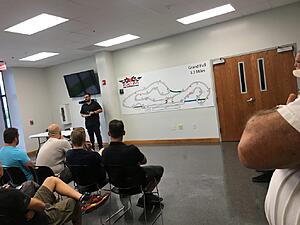
made it

at the track
this is the only white non-generic t-shirt I could find at Walmart...


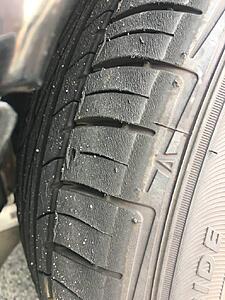
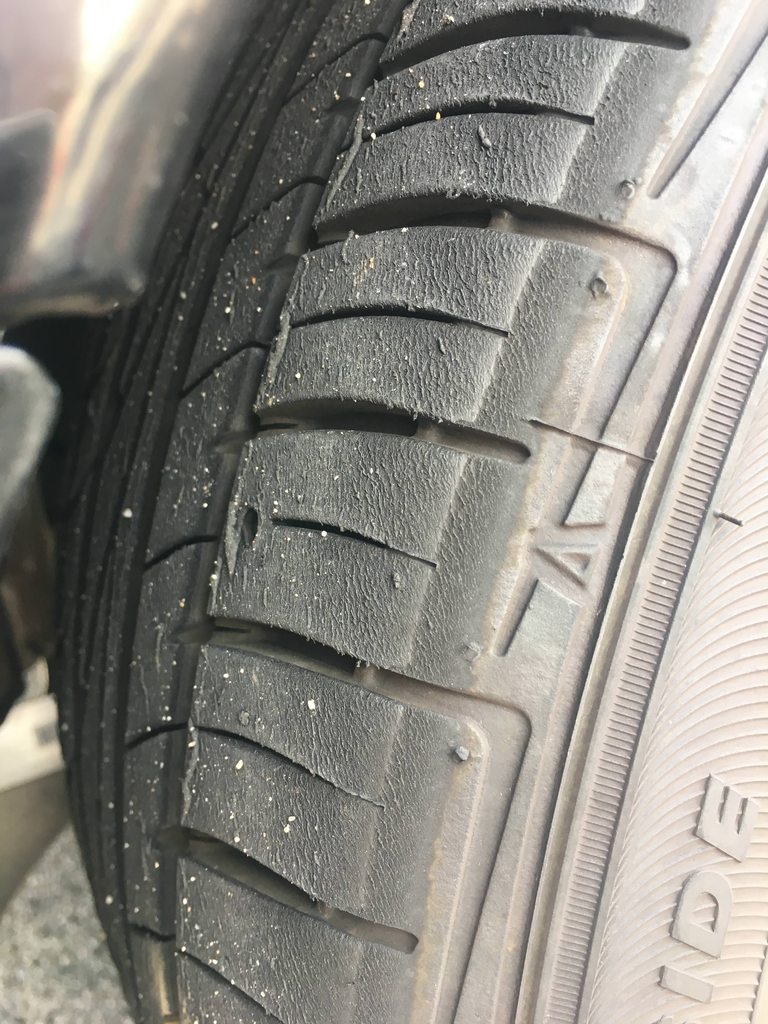
the tires were basically like plastic out on the track. they were terrible.
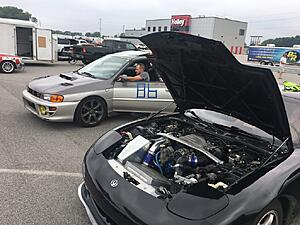
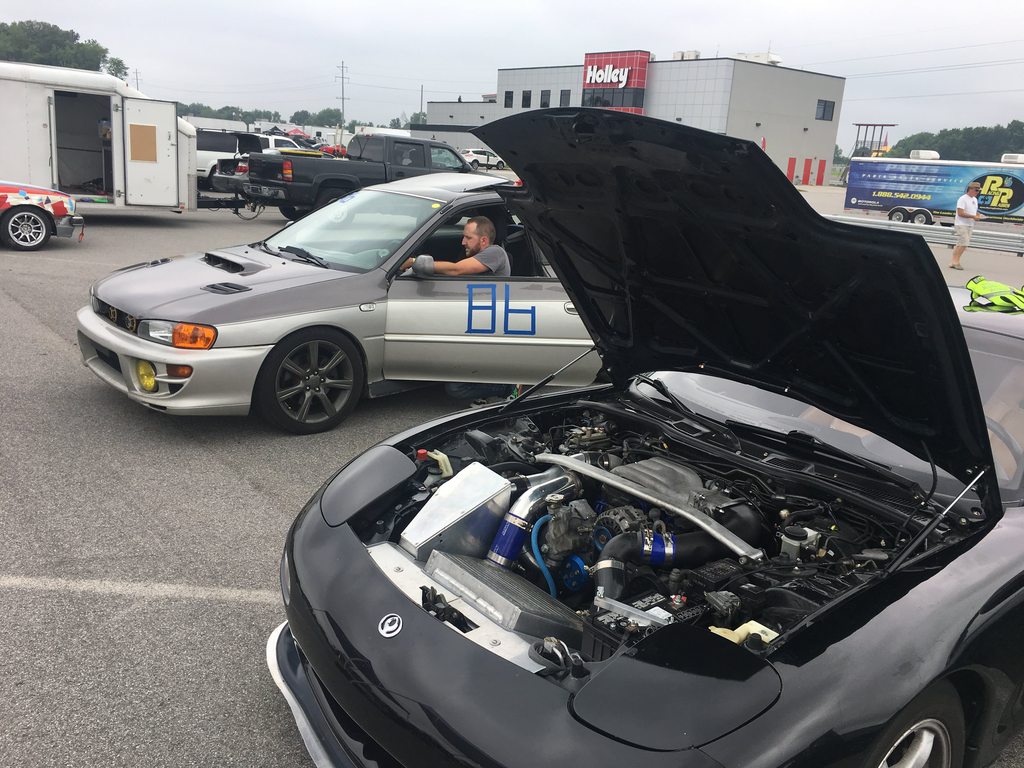
VOLT racing team was here testing their insane McLaren...

here's a video of me basically forgetting where I was on the track. enjoy
the CARTMILL VMIC setup performed very well on the track.
AIR TEMP didn't get above 60*C (~140*F), which is about 20*F cooler than my previous two cars in similar conditions (~90*F outside and high humidity).
COOLANT TEMP was also rock solid, peaking around 95-96*C (203-205*F),
OIL TEMP was also very good, peaking around 200-205*F
overall thought:
an FD on sequential stock twins with all necessary supporting mods and tuning is a BLAST on the track. this was my first time tracking a sequential car. during the tuning process we got the transition to be quite mild (not a big black of torque like some of them can be) and it was a non-issue on the track. i'm sure there is a metric assload of heat getting built up inside that exhaust manifold at full chooch, but they handled it and did a great job. the combination of the VMIC, stock boost level (~10.5psi), powerFC and tuning, and stock shocks w/ tein h-techs made the car a blast to drive on the track. on the track I definitely noticed the suspension could be harder, but I stand behind my statement that these tein h-tech springs on stock shocks (I think mine are non-r1) with new rubber mounts is a perfect combo of street and light tracking.
the tires were terrible. these are the worst tires I've tracked on, and the soft(ish) suspension mixed with the large sidewalls on the tires made it feel a little looser than I was used to, but overall it did very well.
also, keep in mind I daily drive this car.
I recommend this setup to others.
almost ready to go


made it
at the track
this is the only white non-generic t-shirt I could find at Walmart...


the tires were basically like plastic out on the track. they were terrible.
VOLT racing team was here testing their insane McLaren...

here's a video of me basically forgetting where I was on the track. enjoy
the CARTMILL VMIC setup performed very well on the track.
AIR TEMP didn't get above 60*C (~140*F), which is about 20*F cooler than my previous two cars in similar conditions (~90*F outside and high humidity).
COOLANT TEMP was also rock solid, peaking around 95-96*C (203-205*F),
OIL TEMP was also very good, peaking around 200-205*F
overall thought:
an FD on sequential stock twins with all necessary supporting mods and tuning is a BLAST on the track. this was my first time tracking a sequential car. during the tuning process we got the transition to be quite mild (not a big black of torque like some of them can be) and it was a non-issue on the track. i'm sure there is a metric assload of heat getting built up inside that exhaust manifold at full chooch, but they handled it and did a great job. the combination of the VMIC, stock boost level (~10.5psi), powerFC and tuning, and stock shocks w/ tein h-techs made the car a blast to drive on the track. on the track I definitely noticed the suspension could be harder, but I stand behind my statement that these tein h-tech springs on stock shocks (I think mine are non-r1) with new rubber mounts is a perfect combo of street and light tracking.
the tires were terrible. these are the worst tires I've tracked on, and the soft(ish) suspension mixed with the large sidewalls on the tires made it feel a little looser than I was used to, but overall it did very well.
also, keep in mind I daily drive this car.
I recommend this setup to others.
Last edited by jacobcartmill; Aug 3, 2017 at 01:00 PM.
Thread Starter
Joined: Jul 2002
Posts: 9,387
Likes: 4
From: Nashville, TN
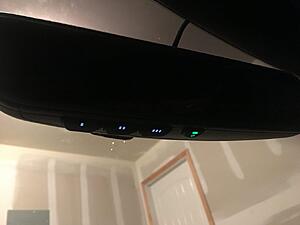
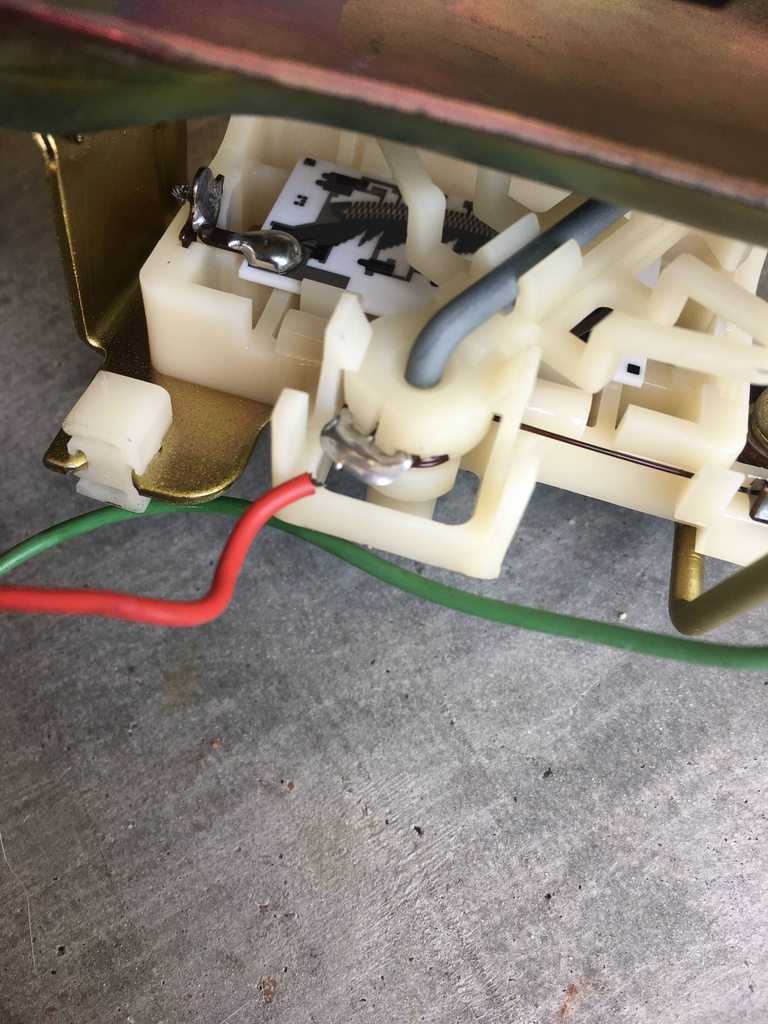
back from the track!
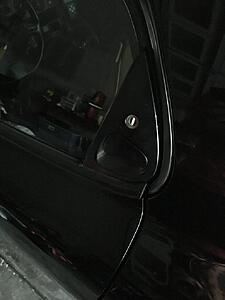
fuel pump level gauge stopped working while at the track, and I tracked it down to this little guy
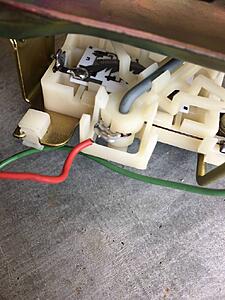
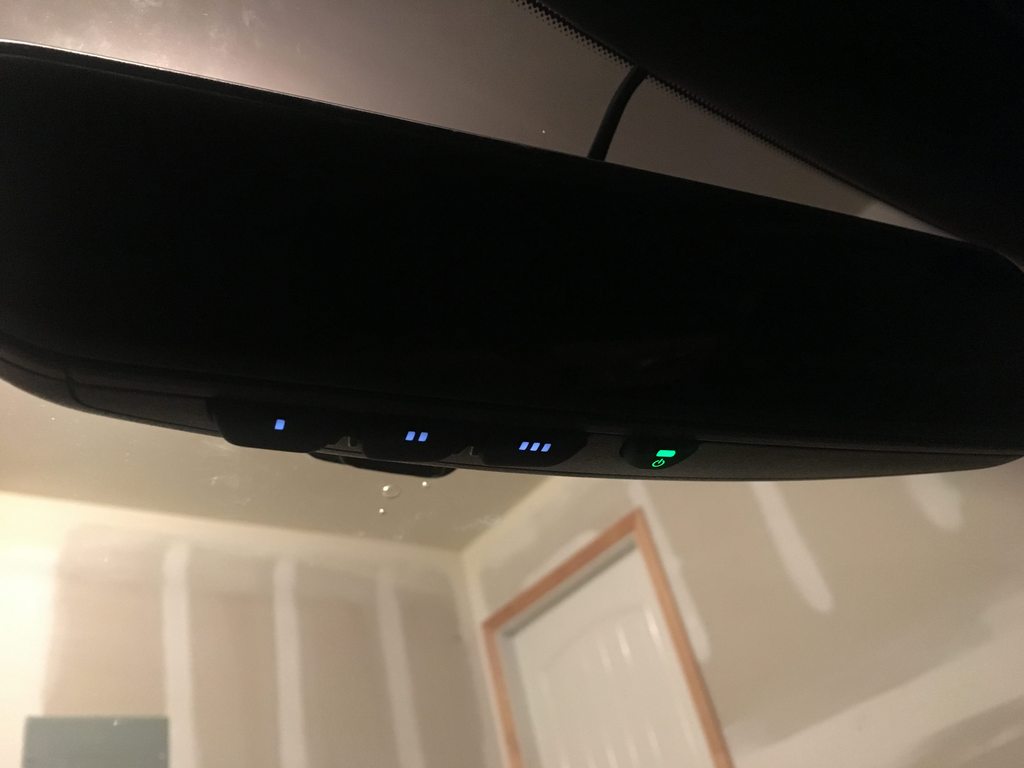
also, I installed a auto-dimming UGDO rear view mirror (gentex, got it on amazon)
fuel pump level gauge stopped working while at the track, and I tracked it down to this little guy
also, I installed a auto-dimming UGDO rear view mirror (gentex, got it on amazon)
Thread Starter
Joined: Jul 2002
Posts: 9,387
Likes: 4
From: Nashville, TN
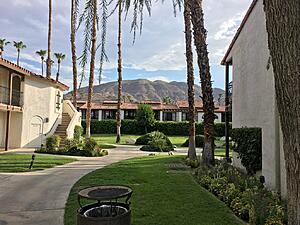
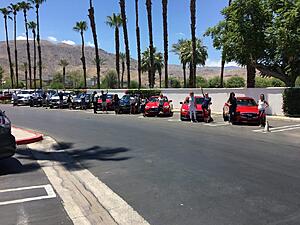
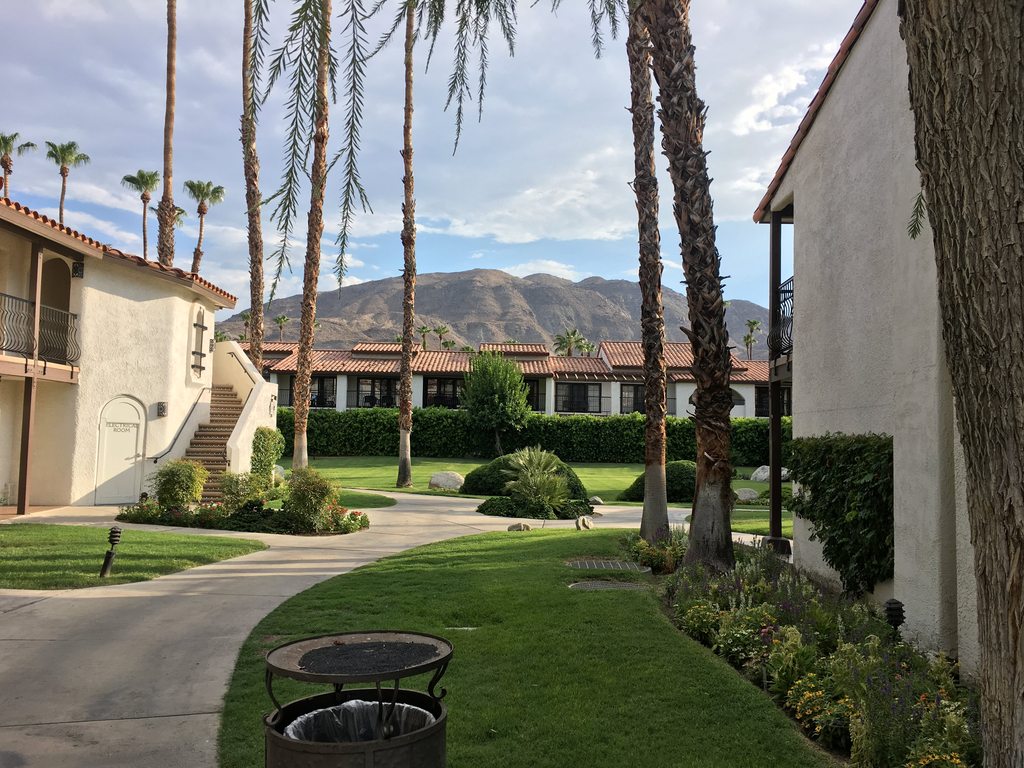
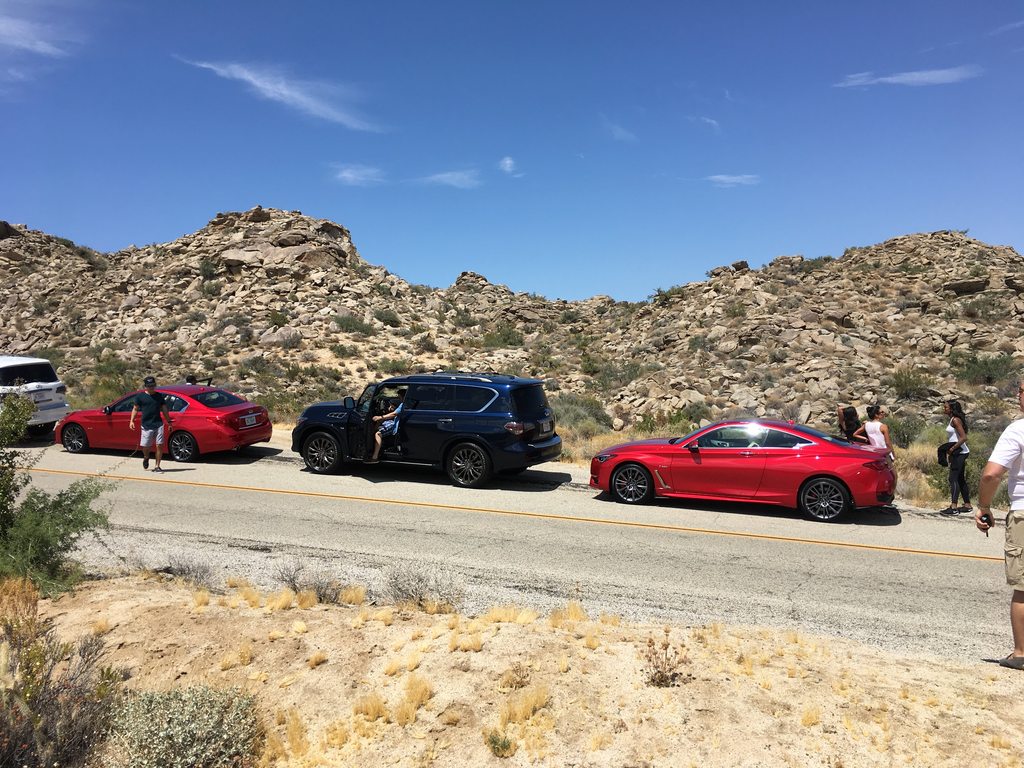
then I went on a work trip, into the desert in Palm Springs CA


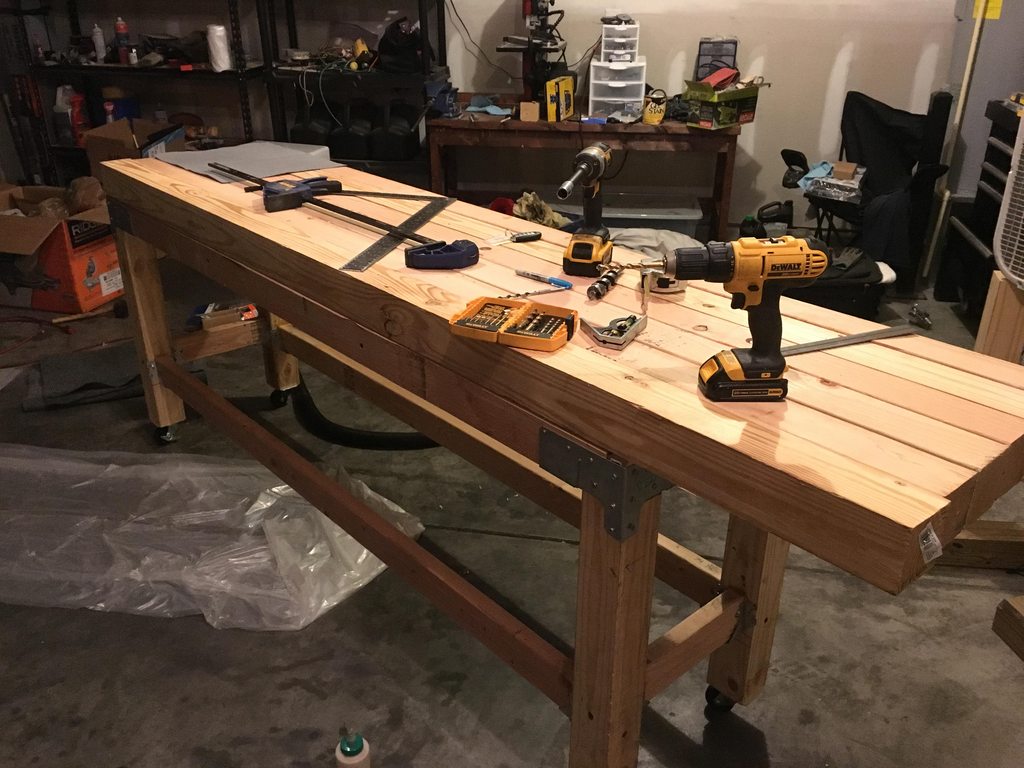
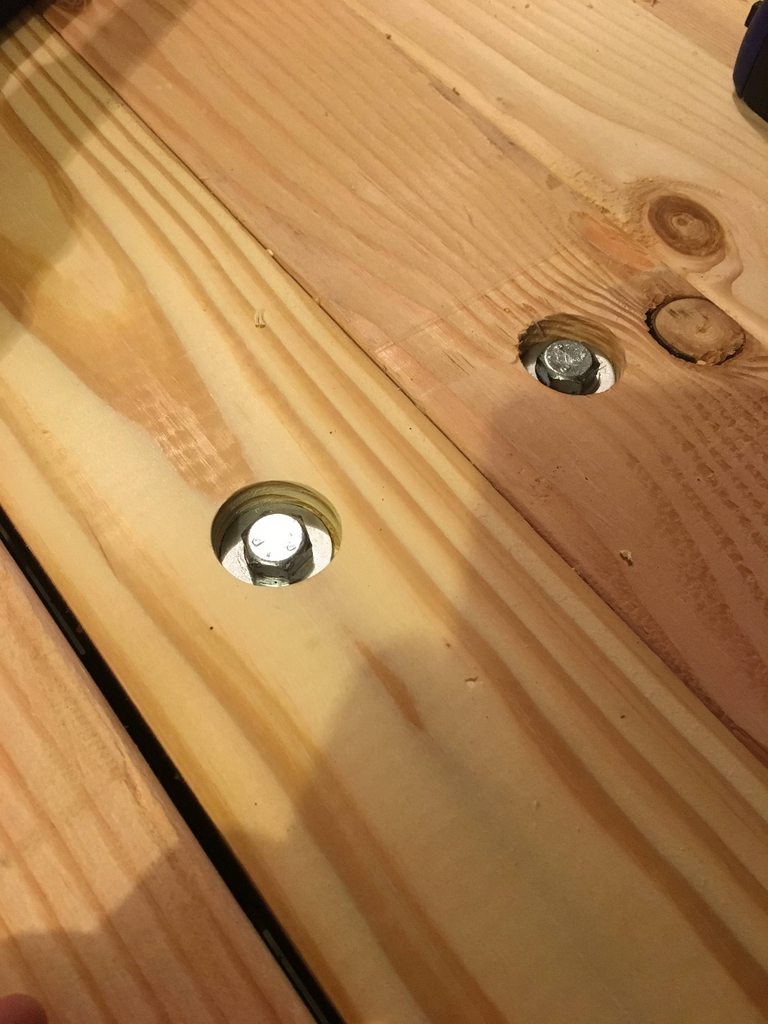
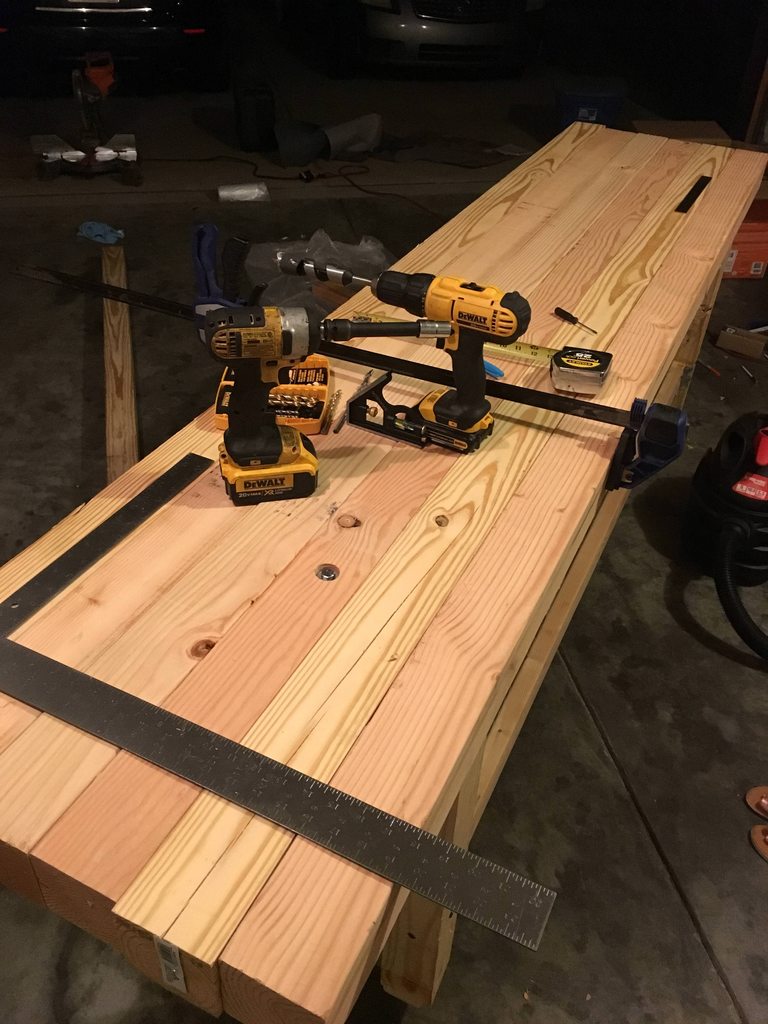
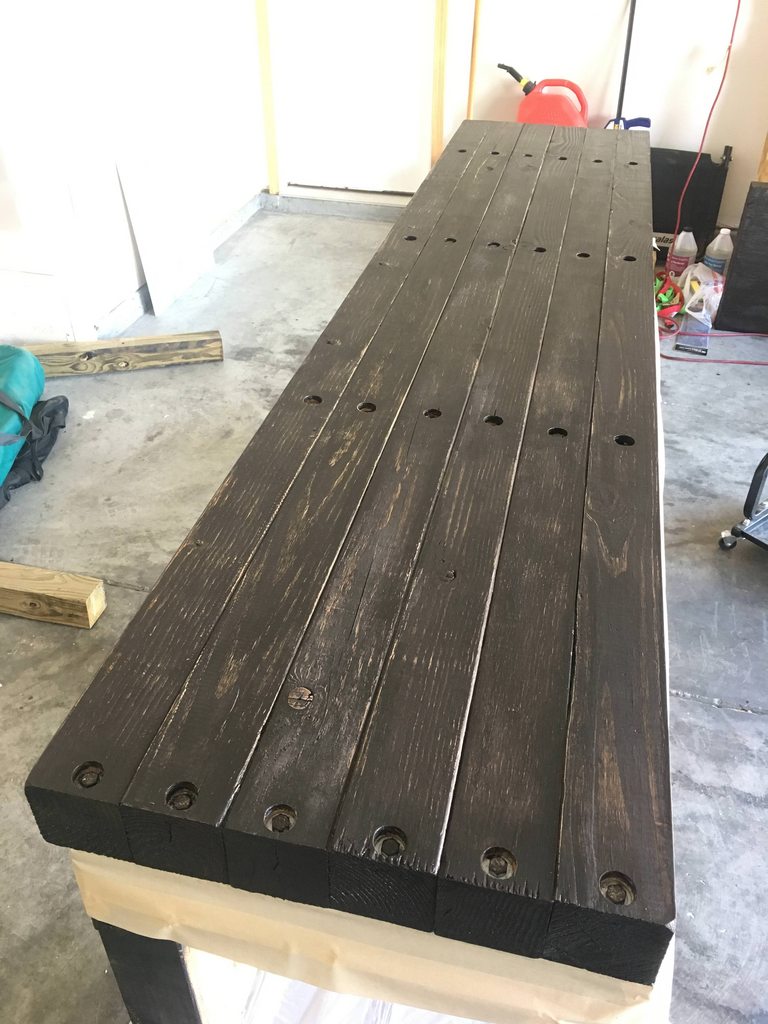
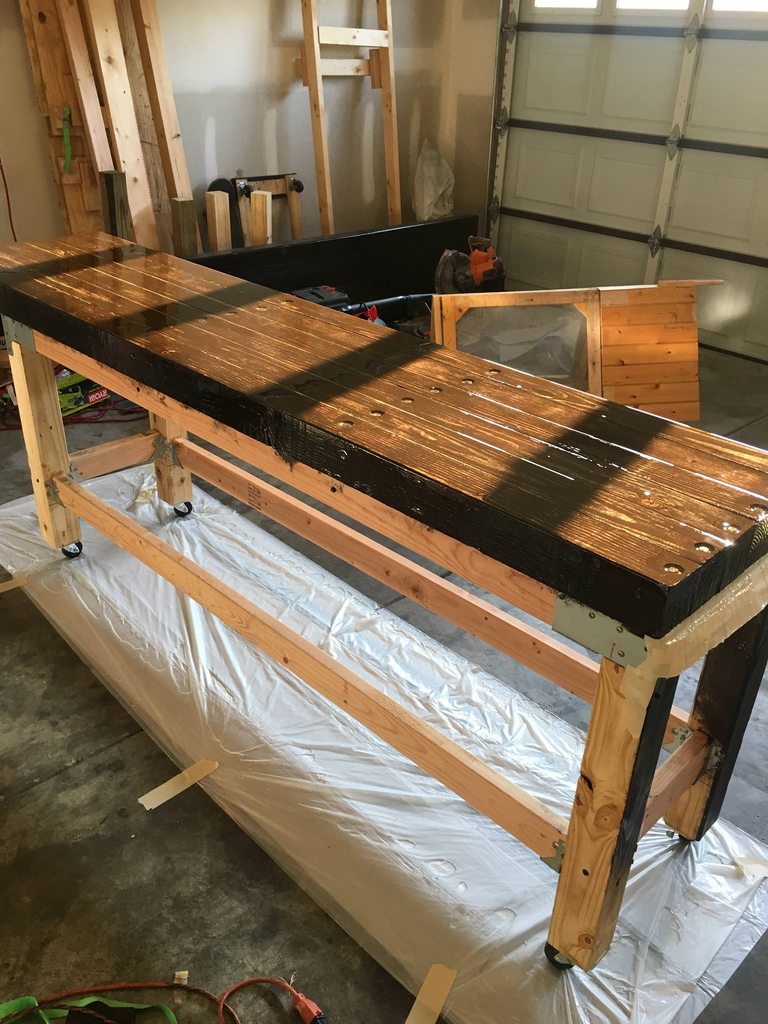
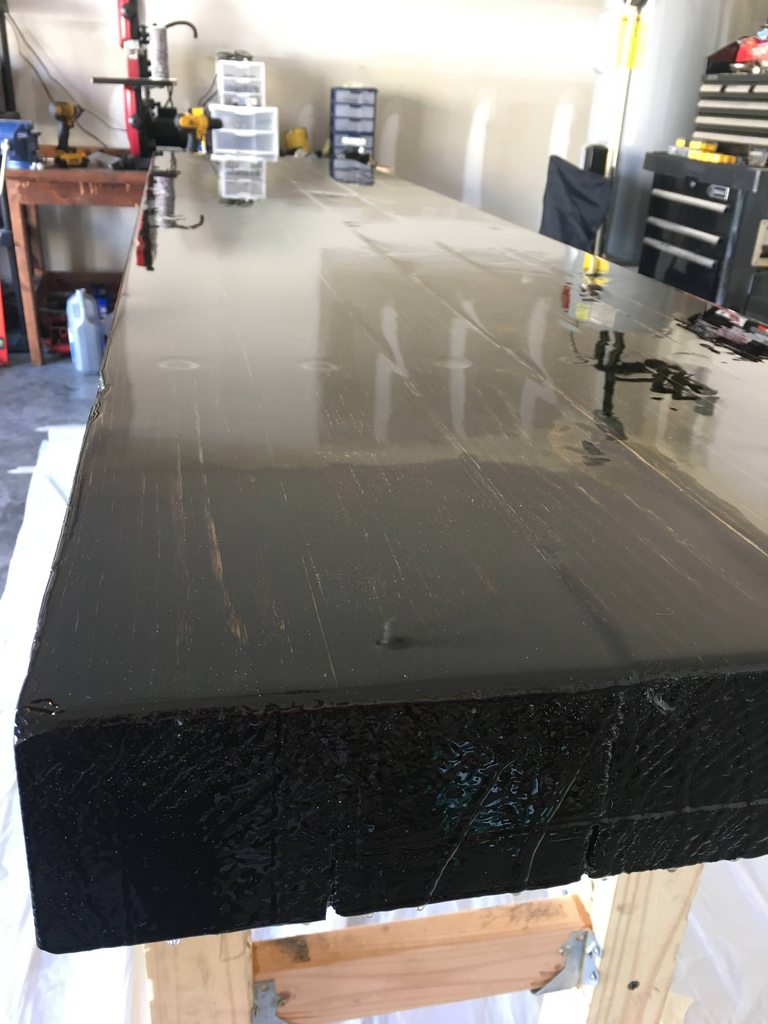
then I started a very over-done workbench adventure:
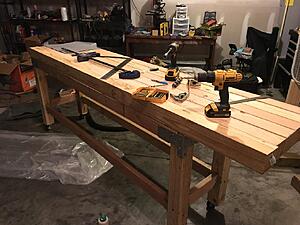
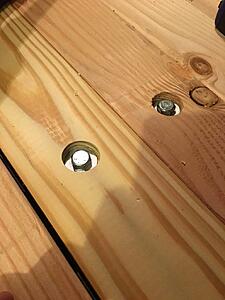
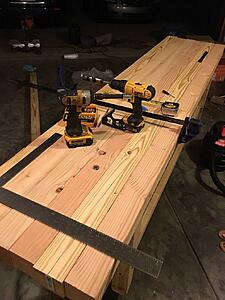
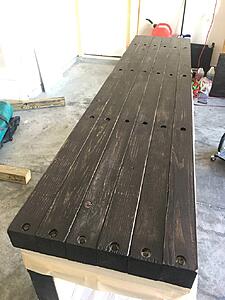


then I started a very over-done workbench adventure:
Last edited by jacobcartmill; Aug 3, 2017 at 12:39 PM.