When you click on links to various merchants on this site and make a purchase, this can result in this site earning a commission. Affiliate programs and affiliations include, but are not limited to, the eBay Partner Network.
The shop did not charge me anything for the additional material it took to redo everything, or all the additional hours of labor it took to sand down and redo everything a second time.
It was just a timeframe setback which effected the shop more than myself. I cannot emphasize enough on how awesome these guys were through the whole process.
They also shot the pinch welds under the car, something I was not expecting them to do, that was awesome
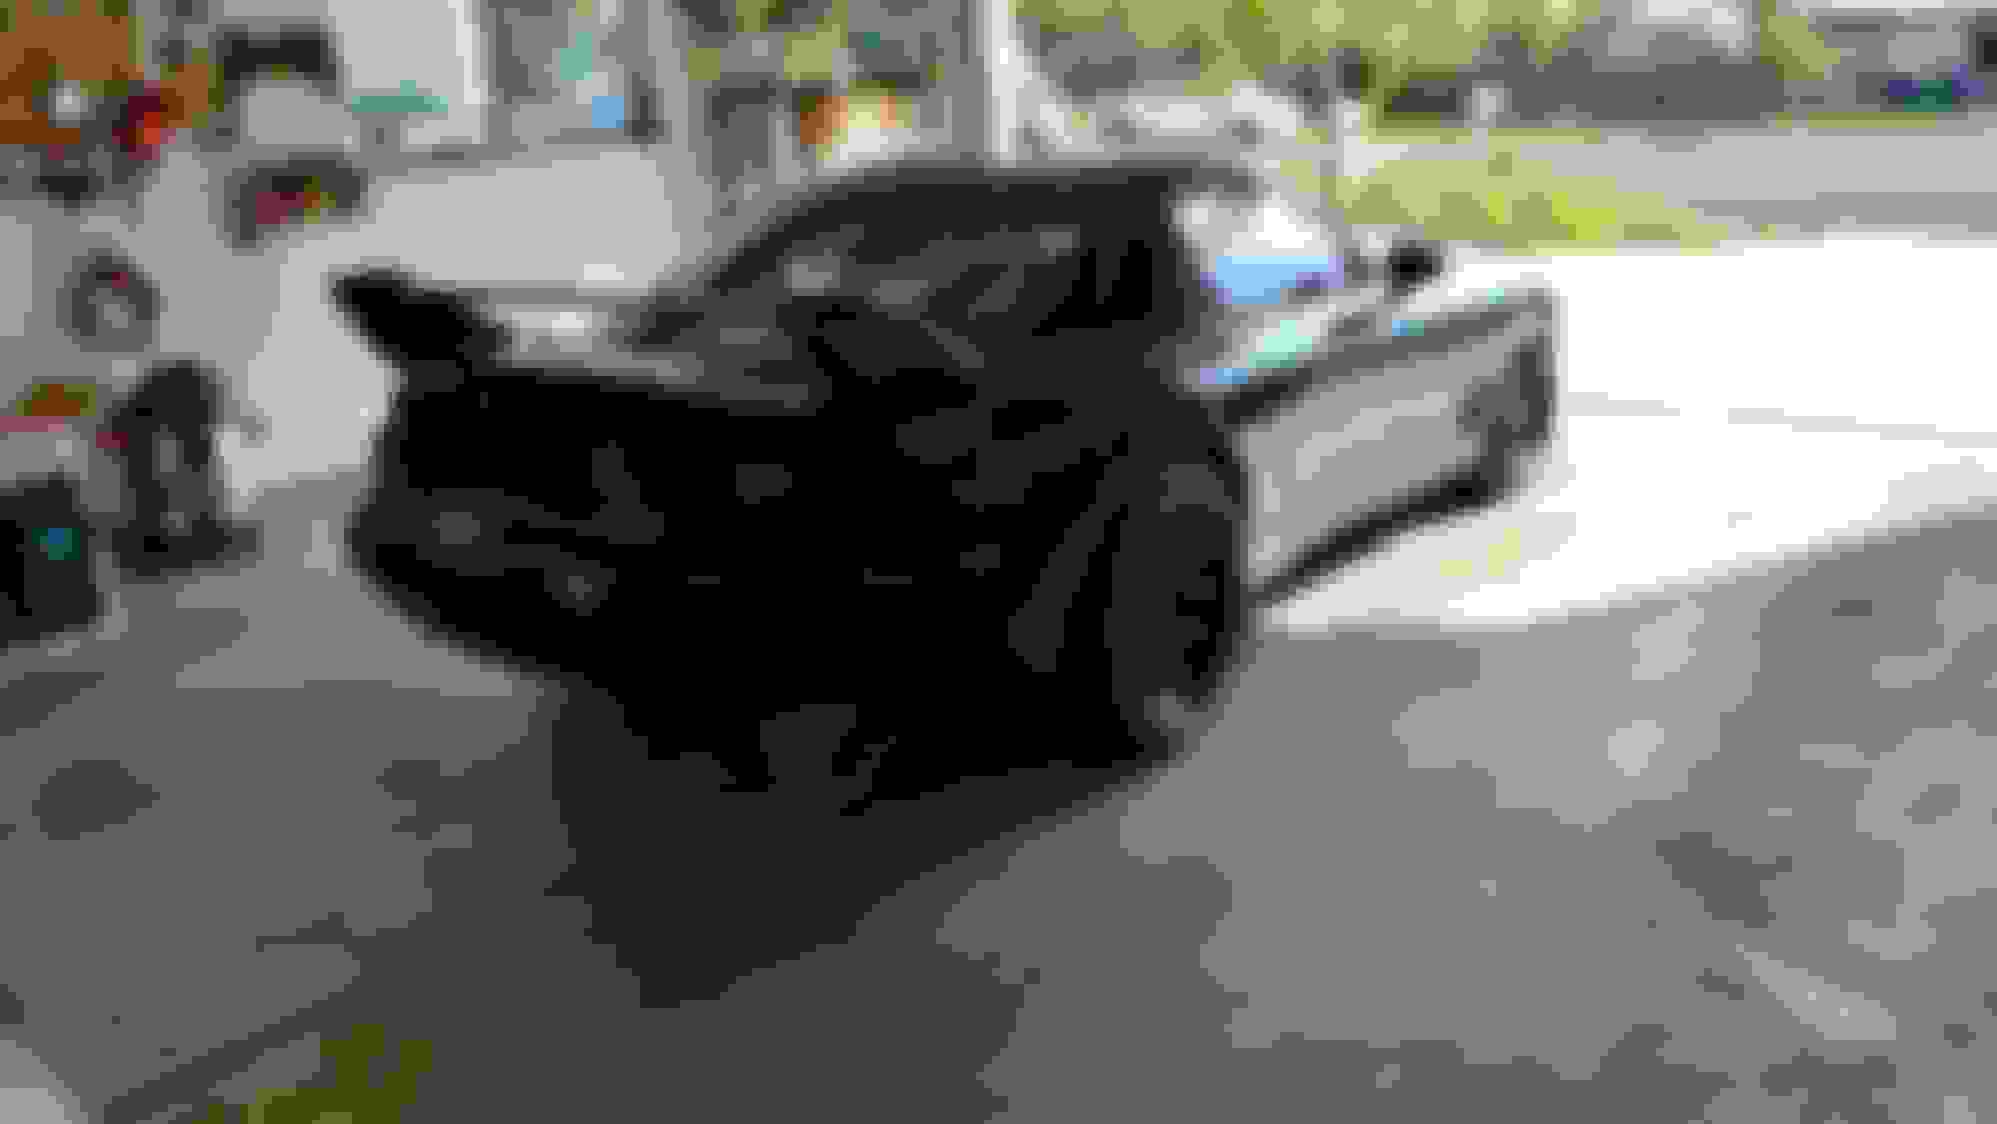
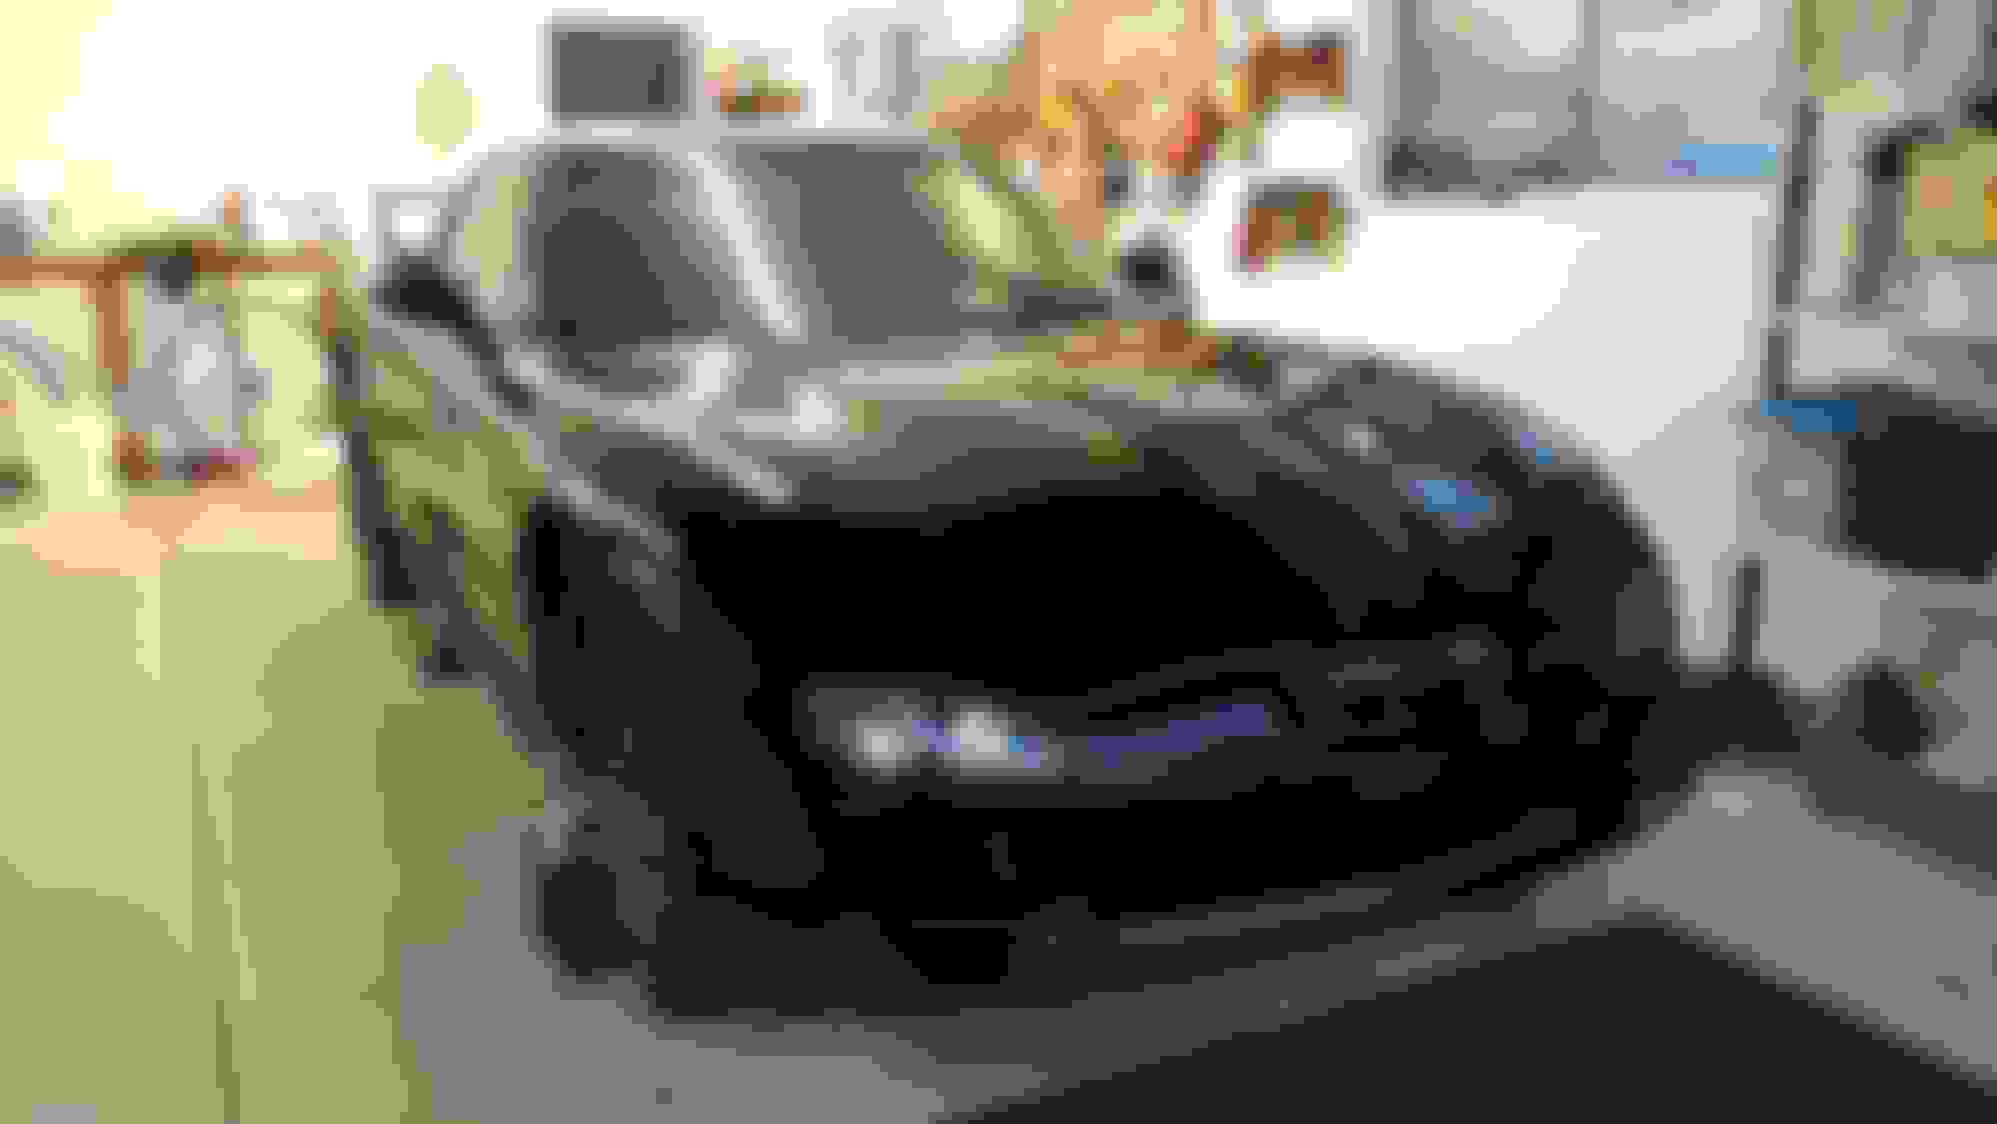
Pictures of the fresh paint. Same day it was shot.
The car was shot with 3 layers of base coat brilliant black and 3 layers of clear coat.
I have a thing for black cars (all makes and models)
But if you really wanted to show off the curves and shapes of the FD, you would want to get it in a lighter color like white or silver!
And opposite, if you wanted to hide ugly angles or dont like the exterior design, get black. It hides shapes.
Later this spring/summer (2022) I plan on getting the car ceramic coated.
To really take it to the next level and also to protect it.
A day or two later, both sides of car had been cut and buffed and put all back together.
Here is a picture of the finished car ready to be picked up.
I had told the painter to not install the front bumper because I wanted to attach the undertray to it before installing it on the car.
All loaded up and ready to go home for final reassembly!
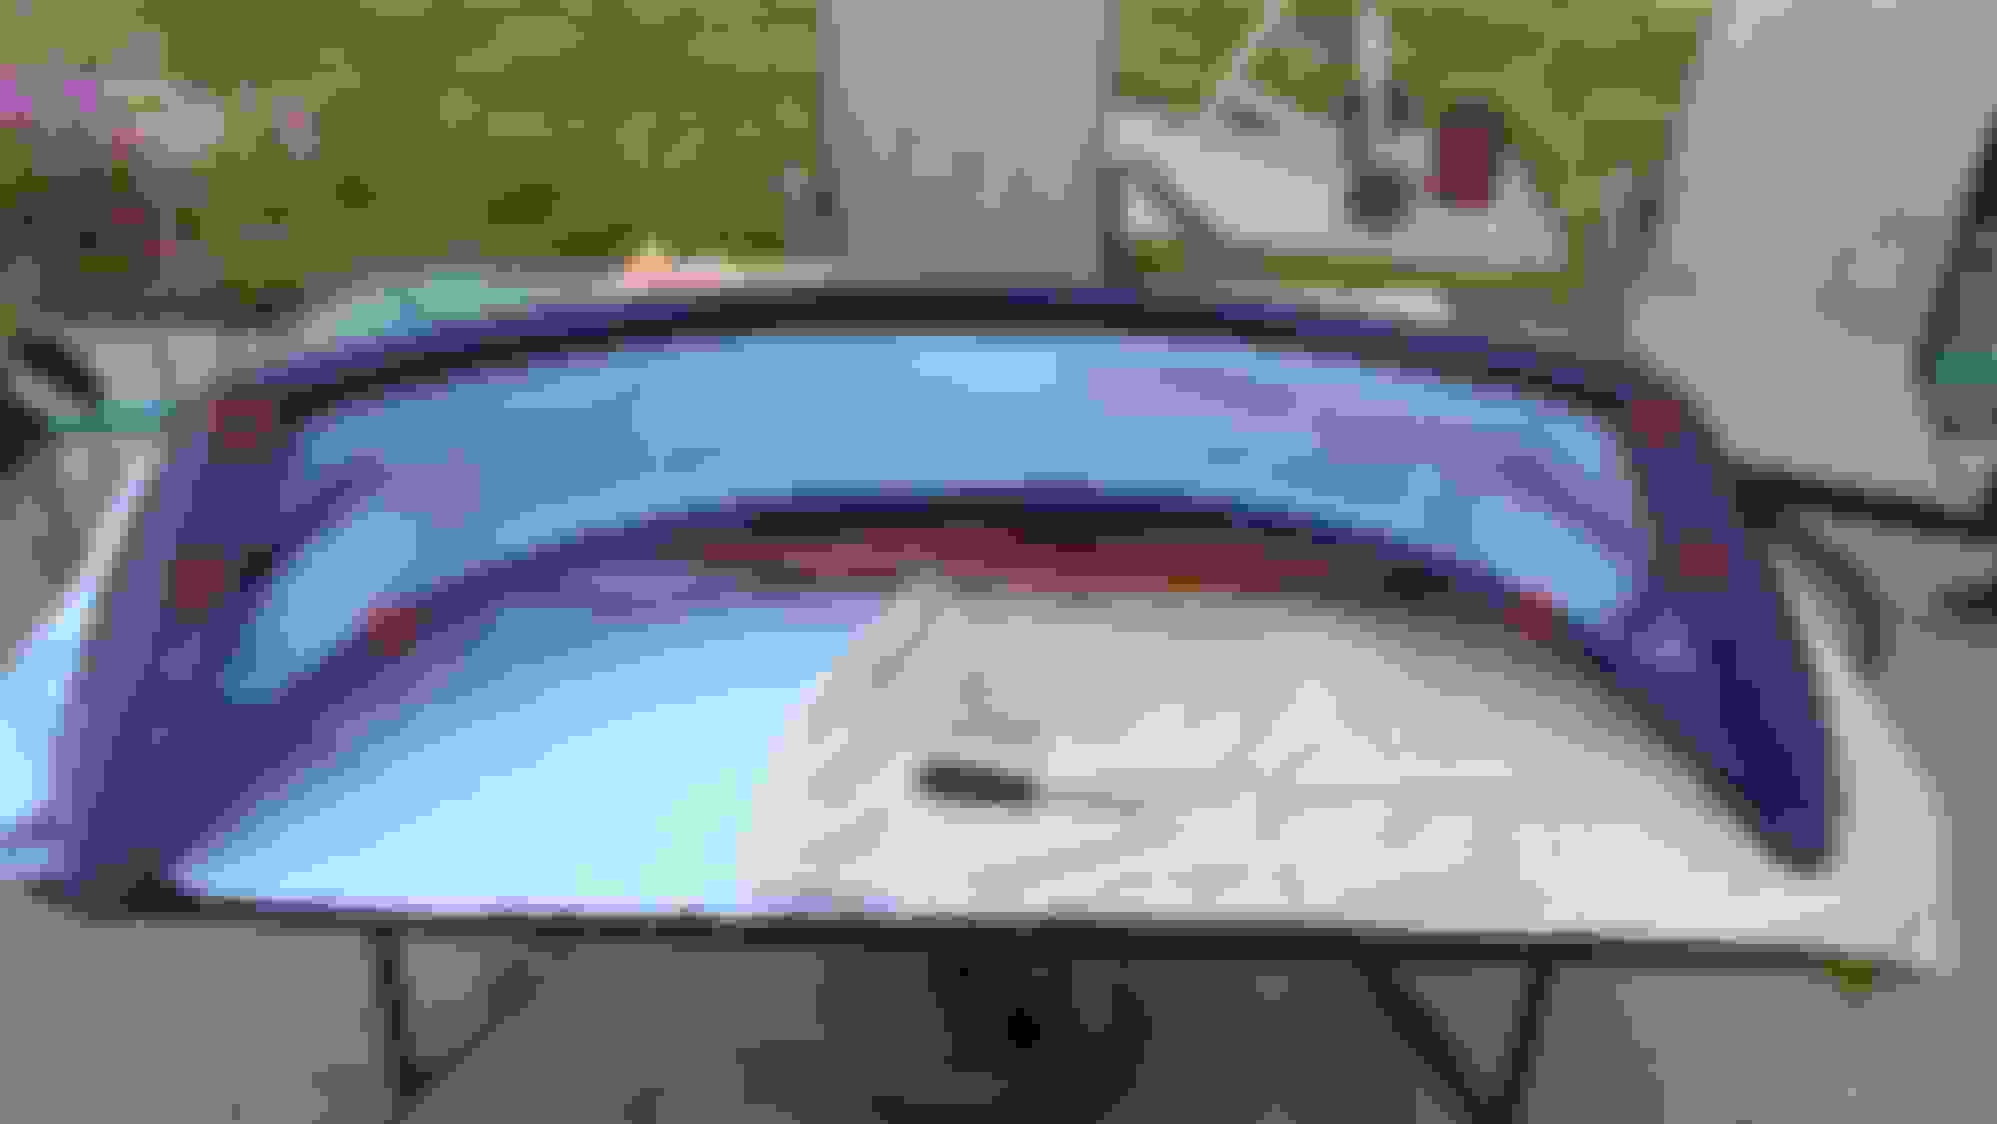
That spoiler <3
I have always thought that both this spoiler and even more so, the 99-spec OEM spoiler, have a design on the side supports that hold the airfoil, that reflect the shape and curve of the horns on a traditional Japanese Hannya mask when looking at them from directly behind.
(Not sure if anyone knows what I�m talking about when I say this.. lol)
Time to start getting the car all put back together
First thing I did was peel off the old window tint from 1998.
I think it looks much better now. I don’t know if I will get it re-tinted or not in the future.
It is a black car, so I might, but I would do 50% at the most
The windshield glass is blue tint. Apparently, they no longer make the bronze tint glass that originally came on the car from the factory.
Either way, it looks great. It's so clean and clear.
New windshield glass.
New exterior rubber trim around the windshield and the rear hatch glass.
New belt trim along the door.
New drip seal trim over the door
All the new trim is really the cherry on top with the paint job, and it really adds to the overall outcome
The car essentially looks like a new car, fresh off the lot from 2021 with the new rubber trims. Not all that crusty, aged and faded 30 year old trim.
I really feel like the exterior of the car has been given a new life!
First thing to do is get the rear bumper off and reinstall the rear Styrofoam pieces that help reduce ripples and warping of the rear bumper. The painter forgot to install it / thought it was for the front bumper.
So we take the bumper off.
I thought it would be a good idea to maybe adhere some heat shielding on the Styrofoam bumper reinforcement.
You know, just in case.
Cleaned up the rear tow hook cutout a little better before going to mount the diffuser.
The next thing to do is to remove and prep the rear spoiler for a more finished and permanent installation
I used some �” neoprene waterproofing rubber to create a gasket around the bottom of the spoiler, and cut holes for the rivnuts.
As the bodyshop had already drilled holes in the rear hatch in these 6 locations before paint, all I have to do is drill and set the rivnuts in the spoiler and mount everything up with stainless steel hardware.
Here are where the rivnuts will be on the spoiler.
Once the spoiler was back on the hatch and centered with everything, I used clear silicone, rubber washers, stainless steel washers, stainless steel M5 bolts, and bolted everything down into the M5 rivnuts.
The last and final step for the rear of the car was to put on the new Efini Emblem and RX7 decals!!
With that done, I moved on to the Carbon Fiber side steps from Shine Auto.
These were quick as I had already had everything laid out before the paint.
While the car was in the body shop, I put 3M clear bra vinyl on them to protect them.
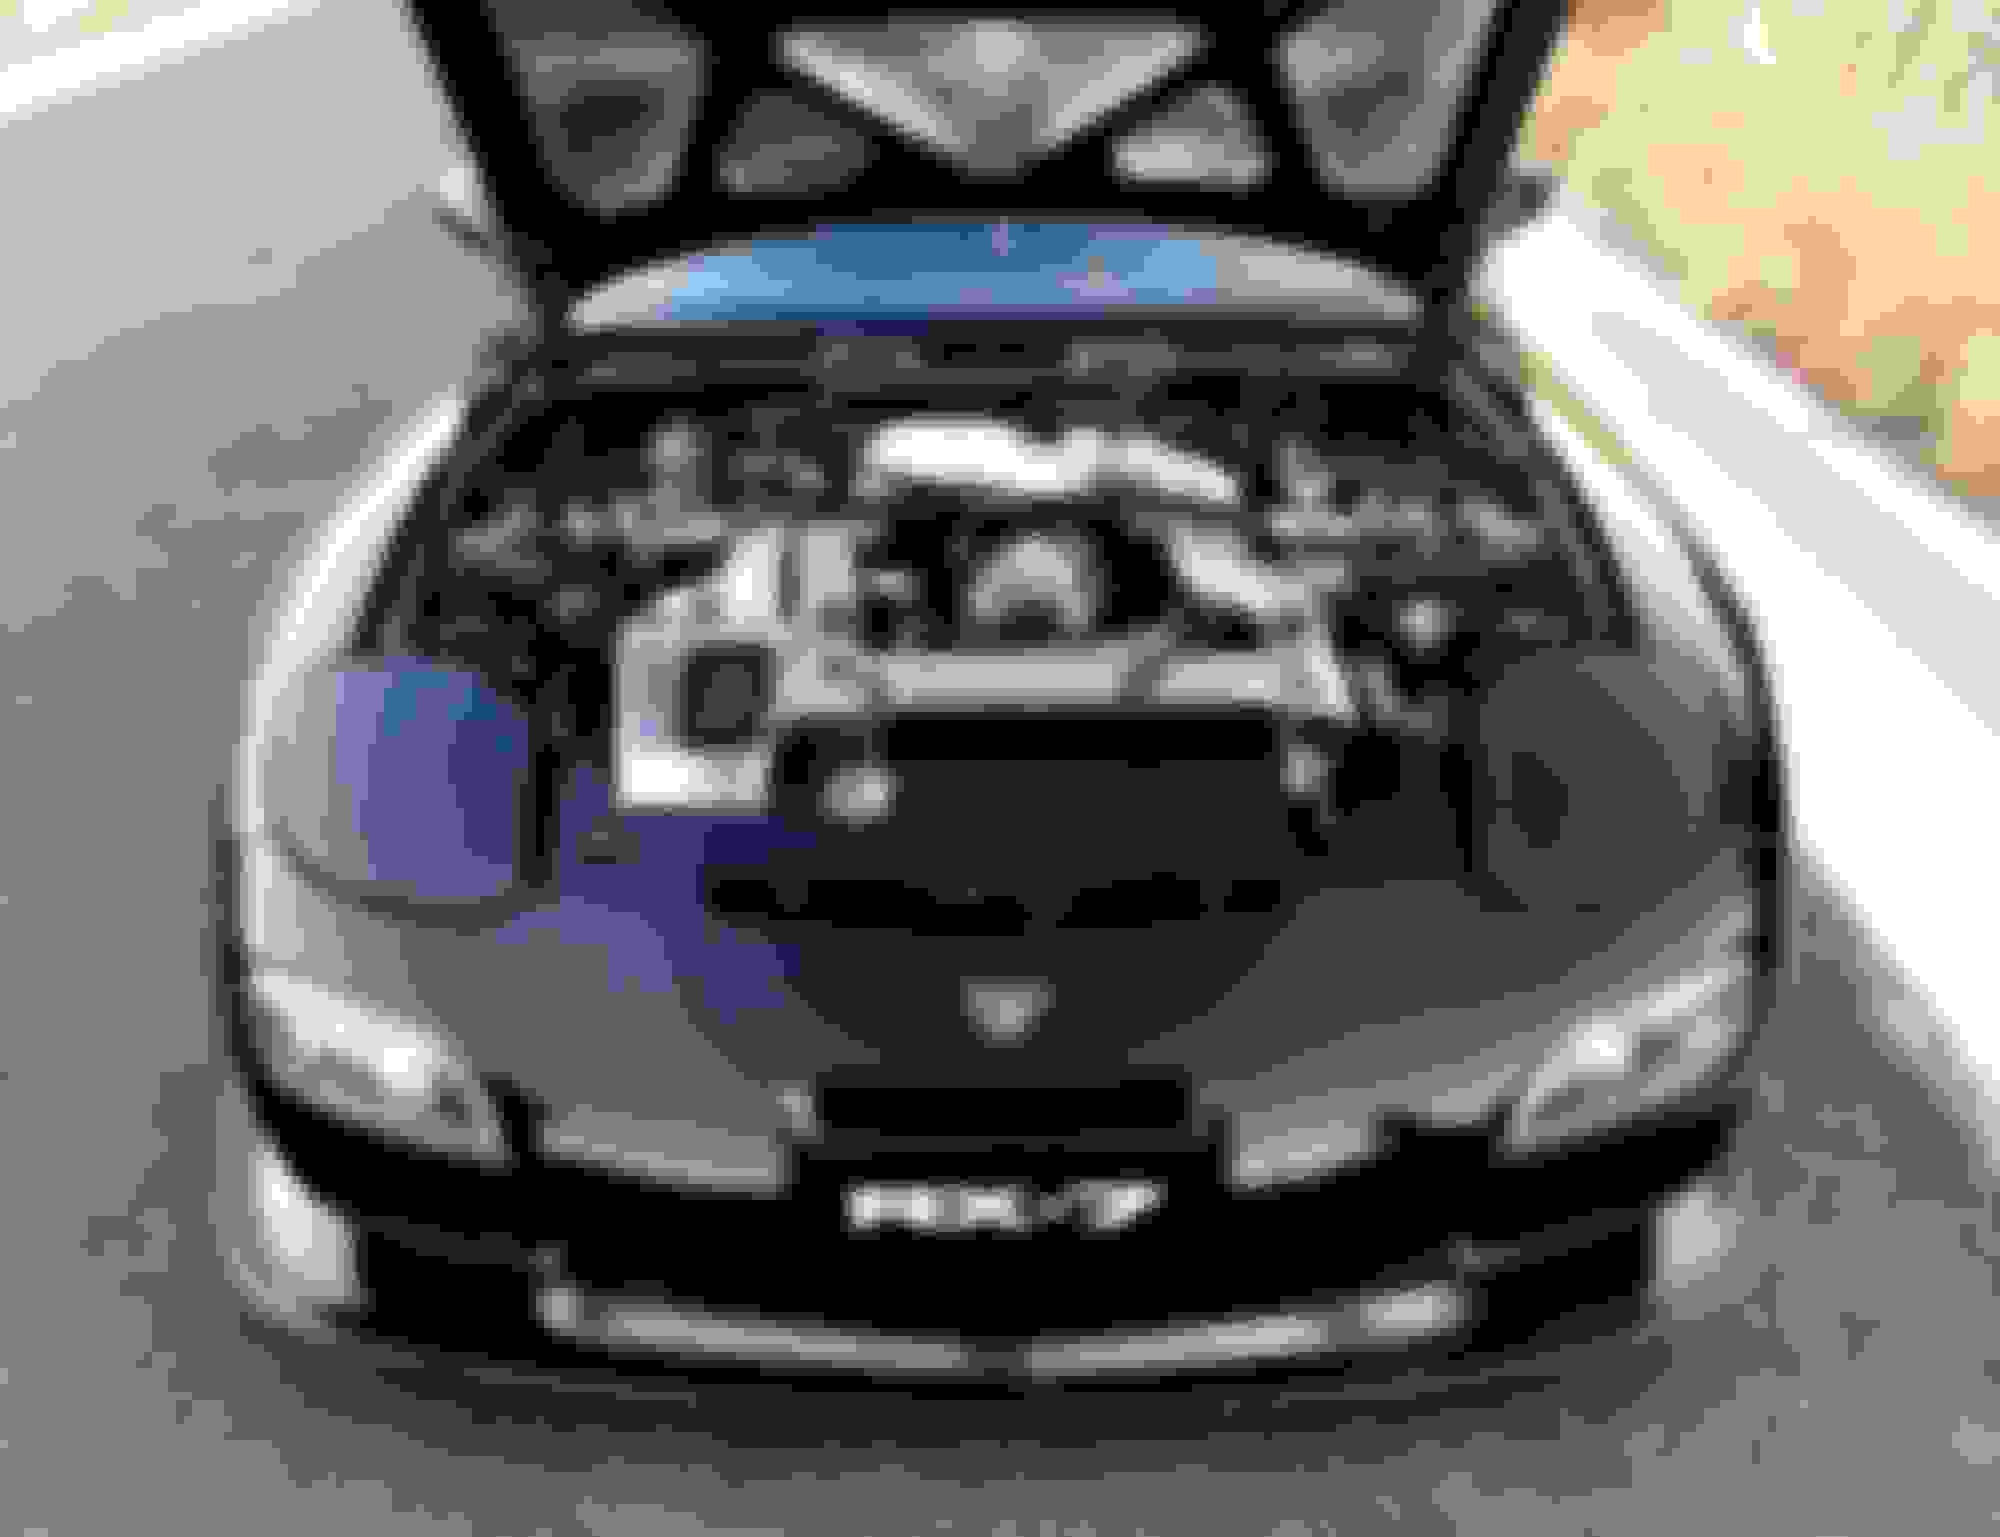
Time to do the front bumper.
The black housing turn signals, carbon fiber Mazdaspeed front lip, and Shine Auto understray all mounted up and ready to go!!
LRB Radiator shroud back in the engine bay with fresh felt on the underside to eliminate any metal on metal.
I am really really happy with how the black powder coated tow hook came out and how it looks with the bumper.
I wanted it to be as hidden as possible. And it is exactly that
Back in 2020 I bought some aluminum scuff plates off eBay from a seller in Hong Kong.
They were in pretty good condition. It is getting very hard to find these things now days that are not completely beat up.
I was lucky to find some that were in fairly good shape.
I decided to bring them in to get powder coated gloss black.
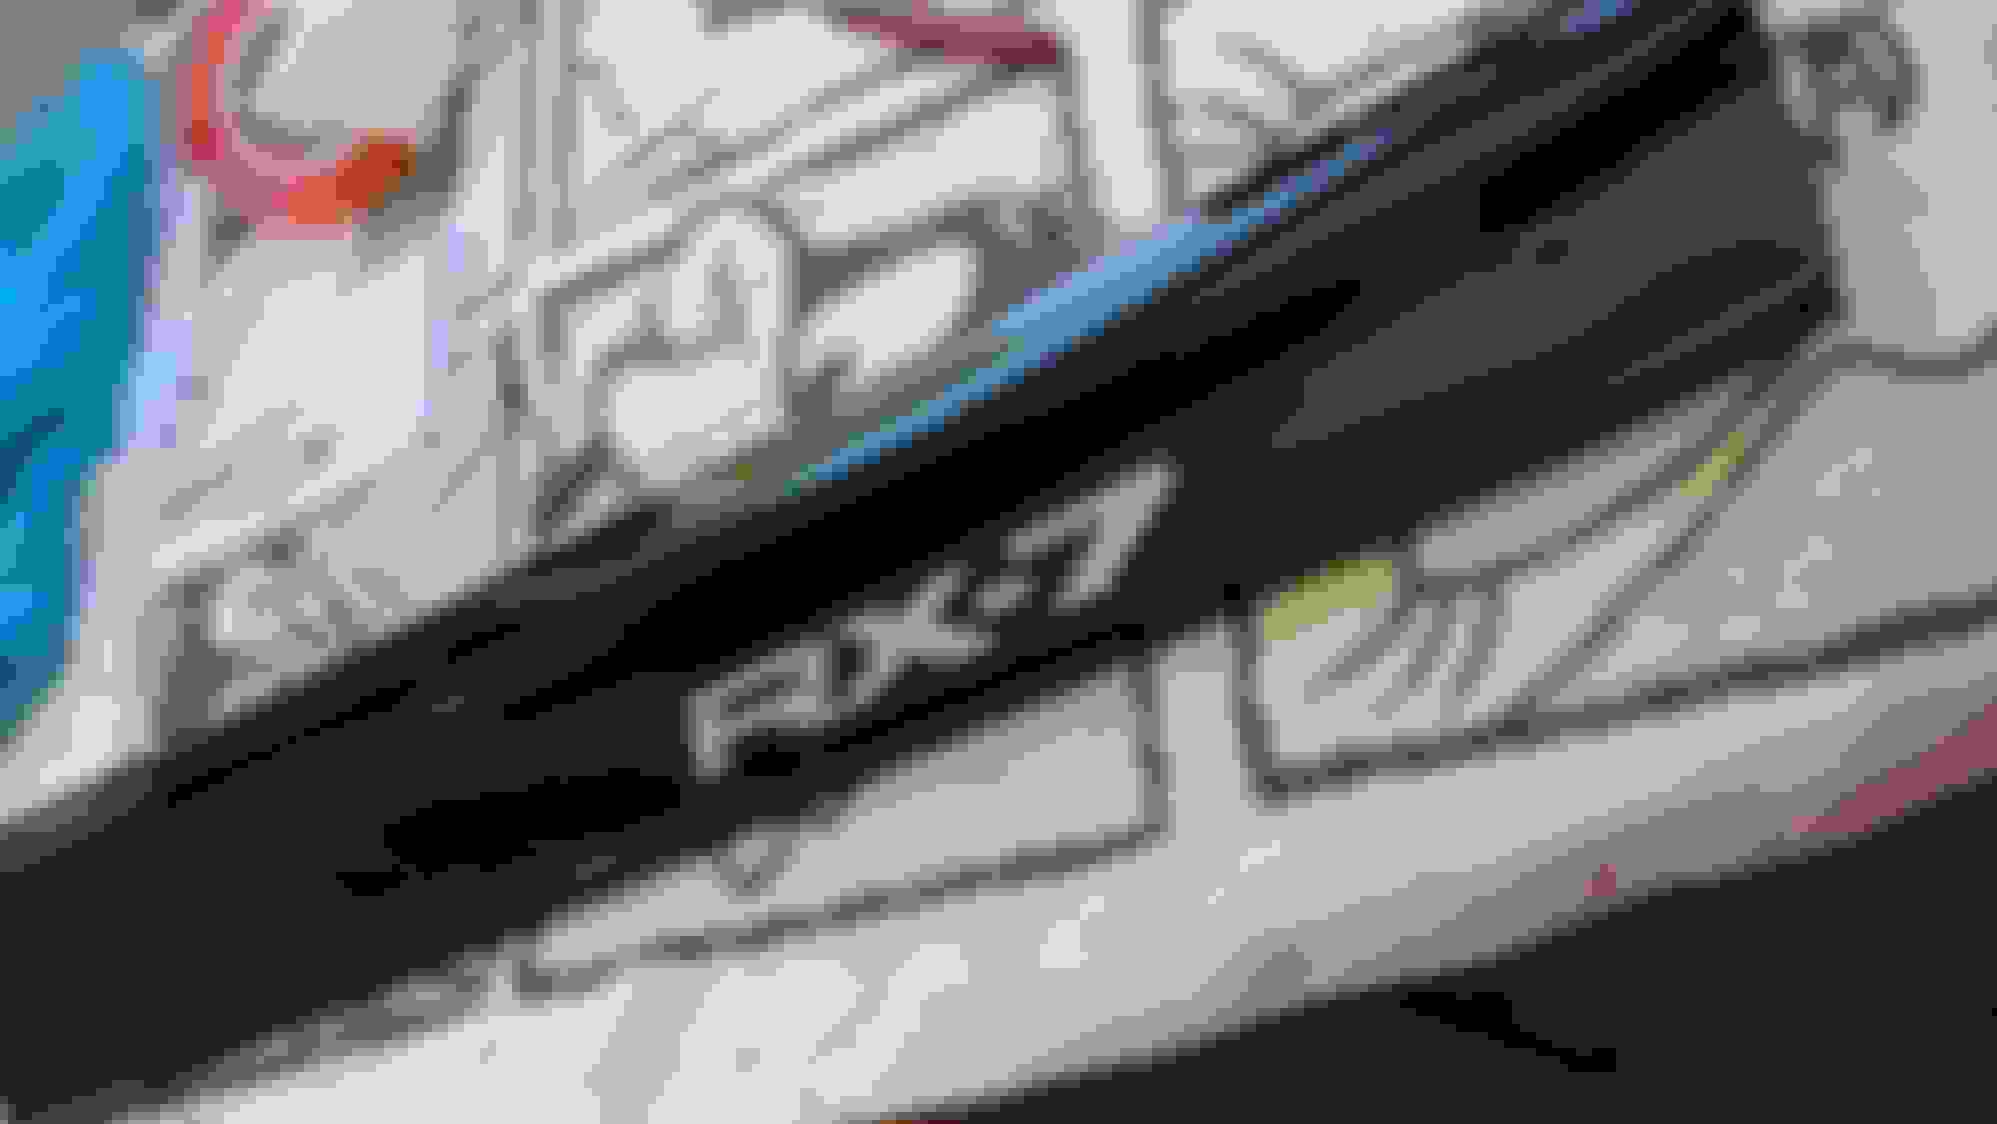
They heated up and very carefully pulled the gold raised metal letters off of them and I had them stripped and powder coat them silver
After I got them back, I put some 3M double sided tape on the letters and stuck them back onto the scuff plates where the recessed lettering was originally
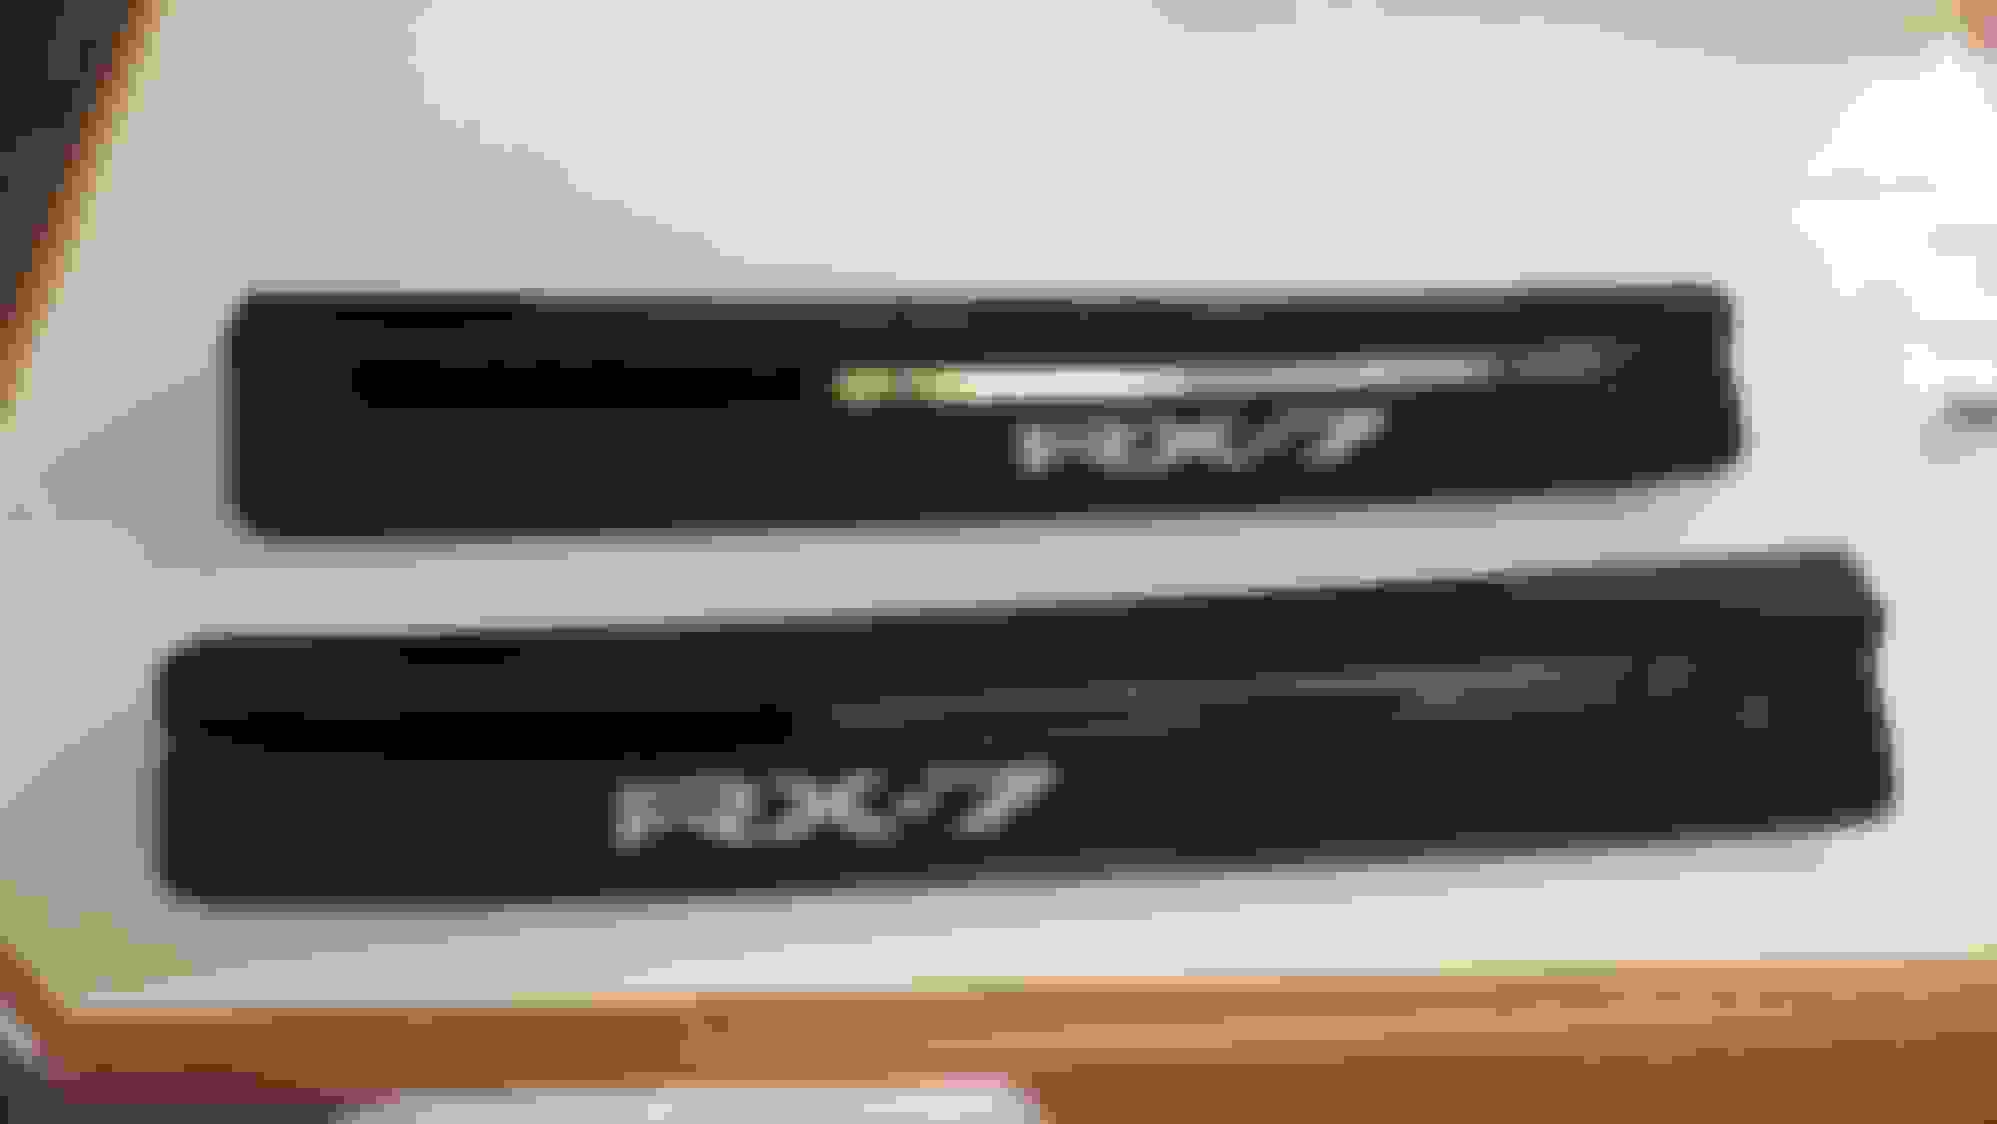
Then some final touches, I put down new felt on the underside of the plates and a fresh strip of edge guard
Felt
Edge guard
They really look amazing
Time to put them on the car!
I got some rubber 8x32 well nuts and black 8x32 screws and marked out the holes on the door jambs using an awl.
Then I drilled the holes and inserted the well nuts coated in clear silicon and screwed them in. Very easy.
It was time to finally come up with a cosmetic band-aid solution for the ugly and poorly mounted PLX and Datalogit that sit right on the passenger center kick panel. This panel will also help protect the old ugly devices from any accidental hits from a passenger's legs or feet, as it is just simply in a very bad spot.
A picture of the mess
I started out by using some scrap cardboard, which I measured and cut about 4 times before getting it all to fit how I wanted.
Next was to transfer and fabricate the cardboard design to some black ABS plastic.
This is how it looks drawn out
I used a 24” x 36” sheet that was 1/16 thick.
A heat gun and some bending, cutting and bolting, and this is what I came up with.
I cleaned it up a little bit with some edge guard around the edges, and sanded the corners that were a little rough.
Now to install it, I had to make a metal bracket out of some 1/8 aluminum. I didn’t want to drill any new holes or damage any plastics in the process. So the bracket I made was designed to utilize the same hole/screw that hold the plastic kick panel in place.
I didn’t take any pictures of the bracket from outside of the car. So here it is installed and in place. It is a little hard to see, so I edited a picture to help outline the bracket in red.
Here it is installed in the car. Its not perfect, but still looks pretty good and its also somewhat functional.
It gives the passenger a little bit less leg room on the left side of the foot well, but at least I wont have to worry about them accidentally kicking the old electronics.
I have come to realize, anytime you do customized work…it takes 1000% longer than if you had bought some bolt on part or product.
But usually, the results pay off, as they bring more pride, and experience in whatever you are building. As well as make your car more unique and personalized.
Also, around this time I very luckily happened to find a genuine 1993 Mazda RX7 Owners manual on eBay. I have been looking, and looking for one for the longest time. They are extremely difficult to find. So as soon as one popped up, I bought it without hesitation. It was about $240…
But as my car didn’t come with one, I thought it would be a good item to have to really complete the car.
I also picked up a 1993 Mazda Proteg� owners manual that came with a genuine Mazda leather case for the booklet.
When I got the case, it was a little dirty, so I cleaned it up and polished it with some black shoe polish.
I think the shoe polish is also from 1993 lol
Like new
I used the leather case from the Proteg� and put the RX7 booklet inside of it.
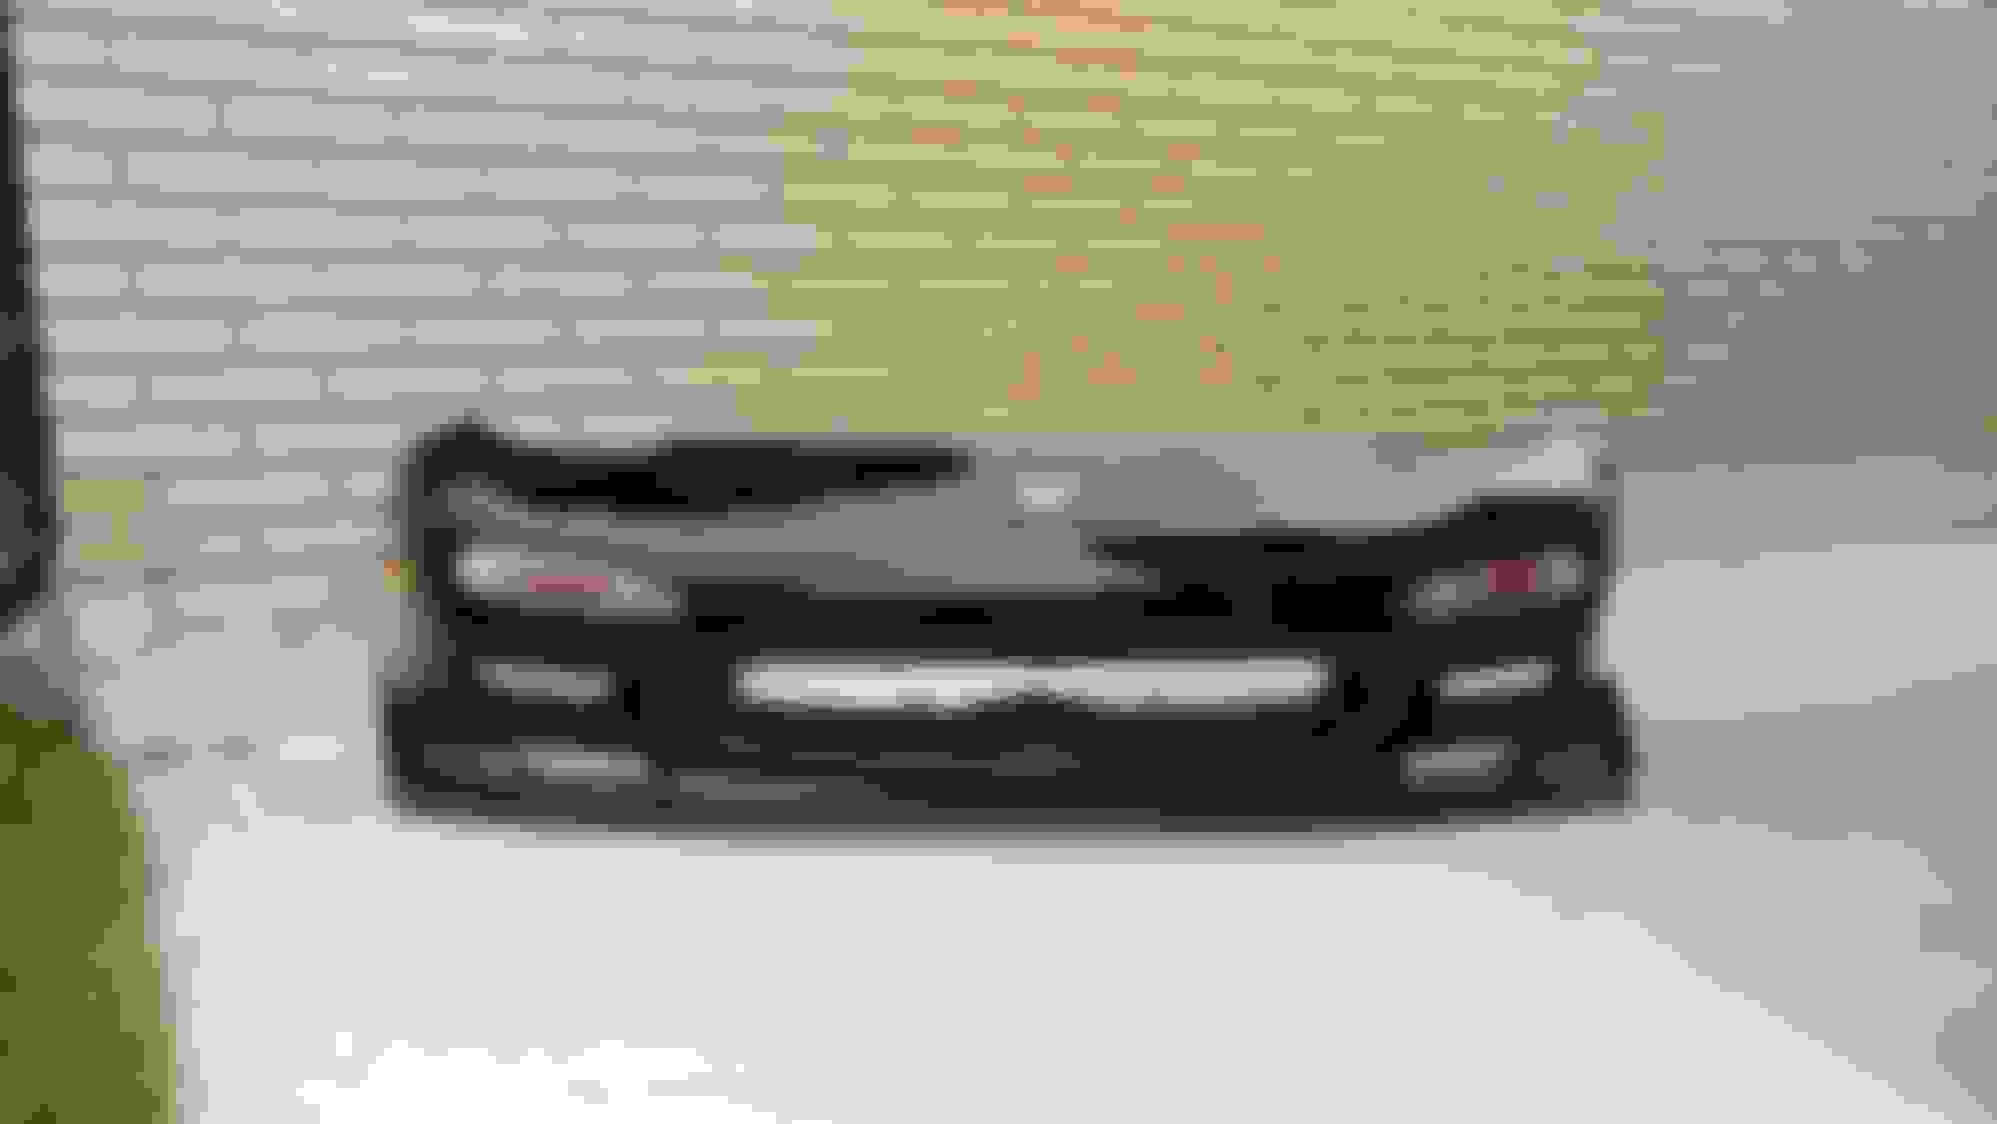
While I had my car at the painters I also had him do a 1993 OEM bumper that I picked up locally this year.
It was in far better conditions than the one that factory one that came with my car, which was badly scraped from the curb collision, and had ripples all across it and was very visibly wavy. Ultimately, it was too destroyed to be saved, so it was time to look for a new one.
The reason for this, is that I wanted to have an original 1993 front bumper for my car. Mostly, because I also love the original 93 style. And as a back up bumper just to have, to be able to switch up the look of the car, as well as keep what was original to the car.
The one I picked up locally that was in Montego Blue.
Being that the painter had leftover paint and materials, we decided to go for it and have the 93 bumper done at the same time, with the same paint mixture. I also had him patch the holes from the permanent license plat mount that was on the bumper from the previous owner
Once I got it back home, I put on a brand new 93 era Mazda emblem, and installed some brand new OEM turn signal fixtures
Aaand a URAS GT Carbon front splitter from Japan
It turned out pretty good I think!
Very OEM +
The last thing to do with the body, cosmetically and possibly functionally, is to install the Attain KSP Carbon Fiber GT bumper guard.
This Japanese part didn’t fit exactly due to the Shine RE Street diffuser installed, it was meant to be attached using the OEM rear Valence.
So I had to trim and cut a little bit of carbon fiber off of the guard before installing it.
I used one screw to both attach the carbon fiber guard to the bumper as well as tack the rear diffuser more securely to the bumper.
Trying to keep the body damage to a minimum, the rest is held on with some auto-body grade 3M double sided tape.
I wasn’t exactly sure how much I would like it. Decided to throw it on and not look back.
I think it doesn’t look too bad on a black car. Adds a little bit more of a race car look. And overall, you don’t notice it too much at just a glance.
How does the URAS lip mate to the s6 skin? Is it intended to match the s6 nose?
Fitment was nearly perfect! All the holes lined up and everything went on no problem. I just used M8 clip nuts and hardware to mount it up.
URAS makes both a Kouki and Zenki version in carbon and FRP
I specifically got the Zenki to fit the S6 bumper. I can DM you a link if you are interested
After all this fine tuning of body work and detail stuff, the final 10% was finally finished.
It was finally time to give the car its first wash at home since the new paint.
I bought some Meguiar's Gold Class car soap and some VERY nice microfiber rags from the The Rag Company.
After the wash, it was time to take the car out, just before the sunset, in low light and take some beauty shots of the finished car in its final form.
I brought my nice camera and did a mini photoshoot with the car.