When you click on links to various merchants on this site and make a purchase, this can result in this site earning a commission. Affiliate programs and affiliations include, but are not limited to, the eBay Partner Network.
I go get the car and I let my Dad drive it back to the garage this time. It�s his first time actually DRIVING the car. His impressions were great. I am very proud of our work together thus far and it was nice being able to share some of the excitement and results with him by allowing him to experience the car and give it a few nice pulls on the drive back. And for me being able to see the car from the outside point of view, driving down the street, in motion is a beautiful perspective. Hearing the exhaust from directly behind the car when on the throttle is amazing.
And, I will tell you this. He is a far better driver of the manual transmission than I am. Haha.
The main objectives for this year has turned out to be some suspension work and a fresh high quality paint job. A repaint of the car. I will keep the car black. And I will probably choose to keep it the original Brilliant Black. I also will finish the body work with the accessories I picked up from ShineAuto in 2019, which have been sitting in that same huge box ever since.
This will finish up both the 2nd goal,4th goal and 5th goal with the car
I also have the plan to overhaul a few other aspects of the suspension while I have everything taken apart and loose in that area.
I chose the 10kg Front / 8kg Rear options. I also read a lot in the forums about coilovers and spring ratios and stiffness, and I feel like I made a good choice in how I will be using the car.
(Mostly street with the possibility of some non-competitive track time. 80% Street, 20% Track)
These things are beautiful
Before starting, I pulled measurements on all the corners of the car from the floor and wrote them down to see where the car sits after the new coilovers are installed.
Fronts first. Everything is pretty straight forward. I used my floor jacks to support the whole hub assembly to make things back together a little easier.
Out with the old / In with the new!!
I decided upon getting the front coilovers with the solid pillow ball mounts instead of rubber. It cant be worse than what was already in the car lol
Fronts done. I matched the overall end to end length of the old struts with the new ones to get a super close ride height end result.
Basically went from the top of top hat (top) to center of bolt hole (bottom)
I also cleaned up some of the bolts and sanded the rust off the brake line clips.
As well as applying new thread locker and grease where needed. Torqued everything to spec.
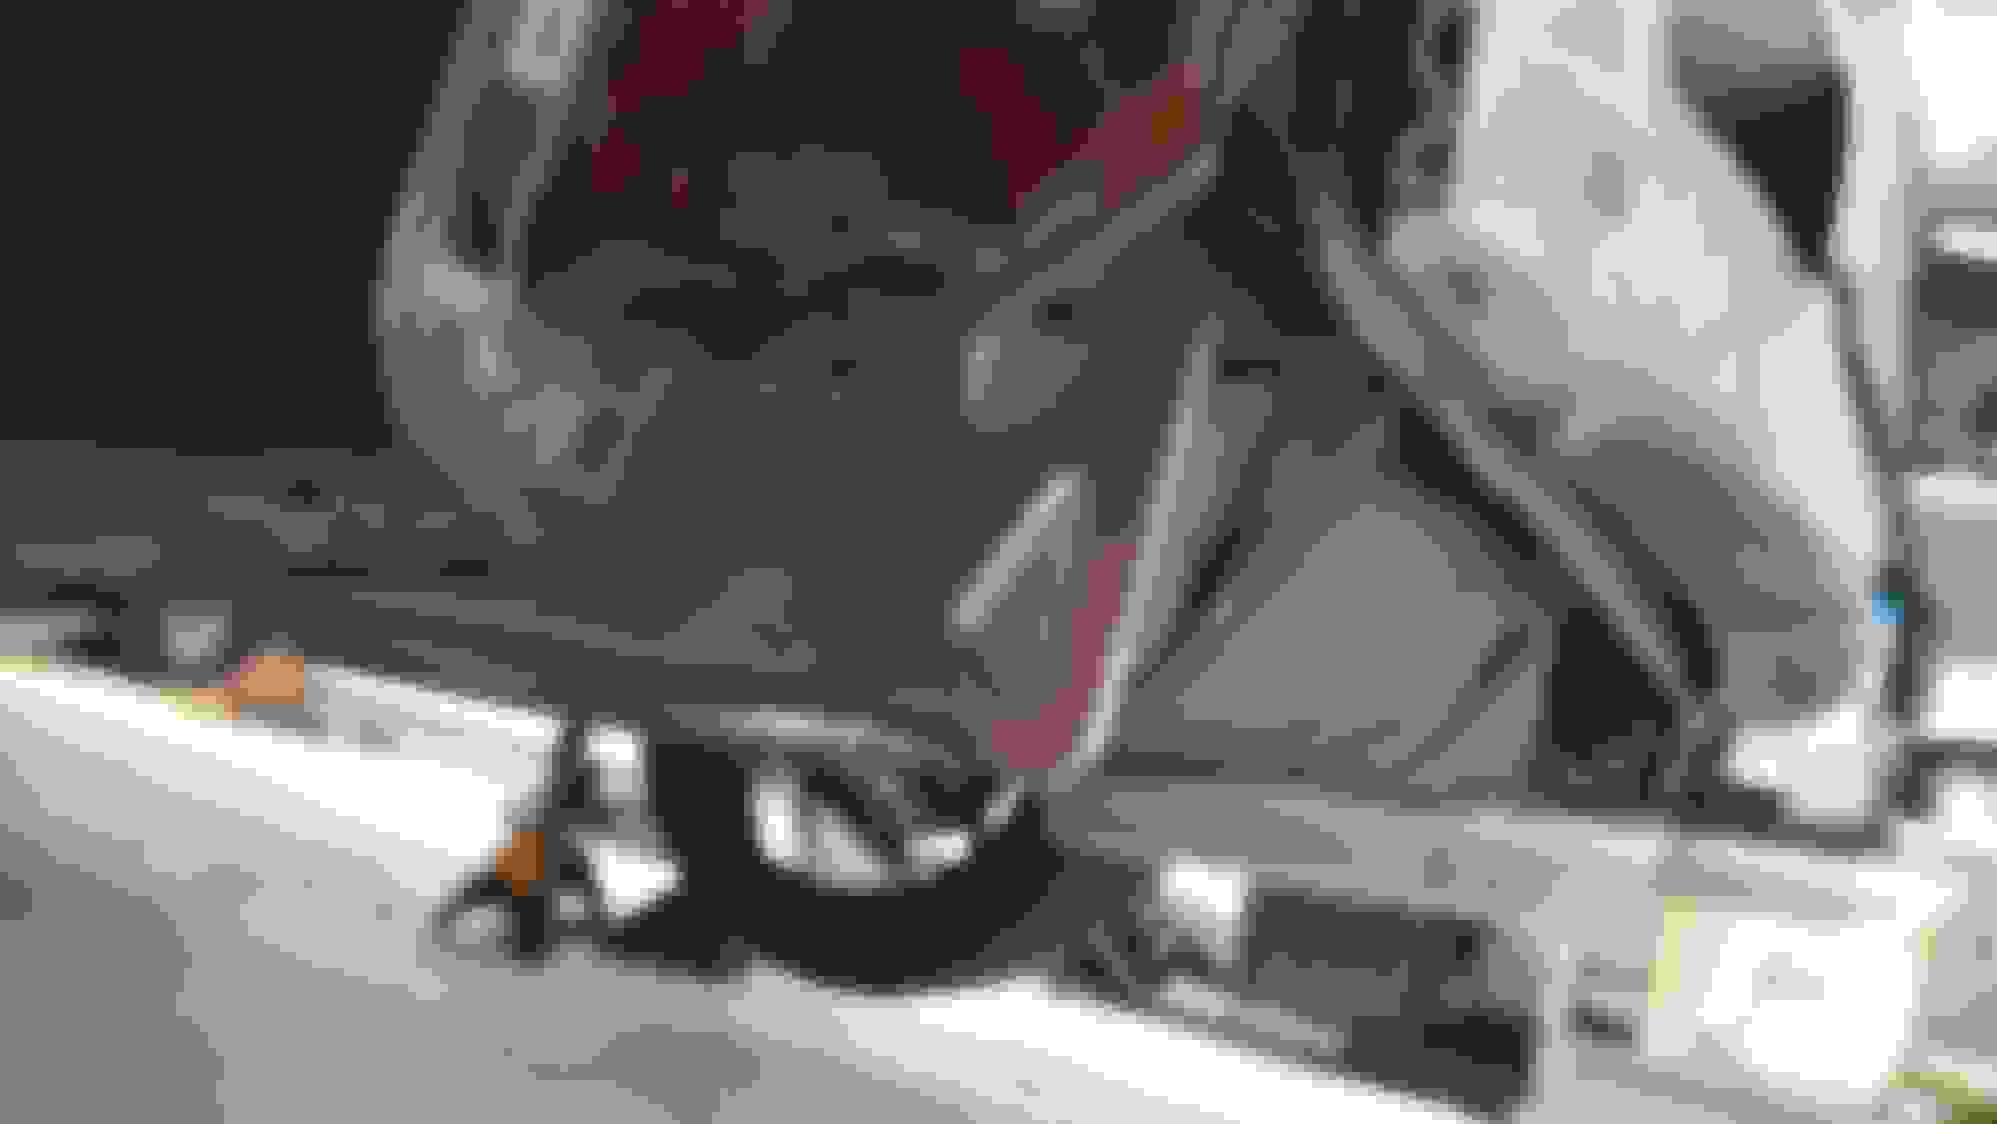
This is where the party is gonna really start. Starting with total disassembly.
Time to press out some old bushings
I started with the trailing arms.
These came out easy. No real problems. I just used the correct socket and a 2ft breaker bar
Trailing arm Replacement bushings. I went with Superpro for these
Next up we are doing the Inner bushings on the lower control arms. Carefully with a hacksaw, I cut the edges off the composite like material. I accidentally went just ever so slightly into the aluminum (weight reduction).
I will say that this whole process is a huge pain in the *** if you do not have the correct tools.
So I ended up buying the correct tools... and it made a huge difference.
I chose some Mazda Comp bushings for the replacements for these. 40% stiffer is what they say.
And it was a hard fact that the old ones were completely shot...
So all the pain in the *** of getting everything pressed out and replaced will be 100% worth all the effort.
Next, we pressed out all 6 of the pillow ball bushings. Which were also all completely shot and doing nothing for the suspension.
It is something to note that the car did indeed suffer from the infamous “clunking” under acceleration and braking.
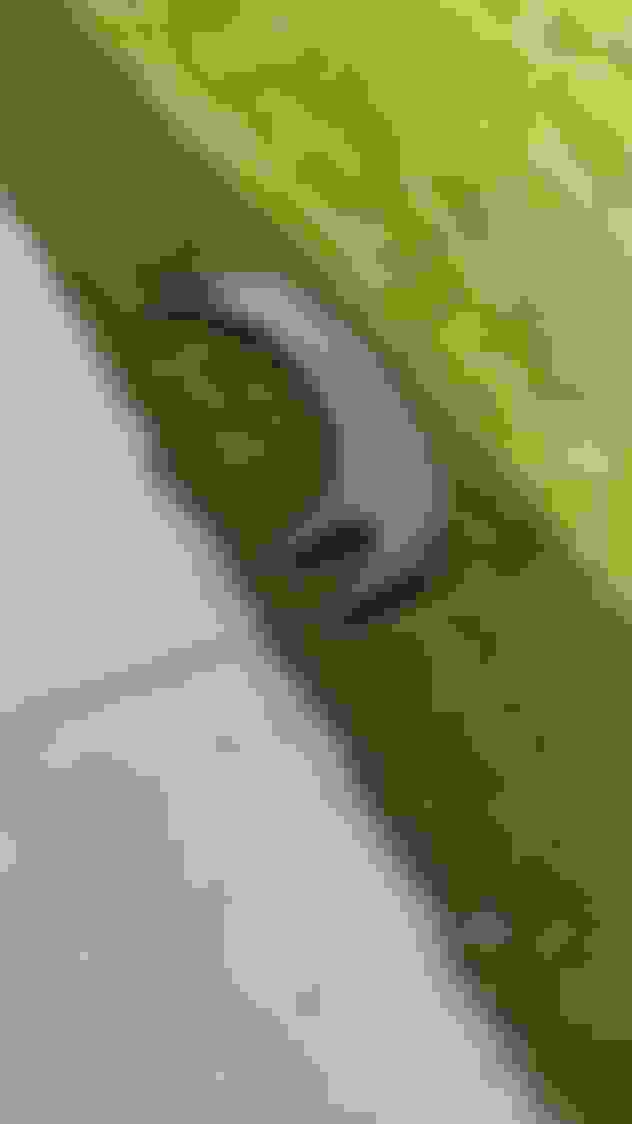
Here is a picture of the old worn out pillowball bushings after removal…
I went with all new Mazda Genuine OEM replacements. Not cheap.
Pressing all the new bushings was seriously satisfying process.
Like it actually felt good and was very satisfying to do haha.
All new fresh grease, retaining washers and rubber seals.
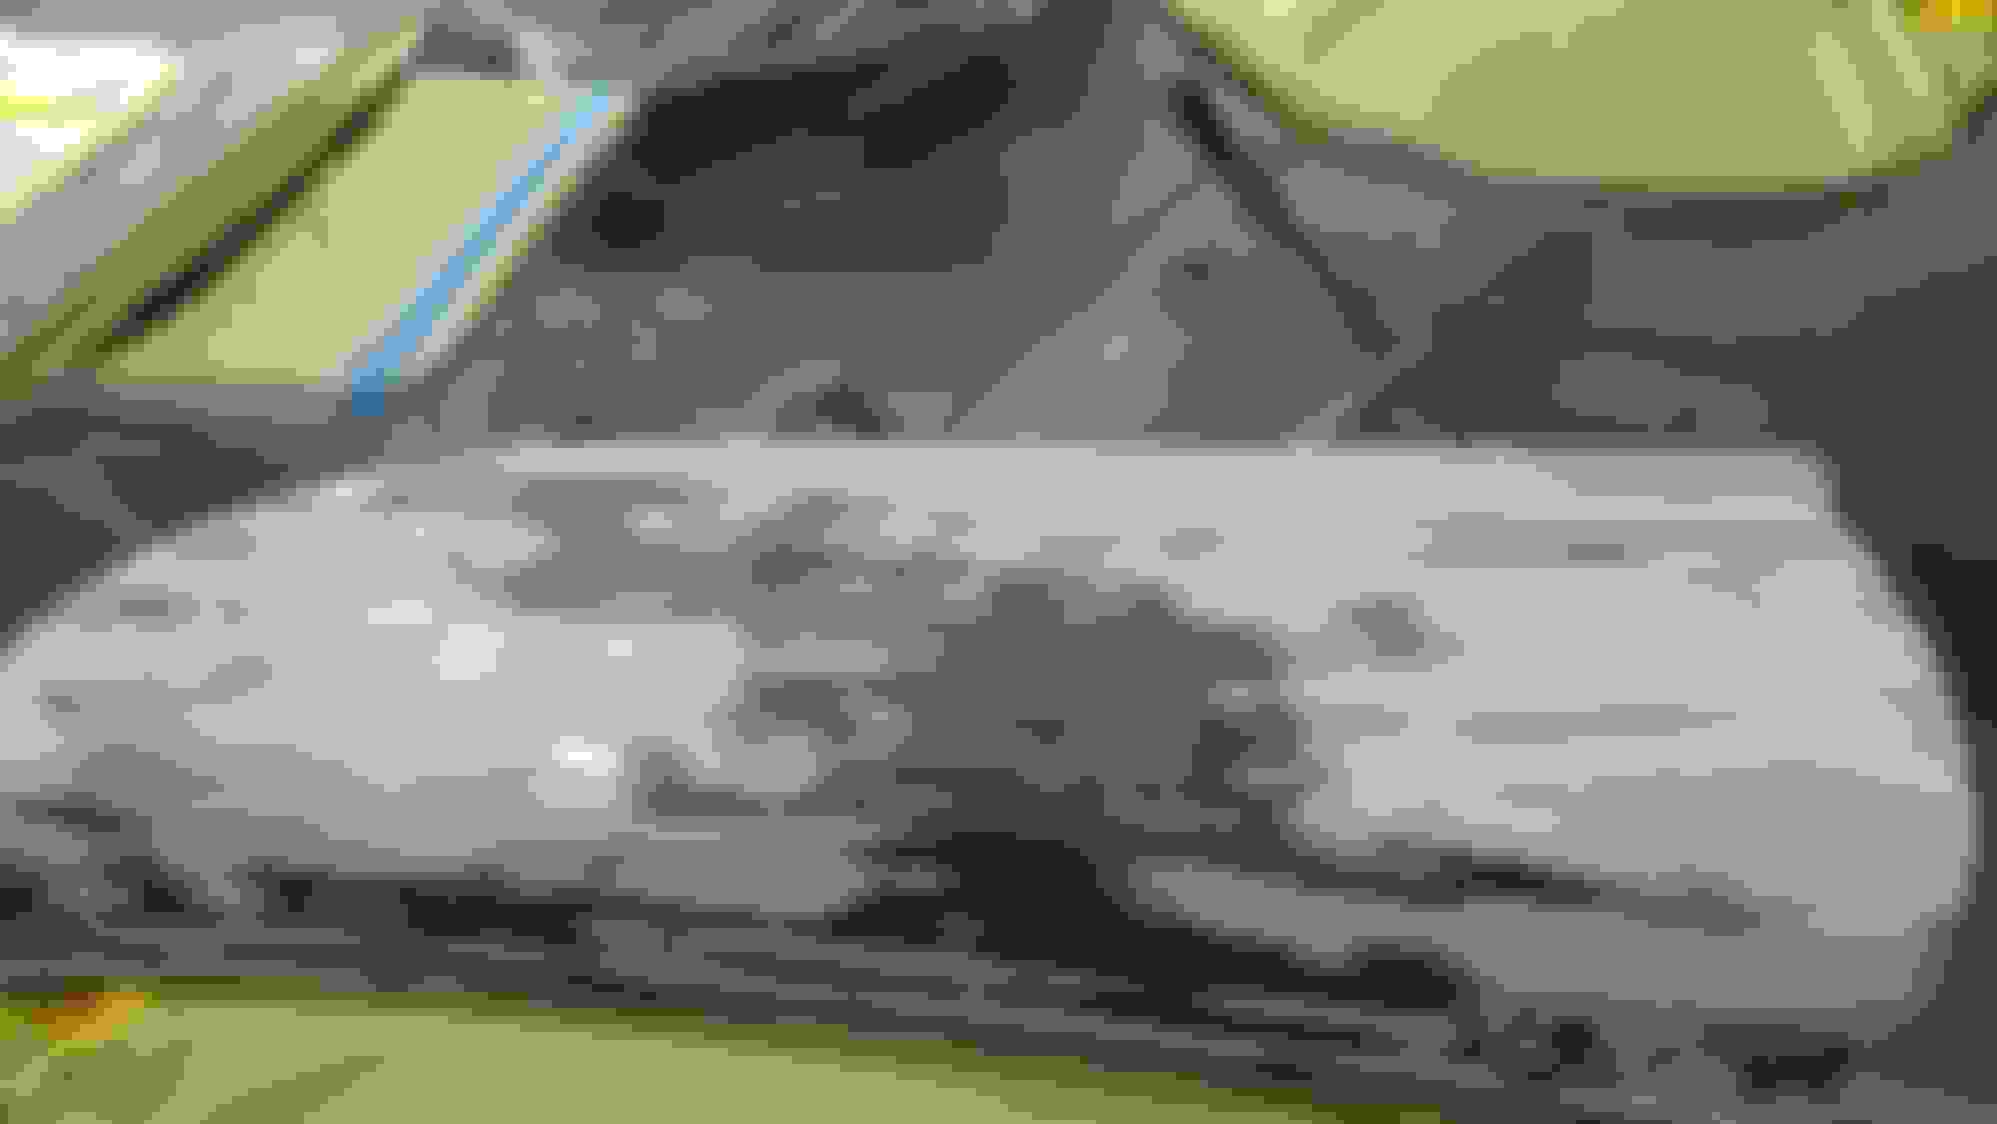
Rear lower control arms all back togetherI did a quick deep scrubbing and degreasing of everything while the control arms were out of the car, and repainted everything silver once again afterwards. A much more thorough job this time.
I also picked up a pair of Improved Motorsports adjustable rear sway bar end links, as well as some new OEM hardware for a few places during the reassembly.
But overall, for the most part, most of the bolts and nuts were in great condition..
I went with some Powerflex bushings for the upper control arms due to shipping time frames. Superpro was like 2 moths out being that they are from Australia, that and the whole worlds global trading and manufacturing industry is all messed up right now with COVID.
I only replaced the two outer bushings on each side for these. The inner ones looked fine to me
This is a better thread for how to do this work in 2021.
This tool is a must have if you are going to replace your bushings yourself
It is the tool that I bought and used. And it really is the ticket to getting all these things in and out like a pro.
And here you go!
Here is everything put back together.
I ended up having to grind some material off of the Racing Beat Sway bar on both sides to have everything clear and be at the correct angles. It wasn’t much. Maybe �” with a grinder and cutting wheel.
Digging through some old photos of the car back in 2019, I was able to find a picture of the same wheel well.
Here is a before and after picture of the rear suspension from how it was when I got the car, to as it now.
A lot of progress has been made
Time for a very very much needed alignment. Ever since I have owned the car, I have not ever had it aligned.
Which is ok, because I it’s probably better to wait until all the suspension work is done and where I want it before doing an alignment anyway, and also I have not driven the car very much to even warrant the need for an alignment.
I schedule an appointment back at the local V8 specialist shop down the road
They are to do 2 things.
1. Alignment
2. Remove the line-lock solenoid and re-plumb the OEM brake line system that came on the car.
They said my alignment was so far out of line it was laughable.
It took them 2 hours to complete my alignment LOL
While I was at the shop, they brought to my attention that the belt going around the idler pulley and water pump was wearing excessively and I should replace it. They recommended buying a water pump pulley spacer to fix the misaligned belt, which was rubbing on the lip of the water pump pulley. I took their advice and drove the car home.
I immediately noticed how the car soaked up bumps so much better than before, it also drives very straight now
Here are the alignment specs and my Ohlins dampening settings that my car has as of right now
I read though Howard Coleman’s thread for a lot of advice on my selection of spring rates and alignment specs.
Earlier I was going to install the Shakkito plates but the Line-lock junk was in the way and I was unable to install the driver side
So now I will finally finished this install.
When I ordered them, it said color may vary, but luckily when they arrived, they were already black in color.
The passenger side install was a bit of a pain to install due to the location of the openings in the top firewall.
The driver side was orders of magnitude easier in comparison.
The only thing I really had to do was to re-route some wiring to the relay to make the driver side plate fit.
The relay was on the side of the engine bay for a relay that powers the Intercooler fan.
This was ok, because it was in an ugly location/ and poor wiring job anyway, and ultimately cleaned up the engine bay.
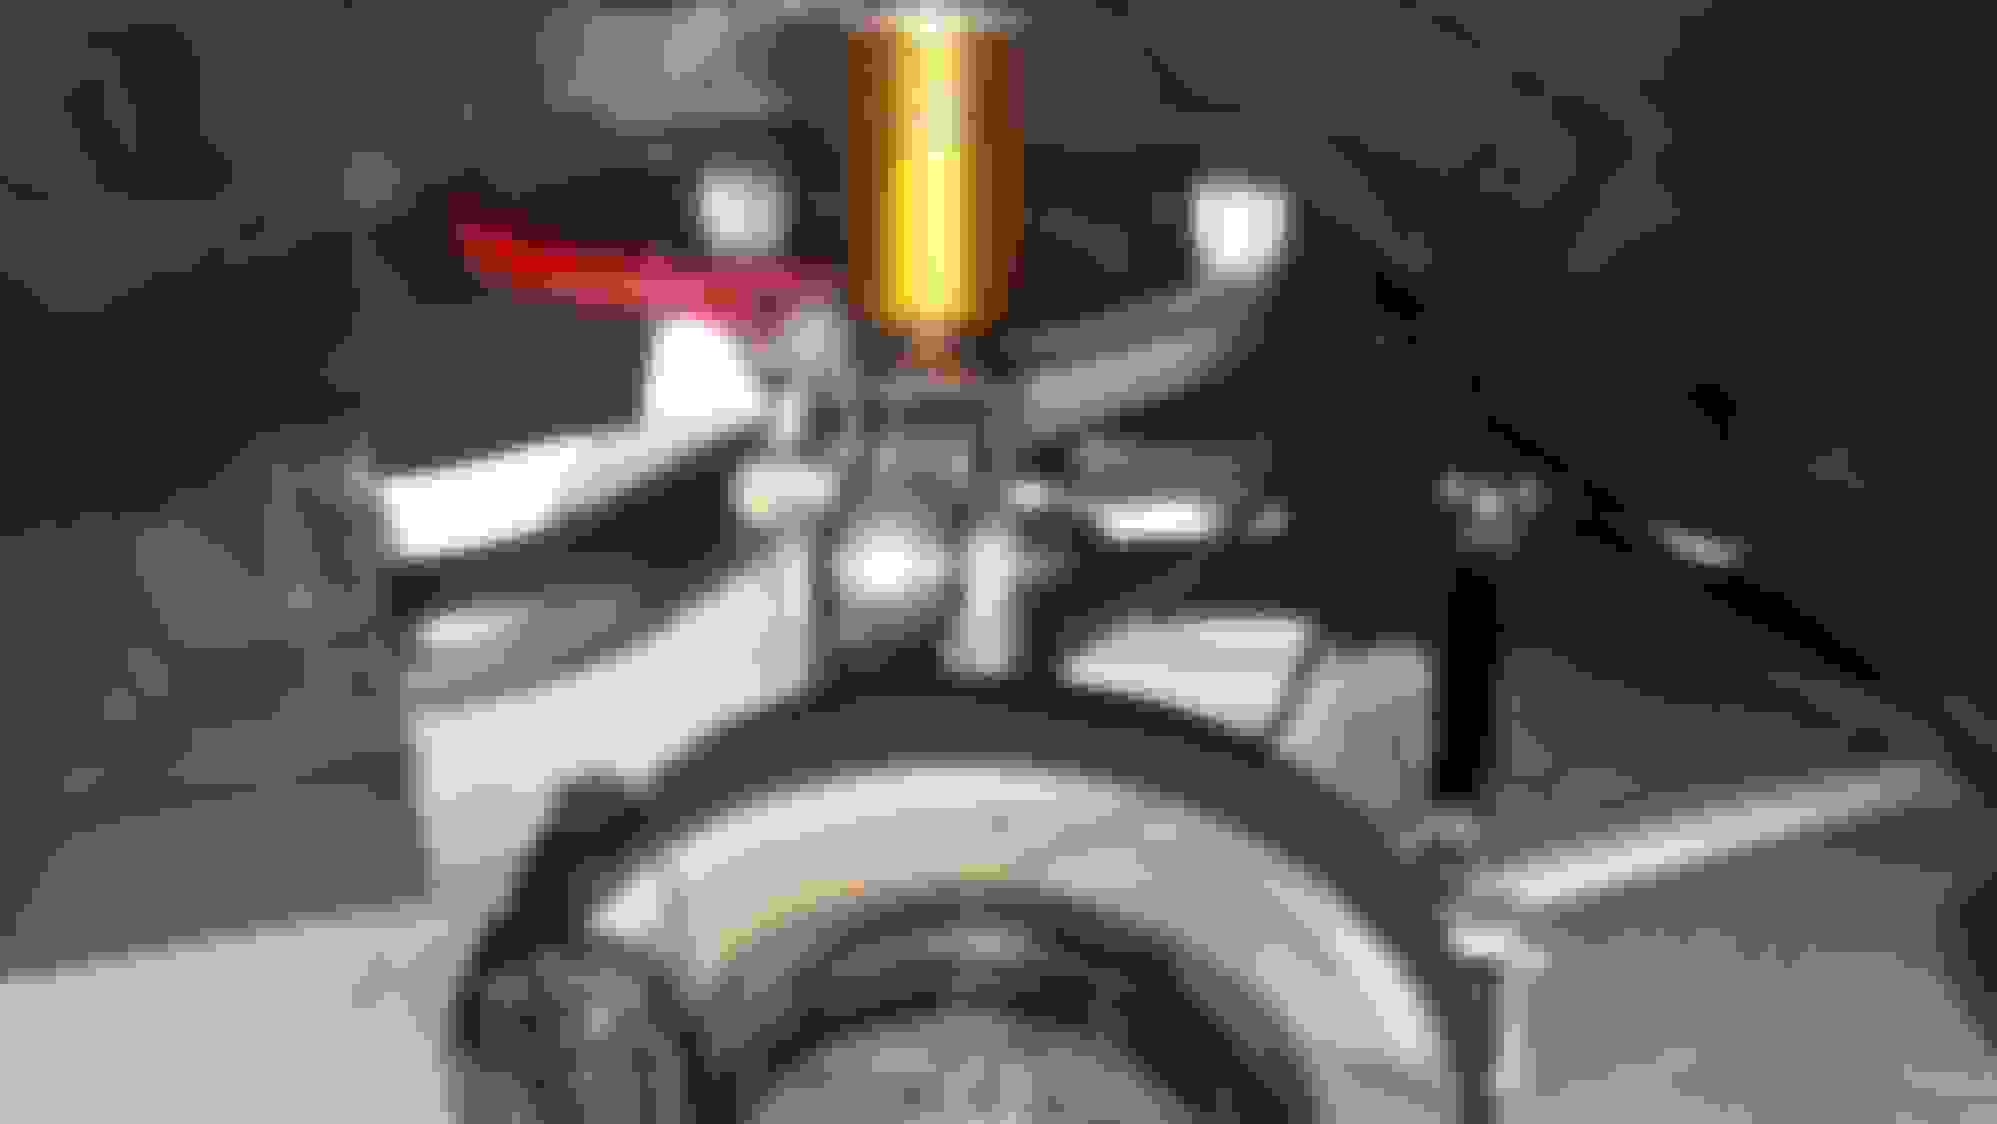
Also at the end of the previous year I had chrome plated the strut bar mounting brackets, and this year I had bought all new mounting hardware for the new strut tower threads for the Ohlins coilovers, as they were a different thread and pitch than the old KONI’s
I get everything bolted down and am ready for my first actual/legitimate drive of the car post alignment and suspension work done.
During this time, both of my sisters were home for a spring break/post vaccinations and COVID nationwide had slowed down.
I decide to take them both for a ride in the car while they are home.
The car drives amazing. The dampening is night and day difference from what it was before.
I went through a twisty area where the signs designated a speed for the turns, but I took it well over that number, and the handling made everything feel so controlled, it didn’t feel like we were going very fast, even though we were.
Towards the end of the drive I took with my first sister, I had noticed the water temps slowly going up, then quickly going up after doing a pull up a hill.
(They went from a very solid 89 to 99 C.)
I pulled the car over and noticed a strange vibration coming from the drivetrain. I got very very worried.
I turned the car off with the temps at 99 and popped the hood.
It turns out that I broke the serpentine belt for the water pump. The same one that was getting worn out by misalignment.
(The same issue that the mechanic literally pointed out in the last post)
I called my Dad and had him bring out a replacement belt that I had bought and was just sitting around.
We fixed it right there on the side of the road. With many eyes staring at us as they drove by.
The new belt we put on fits a lot better than the old one that broke. It also happens to be a much higher quality belt.
Here is an action shot one of my sisters took
The one that broke was too tight and too wide for the pully. I also think I may have tightened it too much with the alternator height adjustment bolt.
After the new belt was on and everything back together, I started the car back up. No more vibration, and everything seemed to be good. Except for a kind of loud snapping/popping/clicking noise coming from the area of the belts.
My other sister gets in the car and we drive home. I mostly babied the car home, I did do one little pull for her. The car held up. All temps are good, everything felt ok.
The next day I started the car up again and again there was a loud popping noise coming from the belt/pulley area.
And after some examination, the new belt was still misaligned and still rubbing on the lip of the water pump pulley.
Although it was not as bad as before, it was still rubbing.
We did some measurements and I decided that the best solution, was to take off the idler pulley, and grind the mounting bracket down.
Just the area where it bolts onto the car, and enough so that the reduction of material will make it sit where it should, to have the belt more aligned with the other pulleys.
Here is a picture of the mounting bracket after being ground down and roughly repainted.
I also took off the other (OEM) idler pulley.
I cleaned, sanded, and painted it.
And added a little fresh grease to it before putting it all back together on the car with some new hardware
It was pretty ugly before. Looks like new now
Everything put back together, you can see how much better aligned it is.
SUCCESS!
Fitment ideal
During this whole process while the airbox and stuff was all taken apart, I decided to replace the galvanized steel intake tubing with polished aluminum tube. I rewrapped it before putting it all back together after the belt work.
I also used a white paint pen and put a white dot on the side edge of the belt. Any friction will wear the white paint off, and visually indicate there is still rubbing.
I start the car back up. No more clicking noise!
I think the noise had to do with the brand new belt having a lot of sticky grip on the pulleys. The rubber would stick, and then slip just enough for it to snap or make a noise from the friction. (Think basketball players shoes squeaking on the court floor)
I further experimented with this before grinding down the pulley bracket by spraying some mist of water on the belt/pulley.
It eliminated the clicking noise instantly. And then when the water dried/evaporated, the noise came back.
At this point I also bought 6 new backup belts for each pulley set. In case an event like this ever happens again.
By simply having a spare belt just sitting at home SERIOUSLY SAVED MY ***.
_______________________________________________
So here it is. This is my finished engine bay. With the Shakkito plates installed, cleaned and painted pulleys, chromed strut bar ends as well as a brand new aluminum oil filler cap that I picked up from Japan.
This finally marks the completion of the 2nd Goal that I set out to achieve when I first got the car
Engine Bay is complete
And here is a nice side by side comparison of the engine bay at from the time I got it next to how it is now.
The car has come a long way and it’s amazing how all the little things add up over time.
My alternator pulley came with shims. Im not sure if your belt is towards the back lip, front lip, or centered on the water pump pulley.
But if you do not have shims for the alternator pulley I would definitely look into that.
Im wondering if thats why you had to pull the idler pulley back because the alternator pulley is not sitting out forward where it is supposed to be.
I thought the belt should be right behind the front lip on the water pump pulley.
Yes, this exactly.
The belt was rubbing up against the front lip of the pulley, grinding down the bracket pulled it back in line so it became more centered.
Buying some aluminum shims is a good idea.
I picked up some nice Mazda seat belt pads for the seats in the car
I found that they add a nice touch to the finished interior.
This is where I begin the 5th Goal of the car.
Body and paint.
My plan is to step by step tear the car down, getting it ready to be brought in to the paint shop for the work to be done without them having to really take anything apart.
This way too, I can keep the car’s plastics and other parts and safe at home, as there are a ton of plastic clips and other kind of fragile things in the hatch area.
I will start by removing the bumpers and installing the front and rear titanium tow hooks I bought from Alpha Garage
Nothing sexier than some Titanium parts!
I decided on powder coating the front hook gloss black and leaving the rear hook plain raw titanium.
My OEM tow hook on the passenger side was bent pretty bad. I had to partially uninstall the oil cooler mounting bracket to be able to pull the old tow hook out. Once that was done, I test fit the new tow hook on the car, and cut the mesh on the bumper so that the tow hook could pass through the opening easily.
After a little bit of tweaking around with the oil cooler bracket, the fit and finish is great
Next up is the rear bumper. I have never taken it off. And from what I’ve read, it seems to be a bit of a pain.
I found that this was the best guide for the removal process.
I start by removing as much of the rear trunk and rear hatch plastics as possible. Removing the rear tail lights and side marker lights.
Removing the reverse lights, then removing the old disconnected antenna.
I am going to delete it as part of the repaint
This thing looks like a walkie-talkiefrom a Star Wars movie or something.
This is what you gotta do if you want to remove your rear bumper….
It wouldnt be that bad if I didnt have the roll cage..
Still was able to make everything work
Once that’s all out of the way, I start on the 4 top nuts.
I had to remove the ABS ECU in the back just enough to reach the extension nuts
Once those were all off. I move to the underside of the car to do the two big nuts holding on the bottom part of the bumper.
The driver side came off like a dream, the passenger side nut was rusted on. I hit it with some WD-40 and impact gunned it off.
The nuts looked ok, but the studs that were on the bumper side…wooh boy were they rusty.
Now time to pull and yank carefully. I used a plastic interior tool to guide the bumper off along the seam, to convince the clips to snap off. And then BOOM, violently the rear bumper came off.
Looks like a few clips broke in the process and one of the clip inserts was missing on the chassis side.
Time to order a bunch of extra replacement and spare plastic clips
With the bumper off, I noticed the Styrofoam on the rear rebar has been burnt at some point in time from the exhaust.
This is how you know you own a fire breathing rotary!
For anyone interested in an off-road FD that’s lifted, this picture will give you an idea of how it will look.
With the bumper off, I install the rear Tow Hook and use all new 10.9 hardware. Easy install
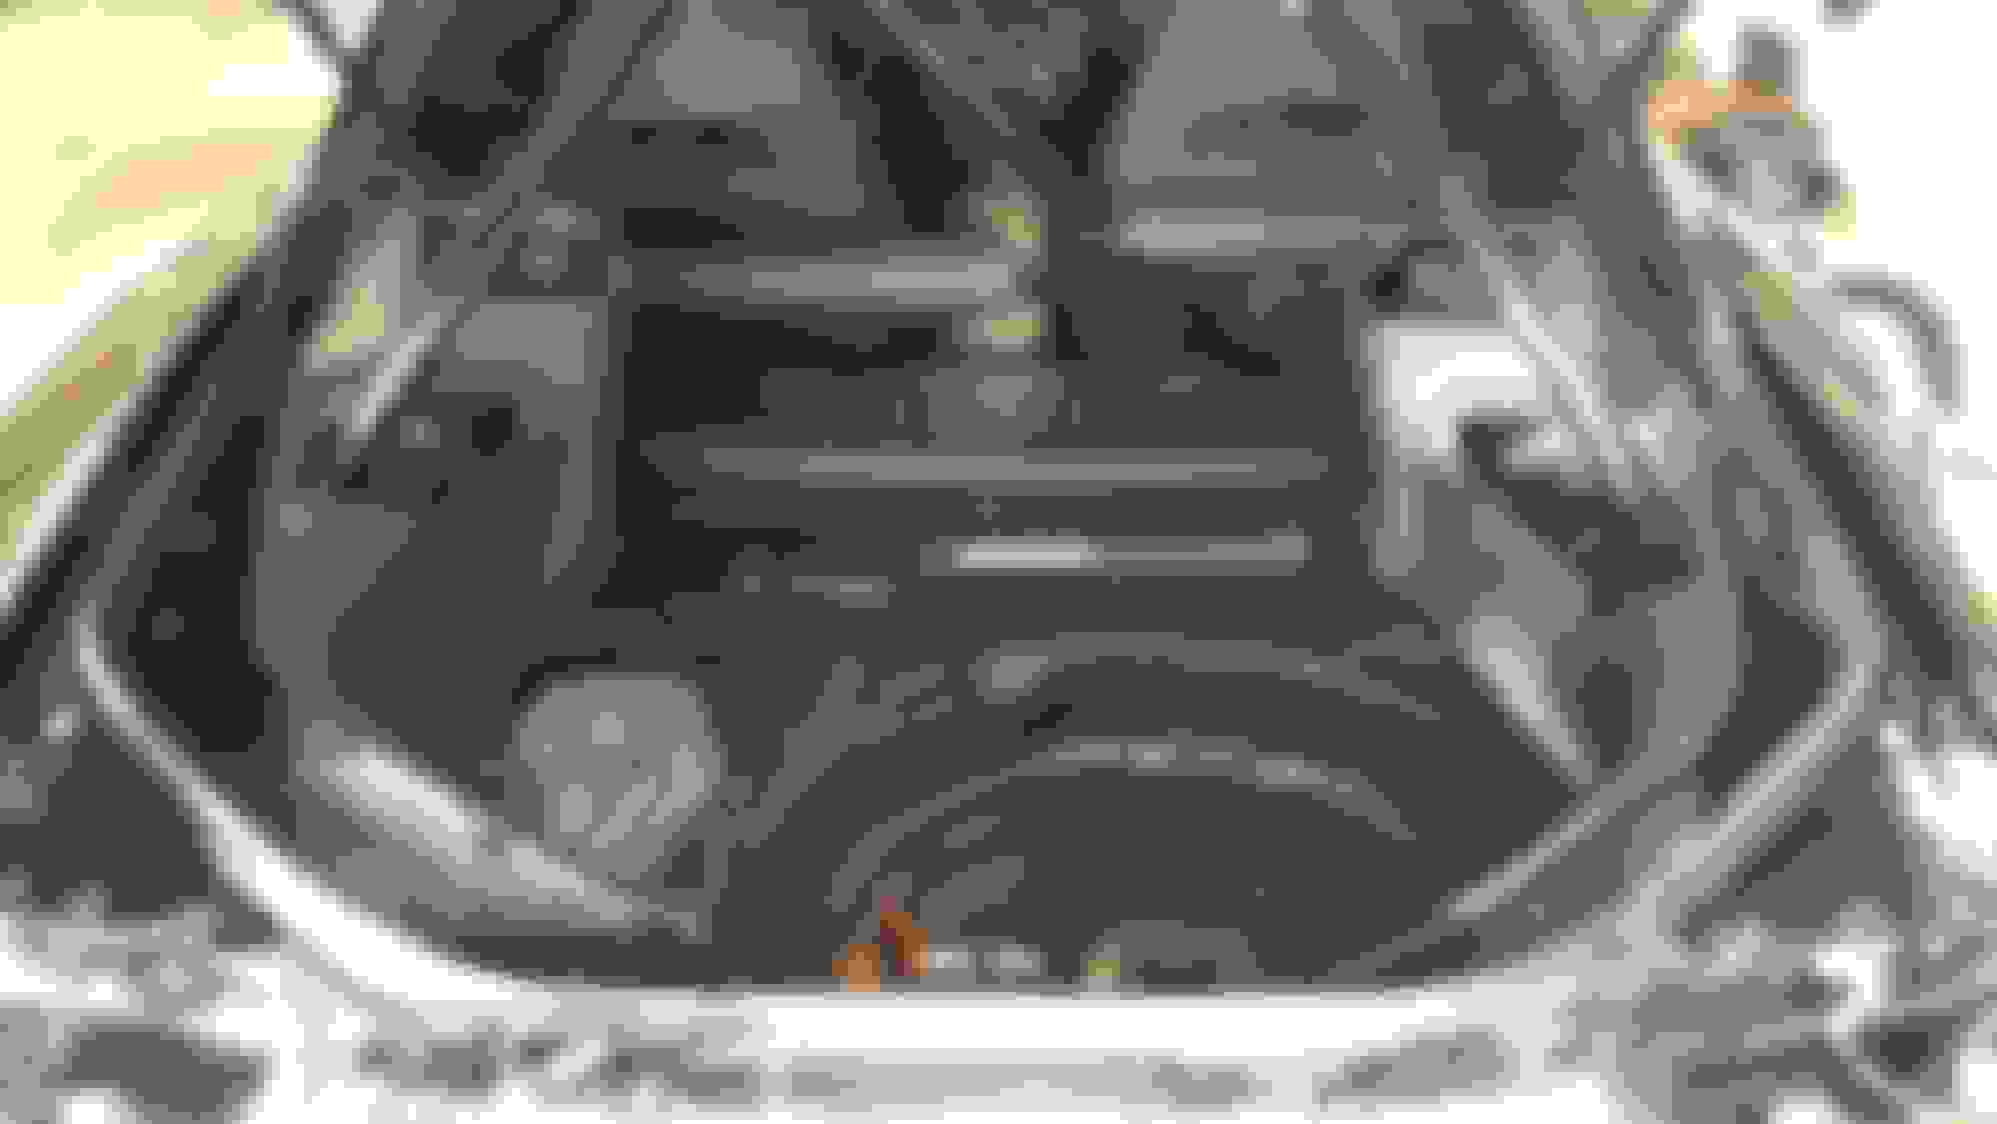
With the rear bumper off the car, you can really tell how massive the FD's 20 gallon gas tank is
Mine is a little dented..
Assuming from the previous owner's impact with the curb.
But as long as it isnt leaking, I dont care too much about it
Next I fit and mount the FEED style carbon side steps from ShineAuto.
I used the square holes in the front fender and pull a few measurements on the underside of the car to miss some of the plastic plugs that are under there.
Then I used a paint pen to mark out where to drill the holes on the side steps.
Time to drill some holes in the side steps. Then drill the matching holes in the underside of the car.
I put two in the front fender, one in the middle of the chassis, and two towards the rear side of the chassis.
Then I used some M5 rivnuts and bolted it all up. Overall, pretty easy. And for something so simple, it really transforms the look of the car.
Front fender
Rear side, just in front of the rear wheel well
All mounted up with M5 stainless steel hardware
The carbon fiber twill looks so good here
Once they were both all bolted up and onto the car, I took them off for safe keeping. I will also probably clear bra them with some 3M before finally putting them on the car after the paint.
Next up its time to remove the rear spoiler. One of the studs was just spinning with the nut. And boy were these nuts rusty.
I ended up pretty much just obliterating it. I think I actually melted it off with an impact gun while pushing up on the spoiler.
Once off the car, I cleaned up the hole and put a new, M6 rivnut in the same hole to replace the loose stud that came out when the wing came off.
I also got side tracked and took off the rear hatch striker and sanded it down to give it a fresh coat of black enamel.
Bought all the needed replacement parts for a windshield replacement, door drip moldings, all exterior trim moldings, and outer door window trims for the upcoming paint work.
All genuine OEM Mazda parts are getting so expensive!
Nothing like getting a massive box from Mazda Japan in the mail.
I also got some much higher quality and nicer RAYS 7075 forged lug nuts for a little additional bling bling after the new paint
Another thing to note about these, is that they are about half a lb lighter than the steel ones I currently had on the car
I like..
After talking to a few people in the rotary community and doing some browsing of local paint shops, I finally met up with and scheduled for the car to be brought in to a small custom automotive shop with only 3 employees. They said they could get the car done in 2 weeks. However the painter was going on vacation that first week and would only be around to spray and finish the car.
There is something a little anxiety inducing about dropping your car off at a shop and knowing they are going to take everything apart and tear it up and sand it all down and you are paying all this money with high expectations of it being amazing…
And all you can do is hand them the keys and trust them that they know what they are doing and will take care of your investment.
Here is a write up of work to be done that I made for the painter
PAINT:
Mazda - Brilliant Black (A3F /PZ)
Should be just deep gloss black - No metallic flake, No pearl Multiple clear coats
_______________________________________
Fix and remove dents:
-Roof / Passenger rear side – medium dent
-Roof / Driver front side – small dent
-Rear Quarter panel /Passenger side – small dent
-Door / Driver Side – 2 large dents and 1 right above them – These are the largest dents on the whole car
-Front Fender / Driver side – small dent
-Front Fender / Driver side - Paint appears to be chipping where fender rolled & rubbed
-Hood – Front/ near passenger side headlight – 2 small dents
-Front fender / Passenger side – small dent
-Front fender / Passenger side - Frontal most corner where meets the bumper – Check alignment
-Rear section – Was behind the bumper – slightly below the tail light in the corner
The corner is slightly buckled / paint is cracked. / Passenger side.
This may have no effect on bumper alignment and is not seen once the bumper is installed.
-Rear section – Underside of car - Right by the exhaust / Passenger side
– I believe this impact is what caused the buckle noted above
NOTES:
Body / Overall
Sand, inspect, and repair all paint bubbling
Sand and inspect any rust from rock chips on fenders, sides of car, behind, and in front of wheel wells.
Sand down and smooth out the textured rock guard from the manufacturer on the lower sides of the car under the doors and rear quarter panel.
Rear Hatch / Spoiler
Patch and repair the Antenna hole in the rear quarter panel / passenger side
Patch and repair holes in rear hatch from old OEM rear spoiler as needed.
Fit and mount the new rear spoiler – (A single rivnut in 1 spot may be needed. The outside holes in the hatch from the old spoiler may need to be dremeled out align the spoiler properly. Keep the 4 original outside holes for possible future reversion to old OEM spoiler)
Front / Hood
Only paint the top side of the hood
No paint in engine bay
Paint inside of door sill and side jambs – Keep all stickers and manufacturer nameplates intact
Glass / Trim
Remove and replace front windshield.
Replace all molding and trim for front windshield with new
Remove and replace the outer trim for the rear hatch window with new. (Rear hatch glass can stay on the car)
See OEM Parts List – Supplied by owner
Items to be painted the same color as car.
Remove and paint over front outer mirror sail triangle trim pieces.
Window sail Right (FD01508R0B)
Window sail Left (FD01508S0B)
Remove passenger door handle trim and replace the plastic pull handle with aluminum pull handle and reassemble before paint. (I ended up taking it home and doing this)
ShineAuto OEM style side skirts
99-Spec Front bumper
Mazdaspeed rear spoiler.
New OEM headlight covers
________________________________________
OEM MAZDA PARTS LIST – ITEMS PROVIDED BY OWNER
BUMPER
(1) Front Black Efini Emblem (F100-51-731A-00)
(1) Rear Black Efini Emblem (F100-51-741B-00) –I may have 2 rears and no front?
(Front has 2 holes – rear has 3 holes..)
WINDSHIELD GLASS
(1) Front Windshield Upper Molding (NA01-50-6B1)
(1) Top Windshield Trim (FD01-50-6AXC)
(2) Front Windshield Mall Protector (NA01506B2)
(1) Mazda – Front/Rear Rubber Window Seal (854563902)
(2) Mazda – Window Spacer (EA0150891A)
(1) Outer Door Belt Molding – Left (FD01-50-650E)
(1) Outer Door Belt Molding – Right (FD01-50-640E)
(1) Mazda - Molding LH Door Drip (FD0150530E)
(1) Mazda - Molding RH Door Drip (FD0150510E)
HEADLIGHTS
(1) Right Headlight Cover (FDY2-51-SH1)
(1) Left Headlight Cover (FDY2-51-SH2)
Wow! Can't wait to see it when it comes back. I've been interested in those 'Shakitto plates' myself. Install looks great and please share any driving impressions if relevant. Keep up the good work!
2 weeks seems like an excellent turnaround time! I was quoted 3-6 months but mine does require a bit of bodywork. Look forward to see how it comes out!
(Also I'd also be driving by to check on it as well lol)
Is It stored outside.. and... How many times have your driven by to check on it... common be honest.. lol
Haha, they took it in to get working on it the very next day!
I ended up taking multiple trips out to the shop to both check on the progress, and take pictures of the process
Originally Posted by Jatt
2 weeks seems like an excellent turnaround time! I was quoted 3-6 months but mine does require a bit of bodywork. Look forward to see how it comes out!
(Also I'd also be driving by to check on it as well lol)
Yeah, 2 weeks is what the painter said.
My car also required quite a bit of body work. Its one of the main reason why I really wanted to get it repainted, if I was going to get all the body work done, I might as well get it re-painted too.
Wow! Can't wait to see it when it comes back. I've been interested in those 'Shakitto plates' myself. Install looks great and please share any driving impressions if relevant. Keep up the good work!
Yeah! They really hide the ugly stuff in the corners of the engine bay and give it a cleaner look, also, they are very JDM.
Apparently they help stiffen the firewall under hard braking, preventing it from flexing under stress.
I imagine they also act as somewhat of a strut stiffener for the front suspension too, in the same way a strut bar does, but more front to back instead of side to side.
A few more days later and the body, doors and fenders were all sealed and ready for painting.
I took the passenger door handle home to install the new aluminum handle and apply fresh grease to everything
The painter got back from vacation a day and a hlaf late, and he prepped to shoot the car on that Friday.
He started with the rear quarter panel and a fender and then stopped.
The car exploded with a reaction to the base coat. Bad news. He said there were immediately a ton of “Fish-eyes” right as soon as the paint hit the car.
He didn’t hesitate. He stopped everything and decided to sand everything back down and start over. They worked all weekend and I didn’t find out until Monday when I texted him to see how things were going.
I went over to the shop after work to talk to him and check it out...
Here are pictures of the car after being sanded down all weekend.
They sanded down everything they put on, all the old paint, old primer, and even went down to the bare metal in some spots.
They did not do this the first time.
The whole car was either factory paint, factory primer, or factory sealer. He said there was about 6-7 layers on the car overall.
And they brought the car down to basically the first 2 layers.
The painter said the car had definitely been painted before.
As assumed, it was not the factory paint to begin with. This made me feel a little better about choosing the Brilliant Black. Who knows what black was used before..
At least now I know that the car will be back to its OEM color/paint code.
Also, this time around with the painter not on vacation, I feel more confident that everything will be done to a much higher standard than the first time.