When you click on links to various merchants on this site and make a purchase, this can result in this site earning a commission. Affiliate programs and affiliations include, but are not limited to, the eBay Partner Network.
How many gallons of distilled water did you end up using to do the coolant flush? Mine's due for one and want to prepare ahead of time, the go to guide by Gracer7 said he used 14 gallons lol
How many gallons of distilled water did you end up using to do the coolant flush? Mine's due for one and want to prepare ahead of time, the go to guide by Gracer7 said he used 14 gallons lol
Hey Jatt, I think I used about 3 full Gallons of Mazda FL-22 which is a 55/45 pre-diluted mix.
Depending on your climate, you could run more or less Distilled water and some water wetter in your car.
Depending on your radiator size, you could use more or less coolant.
For the flush, I brought my car in to have a shop use their machine to pressurize/clean the coolant system. Its different from just a drain and refill.
But you can do your own DYI flush by doing a bunch of drain and refills at home repeatedly. I would use a safe coolant system cleaner and distilled water and follow the instructions. It really could take alot of distilled water.
A flush is good for any car that has been sitting with coolant in it for a long time, as there will most likely be rust or other contaminates built up in the system.
The main thing to keep in mind when doing any coolant work (adding new coolant) is to properly burp the system to get ALL the air bubbles out.
This can be a real time consuming process, but it is crucial for managing the heat produced by the rotary, properly.
Follow this FAQ and buy this funnel burping tool, it will make your life so much easier https://www.rx7club.com/3rd-generati...ispreloading=1
It is designed so that it screws on where the radiator cap goes, and you just idle the car with coolant in the funnel and it will burp and expel the air out of the system.
The goal is to eliminate all the air from the system, which is more tricky in an rotary due to all the channels circulating inside the housings.
To do this you will need to keep adding and burping the system, letting the car run, get up to temp, and cycle its coolant, until all the air bubbles are out and the coolant levels are full. A quick tip is to reach down and squeeze the radiator hose while you are doing this, as it will pump alot of air out.
You'll know when your done, because the coolant level will be full and there will be no more bubbles coming up from the funnel!
2020 - Interior Restoration- Part 5 & Exterior Lighting Upgrades
And here is both, the new steering wheel and boost gauge installed!
I don�t know why but I dyna-matted my trunk area also. Maybe it will reduce some road noise?
With both seats now out of the car, I decided to bring them in to a good local reupholstery shop. I let my Dad pick out the material. It�s a high quality UV resistant suede like cloth material. They are also going to redo all the seat padding and foam supports while they have them. While I�m waiting for them to finish, I decided to go through the whole car and replace all the bulbs with new LED�s.
I bought nearly all the new LED lights needed on amazon.
The lights replaced are the headlights, front and rear turn signals, brake lights, rear side markers, reverse lights, the dome light in the interior, the rear hatch trunk light, as well as some RGB light strips I got off of amazon�don�t judge me haha.
The first set of LED lights i replaced was the license plate lights and HOLY MOLY LICENSE PLATE LIGHTS!!!
Next up I switched out the front turn signal lights
But the blinkers were all out of whack after switching to the low resistance LED
Took out the CPU#2 and carefully clipped out the resistor. Re-installed and everything works like it should again!
I love your build man. One question though. Why wouldnt you get some led projectors for your head linghts or HID kit with projectors.?
everything else look great,.
I love your build man. One question though. Why wouldnt you get some led projectors for your head linghts or HID kit with projectors.?
everything else look great,.
Thank you!
Honestly, it is purely aesthetic tastes. I didnt like the big round 'eye's that the HID kits come with.
And I wanted to keep the OEM pop up headlights.
2020 - Interior Restoration- Part 6 & Exterior Lighting Upgrades
I took my tail lights out and sent them off to a dude in California to retrofit them into 99-spec style lenses.
He was quick to respond and did a phenomenal job with explaining the process and options.
While I had some of the rear plastics and tail lights taken taken off, I replaced all the rusty nuts with stainless steel hardware and gave some of the rear hatch plastics a nice coat of SEM trim black.
I also sanded and painted the metal brackets that hold the center tail light with some black enamel, as they were also a little old looking.
Just like new
I also did the same with the front windshield cowl and all the little bits that make up the weatherproofing underneath it
A couple weeks later, I got the new tail lights back from the retrofit. I also replaced a few of the plastic ***** that the lights snap onto.
(A couple broke/were broken while removing the tail lights)
I used a little grease in the plastic notches on tail light housings to make them come off in the future easier and not so violently.
I am very happy with them.
MUAAHAHAHAHA
(Red to match all the dash and gauge color. I also set the RGB in the new stereo unit to all red, so everything matches)
So awesome to be a part of this group buy put on by Garage Alpha on behalf of LevyRotorCorp for the return of these super nice aluminum gas and dead pedals!!
SEATS ARE BACK! They look amazing. They basically look new
Waiting on the seats to be done was the longest part of the whole interior process. The guy had them for almost 2 months
I decided to SEM trim black paint the plastic bits on the seats
And then did a little sanding and rattle canned the seat brackets and mounting bolts black to clean them up.
They were actually pretty rusty and nasty. After the paint dried, I applied a little bit of fresh grease to all the sliding channels and moving parts on both of the seats.
Last step was to install the Alpha Garage aluminum floor mats that I picked up the same time as the aluminum pedals.
I decided to only install the driver side.
And the final touch, a brand new OEM shift **** that I got as nice Christmas gift in 2019
Something I forgot to note was how I worked some magic with these toolbox and jack compartment covers.
My car didnt come with the covers, just a roll cage.
I found some on eBay and bought them specifically to see if I could make something work with the roll cage in place.
I used some cardstock paper to align the holes and shape the covers. Then used a hole saw to cut the holes in the plastic covers.
Then I cut very thin discreet slits in them to be able to flex around the roll cage. And once on, I put on some trim edge guard for a more close and finished look. I am very happy I was able to have these turn out, as it makes the whole rear trunk look so much more complete and finished, instead of having two huge holes.
I like to think it looks like a roll cage from the factory
AND BOOM!
THE INTERIOR IS FINISHED
3rd Goal with the car is complete
It literally feels like you are sitting in a new car when you get into it now. Like a really cool new car from 2020.
It was a ton of work, and a lot of very scary moments with the very fragile plastics, but I did it. And in the end it really makes a huge difference when it’s all done.
So now that the interior is done, I have one more thing before the end of the summer and before the car goes back into storage for the winter
And that is the front bumper. The car hasn’t had a front bumper basically since the first week I got it.
Lets get started!
93 OEM front reinforcement bar carefully cut and painted black to accommodate a 99-spec conversion!
Over the summer, I have very carefully sourced all new hardware for the front bumper that I bought from ShineAuto in 2019 and I am ready to assemble everything and mount the new front bumper on the car.
After many hours and picture surfing, I ultimately decided on choosing a genuine OEM 99-spec bumper straight from Japan.
With so many awesome and rare front bumpers to choose from, there are several bumpers for the RX7 that I feel you cannot go wrong with.
And I like them all equally. In the end it was a tough call between a FEED AFFLUX Ver. 2 Type R and the 99-Spec.
My decision came with the emphasis on fitment, OEM quality and design, and the overall style and goals of my build. (OEM+)
Here is a picture of everything needed to mount the bumper
With all the OEM hardware, bumper mounting brackets. Even the new OEM Mazda rivets for everything
The only things I was not able to source was the Left and Right side retainer pieces. (FD01-50-1G1 / FD01-50-1F1)
So I ended just using the ones off of my 1993 bumper.
It’s a pretty straight forward assembly. Kind of fun working with all OEM stuff. Everything works the first time. Lol
I just used my 93 bumper for a reference.
I used all new OEM clipnuts and bolts to mount the carbon fiber Mazdaspeed front splitter to the bumper
Everything fits like it’s meant to.
The next step was to use some of the black mesh to cover all the inlets and openings in the front of the bumper.
This was a lot easier than I initially thought it was going to be. Just went slow and put in some thoughtful snipping here and there.
Bent everything to shape and trimmed where it was needed.
Then I used GOOP Automotive and a few c-clamps to hold everything together for 24 hours. The result is rock solid. And it looks REALLY good from the front.
Time to mount the bumper.
Things don’t go as well as planned. I have to re-route some oil cooler lines and use a sharper degree AN fitting for everything to be able to sit tighter together.
(The problem was the 99-spec turn signals were hitting the duel oil cooler hose/fittings in a few spots.)
I also had to remount the little center Styrofoam piece that sits on the fiberglass reinforcement bar.
After a little bit of taking off and putting it back on a few more times, I eventually got it on
Another Fantastic LRB product!
I had to cut some of the shroud to fit around everything for my car.
Powdercoated gloss black
RESULTS
Now we just need to figure out how to include the ShineAuto custom under tray.
Bumper off, and the carbon splitter off the bumper.
I first started by actually assembling the under tray, and then by trimming some of the edge to match the curve of the carbon splitter.
I used painters tape and a sharpie marker to find center and line everything up.
Then I just put it up inside the lip of the splitter and wedged some foam in-between the gaps to make everything secure, snug, and tight.
The undertray wedged up inside the front spoiler
Next was to build some brackets to attach the whole thing to the subframe.
I took some 12 gauge aluminum strips and cut them to length.
Then I pulled some measurements and drilled the holes needed. And then bent them up into the shape they needed to be to fit over the sway bar.
After that I just bolted them up to the under tray where they needed to be and fit the whole thing to the front bumper as one assembly and installed it on the car.
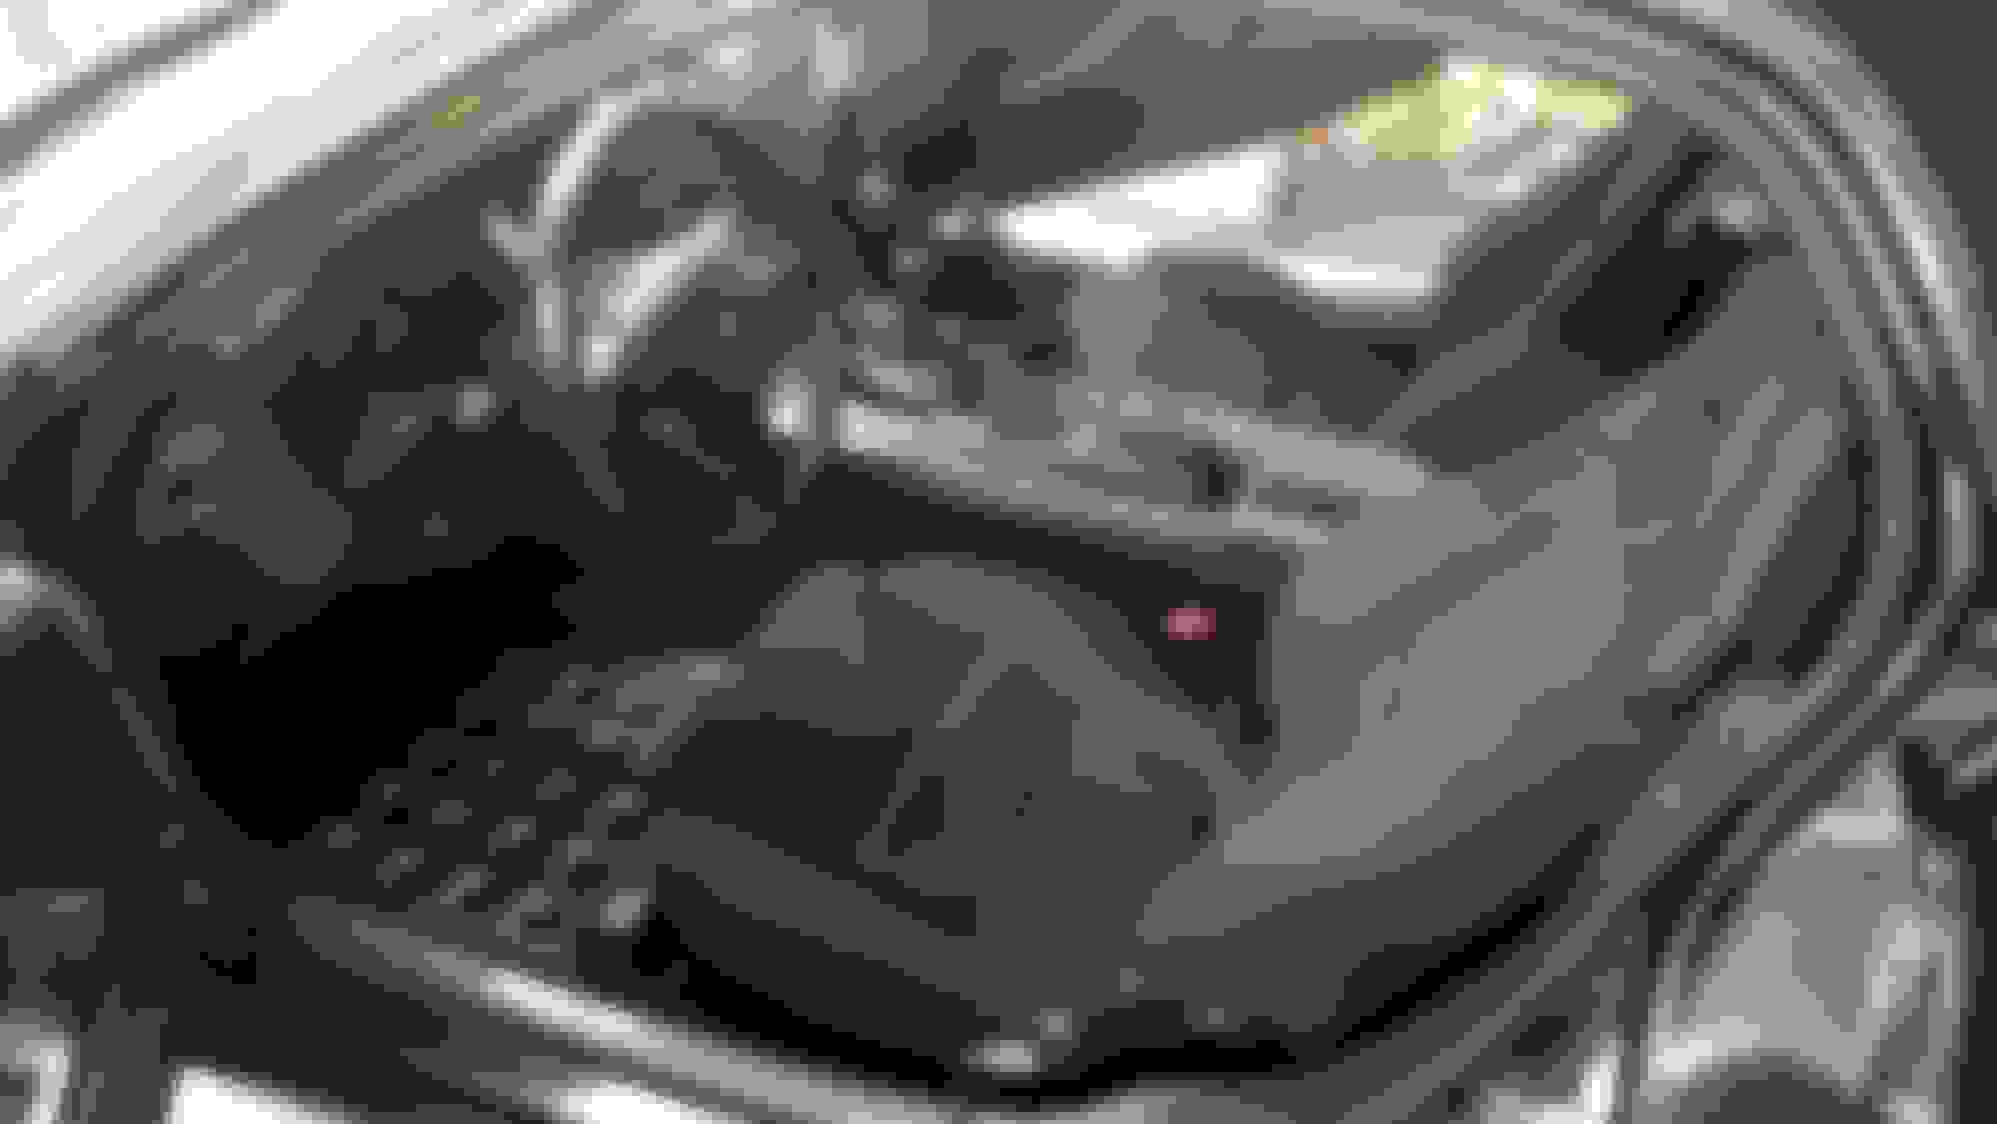
Last little thing to do with the car before winter was to install a exterior battery charging receptacle of some kind.
This mod was one of the best things I have ever done to the car. I highly recommend for people to consider this if you have relocated your battery to one of the rear bins.
First thing I did was locate the bin on the underside of the car, to make sure there weren’t any fuel lines or anything important running directly below..
Then I drilled a hole in the chassis. And fed the wire through.
Next I mounted the plug to the plastic under plate and wired it up on the other end so that it was hooked up directly to the battery
Here it is on the bottom side of the car.
The hole I driller, I then plugged with some duct sealant for weatherproofing.
I then sprayed the whole thing silver, along with all the other aluminum guard plates that were under the car, to freshen them up.
Here is the finished result. I can now charge my battery without entering the car and fiddling with the battery behind the seat!
It’s like a TESLA!!!
I am going to call this the Tesla Mod.
And I may do a write up for this whole process