When you click on links to various merchants on this site and make a purchase, this can result in this site earning a commission. Affiliate programs and affiliations include, but are not limited to, the eBay Partner Network.
Since there are no formal guides on how to remove the rear bumper and the design is a PITA I'm going to make a write up of how I removed it so anyone else attempting this in the future has something to reference saving them time and preventing them from breaking a piece or two or three or all. This should also help weed out any nonsense and clarify any discrepancies. Beware pictures galore.
Tools required:
10mm socket extended and/or 10mm ratcheting wrench
12mm socket extended or 12mm ratcheting wrench
Philips + screw driver
T30 torx bit
nylon or plastic or masking tape wrapped flat pry bar
very fine flat head or jewelers flat head
interior trim clip pry bar
Steps (does not necessarily have to be performed in the order listed):
Optional: disconnect negative battery cable
Open rear trunk
From above remove the (3) Philips screws holding each taillight in place. (6) screws total.
Optional (makes removal of taillights easier). Remove (4) Phillips screws holding trim cover for center light to reveal center light nuts. Remove (4) 10mm nuts holding center light in place. Remove connector and lift center light out of place.
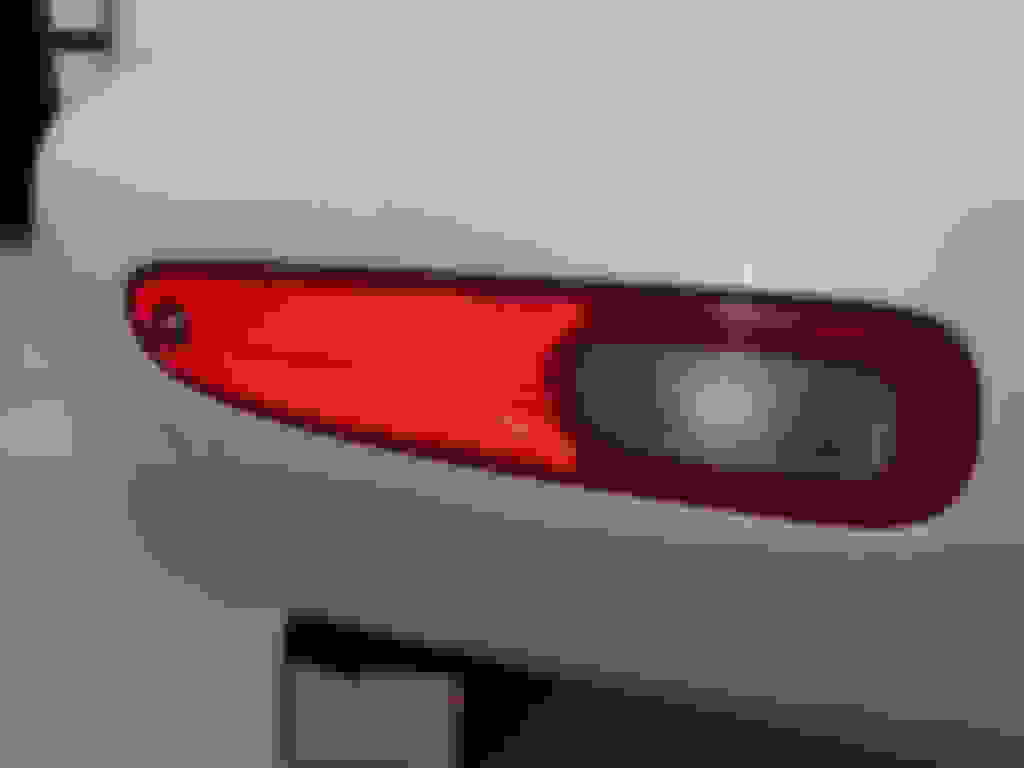
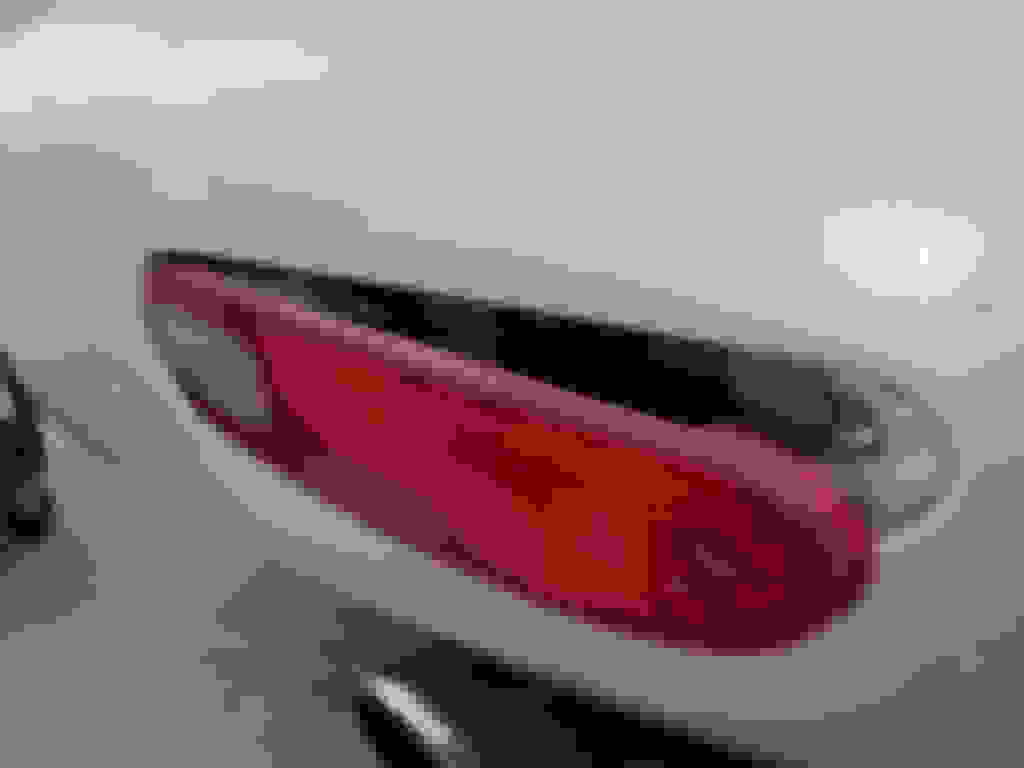
Use your left hand to grasp and support the driver taillight (on the outer edge near the quarter panel) while the right hand pushes the inner portion of the taillight (where the taillight would normally mate with the center light) out toward the side of the vehicle. Essentially you are sliding the taillight from the center of the vehicle to the side of the vehicle in a parallel manner. Do not pull or pry back on the taillight. It has clips that are designed to slide on and off from the side. To do otherwise will damage the clips. The taillight will "pop" off of the clips which will then allow you to twist the (3) light bulbs off freeing the taillight. Repeat the same steps for the passenger side.
Remove (1) 12mm nut located under bumper where the rear quarter panel mates with the rear bumper. There is one on each side for a total of (2) nuts.
Remove all torx screws on top of the bumper that are revealed after removing the taillights. There should be (4) on each side for a total of (8) t30 torx bolts.
Remove the trim clip on top of the bumper located in the center using your trim clip pry bar.
Remove the reverse lights from the bumper. Remove (1) phillips screw from each light then pull that side out. You can gently pry it from the top bottom and side until you can grip it to pull it out then unhook the other end. Once it is out disconnect the power clip and place the light aside.
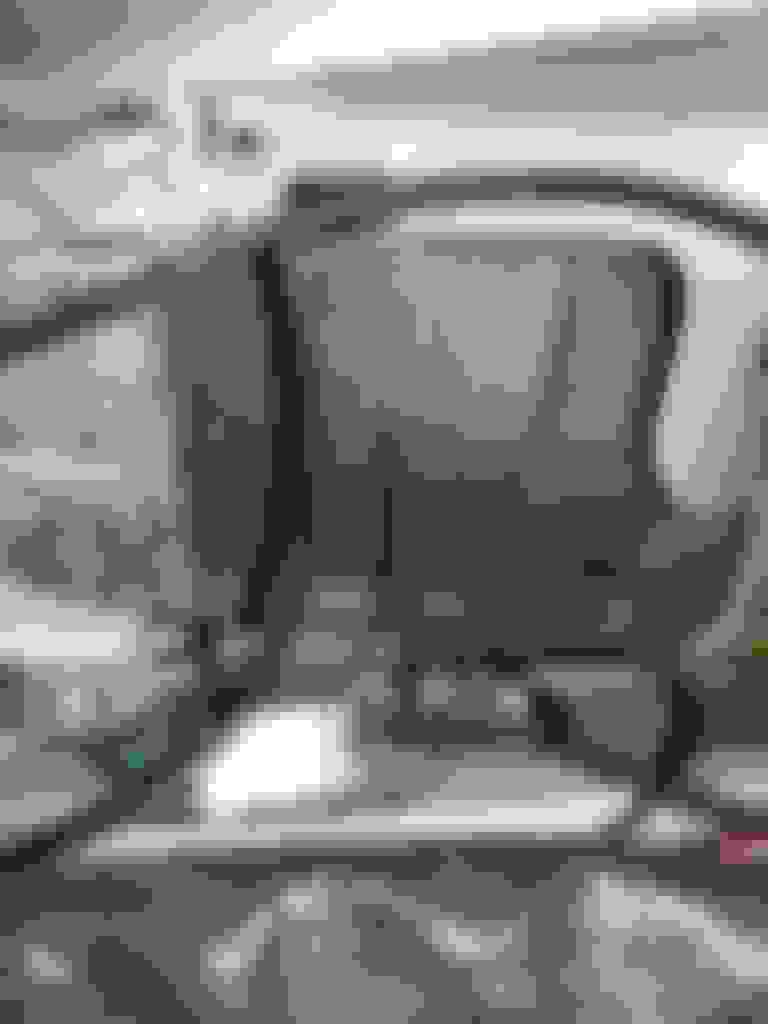
Remove the plastic trim inside the trunk lining the bumper and most of the quarter panel trim. Use the fine flat head and trim clip pry bar to assist in the removal of the panels. Complete removal wasn't necessary for me but I needed to be able to move the interior panel enough to fit my entire arm so I can reach down into a small oval hole to access (2) 10mm nuts holding the bumper in place. On the driver�s side the abs cpu needs to be removed. (2) 10mm bolts are holding it in place. Remove the bolts but leave the cpu connected and then move it aside. I'm not 100% positive because my car already has it removed but I'm assuming the powered antennae on the passenger side needs to be removed in order to access the (2) 10mm bolts. If I remember correctly the power antennae has (2) or (3) 10mm nuts holding it in place and the locking nut on the antennae from the outside. Once the power antennae and abs cpu are out of the way you can reach into the oval opening and feel for a long stud with a 10mm nut on the upper end against the bumper wall and another stud with 10mm nut just below that. In line with the studs and further down you will feel a clip and further below that another clip but that last clip can be ignored. Using your extended 10mm socket or 10mm ratcheting wrench remove the (2) 10mm nuts on each side. If you�re lucky you will find it isn't torque'd down very much and if there is no rust or paint residual it will spin freely until it comes off. If it isn't have fun using any means necessary to get it off.
Now that all nuts and bolts have been removed only (2) clips on each side of the bumper are keeping it attached. The upper clip is the only one we need access too as the second lower clip pops off with pressure. Beginning at the top of the bumper, use the nylon/plastic/masking tape wrapped flat pry bar to pull the bumper out. The studs will pull out from the holes on the quarter panel. Work the pry bar down from the top stud to the lower stud but don�t completely pull yet. With it partially out and the pry bar maintaining a bit of outward pressure reach in from the trunk through the oval holes and squeeze the top plastic clip. You can push the top down till you here it click and then push the bottom up listening for the same click. The clicking sound is the clips flares snapping into the rectangular hole it is pushed into. Continue working your way down with the flat pry bar. The top clip should now pop out with a little pressure and the lower clip the same as you work your way towards it. Do the same to the opposing side. Once snapped off you can remove the rear bumper.
Picture crazy for reference, not necessarily in order
3 screws holding taillight
Screws hold center light trim cover
nuts holding center light in place
center light removed torx bolts and center clip
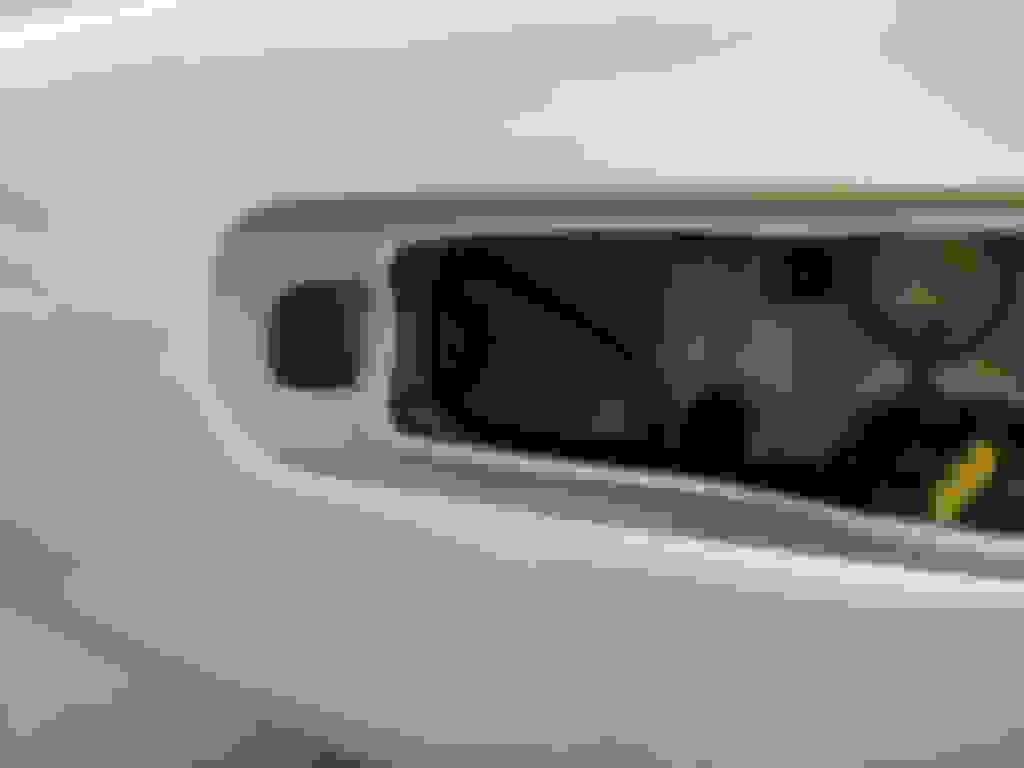
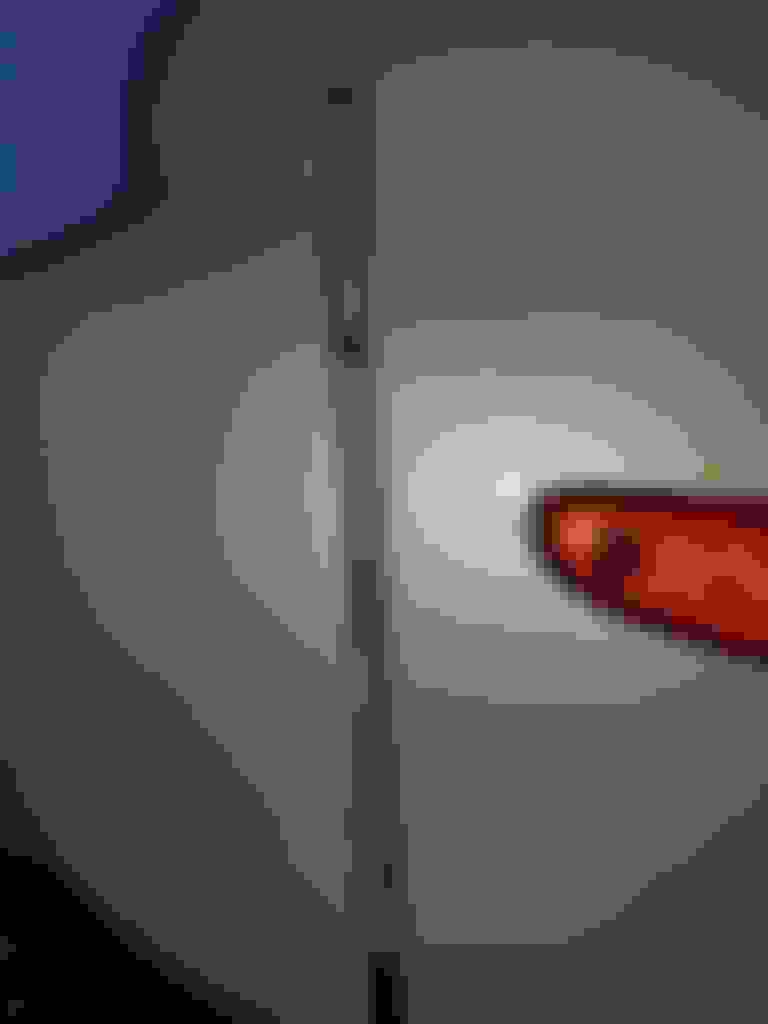
chassis tail light slide pins and back of taillight view
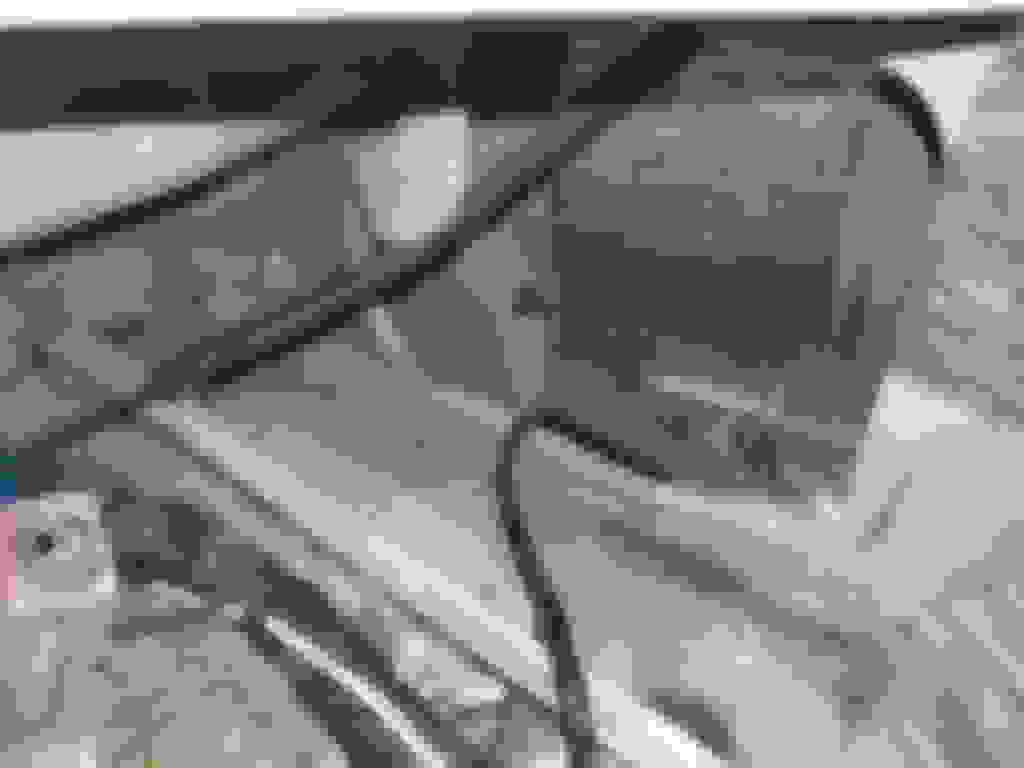
Abs cpu that needs to be unbolted and moved aside
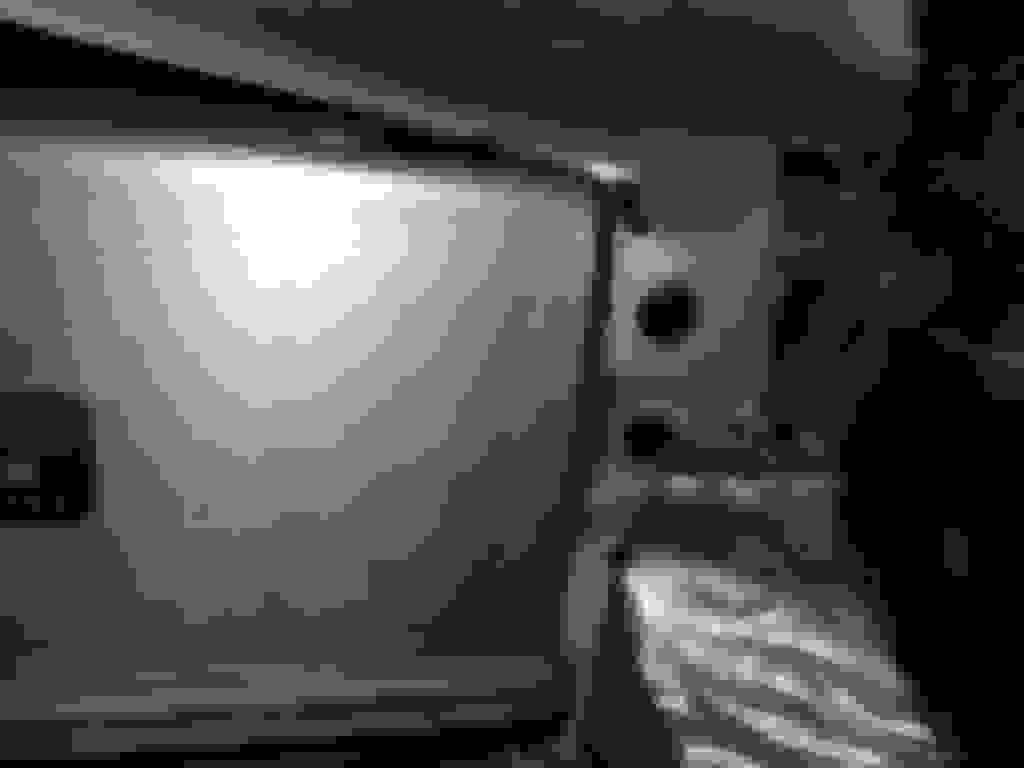
access hole to rear bumper mounts with abs cpu removed
passenger side view with power antennae removed
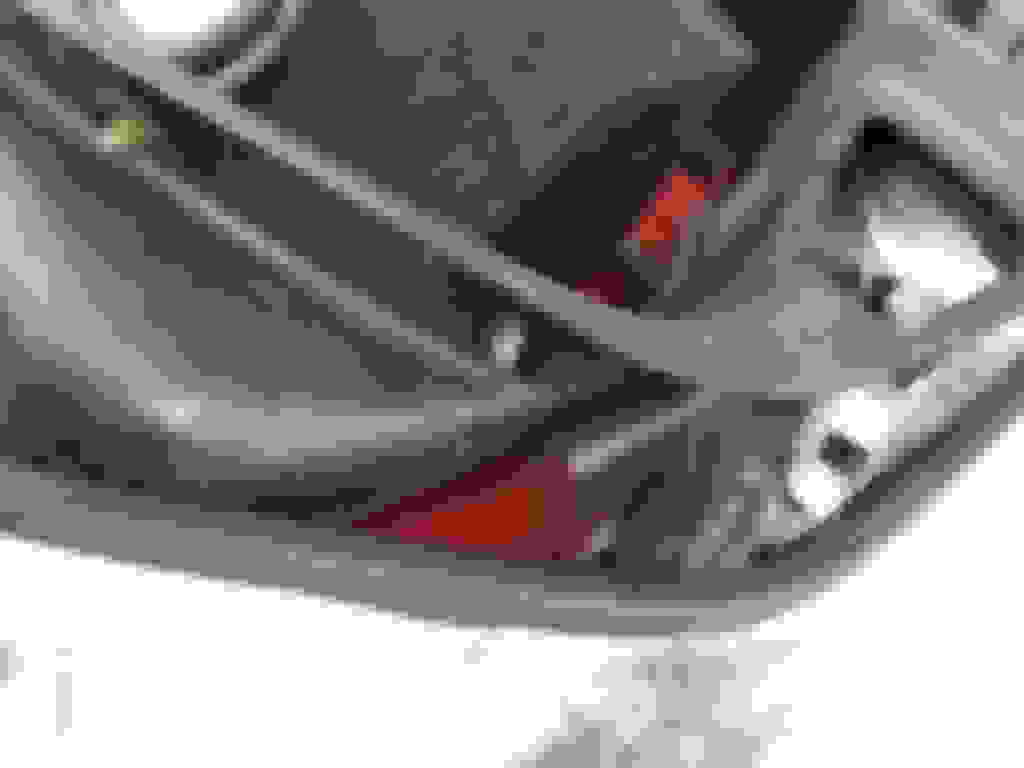
reverse light screw and spring hook and bumper mount location
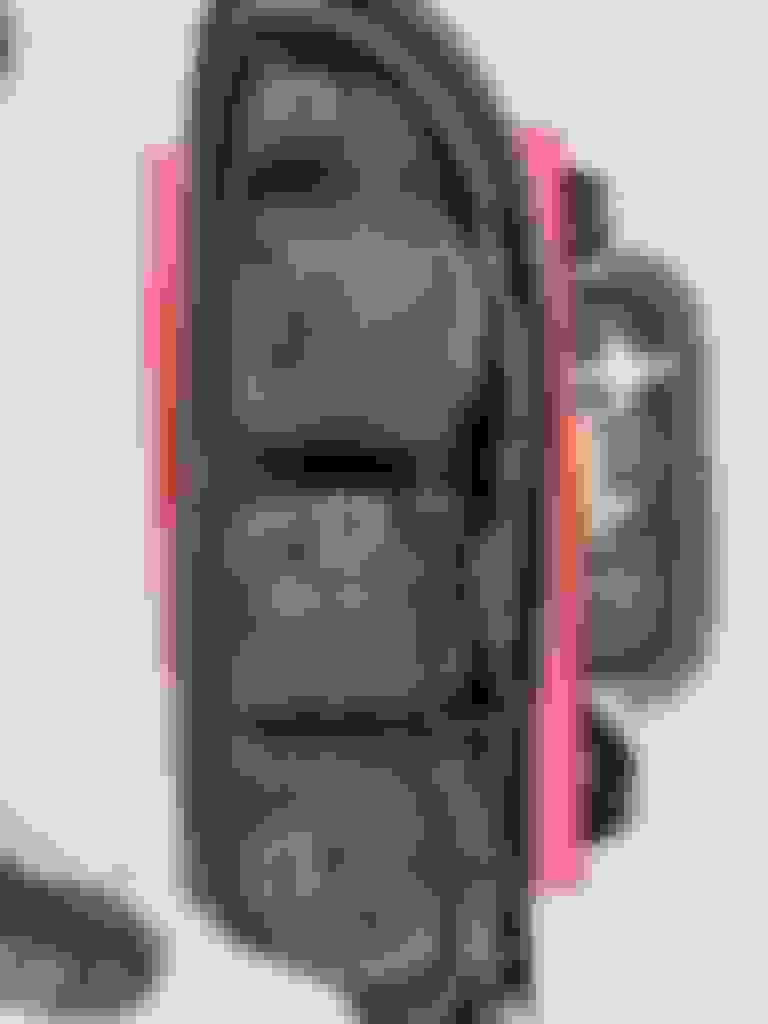
outside view of mounts after prying open, begin at top and work your way down squeeze top clip while your prying bottom clip pops off with pressure
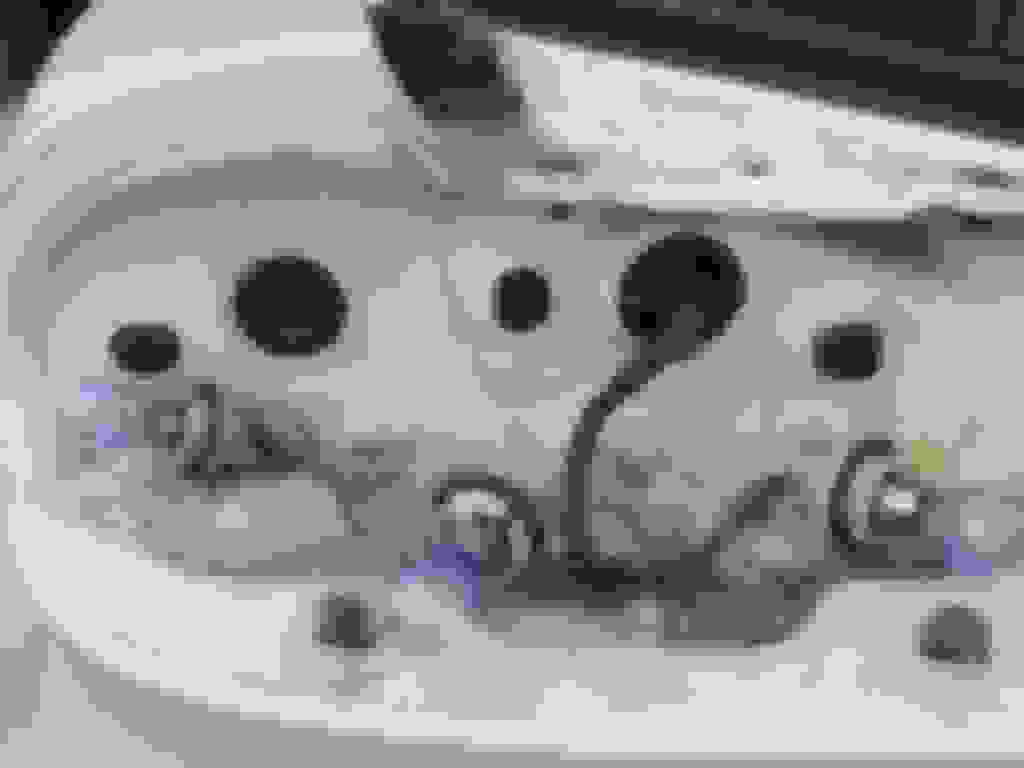
passenger side 12mm stud under car between bumper and rear quarter driver side 12mm stud under car between bumper and rear quarter bumper view of all mounts close up of pressure clip 10mm studs on bumper 12mm studs lower pressure clip and upper squeezable retention clip driver view of chassis rear bumper mount locations close-up rear bumper upper squeezable retention clip rear bumper removed
Good writeup! It's just a pain in the butt to remove the rear bumper. Getting to some of the 10mm nuts that hold it in on the inside is a ROYAL pain.
Also, you HAVE to remove the bumper if you want to do anything with the key cylinder for the hatch. You can't remove it or do anything with it with the bumper on.
Great thread for reference.... I replaced the torx heads with Allen bolts. I had a drill a few of mine out and didn't want to be in that position again. There's no need to have the torx heads on there anyway, there's ample clearance for a taller head fastner. You also don't need to put all 400 or however many of them there are back in. It makes future removals easier. Not that the bumper is a frequent removal item or anything but if you ever had to then it's easy
All I wanted to to do was remove the rear bumper lip so I can test fit and install the shine rear street diffuser, lol. I tried to see if I could do it without removing the bumper but the lower end wouldn't open up enough to slip the lip hanger from the 12mm stud not to mention it was impossible to reach (2) screws that were holding the lip to the bumper.
^Yep. If you have to replace the black plastic trim at the bottom of the bumper, just go ahead and remove the bumper. The ends of the trim wrap around the studs on the bottom of the bumper and the screws are near impossible to get to while installed.
You'll be time and frustration ahead if you just remove the bumper.