
Armen's Build Thread

Hey Everyone,
I decided to do a "build thread" but really it is to keep track of what I do to the car. I will try to post as much pictures as possible so it is somewhat entertaining for you all.
I have owned a few FDs but this is the one I hope to hang on to.
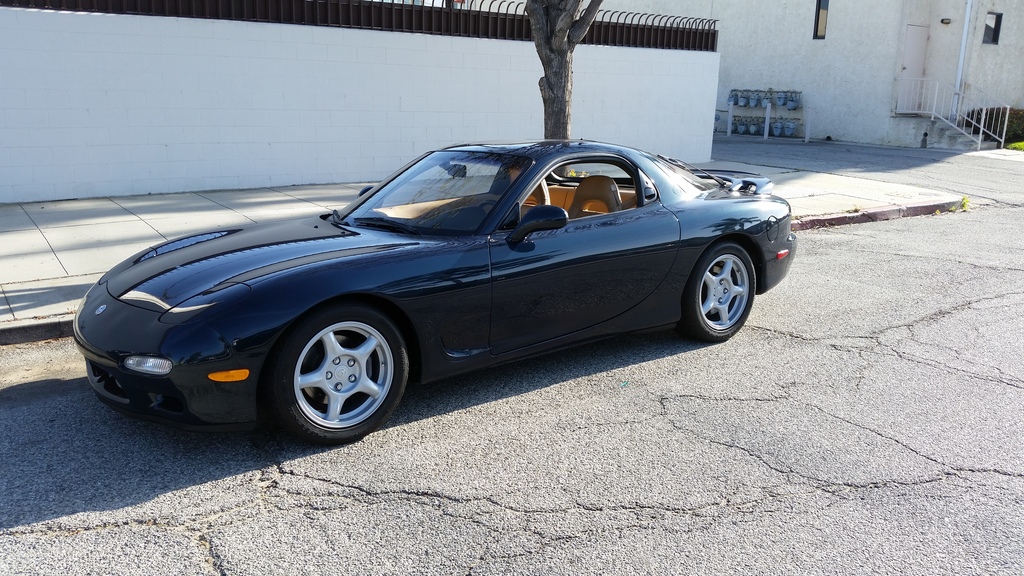
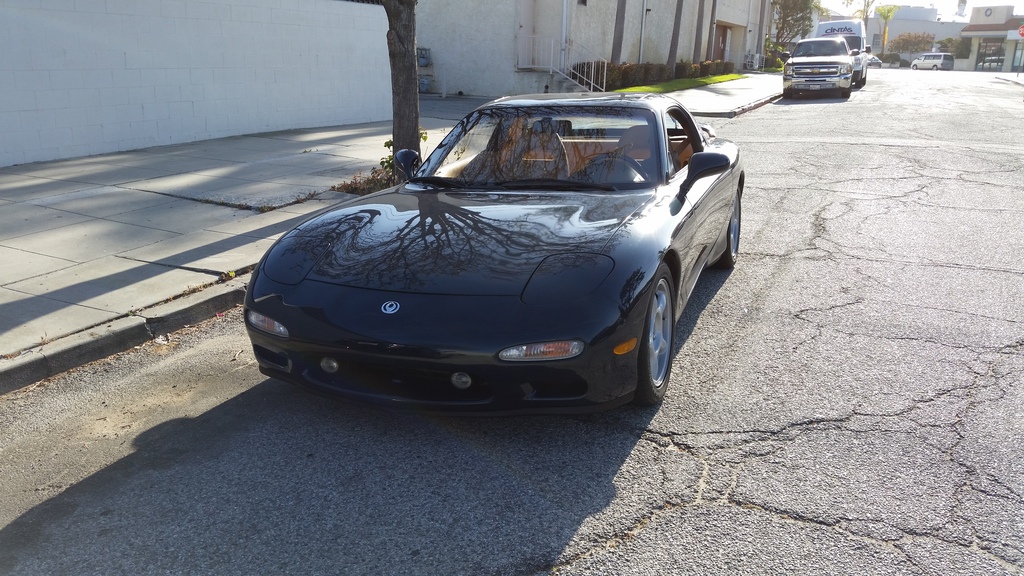
62k Miles on the body, 3k on rebuilt street ported engine done by Rick at Ricks Rotary Performance. The car had been sitting in a garage for 8 years before the owner decided it was time to sell her. Here are the mods:
Street Ported Engine
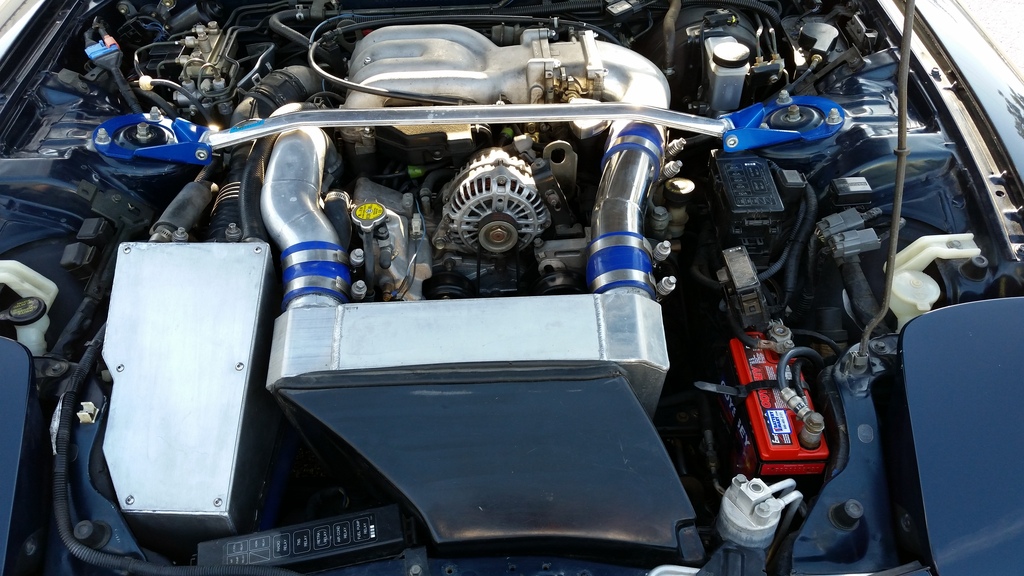
M2 IC and Air Box
Power FC
Mazda Performance Radiator
Deleted AST
Short Shifter
Ground Control with GAB shocks
Downpipe- wrapped and jet hot coated
Bonez Hiflow Cat
PFS catback
New 99 spec turbos
Efini ypipe
And other small things here and there
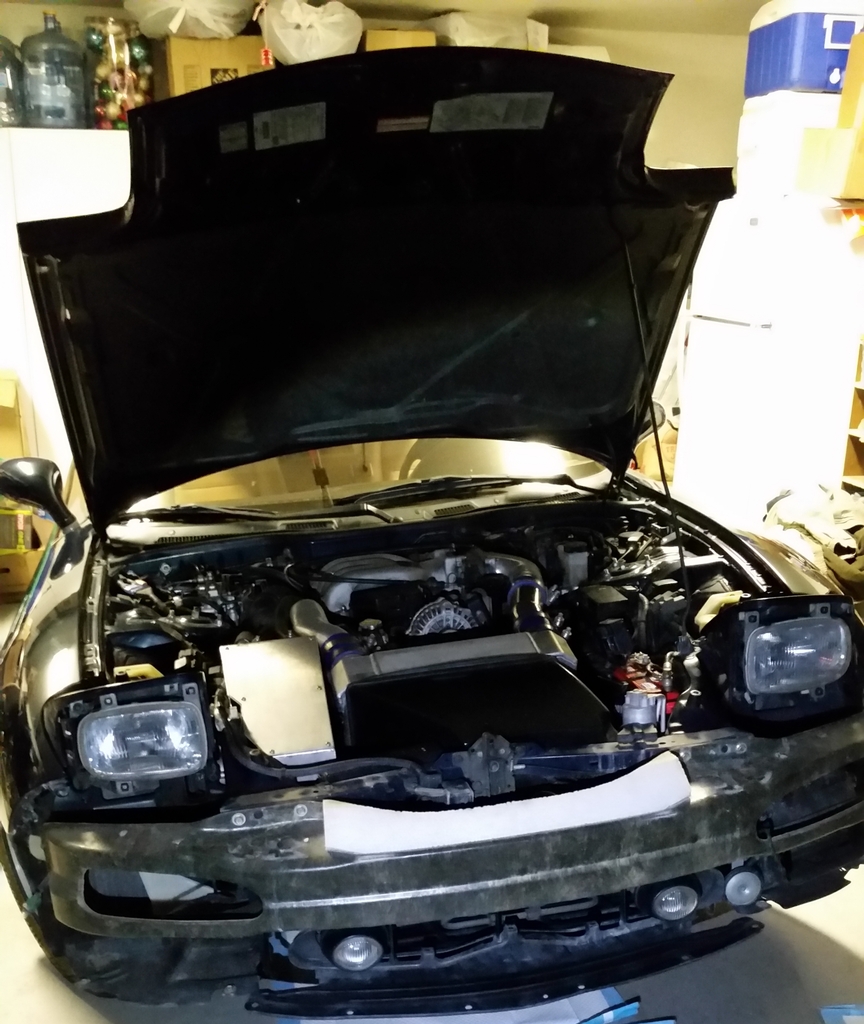
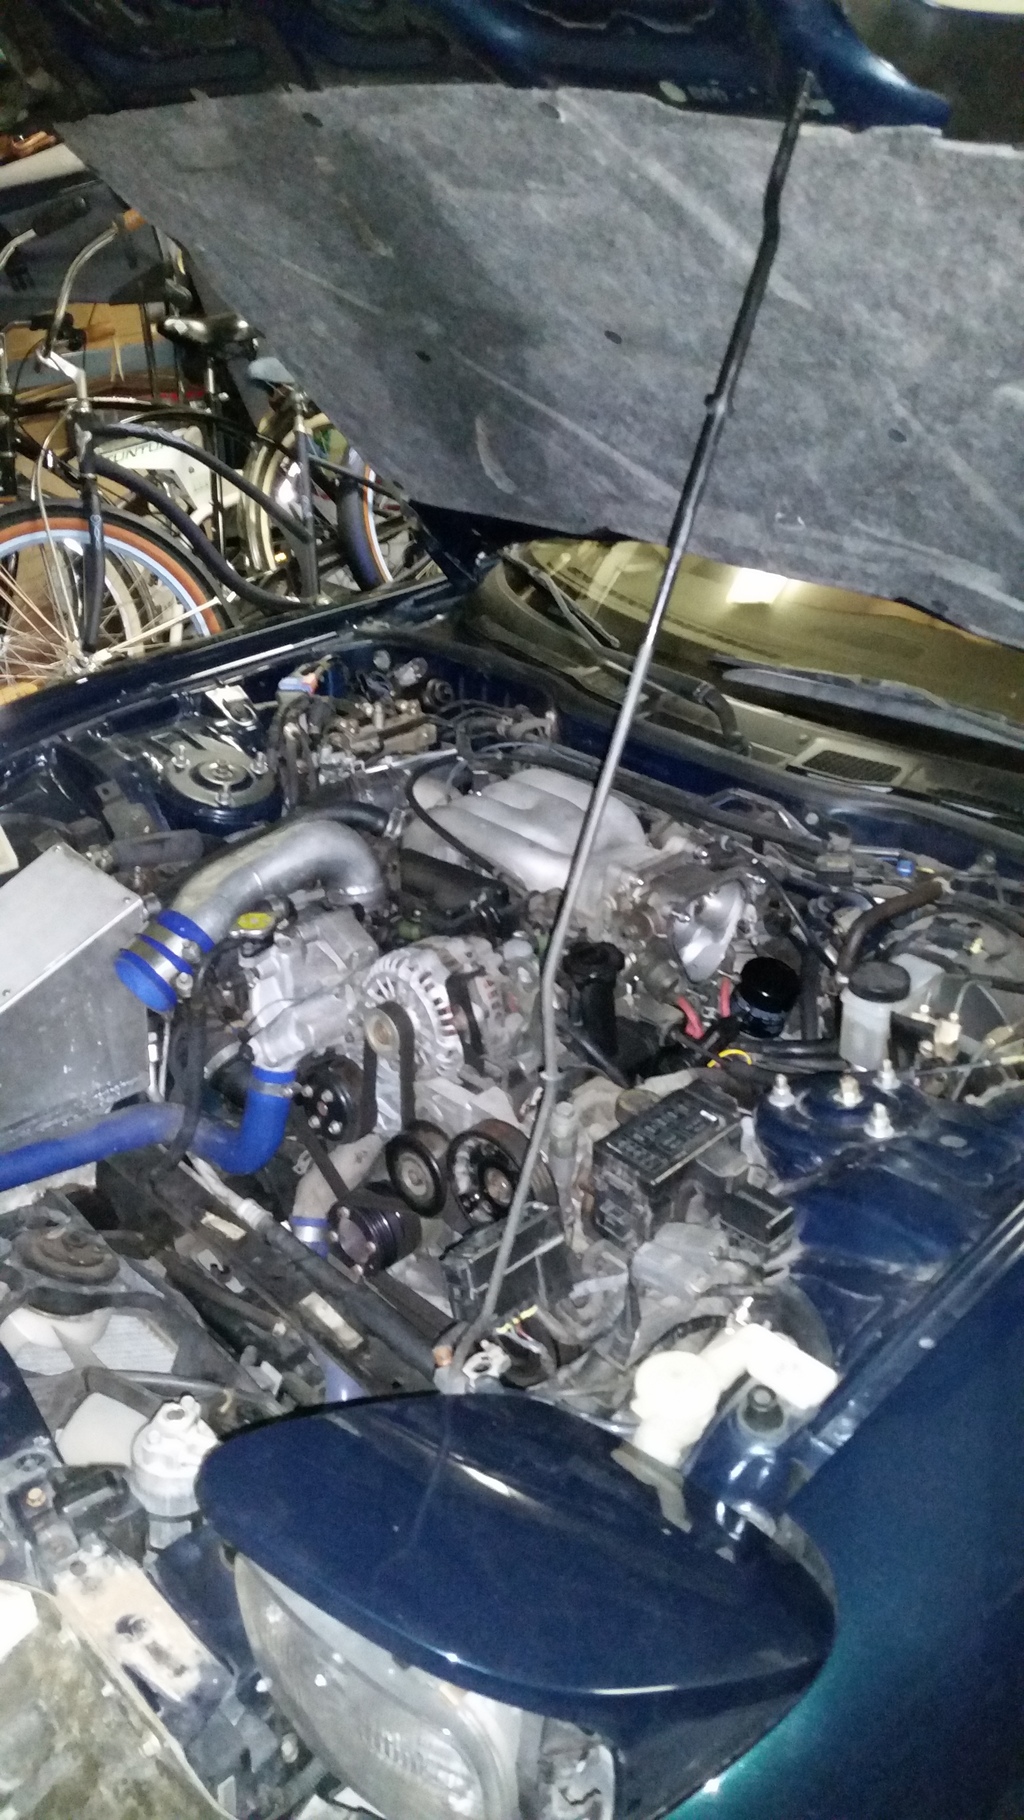
Here are some pics taken the day I bought it:
I decided to do a "build thread" but really it is to keep track of what I do to the car. I will try to post as much pictures as possible so it is somewhat entertaining for you all.
I have owned a few FDs but this is the one I hope to hang on to.
62k Miles on the body, 3k on rebuilt street ported engine done by Rick at Ricks Rotary Performance. The car had been sitting in a garage for 8 years before the owner decided it was time to sell her. Here are the mods:
Street Ported Engine
M2 IC and Air Box
Power FC
Mazda Performance Radiator
Deleted AST
Short Shifter
Ground Control with GAB shocks
Downpipe- wrapped and jet hot coated
Bonez Hiflow Cat
PFS catback
New 99 spec turbos
Efini ypipe
And other small things here and there
Here are some pics taken the day I bought it:


Last edited by ArmAnirx7; Jun 12, 2015 at 12:07 AM.
So far I have:
Replaced the Coolant
Changed the Oil
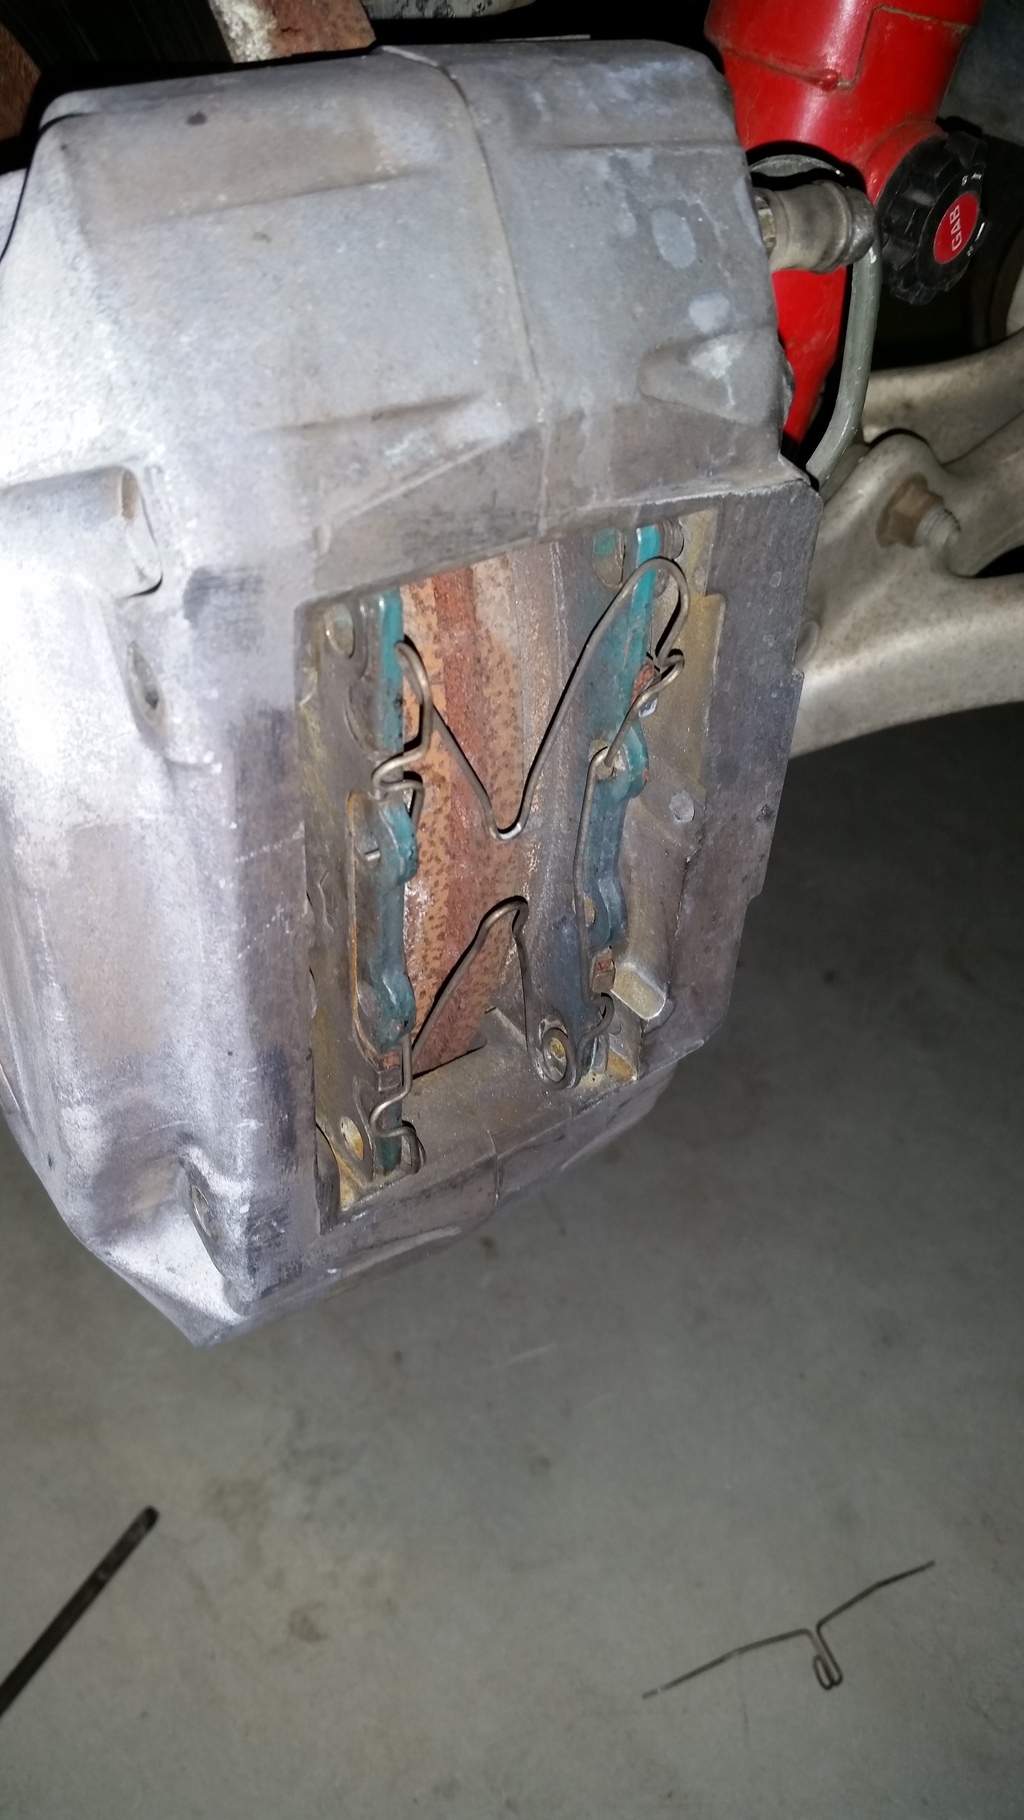
Changed the brakes
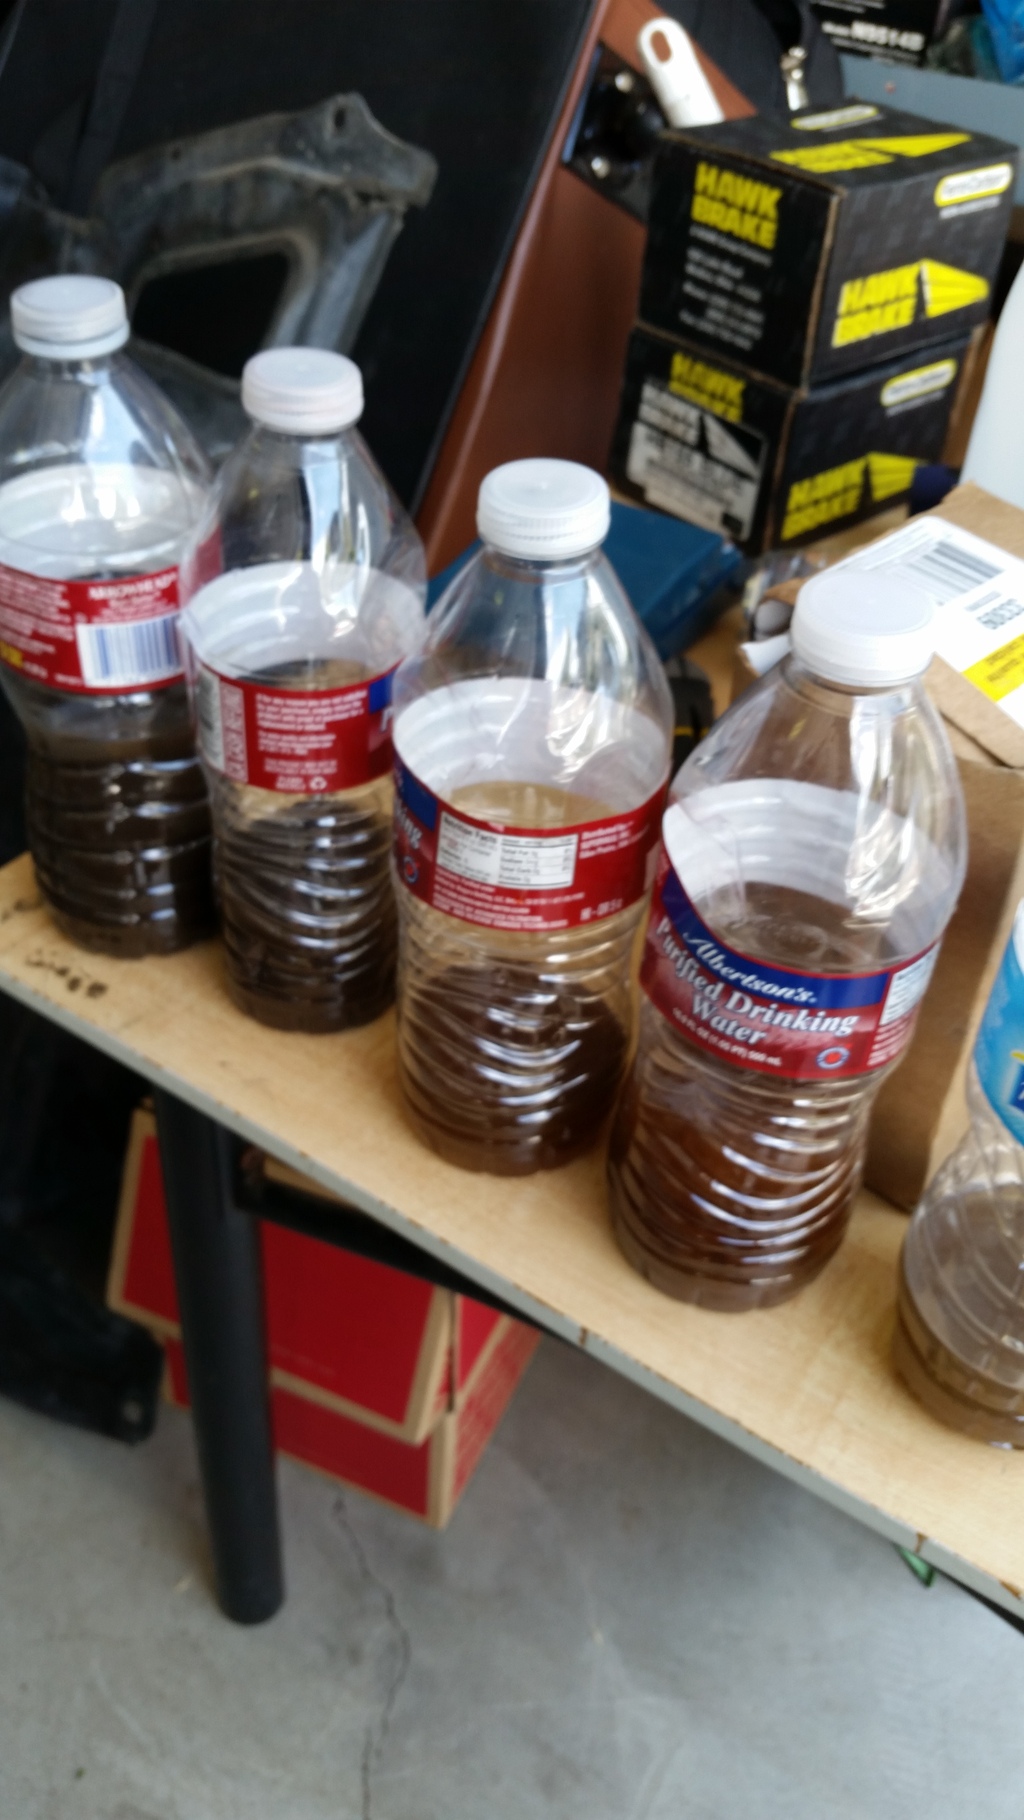
Replaced the Brake Fluid completely (full drain and replace)
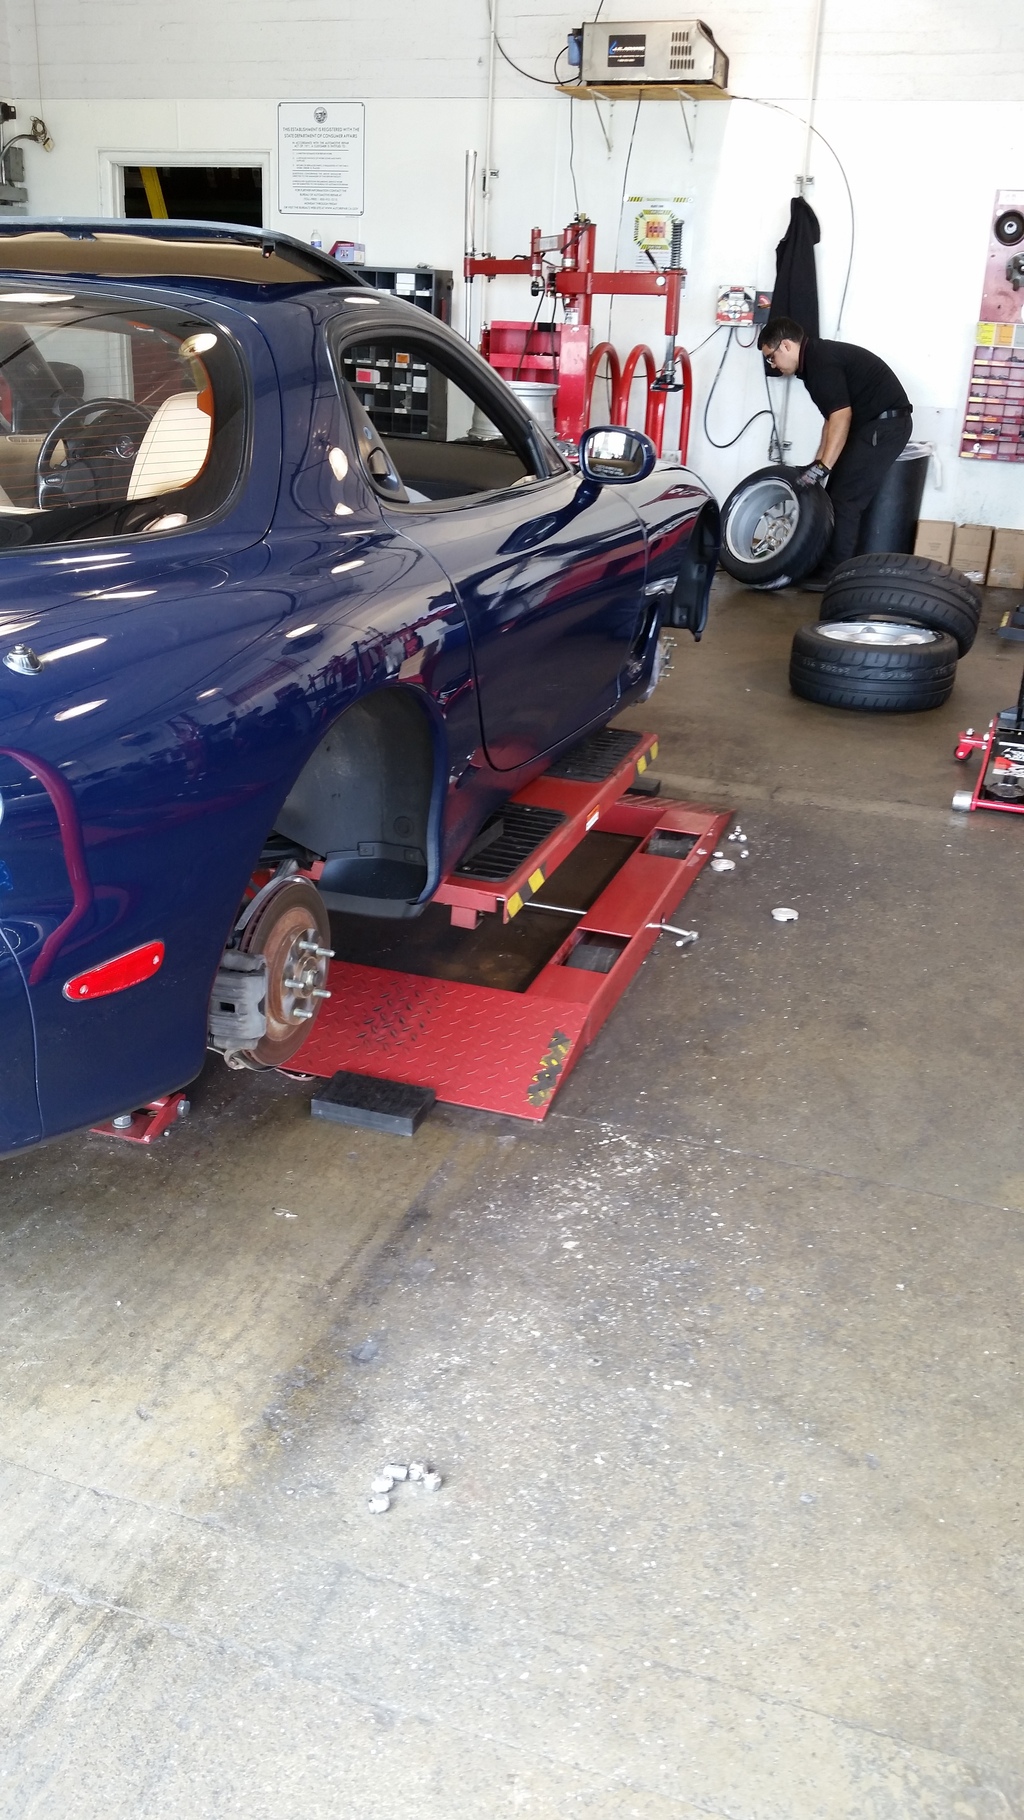
Replace the Tires with New Potenza RE-11As
Old Brake Fluid that was drained
New brakes going in. The owner had a set of Hawks that he used for a little while that he included with the car. I decided to just install those since they had a lot of meat on them. The previous owner had speed bleeders installed so bleeding the fluid was easier.
New Tires being installed.
Replaced the Coolant
Changed the Oil
Changed the brakes
Replaced the Brake Fluid completely (full drain and replace)
Replace the Tires with New Potenza RE-11As
Old Brake Fluid that was drained

New brakes going in. The owner had a set of Hawks that he used for a little while that he included with the car. I decided to just install those since they had a lot of meat on them. The previous owner had speed bleeders installed so bleeding the fluid was easier.

New Tires being installed.

Did a few simple upgrades.
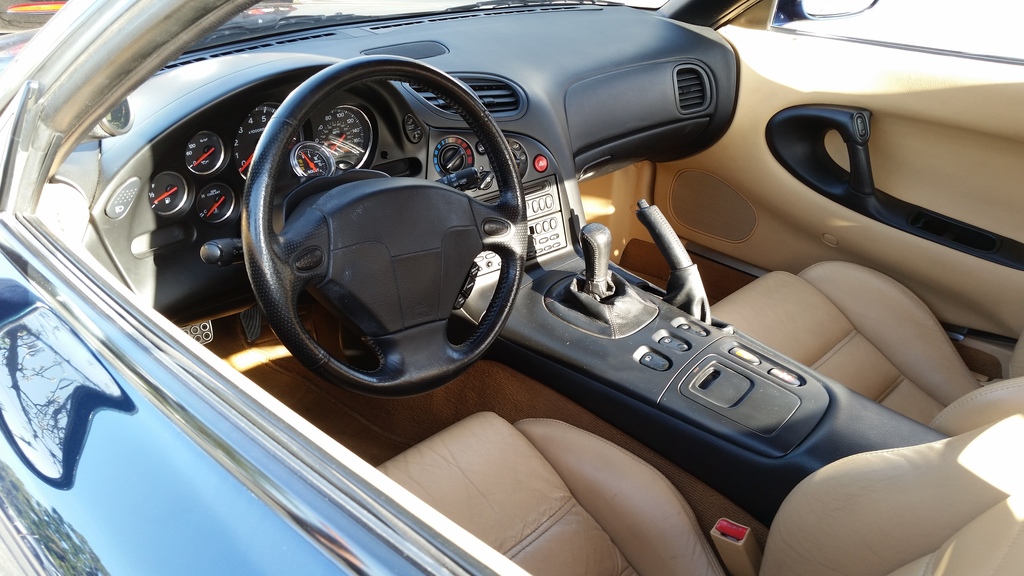
New OEM Tan Floor Mats and cleaned the seats.
I did a lot of research on a good way to re-soften the leather and I kept seeing people using Bag Balm on their seats. I decided to try it and it works great. My leather is super soft and most of the creases are opened up.
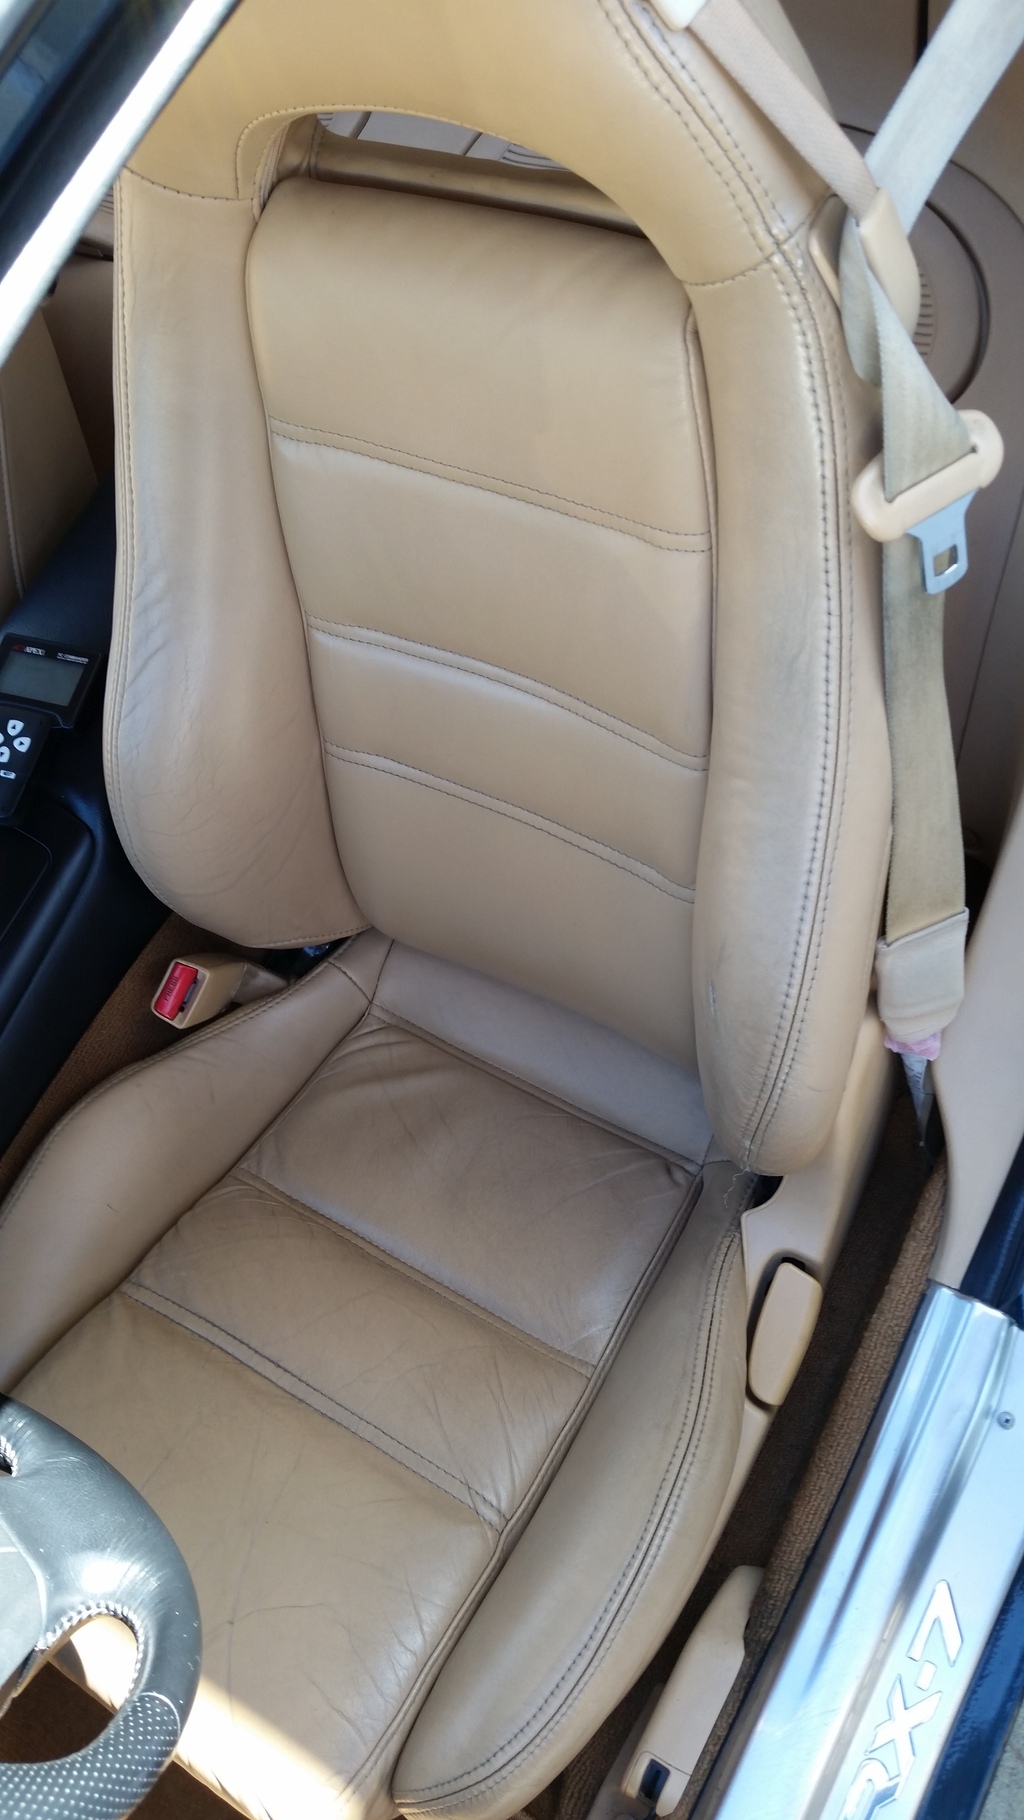
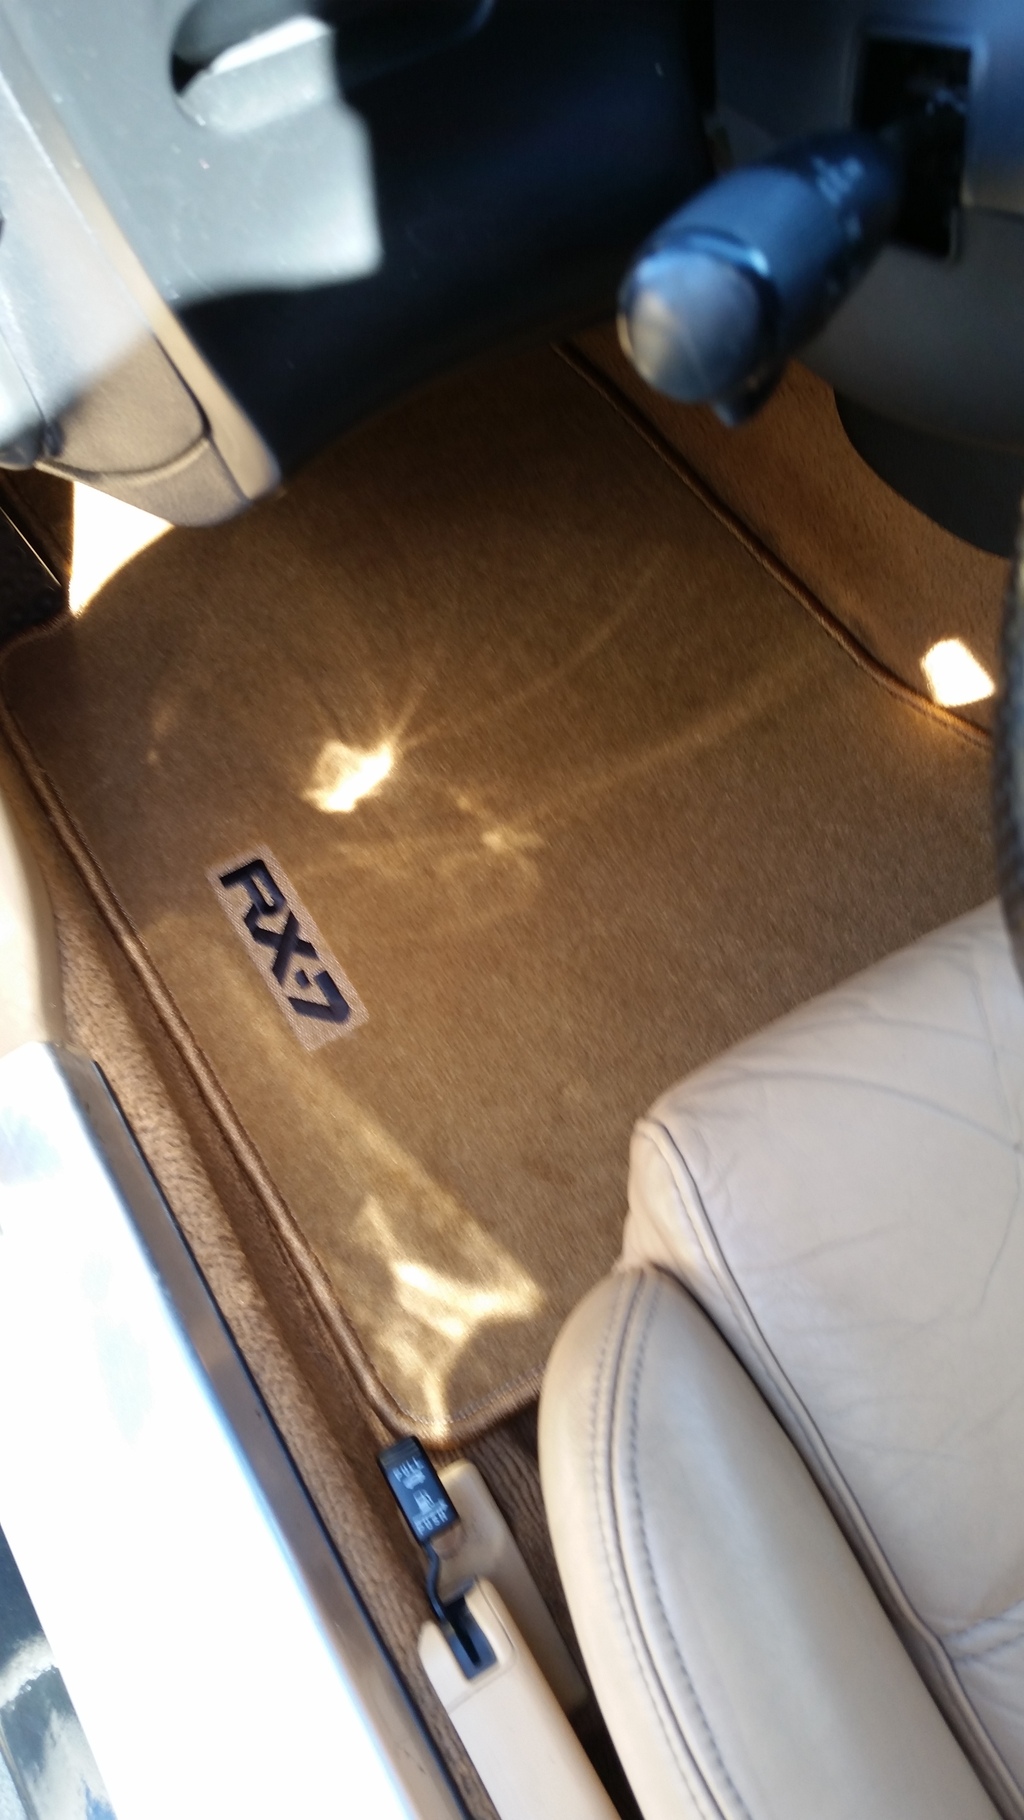
New OEM Tan Floor Mats and cleaned the seats.
I did a lot of research on a good way to re-soften the leather and I kept seeing people using Bag Balm on their seats. I decided to try it and it works great. My leather is super soft and most of the creases are opened up.


^ yea I got the RE-11a's all around. I did a lot of research on tires before pulling the trigger and these tires took the cake. I haven't had a chance to do some spirited driving on them yet but hopefully after I get a tune I will be hitting the track to try them out.
Quick Update:
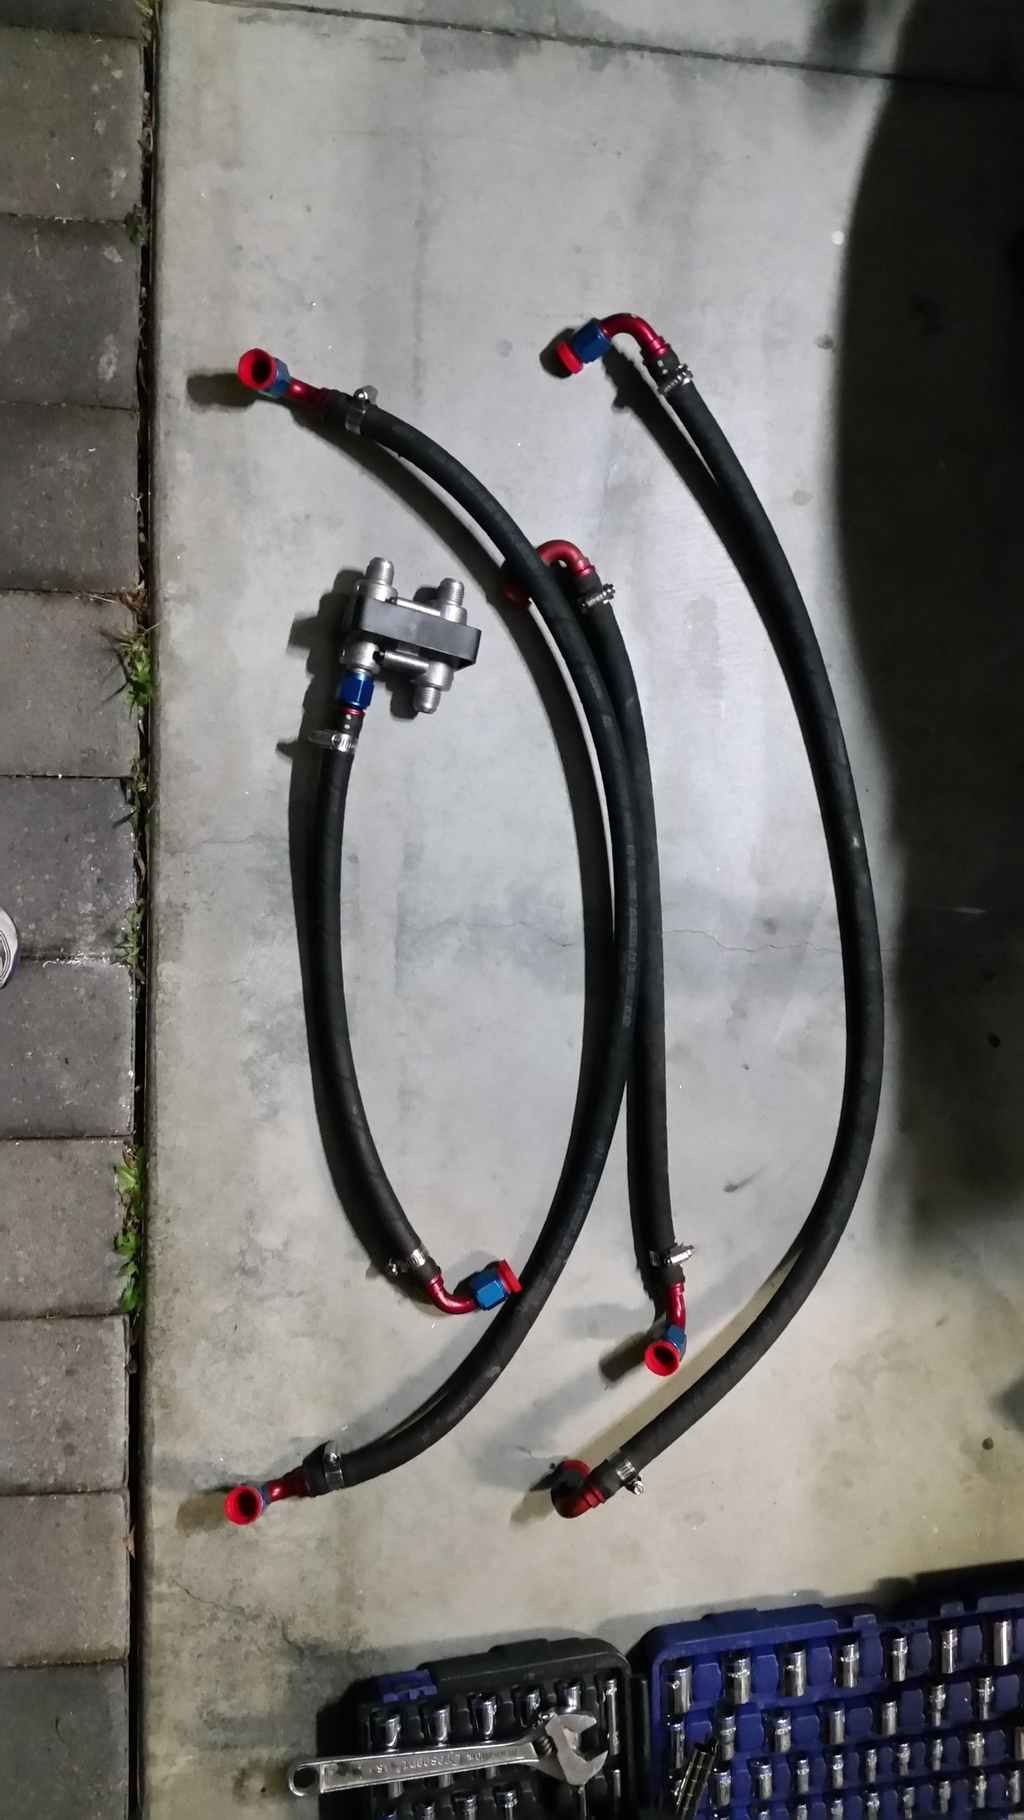
Got my dual oil coolers!
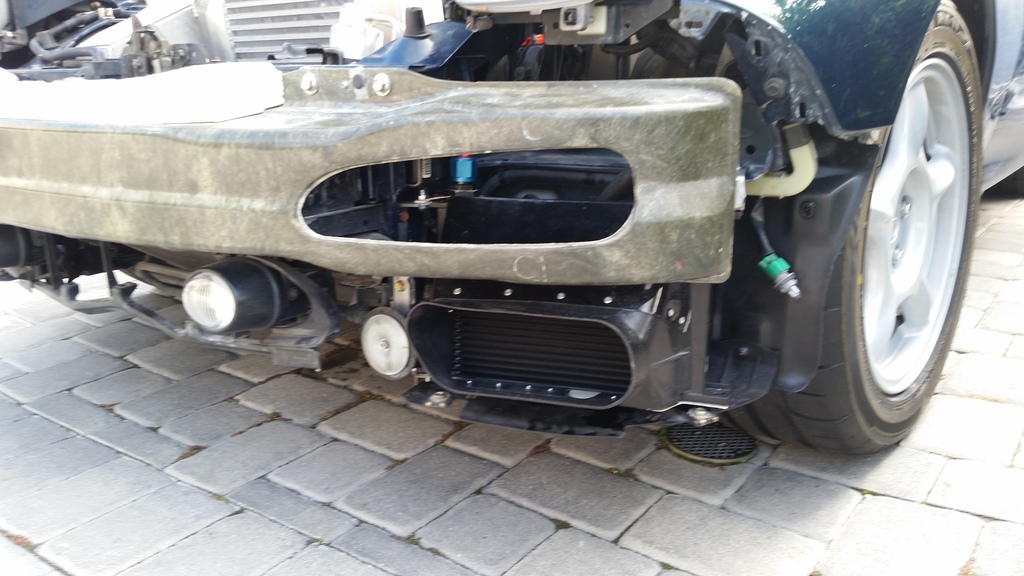
I bought dual oil cooler lines and a Mocal thermostat from a memeber a little over 4 months ago and I finally picked up two 25 Row Setrab oil coolers to complete the setup. I am hoping to install these in the next few weeks. I need to figure out the bracket situation and the ducting.
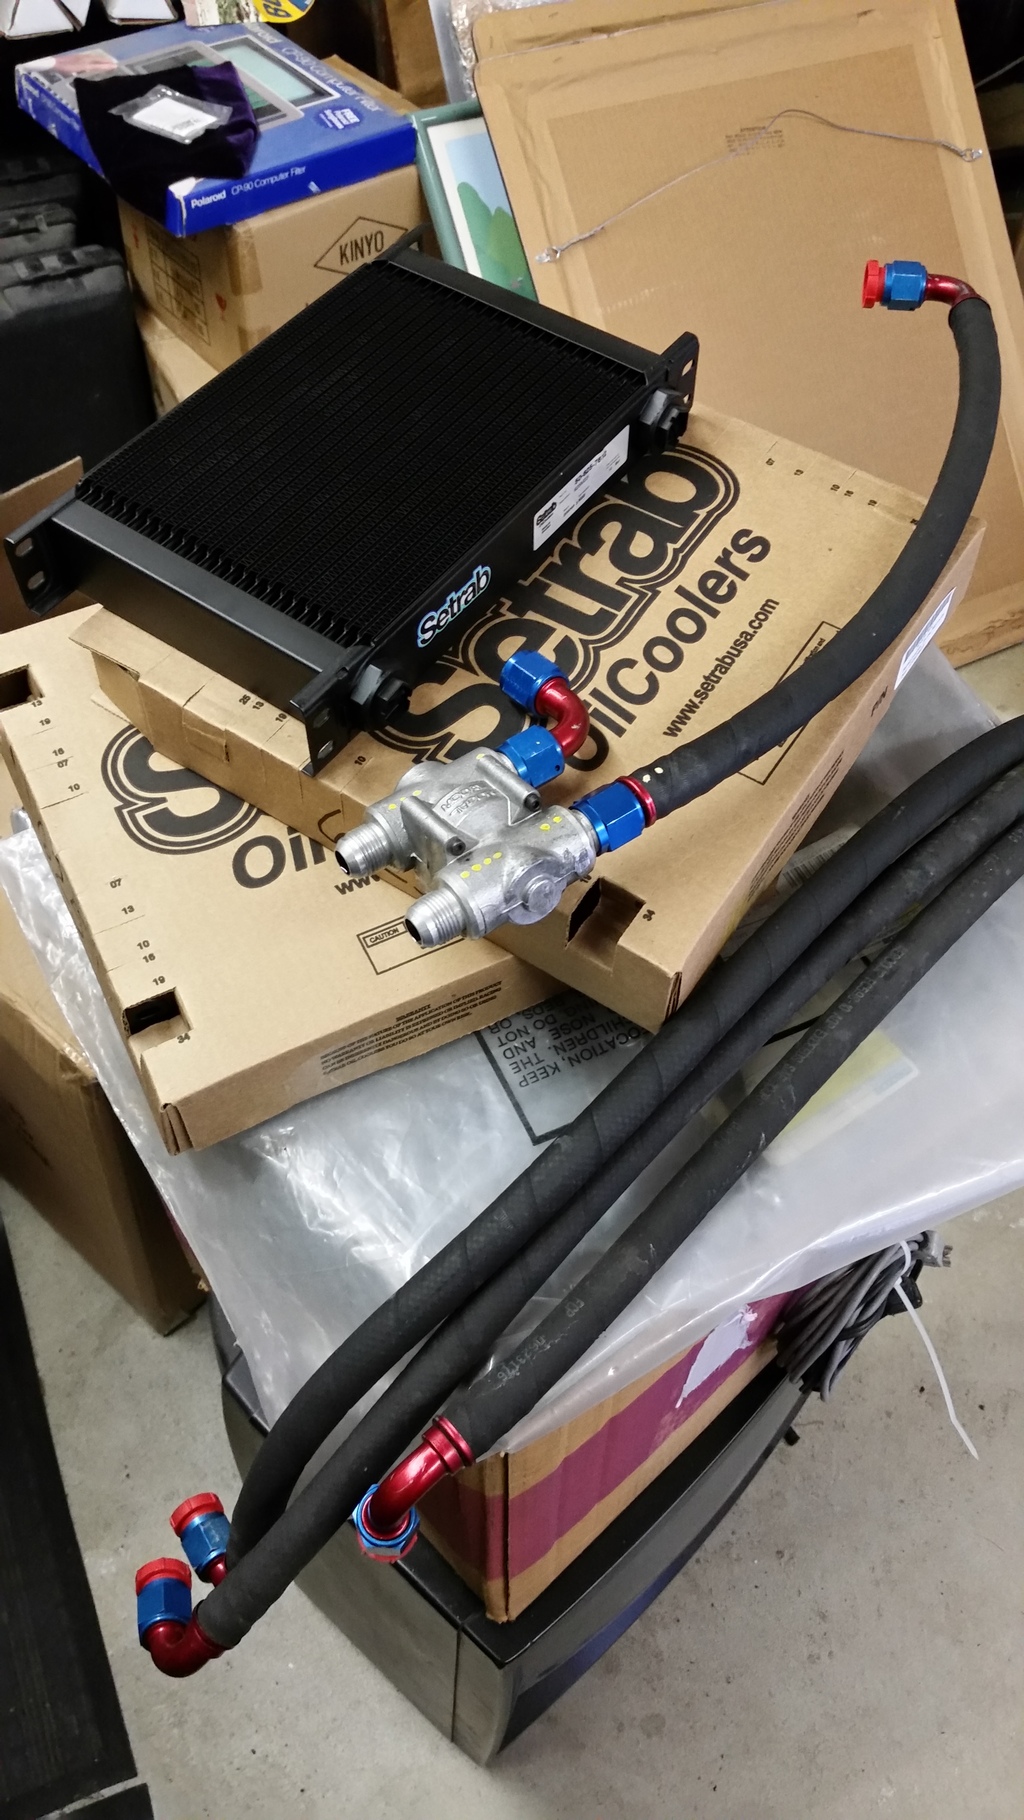
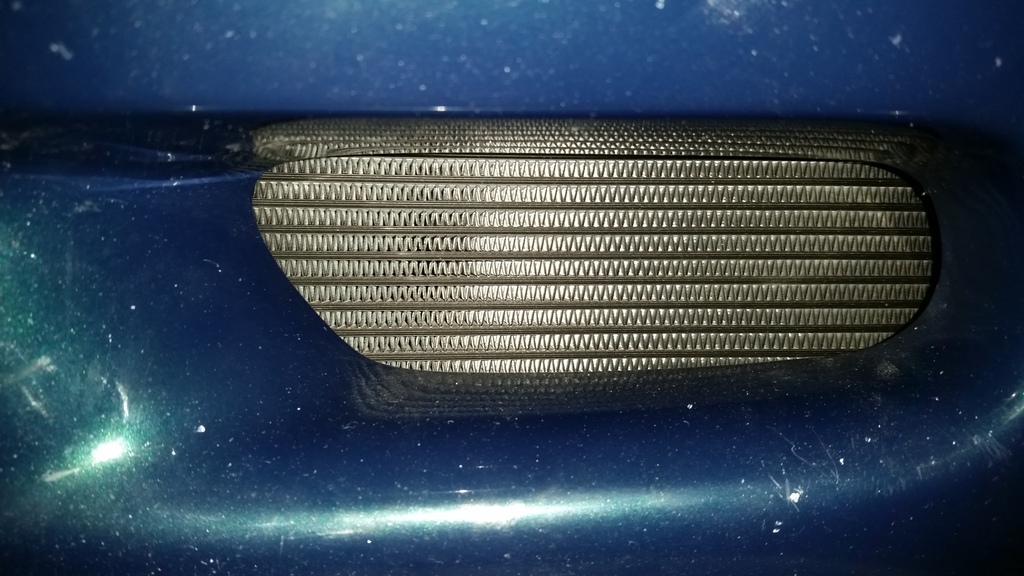
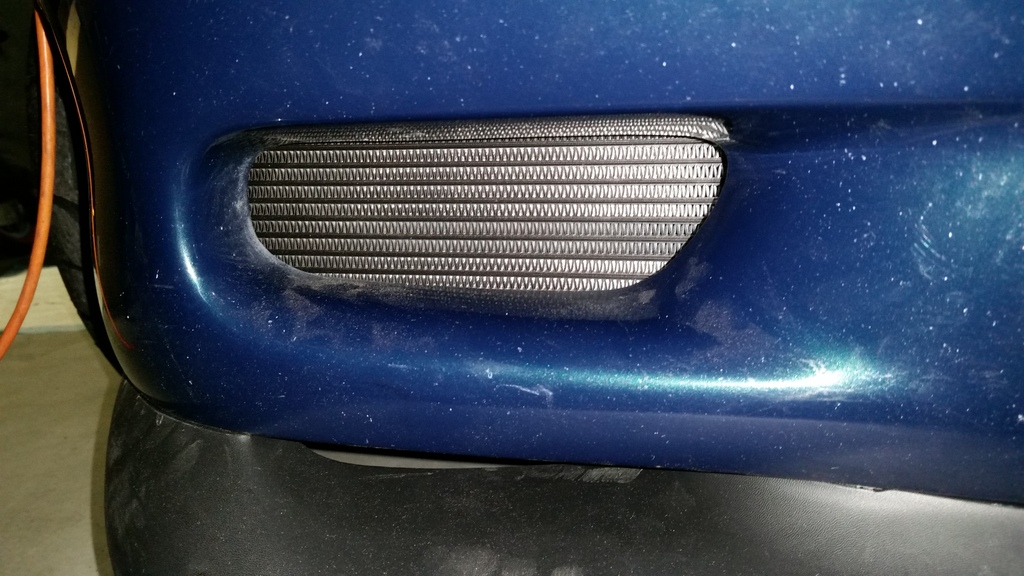
I have the OEM ducting for the R1 oil coolers. I am running a 93 stock bumper. Has anyone modified the OEM ducts to fit the 25 row coolers? Here is a few pics of the cooler with the OEM ducting. Is this enough coverage if I were to track the car, or do I need to modify the ducts?

Got my dual oil coolers!
I bought dual oil cooler lines and a Mocal thermostat from a memeber a little over 4 months ago and I finally picked up two 25 Row Setrab oil coolers to complete the setup. I am hoping to install these in the next few weeks. I need to figure out the bracket situation and the ducting.

I have the OEM ducting for the R1 oil coolers. I am running a 93 stock bumper. Has anyone modified the OEM ducts to fit the 25 row coolers? Here is a few pics of the cooler with the OEM ducting. Is this enough coverage if I were to track the car, or do I need to modify the ducts?


Last edited by ArmAnirx7; Nov 11, 2015 at 02:01 PM.
Trending Topics
It's been a few weeks since I update this thread. I have been preparing to install my oil coolers but I am waiting to borrow my parent's garage before I begin. It is way to cold now to work outside.
In the meantime.. I have been working on a few little items.
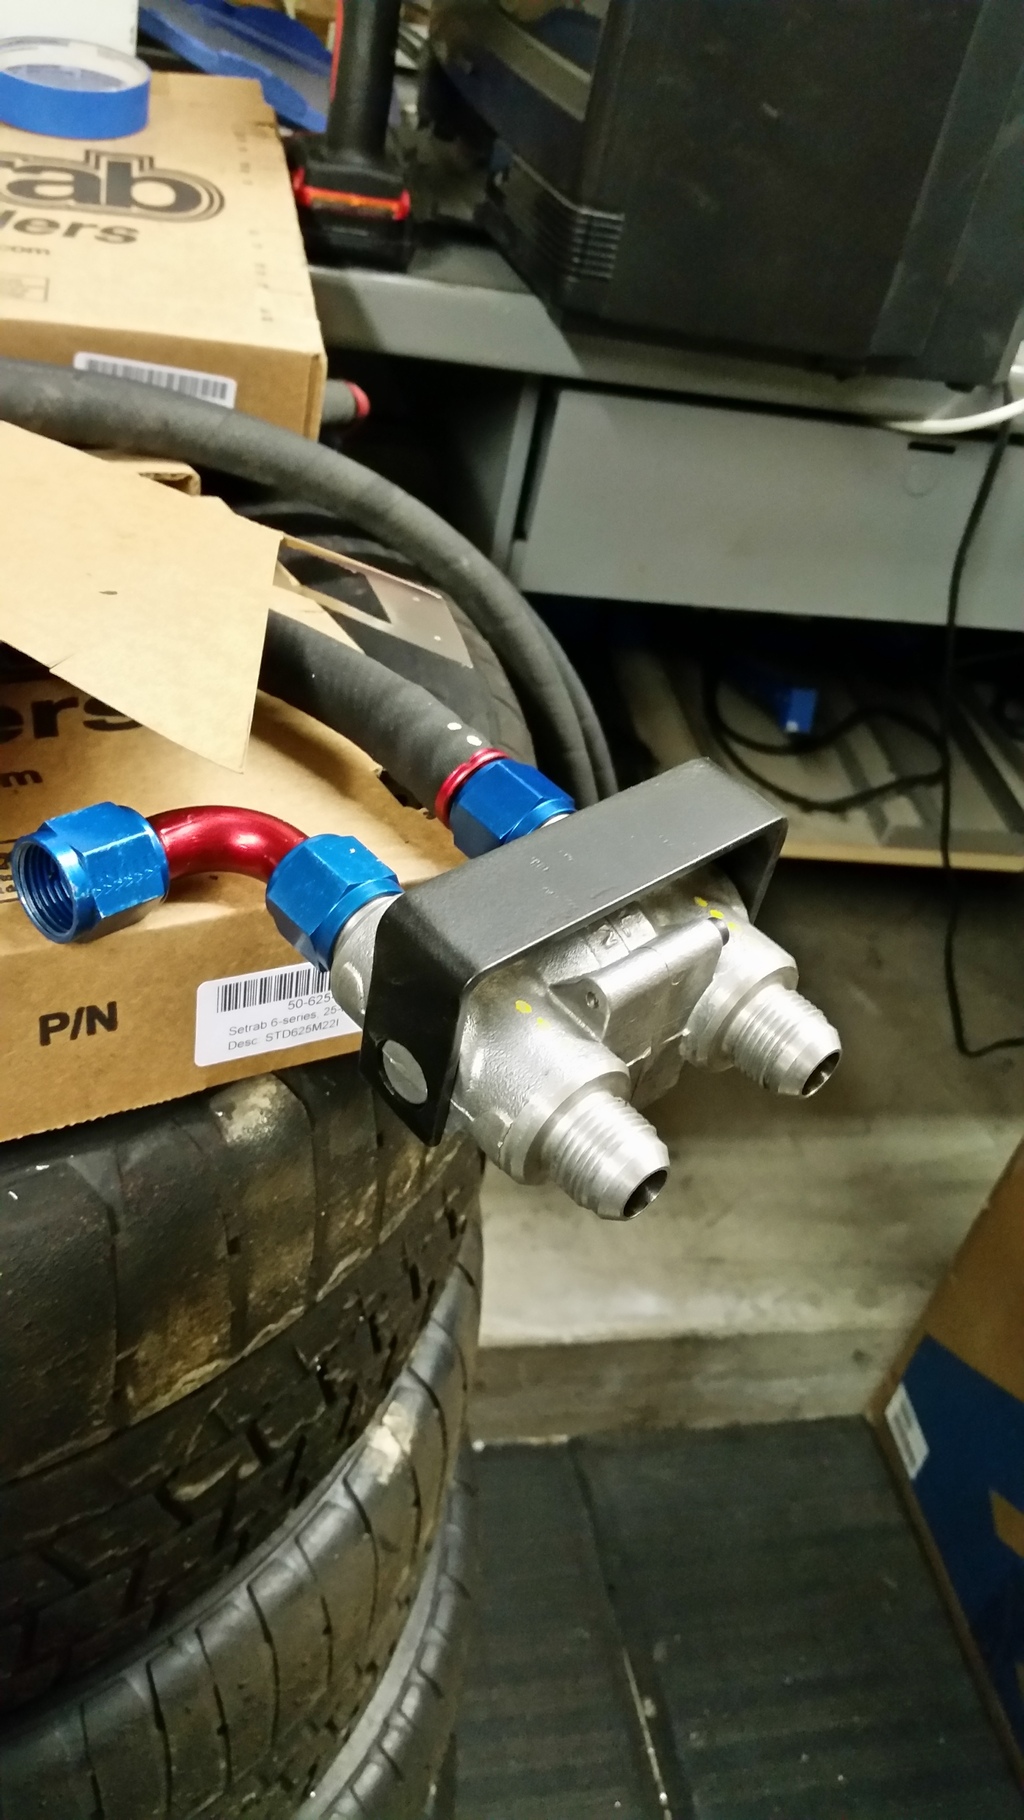
I notice that the thermostat I purchased from a forum member did not come with a bracket so I decided to make one.
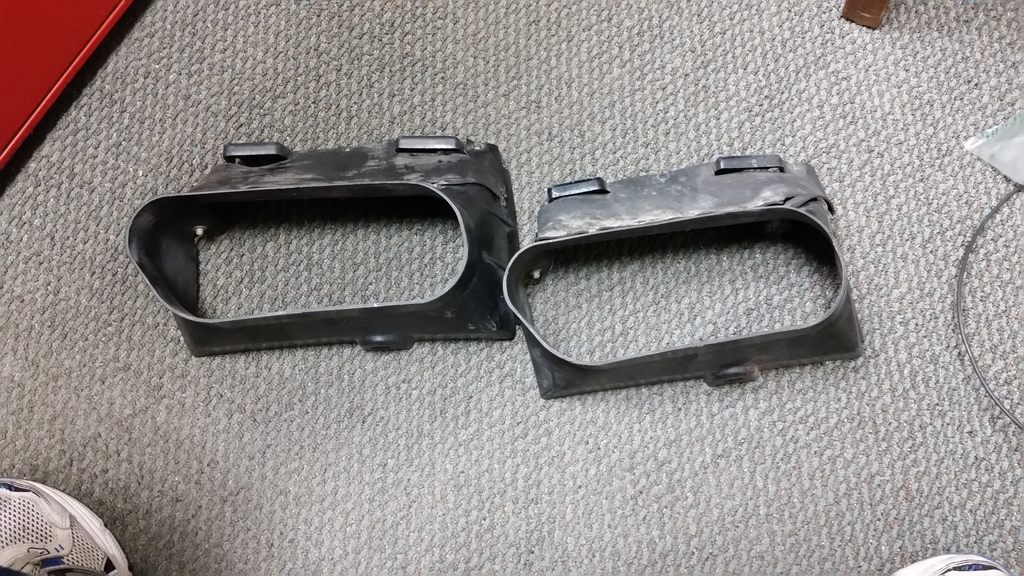
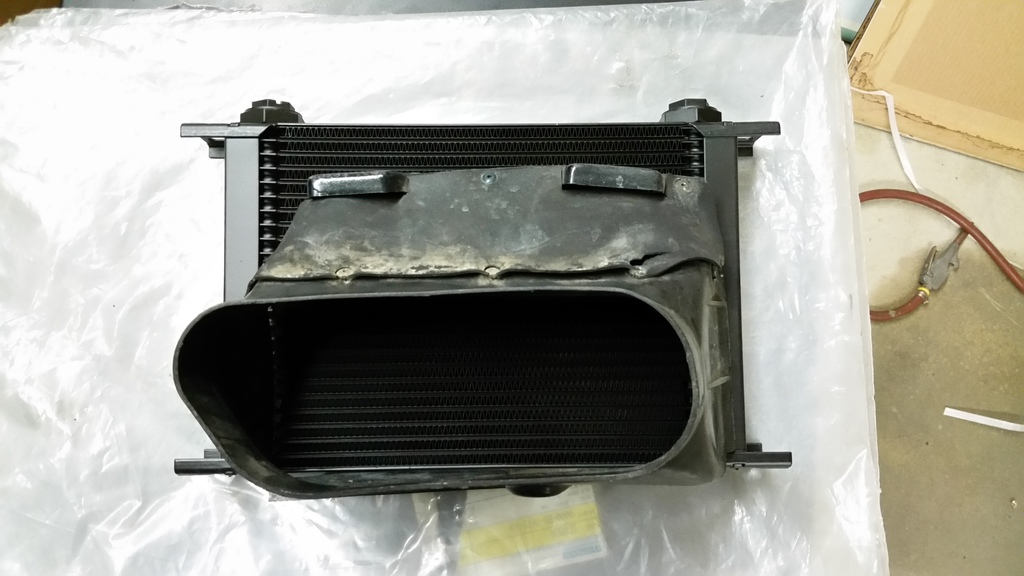
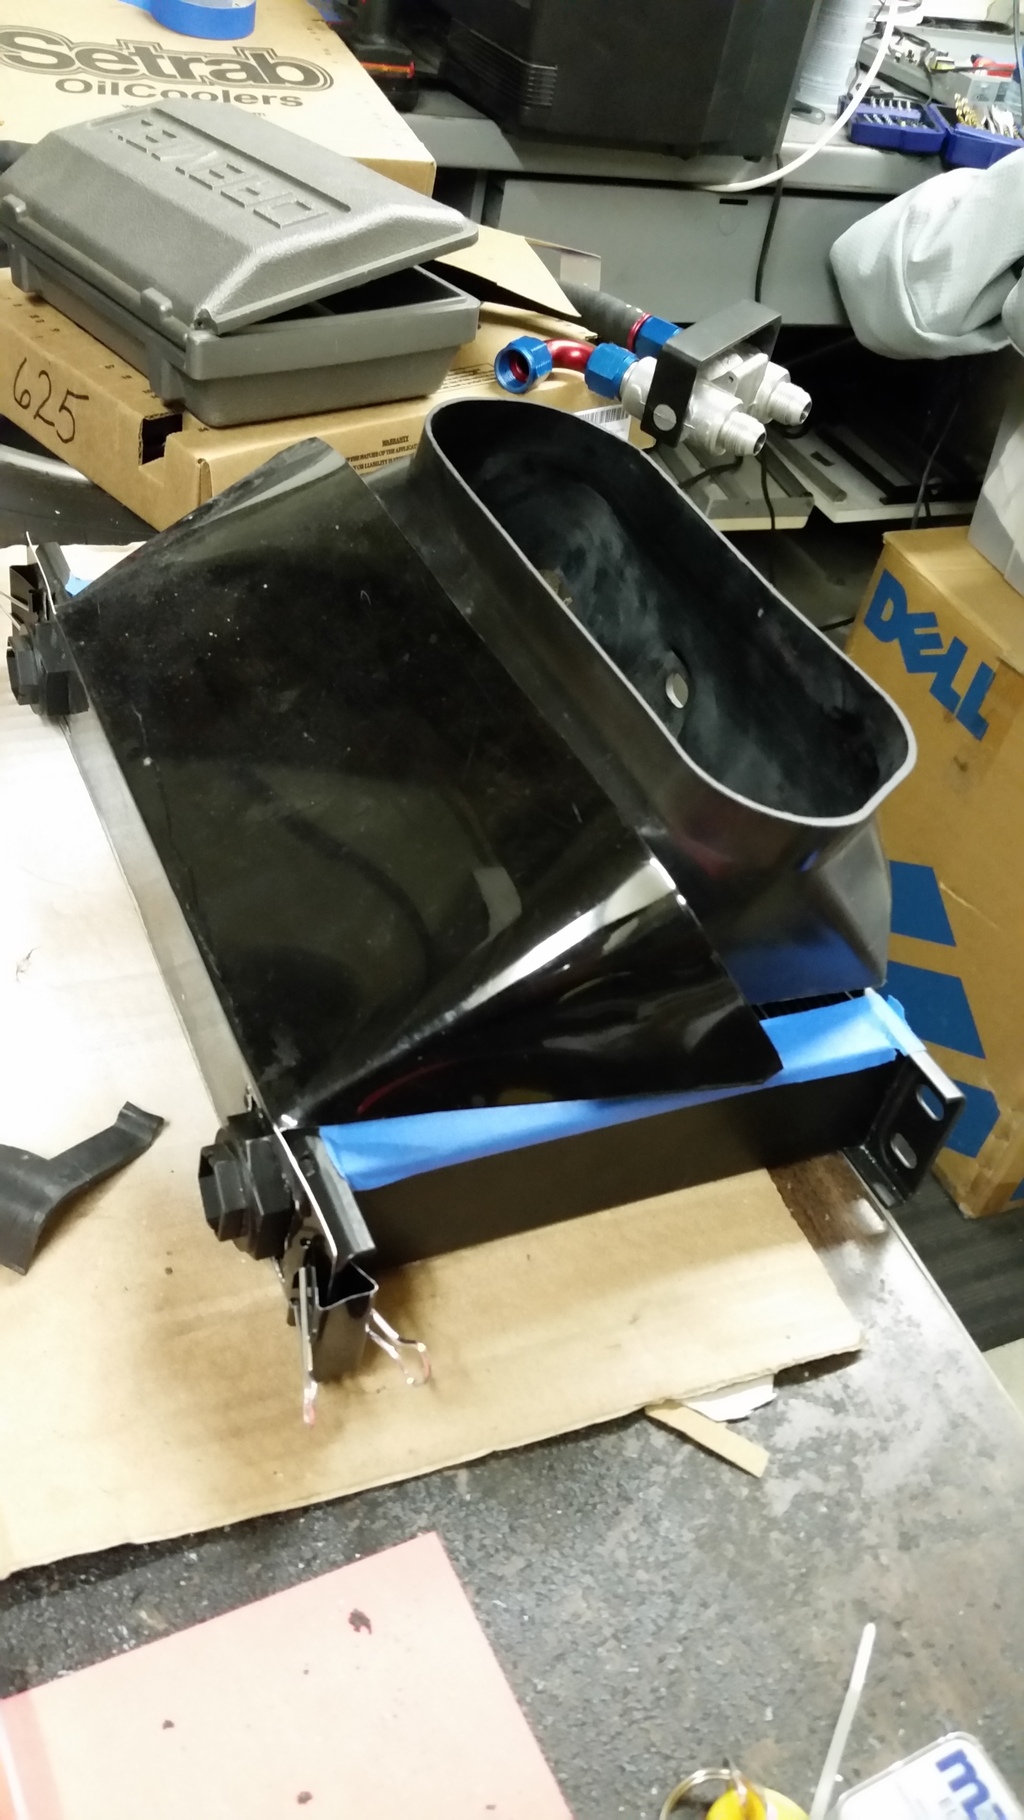
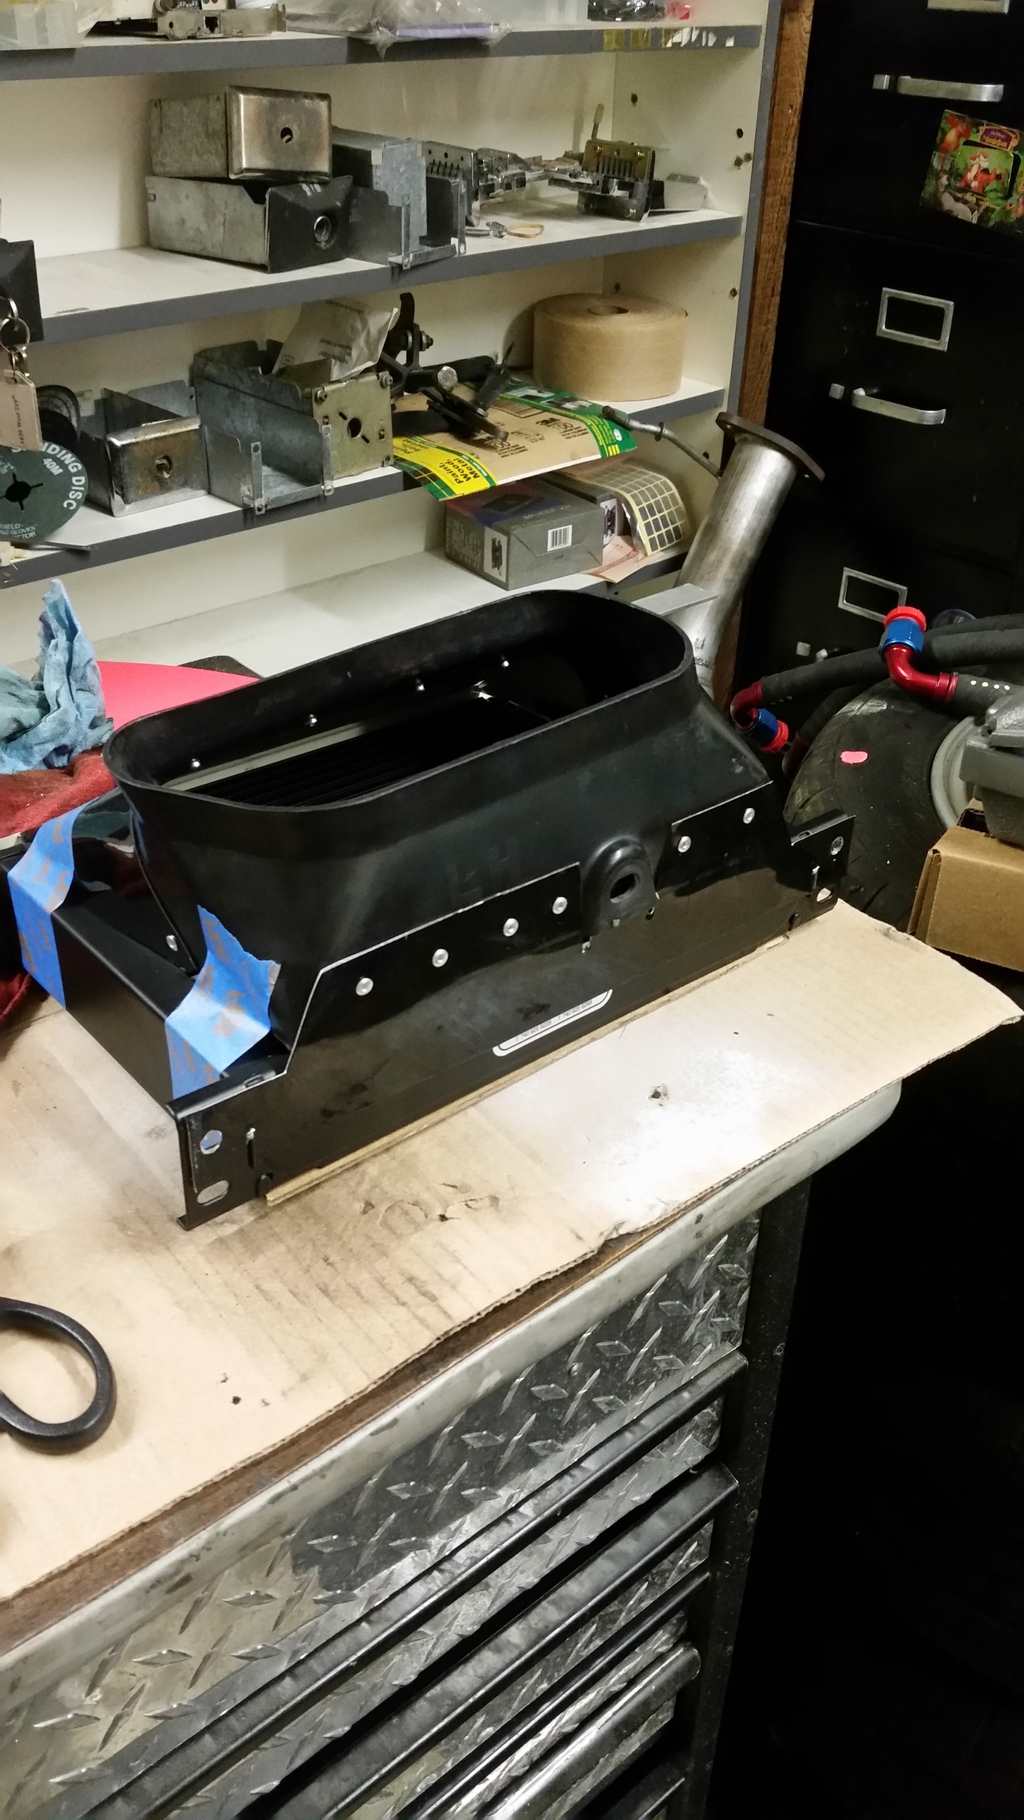
Next, I decided to fabricated a duct that would fit my 25 row coolers by incorporating the original ducting. After taking a few careful measurements and making a few templates, this is what I came up with. *Shout out to SilverTRD for lending a hand (plasti dip that ****! lol)

Cutting a few pieces from the original ducting and test fitting my final product.
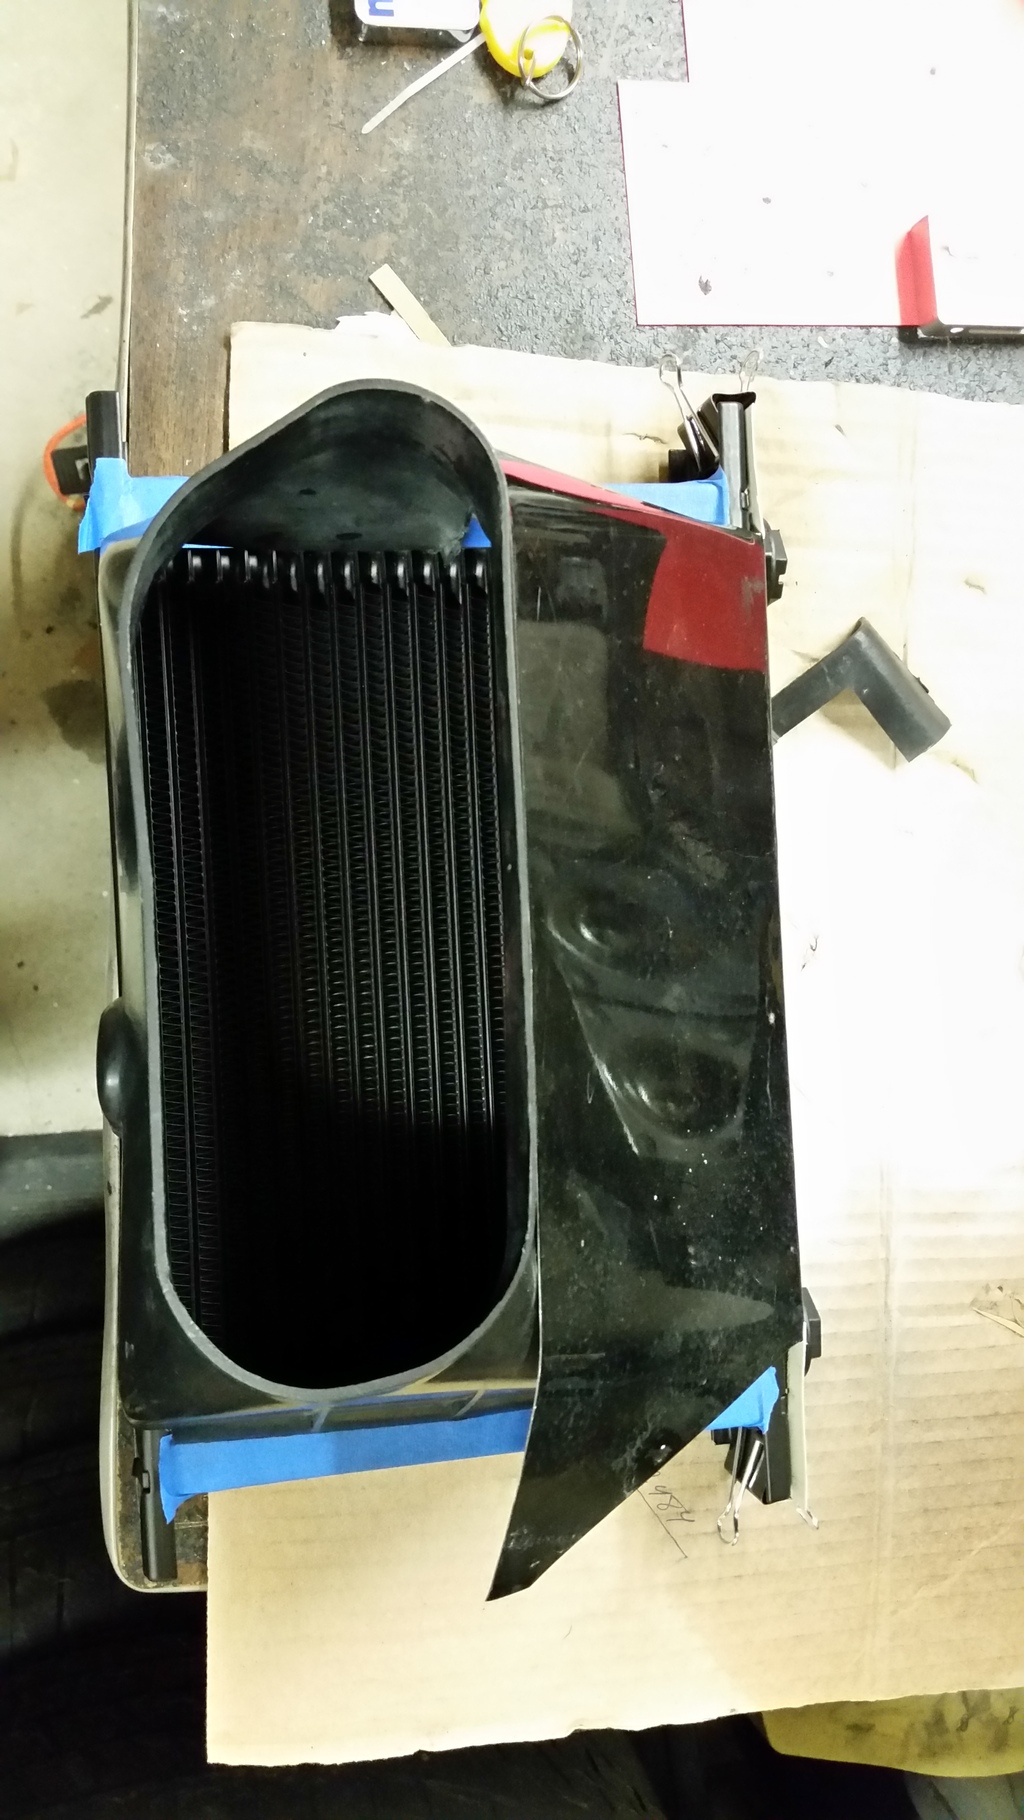
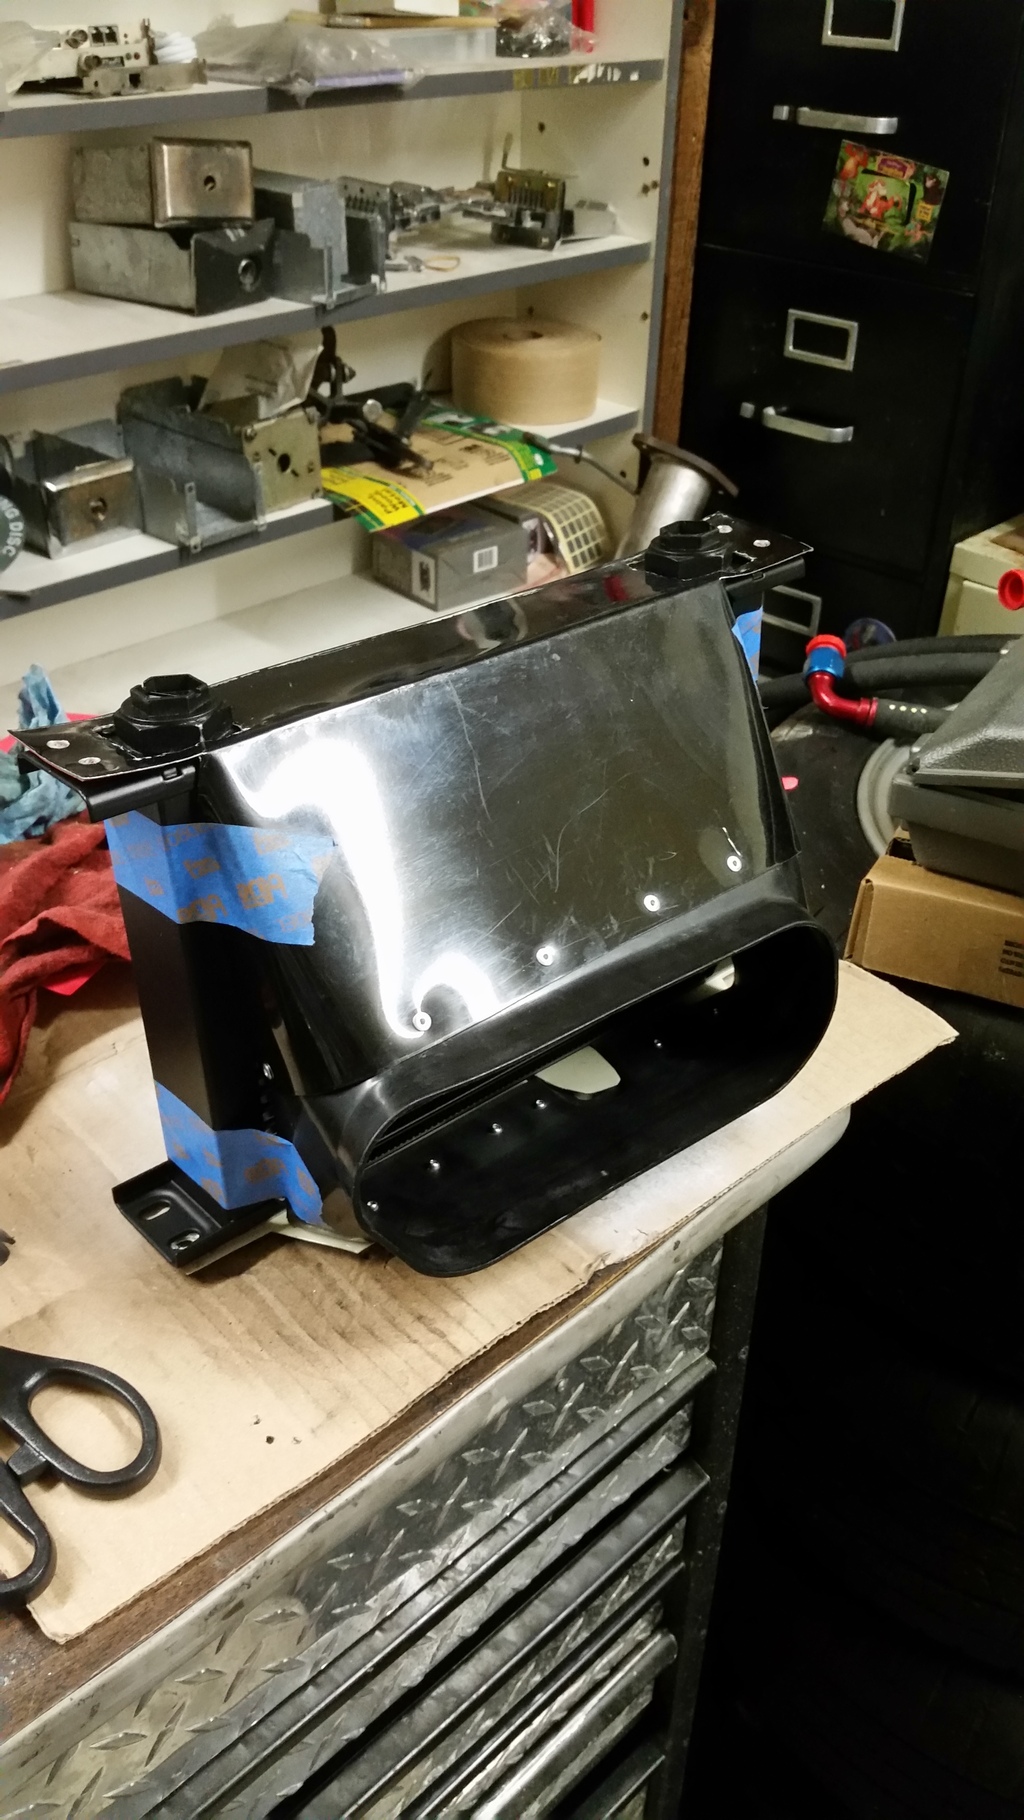
Final product. (the blue tape is there to hold the cardboard on the other side so the fins don't get damaged).
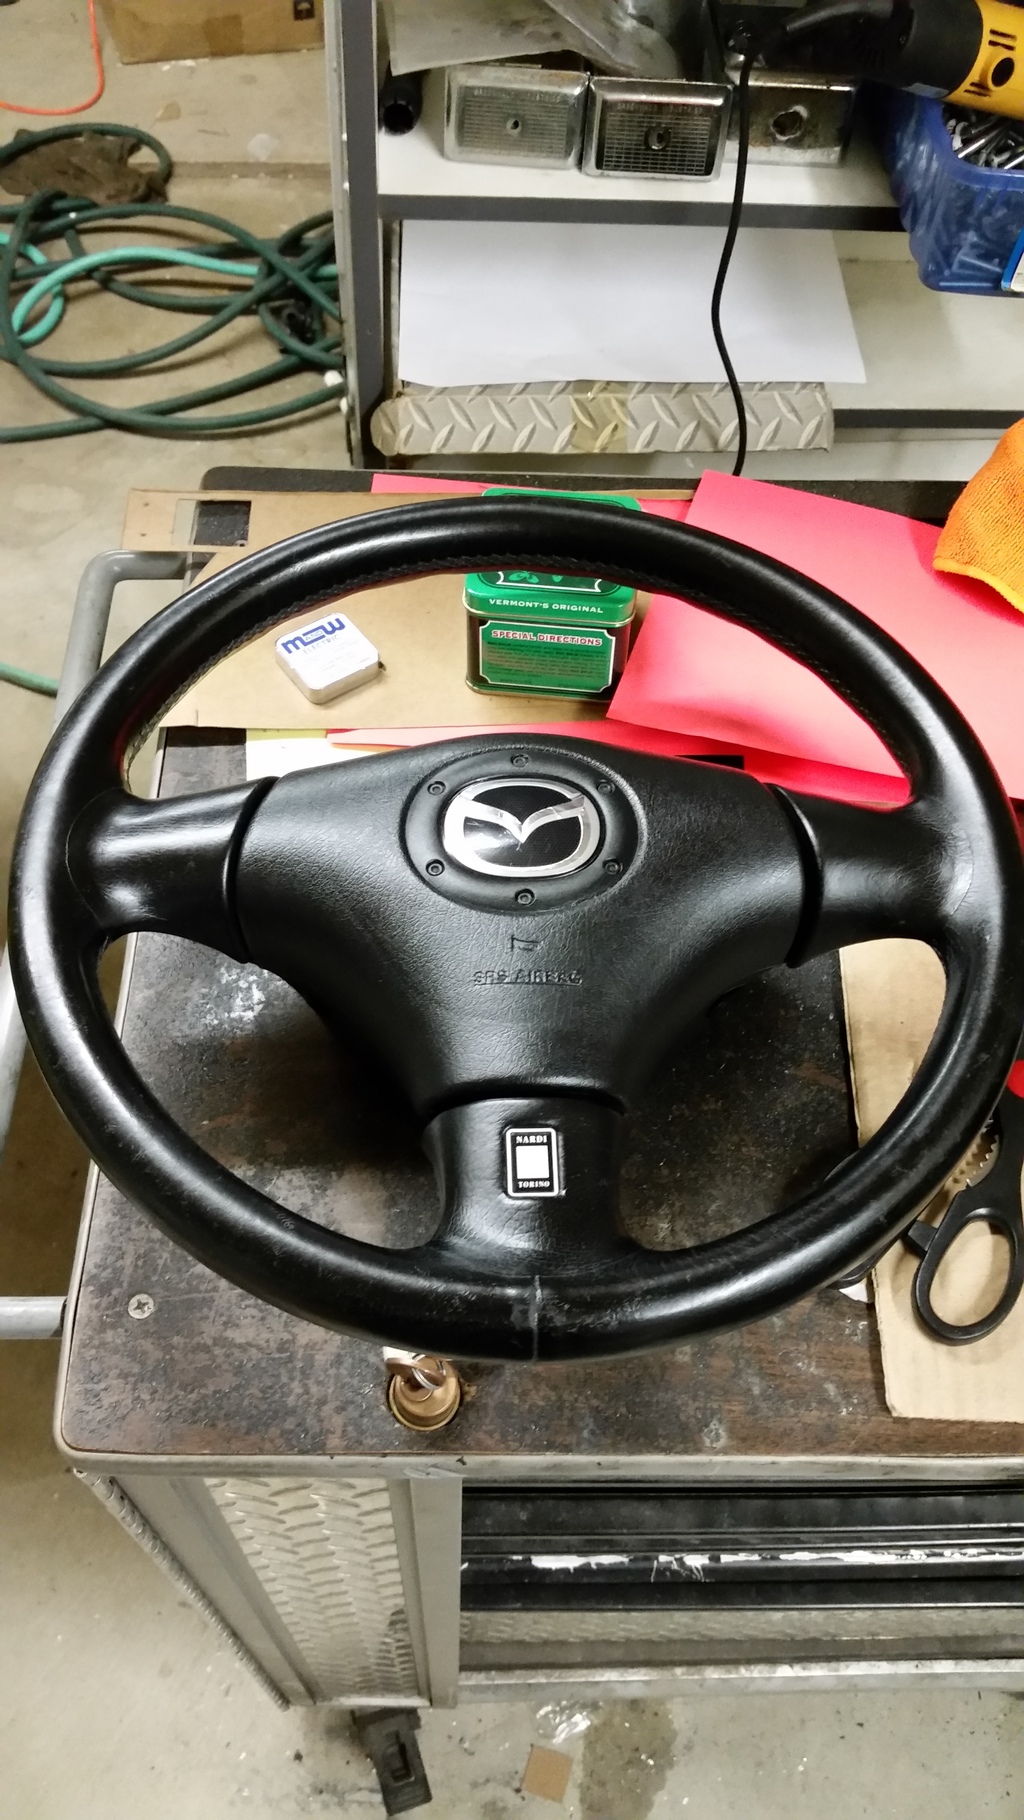
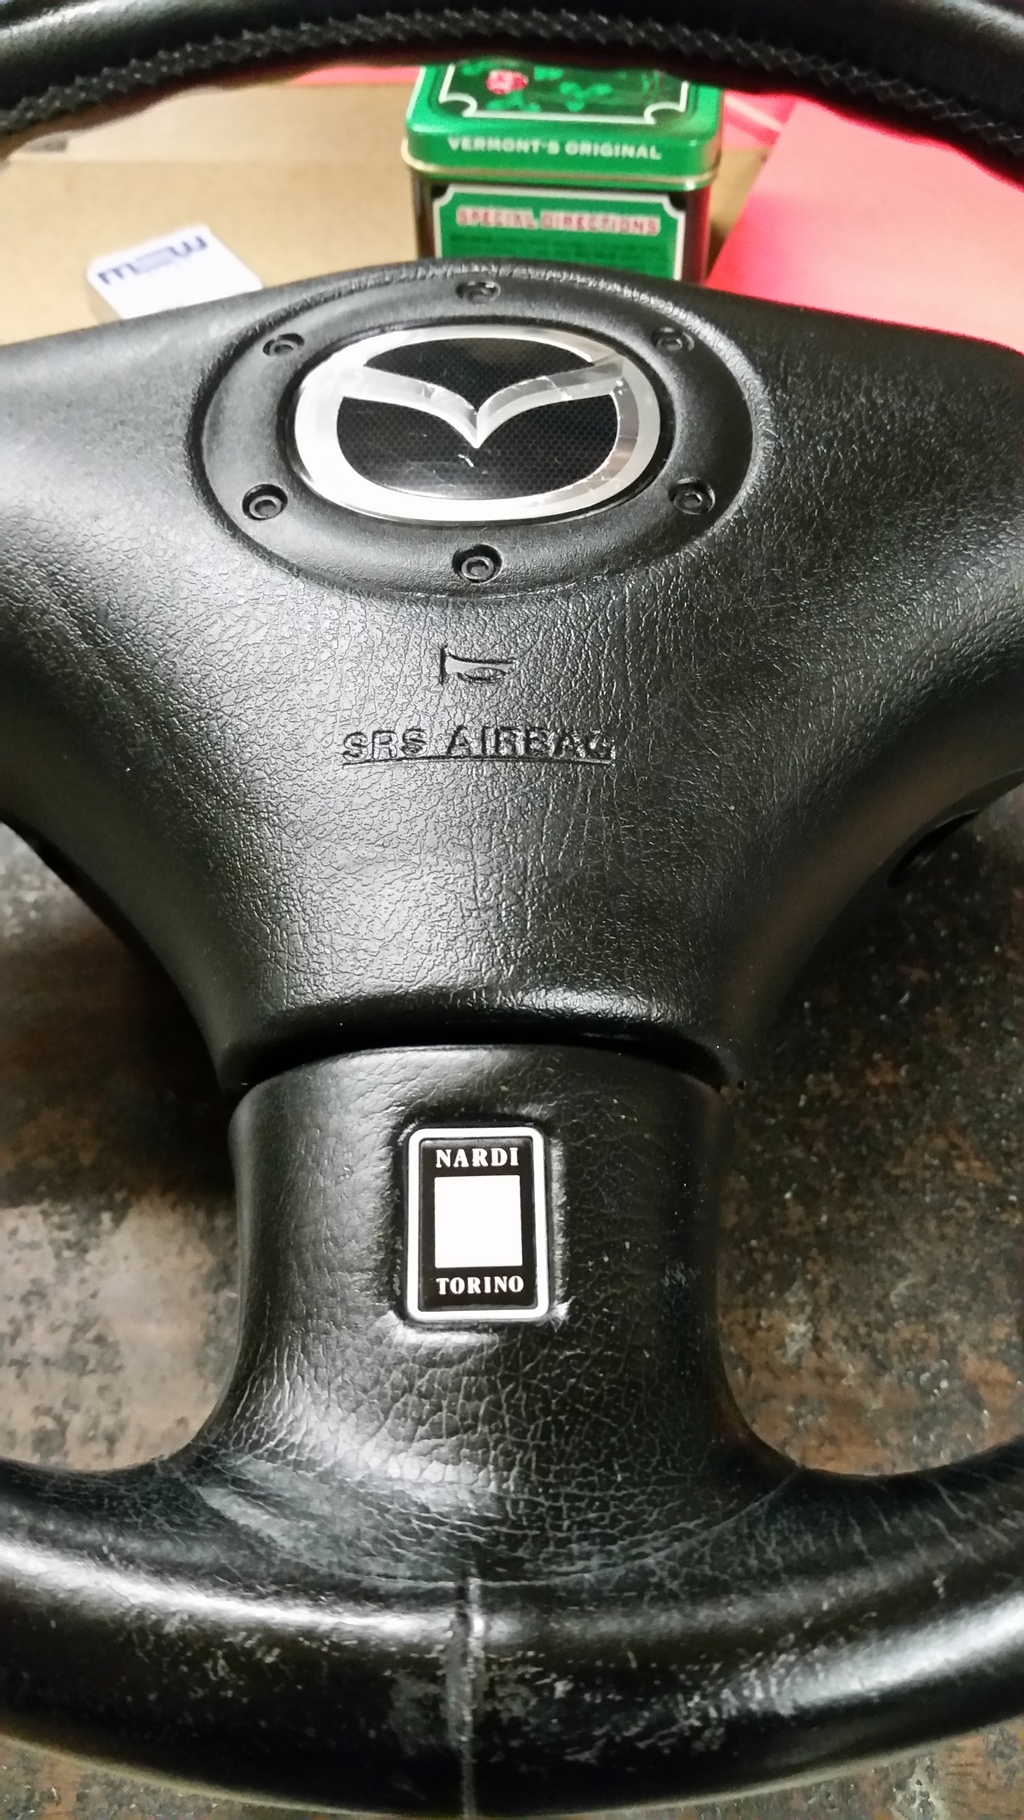
Finally, I found a deal on a Nardi Steering Wheel and I decided to buy it. It has some wear, but for the price, it was worth it. After cleaning it and treating the leather, this is how it came out.
Stay tuned for more updates in the next week or so.. Thanks for reading
In the meantime.. I have been working on a few little items.
I notice that the thermostat I purchased from a forum member did not come with a bracket so I decided to make one.

Next, I decided to fabricated a duct that would fit my 25 row coolers by incorporating the original ducting. After taking a few careful measurements and making a few templates, this is what I came up with. *Shout out to SilverTRD for lending a hand (plasti dip that ****! lol)
Cutting a few pieces from the original ducting and test fitting my final product.


Final product. (the blue tape is there to hold the cardboard on the other side so the fins don't get damaged).


Finally, I found a deal on a Nardi Steering Wheel and I decided to buy it. It has some wear, but for the price, it was worth it. After cleaning it and treating the leather, this is how it came out.


Stay tuned for more updates in the next week or so.. Thanks for reading


Thank you. I agree about the steering wheel. The only thing that bothers me is that my interior is in great shape and this steering wheel is not in that great of shape. I may hold off and see if I can find one in much better condition.

Why don't you cover it like you did with your other wheel?


Quick update:
December 05, 2015
The car is placed in its temporary home for a few weeks. I also set up my items on my son's lego table. I know what you guys are thinking...yes, I have stacked the legos as high as possible before
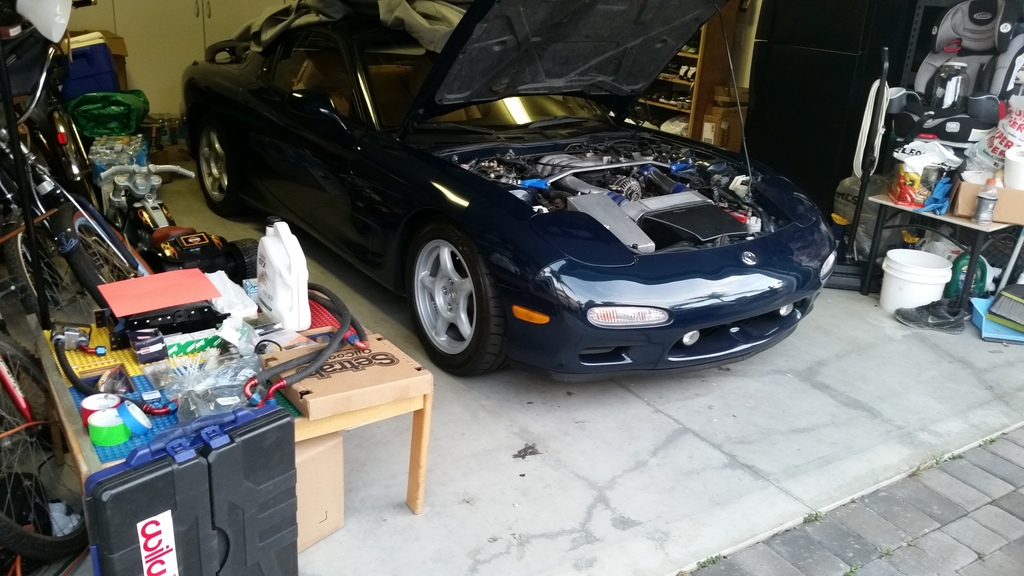
Tear down begins!
Credit to SilverTRD for taking the UIM off. Thanks Bud.
December 10, 2015
At it again. Tested fitted the oil cooler with the custom ducting and BAM! it fit nicely (with some minor mods to the custom brackets). Sorry no pic of the test fit because I was too excited that it actually fit that I forgot to take a picture.
However, I did take some pictures of my oil lines with the clamps installed. Something small but I'm proud of my accomplishment
December 12, 2015
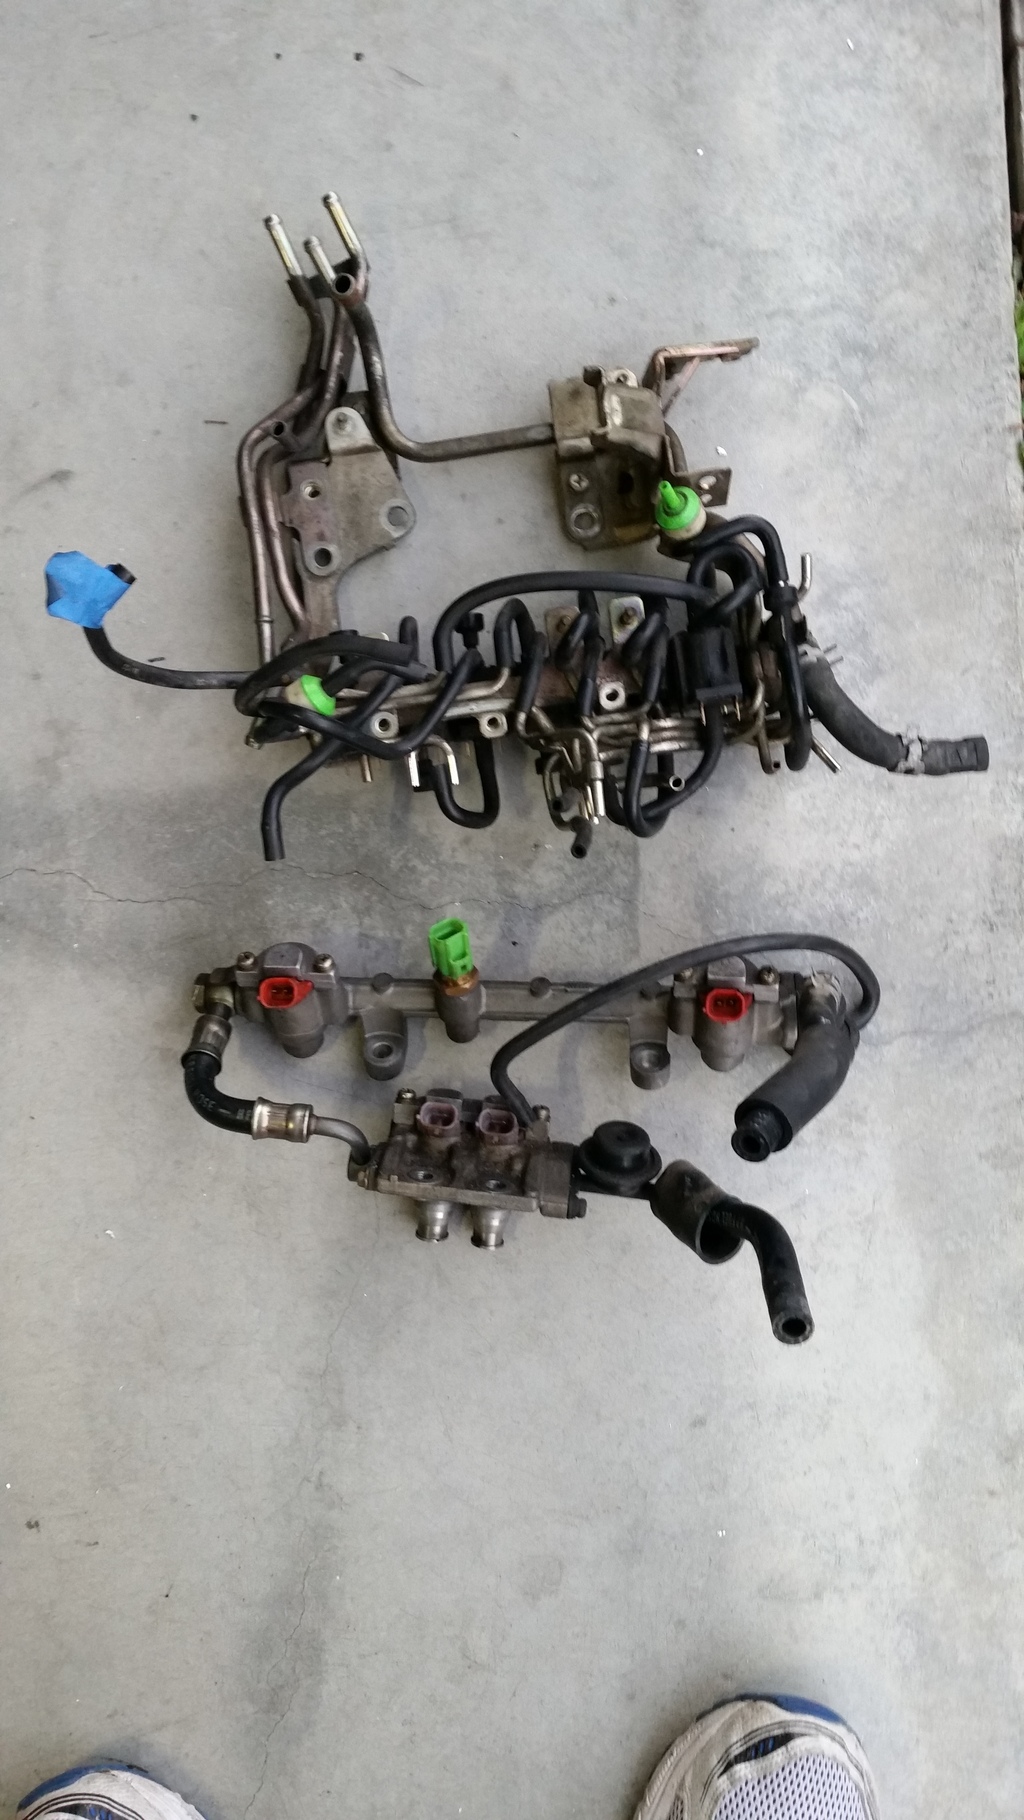
Finally got the rats nest out and the fuel rails out. I need to drop off the injectors to RC for some nice cleaning action.
I called it a day because I ordered a few items that I need in order to proceed.
1. New silicone vacuum hoses ordered from boostcontroller.com. Went with the Turbologic hoses.
2. New Check Valves ordered from DaleClark
3. Passenger side oil cooler duct ordered from a forum member.
December 05, 2015
The car is placed in its temporary home for a few weeks. I also set up my items on my son's lego table. I know what you guys are thinking...yes, I have stacked the legos as high as possible before

Tear down begins!


Credit to SilverTRD for taking the UIM off. Thanks Bud.
December 10, 2015
At it again. Tested fitted the oil cooler with the custom ducting and BAM! it fit nicely (with some minor mods to the custom brackets). Sorry no pic of the test fit because I was too excited that it actually fit that I forgot to take a picture.
However, I did take some pictures of my oil lines with the clamps installed. Something small but I'm proud of my accomplishment

December 12, 2015
Finally got the rats nest out and the fuel rails out. I need to drop off the injectors to RC for some nice cleaning action.

I called it a day because I ordered a few items that I need in order to proceed.
1. New silicone vacuum hoses ordered from boostcontroller.com. Went with the Turbologic hoses.
2. New Check Valves ordered from DaleClark
3. Passenger side oil cooler duct ordered from a forum member.
Last edited by ArmAnirx7; Dec 14, 2015 at 12:38 PM.
December 11, 2015
Received my silicone vacuum hoses.
December 13, 2015
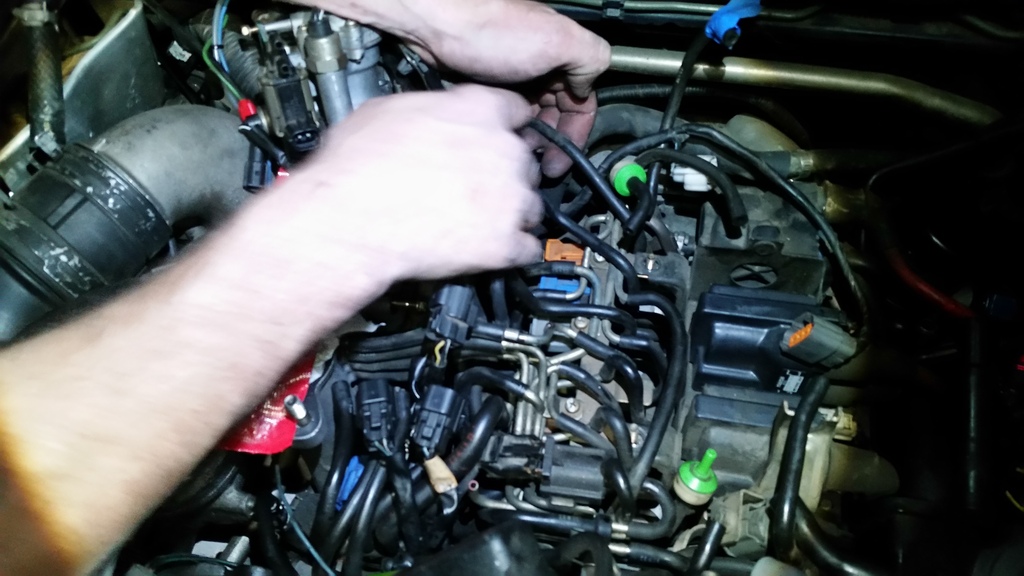
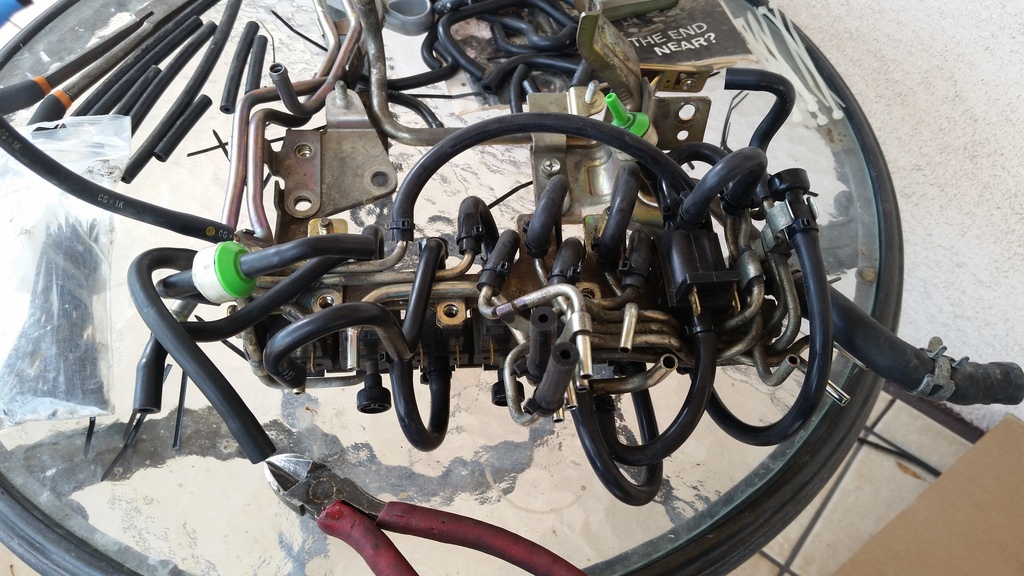
Started the vaccum hose job. Here is a trick I am going to use. I decided to go ahead and replace the vacuum hoses that connect from the rats nest onto the rats nest (hence the zip ties. I than removed the hoses that connect from the rats nest onto another component on the engine and I measured and cut a silicone hose but I did NOT install it. The reason is that the rubber hoses are already form in the shape of where they connect. When I re-install the rats nest, it will be easier to see where the rubber hoses once connected and at the moment, all i have to do is take the pre-cut silicone hose and swap it out real fast. I figure that this might help me cut down on confusion (even though I printed out a poster size picture of the vacuum diagram)
*You can see the ones that have zipties are all complete and on the upper left corner you can see my precut silicone hoses.
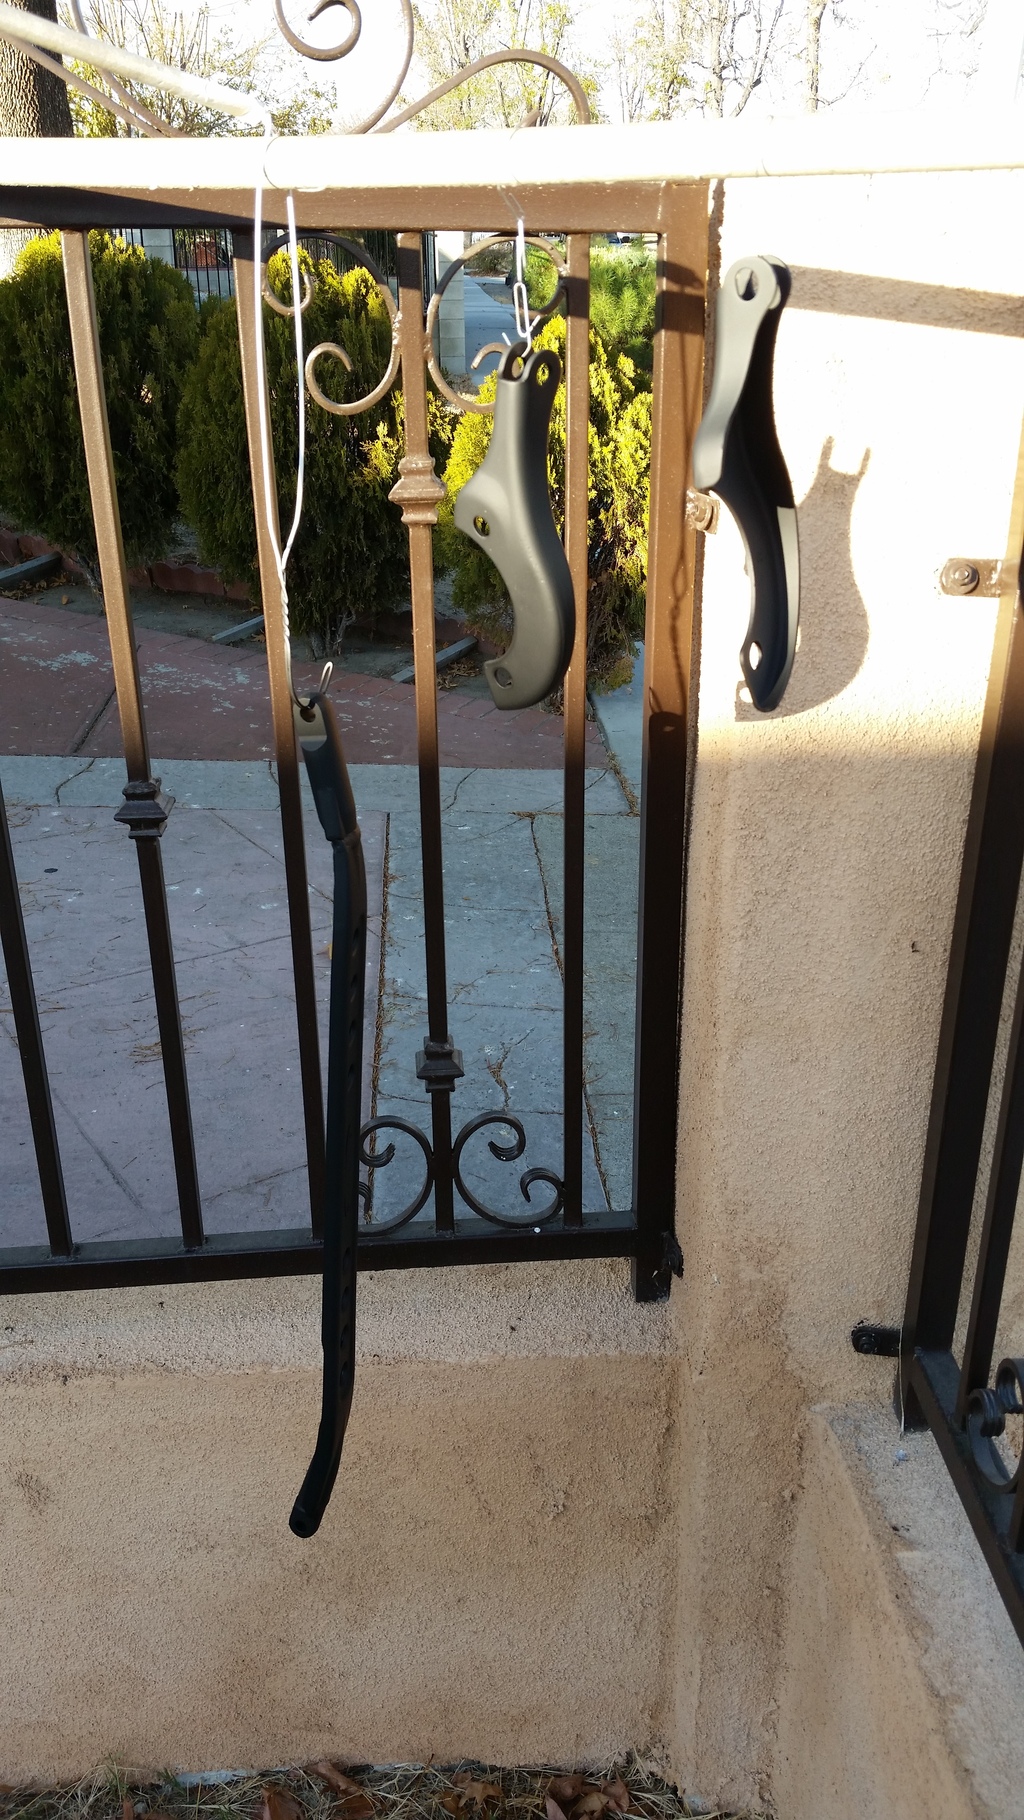
I also decided to go ahead and primer my r1 stut bar that I have had for a while.
Received my silicone vacuum hoses.
December 13, 2015
Started the vaccum hose job. Here is a trick I am going to use. I decided to go ahead and replace the vacuum hoses that connect from the rats nest onto the rats nest (hence the zip ties. I than removed the hoses that connect from the rats nest onto another component on the engine and I measured and cut a silicone hose but I did NOT install it. The reason is that the rubber hoses are already form in the shape of where they connect. When I re-install the rats nest, it will be easier to see where the rubber hoses once connected and at the moment, all i have to do is take the pre-cut silicone hose and swap it out real fast. I figure that this might help me cut down on confusion (even though I printed out a poster size picture of the vacuum diagram)
*You can see the ones that have zipties are all complete and on the upper left corner you can see my precut silicone hoses.

I also decided to go ahead and primer my r1 stut bar that I have had for a while.

Finally update for today
2 days after I ordered the passenger side cooler from a forum member, I get a text from another forum member andrew j.86 and he says he has a FULL r1 oil cooler setup for sale. https://www.rx7club.com/west-sale-wa...olers-1093389/
I want to thank Andrew for contacting me and this deal was too good to pass up. He even delivered it to me with extra cash I added to the sale price. I truly appreciated that and now I can continue my build without having to wait for the other cooler duct to arrive in the mail.
I have found that most RX7 owners are really down to earth people that enjoy helping each other out. It makes being a RX7 owner just a bit sweeter when you have a community of like minded individuals around you.
Last edited by ArmAnirx7; Dec 14, 2015 at 12:53 PM.
December 14, 2015
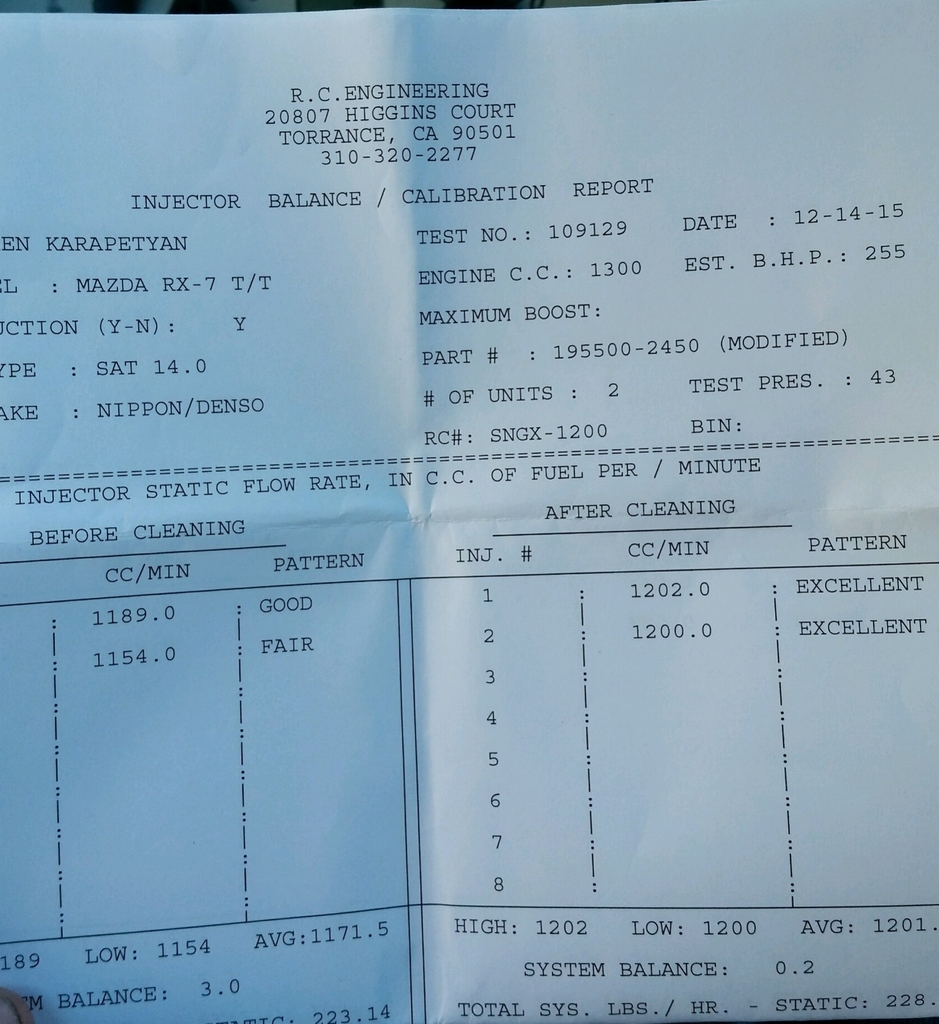
I dropped off my injectors to RC at 8:30 am and they had it ready for me at 2pm! Awesome company.
Here are the results. I'm glad I got them cleaned before I take the car in for a tune.
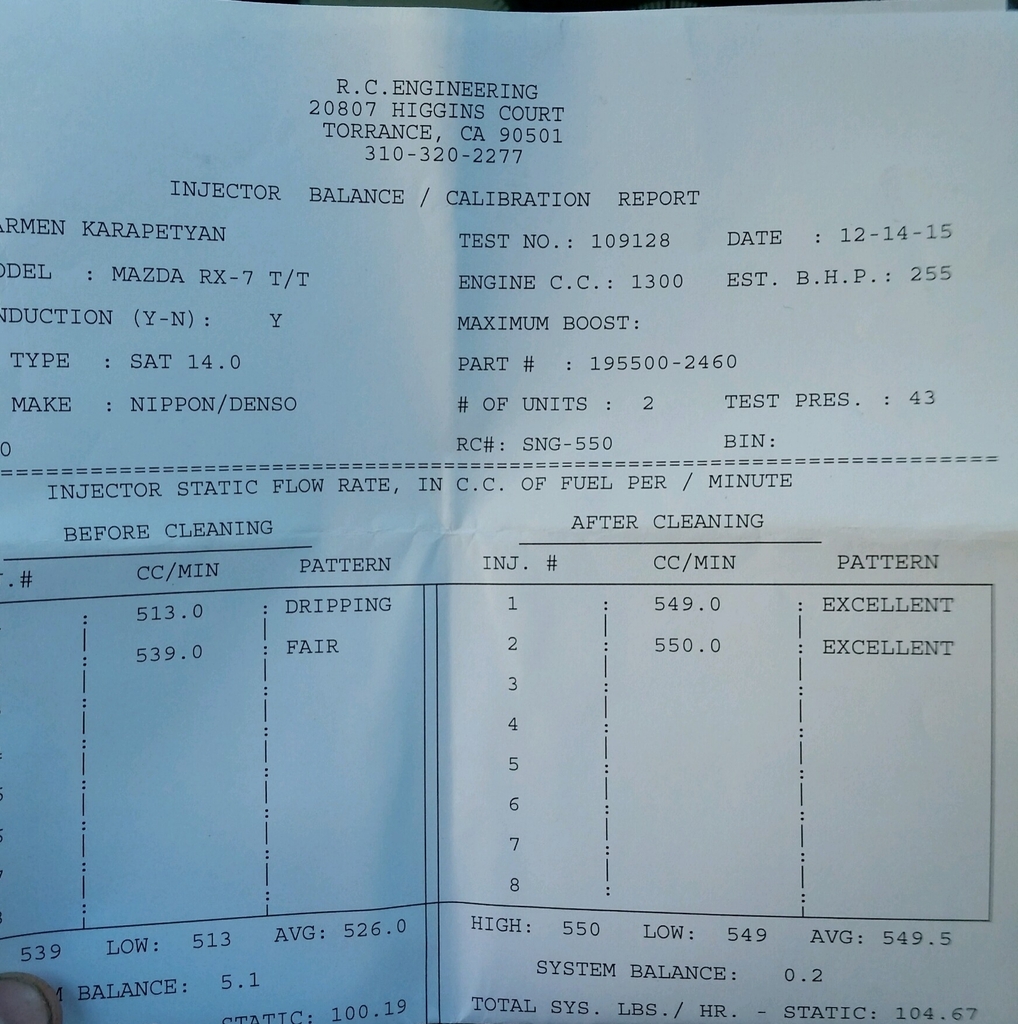
I dropped off my injectors to RC at 8:30 am and they had it ready for me at 2pm! Awesome company.
Here are the results. I'm glad I got them cleaned before I take the car in for a tune.


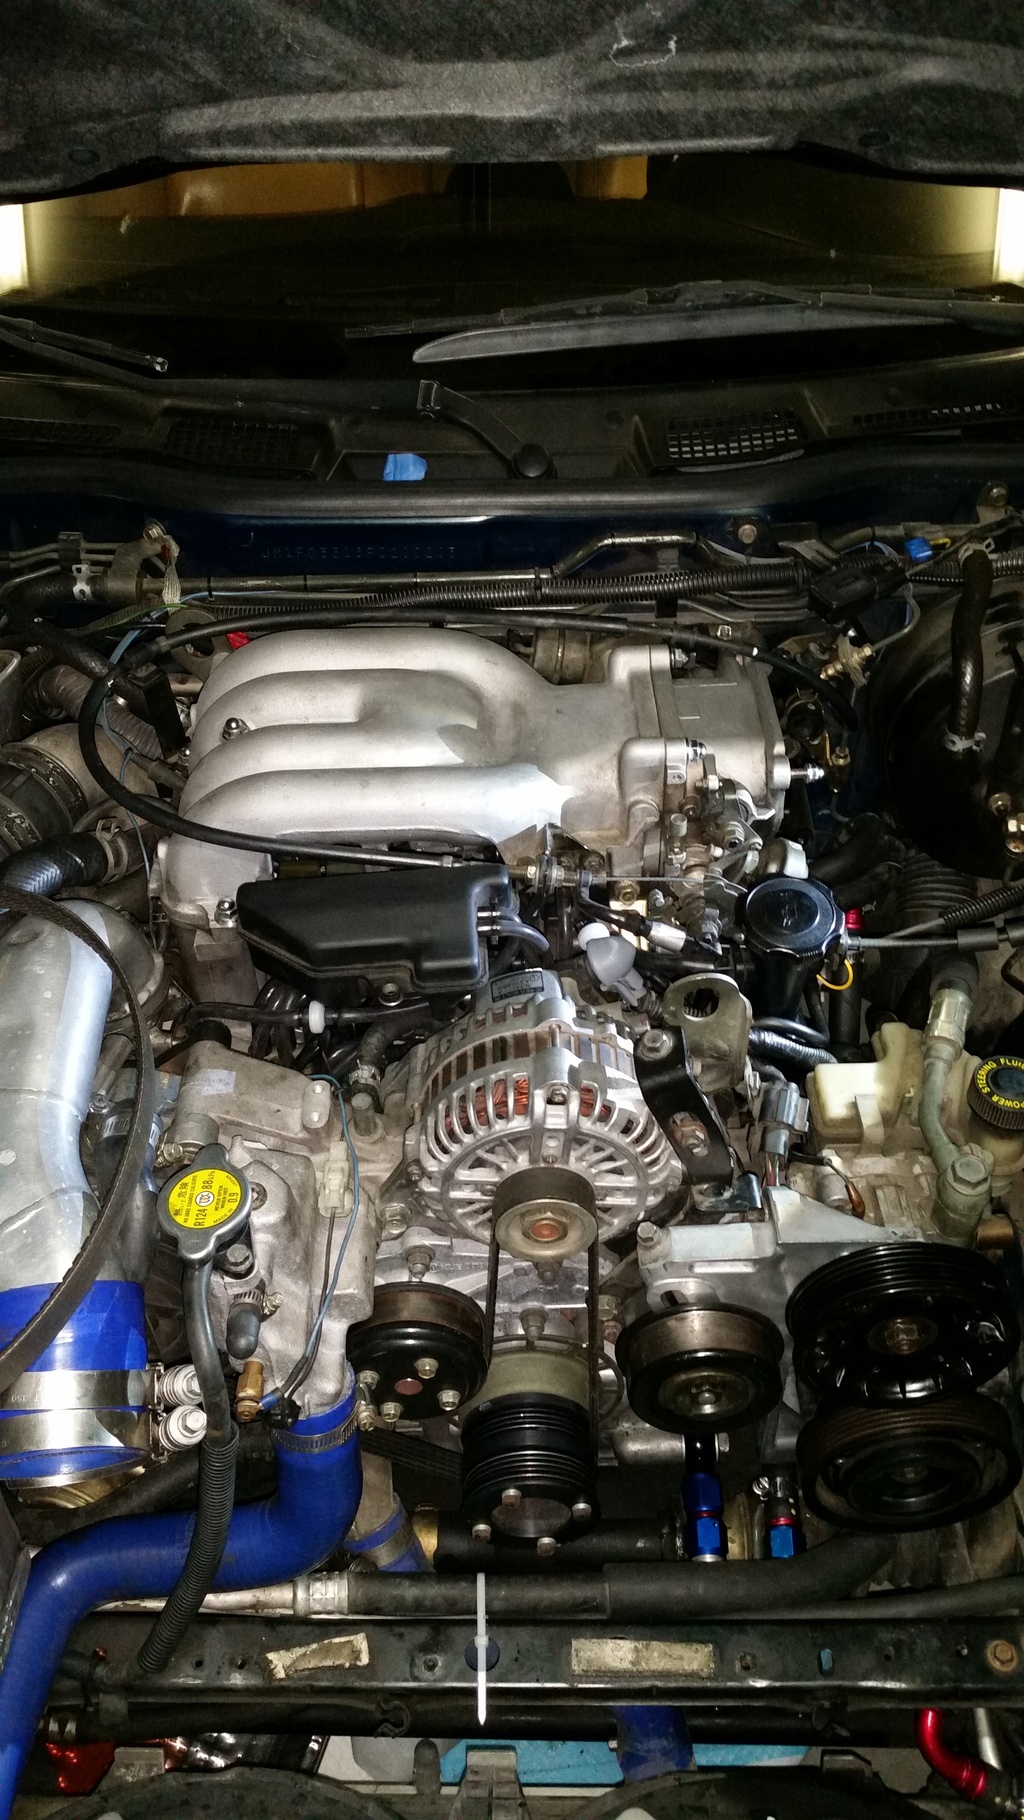
So I got a lot done since my last update.
I put the injectors back in, my vacuum hoses all changes out (under the upper intake manifold only). My turbos are new and after inspecting the rubber hoses on the turbos they looked to be new so I left the be. I also go the upper intake manifold back on.
After putting the oil and adding more coolant, I started the car but I instantly knew I had an issue. Here is the video.
http://vid1343.photobucket.com/album...psvbbwkrv8.mp4
Turns out I forgot to attach the vacuum hose on the map sensor. I got that hooked up and the car was running as it should.
I put the injectors back in, my vacuum hoses all changes out (under the upper intake manifold only). My turbos are new and after inspecting the rubber hoses on the turbos they looked to be new so I left the be. I also go the upper intake manifold back on.

After putting the oil and adding more coolant, I started the car but I instantly knew I had an issue. Here is the video.
http://vid1343.photobucket.com/album...psvbbwkrv8.mp4
Turns out I forgot to attach the vacuum hose on the map sensor. I got that hooked up and the car was running as it should.
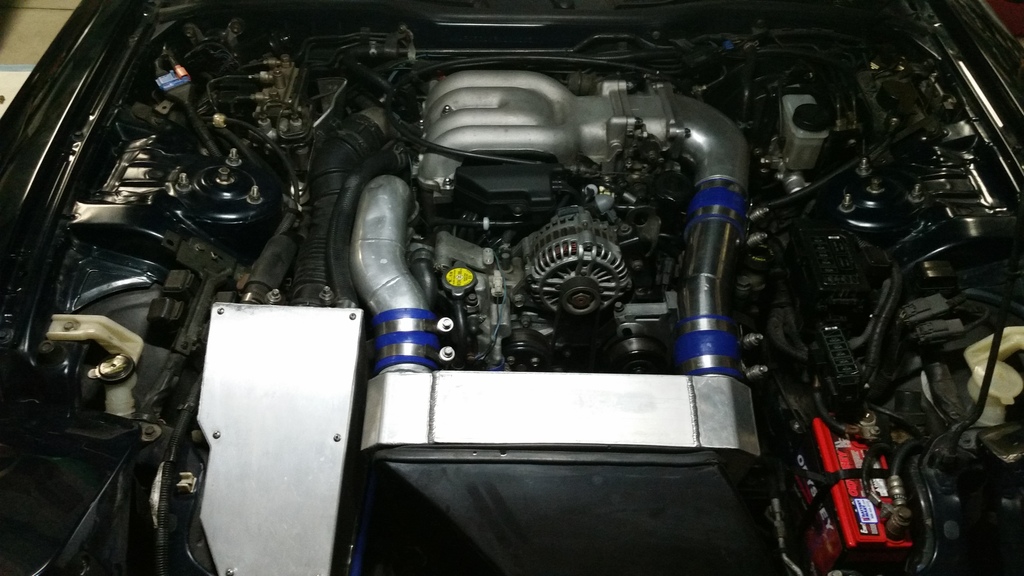
I finally go around to getting the elbow and intercooler installed and I thought I would take the car out of the garage for a breather.
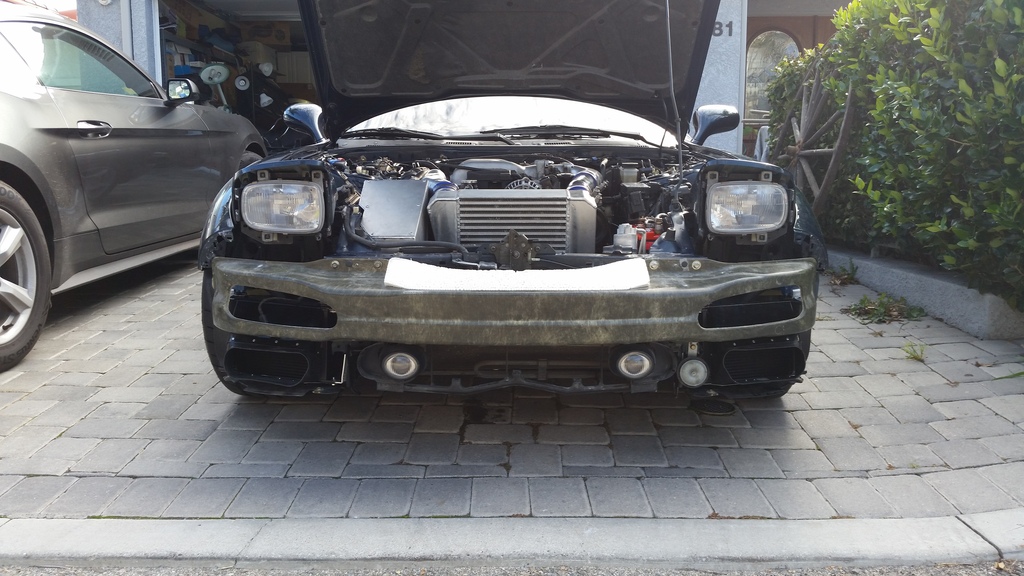
I took the car out for a drive to see if the AN fitting will hold the oil pressure. Fingers crossed X and I had no leaks (for now).
I decided to put the bumper on at this point and the ducting fit like a glove.
I finished up the engine bay and bolted up the bumper.


I took the car out for a drive to see if the AN fitting will hold the oil pressure. Fingers crossed X and I had no leaks (for now).
I decided to put the bumper on at this point and the ducting fit like a glove.


I finished up the engine bay and bolted up the bumper.

Last edited by ArmAnirx7; Jan 4, 2016 at 10:56 AM.