
93 VR parking lot find....

Thread Starter
Joined: Apr 2011
Posts: 806
Likes: 288
From: Millersville Md
your interior is coming along great. i'm in the process of changing mine as well. unfortunately the previous owner tried painting it all but the finish came out way too glossy. I'm looking for a more oem look. I'm using duplicolor bumper coating on the trim pieces as I've seen used before on the forum, but i'm not sure exactly what paint to use on the rear bins and panels. yours look comparable to the OEM finish. what are you using on the bins and all? did you also use an adhesive promoter on those parts? also, what'd you use to color the little liner around the hole for the sunroof?
the door panels actually look pretty good in my car but if i decide to redo them i'm definitely gonna go the same route as you.
i know painting the pieces is tedious and time consuming. you just wanna keep adding another coat. you've definitely had the patience it takes to do a great job tho. keep up the great, detailed work.
so you used the vht vinyl paint on the rear bins and all too huh. nice. I used the rustoleum vinyl/fabric paint on my visors and sunroof trim. tried using it on the headliner first but it didn't come out well due to the humidity so I just recovered it. it would dry and finish inconsistently and in some areas leave a whitish finish, kinda foggy looking finish. I recently did the visors tho and they came out great. the sunroof trim piece didn't come out well. it covered nicely but, was left kinda crispy to the touch. oh well. at least it looks good. i'll definitely have to try the vht paint after treating all the pieces with adhesion promoter. thanks for the info.
Thread Starter
Joined: Apr 2011
Posts: 806
Likes: 288
From: Millersville Md
so you used the vht vinyl paint on the rear bins and all too huh. nice. I used the rustoleum vinyl/fabric paint on my visors and sunroof trim. tried using it on the headliner first but it didn't come out well due to the humidity so I just recovered it. it would dry and finish inconsistently and in some areas leave a whitish finish, kinda foggy looking finish. I recently did the visors tho and they came out great. the sunroof trim piece didn't come out well. it covered nicely but, was left kinda crispy to the touch. oh well. at least it looks good. i'll definitely have to try the vht paint after treating all the pieces with adhesion promoter. thanks for the info.


Thread Starter
Joined: Apr 2011
Posts: 806
Likes: 288
From: Millersville Md
Thank you! You sir have one of the cleanest engine bays ive seen.
Its not new... But it was in Great shape. Thanks i am definitely trying to make headway.
Its not new... But it was in Great shape. Thanks i am definitely trying to make headway.
Thread Starter
Joined: Apr 2011
Posts: 806
Likes: 288
From: Millersville Md
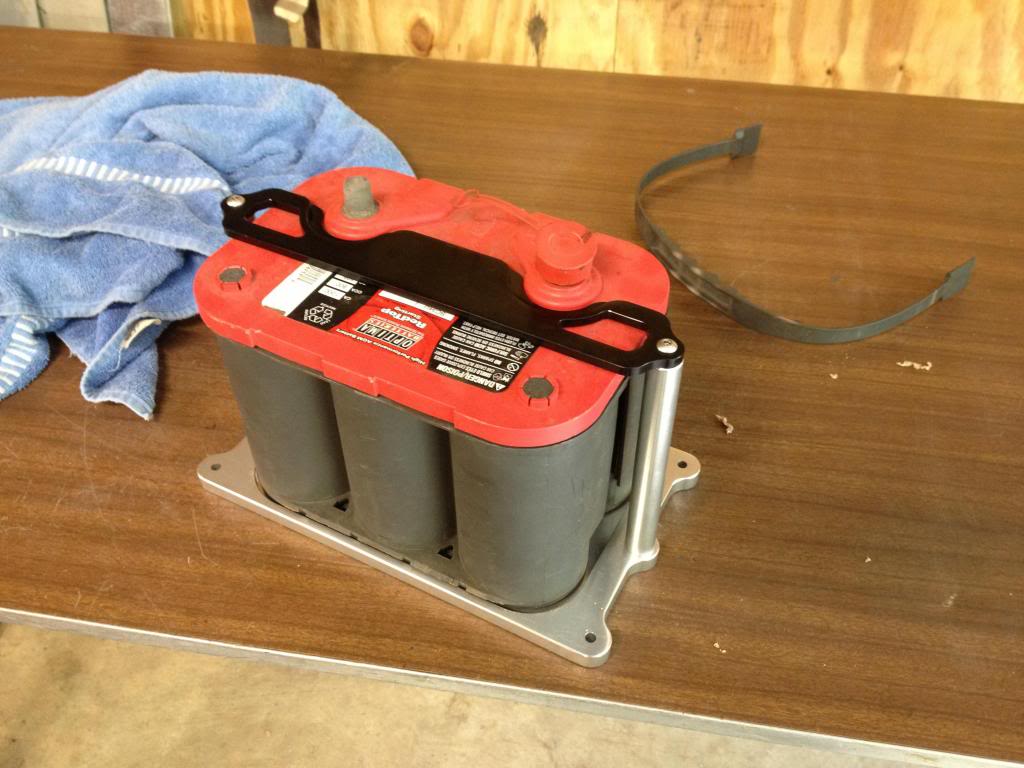
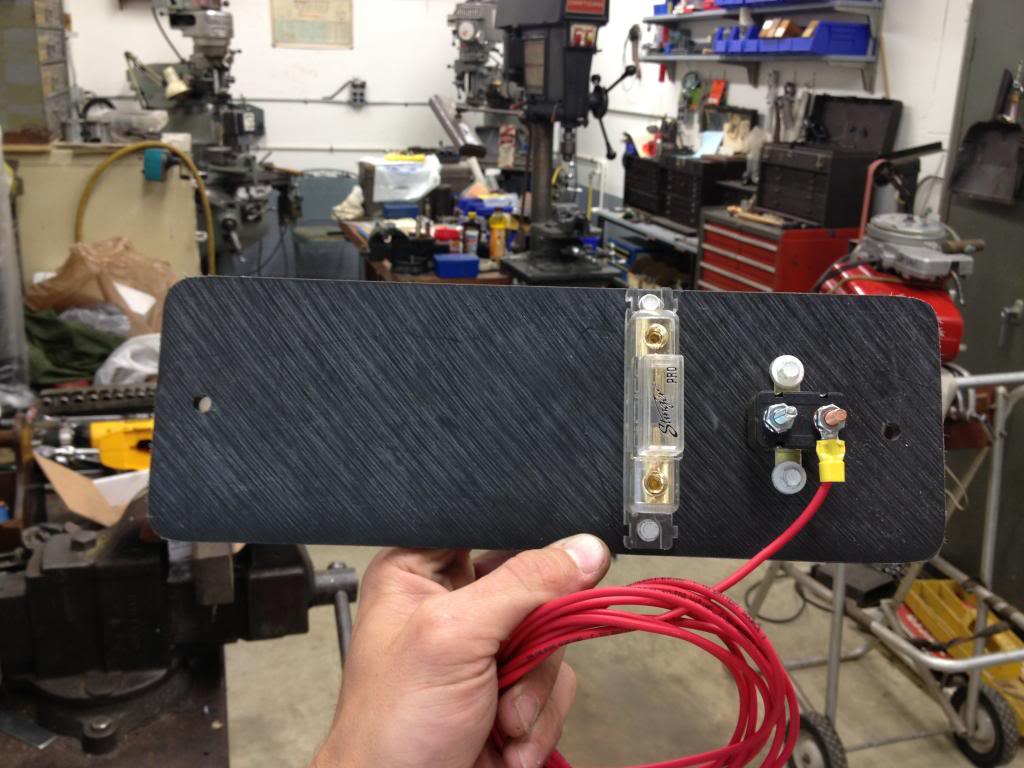
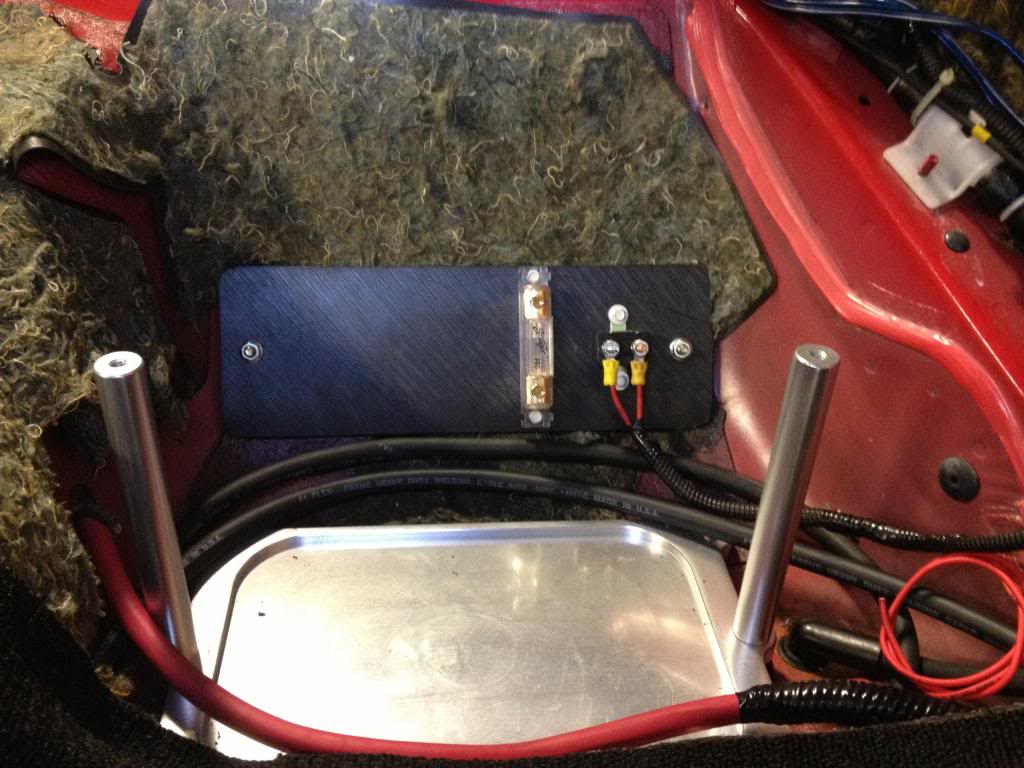
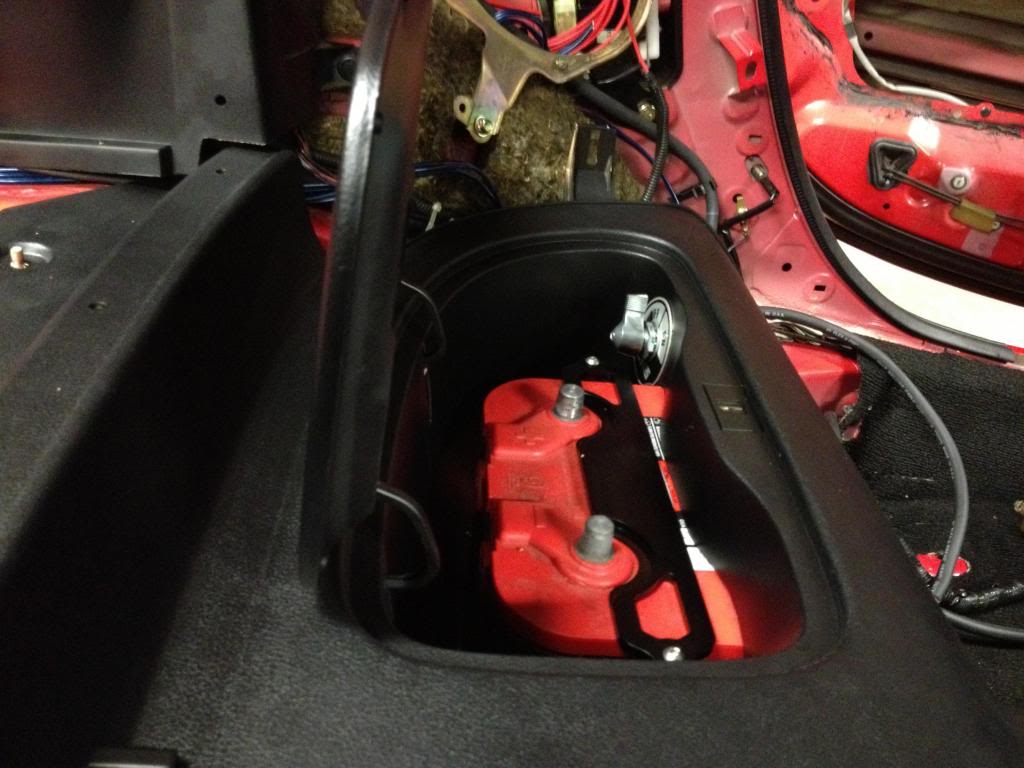
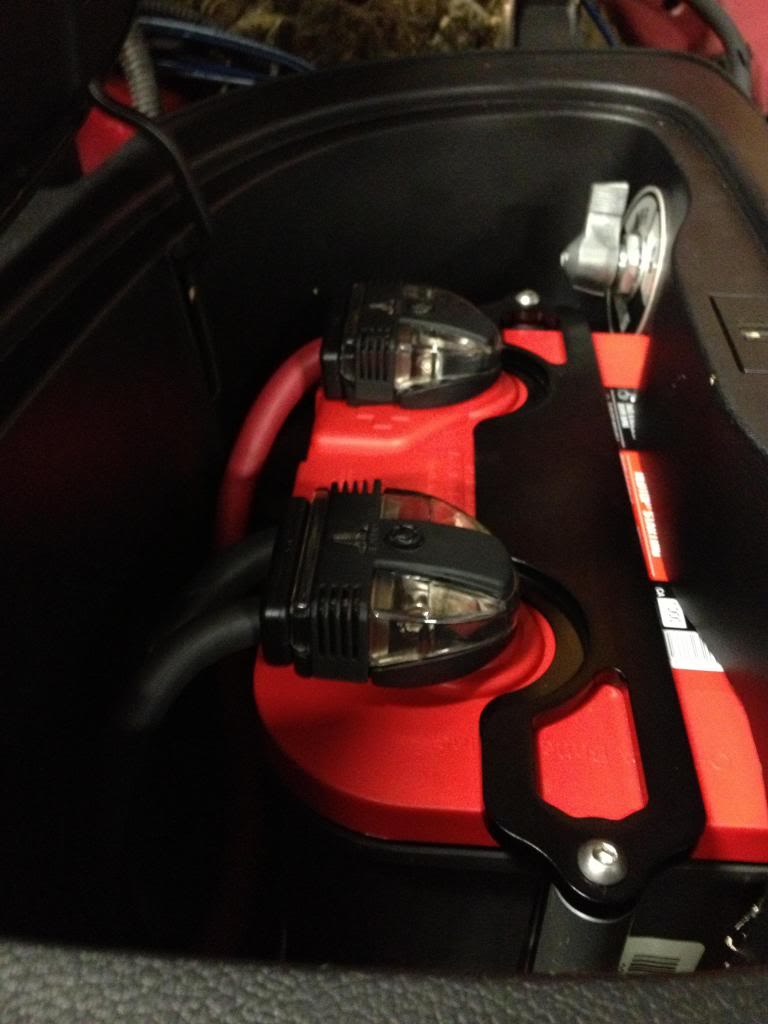
Fabed up a mounting plate to put my fuel pump wiring and fuse block on. Finished adjusting my battery and the interior is just about ready to go back in. I wound up using a optima group 34 battery which fits nicely under the bin with a clean alum battery tray. Shame its covered up.


Thread Starter
Joined: Apr 2011
Posts: 806
Likes: 288
From: Millersville Md
I thought about it. The battery is on the drivers side front in stock location. Moving it towards the rear and lower is an improvement. I'm not planning on tracking or having the corner balancing be perfect its only a street car and my water injection tank may wind up in the pass side bin. But i definitely see what your saying.


Recovering Milkaholic
iTrader: (7)
Joined: Jan 2002
Posts: 8,206
Likes: 0
From: Budds Creek, Maryland
I thought about it. The battery is on the drivers side front in stock location. Moving it towards the rear and lower is an improvement. I'm not planning on tracking or having the corner balancing be perfect its only a street car and my water injection tank may wind up in the pass side bin. But i definitely see what your saying.
Recovering Milkaholic
iTrader: (7)
Joined: Jan 2002
Posts: 8,206
Likes: 0
From: Budds Creek, Maryland
I should have said nice job fabricating the mounting panels and making sure to add circuit protection and a cut off!
I did a dual battery install on my jeep this past spring. It was quite the job.
I did a dual battery install on my jeep this past spring. It was quite the job.
Thread Starter
Joined: Apr 2011
Posts: 806
Likes: 288
From: Millersville Md
On a side note I'm following your thread and I must say its turning out nicely.
Recovering Milkaholic
iTrader: (7)
Joined: Jan 2002
Posts: 8,206
Likes: 0
From: Budds Creek, Maryland
Excellent build and attention to detail. Very nice to see.
I really agree with what you've said, especially about circuit breakers. Fwiw, when I tested high current circuit breakers, I didn't find anything with an acceptably low resistance--read voltage drop. When I relocated my battery inside the passenger compartment, I wanted some kind of safety over current protection in the event of a major malfunction. What I settled on is a readily available 175 amp 'mega fuse' located at the battery, which has worked out fine and has an order of magnitude less insertion loss than a CB of similar rating.
....
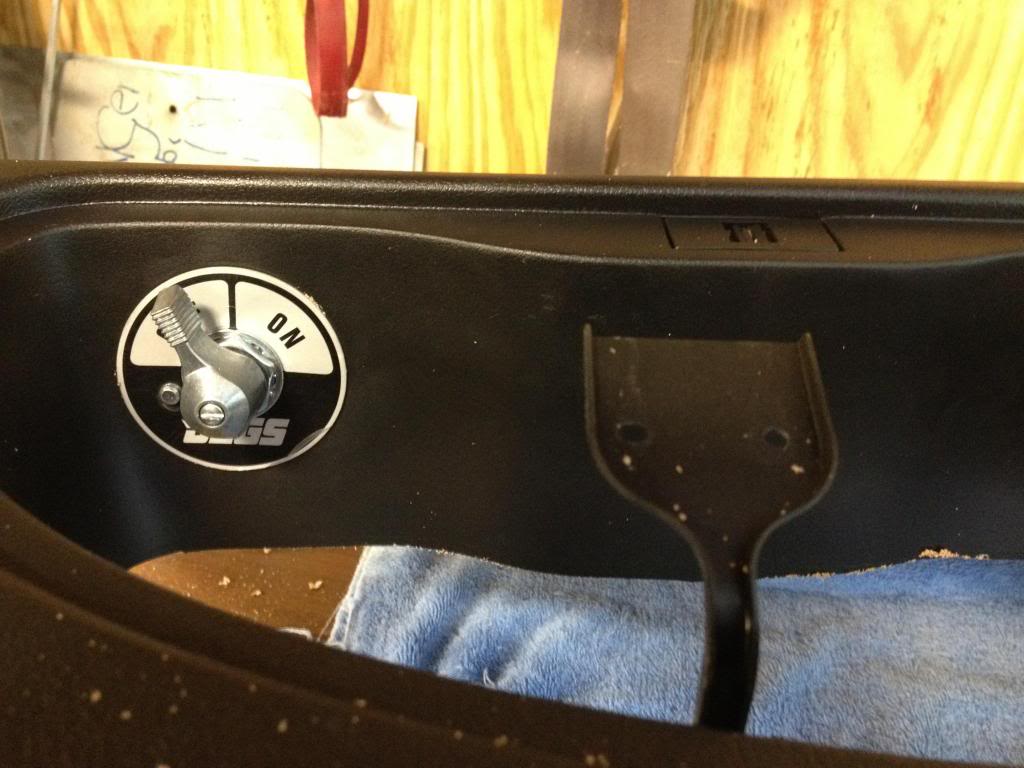
I did put a cut off switch in there to isolate it incase it's needed. I haven't found any Circuit breakers or fuse protection that I really like. I've noticed that the stock battery wiring from the battery and from the fuse block to the starter is un-fused like most older Vehicles. Noticed alot of race cars running just cut off switches with out fuse protection also (not saying its correct) I've seen some starters really pull a big load. Matter of fact I have only recently seen fuse protection on newer vehicles for these components.....
I did put a cut off switch in there to isolate it incase it's needed. I haven't found any Circuit breakers or fuse protection that I really like. I've noticed that the stock battery wiring from the battery and from the fuse block to the starter is un-fused like most older Vehicles. Noticed alot of race cars running just cut off switches with out fuse protection also (not saying its correct) I've seen some starters really pull a big load. Matter of fact I have only recently seen fuse protection on newer vehicles for these components.....
I really agree with what you've said, especially about circuit breakers. Fwiw, when I tested high current circuit breakers, I didn't find anything with an acceptably low resistance--read voltage drop. When I relocated my battery inside the passenger compartment, I wanted some kind of safety over current protection in the event of a major malfunction. What I settled on is a readily available 175 amp 'mega fuse' located at the battery, which has worked out fine and has an order of magnitude less insertion loss than a CB of similar rating.
Thread Starter
Joined: Apr 2011
Posts: 806
Likes: 288
From: Millersville Md
Thanks man, stay tuned next couple weeks i should have another one. 
I get what your saying. I wound up picking a jl audio aln inline fuse holder which i fused for 250 amp. To be honest the only reason i am even putting it in there is for the "just in case" part. I used welding mili strand cable which the insulation jacket is very thick. I seriously doubt it will ever wear threw. But the piece of mind is good i guess.
Excellent build and attention to detail. Very nice to see.
I really agree with what you've said, especially about circuit breakers. Fwiw, when I tested high current circuit breakers, I didn't find anything with an acceptably low resistance--read voltage drop. When I relocated my battery inside the passenger compartment, I wanted some kind of safety over current protection in the event of a major malfunction. What I settled on is a readily available 175 amp 'mega fuse' located at the battery, which has worked out fine and has an order of magnitude less insertion loss than a CB of similar rating.
I really agree with what you've said, especially about circuit breakers. Fwiw, when I tested high current circuit breakers, I didn't find anything with an acceptably low resistance--read voltage drop. When I relocated my battery inside the passenger compartment, I wanted some kind of safety over current protection in the event of a major malfunction. What I settled on is a readily available 175 amp 'mega fuse' located at the battery, which has worked out fine and has an order of magnitude less insertion loss than a CB of similar rating.
Thread Starter
Joined: Apr 2011
Posts: 806
Likes: 288
From: Millersville Md
So.... an update is in order.
I have been working on the car alot lately finishing up some loose ends, starting a few new areas and moving forward.
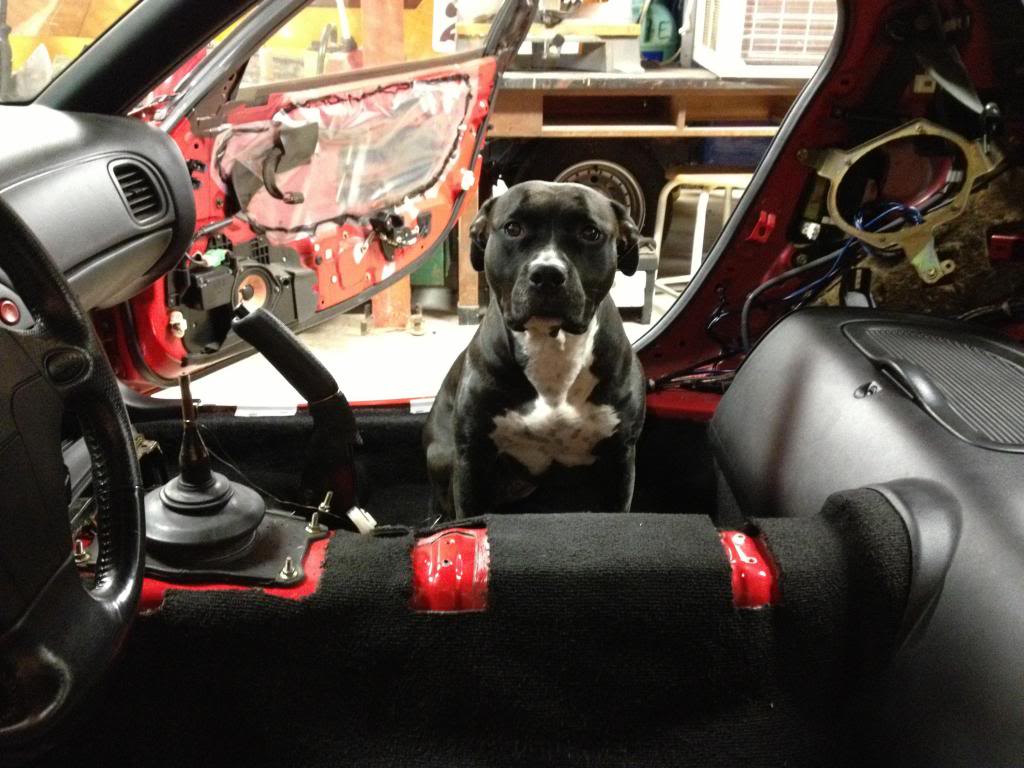
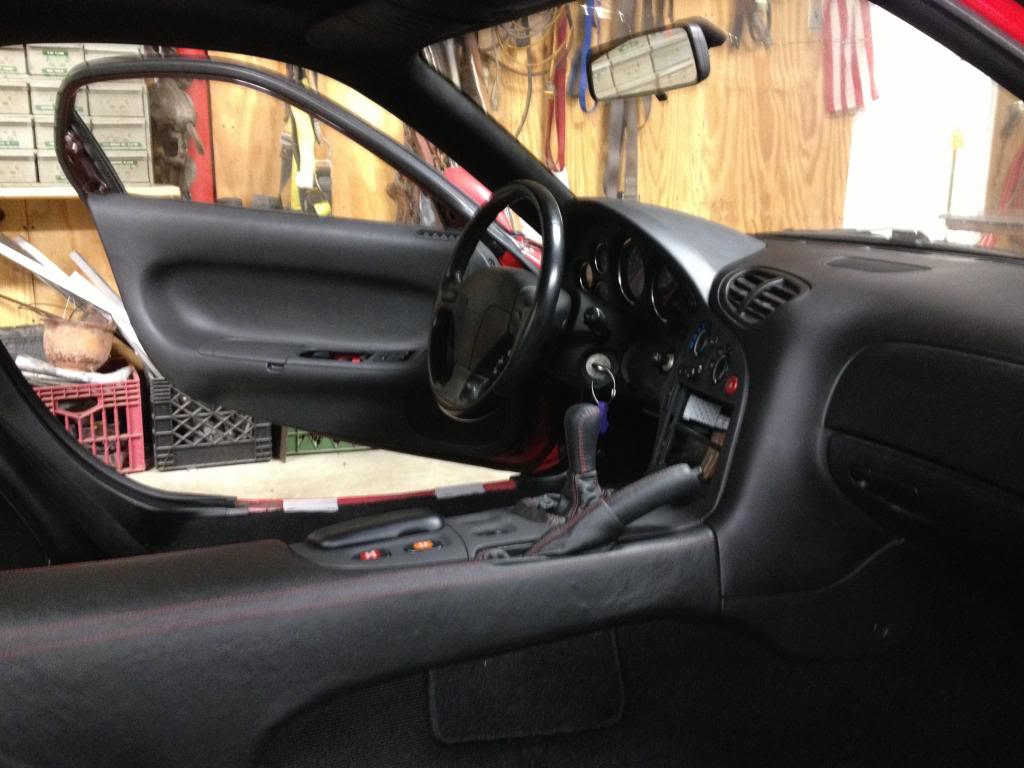
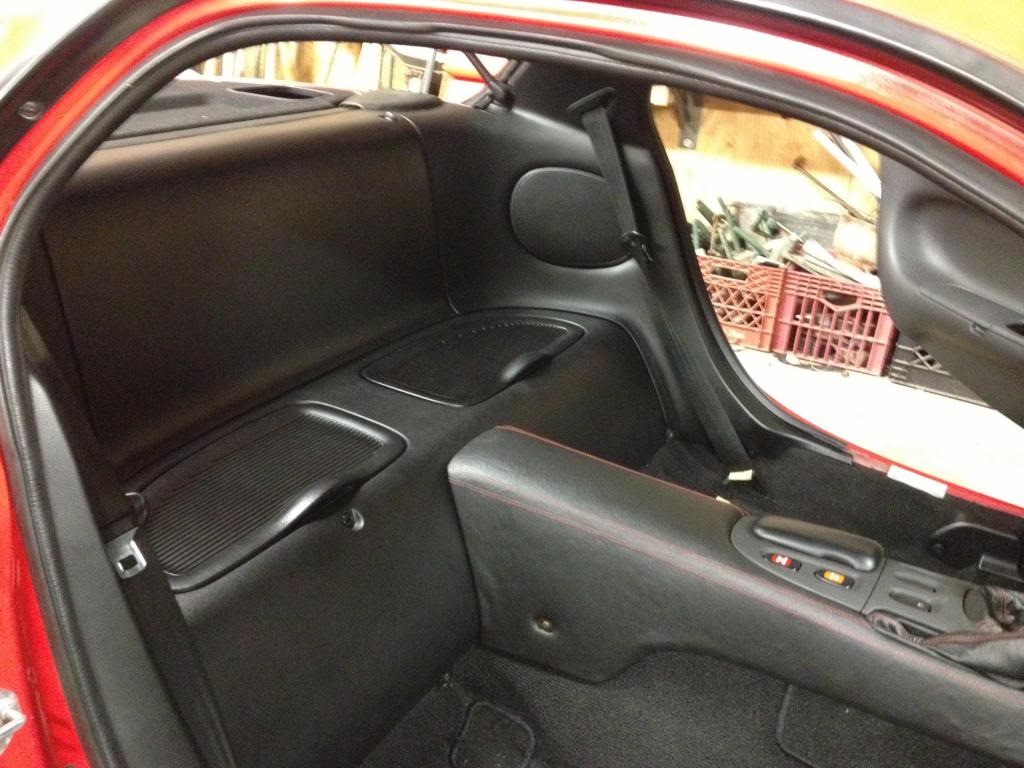
Finished up 85% of my interior. Need a driver side door cup thats not broken. I still need to decide what i am going to do with the gauges (which ones, location) which i am thinking about using a center speaker gauge pod with boost, air/fuel, both egt, and not sure what else. My seats are beat, and by beat i mean the new refinished interior makes them look terrible. I just found out in the 3rd gen section that its a possibility that someone will be re-making the rz recaros in a knock off version. I am leaning towards them or just recovering my stock ones with black leather. I have seen a few build threads that people have recovered theirs with covers a forum member is making. Will check into that as well. Some of the finishing shots of my interior ...
yes, she is always with me in the garage.
Also wrapped up my battery relocation. I fused it, and also incorporated a on off switch, oh and anyone wondering yes the group 31 battery fits with a battery tray. You have to take some time but it will.
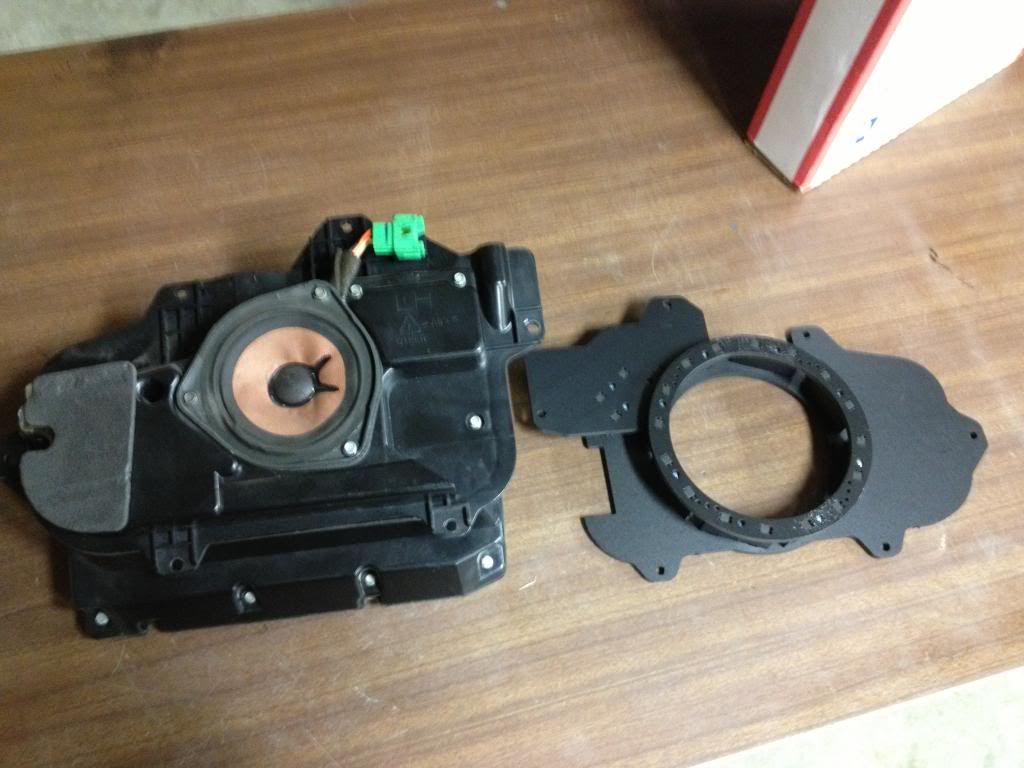
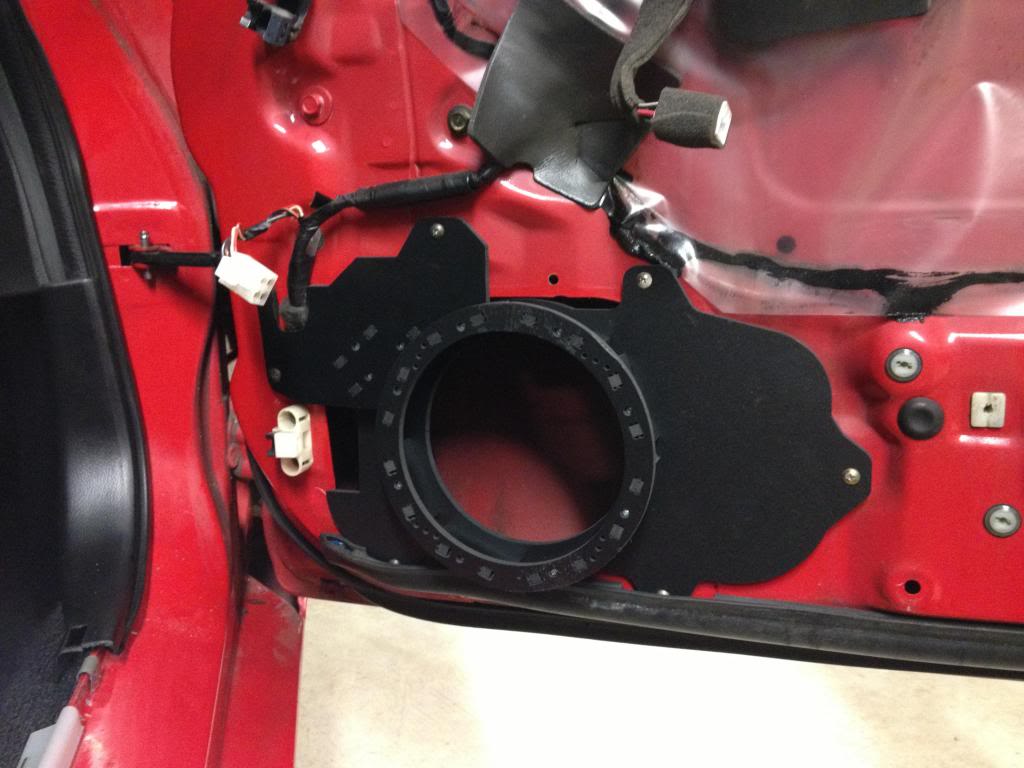
got these off carspeakeraddapter.com and i installed the rear speaker brackets along with new wiring since my touring model didn't have any connections at the rear location so when i get around to my stereo it will be a drop in install
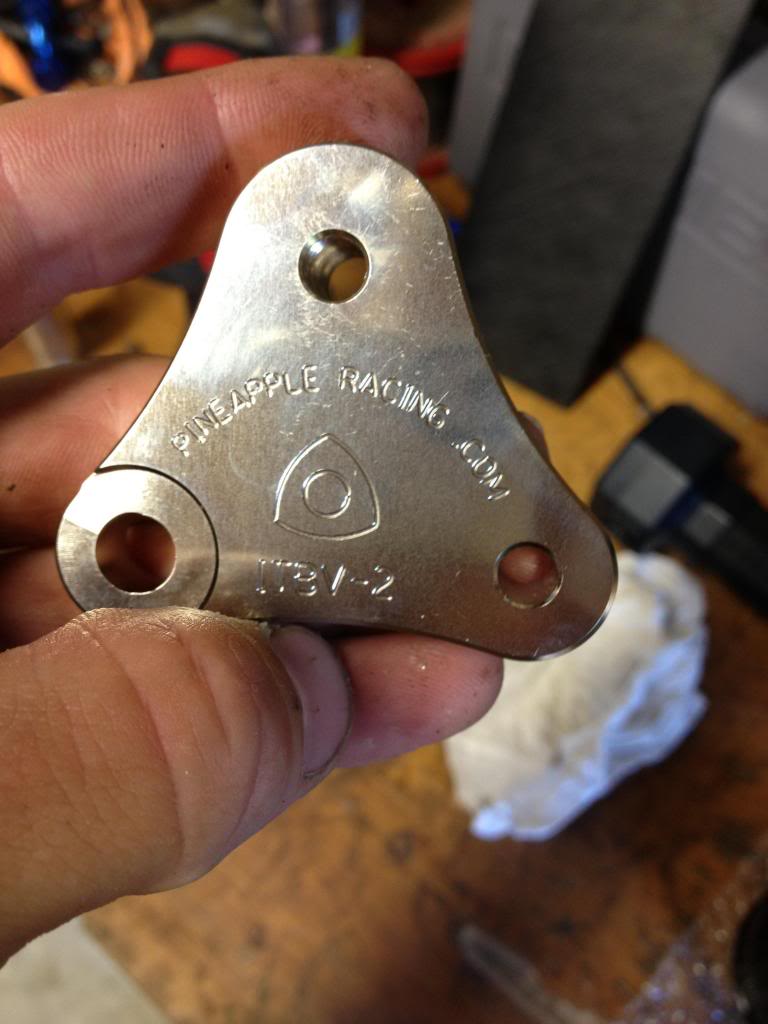
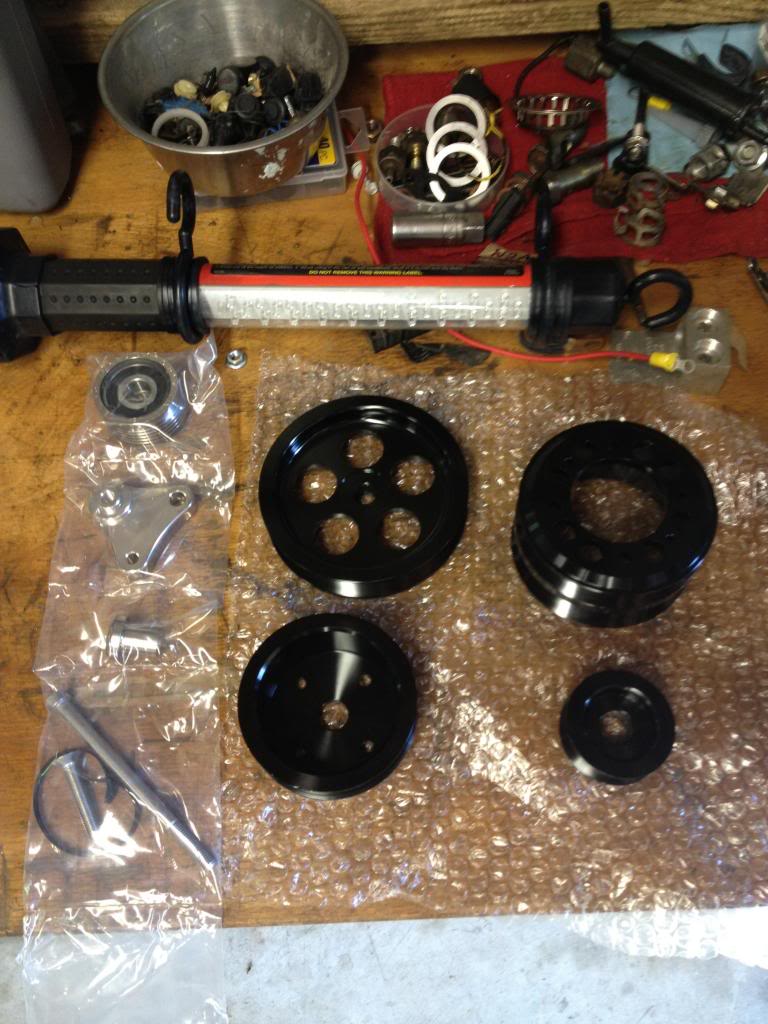
I picked up a xcessive lim off the forum (thanks again goodfellas) and a set of touge factory pulley set. Also grabbed a pineapple racing idler pulley, rotor shaped oil and brake reservoir caps and a Banzai Racing trans brace. The only negative comment i have about the tf pulley set is they are only slightly underdrive. The belt lengths i found listed for other sets did not work out. Nothing a piece of wire and a tape measure cant fix!! Now when you go to an auto parts store and tell them you need a 5 rib, 34 inch length belt and they stare back at you for a min then ask you whats your make and model ?? Its took 3 guys and finally the old guy in the back helped me out. I guess knowing how to read belts numeric codes is not part of it
  o-well it actually only took me a trip or two to get both belts squared away.

I have been working on the car alot lately finishing up some loose ends, starting a few new areas and moving forward.
Finished up 85% of my interior. Need a driver side door cup thats not broken. I still need to decide what i am going to do with the gauges (which ones, location) which i am thinking about using a center speaker gauge pod with boost, air/fuel, both egt, and not sure what else. My seats are beat, and by beat i mean the new refinished interior makes them look terrible. I just found out in the 3rd gen section that its a possibility that someone will be re-making the rz recaros in a knock off version. I am leaning towards them or just recovering my stock ones with black leather. I have seen a few build threads that people have recovered theirs with covers a forum member is making. Will check into that as well. Some of the finishing shots of my interior ...
yes, she is always with me in the garage.


Also wrapped up my battery relocation. I fused it, and also incorporated a on off switch, oh and anyone wondering yes the group 31 battery fits with a battery tray. You have to take some time but it will.

got these off carspeakeraddapter.com and i installed the rear speaker brackets along with new wiring since my touring model didn't have any connections at the rear location so when i get around to my stereo it will be a drop in install


I picked up a xcessive lim off the forum (thanks again goodfellas) and a set of touge factory pulley set. Also grabbed a pineapple racing idler pulley, rotor shaped oil and brake reservoir caps and a Banzai Racing trans brace. The only negative comment i have about the tf pulley set is they are only slightly underdrive. The belt lengths i found listed for other sets did not work out. Nothing a piece of wire and a tape measure cant fix!!
Now when you go to an auto parts store and tell them you need a 5 rib, 34 inch length belt and they stare back at you for a min then ask you whats your make and model ?? Its took 3 guys and finally the old guy in the back helped me out. I guess knowing how to read belts numeric codes is not part of it o-well it actually only took me a trip or two to get both belts squared away. 


Thread Starter
Joined: Apr 2011
Posts: 806
Likes: 288
From: Millersville Md
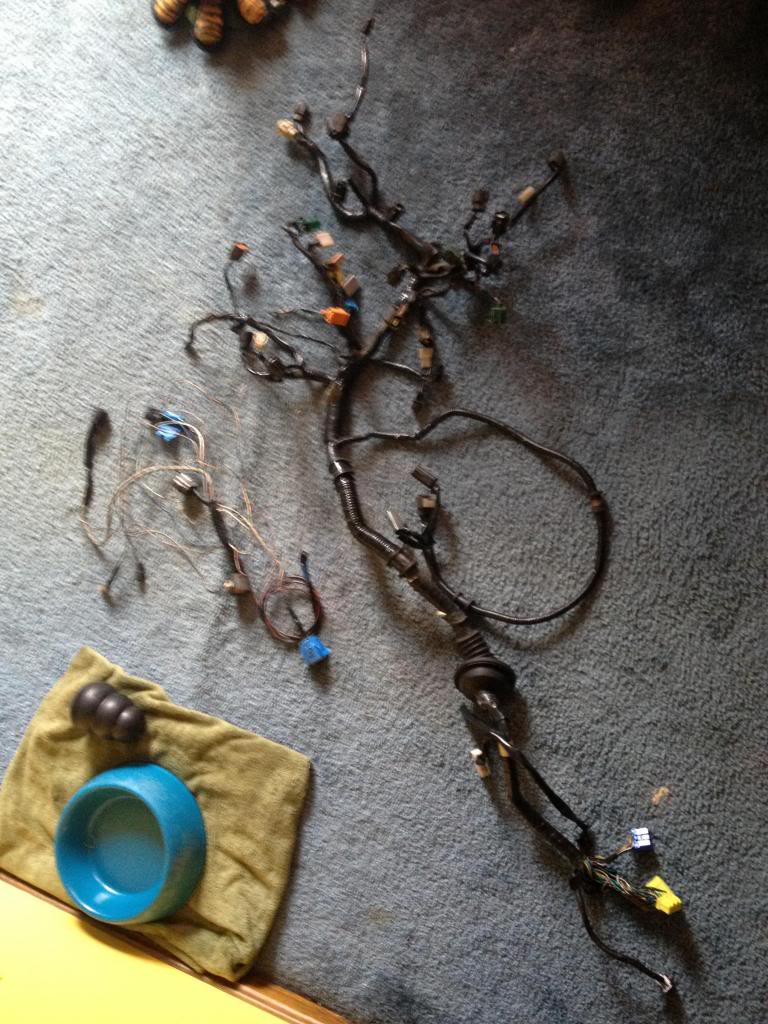
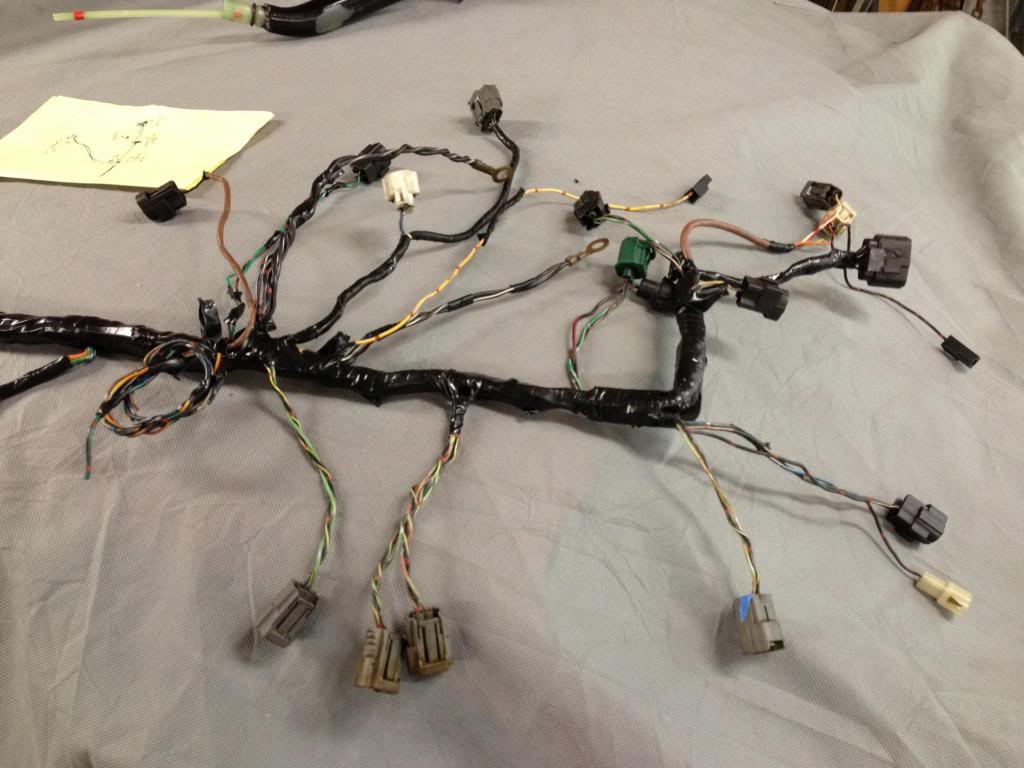
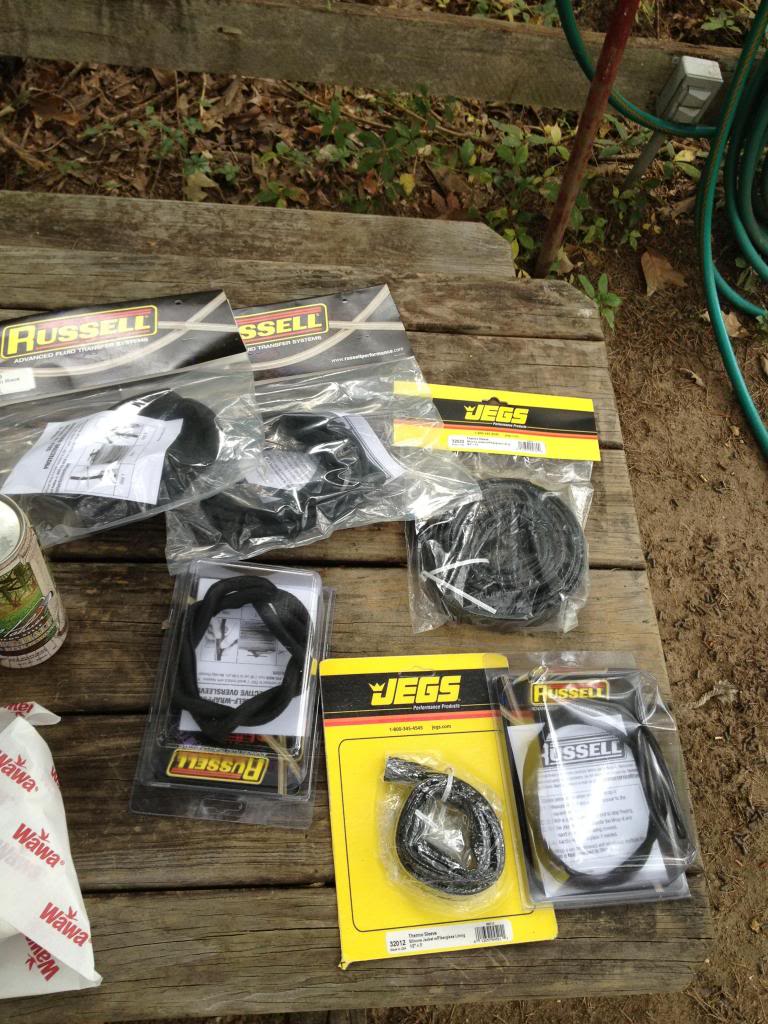
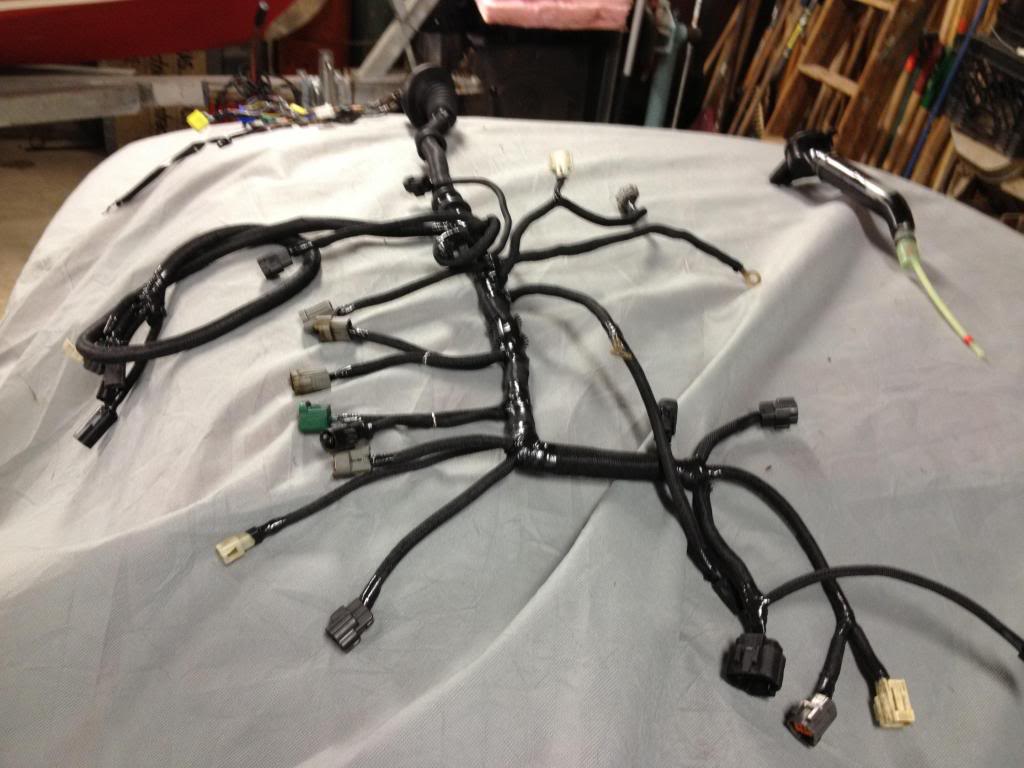
I took my ratty, brittle, broken plug end, beat up twin turbo harness and started re-doing it. I actually had all the missing plugs... lucky. Did the emission and twin turbo control delete. Tho i did leave my wasegate solenoid plug to use with a mack solenoid in the future, the purge control solenoid ( i dont like smelling gas vapors ) and the iac because i would like decent idle. I did keep a few of the leads from the emissions stuff encase i wanted to add anything later say a fuel pressure sensor or coolant temp guage ect. Then re-wrapped it in russels wrap. I plan on covering the harness with dei where it loops over the down pipe just for a lil extra protection.
While i was at it the i gave the starter harness the same treatement. I reworked it from where i moved my fuse / relay boxes to. Then taped it to hold shape and re- wrapped it with russels wrap as well.
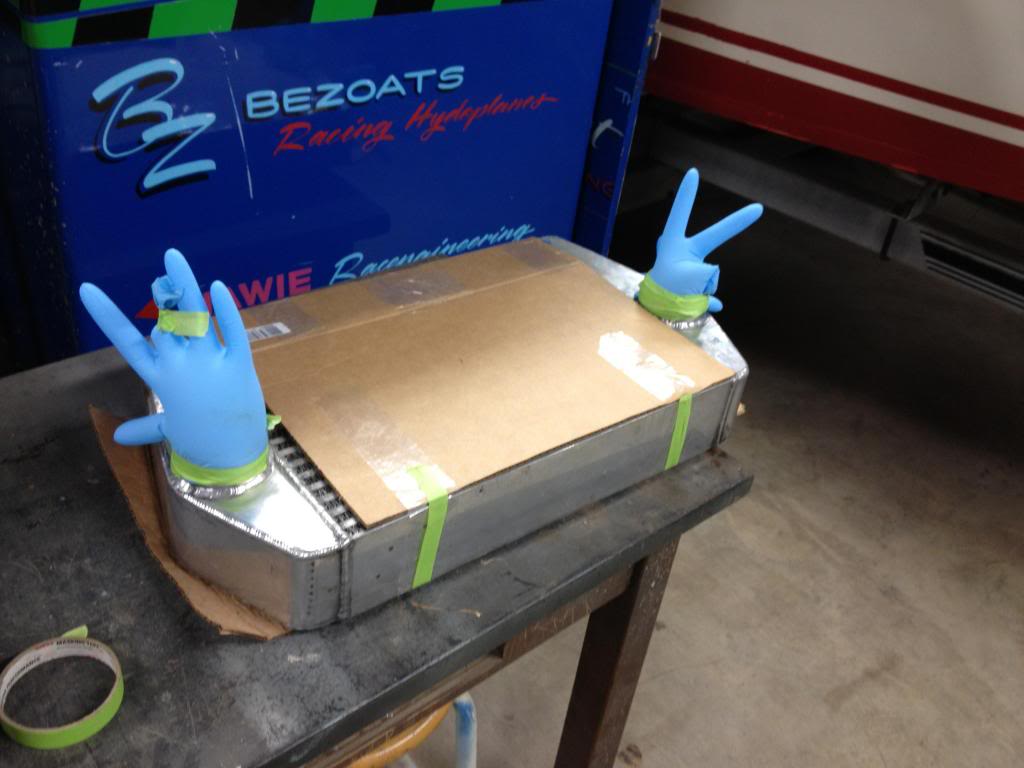
I picked up a stock mount inter-cooler from flynn. I just need to order the ronnie speed carbon fiber duct for it and get it fitted.... its on my "to do" list an no while i was doing a bleed down test i did not intentionally make the shocker. Had miley seen this i may of had a tragedy on my hands !! Hahaha
While i was at it the i gave the starter harness the same treatement. I reworked it from where i moved my fuse / relay boxes to. Then taped it to hold shape and re- wrapped it with russels wrap as well.


I picked up a stock mount inter-cooler from flynn. I just need to order the ronnie speed carbon fiber duct for it and get it fitted.... its on my "to do" list
an no while i was doing a bleed down test i did not intentionally make the shocker. Had miley seen this i may of had a tragedy on my hands !! Hahaha
Thread Starter
Joined: Apr 2011
Posts: 806
Likes: 288
From: Millersville Md
Last part of my update
Today i covered my ac lines with some insulating foam and also put a 2' piece of dei over where the ac lines come out of the firewall to where they make the first bend down. I figured with all the heat from the turbo i couldn't hurt. IF YOU HAVE A DENSO SYSTEM DRYER TO CONDENSER LINE LAYING AROUND I NEED IT!!! please and thank you because i have been searching for months with no luck. My turbo setup is away getting the 3500 degree sating high temp coating. After i get that back i plan to make a hard line to re-rout the heater core water around the header. More on that later.
here is a couple shot of where my engine bay is to date. Boy those seats are ugly...
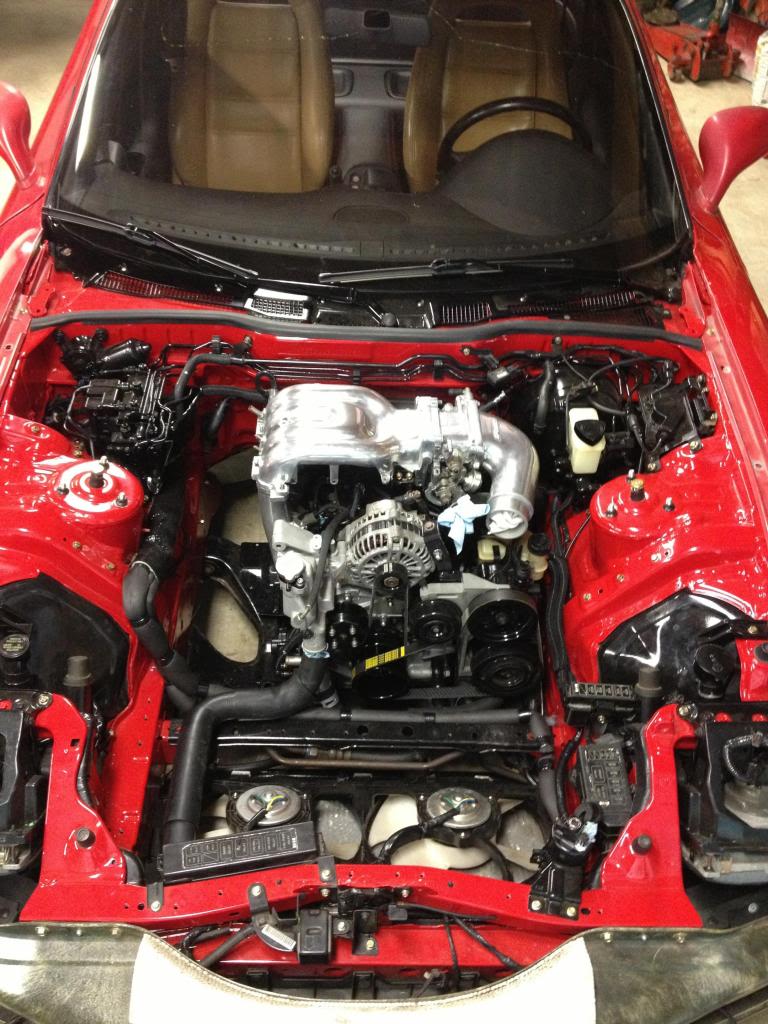
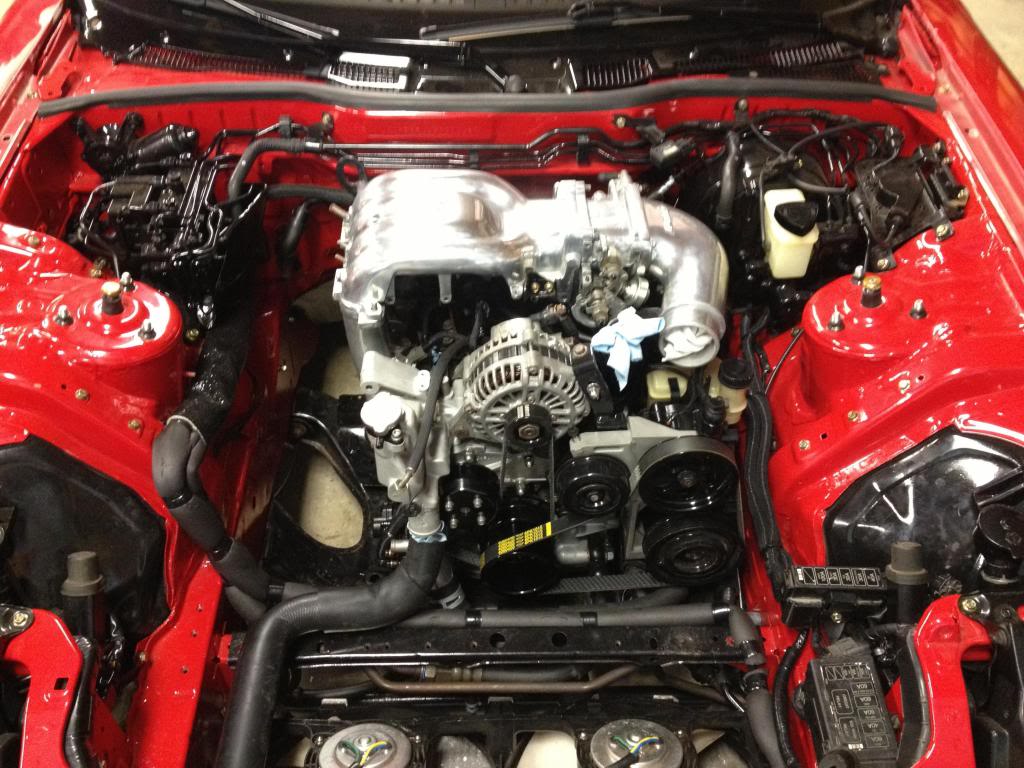
I am about as far on the car as possible at this point considering i used the last of my parts today. Guess its time to order some new one!!
I bought a spare motor and trans from a local forum member back in the winter (he was going v-8) and got some time to finally break it down and see what i got.
You can never have to many spares
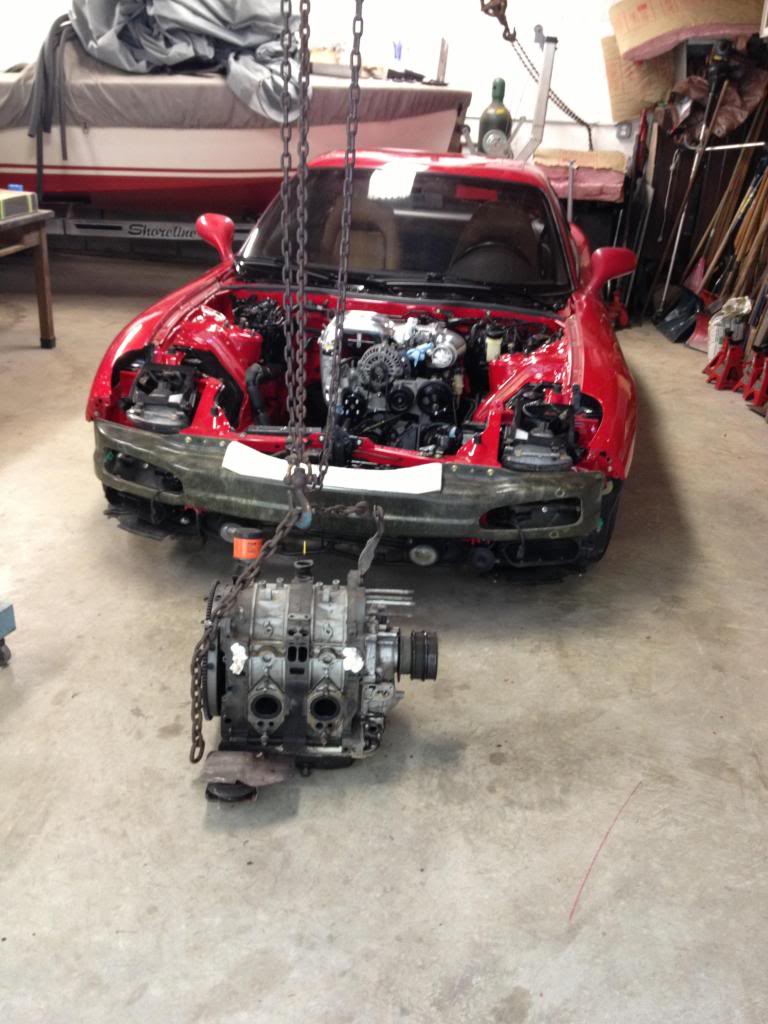
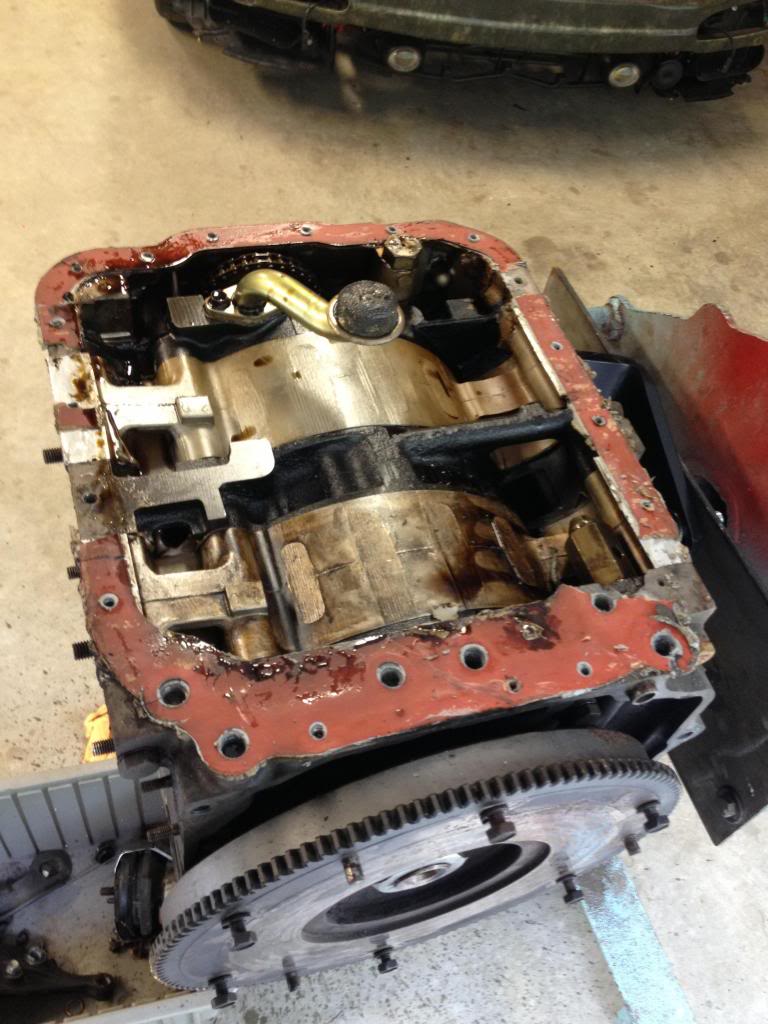
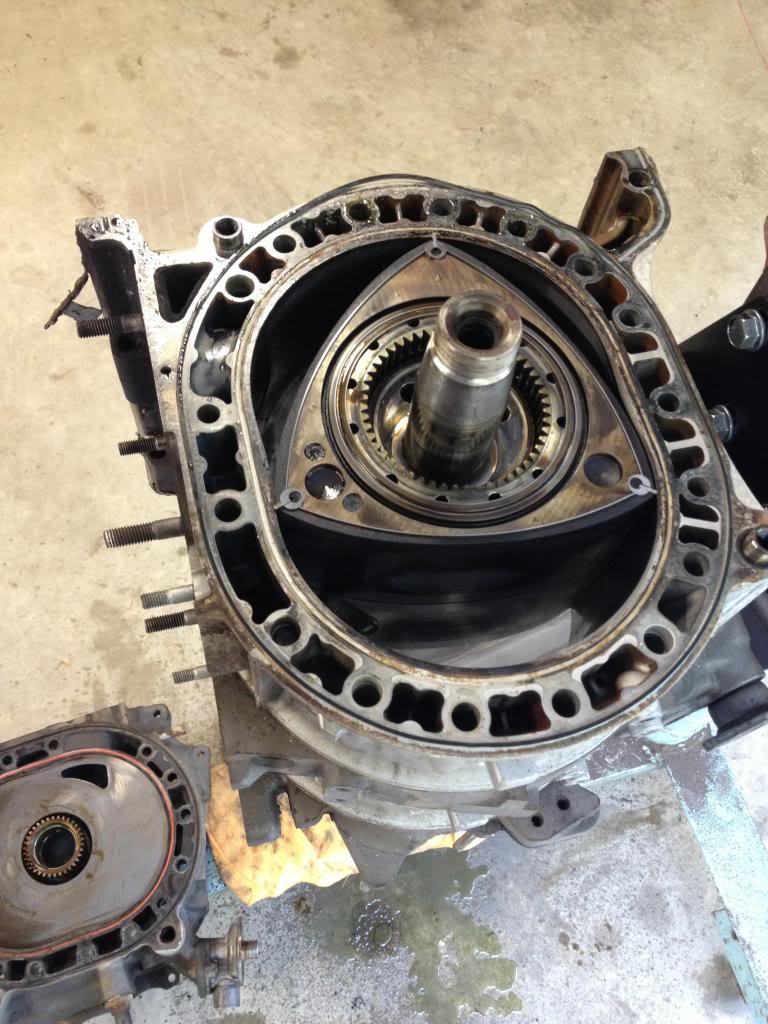
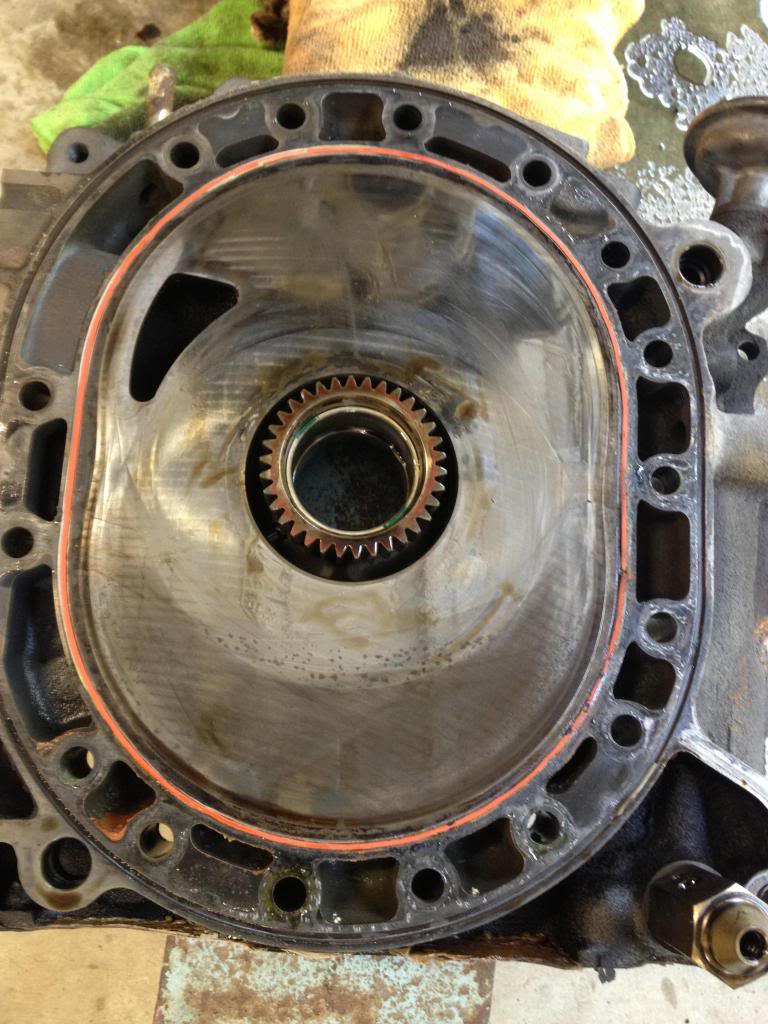
I got extremely lucky.... this thing was in almost perfect shape. It must of been a re-man considering it was pulled out of a 80k mile fd. There is literately zero step wear on any of the plates, the rotor housing are in perfect shape free of spark plug cracking, chatter marks, flaking ect. Hell even the oil pan was new when they installed it. It came apart very easily even the front eccentric shaft bolt came out easy after i heated it for a couple min and used a 6 foot bar.
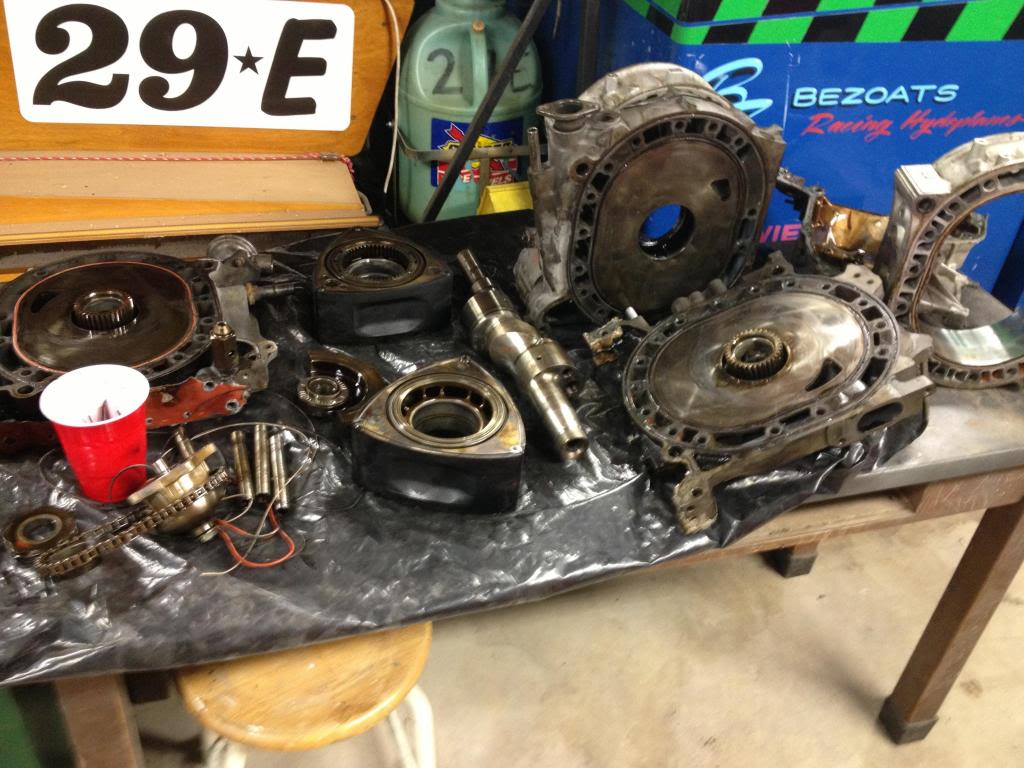
Eventually i plant to build another short block setup and look into upgrading the trans with a set of OS-giken gears. Maybe pick up a roller to build a track car but that all stuff on the back burner.
Well thats it for now. You are caught up to date on my progress tho there is always more to come.
Today i covered my ac lines with some insulating foam and also put a 2' piece of dei over where the ac lines come out of the firewall to where they make the first bend down. I figured with all the heat from the turbo i couldn't hurt. IF YOU HAVE A DENSO SYSTEM DRYER TO CONDENSER LINE LAYING AROUND I NEED IT!!! please and thank you because i have been searching for months with no luck. My turbo setup is away getting the 3500 degree sating high temp coating. After i get that back i plan to make a hard line to re-rout the heater core water around the header. More on that later.
here is a couple shot of where my engine bay is to date. Boy those seats are ugly...


I am about as far on the car as possible at this point considering i used the last of my parts today. Guess its time to order some new one!!
I bought a spare motor and trans from a local forum member back in the winter (he was going v-8) and got some time to finally break it down and see what i got.
You can never have to many spares

I got extremely lucky.... this thing was in almost perfect shape. It must of been a re-man considering it was pulled out of a 80k mile fd. There is literately zero step wear on any of the plates, the rotor housing are in perfect shape free of spark plug cracking, chatter marks, flaking ect. Hell even the oil pan was new when they installed it. It came apart very easily even the front eccentric shaft bolt came out easy after i heated it for a couple min and used a 6 foot bar.


Eventually i plant to build another short block setup and look into upgrading the trans with a set of OS-giken gears. Maybe pick up a roller to build a track car but that all stuff on the back burner.
Well thats it for now. You are caught up to date on my progress tho there is always more to come.