When you click on links to various merchants on this site and make a purchase, this can result in this site earning a commission. Affiliate programs and affiliations include, but are not limited to, the eBay Partner Network.
I wanted to share probably one of the boldest restoration projects I have ever attempted. A few years ago I would have not even contemplated painting a car in my own single car garage.
Credit to Dale for getting my thinking about this a year ago and after watching tons of YouTube Videos on �Paint Society� and �Garage Noise� I decided to start the process.
Painting a car yourself is very doable results with excellent results with tons of planning and in my case overthinking! Will it be perfect? NO, but it will be pretty dam good with some elbow grease. You just need to have the mindset that you might have to re-paint a panel, abort painting and throw away paint if something goes wrong or even keep pushing dates out while you figure things out. Key is patience as the learning curve is steep. Just need to keep at it and learn as much as possible as everything is fixable�
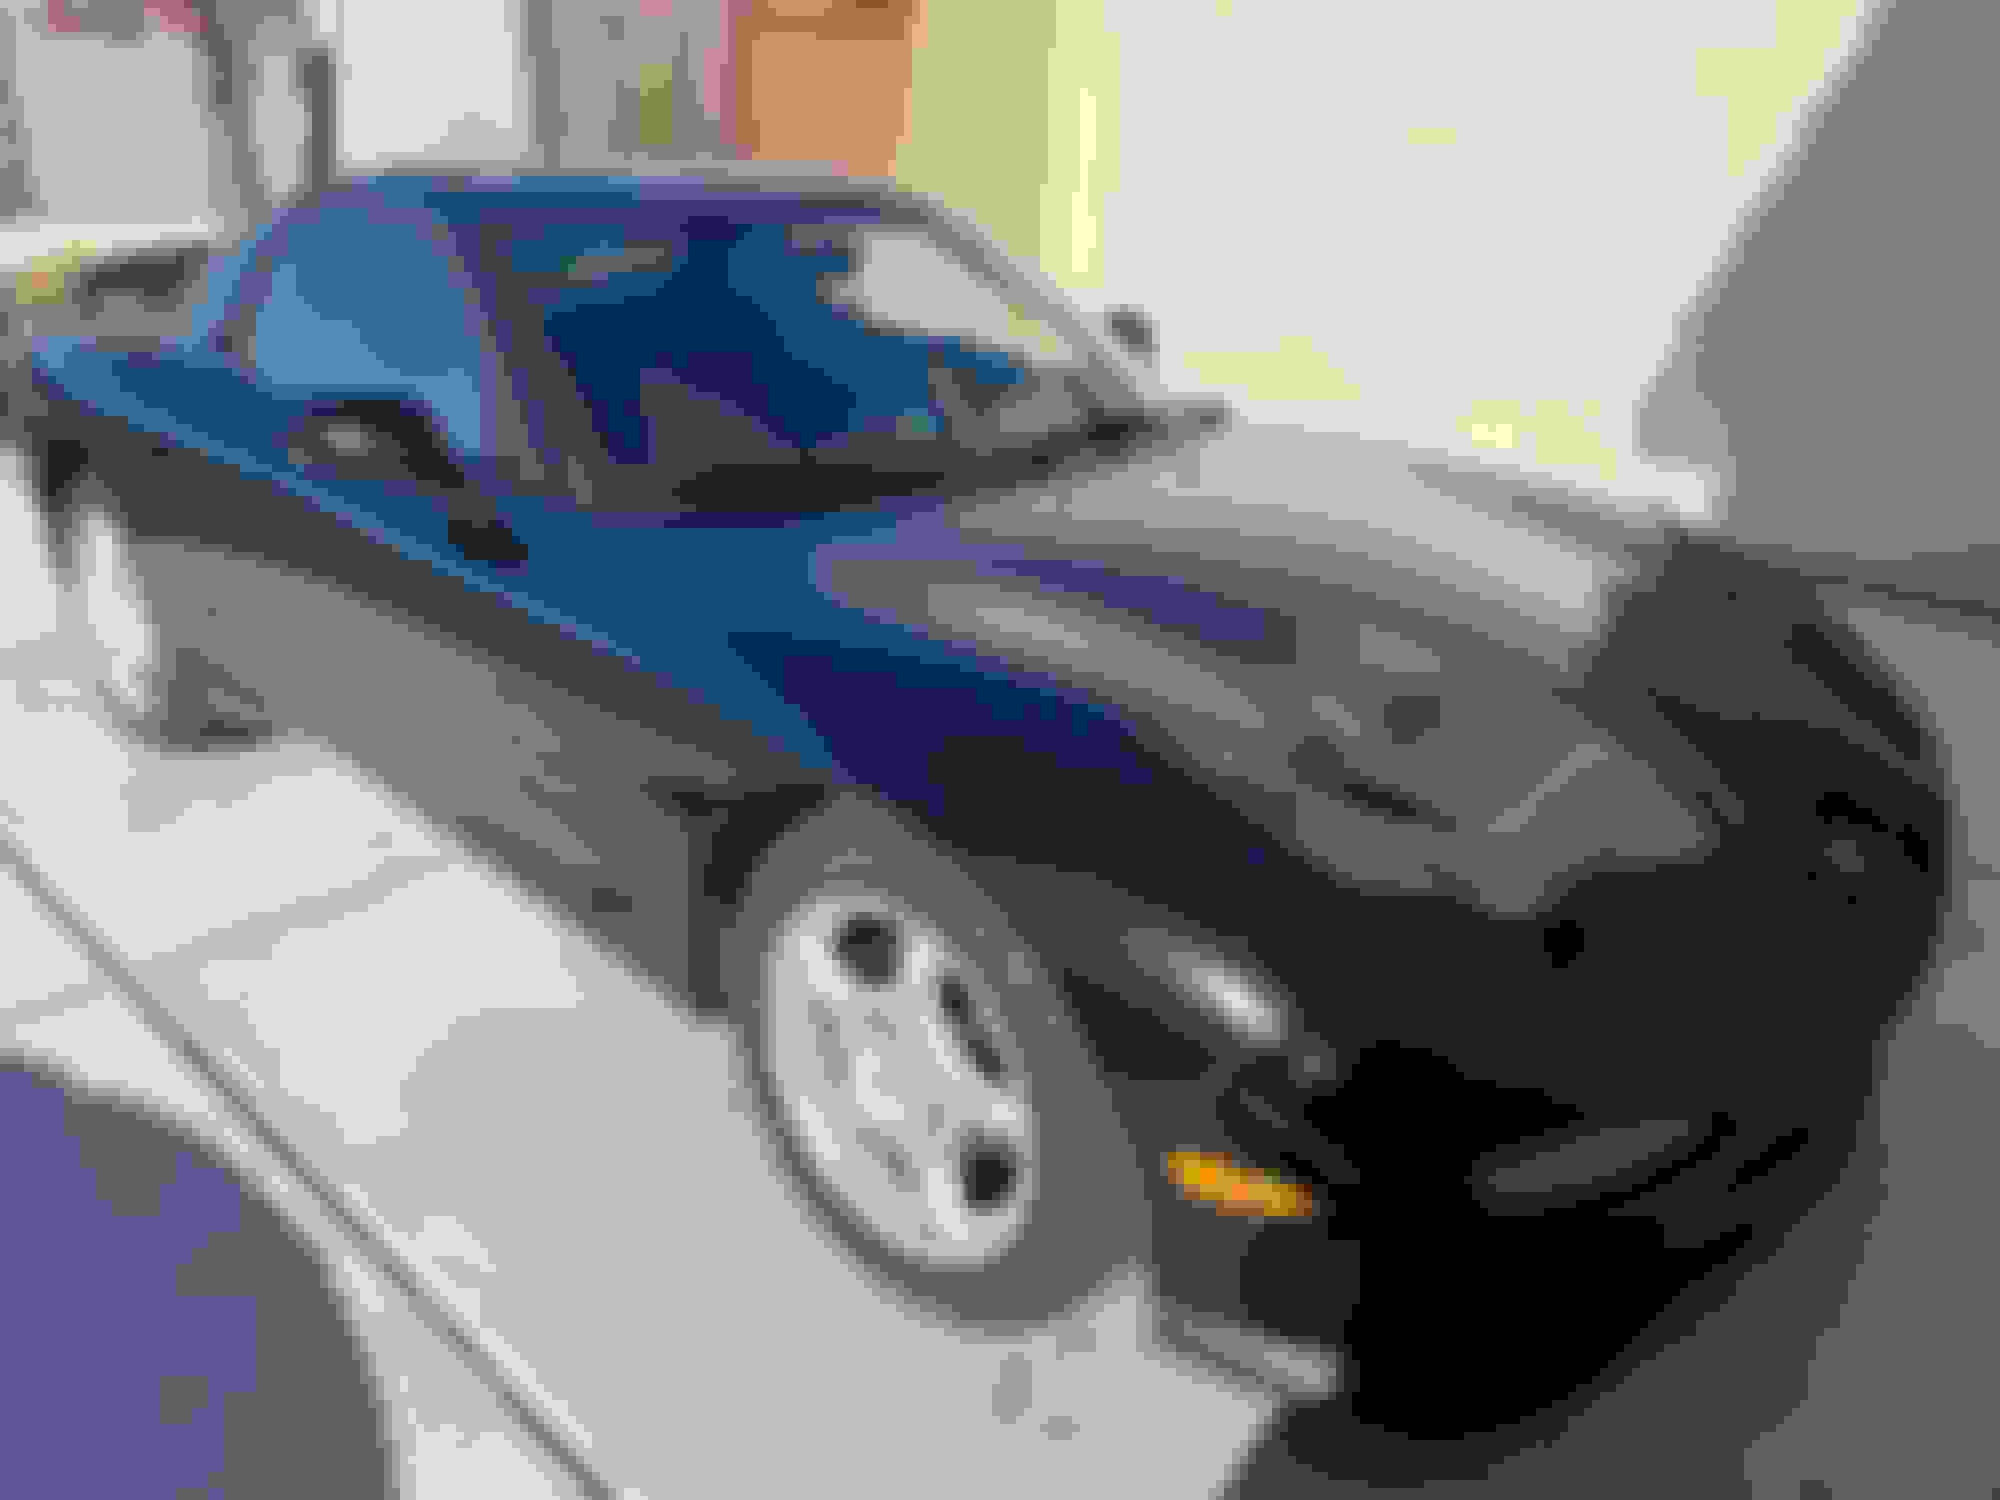
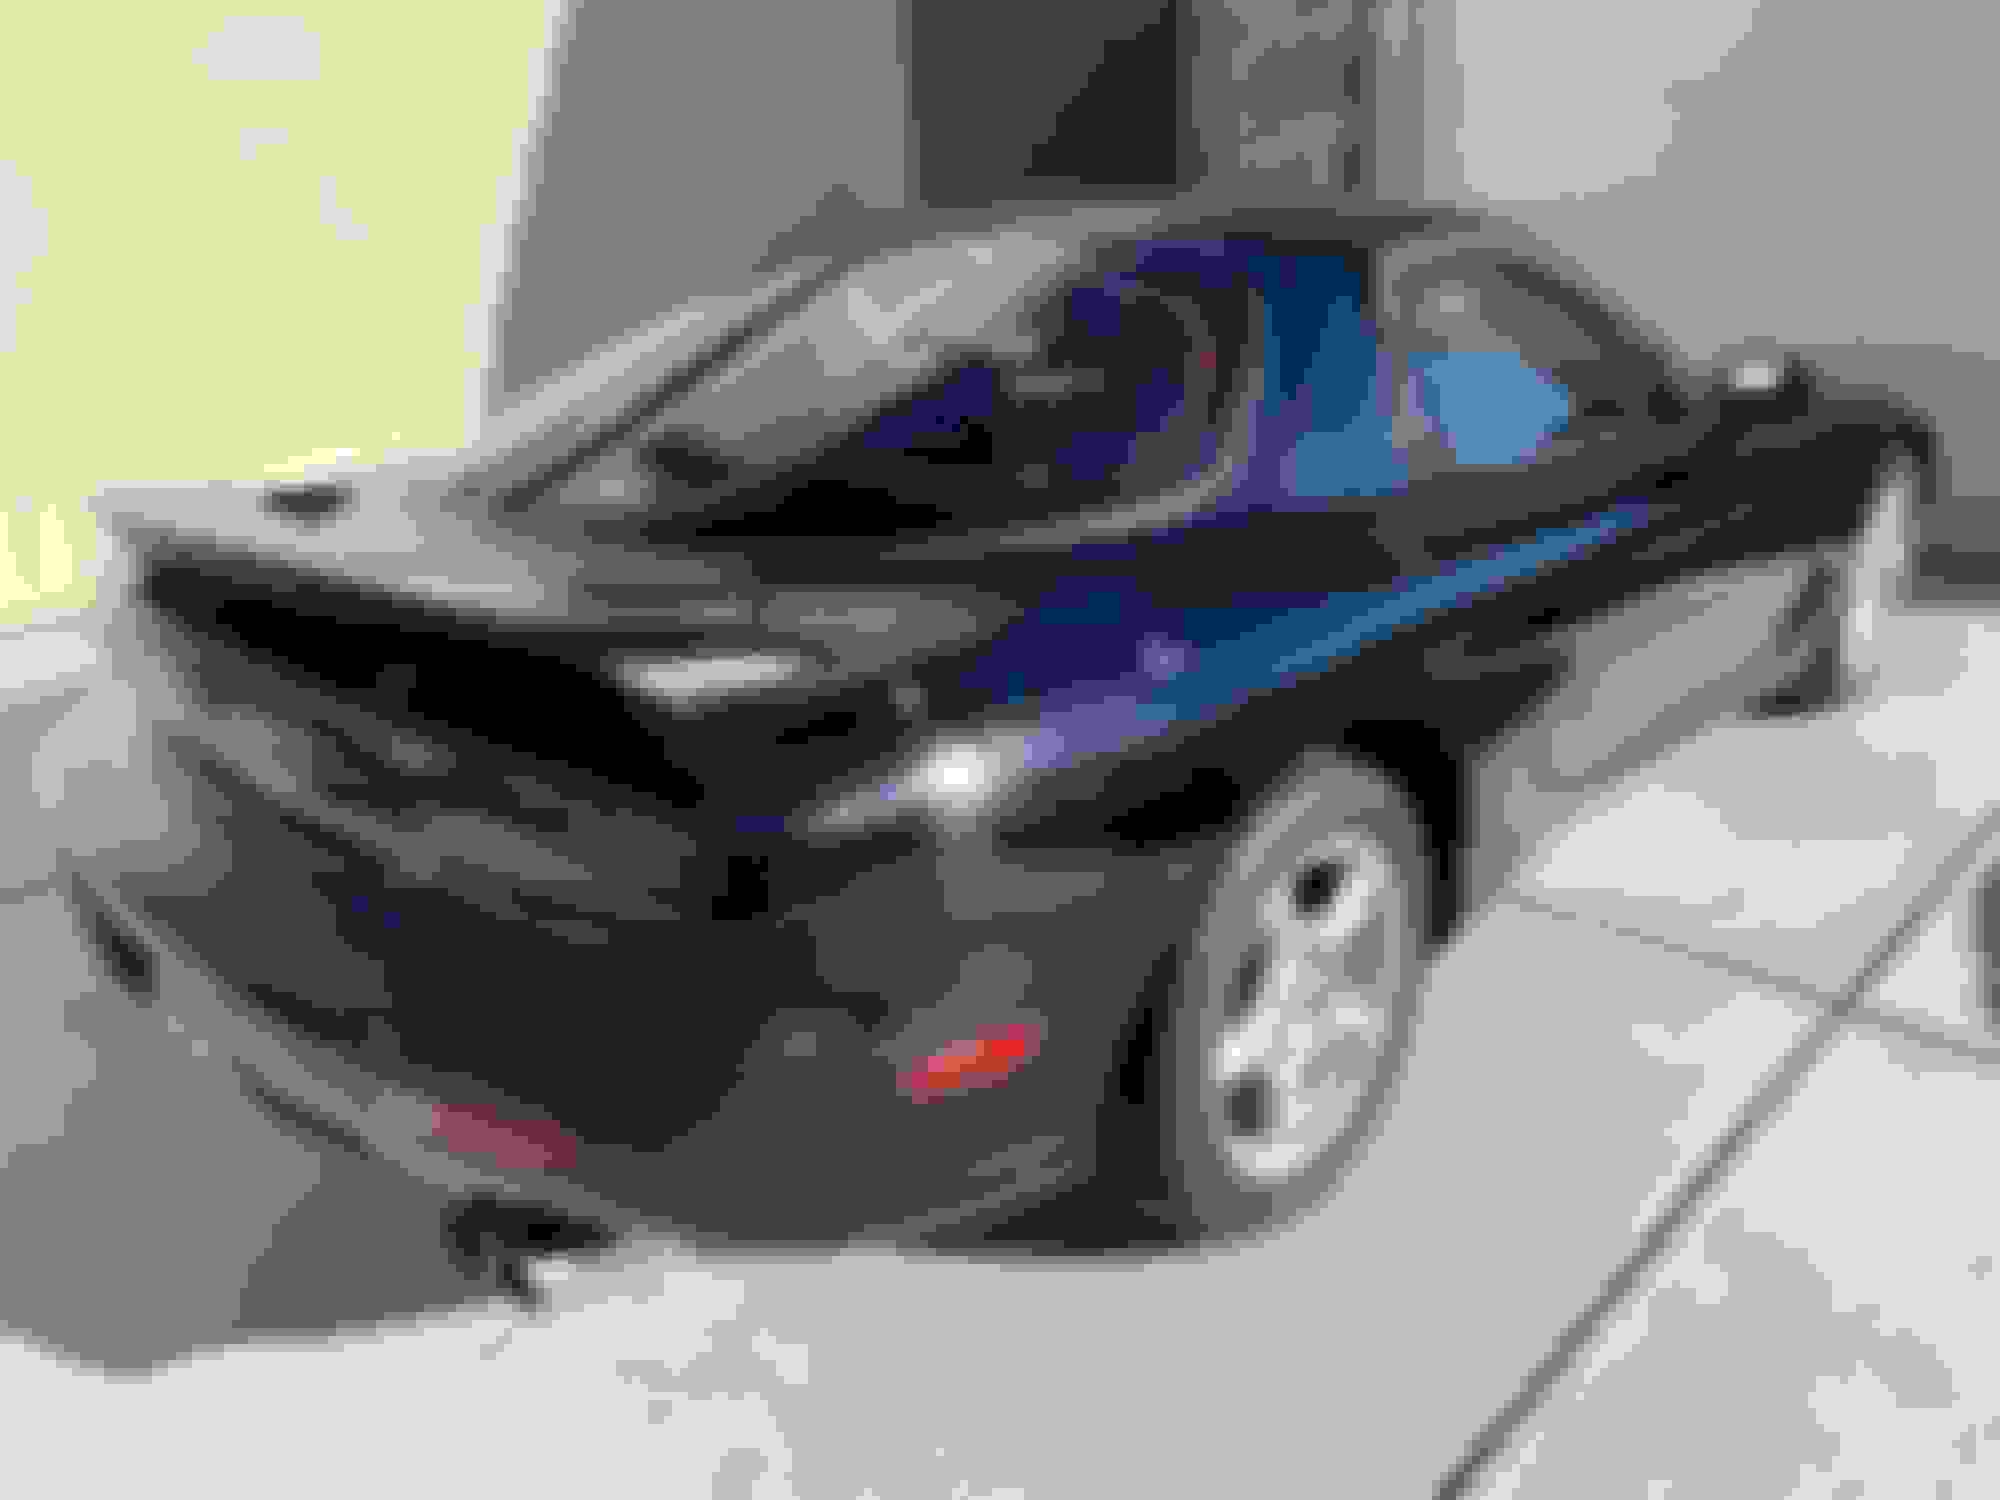
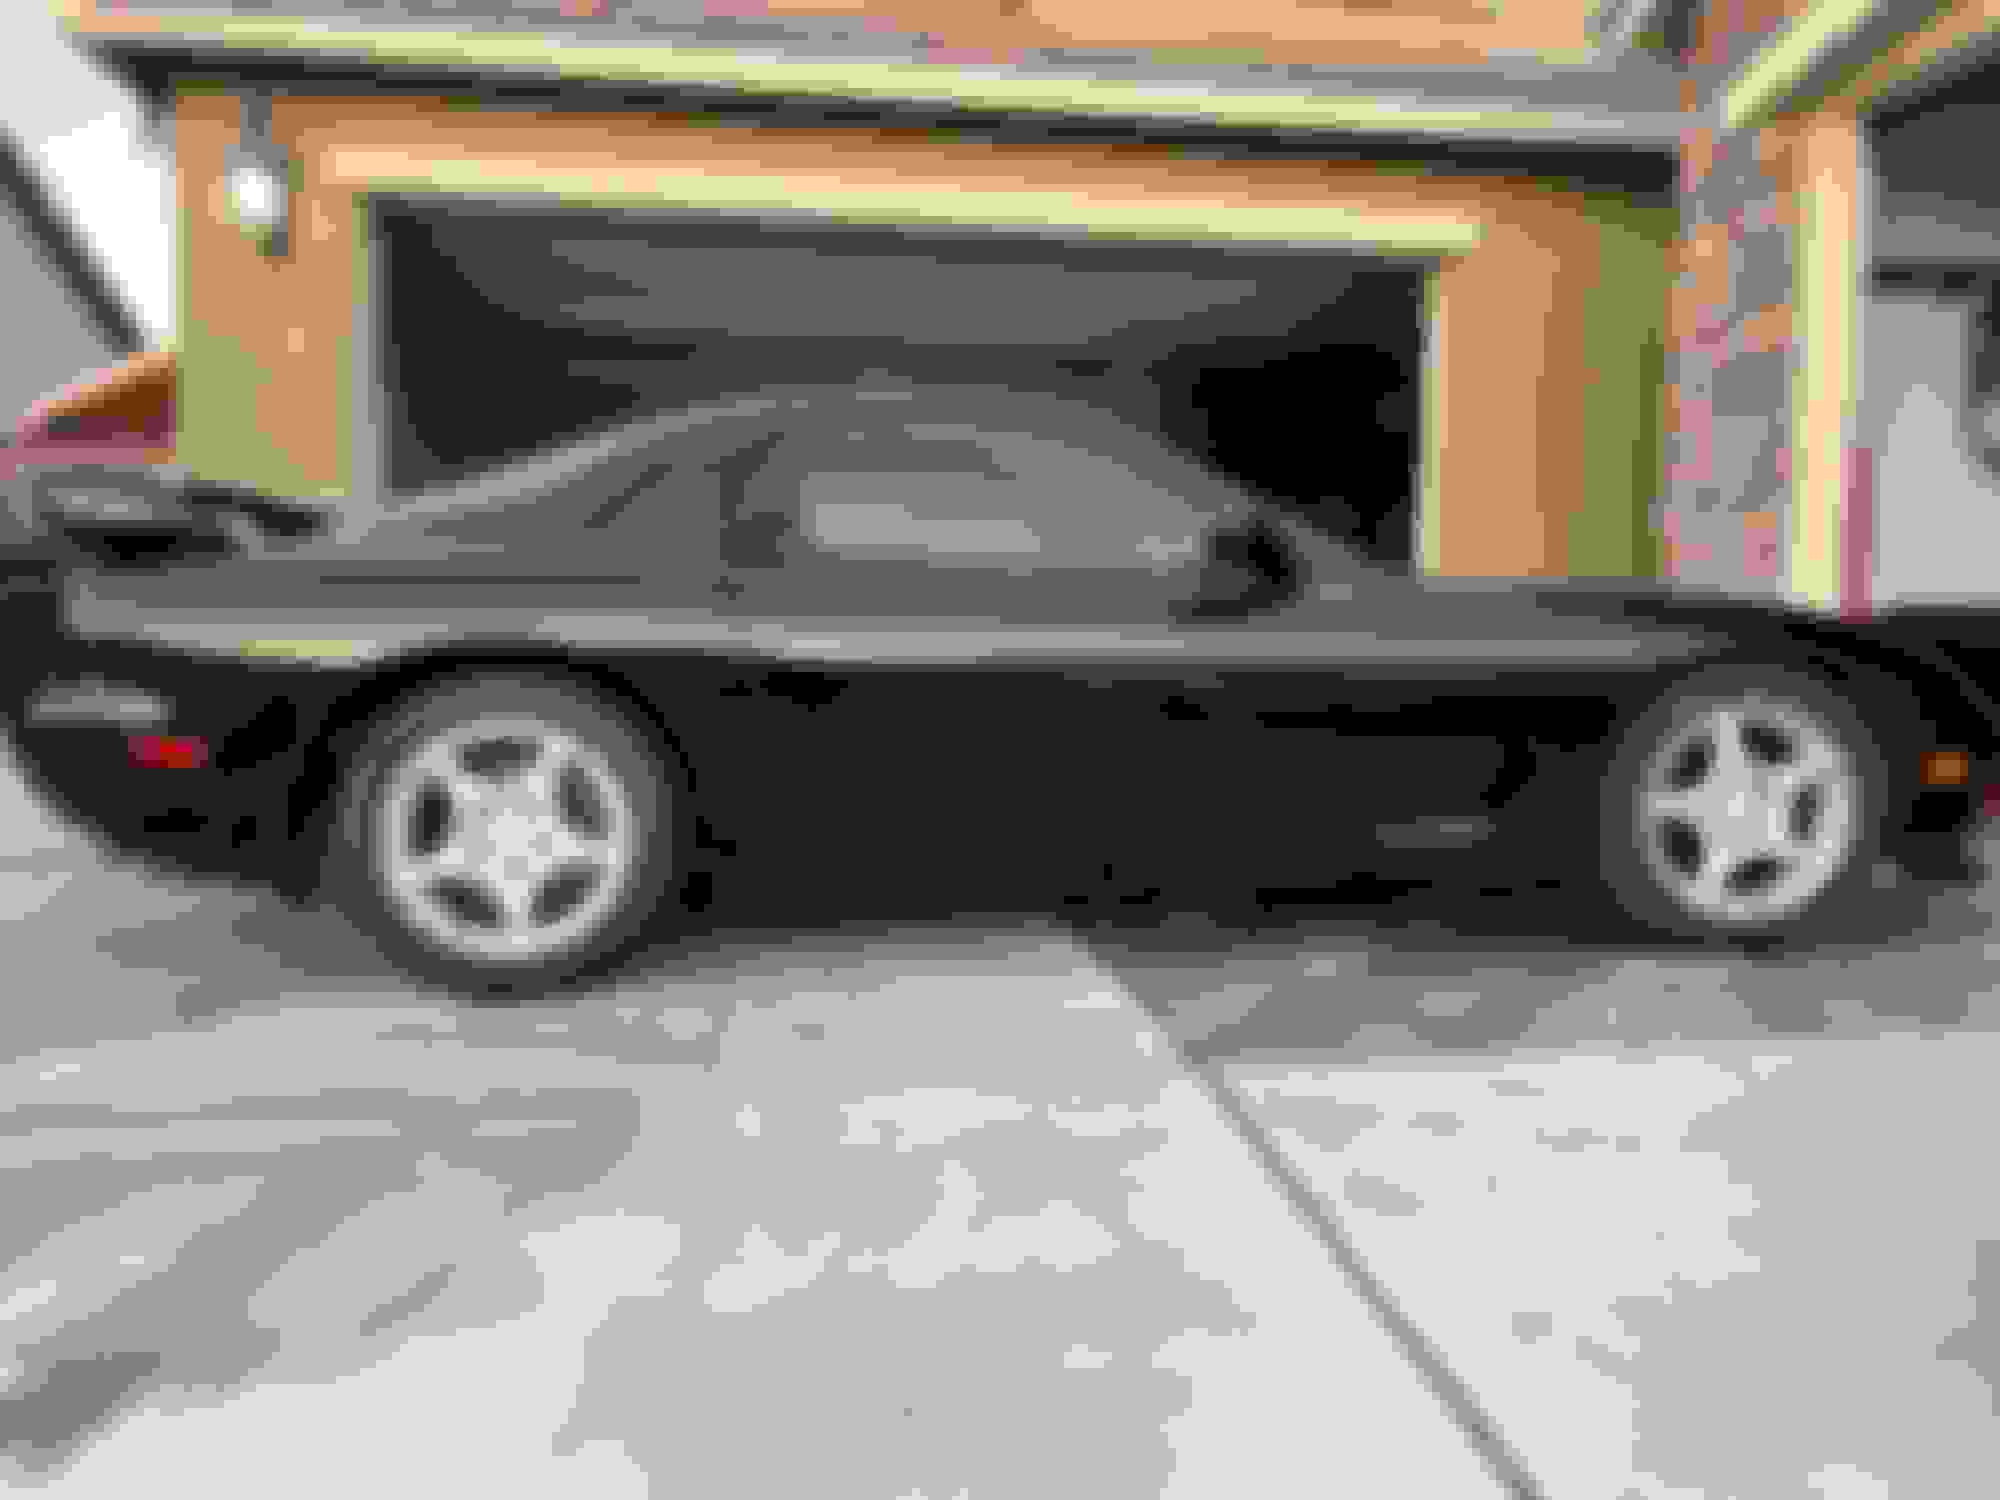
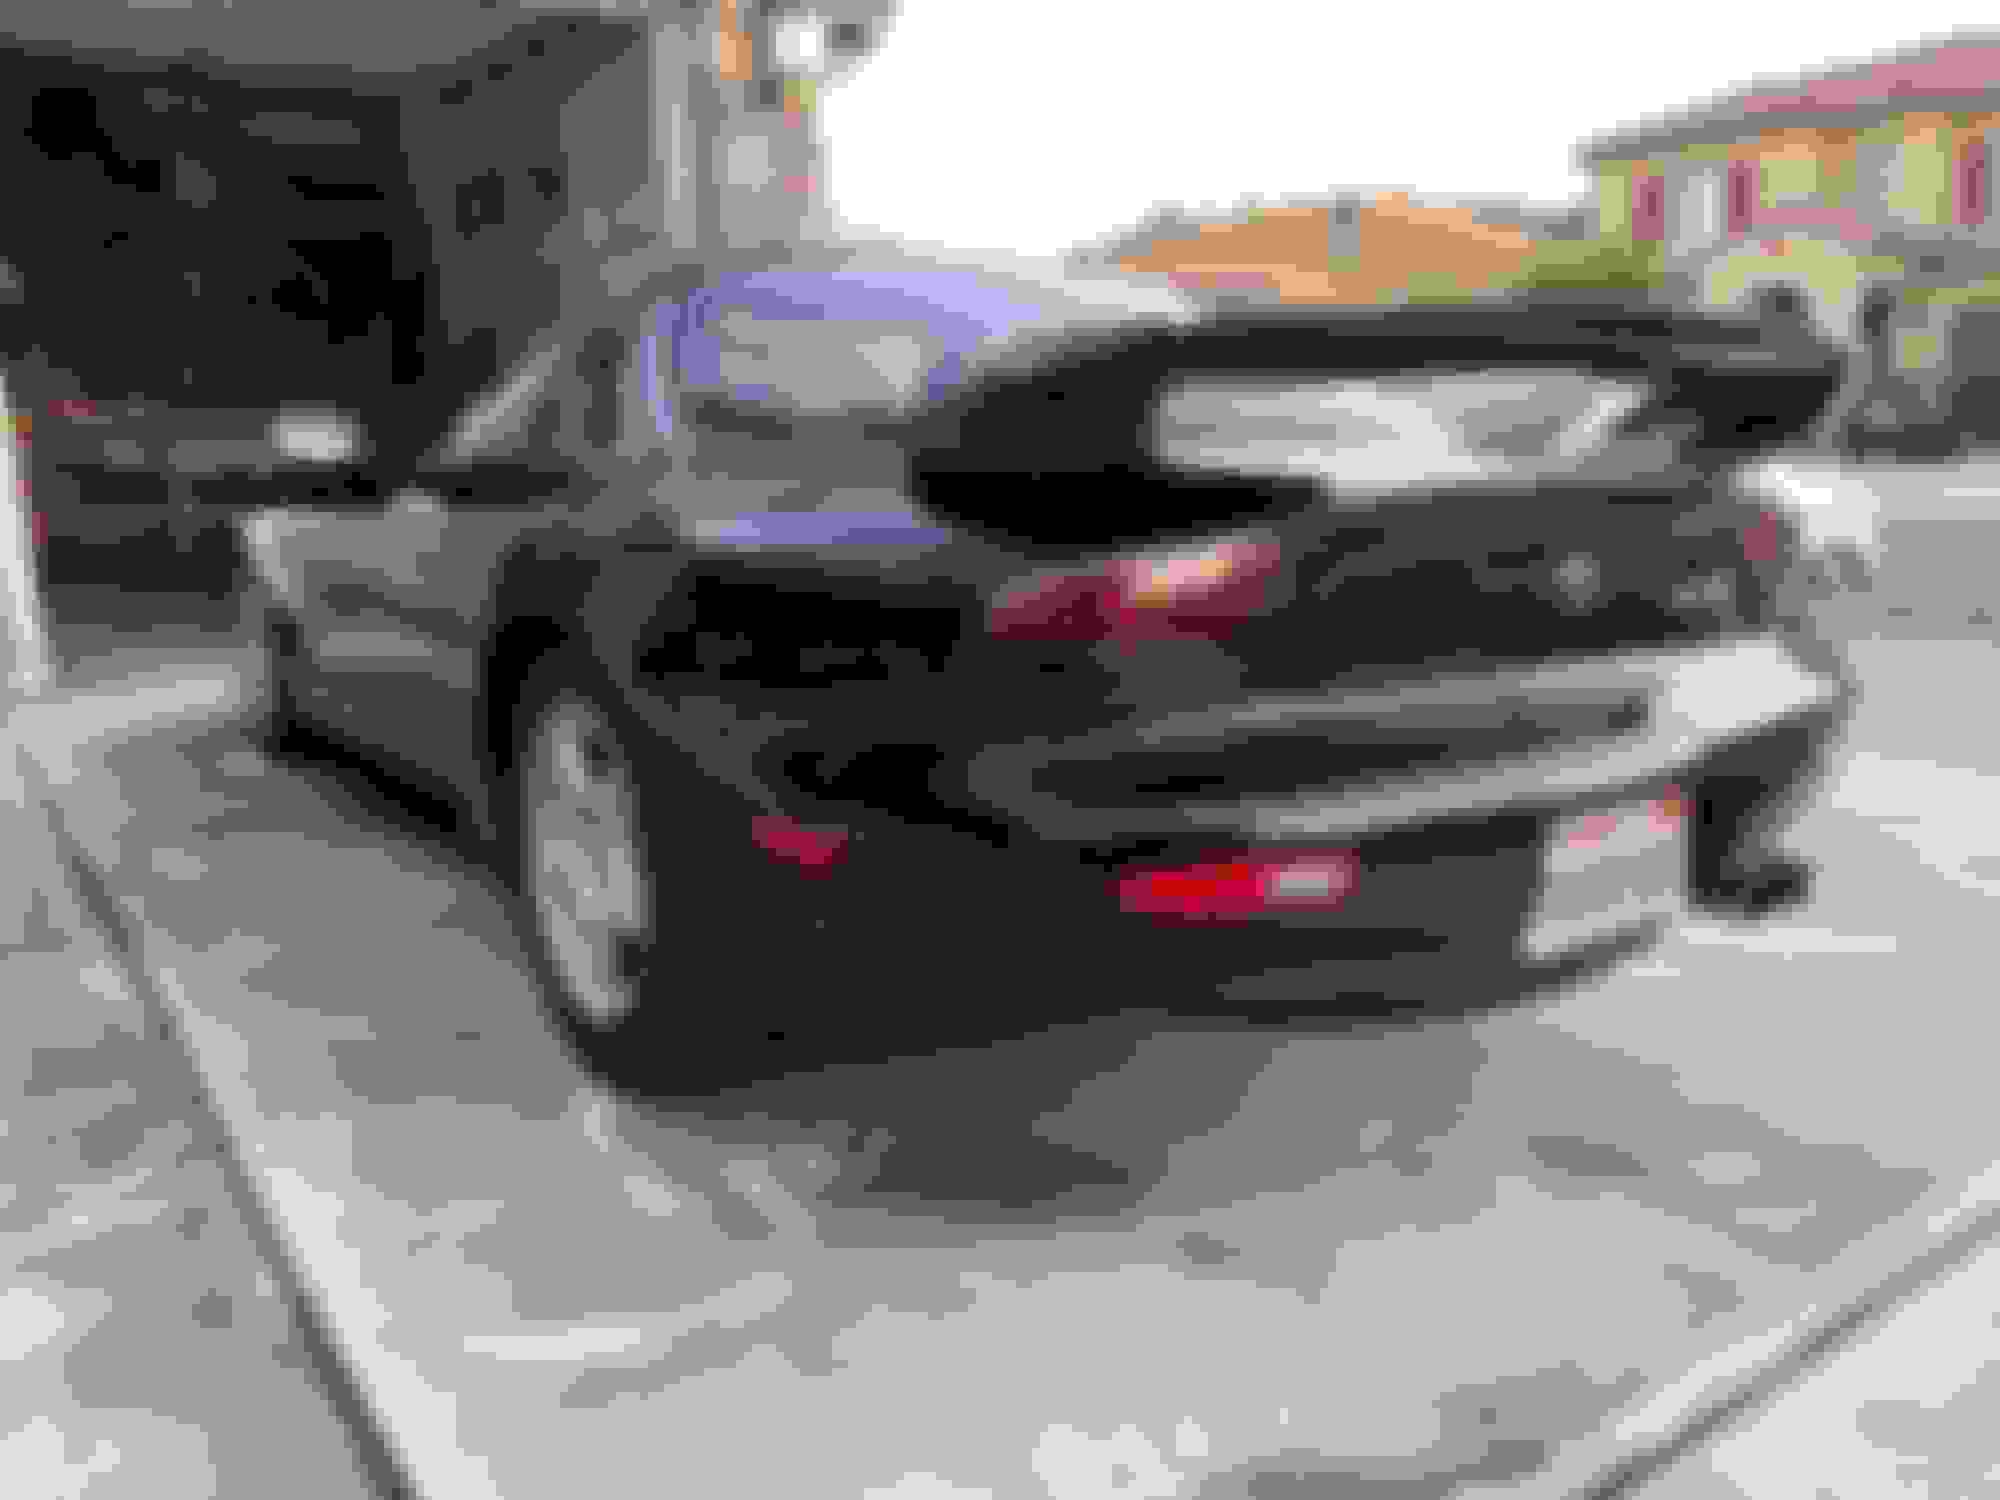
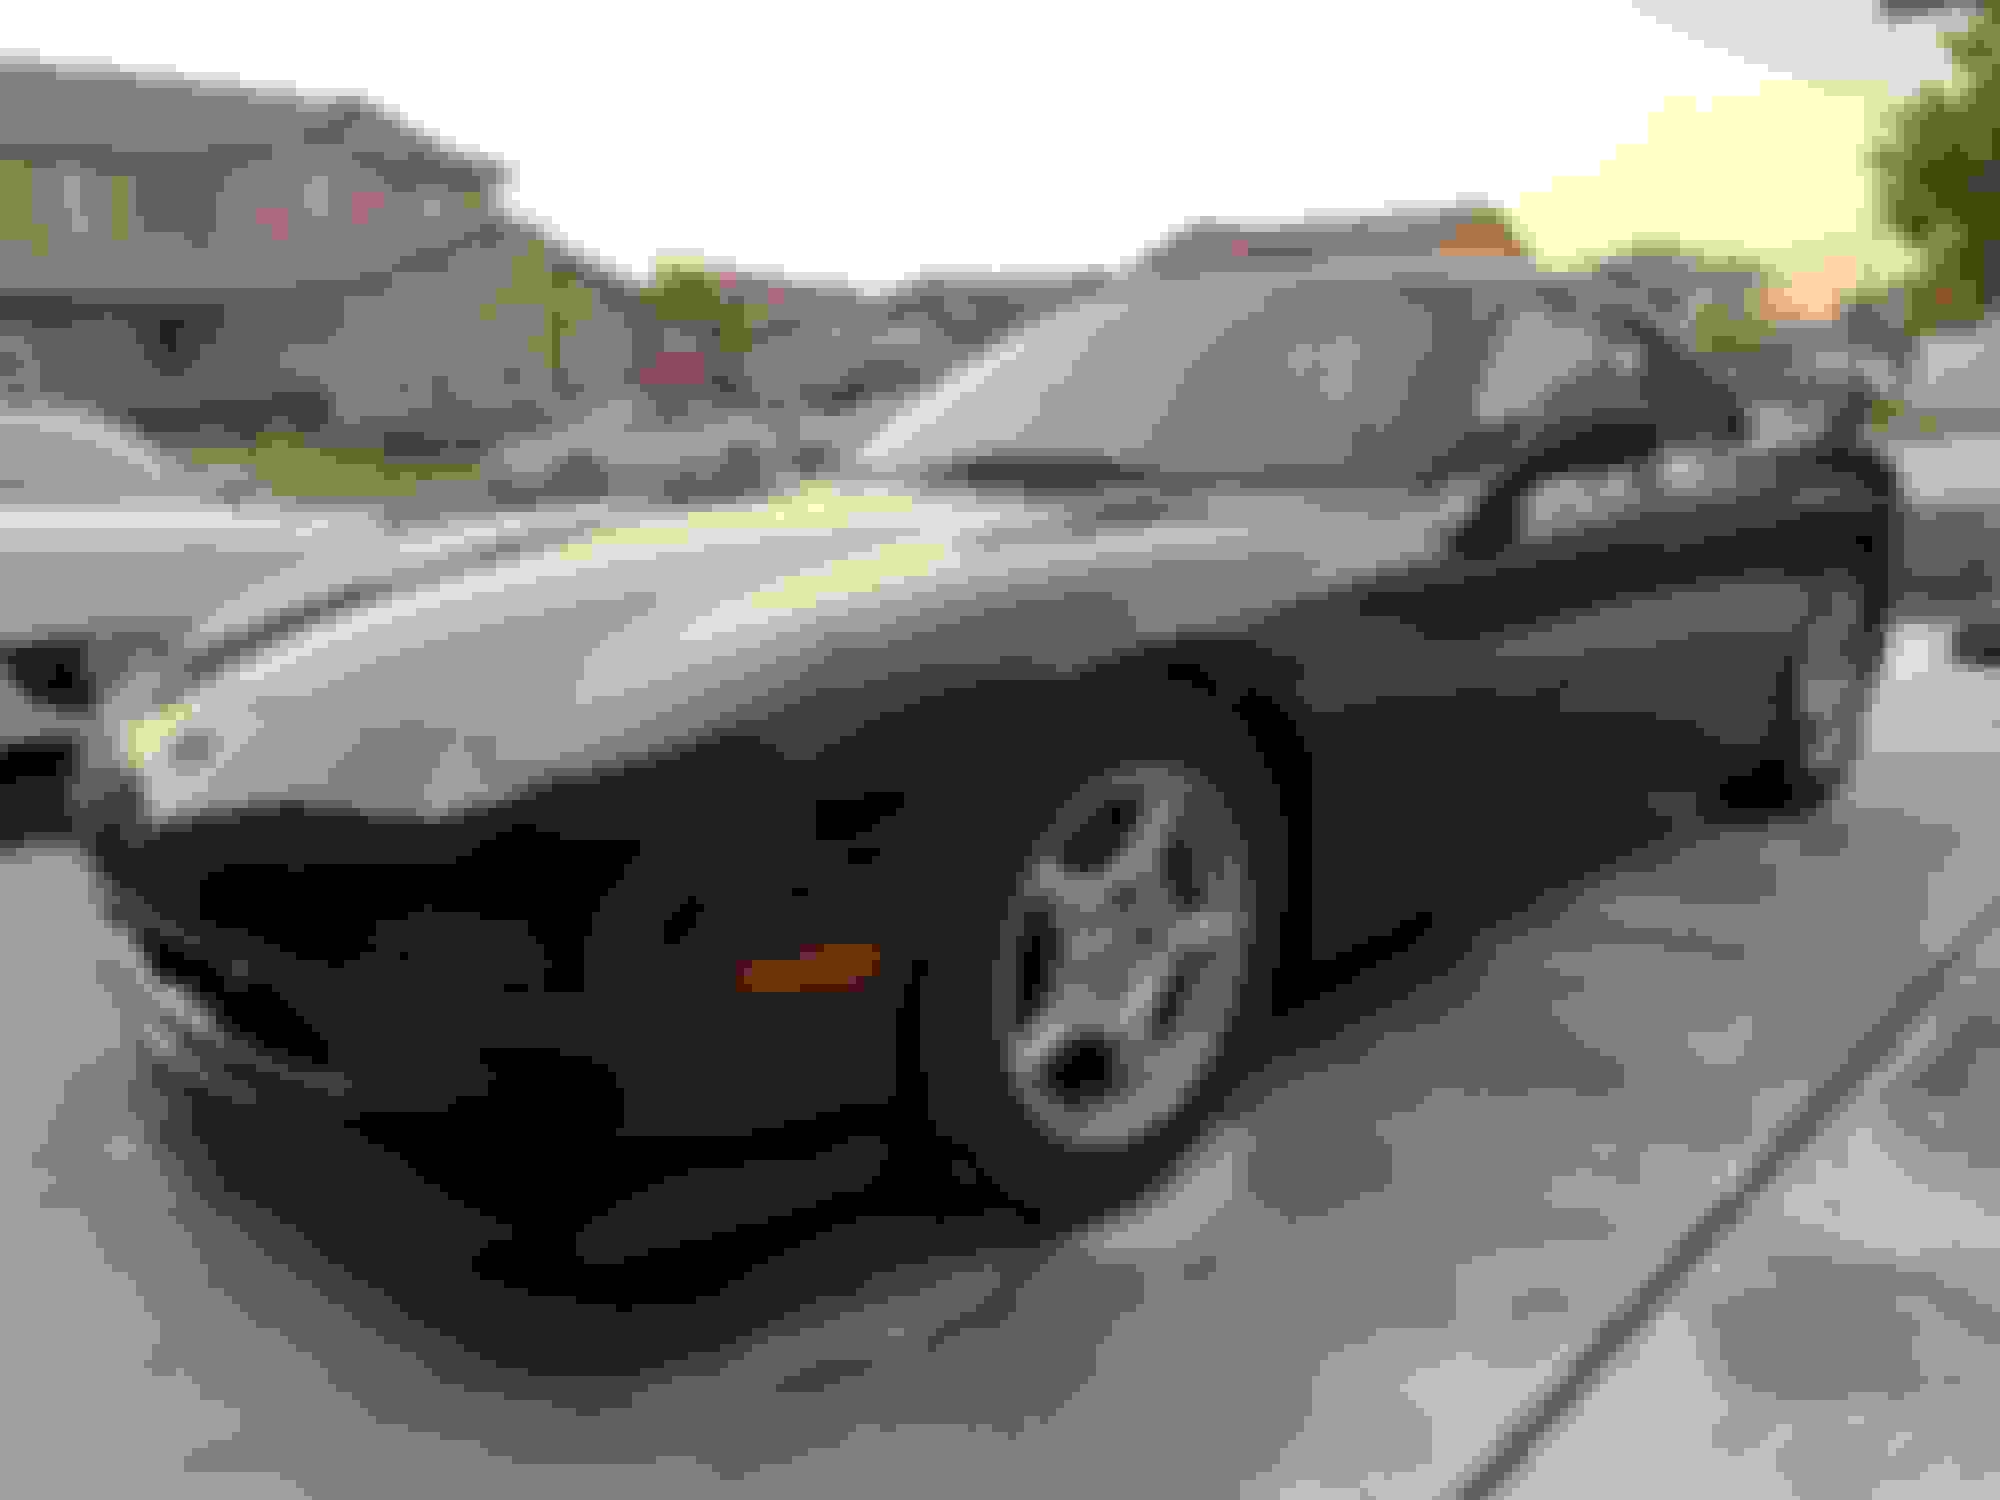
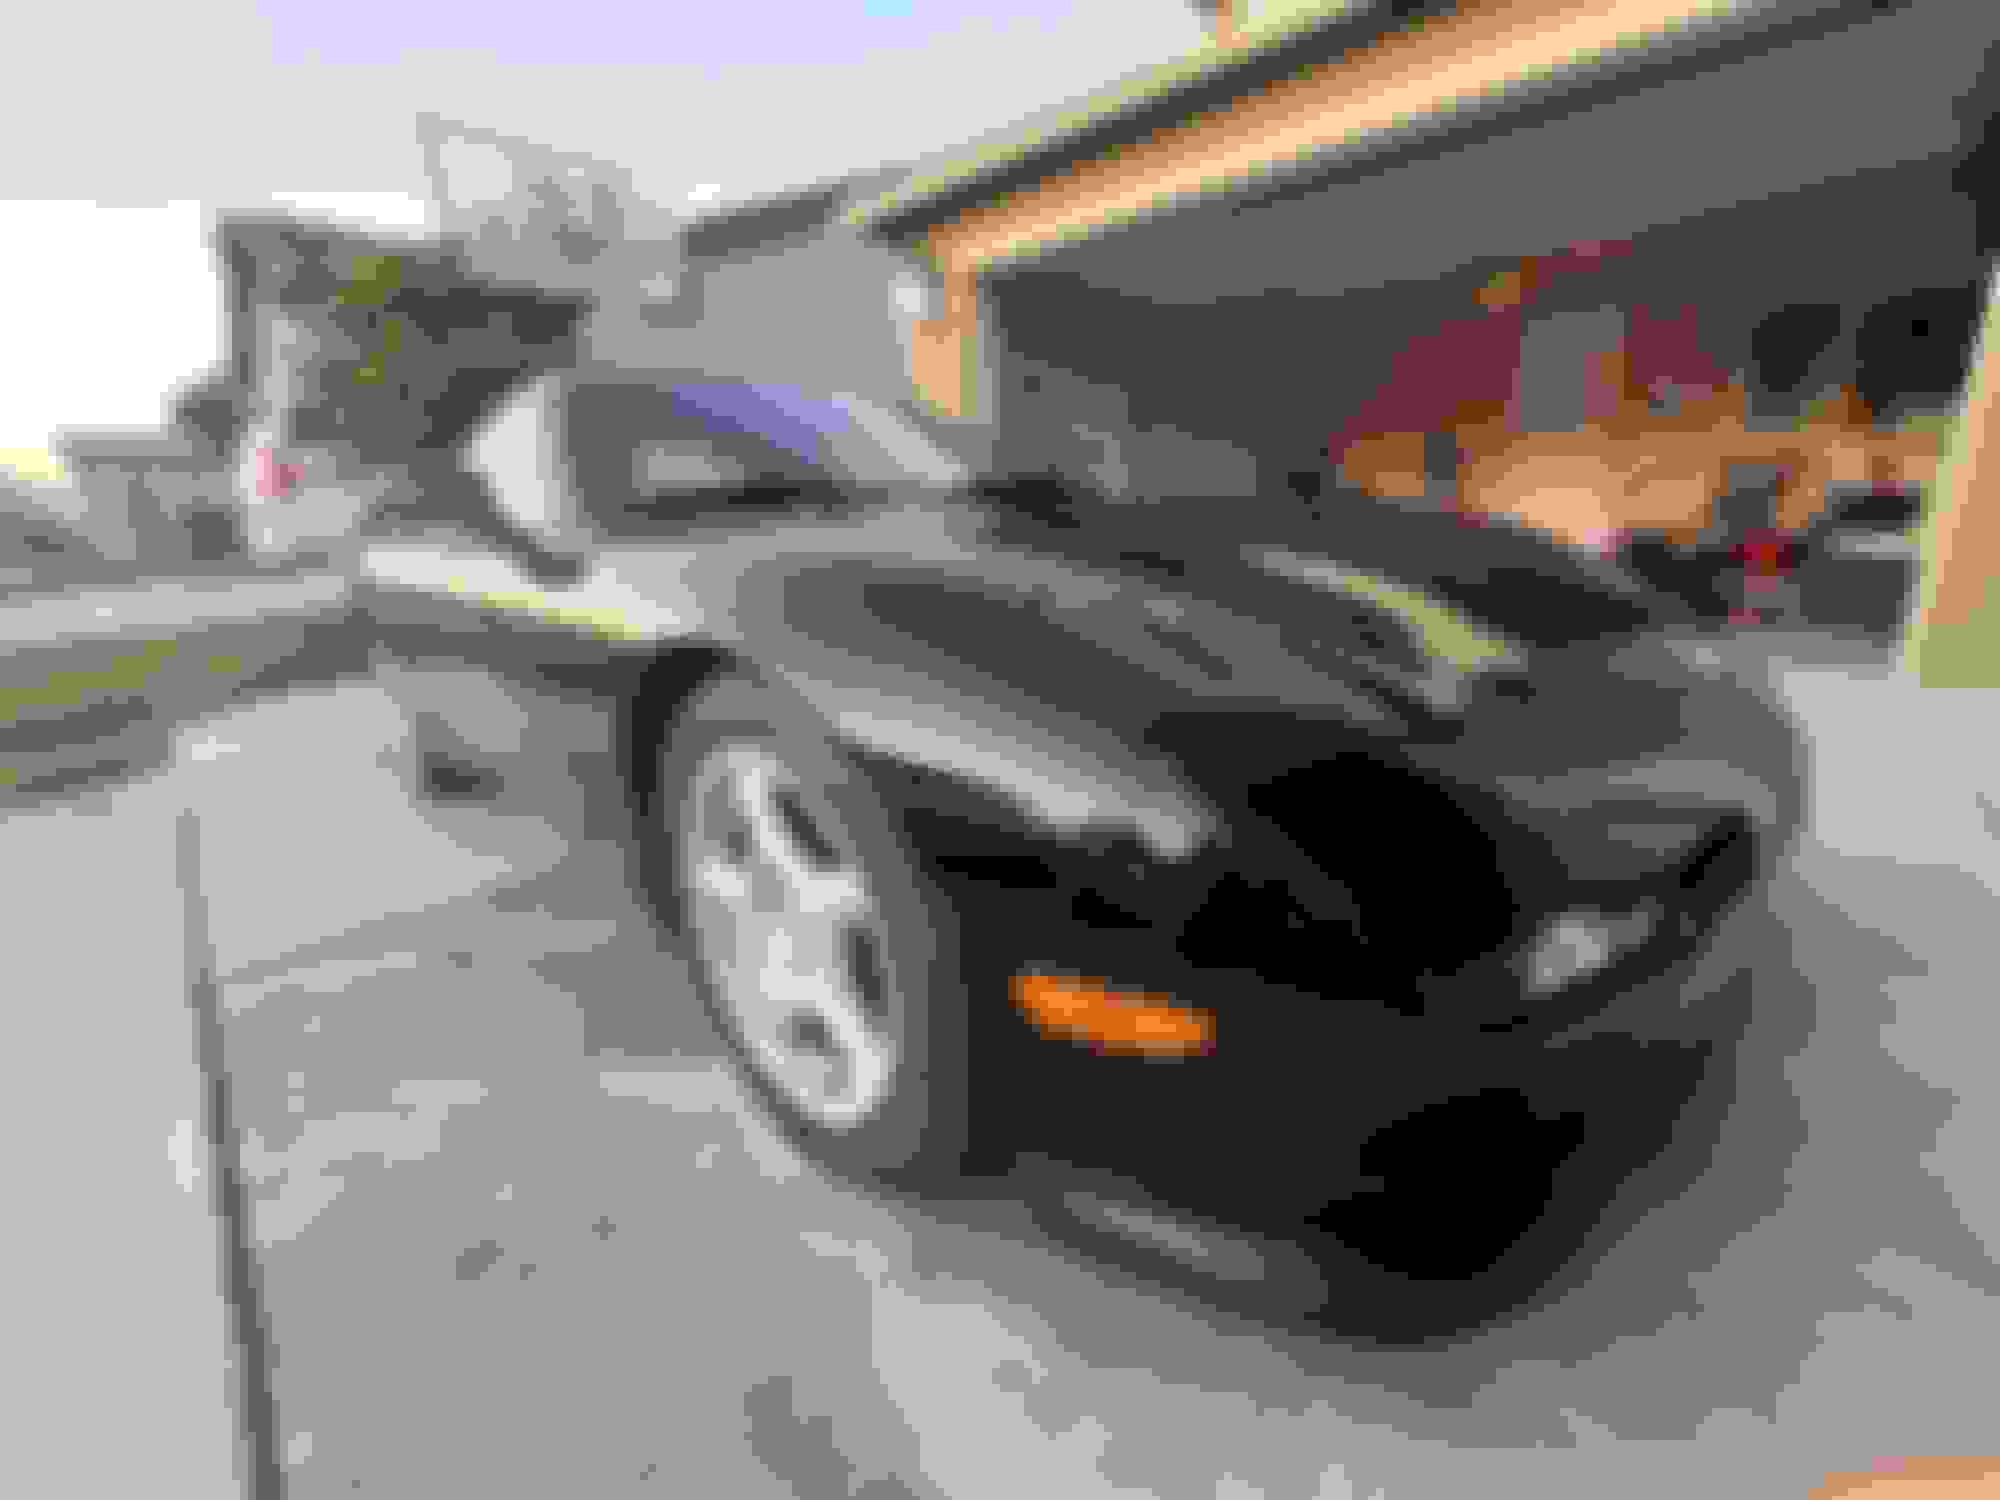
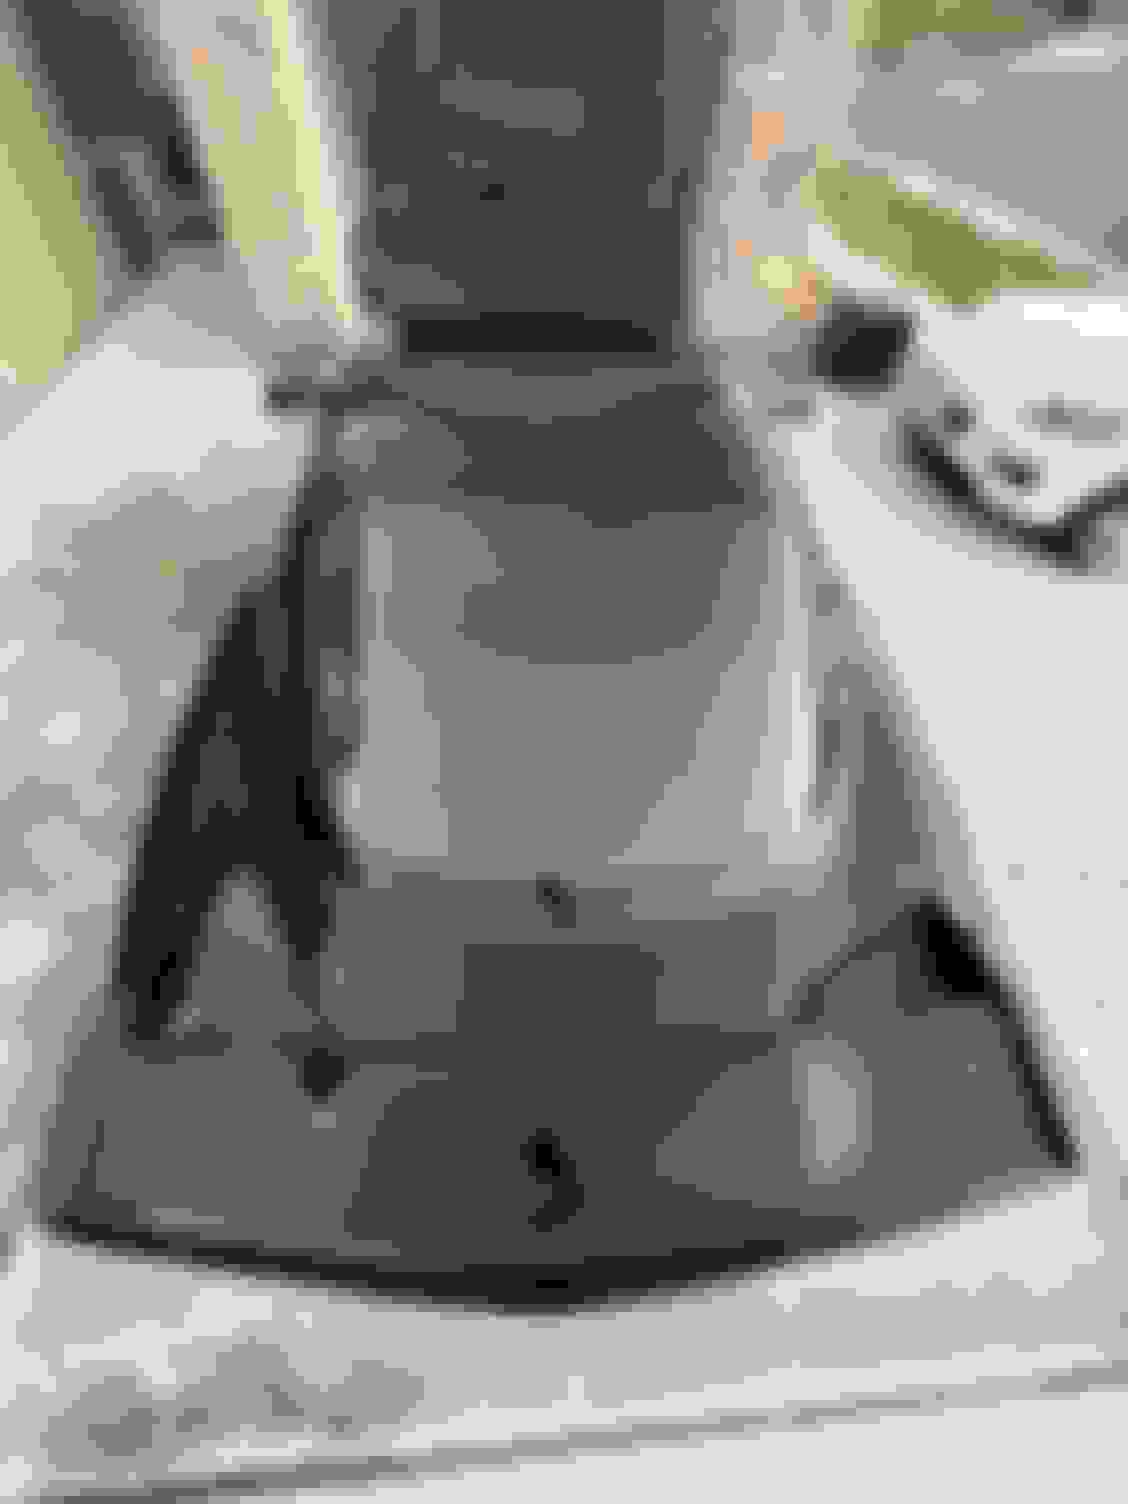
Here are some pictures before starting. It does not actually look that bad but the paint is failing and is quite dull. 93 BB is a single stage paint. Head light covers are new and vinyl wrapped. The match is pretty good!
So I finally got her back together again. At this point I'm calling the job done. Once the paint has cured (~3 months) I'll do some more buffing and start waxing. Here are some pics of the finished product. Keep in mind there is no wax on the car so it will only look better.
Black is a pain to get perfect but I think I got it pretty close.
My personal touches were the emblems, wing and front turning signal lights. Starting to make the FD my own...
I can breath easy now! Let me know what you think.
I wanted to make this a clean job with as little body filler as possible so I sent the FD to a PDR shop to fix 99% of all dents/dings, etc. It was done knowing that the car would be painted so most dents were left a tad high so they would block out dead flat.
The defects that this guy repaired blew my mind. These guys are magicians! I made it easy for him by removing door panels trunk trim, antenna, tail lights and so on so he would have the best access possible.
I did not take any pictures as it would be really hard to see the dents and how they changed, but by running my fingers over the spots I could barely feel them. As a side note as you prep the car for paint feeling the panels gives you probably as much feedback as looking closely at them. Sometimes you can feel an imperfection but might not see it.
Now that the PDR is done we can move to the next stage, prepping for primer. Also since the car is basically flat now another option would be to dip or wrap it. I did think about those options but decided to do it right. Stay tuned�
Looks like a great base to start with. I was too chicken **** to spray my own car at the time but I did do all the prep which gave me some piece of mind. Id recommend not wrapping it, and going all the way with some high quality paint, even doing the jams unless they are in really good condition still. Like you said, patience and knowing you're probably going to have to reshoot some pieces is a good attitude going in. You got this man! Look forward to seeing updates.
Great project......everyone should own one boat, one home swimming pool and PAINT A CAR in his garage!!! been there on all three counts.
Caution.....be sure to CAREFULLY mask your under-hood and door jam decals.....my painter did that so well you can't tell that they were not replaced ( particularly .the door jam decal with the VIN # which far as I know can't be replaced).
Yeah your paint looks around what mine looked like about 8 years ago, it's worse now . Definitely due for a paint job!
Dale
Thanks Dale! I�ll do my best to capture everything including my mistakes to help others with the process. Updated will be slow at first as I spend almost all my spare time working on it!
Looks like a great base to start with. I was too chicken **** to spray my own car at the time but I did do all the prep which gave me some piece of mind. Id recommend not wrapping it, and going all the way with some high quality paint, even doing the jams unless they are in really good condition still. Like you said, patience and knowing you're probably going to have to reshoot some pieces is a good attitude going in. You got this man! Look forward to seeing updates.
This FD is perfect for this project. Much better than my last one as it is a completely rust free chassis being a CA car. All glass will be removed along with the doors and hatch to do the jams. The hood will stay in place.
Great project......everyone should own one boat, one home swimming pool and PAINT A CAR in his garage!!! been there on all three counts.
Caution.....be sure to CAREFULLY mask your under-hood and door jam decals.....my painter did that so well you can't tell that they were not replaced ( particularly .the door jam decal with the VIN # which far as I know can't be replaced).
Thanks Jim. Unfortunately my jam stickers are torn so I will need to replace them. Ray gave me a good lead on where to replace them. I�ll deal with that much later�
Thanks Jim. Unfortunately my jam stickers are torn so I will need to replace them. Ray gave me a good lead on where to replace them. I�ll deal with that much later�
You can buy a replacement VIN sticker for the jamb. I have one in an envelope waiting to be installed on my car and it is the most expensive sticker I have ever purchased. You need a high resolution picture of yours to send in, take it before scraping it off!
I work at a Ford dealer and the body shop gets all of the labels from Auto Data Labels. I have never called to see if they make them for the FD but the body shop uses them on everything else.
Thanks for the tips for the VIN label. I'll shop around in a few weeks as I may need it for smog inspection (not sure). There is also a guy from the UK selling them for very good price. He mentioned that he sold some to forum member but still have not been able to verify.
I wanted to first talk about the approach I took for this project considering I have no car painting experience aside from rattle can touch ups and small parts. The most economical and efficient way to do this would be to paint the jams first then put the car back together and line everything up and paint the whole car in one shot. I figured with my lack of experience with a paint gun this would be a recipe for disaster so I decided I would paint the car panel by panel. There are some draw back for this approach:
1) The finish will not be consistent on each panel.
2) A lot of paint will get wasted as I would have extra at the end of each session. Aside from basecoat it does not keep.
3) It will take a lot more time to finish the project (Months instead of days).
4) Having to install and line up freshly painted parts will be stressful to say the least.
On the plus side:
1) If I screw up a panel I can learn from it and redo it without much pain.
2) With each session I can adjust and hopefully get better.
3) The FD is solid black. A very forgiving color. SSM and MB would be very difficult for a first attempt due to the metalics. I'm going to stick to the PZ paint code. Just base/clear instead of single stage.
I also have some limitations for equipment and work area:
1) I only have a 25 gallon compressor. You really need a 60 gallon+ 220V compressor wired into the fuse box to really be able to run a DA and an HVLP gun properly. Maybe with the approach I'm taking I could get away with it but the last thing I want to happen is to lose pressure when painting the roof and quarters. Enter the YouTube channel 'Garage Noise' that gave me the idea of using this paint gun:
Also this channel is awesome. Chris explains everything really well right down to the gun settings. Also he is painting in an environment similar to mine. In an uncontrolled garage environment without air filtration. No paint booth! This LVLP gun worked perfectly on my small compressor and lays down paint like glass (with practice). Use the 1.7 tip for primer and the 1.3 for everything else. It might also be a good idea to buy 2 and keep one for clearcoat only.
2) The width of my garage is 124 inches.
The FD is small but it's going to be tight. This may be an issue for the quarter panels as I can remove everything else.
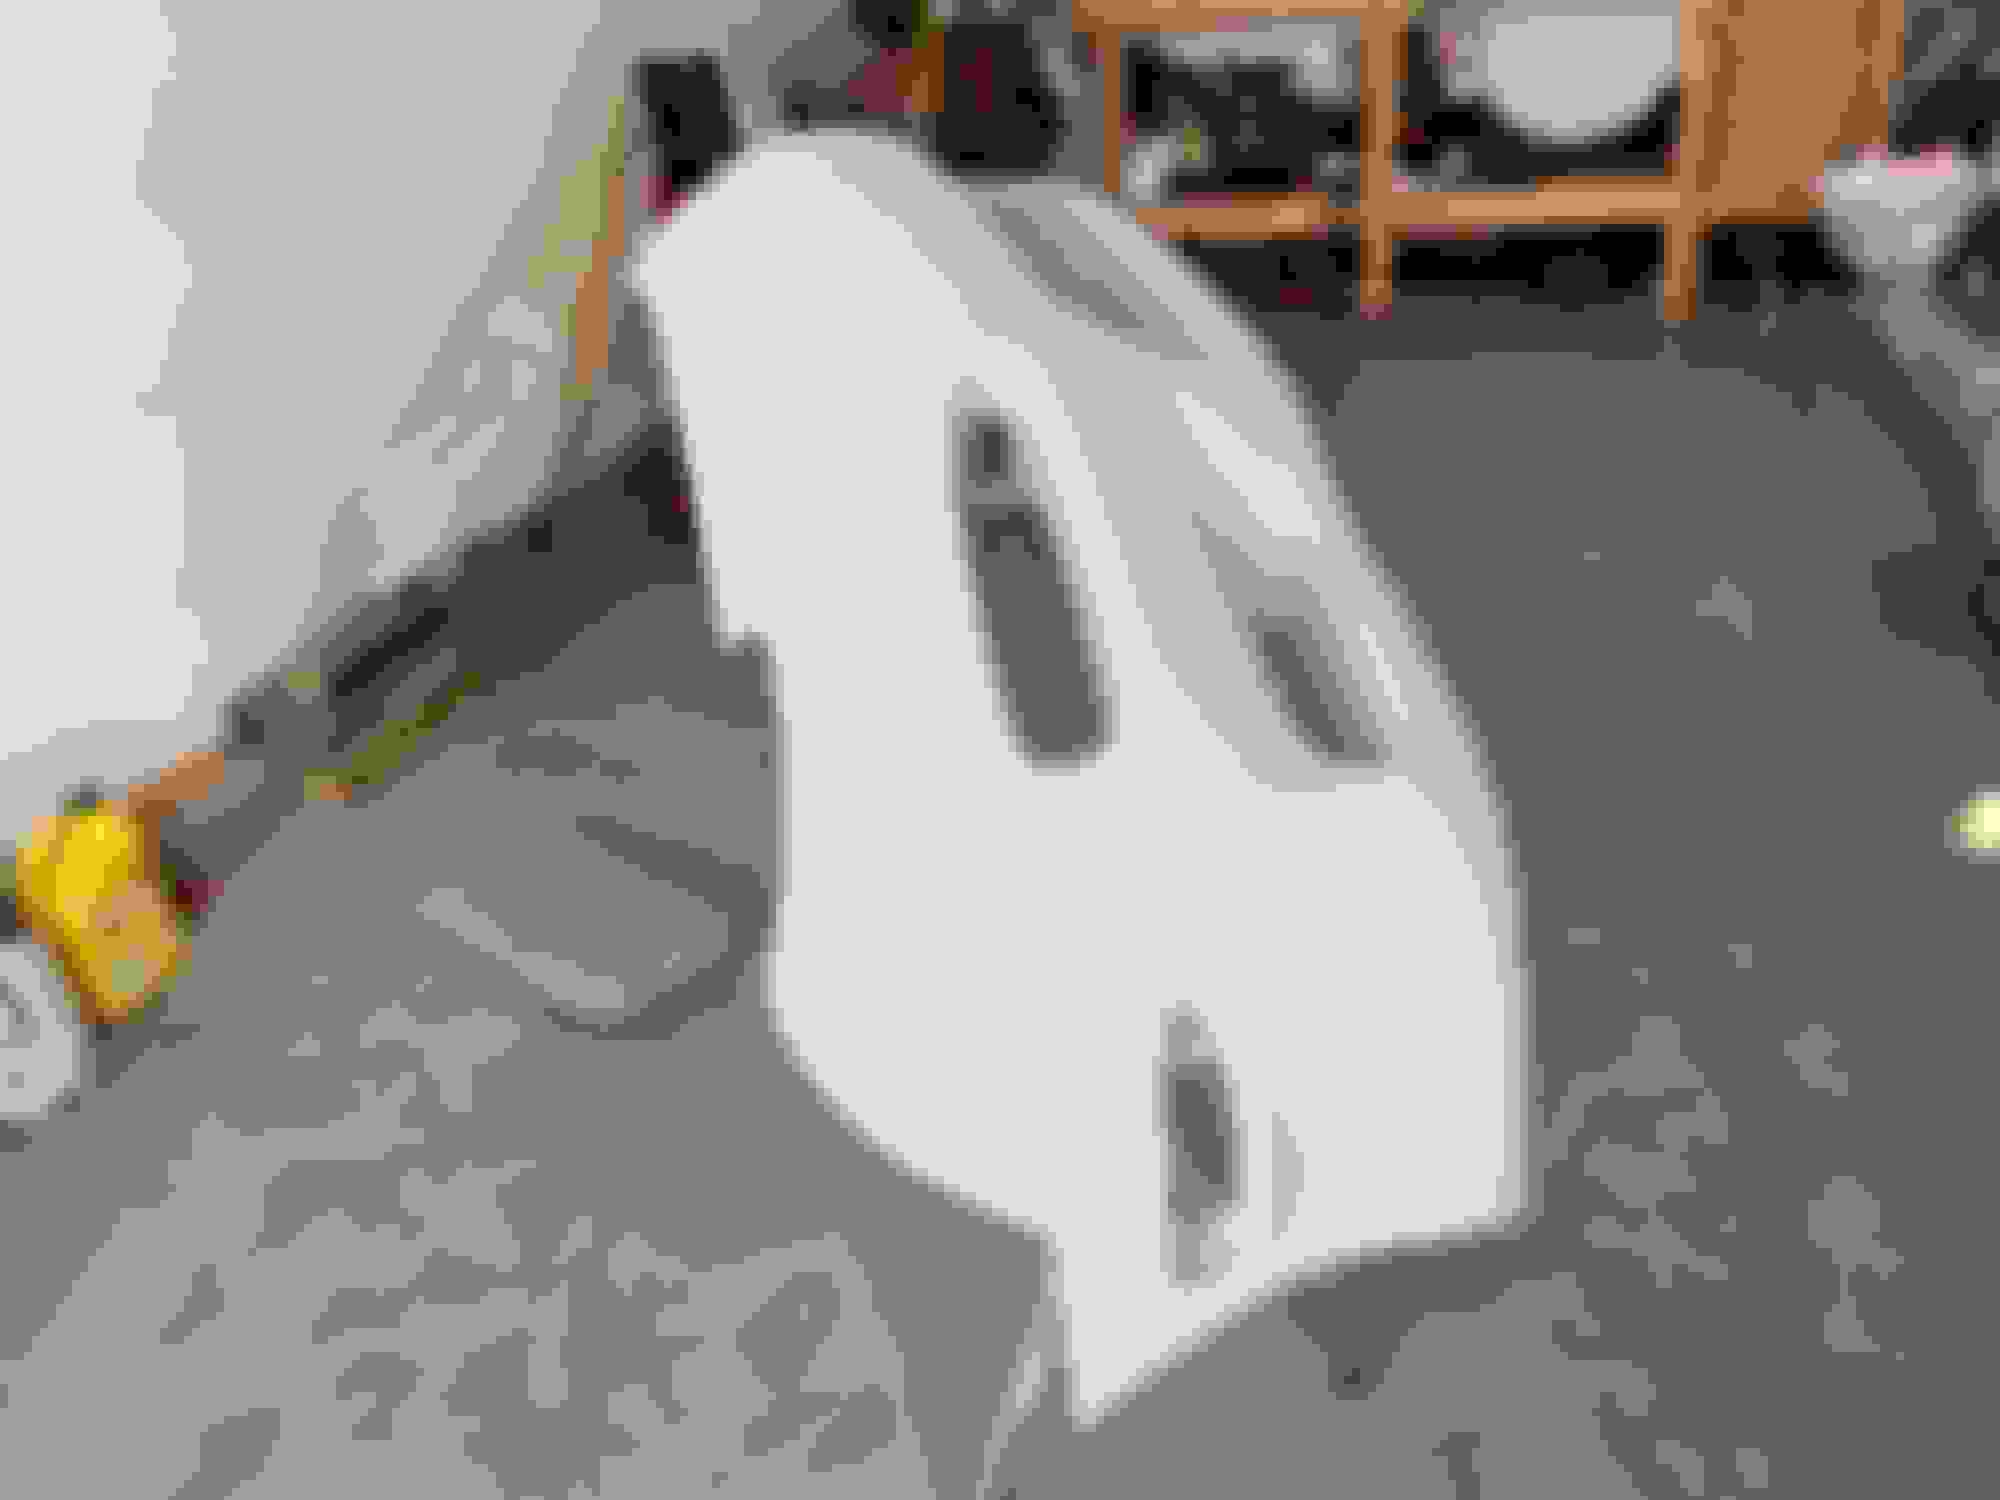
The first thing I wanted to address was the front bumper. I really hated how out of shape it was. There was even contact on the sides on the pop up bezels. This stuff drives me nuts. I also find it funny seeing 50K+ FD's on BAT with the same issues. When I had my FC painted many years ago I found a perfect bumper and spent a lot of time getting it dead straight.
I was really lucky and found a near perfect bumper for the FD. Had to strip it down since it was SSM but managed to preserve most of the original sealer/primer. It's way better than the original bumper.
I've had issues with bumpers in the past so I definitely put too much thought into repainting it. I wanted a proper plastic primer so I used SEM flexible primer surfacer :
In retrospect I should have just used adhesion promotor on the spots where bare plastic was showing and then jumped to sealer/base/clear like other plastic parts. You don't need to use 'special' flexible paints anymore as they all can tolerate some flex. Bumpers and painted the same as any other part on the car (with the exception of adhesion promoter). In any case the cost of 2 cans was not a big deal in the grand scheme of things. Hope this helps someone.
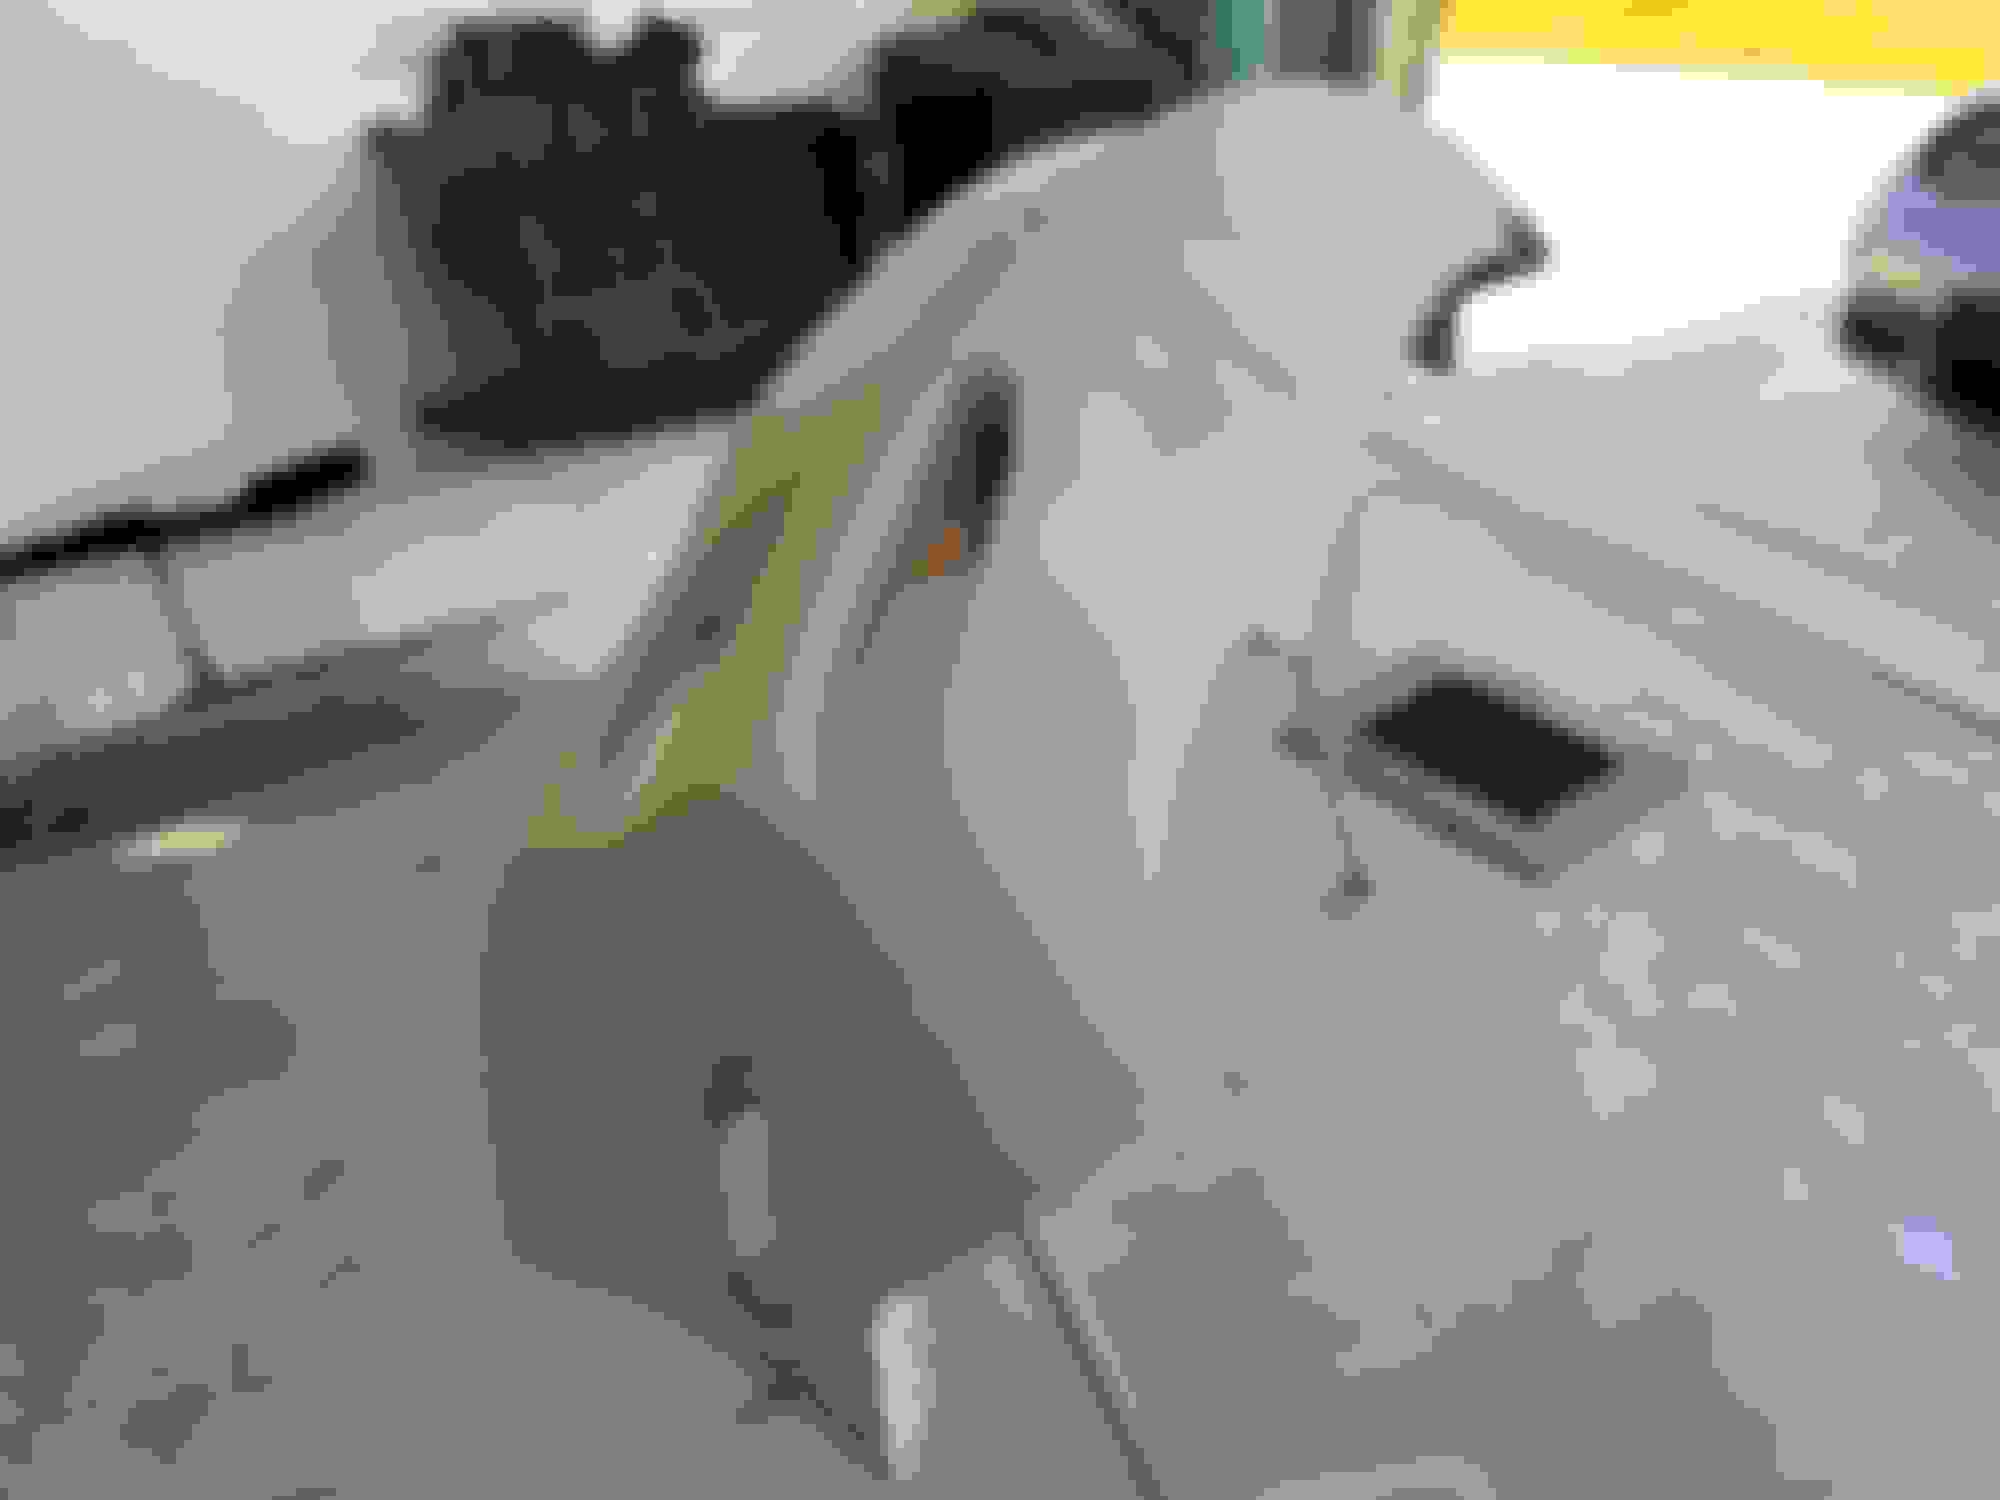
Here are some pics of the primed bumper:
On a side note. I will never paint anything so big with a rattle can again. Creates more of gas chamber than a paint gun and takes forever...
Sanding material shopping list. This is what I used to strip the entire car. I'm pretty sure you don't need to be this thorough and go from 180/240/320 but I played it safe. I think you can skip 240 and go 180 to 320. I also decided not to use 80 to strip paint unless I had a small dent to correct. Best to scuff down to bare metal with 80 then apply filler. All paint was removed starting with 180 grit.
Here are the links of what I used to get ready for primer. Start with a mask
The Duragold paper is not the highest quality but gets the job done. I would start on a panel using the DA with 180 to get most of the paint off. Then switch to a block to level the surface. Then DA 240 and block 240. Finally DA 320 and block 320. Using guide coat along the way:
Did you remove the riveted-on brackets at the top of the bumper before paint? Ray said those brackets are still available new. I think some of mine are jacked up.
+1 on loving this thread - Please keep posting up all the good work!
My FC is in need of at least a paint refresh to erase years of road-rash on the front end, and I need to paint a spare sunroof panel to replace the existing rust-bubbled panel. Also a Brilliant Black (PZ), so I'm learning a lot from this thread & Dale's painting thread
There's absolutely zero chance I could justify paying someone to do it at the prices of paint jobs thesedays. I'll have the engine and interior out in the near future, so no time like then to ever get it done.
The only reason it's not much higher up on the list is because my paint is really in pretty decent shape. And also because if I were to do it, I'd want something much harder to do well in the garage, especially per-panel -- tri-coats like Soul Red Crystal or a Crystal White Pearl.
Did you remove the riveted-on brackets at the top of the bumper before paint? Ray said those brackets are still available new. I think some of mine are jacked up.
Dale
Yes I stripped the bumper down completely. Minimizes any risk of peeling on the edge. I carefully drilled out the rivets. You probably order them from Ray. I measured them and ordered these:
There's absolutely zero chance I could justify paying someone to do it at the prices of paint jobs thesedays. I'll have the engine and interior out in the near future, so no time like then to ever get it done.
The only reason it's not much higher up on the list is because my paint is really in pretty decent shape. And also because if I were to do it, I'd want something much harder to do well in the garage, especially per-panel -- tri-coats like Soul Red Crystal or a Crystal White Pearl.
I hear you. I started this whole project after getting seriously pissed off at 3 local paint shops. These are shops that are very well rated and do excellent work. They are just not interested in non insurance full paint jobs as they are not profitable. One guy tried to tell me just the paint is 4K! What a load of crap!
I really like the snowflake pearl (25D) on my RX8. After this is all done I may consider refreshing the front bumper. Of course that would open a whole can of worms with blending and dealing with a complex metallic color. Soul red with a nice deep clear would look fantastic if you could pull it off!
Another option I thought about was to rent a paint booth for a couple of days and get the car towed there after prep. Of course this means you need to paint the whole car on one shot but it would help with dust and take weather out of the equation.
Did you remove the riveted-on brackets at the top of the bumper before paint? Ray said those brackets are still available new. I think some of mine are jacked up.
Dale
Dale. I have a 99spec bumper going on. I took my brackets off and they were pretty nasty. I had them media plaster and powdercoated black. However, idk what to do about getting the rubber strips attached back on, so going new might just be easier in general.
The bumper skin is just that, a urethane skin. The hard shape along the top is all defined by the rivet-on brackets.
My brackets are in good shape cosmetically but something is odd with the passenger side of the front nose. I know my car was in some sort of low-speed bonk on that corner before I bought it - oil cooler bracket was a bit bent, oil cooler duct goofed up, etc. (BTW this is an R2, passenger oil cooler).
Really I think with some good cleaning and environment control you can get a paint job that's 98% as good as a paint booth in a home garage. Paint booths are really designed for EFFICIENCY, you can roll a car in, paint, roll out, and keep going. Time is money in a body shop. Even pro jobs in a paint booth can get some trash in the paint - that's what wet sanding and buffing is for.
Paint Society also discusses a spray you can spray around the garage in a pump-up sprayer that would attract and hold any dust or crap. I gotta find that, that sounds like a superb help for an at-home job.
Dale
Don't waste any time or money on that spray. I looked into it and after talking to a few people just use water instead. Keeping the floor wet makes a huge difference! You can also put plastic on the walls and mist them as well. Being in FL just watch your humidity.
This is just the thread i needed to see. I really want to tackle painting my FC and I appreciate you sharing all your lessons learned, and product links!
Don't waste any time or money on that spray. I looked into it and after talking to a few people just use water instead. Keeping the floor wet makes a huge difference! You can also put plastic on the walls and mist them as well. Being in FL just watch your humidity.
That's good to know, Thanks!
Refreshing this thread twice daily, can't wait to see more updates!
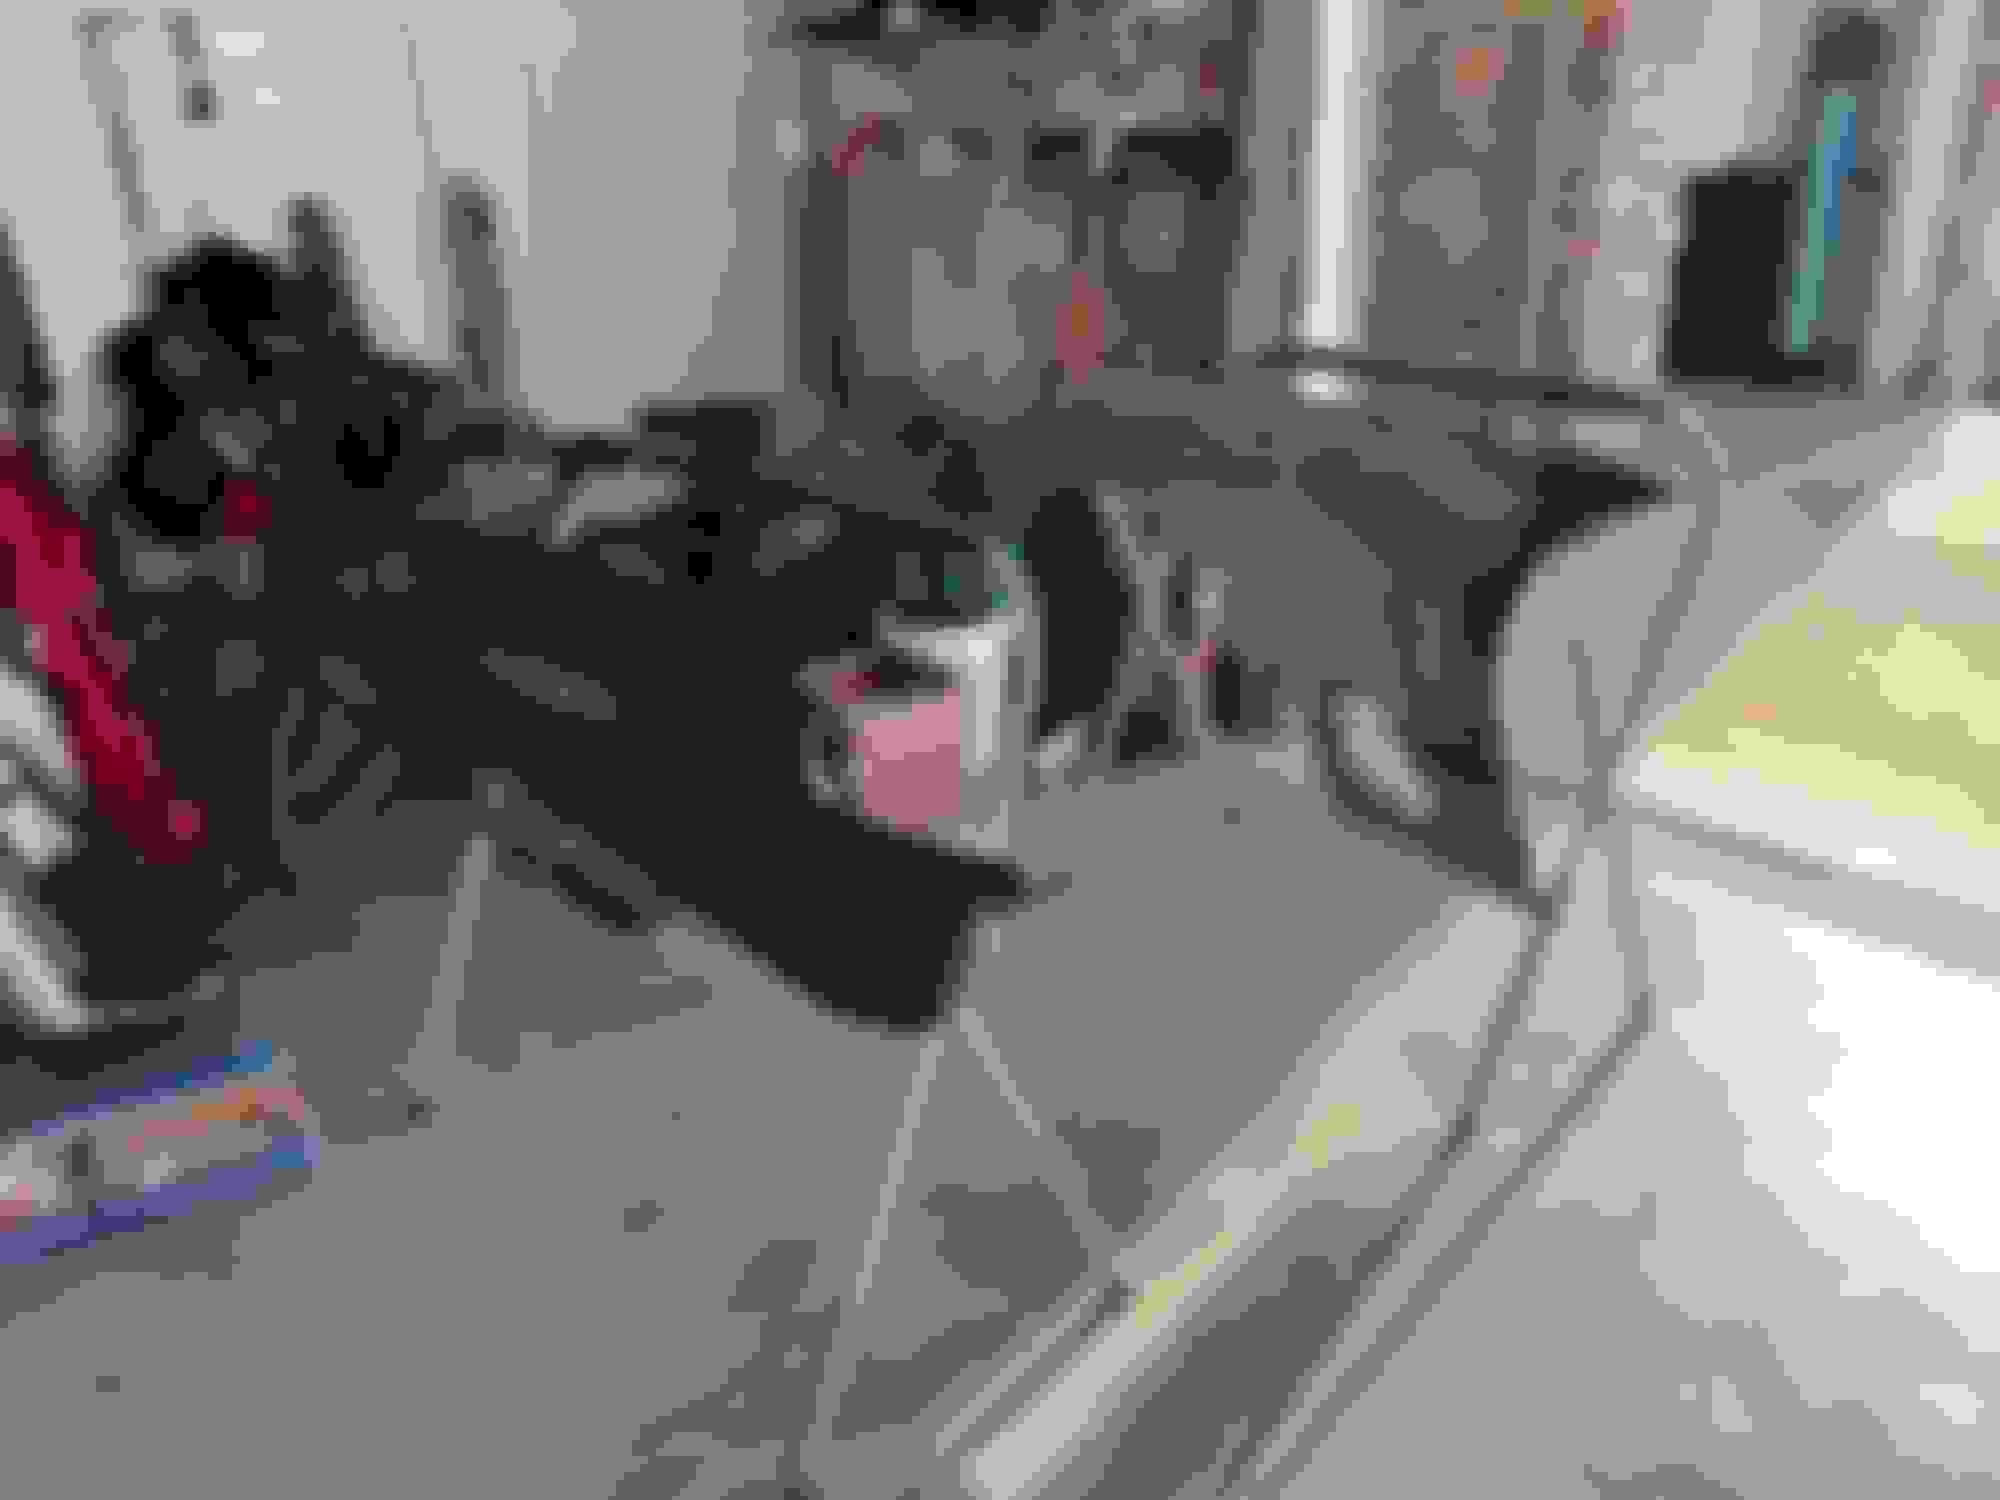
Ok. Ready for the next update. Starting to get ready to prime the car and use a paint gun for the first time!
I�m doing this piece by piece, so I decided to start with the fenders. Easy to remove and not too complex a shape to start off with. Remember to remove the clips on the inside of the wheel wells.
I did most of the sanding before removal as they are more stable on the car and finished up on the work stands (Harbor Freight). I used 4 for the project.
Sands really well and easy to work with. Not supposed to shrink much.
I won�t go into the details of sanding as there are plenty of videos showing you the approach. It�s important to use blocks whenever possible and check and re-check with guide coat. You can do it all by hand or use the DA as well. I used both starting at 180 then 240 and finished with 320. It is important to finish at 320. The TDS for my primer said it was ok to finish at 220 but I did not chance it.
My approach was to take most of the original paint off and leave as much of the primer/sealer as possible. There were some places that I just scuffed the paint and went from there. It�s not that important to remove all the paint if there are no issues with it (just a personal preference). I did not want too much paint on the car as I think it chips easier. There was also some bare metal exposed with some high spots. Sometimes it looks dead flat but when you start blocking you find out the truth� Probably came that way from the factory.
What about the gravel guard on the fenders?
This stuff is a pain! I learned the hard way on how to remove it as I accidently went too low with the DA on the drivers fender and decided to remove it all. To keep the story short just use a wire brush on a drill to remove it (if you have to). I tried a few things and it did not work. Sanding with the DA was the worst option!
I had no intention of removing the gravel guard so my plan was as follows. Sand down to close to the gravel guard line. For primer mask off the gravel guard line with a soft edge with the masking tape. My logic was that if I primed the gravel guard it would have to be sanded along with the rest of the panel as primer needs to be sanded. This could remove a lot of the texture which I did not want. My plan was to prime everything except the gravel guard and when the time comes prepare the gravel guard with a maroon scuff pad prior to sealer/base/clear so the paint would stick. We�ll find out later if that worked!
 06-12-23, 07:51 PM


 . Definitely due for a paint job!