When you click on links to various merchants on this site and make a purchase, this can result in this site earning a commission. Affiliate programs and affiliations include, but are not limited to, the eBay Partner Network.
Hatch glass in back in along with a brand new windshield and new moldings. I purchased the hatch molding a year ago as it bothered me so much. The plan was to pull the hatch glass and change the molding and probably just paint the hatch. I went much further than the original plan...
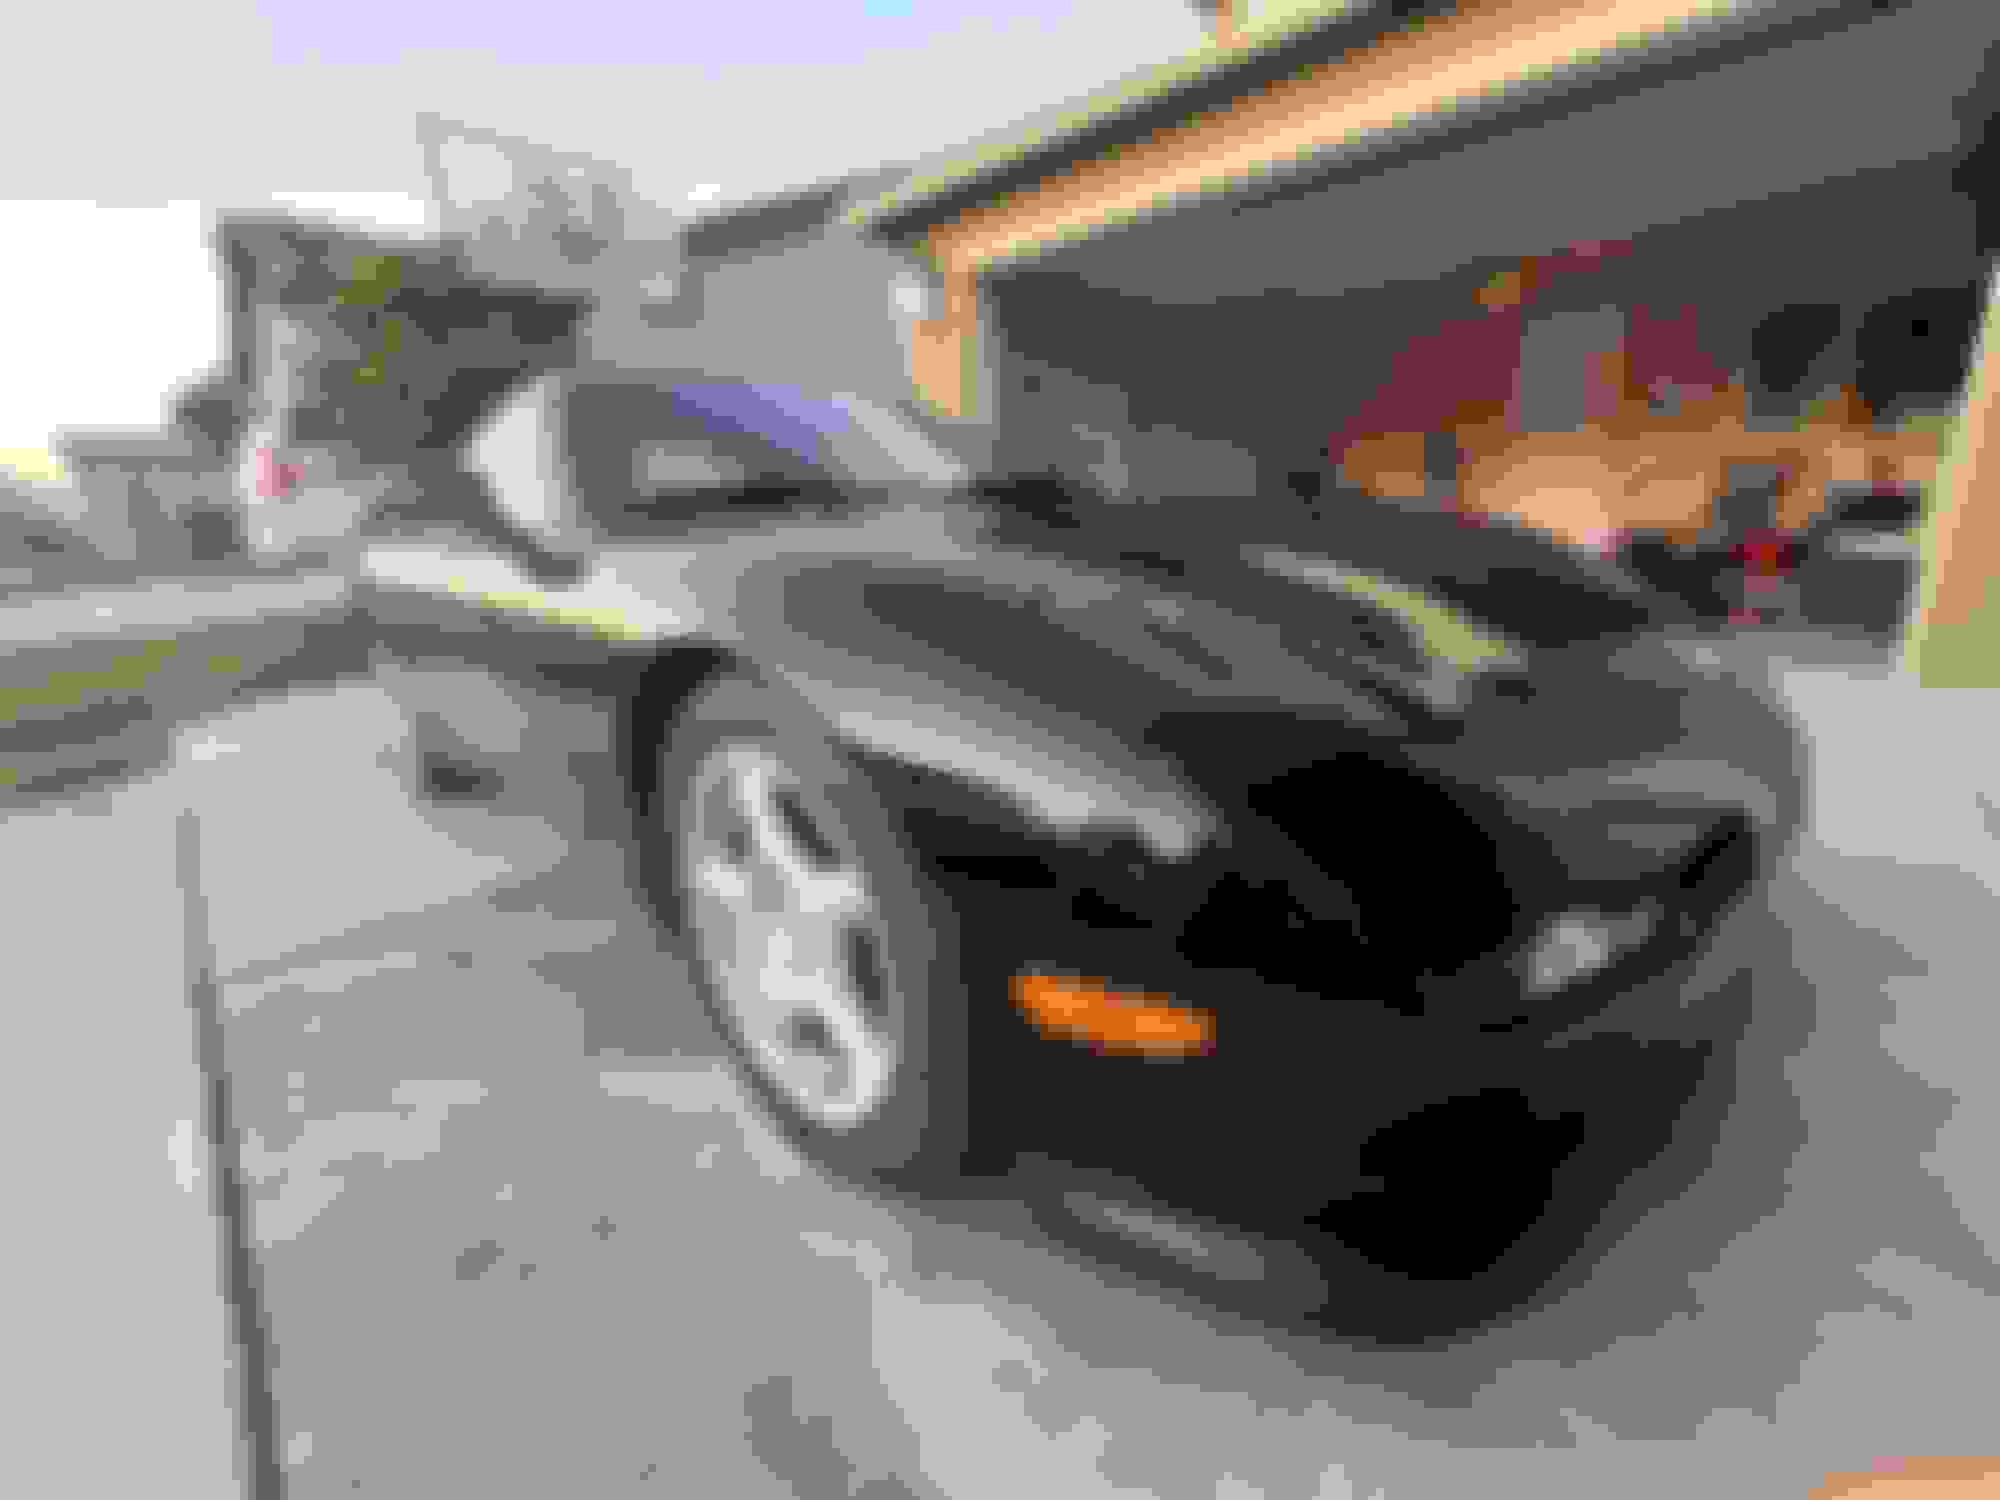
Also finally got to test fit the ZK spoiler.
The fitment is fine. I did have to file my new holes in the hatch to allow for some lateral adjustment which is probably normal as I think I made the holes too small. Only 3 mounting point are used. Just cover the lower inside hole with some electrical tape so no water can possible get in.
The side mounts are very solid. 3 nuts/bolts can easily keep it secure, however ZK made a very large lip on the inside so a lot of 2 way tape can be added for additional security but I don't think it is really needed.
The only issue with these FRP spoilers is that they are not dead straight and ready for paint. Once you hit them with guide coat and start blocking you will see what I mean. I even purchase another ZK regular 99 spec blade that had never been installed and did the same thing. They both needed a skim coat and lots of sanding to look as flat as possible. Unfortunately, gloss black will show everything so spend the extra time here.
Here are some pics that show the process:
At the end of the day it was not a big deal for me as I am very happy with the spoiler. I was just not expecting to do more body work at this stage and was hoping for something easy to work on.
On another note I will soon have a beautifully PZ black painted 99 spec blade available for sale. If anyone is interested please PM me. I'm going with the type o blade!
it looks like you have everything lined up really well. if you needed to do it again Mazda actually puts the specs for the gaps in the shop manual.
i have some tapered pieces of wood i use to set the gaps, they are actually old shingles, but you can buy body gap tools too
it looks like you have everything lined up really well. if you needed to do it again Mazda actually puts the specs for the gaps in the shop manual.
i have some tapered pieces of wood i use to set the gaps, they are actually old shingles, but you can buy body gap tools too
I did find those specs. I actually used some tile spacers to help with the alignment. Overall, I did not have that much to do.
Now back to the paint job. Finally got the spoiler prepped and painted. I added some long bolts into the mount points for the blade and hung it between 2 ladders on a 2x4. Crude but it worked!
Now that the painting is complete it is time to move to paint correction. First example was to remove the defects from the headlight covers. This is what I used:
Tolecut really helps with the dust nibs. I started with this and for all the little imperfections flat then moved on to 2000 wet sand. Once the orange peel was pretty much knocked down, I moved to 3000 and then 5000. I spent most of a lot of time on 5000 with the inspection light. If you can get all the scratches out lower than 5000 then buffing is a breeze.
Both garage noise and Paint Society spoke highly of this polish as being 'low risk' for newbies. Also, what sold me it used for all stages of buffing. Same polish and just change the pad depending on how aggressive you want to buff. To start with I just used the fine pad that came with he buffer.
This part of paint correction blew my mind. I did not really get any runs but some sags. With a 3rd coat of clear I should have waited a couple of minutes longer. Paint needs to be stringy before a re-coat.
In any case have a look at the transformation. A lot of elbow grease went into this:
It was suggested that I cut the entire car at 800 then re-clear the whole thing for a show finish. My goal from the start was to have a nice OEM+ finish as I plan to do a lot of driving when this is done. Putting the extra effort in to re-clear the car in one shot is too much work for a drivers car. I hate to say it but it will get chipped... I'm pretty picky, but I'm happy the way it turned out. What you can save post painting is simply amazing. Of course having a solid color really helps!
Another point I would like to mention. Although it does not really show in the photos there was still some haze in the paint. I found a better buffing pad that really helped get rid of the scratches and it was really tough to see any haze.
Also due to the shape it was able to get into the curves of the quarter panels and rear bumper. I did buy some mini polishing pads for a drill but never needed them. In 3 months I should be able to wax it and it will look even better.
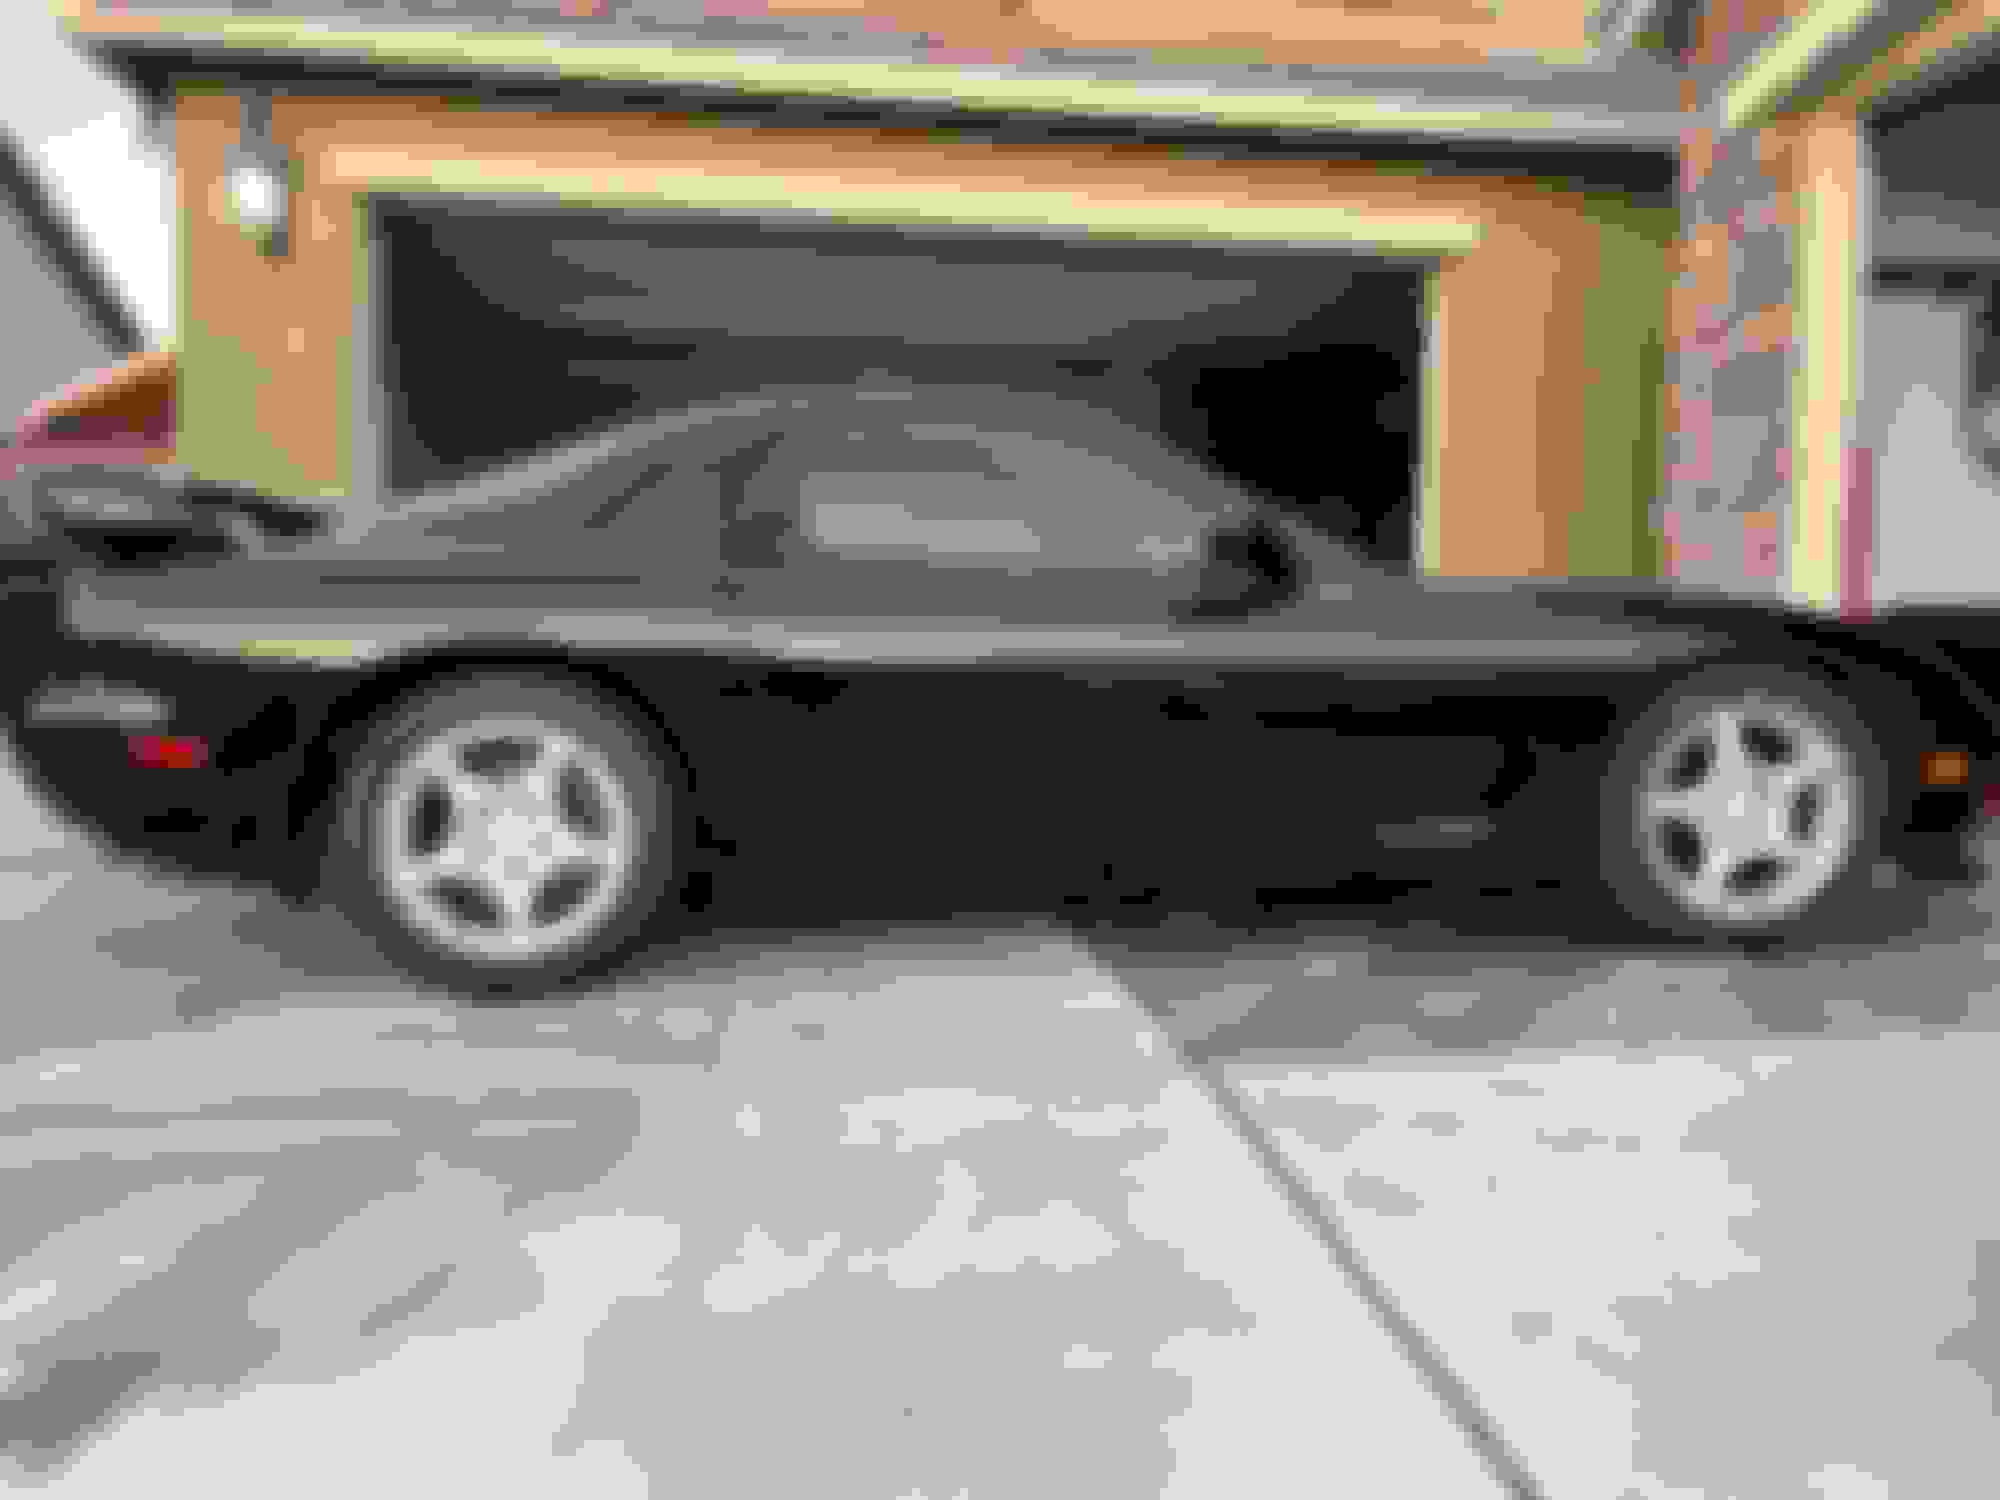
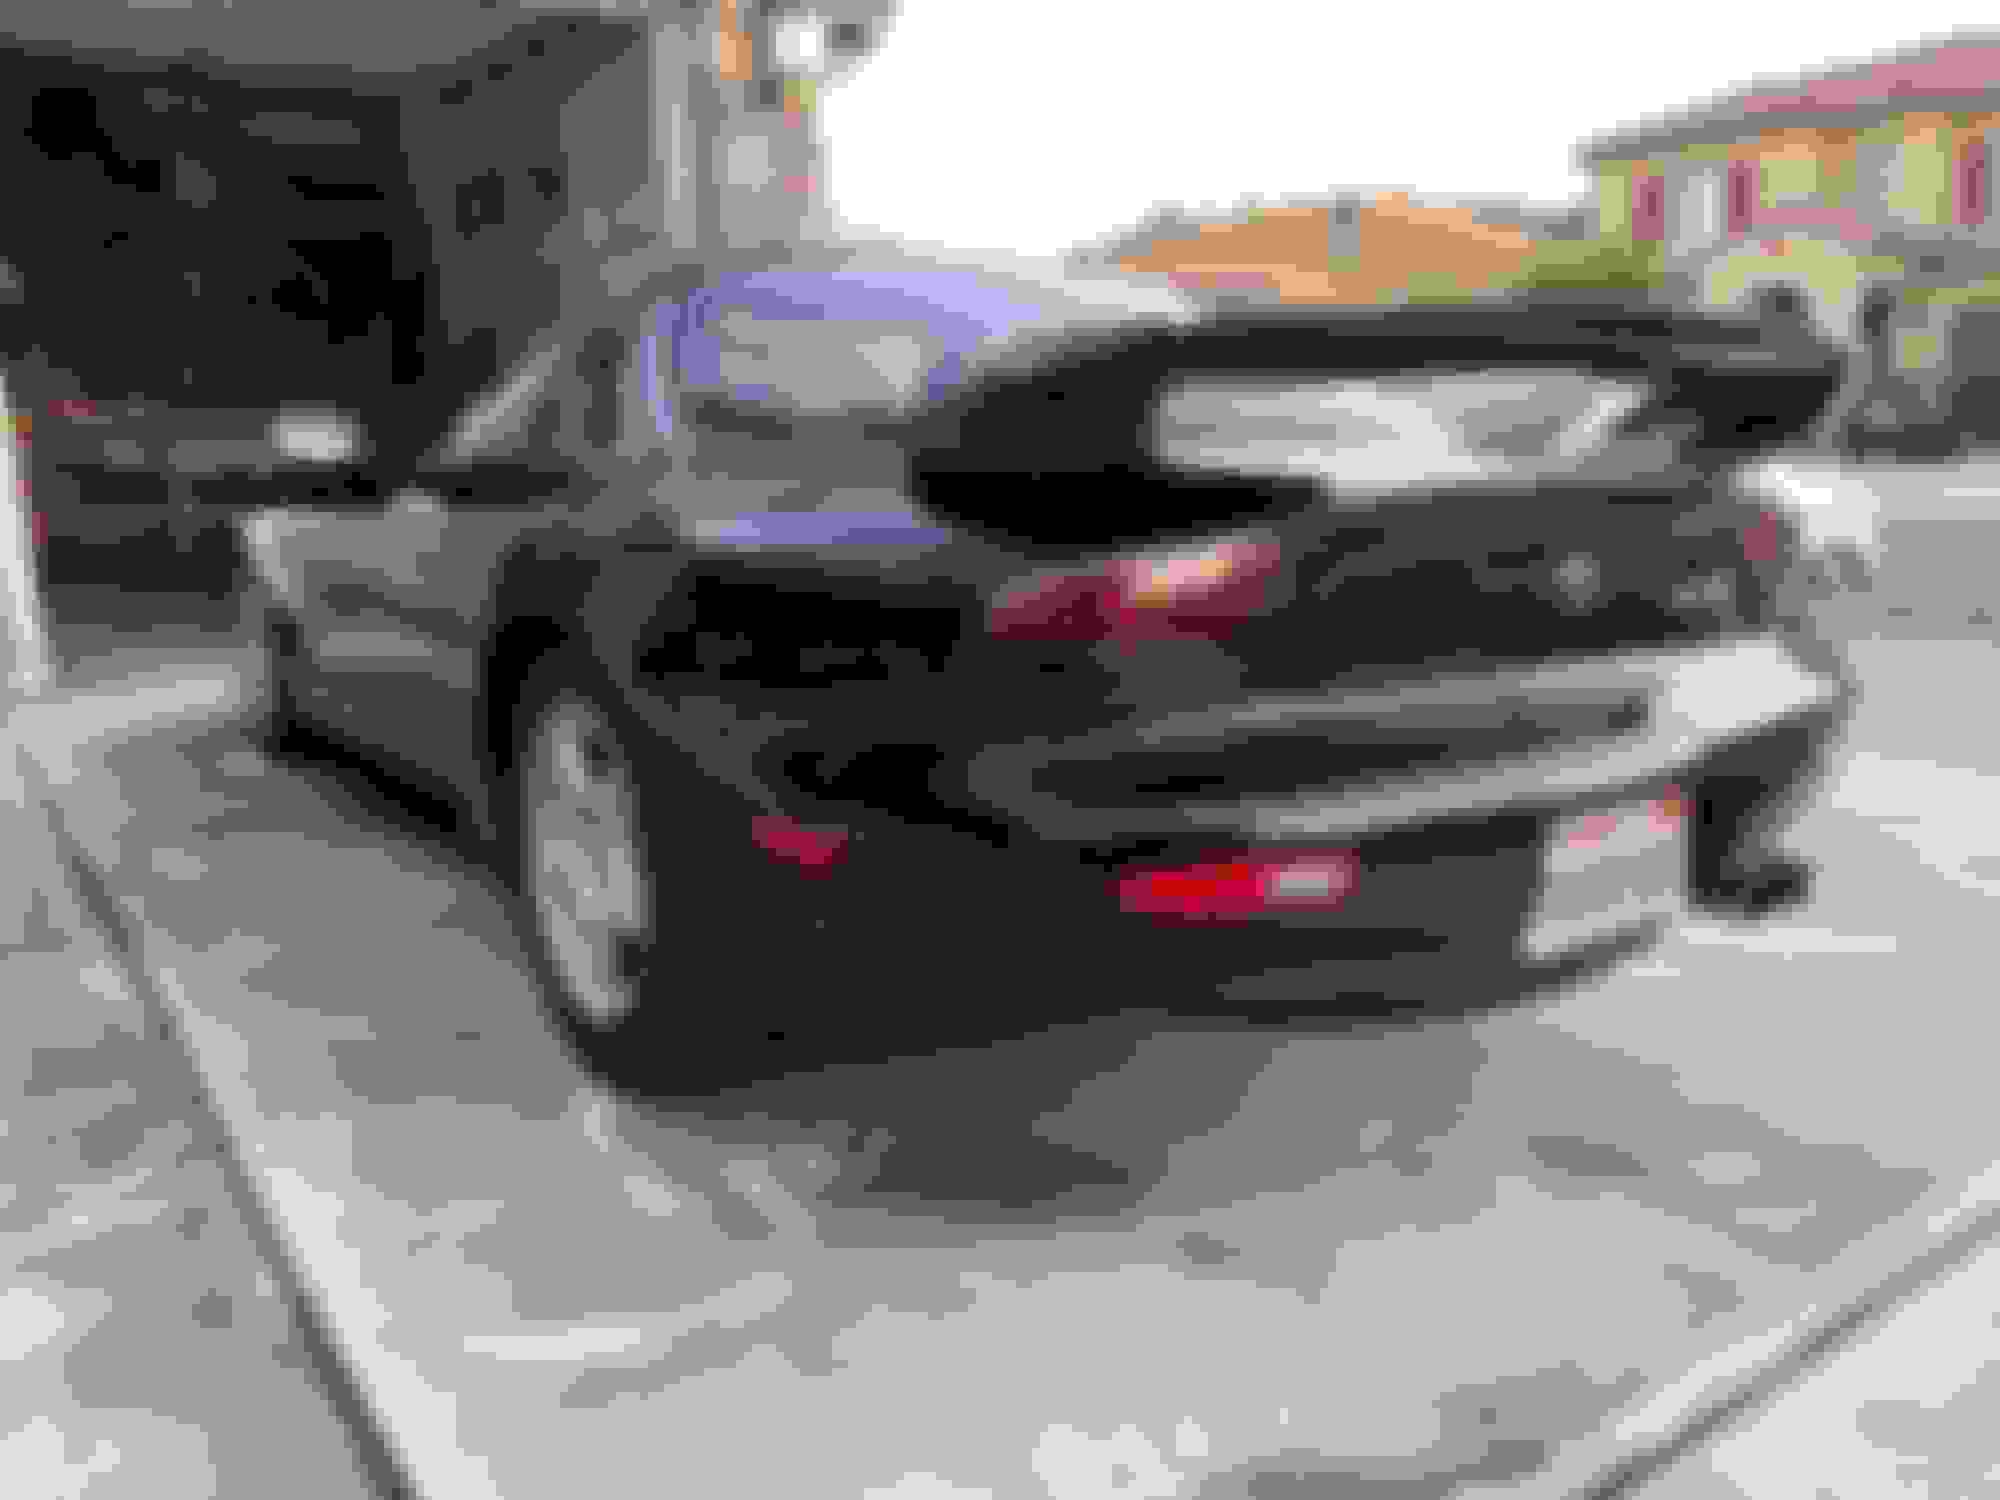
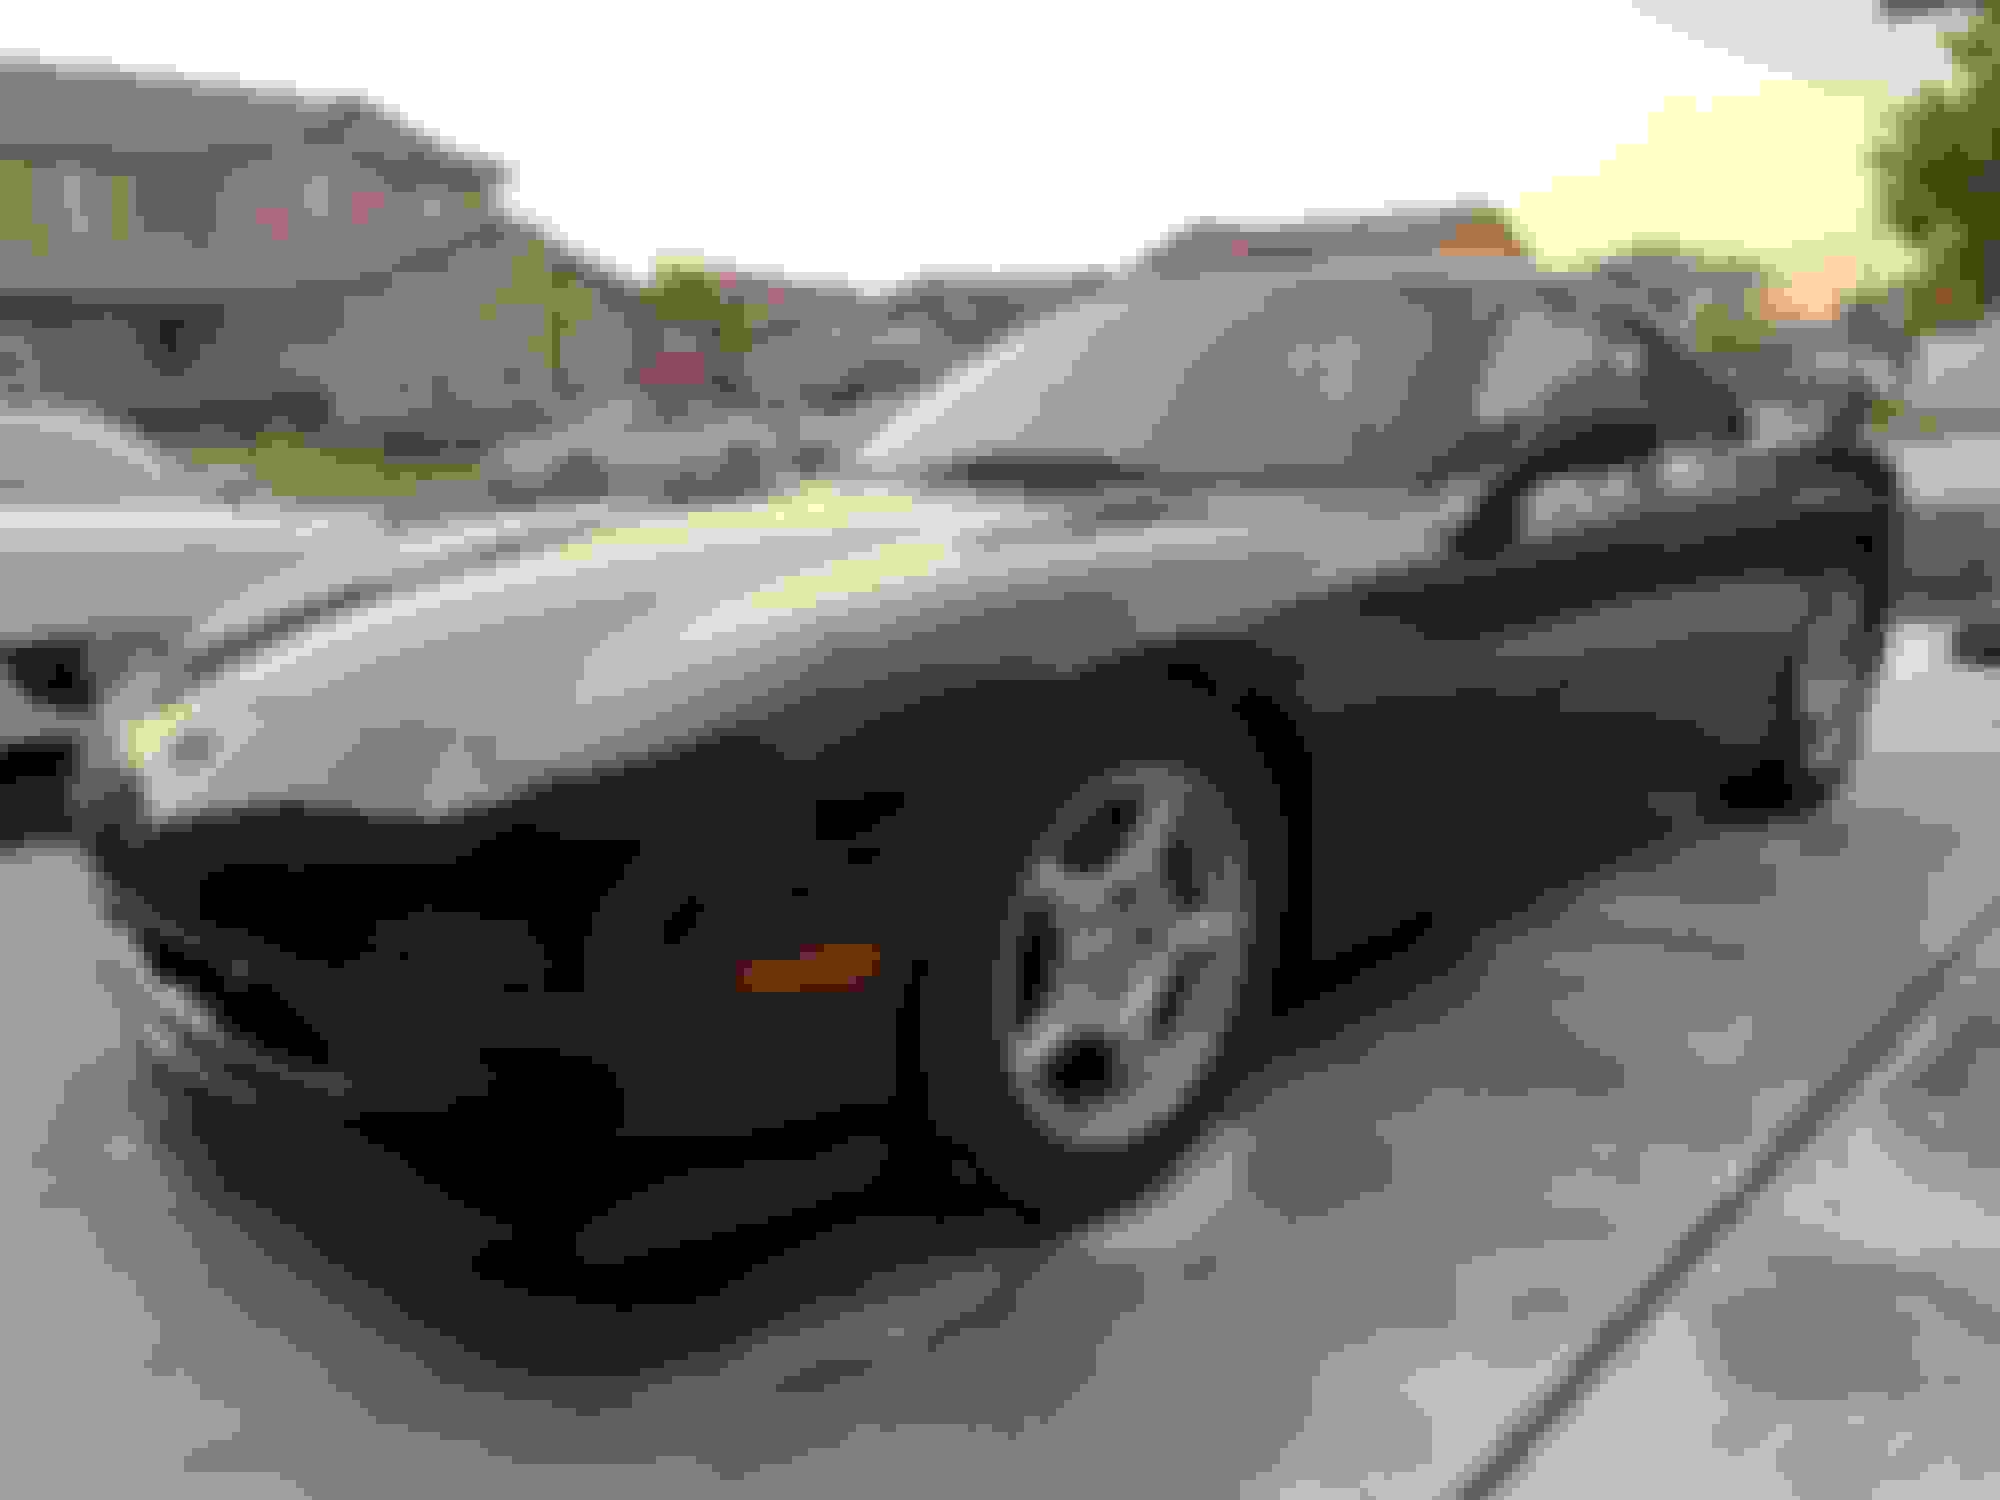
So I finally got her back together again. At this point I'm calling the job done. Once the paint has cured (~3 months) I'll do some more buffing and start waxing. Here are some pics of the finished product. Keep in mind there is no wax on the car so it will only look better.
Black is a pain to get perfect but I think I got it pretty close.
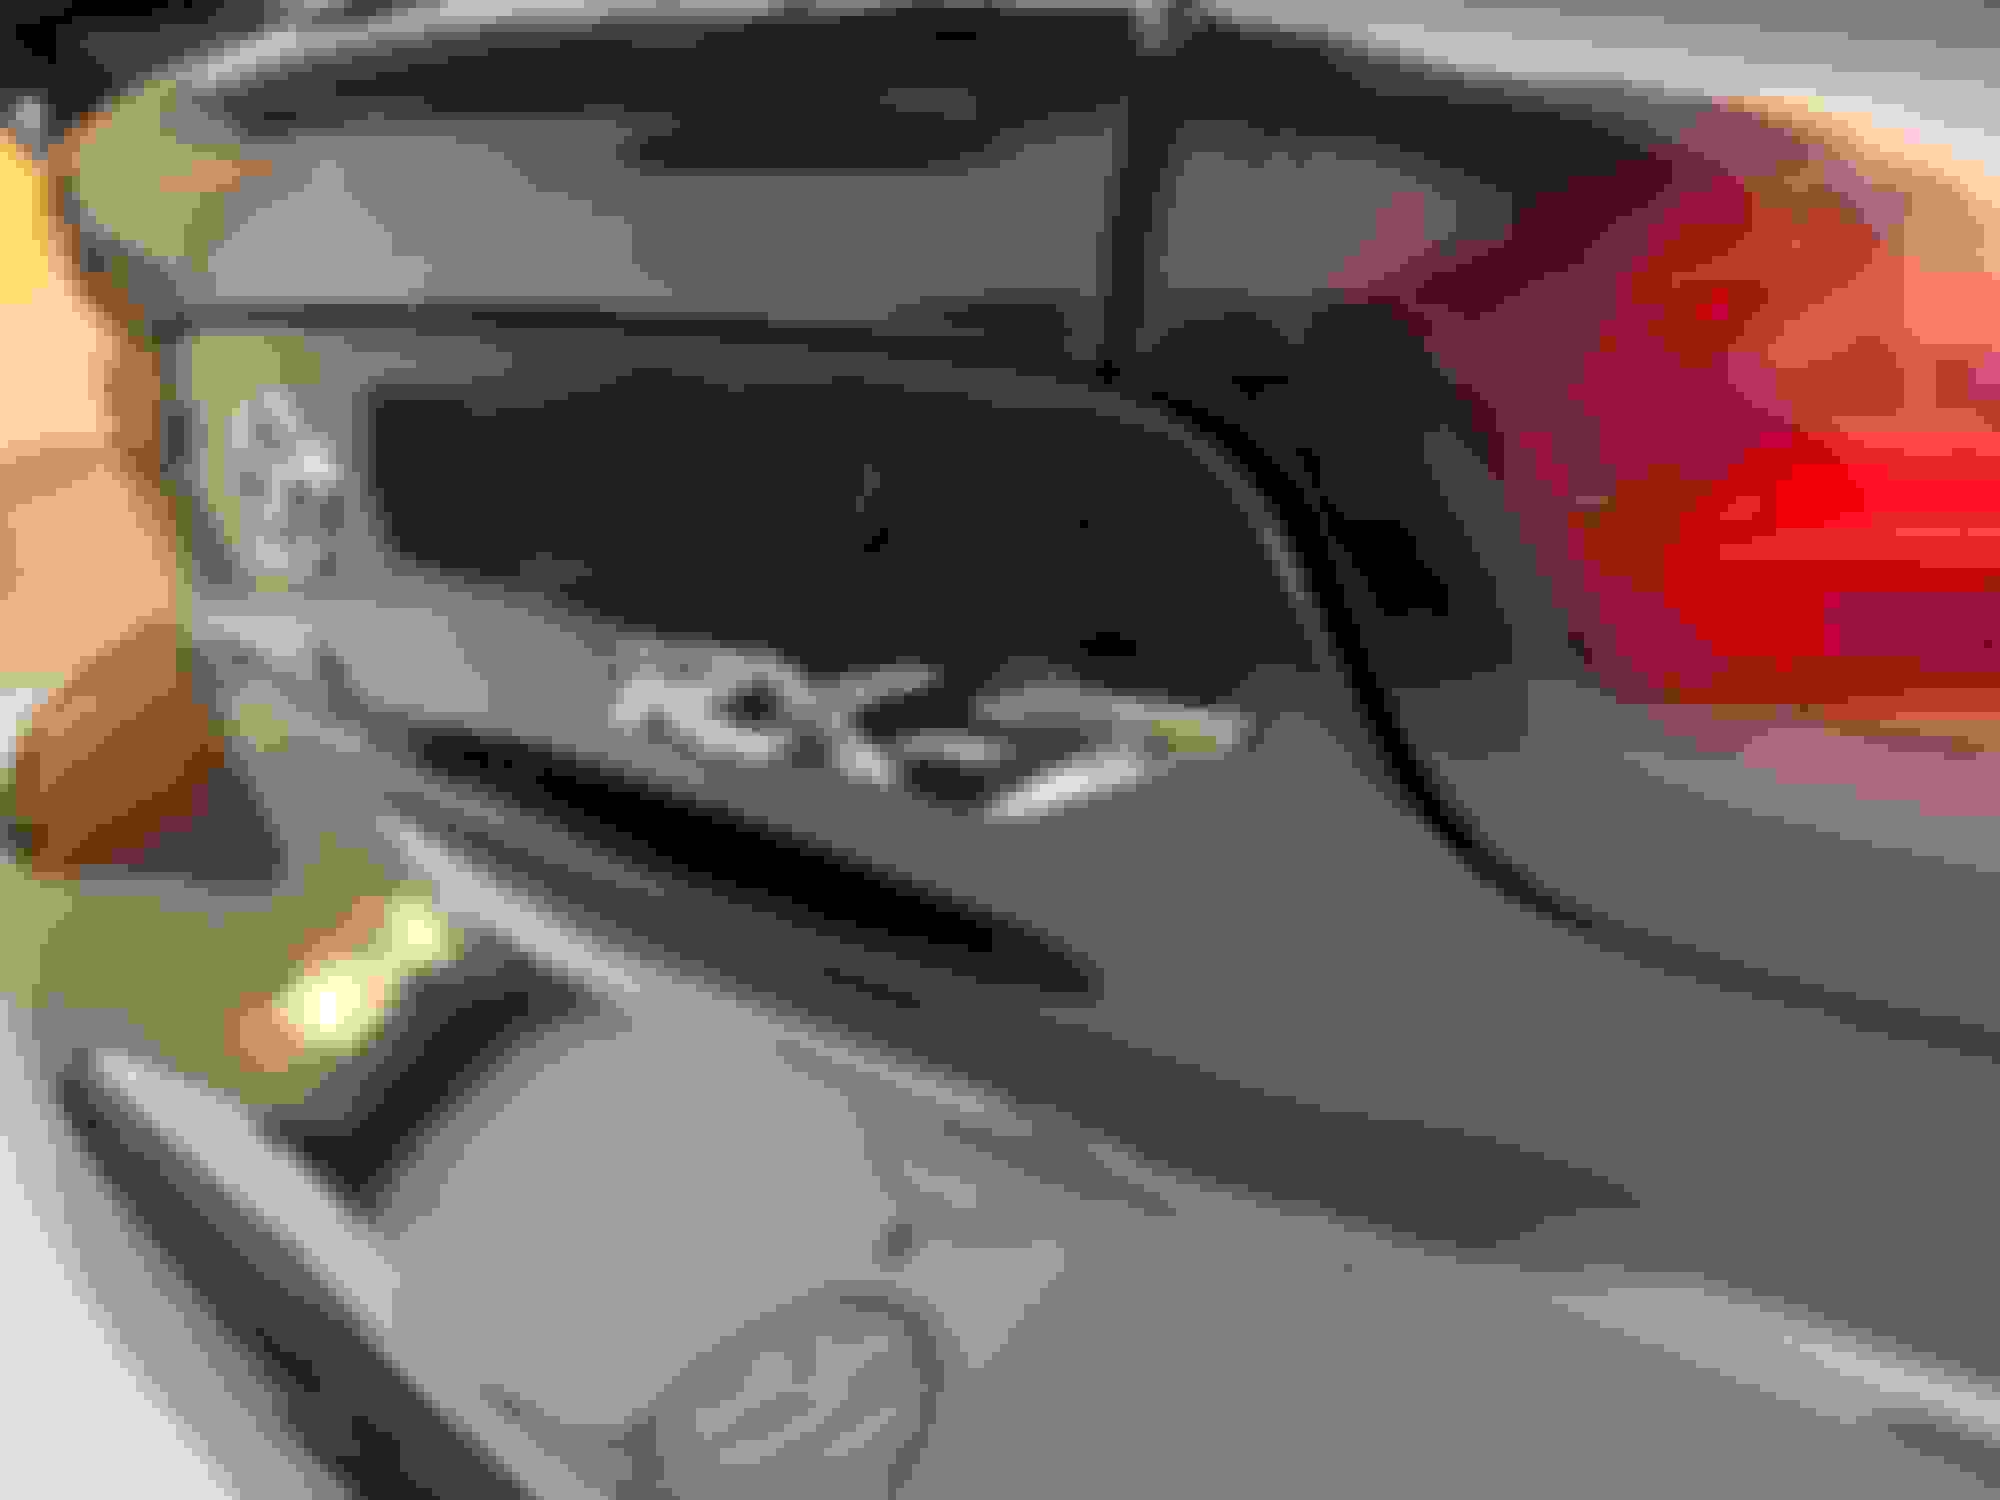
My personal touches were the emblems, wing and front turning signal lights. Starting to make the FD my own...
I can breath easy now! Let me know what you think.
What I really wanted to convey was how doable this is for the average DIYer. It takes a lot of time and patience but I think the end result is worth it. Hopefully all the details I've provided can help someone else down the road. Feel free to reach out with any questions. The resources on YouTube or so important to watch over and over. Then as silly as it may sound, practice air spraying. It takes a lot of practice to build up muscle memory. I'm better but nowhere close to a pro.
If I were to do it again I would probably group panels together. For example I would probably do the fenders and doors at the same time (maybe the hood). Then the roof and quarters the same as I did. Bumpers should be done disassembled and off the car. This just reduces the chances of different texture from panel to panel.
Also if anyone figures out how to match the OEM gravel guard I would really like to know. I tried 3 different products and failed! I may find a used PZ drivers fender and swap out my existing one at some point. More than likely I'll forget about it
I'll keep the thread going with future updates as I switch tracks. My odometer just went out so I went big with the fixes. Should look really cool!
After that the install of the BNR's will start. I now have a wideband, PFC, Datalogit and soon to have FC tweak. I have everything I need for the fuel pump rewire and will more than likely swap out the 30 year old pump.
I'm not actually going for a lot of power and will probably stay safe at around 12 psi. I just want a reliable setup with a little more kick. Having new/reliable turbos at a reasonable cost was the goal.
Well done! That must be a salifying feeling. Looks amazing.
Definitely feels good! Now that it is presentable I�m planning attending some local meets. Also thinking about sevenstock in November. Never been so it should be lots of fun.
Love to see these kinds of results. Way better than a cheap outsourced paintjob and would even consider it professional from the pictures. I've never been able to dive into body and paint work, not sure I have the patience. Always kept to mechanical aside from an old mustang we tried painting in a friends garage in high school which turned out interesting to say the least. What are your plans for longevity? You said wax but are you planning on doing any kind of Ceramic?
Love to see these kinds of results. Way better than a cheap outsourced paintjob and would even consider it professional from the pictures. I've never been able to dive into body and paint work, not sure I have the patience. Always kept to mechanical aside from an old mustang we tried painting in a friends garage in high school which turned out interesting to say the least. What are your plans for longevity? You said wax but are you planning on doing any kind of Ceramic?
I haven't actually thought much about it. I've been using Chemical Guys Butter Wax for a few years now and been really happy with it. I've heard 'Ceramic' mentioned a lot lately but really haven't the time to look into it. I guess now would be the time to learn more about it. Definitely want to preserve the finish as best as possible!
Wax does an excellent job if you can reapply it. Ceramic has a lot of marketing behind it, it's nothing crazy that a good wax can't do.
You'll still get chips and whatnot with it, maybe it'll be a little less likely but not by much. My GR86 has a thick coat of ceramic coating and still get a few chips here and there from highway driving. The UV protection is excellent though and one of the few advantages along with easier to wash.
Ceramic is really like a hard wax. Essentially a wax you don't have to keep applying so frequently but it will wear down eventually. Its not meant to protect against chips but it does wonders for keeping a car clean and protecting against light scratching. I did my wife's Impreza 3 years ago and it still cleans off super easily, water beads right off and keeps it from scratching when the kids walk past with pack packs and whatever else may happen. I plan on paint correcting my FD starting this winter and adding ceramic. You just have to be careful, if you already have scratches, ceramic will lock that scratch in until you buff down the coating so you want to get the paint looking as pristine as possible before ceramic coating.
I haven't actually thought much about it. I've been using Chemical Guys Butter Wax for a few years now and been really happy with it. I've heard 'Ceramic' mentioned a lot lately but really haven't the time to look into it. I guess now would be the time to learn more about it. Definitely want to preserve the finish as best as possible!
I would say the only thing ceramic has over wax is the ability to resist from scratching and the maintenance. It will not stop rock chips, PPF is really the best thing for that. Ceramic is almost a one and done application and does not need to be reapplied like wax. If your car is stored in the garage I would do a ceramic refresher spray once a year or so which is just a spray on and wipe after a good cleaning. I've had good results with Gtechniq products. I used the ceramic coating followed by the hydrophobic coating and it really helped with dust sticking to the car as well. Their glass products are great too, like putting on rainx and not having to do it again. A local friend of mine with his MB FD paint corrected and ceramic coated his 4 or 5 years ago and it still looks mint. He does ceramic coating on the side here in Tampa and gave me the direction for coating my stuff.
First off, the car looks SO GOOD. I agree, you have ended up with an end product that is way better than taking it to a paint shop, save for a super high end shop that would have charged $15k or something.
My paint project is stalled, it's been so damn hot here that what I do need to do outside I can do in about 30 minute spurts in the morning before it gets too hot. Fall/winter is gonna be paint time for me!
On the topic of waxes, I'm a huge fan of the "new tech" coatings like ceramic and graphene. My black RX-8 daily is ceramic coated and it stays looking clean longer, this is HUGE on a black car. That's also the key reason I decided to go black on the FD and not do a color change, the fact that my car would always look dirty used to just **** me off. With a good coating the dirt doesn't want to stick and it just looks better.
That said, here's a superb video breaking down the differences between different types of coatings. This really clicked with me and got me understanding the different types of products.
Also would love to see a little bit of a how-to post on your process - what products worked, what techniques worked, what you would change if you did it again, etc.
 08-09-23, 06:54 PM