When you click on links to various merchants on this site and make a purchase, this can result in this site earning a commission. Affiliate programs and affiliations include, but are not limited to, the eBay Partner Network.
I just refinished 1 of my interior pieces and thought I�d share what I used and how it turned out.
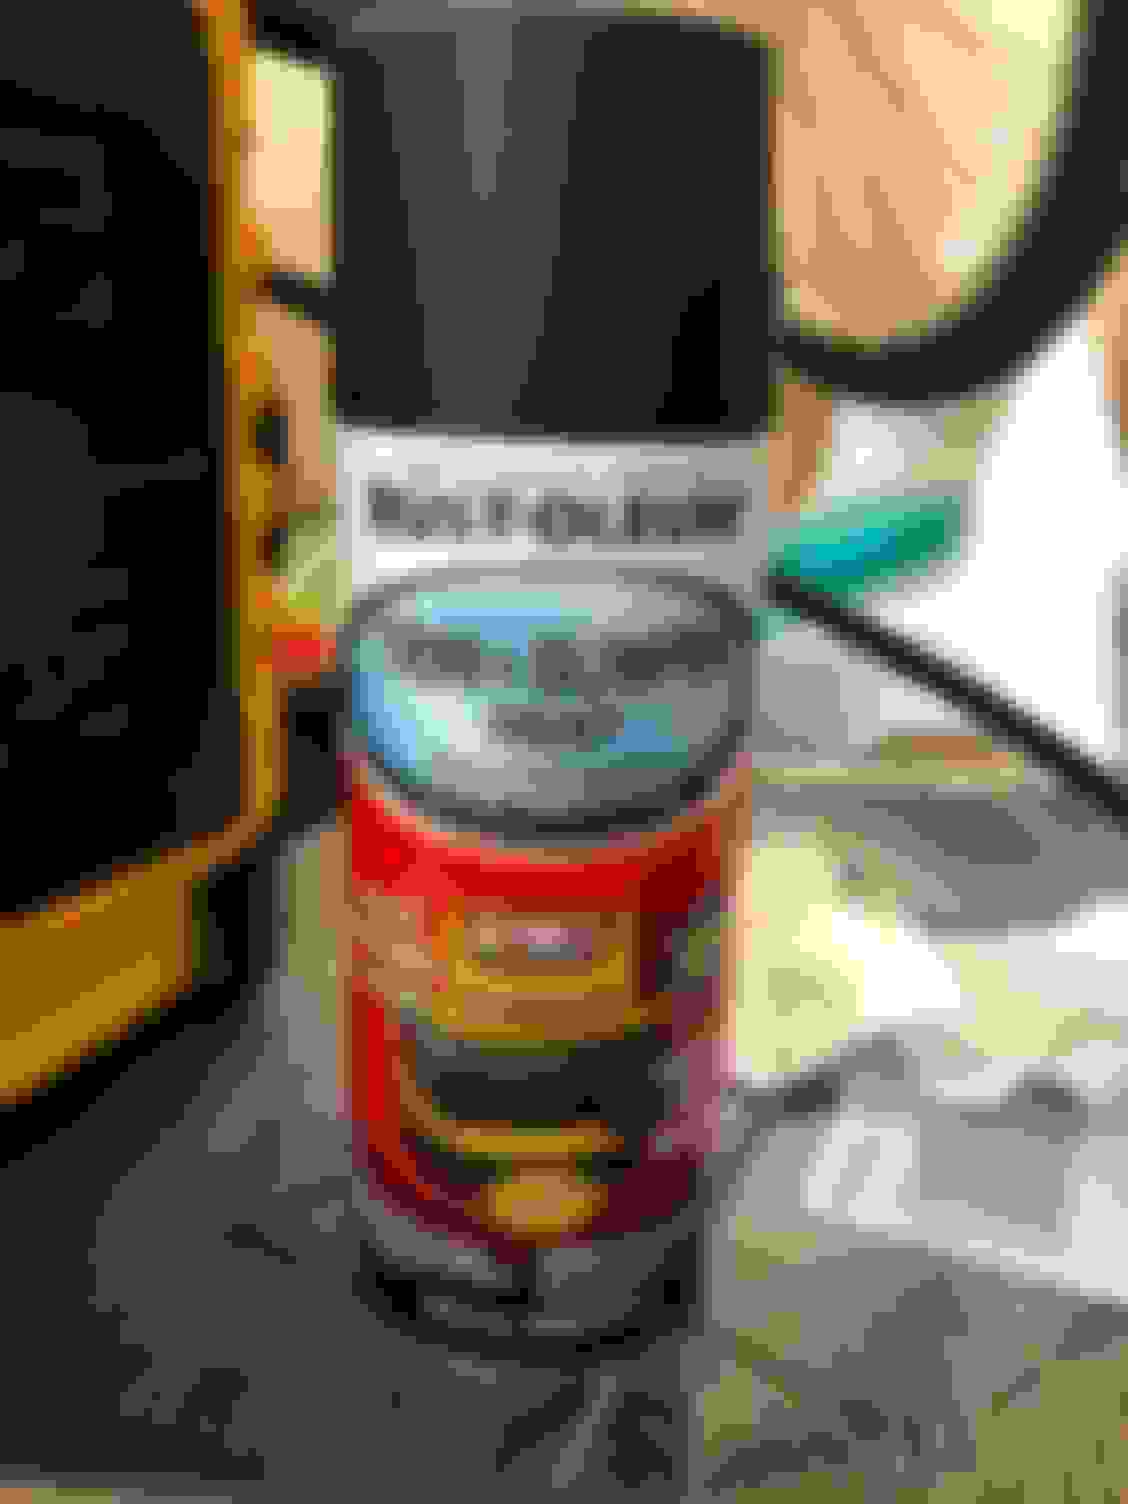
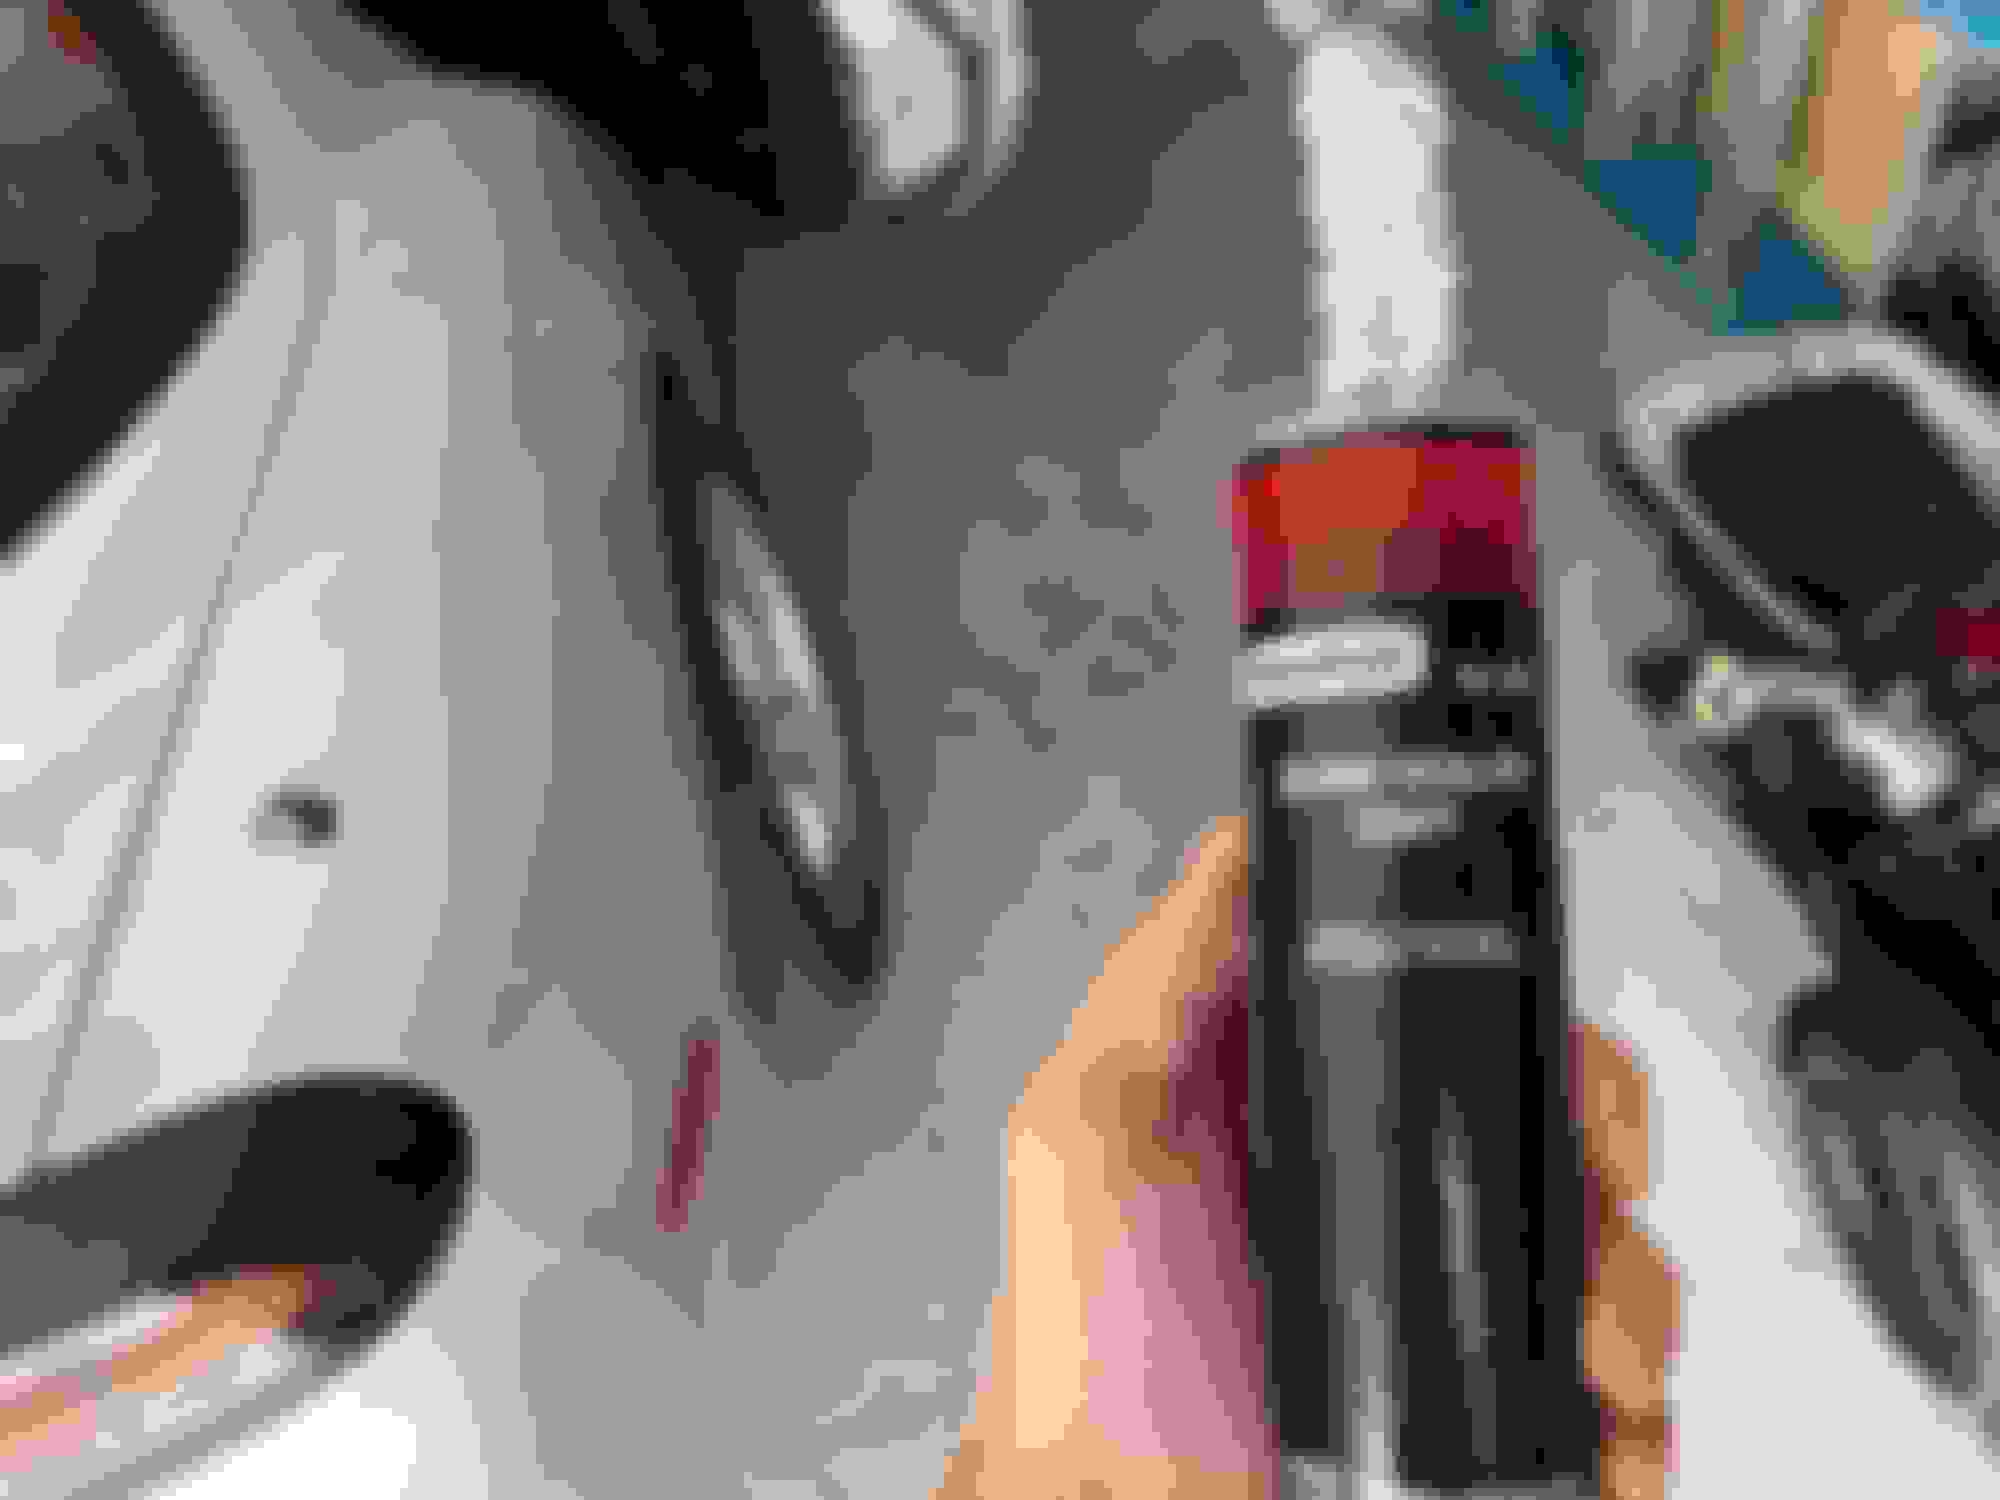
After reading a few threads from years ago, I tried to find duplicolor bumper coating , but didn�t have any luck. So I decided to try Rustoleum Trim and Bumper that the local Walmart had.
Before pics . It was really sticky and scratched up
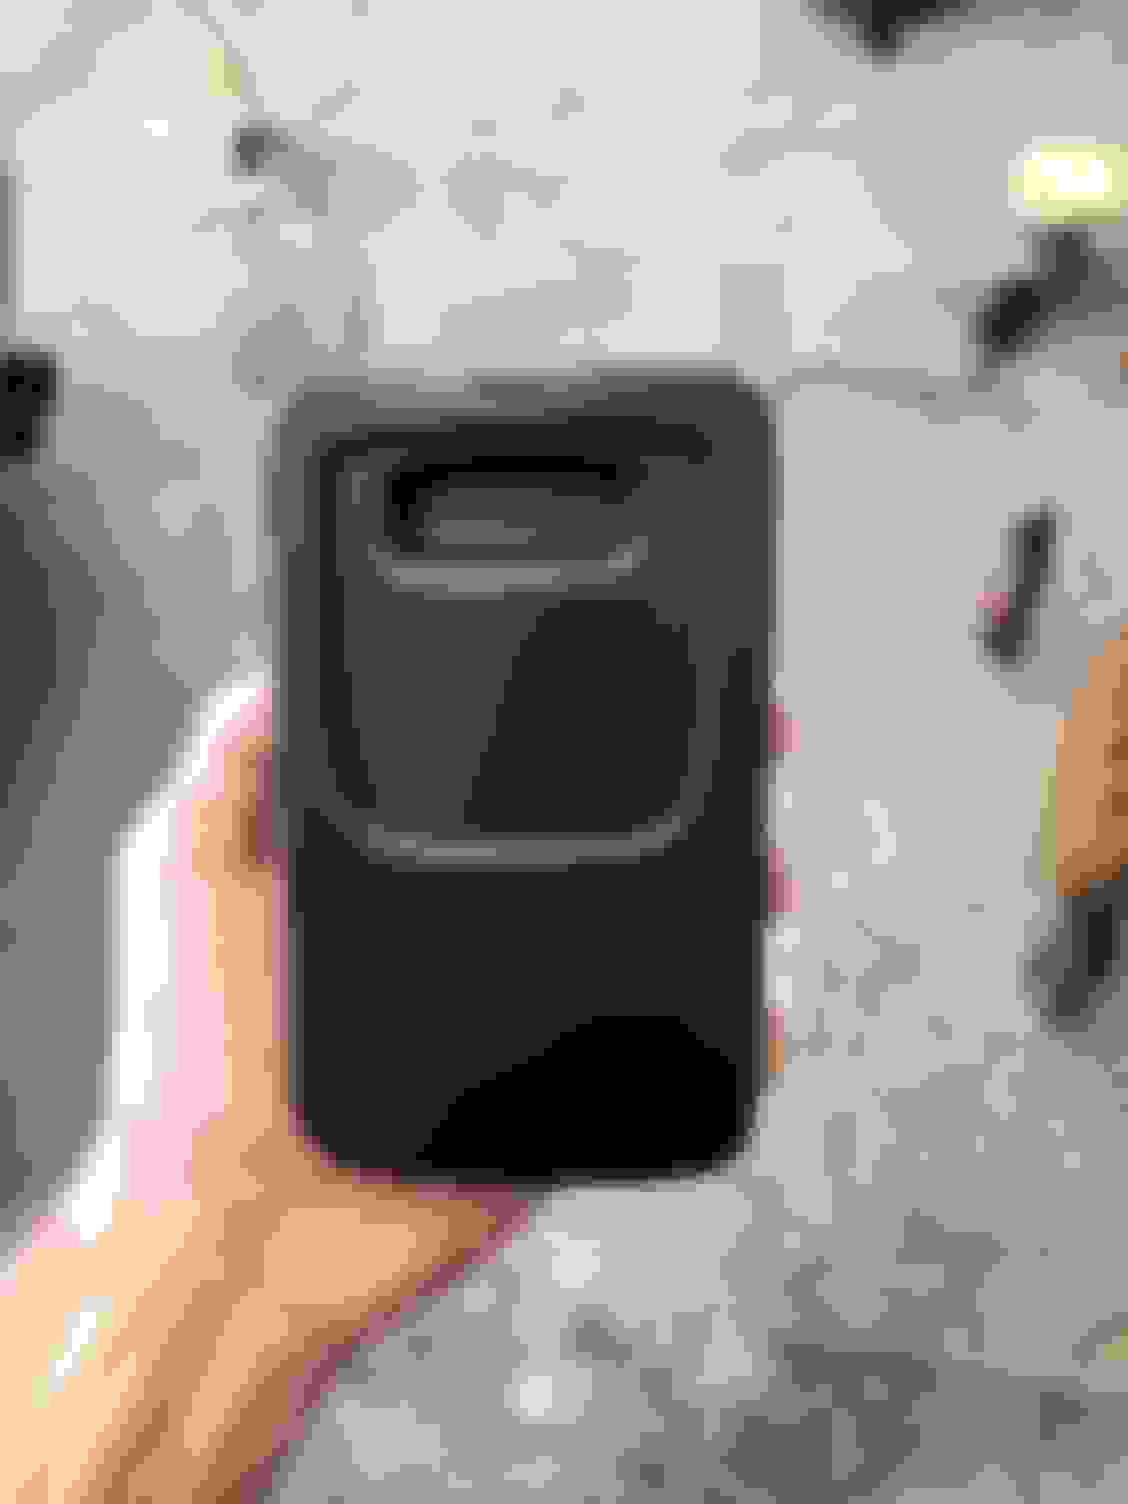
I used the ashtray as my test piece. I used 400 grit sandpaper with liquid sander to remove all the scratches and gunk. Then finished with some 2000 grit to make it completely smooth
It it turned out really great
So i went ahead and pulled the first large interior piece and repeated the process. Kinda hard to get a good picture of it, but it looks brand new. I can�t wait to do the rest of the interior!
(It says I uploaded 14 pictures and made me erase some, even though I only uploaded 7?? I�ll post them below)
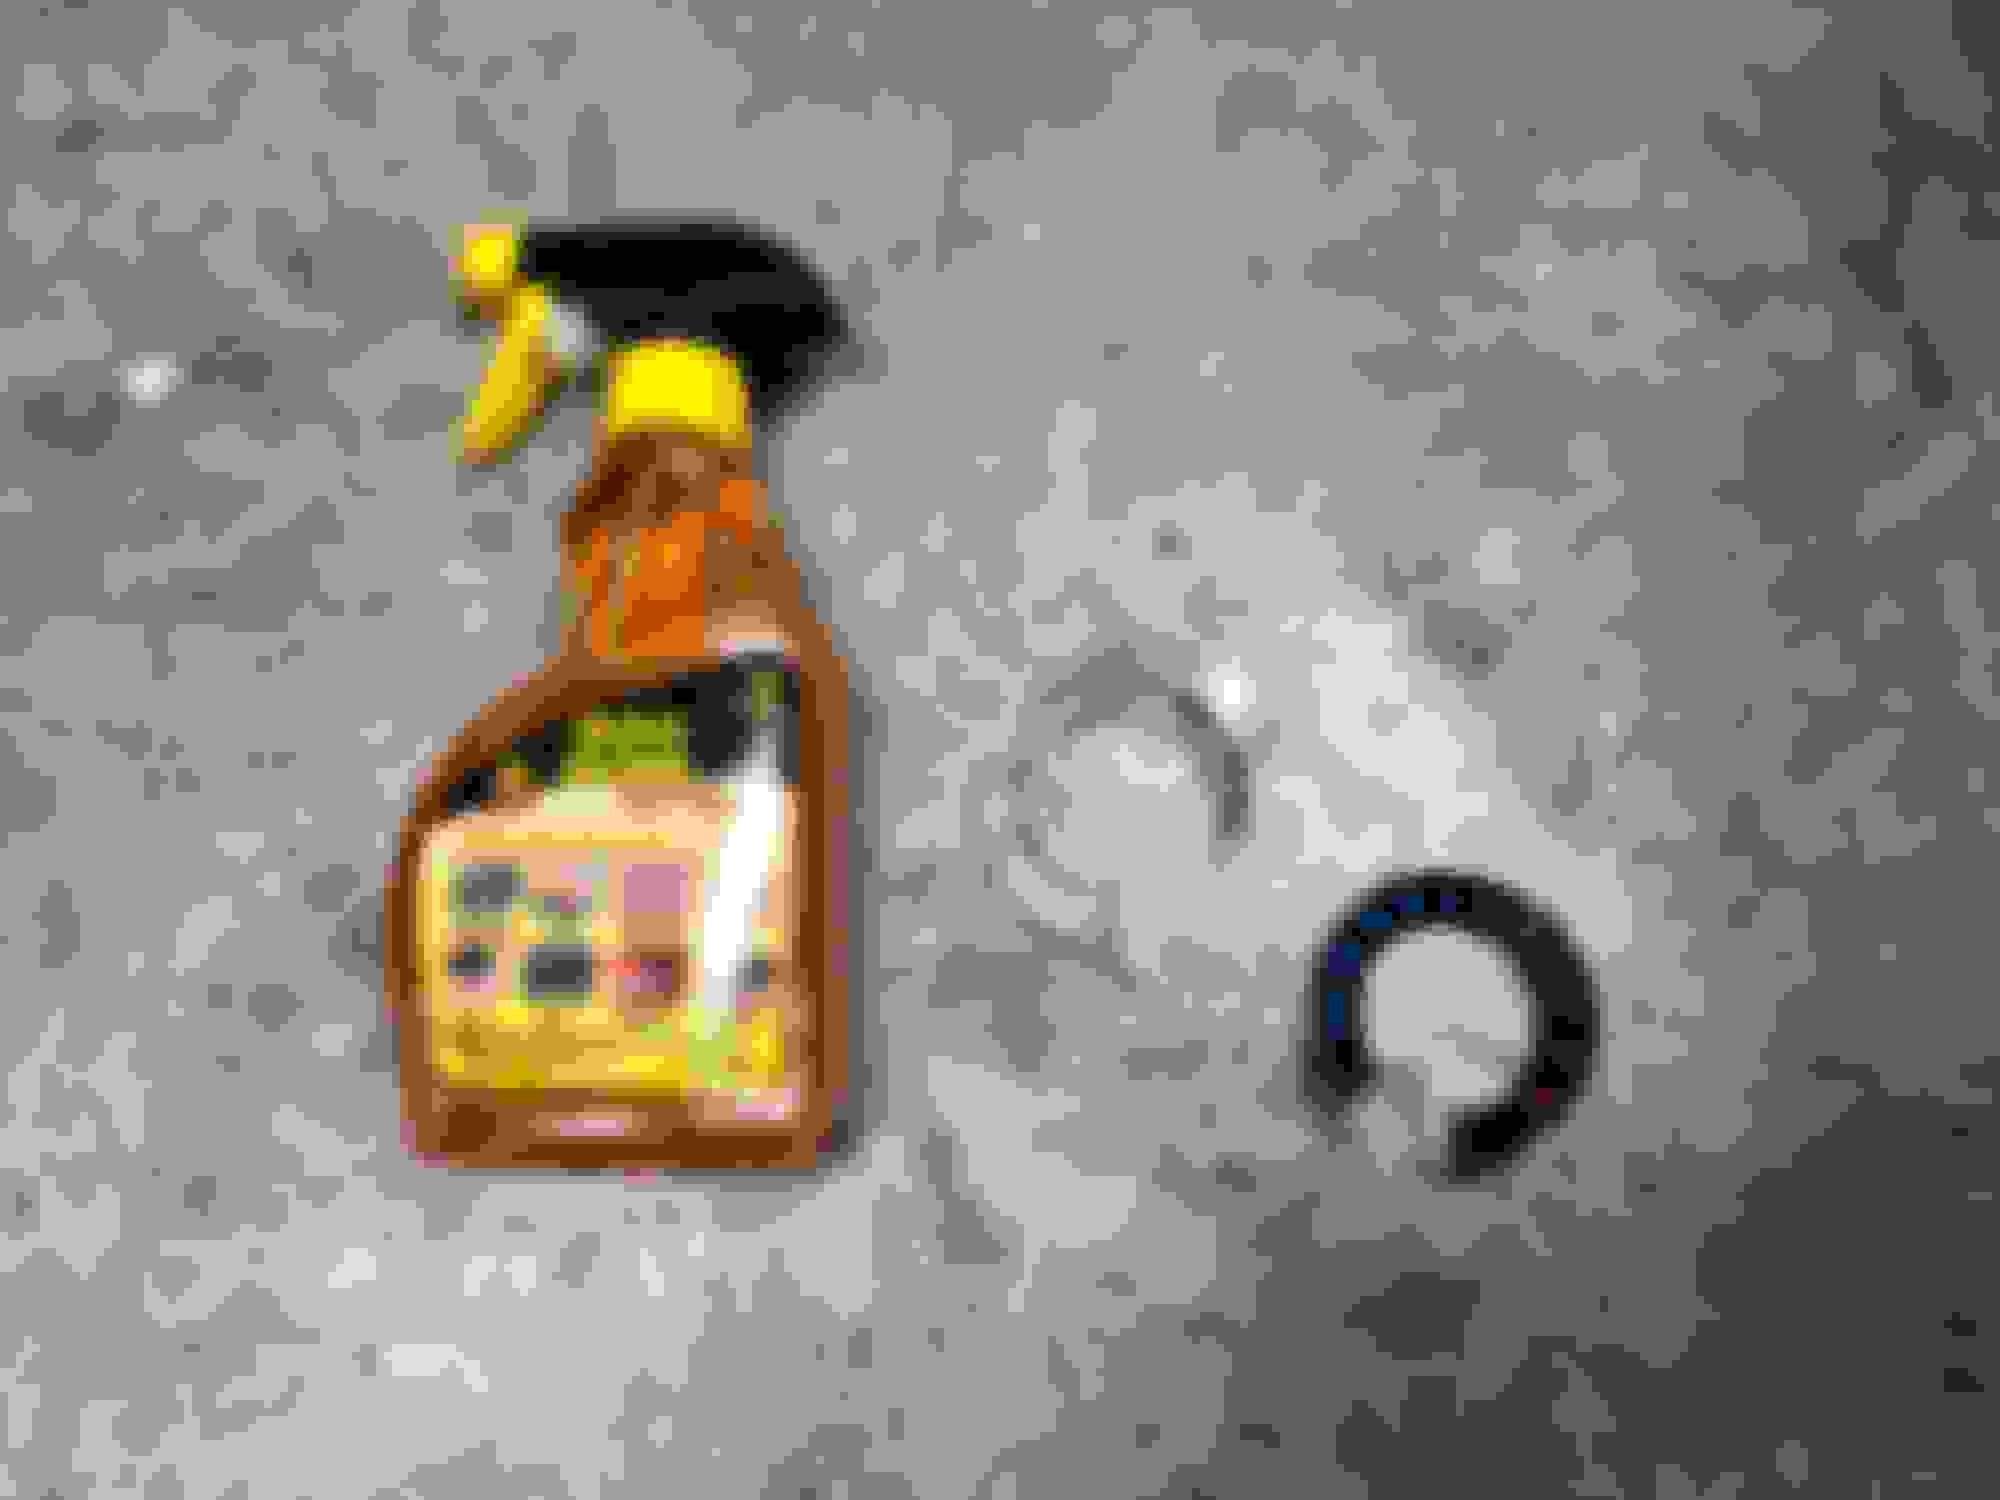
No need for liquid sandpaper. Use Easy Off oven cleaner. Just spray it on top of the 93 sticky finish. Wait 10 mins, and wipe off with a green scrubby.
No need for liquid sandpaper. Use Easy Off oven cleaner. Just spray it on top of the 93 sticky finish. Wait 10 mins, and wipe off with a green scrubby.
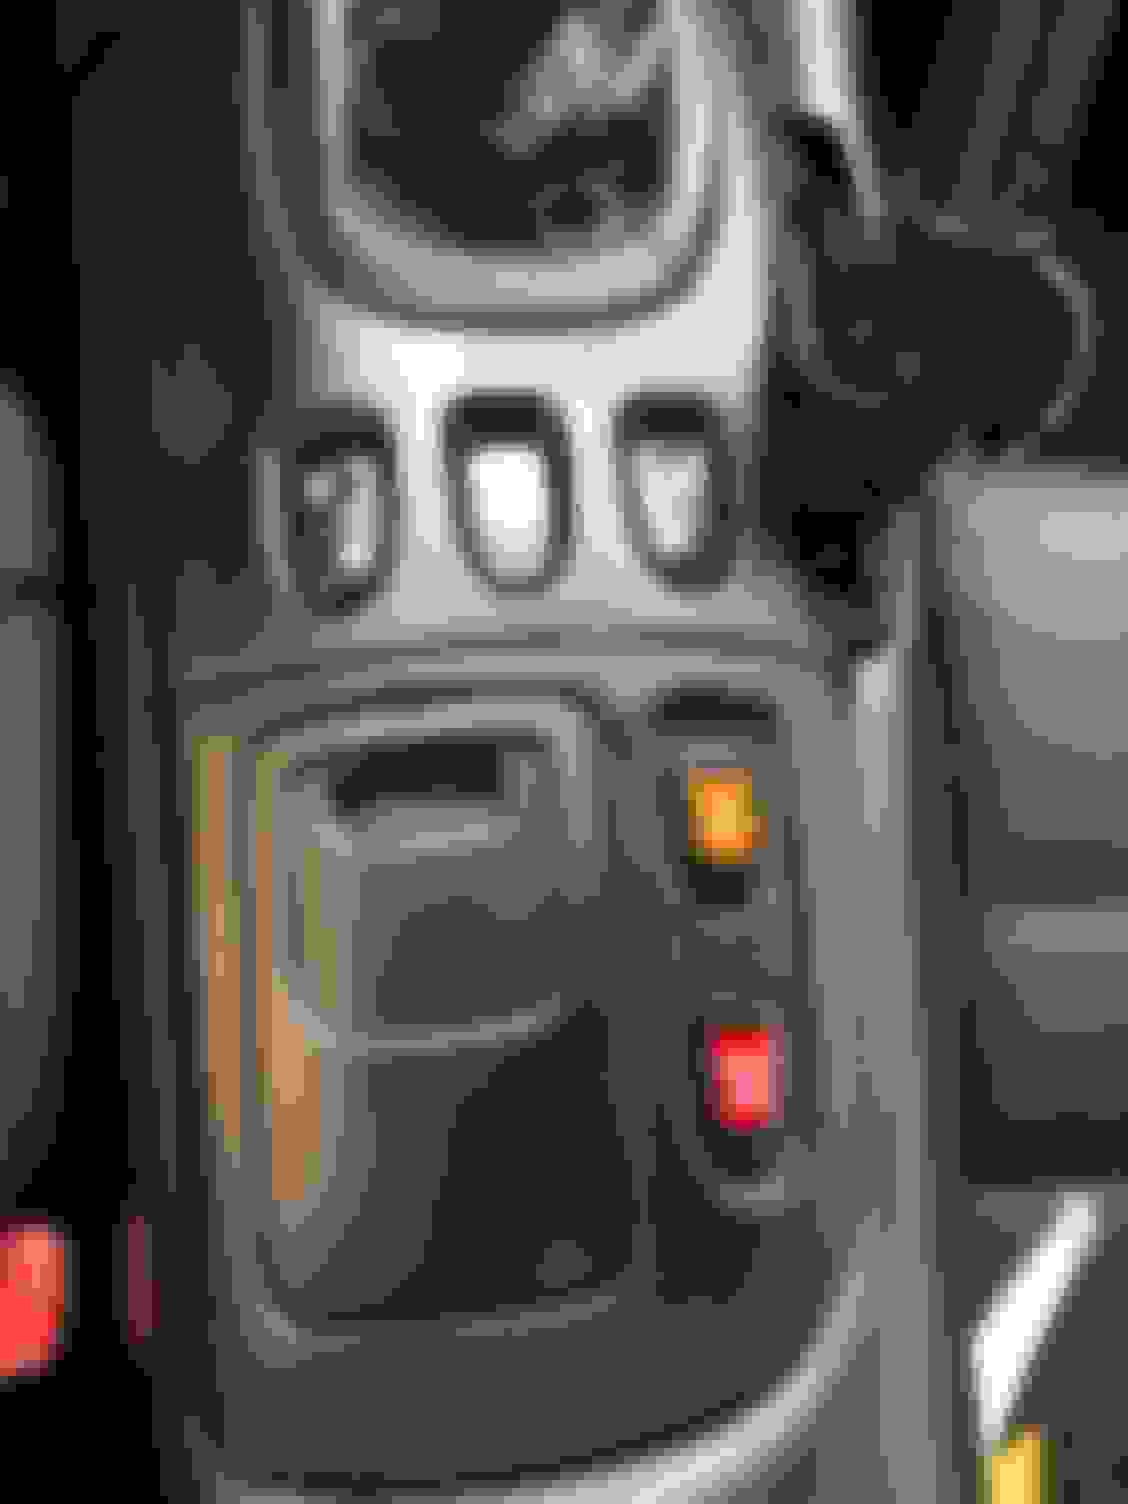
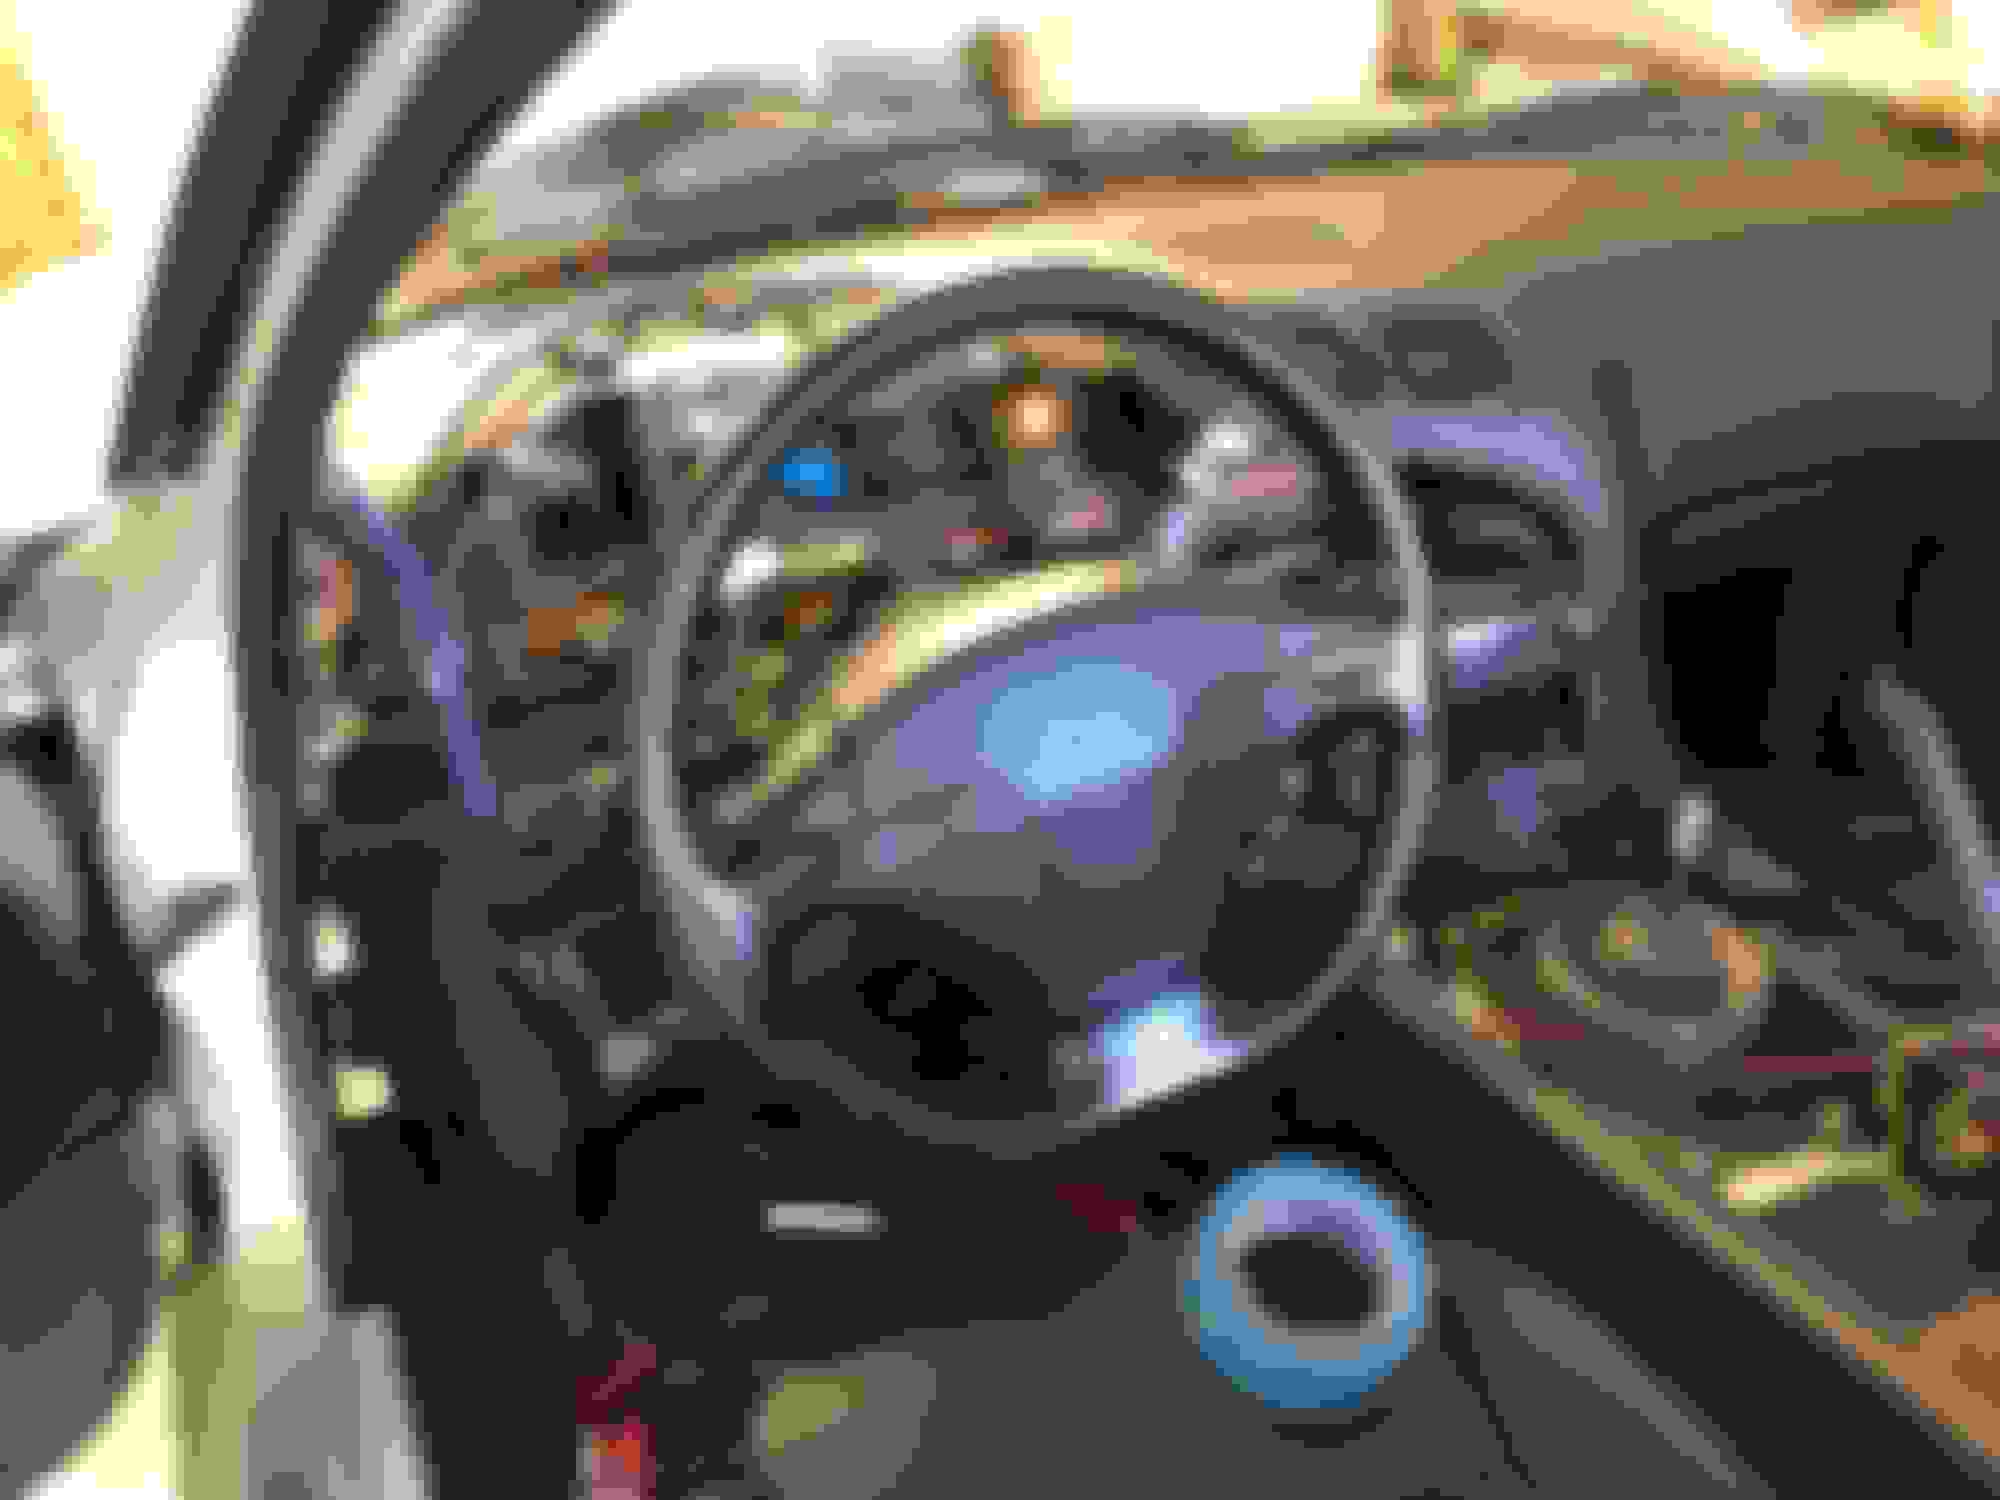
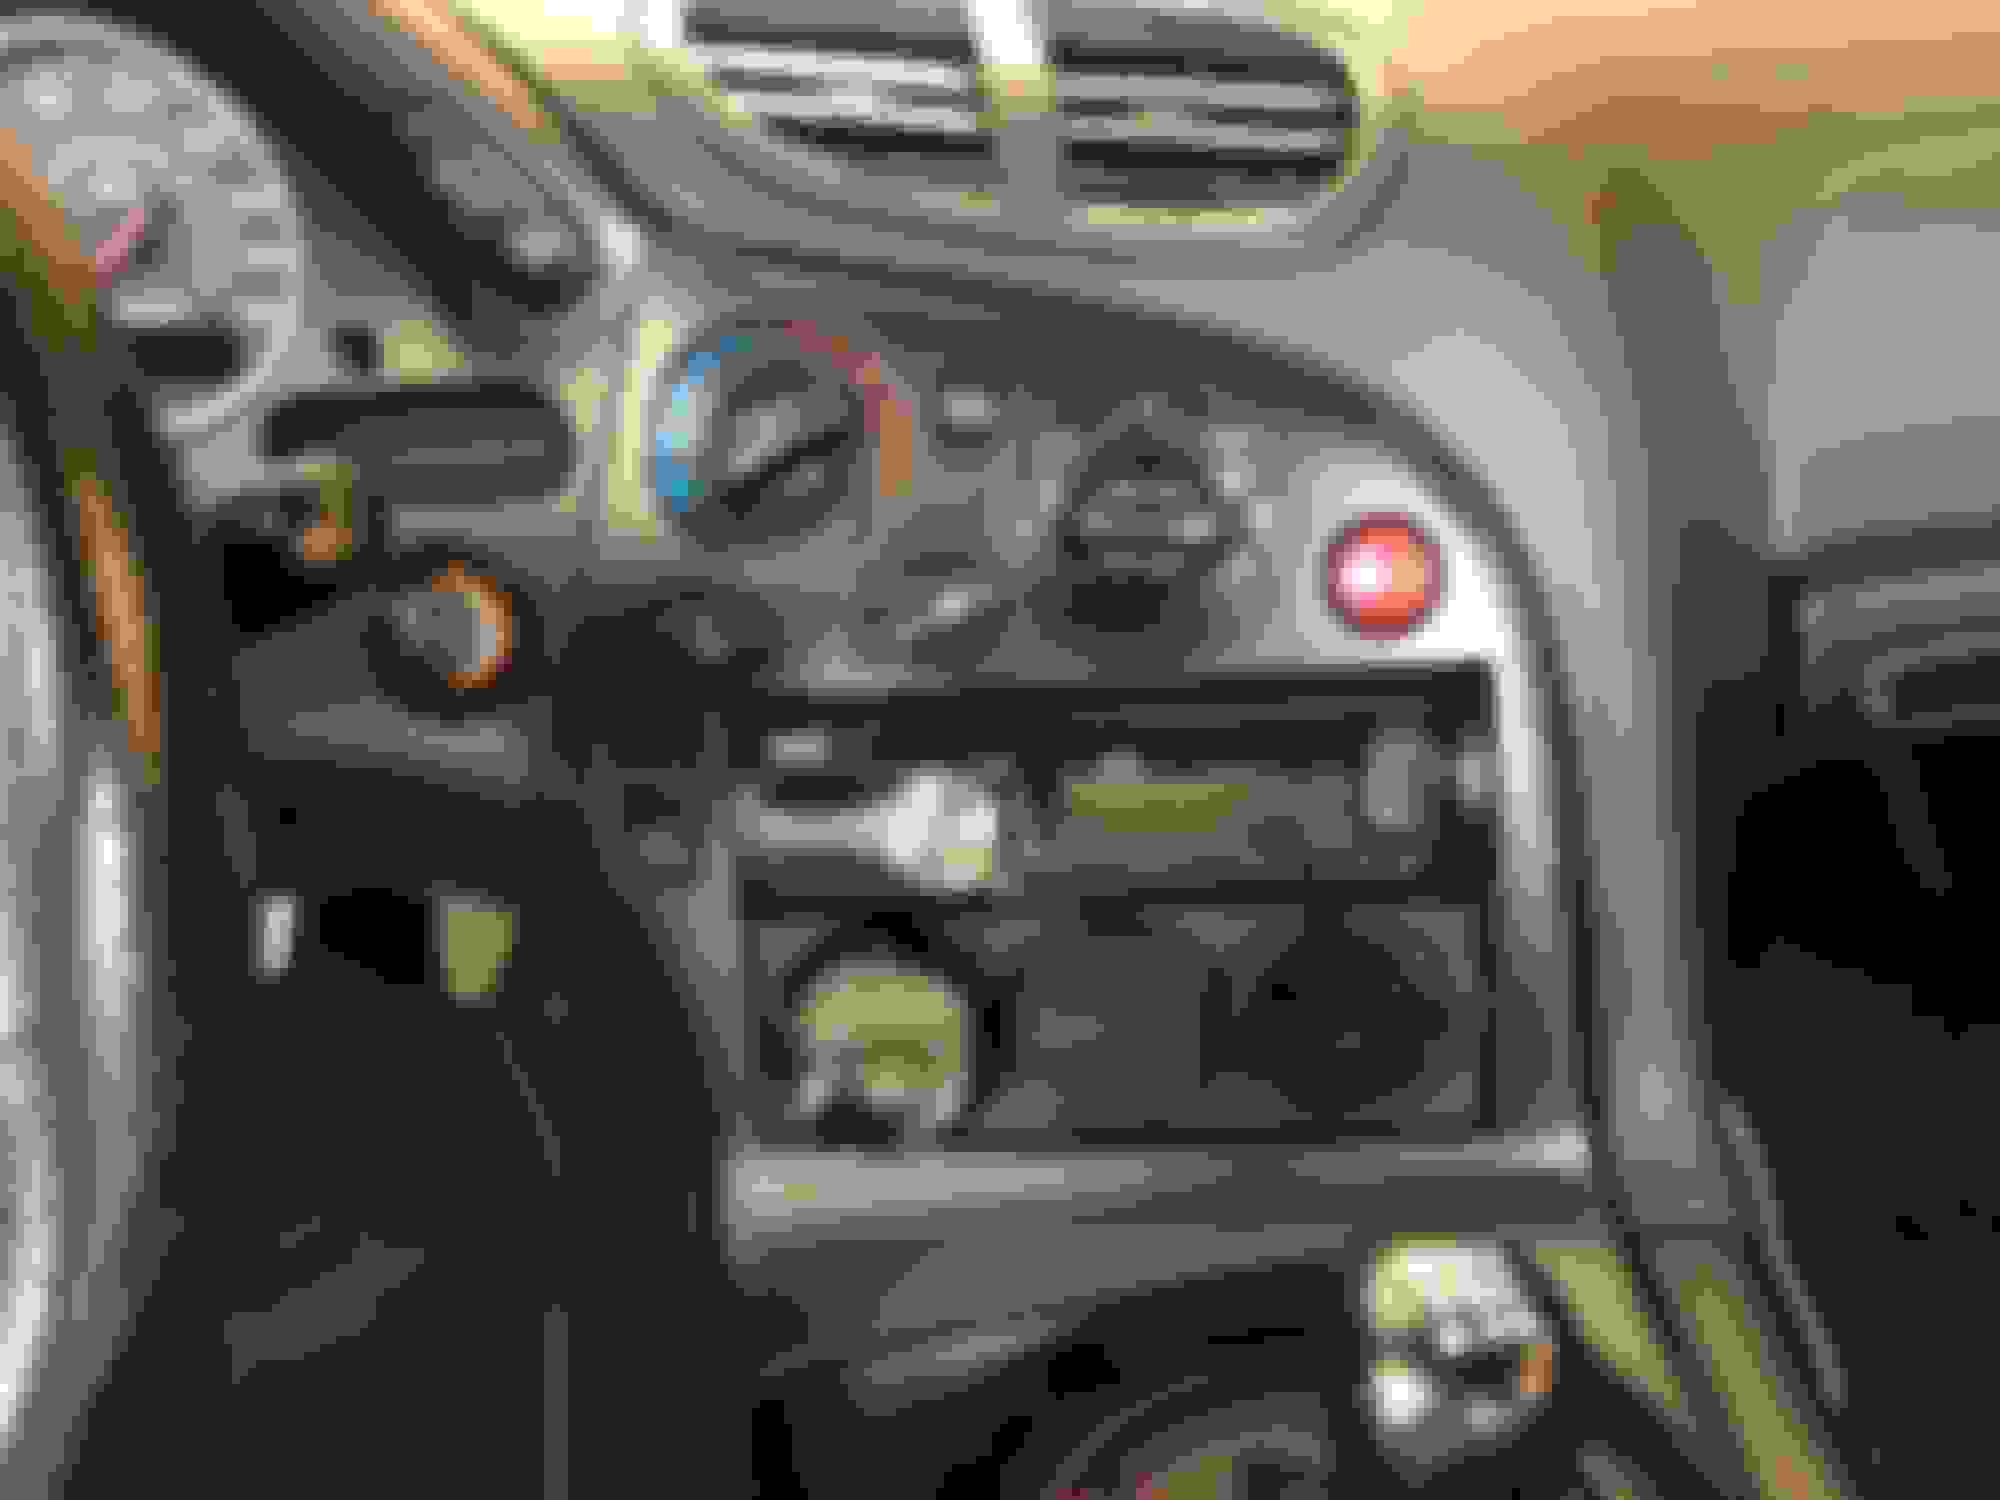
I�m pretty sure this is the first time I�ve had the A/c panel and/or the gauge cluster out in 12 years of owning an FD. It wasn�t too complicated but here�s to hoping for being able to get it back together tight with 26 year old, brittle plastics. I�ve already JB welded(what I had on hand ) 2 tabs I broke off during disassembly.
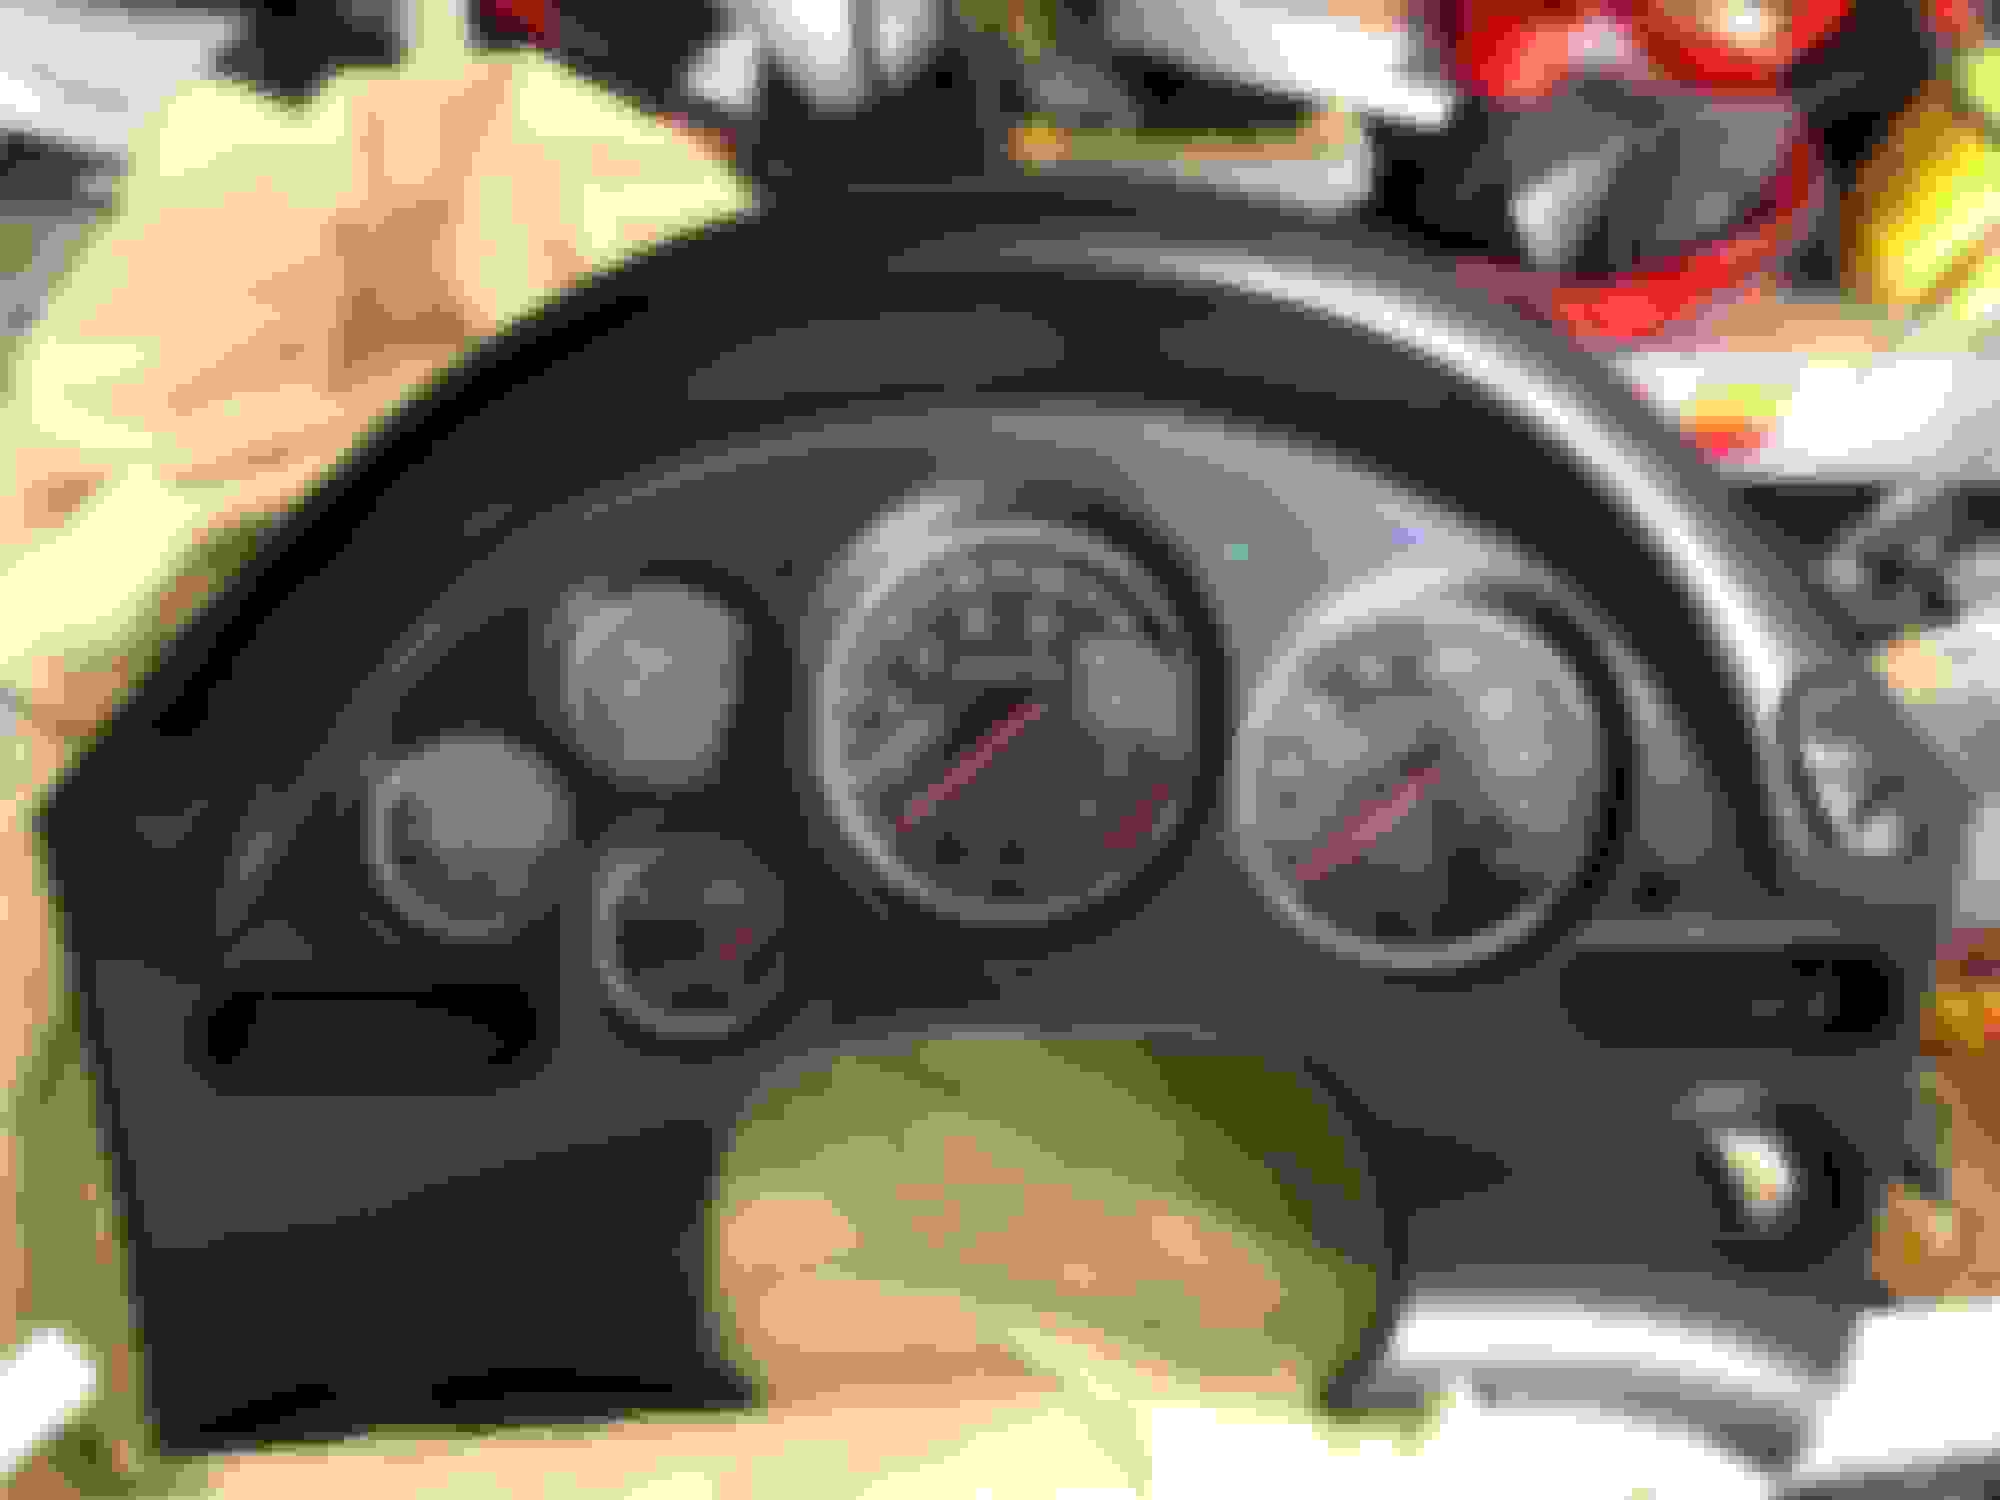
Befores
Used some goo gone on the factory nasty black sticky glue. And thanks for the tip on Easy Off oven cleaner. It combined with a green kitchen scrub really made life easier than the liquid sander!
I had good luck using denatured alcohol to remove the old finish. Didn’t even need to scrub. Just soaked a paper towel and wiped until the finish lifted. Took about 15 mins for the center console. Maybe 40 for the gauge cluster and radio bezel.
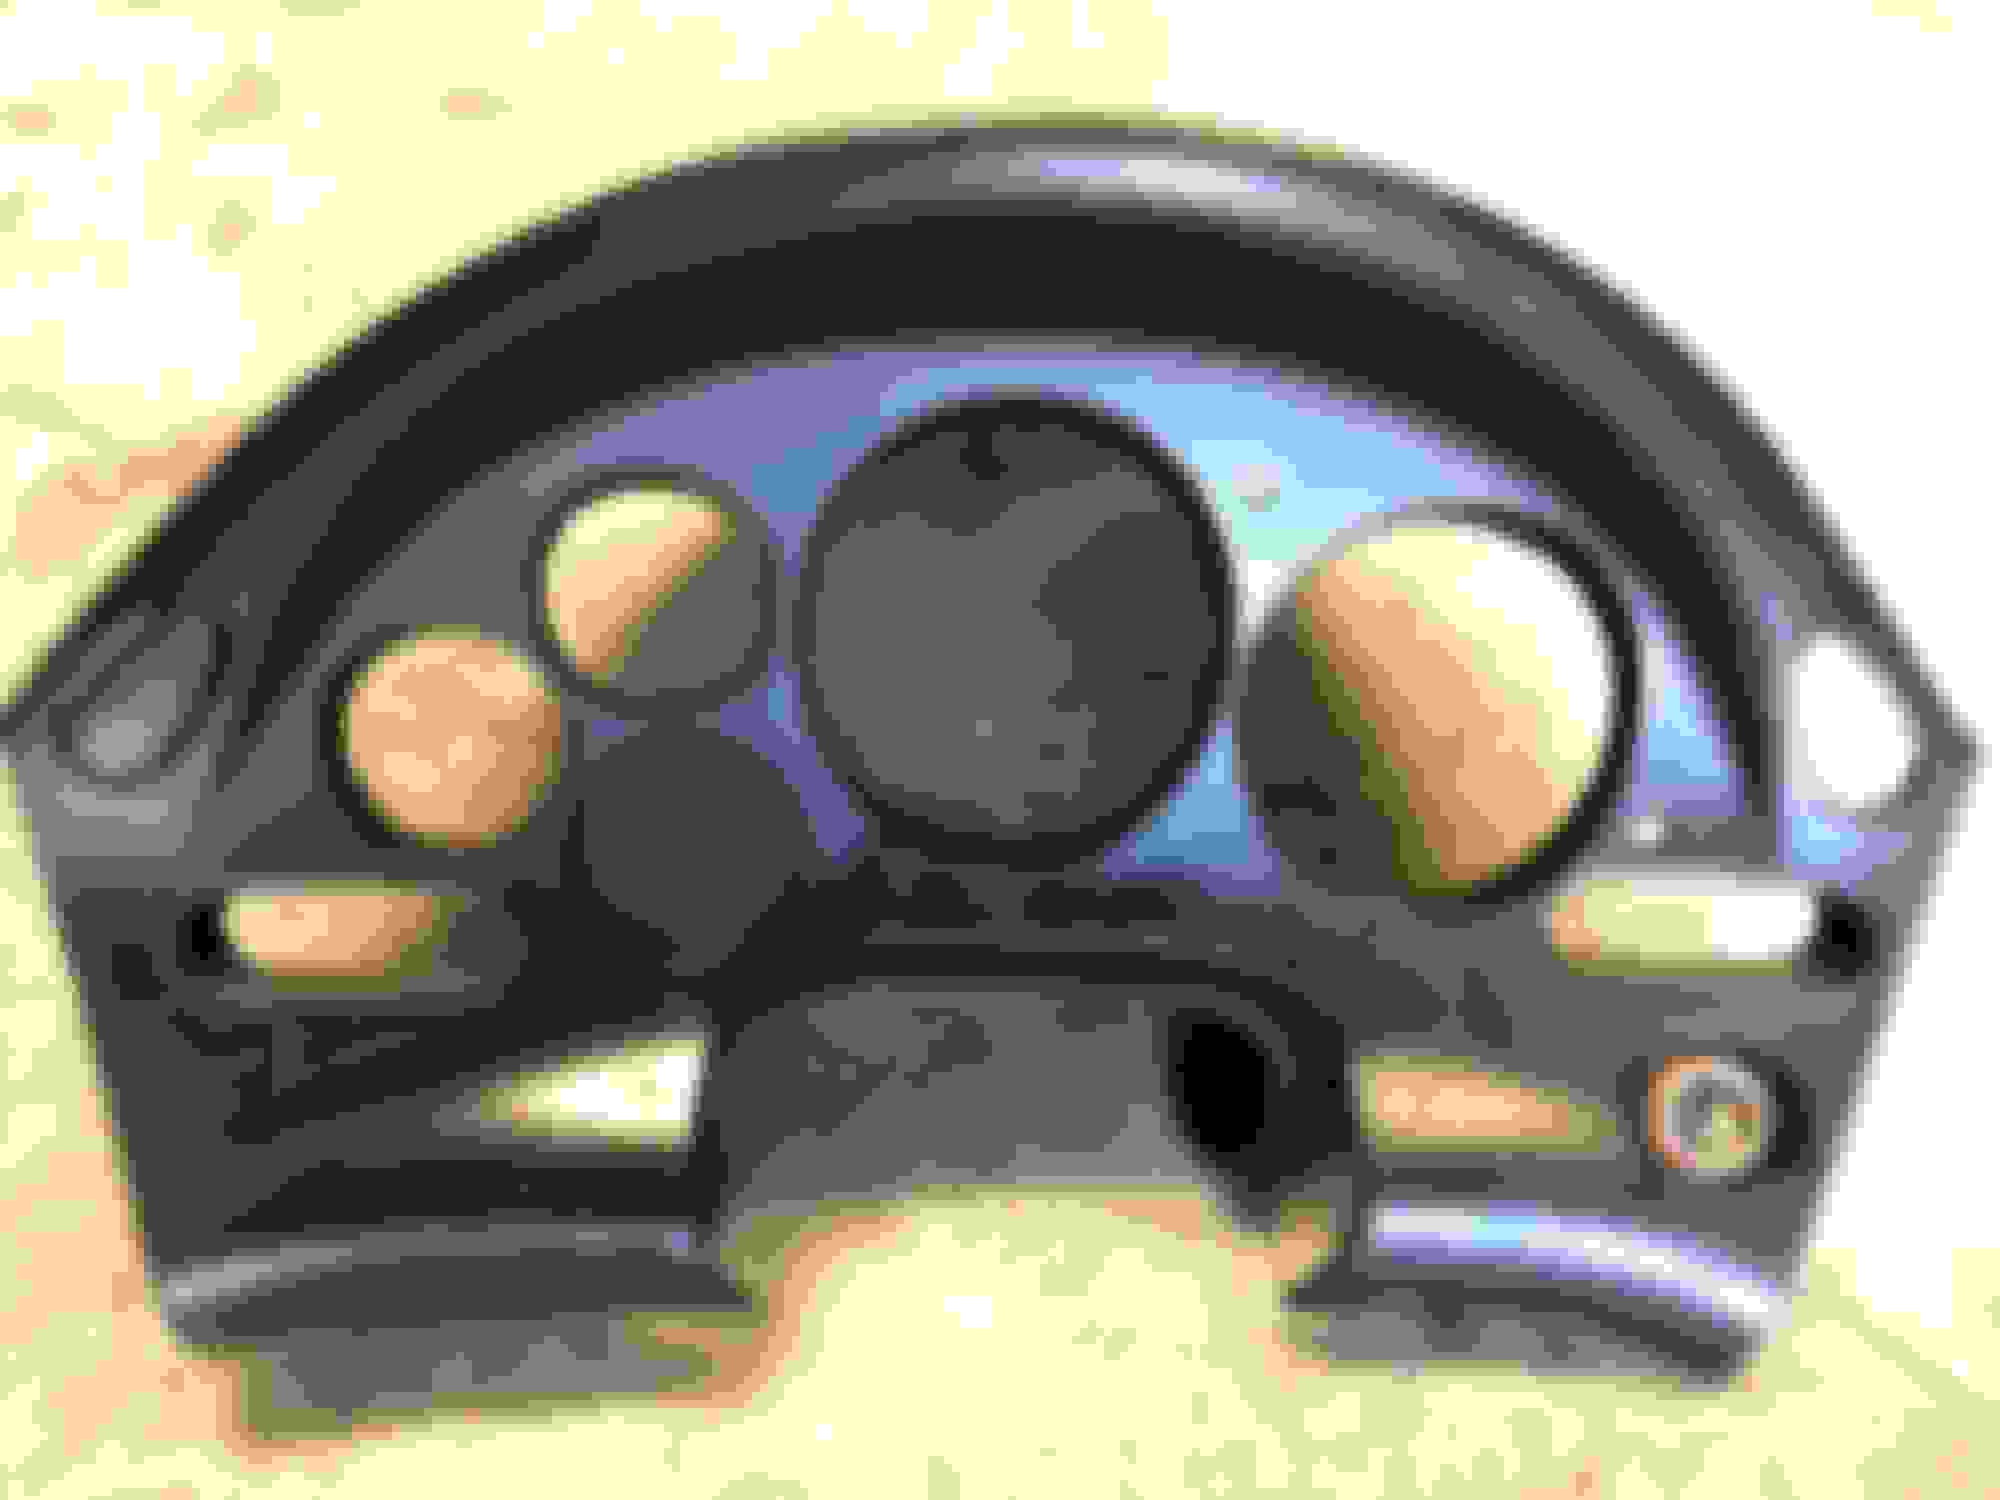
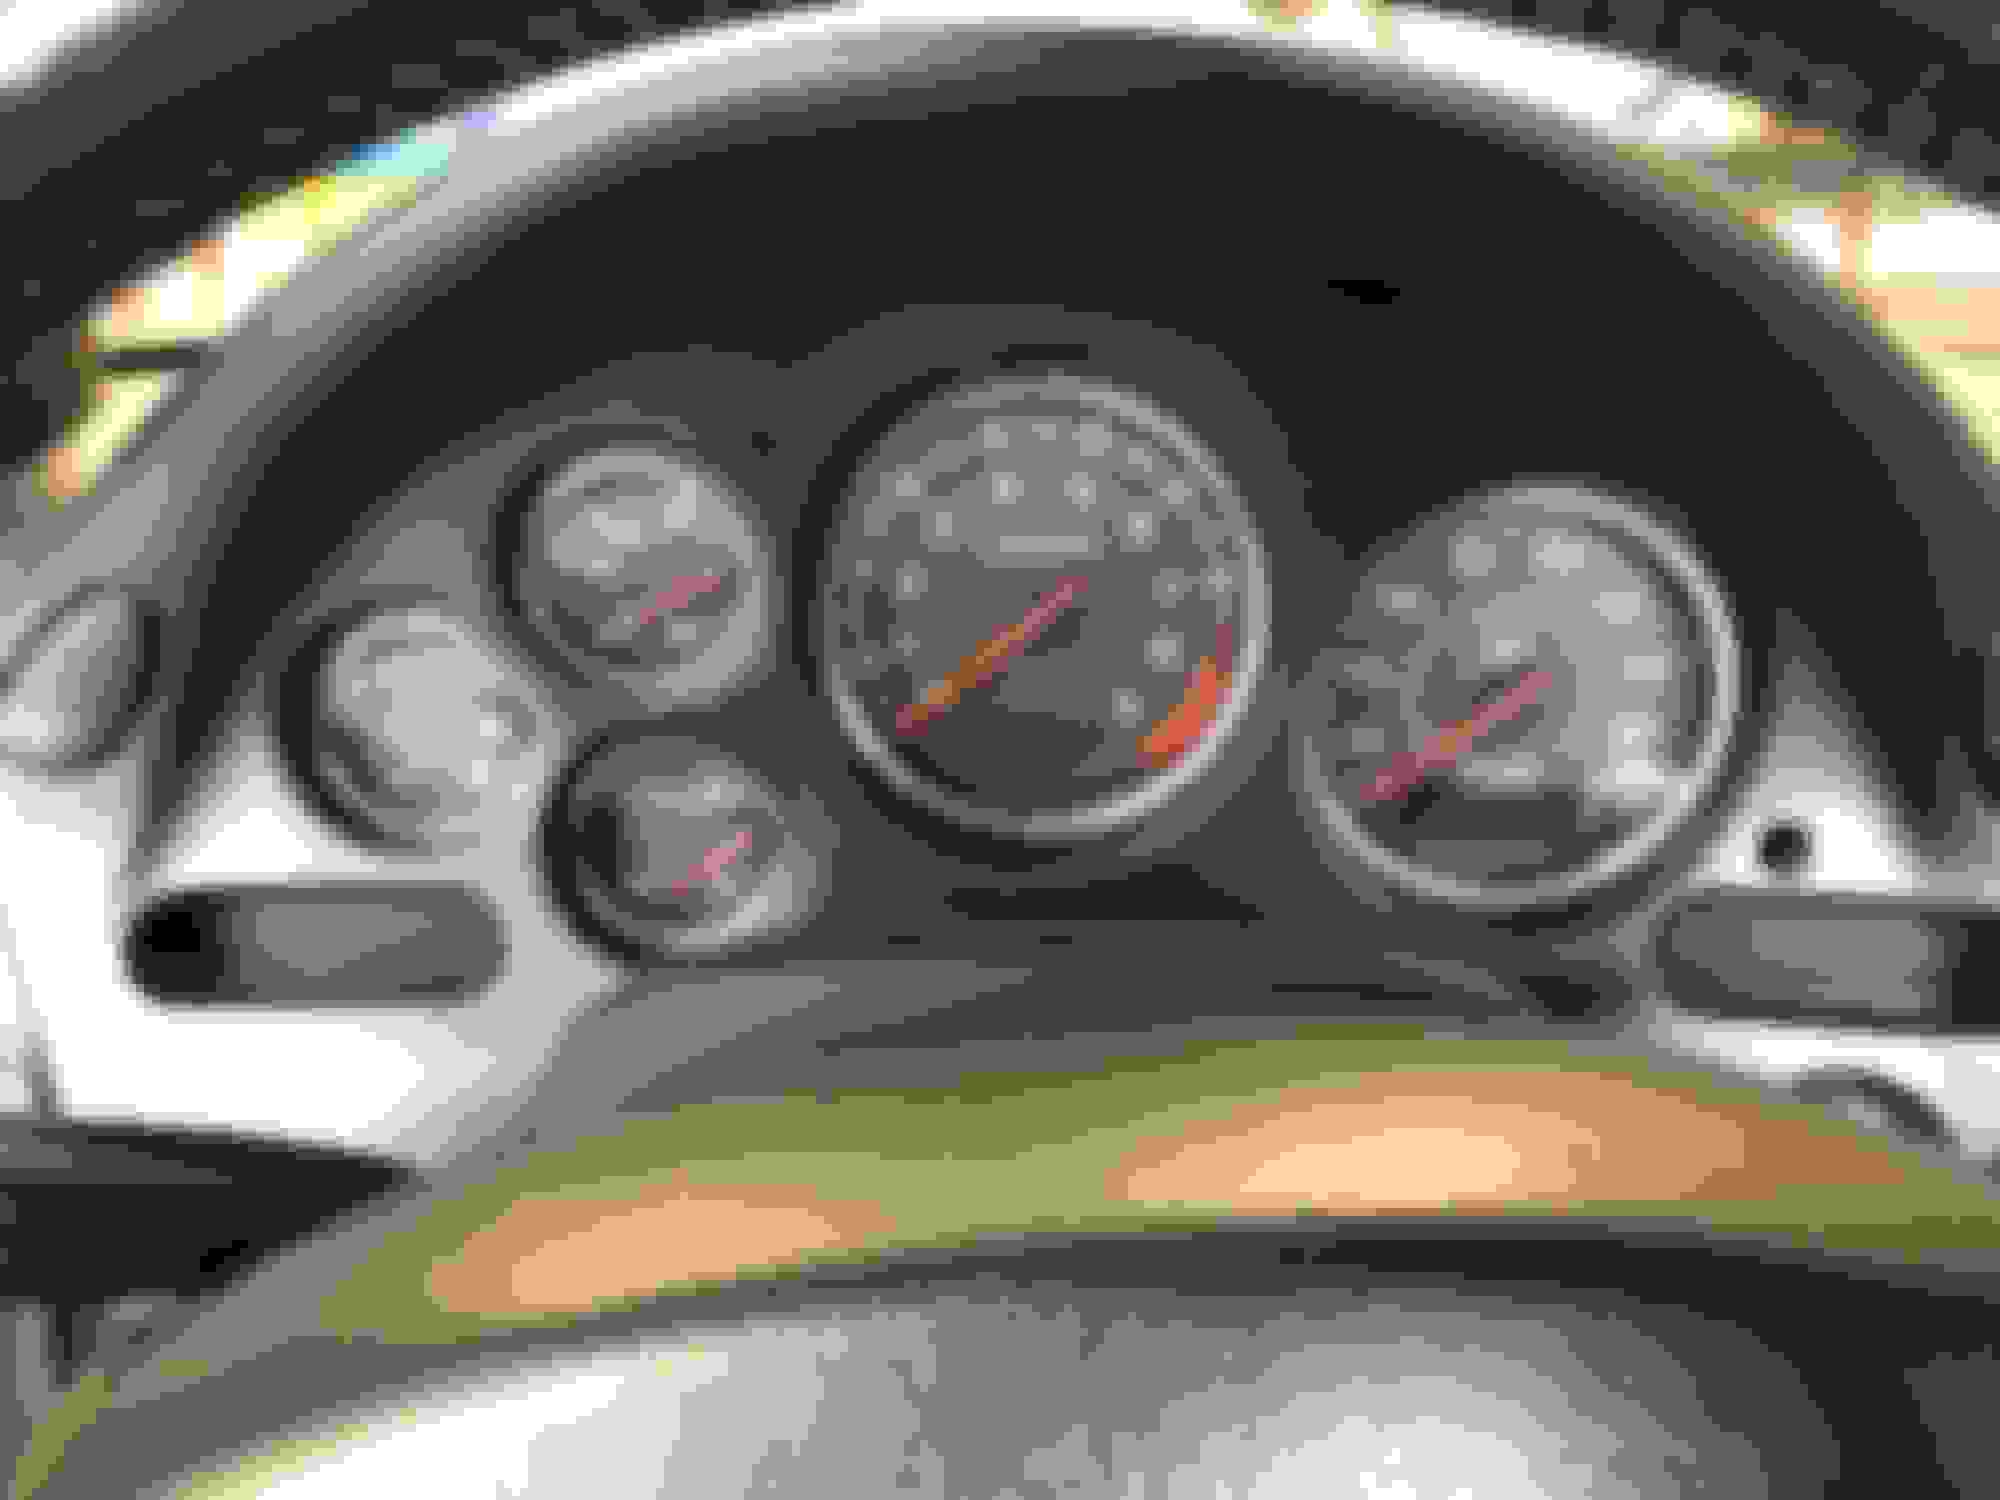
Went ahead and used some meguiars PlasticX on the gauges. Got rid of a few minor scratches
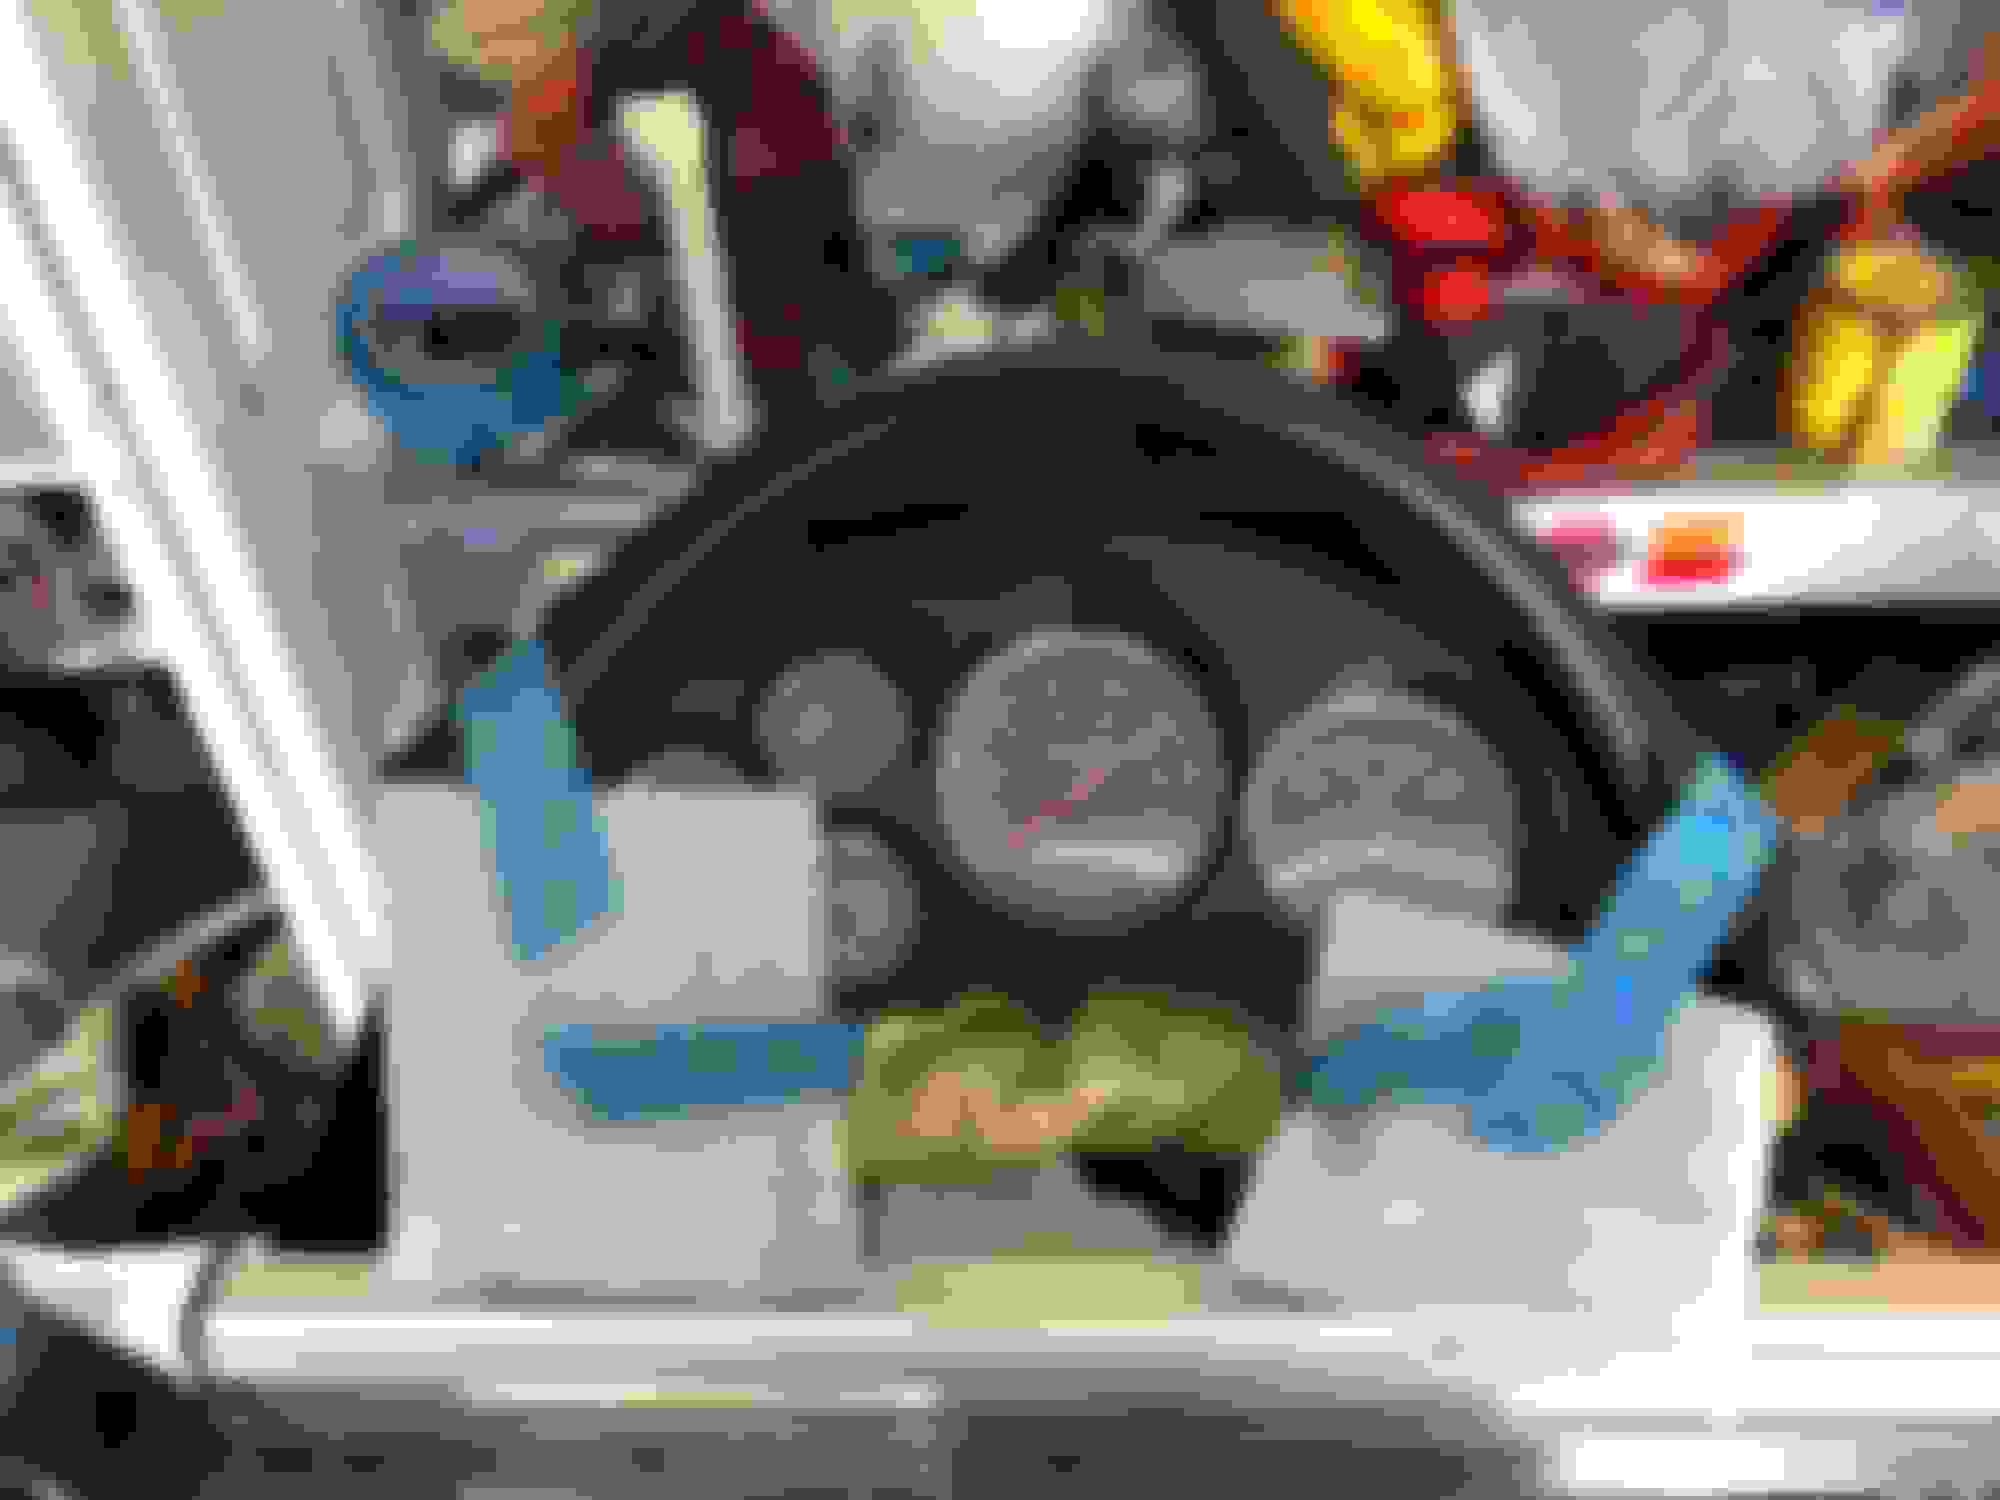
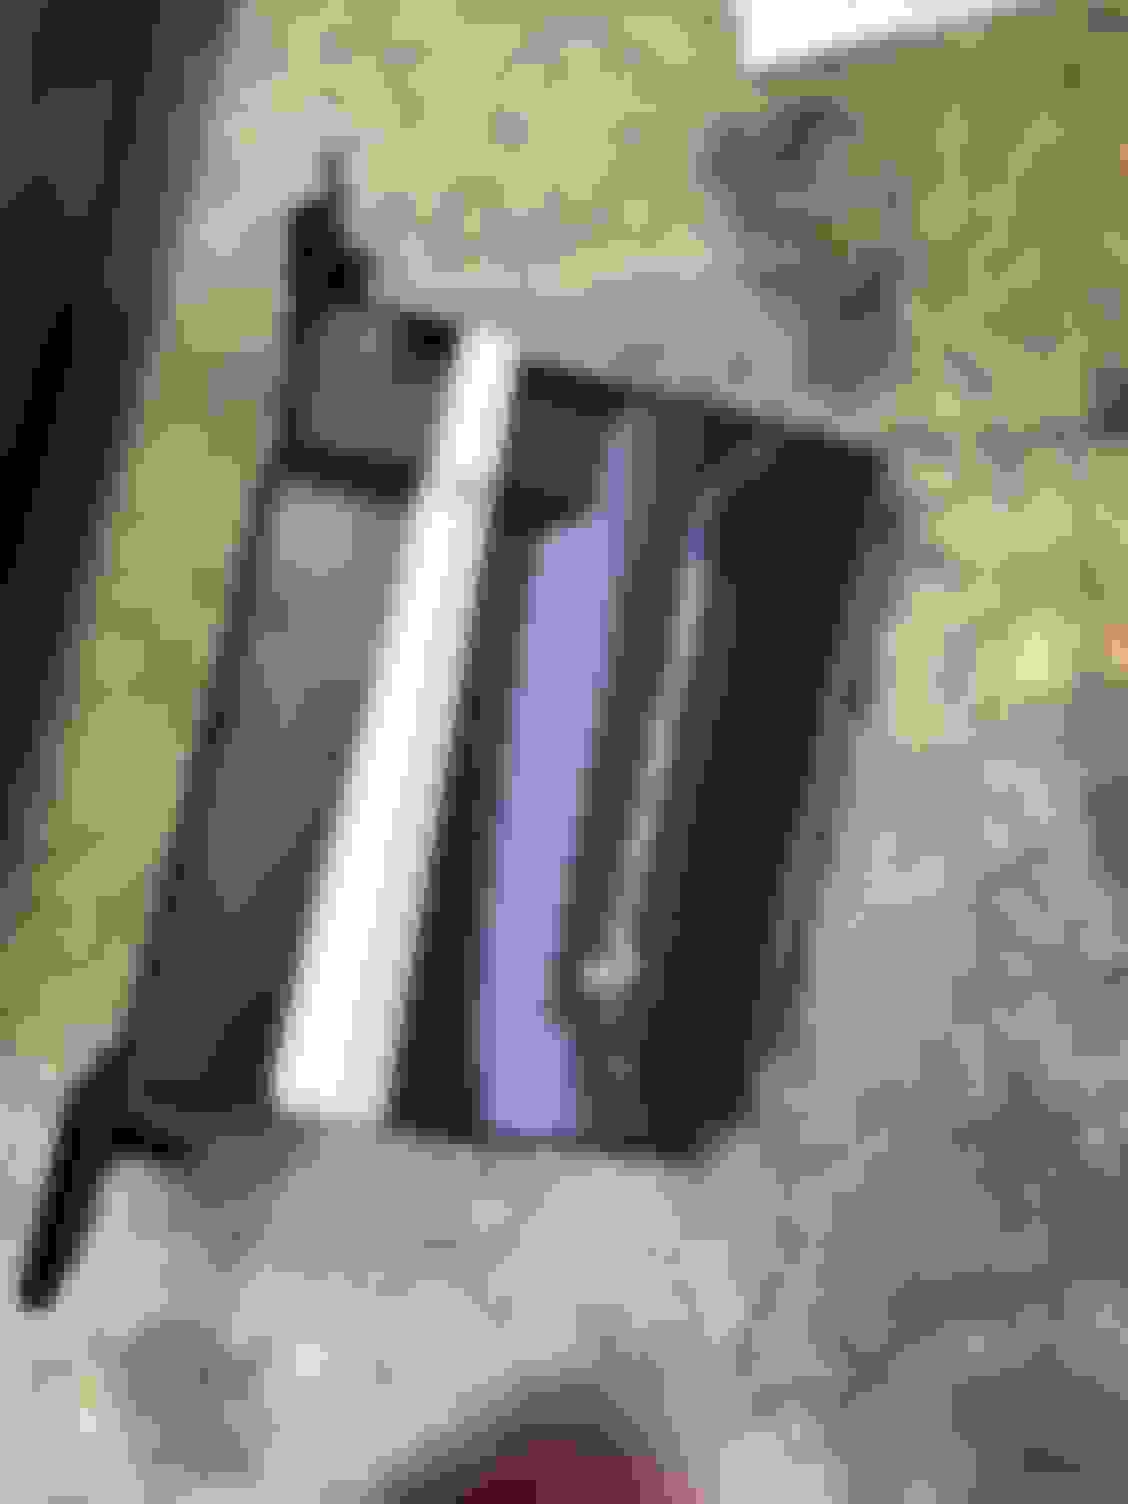
Got some shipping wrap to help protect the new finish during reinstall
Looks 100% better!
a quick note to anyone who might copy this thread, the shift panel turned out smoother and slightly darker than the others. It may be where I used liquid sander there and not on the other pieces. Still looks amazing but just something to keep in mind
Very nice job!! I just used the same paint for my plastics in the back that cover our tail lights in the hatch area. Turned out excellent. I hope it lasts. I will probably paint my windshield wiper vent thing (cant think of what it's called now). The spray pattern/atomization was excellent too for what it is.
Next up, I used a fiberglass kit to significantly strengthen the door panel, including building up a multi-layer bridge right at the door pull cup, where the OEM bridge had failed
And finally , I placed a small bead of silicone on every surface where two plastic pieces meet. I don�t have pics of every spot , just think all mating surfaces.
You would not believe the difference all these things added up to! The door feels and sounds completely different. No tin-can sound. No give when pulling the door closed. And almost 0 plastic creaking. I�m amazed at the difference! I can�t wait to do the passenger side!
And finally , I placed a small bead of silicone on every surface where two plastic pieces meet. I don�t have pics of every spot , just think all mating surfaces
That works great .I've been doing this in spots since I bought the car. Just a skim coat is usually enough. I've also used a larger daub in a broken tab hole of the center console piece. I use a bead bag or something with weight to hold it down and once the silicone sets it stays really well until/unless I pull it off.
I'll have to try your FRP thing on the inside of the door panel.