
Greddy front mount 24v intercooler

Thread Starter
Rotary Enthusiast
Joined: Dec 2001
Posts: 773
Likes: 0
From: WILBURTON, OKLAHOMA
Did your instructions have a page on trimming the front bumper? Man is that a pain in the *** to get enough trimmed off. I think it should be like around 1 3/4 inches in the middle and around 2 1/2 to 3 inches on the outside edges of the intercooler. How much did you take off?
Thread Starter
Rotary Enthusiast
Joined: Dec 2001
Posts: 773
Likes: 0
From: WILBURTON, OKLAHOMA
Then I used a flat peice of wood wrapped in sand paper to really flatten and smooth everything out.
Did you use both of your horns? I put the the other one in the same place but on the other side. Just one wire so it is very easy to relocate.
Did you use both of your horns? I put the the other one in the same place but on the other side. Just one wire so it is very easy to relocate.

Eats, Sleeps, Dreams Rotary
Joined: Feb 2002
Posts: 3,045
Likes: 2
From: North Coast
Yeah, I used the dremel with a barel shaped sanding thing to smoothe off the edges...I have both horns...Look at the photo in my sig under Performance, there are three photos 1 - 2 - 3...look at # 1 and you can see where I relocated the horn...Actually I was trimming the bumper and my other friend jacked around with it until he found a spot to mount it...hood closes fine with it there too..
Eats, Sleeps, Dreams Rotary
Joined: Feb 2002
Posts: 3,045
Likes: 2
From: North Coast
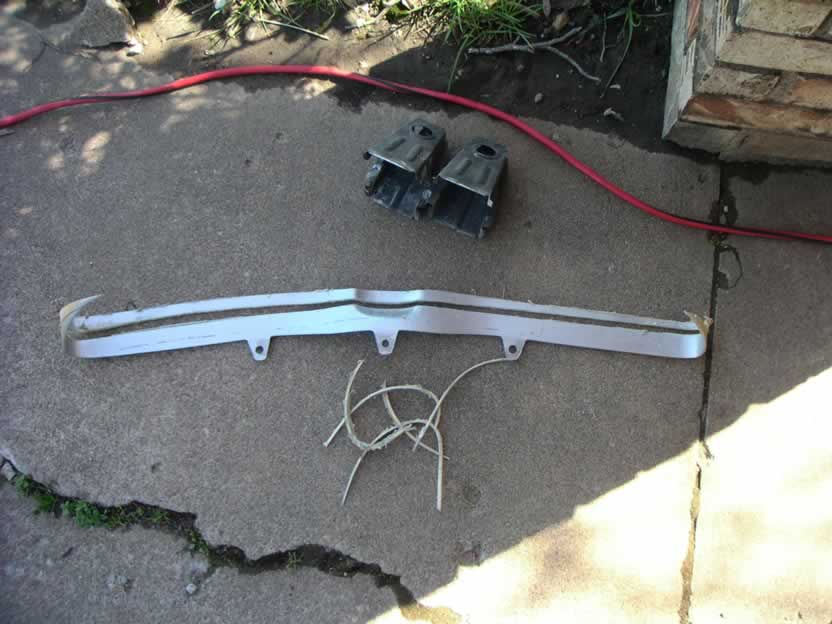
Actually here's a photo so you don't have to go hunt for it...Sorry about the sock in the pic...I was actually using it to polish the pipes  ...the horn is bolted down right behind the bumper..

...the horn is bolted down right behind the bumper..

Eats, Sleeps, Dreams Rotary
Joined: Feb 2002
Posts: 3,045
Likes: 2
From: North Coast
Well, the first time...hmmm...I use three different grits of sand paper to get a nice smothe finish, then take them to the buffing wheel...Once they are shiny i use "Mother's Aluminum Polish" to maintain it...really good ****...And yes, it does suck to do it by hand...It's been three weeks and every time I blow my nose I am getting metal shaving out that I breathed in...I know you probably didn't want to hear that but but yes, it's a maaahhhfakka to do and it's hard on your body...I don't think I could do the same for another car...I would definately send it out.
Anyway, off to work with you...would like to see pics when you are done...especially how you fabbed the turbo intake piping to work with the FMIC for twins kit...
but yes, it's a maaahhhfakka to do and it's hard on your body...I don't think I could do the same for another car...I would definately send it out.Anyway, off to work with you...would like to see pics when you are done...especially how you fabbed the turbo intake piping to work with the FMIC for twins kit...


Thread
Thread Starter
Forum
Replies
Last Post
82streetracer
1st Generation Specific (1979-1985)
7
Aug 23, 2015 09:28 AM