
Custom cold air NACA duct project

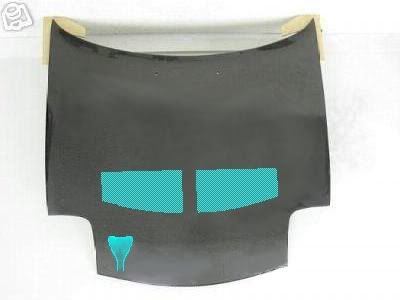
So, I came upon this carbon fiber/fiberglass hood on craigslist, $100 picked up. I thought it wasn't a bad deal, and heck, it actually fits very good. But what I really wanted was to modify in a duct to draw cold air into the airbox. I have seen some other mods for this, but I had a vision of this ducting and so it began...
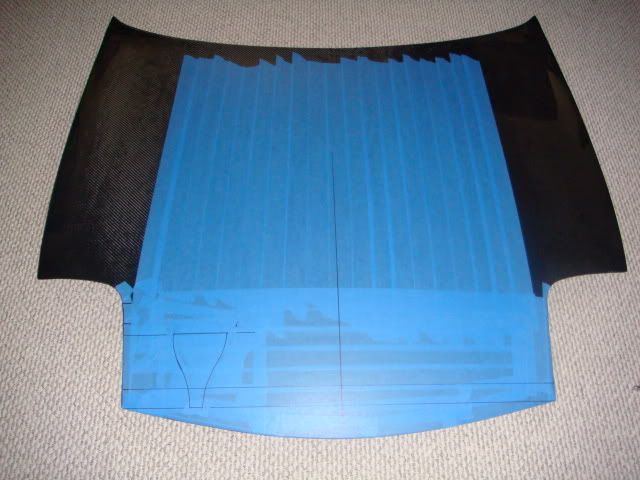
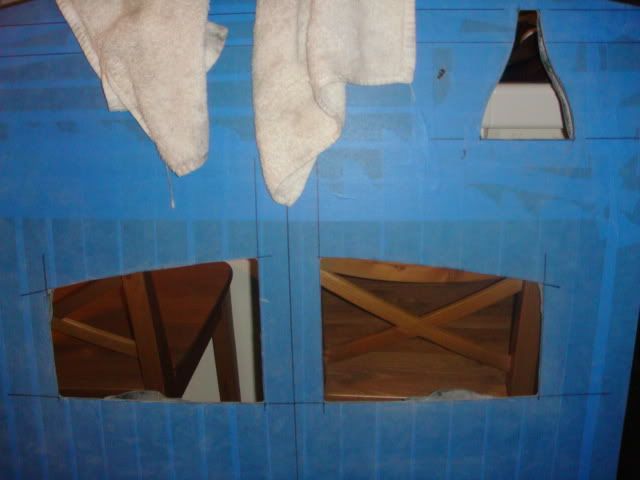
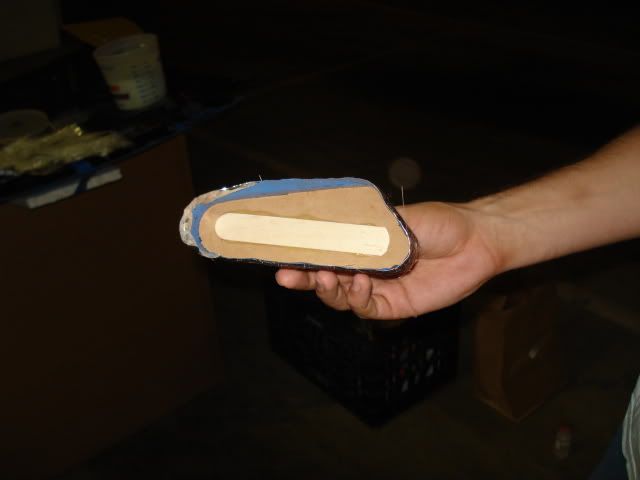
This is an actual pic of the hood with my final renderings of the duct and vents on there.
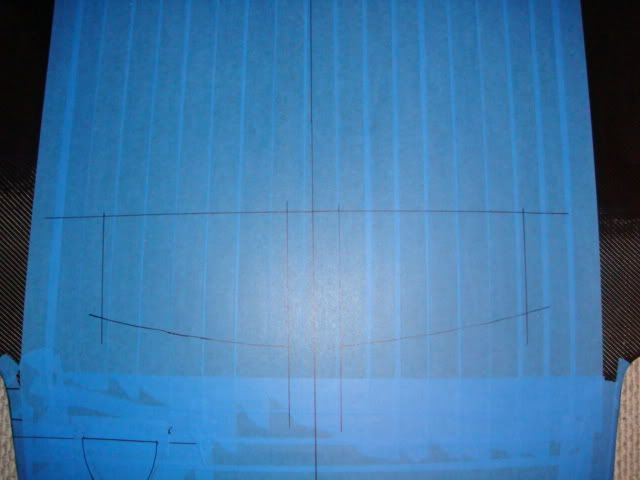
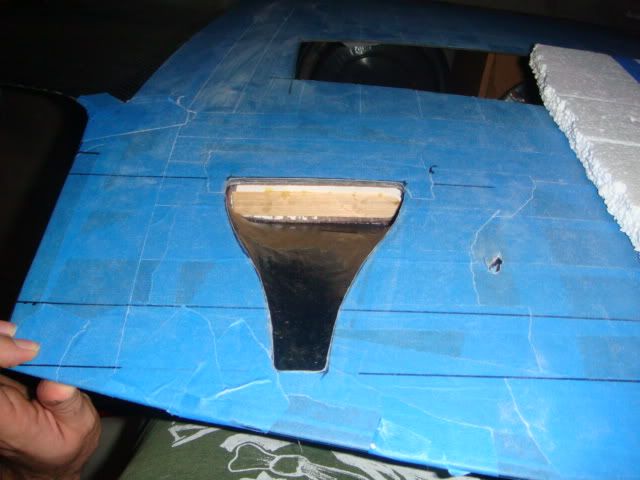
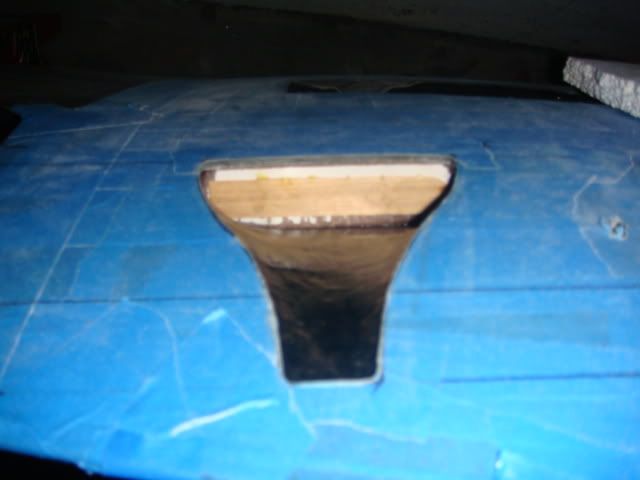
Then, I laid out my design on the hood itself.
From the back, you can see where the duct pokes thru, but to align with the inlet it will need a "box" built up around it with a hole in the bottom to meet up with the inlet.
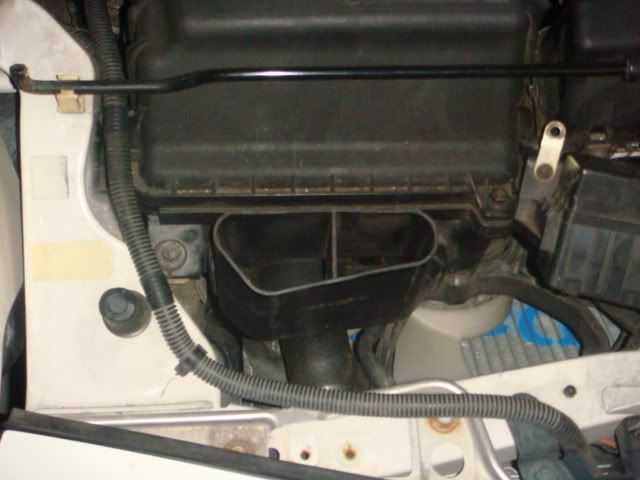
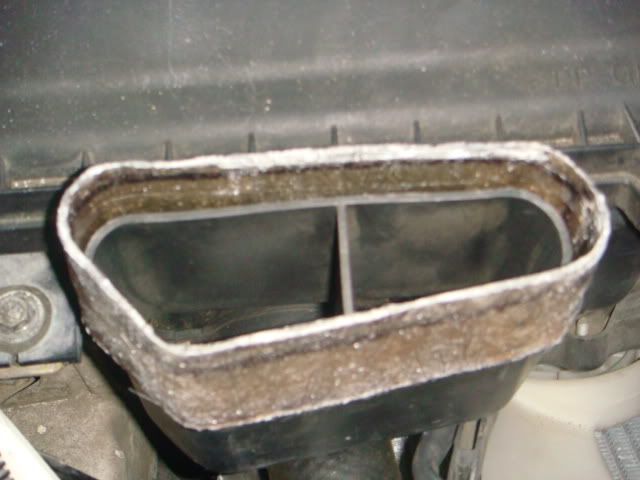
This is the inlet tract on the stock airbox with the stock ducting removed. It feeds air below the flat panel K&N.
And I cut...
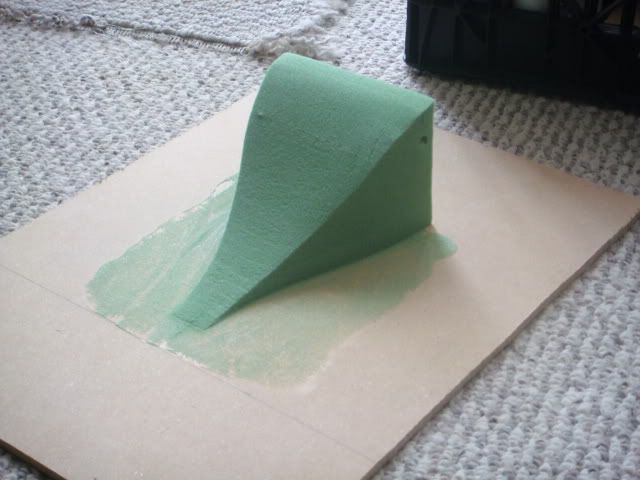
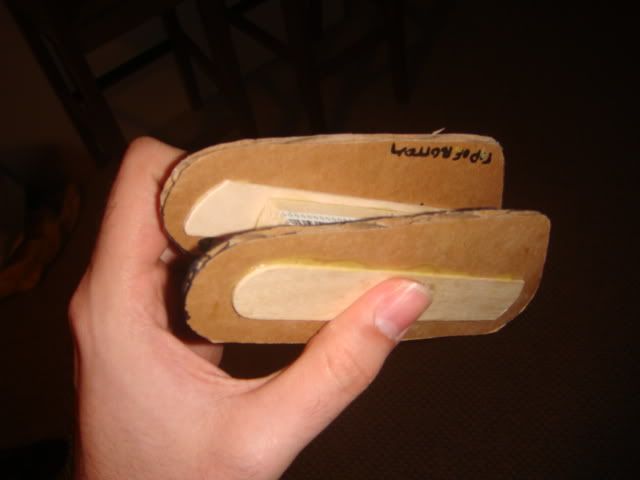
Initially, I had planned for the duct to swoop right into the inlet, but after some changes this would not be feasible. However, I did make that duct, here is the plug I started from foam. It was eventually covered with filler, sanded, glassed, and subsequently thrown away.
This is an actual pic of the hood with my final renderings of the duct and vents on there.
Then, I laid out my design on the hood itself.
From the back, you can see where the duct pokes thru, but to align with the inlet it will need a "box" built up around it with a hole in the bottom to meet up with the inlet.
This is the inlet tract on the stock airbox with the stock ducting removed. It feeds air below the flat panel K&N.
And I cut...
Initially, I had planned for the duct to swoop right into the inlet, but after some changes this would not be feasible. However, I did make that duct, here is the plug I started from foam. It was eventually covered with filler, sanded, glassed, and subsequently thrown away.
Last edited by TimeMachine; Nov 24, 2008 at 02:36 PM.
What I ended up doing to make the duct was to stretch nylon (pantyhose) over the bottom of the cutout (no pic). Then, I fixed a rectangle shaped piece of cardboard at the back of the duct with the nylon stretched over top. I wet that out with poly resin and let harden.
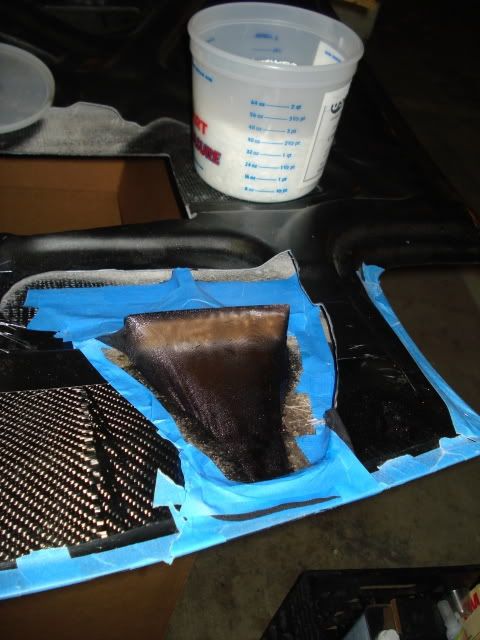
Then I layed it up with a few layers of fiberglass CSM.
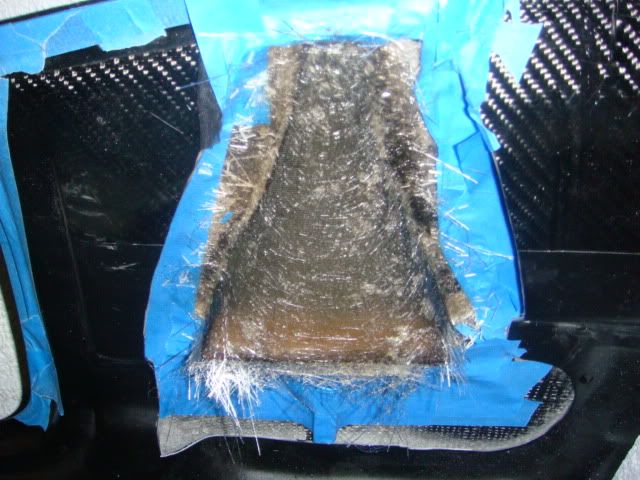
Here is a view from the top side of the hood...
Then I layed it up with a few layers of fiberglass CSM.
Here is a view from the top side of the hood...


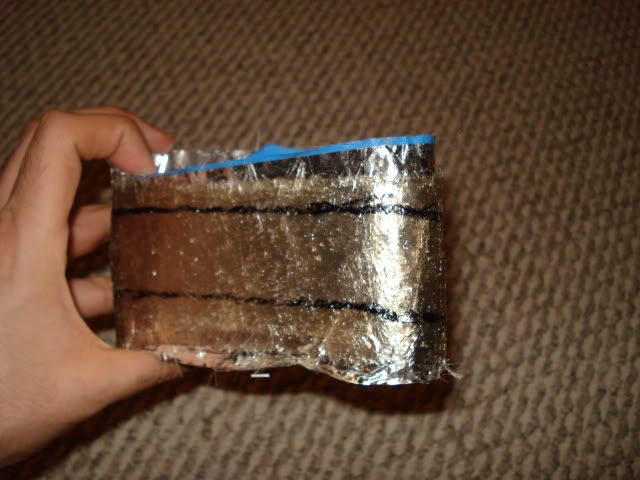
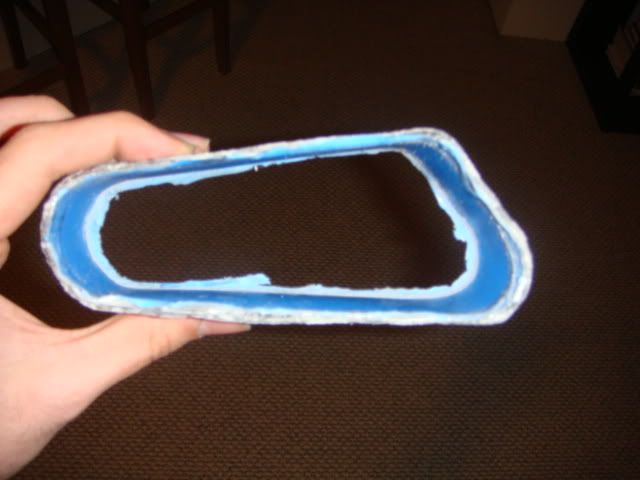
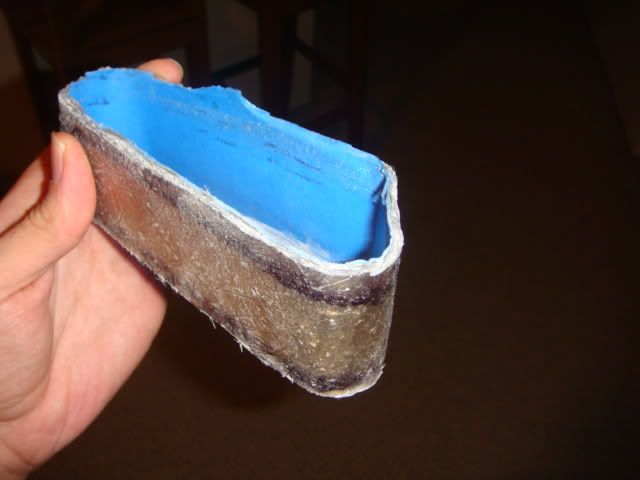
Ok, for the inlet duct, I had to make a sleeve that would fit over the stock opening and connect to the duct.
First I made a mold of the shape of the inlet. Then I wrapped it in tape and then aluminum tape for a release agent (no pic).

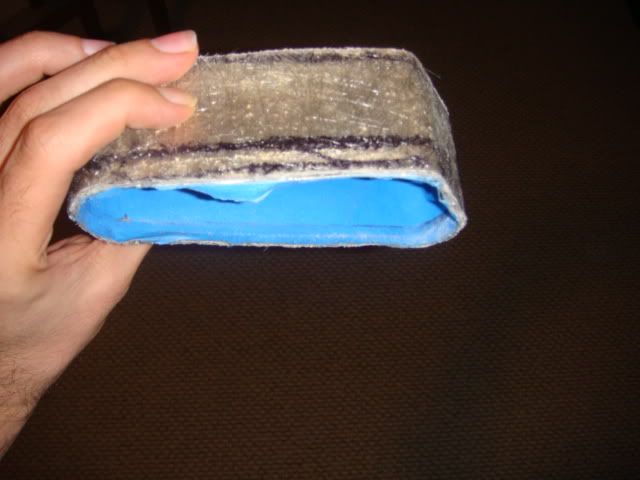
Then I simply layed up the CSM around the plug building up about an 1/8" of fiberglass, or 4 layers of 1.5oz CSM. I used a sharpie to mark the plug inside for cutting guide later.
I pulled out the plug, it came out in one piece, surprisingly, could reuse if need be. The "loop" of fiberglass that remained is very strong.
First I made a mold of the shape of the inlet. Then I wrapped it in tape and then aluminum tape for a release agent (no pic).
Then I simply layed up the CSM around the plug building up about an 1/8" of fiberglass, or 4 layers of 1.5oz CSM. I used a sharpie to mark the plug inside for cutting guide later.
I pulled out the plug, it came out in one piece, surprisingly, could reuse if need be. The "loop" of fiberglass that remained is very strong.
Fortunately, the collar fits perfectly!

Now I'm at the point where I will fab up a "box" stuck to the underside of the hood fed by the NACA duct. The bottom of this box have a cutout aligned with the new extension on the inlet of the airbox. When the hood closes, the two will align and be sealed by weatherstripping.
More pics to come as this project wraps up!
Trending Topics
P.S. The large cutouts in the middle of the hood sit directly over the intercooler. They will be covered with powdercoated hex perf metal and hopefully the exit of the intercooler can be directly ducted to them.
Last edited by TimeMachine; Nov 24, 2008 at 02:54 PM.


Im keen to see air temprature results, take some temprature checks maybe with and without the duct sealed. I was gonna do exactly the same thing but im gonna go a letterbox in the front bumper and make a tube exactly the same to the air filters.

Did you use the NACA duct calculator ( http://sports.racer.net/tech_info/ae...calculator.xls ), or a pre-formed NACA duct from a race shop ?
:-) neil
:-) neil
Thanks, guys and token girls! I didn't use that calculator, but I used info from this page to calculate the width/height/angle ratios of the duct. I pulled it off the hood to finish it, more pics to come soon...
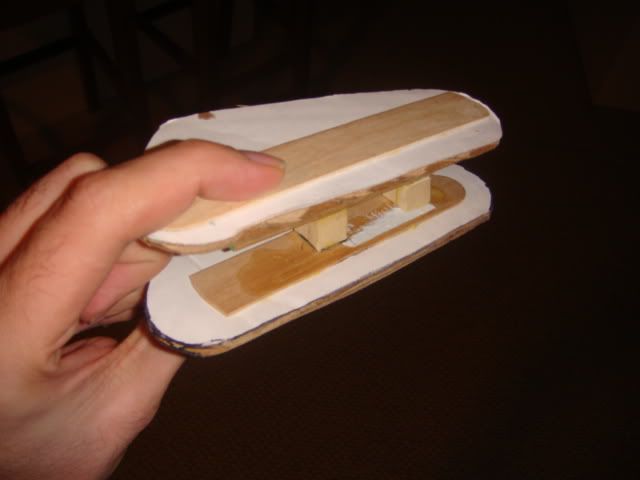
I made the plug for the box last night, I used aluminum tape for the release agent. It doesn't need to be pretty, and aluminum is an easy, efficient answer. Also, CA glue ftw!
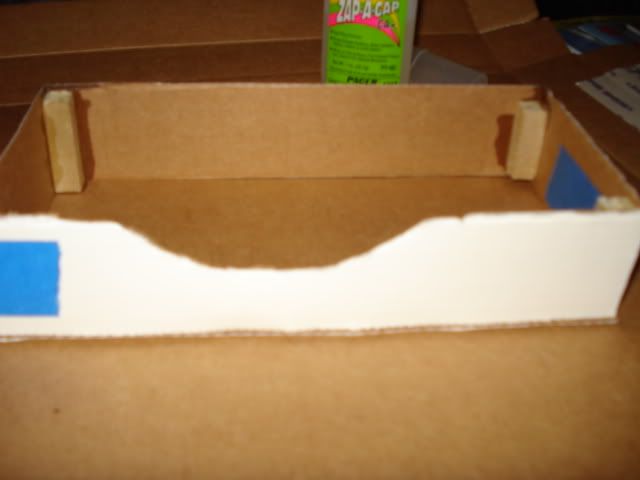
The impression of an "arch" seen in the aluminum is where that edge of the box straddles the curvature of the bottom of the duct.
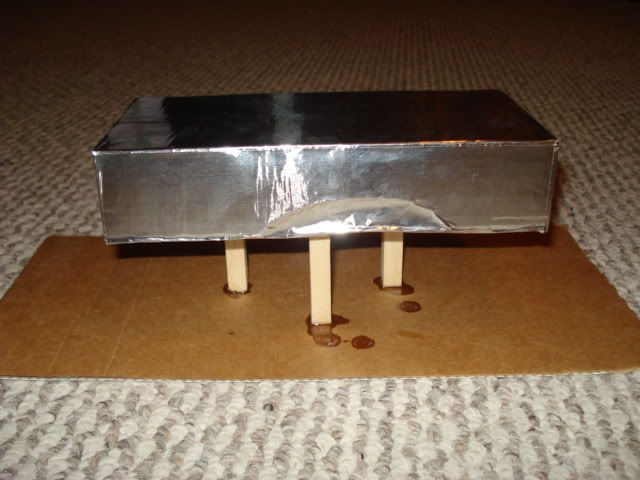
The back of the box and top are flat.
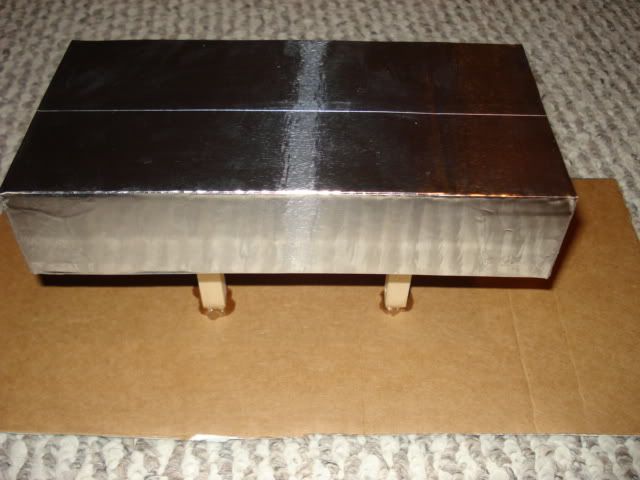
After this is layed up and cured, I will fit this and the duct to the hood for realz...
The impression of an "arch" seen in the aluminum is where that edge of the box straddles the curvature of the bottom of the duct.
The back of the box and top are flat.
After this is layed up and cured, I will fit this and the duct to the hood for realz...
