When you click on links to various merchants on this site and make a purchase, this can result in this site earning a commission. Affiliate programs and affiliations include, but are not limited to, the eBay Partner Network.
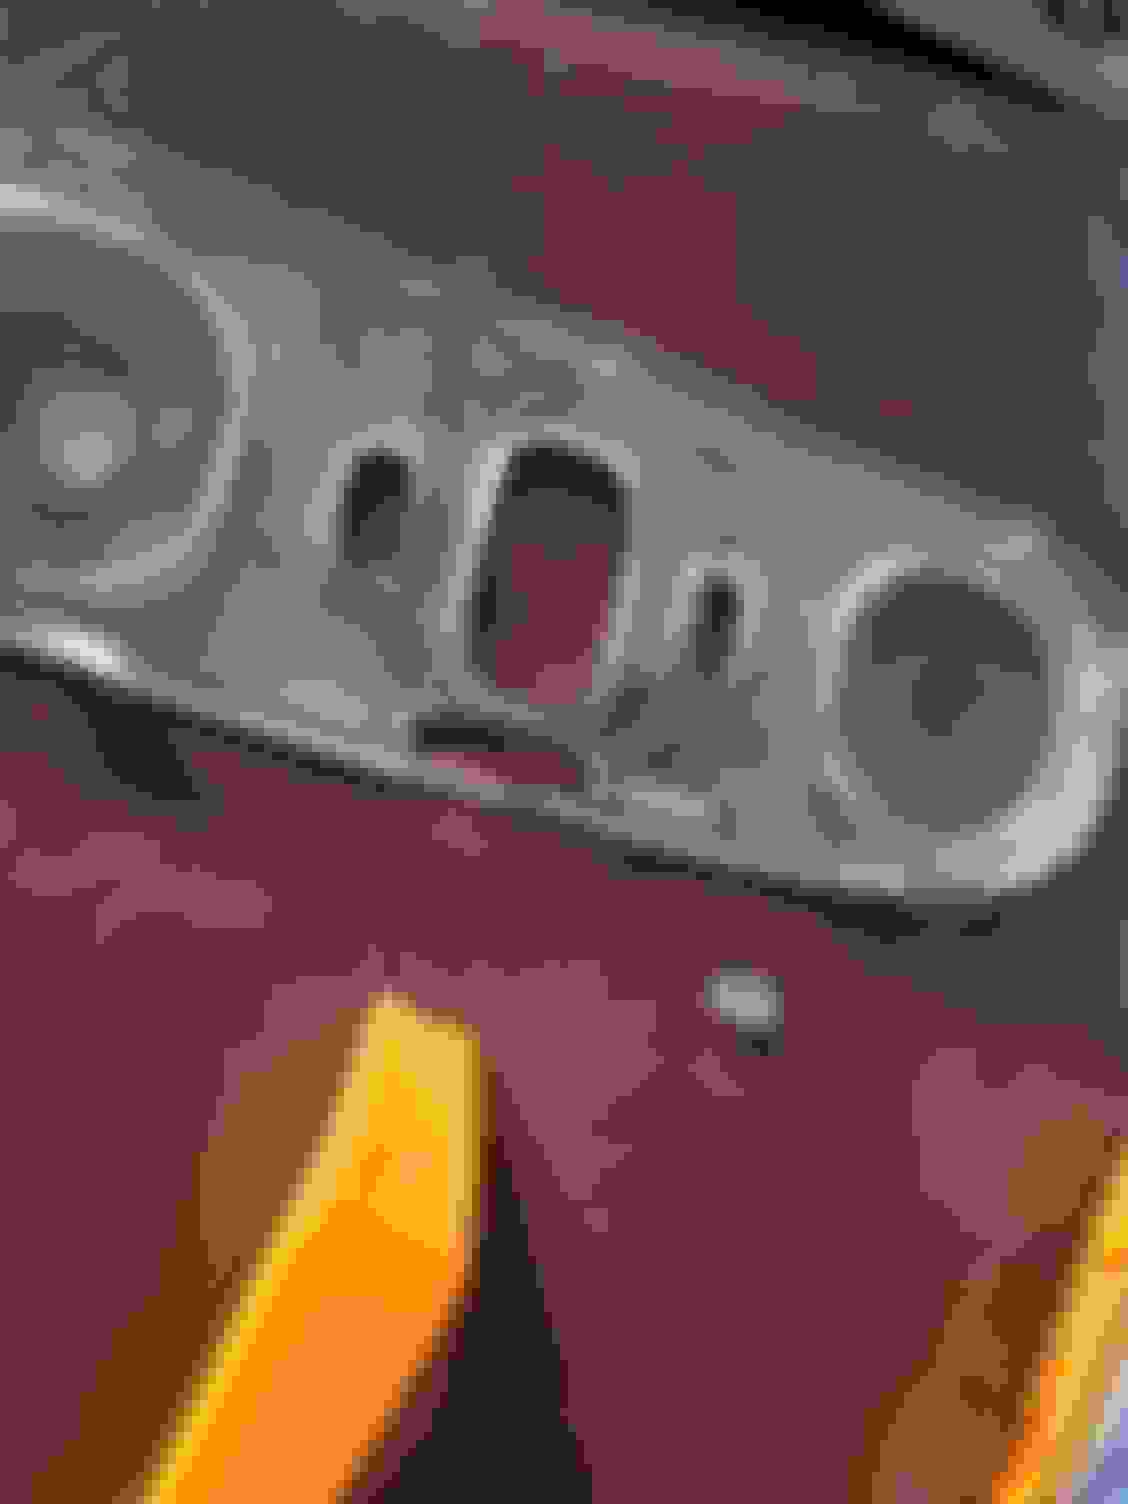
Use a flat head screwdriver to gently pry the entire dome unit away from the roof interior. You'll find that it is actually quite easy to remove and reinstall once you've done this step a couple of times. After removal, you'll notice the plastic cover is held in place by four tabs. Removing the cover can be a bit tricky at this point. But once it comes off, you'll have direct access to replace the bulbs with LED equivalents.
Hope this info helps!
Last edited by Topolino; May 12, 2017 at 10:17 AM.
I recommend getting a new lens before reinstalling everything, it's pretty inexpensive and would increase lighting, when I swapped my old one out, it was yellow/smoked from the heat of the stock bulbs.
the whole assembly is held on to the roof with some pretty weak clips. you can use your fingers and just yank on it and it will come out. pull more from the front of it and youll feel it give. with it out, push on the lens from the backside with your finger and youll have access to the bulbs. theres a big opening in the middle of it on the back. once you get it off, it will be obvious.
no tools required and no risk of damaging anything
I recommend getting a new lens before reinstalling everything, it's pretty inexpensive and would increase lighting, when I swapped my old one out, it was yellow/smoked from the heat of the stock bulbs.
Might seem simple but I'm super scared of cracking the lens. How do you pull the lens off the sunroof domelight without cracking it? What angle, what pressure, tips? Wanting to clean up the jurassic mosquito carcass in there....
That light is pretty hardy. Get a plastic pry tool and pop it out.
The first picture you posted, I would put the pry tool on the right side of the light between the black plastic and clear lens.
Fortunately Mazda didn't make that out of the same plastic they did most of the interior. You should have no problems. But it's smart to take a beat and ask!
Never had a need to take mine off either, but given the other interior plastic I don’t blame you for being careful.
Maybe something to consider while it’s out...I seem to remember some guys painting the light housing (Silver?) and/or switching out the bulb to make it more useful.
Yep, that plastic cover will take some pressure before anything really breaks. That being said, do pry at those clear clips on the back gently. You'll see the cover comes off rather easily.
I did mine awhile back and put in some LED's. What a world of difference! Being able to see things is fantastic!
I was tempted to do the whole floor lighting too, but I realized with the new LED's in the over head, putting footwell lighting would be a bit of overkill. Our cabins aren't too big. That being said, if you really want to fancy up the interior, you could always do it.
I was tempted, but when I saw there was no real way of securing the LED strips without making supports for them, I gave up on the idea and settled for the overhead lights.
Interior LED's are one of the easiest and cheapest good things you can do to any car. All my cars have them - my wife's new van barely hit the driveway before I ordered them. HUGE difference.
the sound of my heart breaking.... it was mission impossible. it was so tight and the plastics had 0 flex. I'm going to weld the tab back on and even without it would hold fine but... the pain is real.
honest the plastic weld on the tab is even better because it has some flex now and I can get in and out of the housing without worrying about cracking again. and it fit back in nice and tight.
I'm now trying to bleach the lens with hydrogen peroxide to see if I can kill some of the yellow. will post back results.
if this doesn't kill the yellow I'll try straight bleach. if not I'll start looking for a replacement but that fixture is $285 on Atkins and they don't even have a black housing. just tan.
If you could've used maybe a glass container instead of a paperbag.. something a bit more exposable to the direct sun.
The Hydrogen Peroxide should fix it. Probably take the day or so.. consistently in the sun. It should come out looking new.
If you could've used maybe a glass container instead of a paperbag.. something a bit more exposable to the direct sun.
The Hydrogen Peroxide should fix it. Probably take the day or so.. consistently in the sun. It should come out looking new.
Sweet. I'll swap it out right now. I've still ordered another one in case. With these cars I don't think there is such a thing as too many spares.
There was a revision, the series 8 dome light fits and is still available new in black for $120.
Part number FD0369970E-02
It's always best to check for newer part numbers for our cars, if you use the usdm parts catalog loads of parts that have been superseded will appear NLA when the later revisions are still available and likely better at the job.
Last edited by Ceylon; May 14, 2021 at 07:43 AM.
Reason: typo