When you click on links to various merchants on this site and make a purchase, this can result in this site earning a commission. Affiliate programs and affiliations include, but are not limited to, the eBay Partner Network.
Page E-32 of the 1994 Body Electrical Troubleshooing Manual shows an illustration of the "Front Side Marker Light." Step 1 says "Remove the front side marker light with a protected screwdriver." The illustration shows an arrow inside the body pointing to the rear of the car. It could be the direction to slide the light or a point to a fastening location... I can't tell. Either way, I tried prying the front (left side) of the light with a taped screwdriver (actually several taped screwdrivers), but all it does is scratch paint.
Does anyone know the proper method of removing this side marker? Thanks for reading!
I think the absence of the inner guard liner will reveal all! When I've removed them entirely, rather than let them hang on the wiring, the quarter turn bulb receptacle is twisted off and the lens, etc, can be pushed out without tools I've found......plastic push tab from memory?
Thanks for your reply. According to the manual, the fender liner doesn't have to be removed to replace the bulb. I think my problem is just to find the magic method to removing the lens from outside the car body without destroying the paint. I haven't found that yet.
Thanks for the replies. Have tried tape on the paint and on the screwdriver(s), no help. I doubt anyone has put sealer on it in the past... I know I haven't, and we are the original owners. I'm afraid the front side marker bulbs will stay OEM until I'm willing to remove the fender liners, which wife does not want. So far, I have converted to LEDs the 7 stop/tail lights, backup lights, rear side markers (easy since they are screwed on), trunk lid light, dome lights, and front parking lights. The license plate lights are impossible to work with. Thanks to Dale Clark, I know how to modify the CPU2 to disable its hyper flash function, but have not done the flashers so far. I did order new headlight LEDs, but they haven't arrived yet. (That should be fun.)
Checking your chaste white image, I forgot we and all the Japanese production had blinkers behind the wheel well, and the Au market had reflectors in the position where the US market indicators lived. Don't recall in recent times ever taking those out, usually always remove the nosecone at the same time as one piece.
Vaguely remember a plastic tab at the front that hooked under the bodywork and maybe a stainless steel spring clip at the back retaining them in place. If you did access from behind, I wouldn't think the whole liner would need to be removed, maybe the oil cooler plastics and a few push pins on the liner to allow it to bend back a touch.
The top side marker in the B column of the pictures of side markers shows the screw - you do have to loosen that screw to remove the side marker if memory serves.
You don't have to pull the whole fender liner, you should be able to turn the wheel for better access and pull the liner back. Worst case remove 1 or 2 of the fender liner fasteners. Loosen that screw and it will come out.
Thanks very much to all for the info, pics, and moral support. I will give that a try from the "inside." Strange that the 1994 manual doesn't mention that screw at all. No wonder the thing won't come off from outside!
Dale, I've been very impressed that you know which resistor in that CPU affects the fault detection functions. I would say that replacing that resistor (whatever it is) with a 1 Megohm resistor is kinda unnecessary extra work, though. If you do the absolutely extreme-case analysis, and assume that resistor is in a 12-volt -to-ground path (which it isn't), 12 volts across 1 megohm is 12 microamps, which can't do a thing. You might as well just clip its leads and be done with it. (Or am I wrong?)
Again, thanks to you all for your time and effort in replying to me!
That might not be a screw, It may be a rivet that wedges into the u shape on the inside of the bumper. Therefore, you might still be able to pry out. However, the fenderliner is quite flexible and can be pulled back. Have some replacement fasteners ready.
All my lights and fenders are at the back of the shed, or I would run a test for you.
Again, I remember on my car there being a screw that holds it in. Won't take a few seconds for him to figure out.
WStrohm, I'm simply standing on the shoulders of giants - I found a web page years back where someone did that on a Miata. I applied what they did to the FD and experimented with it to make sure it worked. I have a basic understanding of electronics and a good grasp on 12v systems but I couldn't tell you what changing things around would do. I did what I did in the writeup, it worked great, that's what I know . BTW my car has had that set up for ages now with zero problems.
Dale, I've been very impressed that you know which resistor in that CPU affects the fault detection functions. I would say that replacing that resistor (whatever it is) with a 1 Megohm resistor is kinda unnecessary extra work, though. If you do the absolutely extreme-case analysis, and assume that resistor is in a 12-volt -to-ground path (which it isn't), 12 volts across 1 megohm is 12 microamps, which can't do a thing. You might as well just clip its leads and be done with it. (Or am I wrong?)
You're not wrong. Being a EE, I came to the same conclusion you did, so when I did mine (on an S5T2 - same CPU unit), but rather than clip the leads, I un-soldered one of the 2 resistor leads from the board and insulated the lead with heat shrink. It worked just the same, and that way the mod is easily reversible if you ever want to go back.
"... I un-soldered one of the 2 resistor leads from the board and insulated the lead with heat shrink. It worked just the same, and that way the mod is easily reversible if you ever want to go back."
Ah, a reversible mod, the best kind! very good idea, thanks!
Only one way to remove front side marker.
As Dale said remove a few liner clips and pull liner away from fender for access to the screw...shown in pic.
Great pics above, should be in the manual. Actually once inside the fender, I only have to take out the old bulb and put in the new one... don't even have to remove the side marker from the body.
Could be that the manual is correct and the screw was substituted for a rivet after the manual was printed.
Why is the flange open ended?
I recently removed side marker lights from about six different Japanese cars in the local scrapyard. All of them were removable by prying from outside.
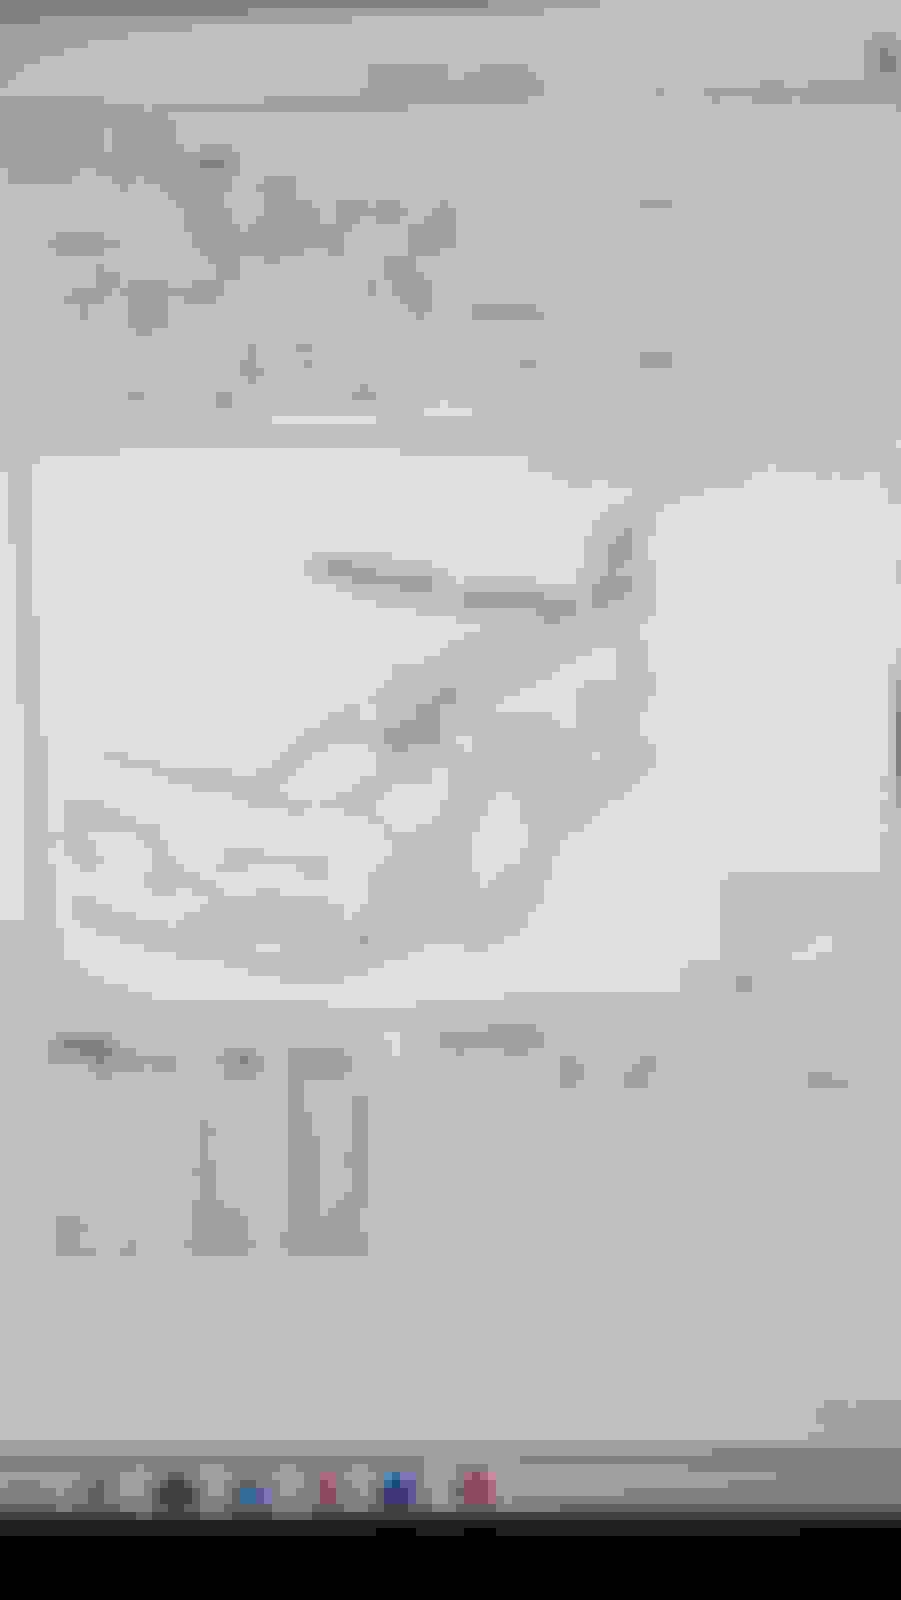
1994 Body Electrical Troubleshooting Manual Page E-32
"Could be that the manual is correct and the screw was substituted for a rivet after the manual was printed."
Well IMHO a rivet would have been even worse... could not have been unscrewed even from inside the fender well. Have a look at the attached manual page, top illustration. Mazda could say "You have been warned" since there is an arrow shown inside the body pointing to the rear, but the arrow could mean anything, and the text instruction leads only to scratched paint, in my case.
The original Japanese Service Manual (WM 4002) seems to make no mention of the side marker. The marker can been seen in a depiction of the front bumper, but no reference is made to it. The bodywork manual (WM 4001) shows a schematic of the external lamp systems and identifies the side marker as "Front Side Marker Lamp". But makes no further reference. The initial electric schematic manual does not show any wires going to the location of the front side marker. Rear side marketr show a wire and a lamp symbol.
I believe the JDM version was only a reflector and so, perhaps, did not warrant much more discussion.
All effort was not a waste though..
I discovered a drawing showing the positioning for the front fender mirror. There is also a schematic in that manual showing a line drawing of the FD with front fender mirrors. This is the only reference I have ever seen to such mirrors and I wonder if any cars actually had them affixed.
The drawing actually lists the part numbers. So it could be the intended mirrors would have come from the general parts bin.
I plan to examine some fenders I have to see if the fixed nuts are actually there.
Yep, JDM cars had reflectors with no bulbs. I have a set of JDM reflectors on my car .
That's interesting with the front mirrors. It may be that certain prefectures required it or something. Who knows. I've seen FD's with the front side mirrors but I think it was aftermarket and not something Mazda intended.
Thanks for the diagrams and illustration! Agh, cannot read the dimensions in the top pic. Can you upload at increased resolution, please? Blowing it up doesn't help.
[Edit: On the general subject of converting to LEDs, can anyone help with replacement of the license plate bulbs? Lying on my back below those assemblies, I can unscrew the screws that hold the light housings in place, but they will not drop down. They are very tight in that spot, plus I think there must be the electrical harness up above which is clamped or something and prevents the light assemblies from being lowered from below. Any help here?]


 . BTW my car has had that set up for ages now with zero problems.