
And the work begins, new engine, lights wheels (pics)


Thread Starter
RX7 lover
Joined: Jun 2005
Posts: 1,160
Likes: 3
From: UK
And the work begins, new engine, lights wheels (pics)
Well,
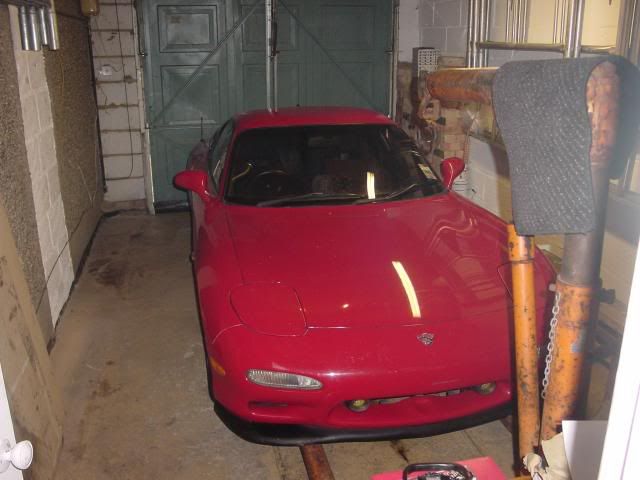
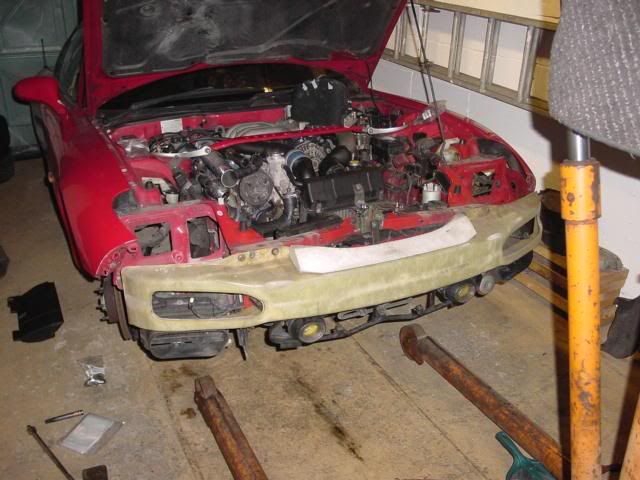
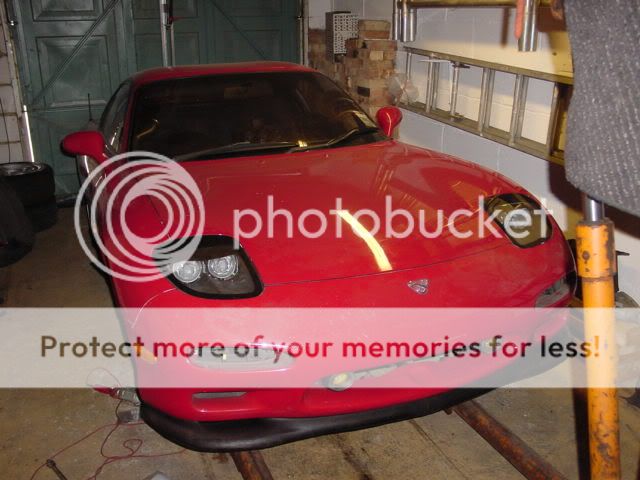
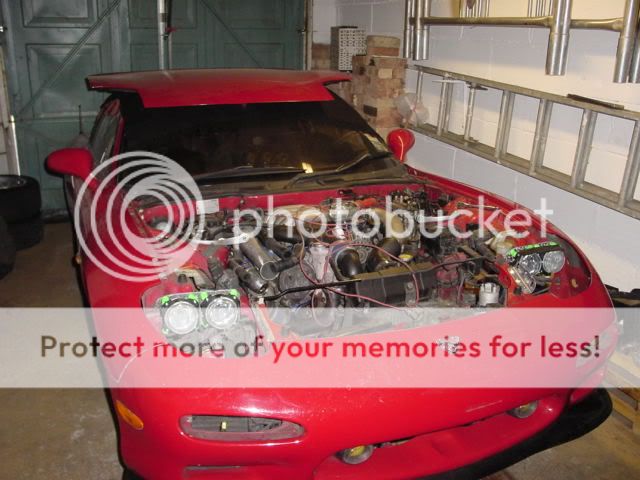
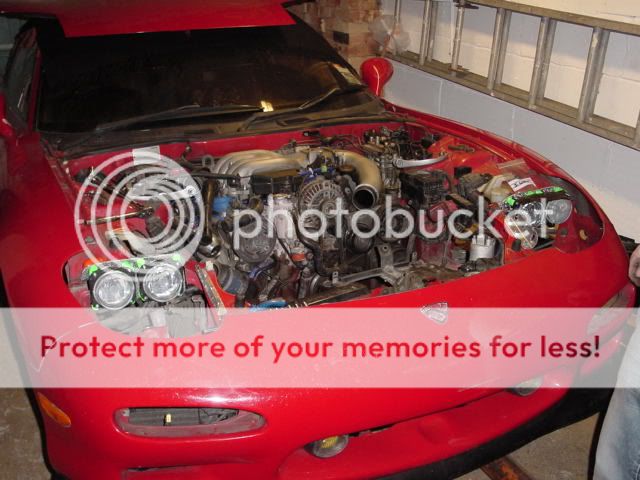
Booked a week off work, Started to work today on the car. First priority is the headlights. Have budgeted three days for these babys, then the final 2 days i will be pulling the engine out. Over the next two weeks, its teardown, cleaning and painting time, rebuilding and then i have another week off to finish off and drop it back in, fit my wheels and new exhaust and off we go!
Pics:
The workspace:


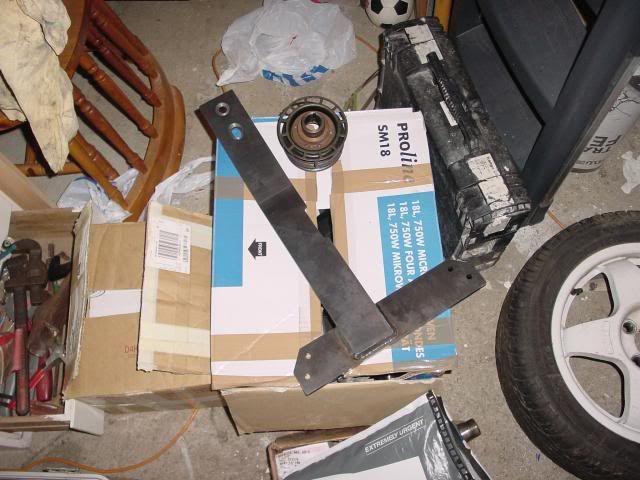
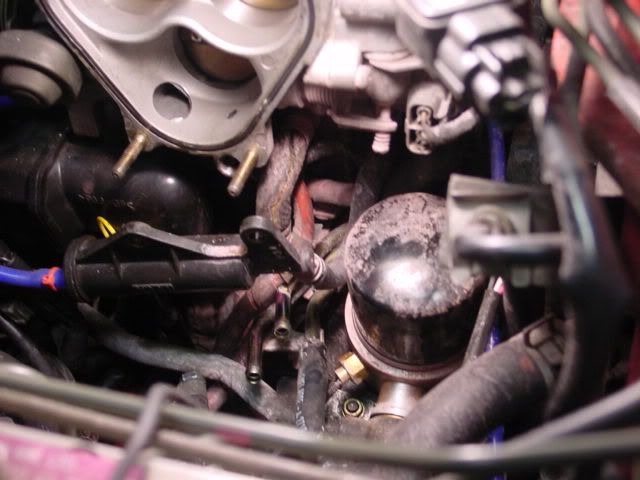
New engine parts:
Diff brace

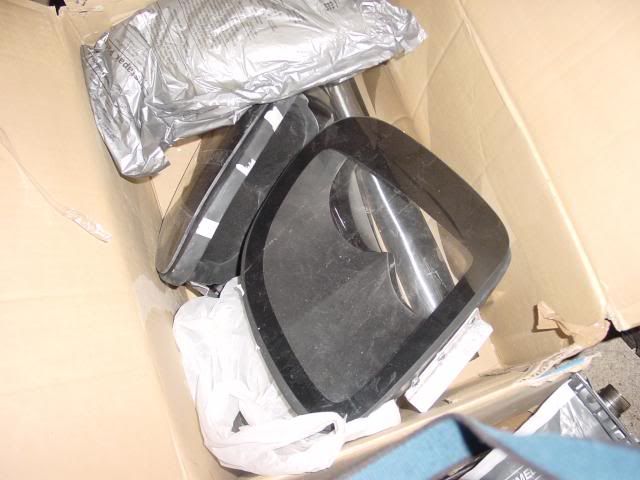
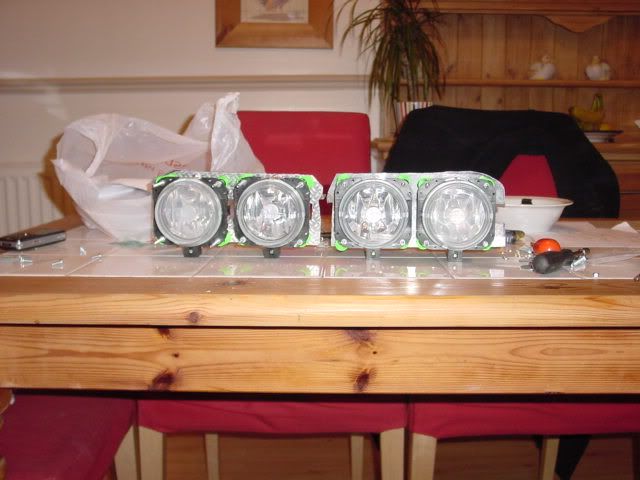
Lights


Mocked up:

More pics to come after tomorrows works!
Booked a week off work, Started to work today on the car. First priority is the headlights. Have budgeted three days for these babys, then the final 2 days i will be pulling the engine out. Over the next two weeks, its teardown, cleaning and painting time, rebuilding and then i have another week off to finish off and drop it back in, fit my wheels and new exhaust and off we go!
Pics:
The workspace:
New engine parts:
Diff brace
Lights
Mocked up:
More pics to come after tomorrows works!
Last edited by dgeesaman; Sep 8, 2006 at 04:32 PM.


hehe your garage looks as small as mine. i have to park far to the right just to get out comfortably.
good luck man, looks like you got some goodies there. Im about to do the same in a month. some people dont look forward to tear downs, i love them. at least when its my car that is
good luck man, looks like you got some goodies there. Im about to do the same in a month. some people dont look forward to tear downs, i love them. at least when its my car that is
Thread Starter
RX7 lover
Joined: Jun 2005
Posts: 1,160
Likes: 3
From: UK
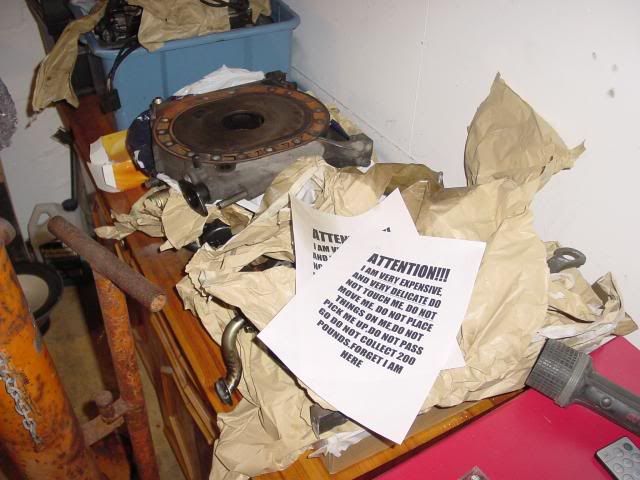
no dude, the signs are for the mother - she has a habit of just dumping **** anywhere. She once threw (literally) the crank to my old race piston engine into a box full of bricks just to move it out of the way.
She has no concept of delicacy of internal engine parts. She laughed when i said she would have to pay for a new crank and said "sure ok, your just trying to get me to pay out for a brand new go faster one"
god damn women! haha
She has no concept of delicacy of internal engine parts. She laughed when i said she would have to pay for a new crank and said "sure ok, your just trying to get me to pay out for a brand new go faster one"
god damn women! haha

Full Member
Joined: Aug 2005
Posts: 54
Likes: 0
From: Memphis
Originally Posted by BobfisH
no dude, the signs are for the mother - she has a habit of just dumping **** anywhere. She once threw (literally) the crank to my old race piston engine into a box full of bricks just to move it out of the way.
She has no concept of delicacy of internal engine parts. She laughed when i said she would have to pay for a new crank and said "sure ok, your just trying to get me to pay out for a brand new go faster one"
god damn women! haha
She has no concept of delicacy of internal engine parts. She laughed when i said she would have to pay for a new crank and said "sure ok, your just trying to get me to pay out for a brand new go faster one"
god damn women! haha
rhd... instant boner! looks good sorry to see how limited on space you are... i'll post pictures of my 50X100ft garage with lift and 35 thousand dollars worth of tools... jk! well kidding about posting the pictures for now lol good luck looks good and dont be shy posting pictures i love tear downs!
Thread Starter
RX7 lover
Joined: Jun 2005
Posts: 1,160
Likes: 3
From: UK
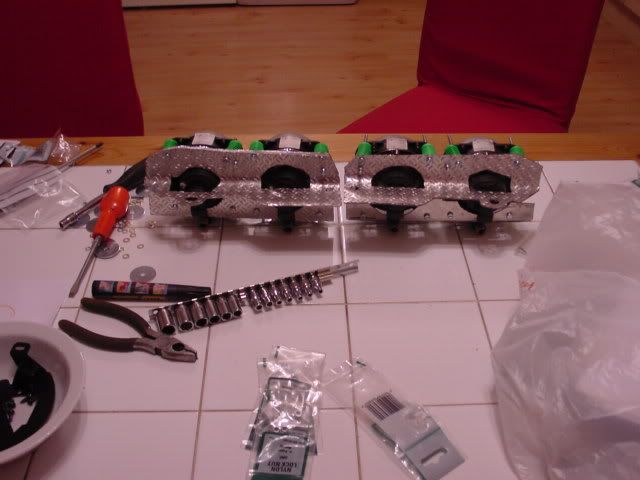
Well day two has been long and hard, decided to make my own custom bracketry for the sleek headlights as the kit came from ebay and the brackets supplied were utter *****.
Please note - you do NOT have to do this with proper sleek headlight kits from reputable manufacturers - dont let my pain desuade you!
Anyways, i have the majority of the offside mount mocked up. Everything fits - just needs some adjustment now for clearances, then im going to paint the bracket and bolt it all down. Then comes the wiring - should be simple compared to today!
The nearside mount should be easier as i can copy the offside mount rather than starting with a piece of cardboard and some scissors haha.
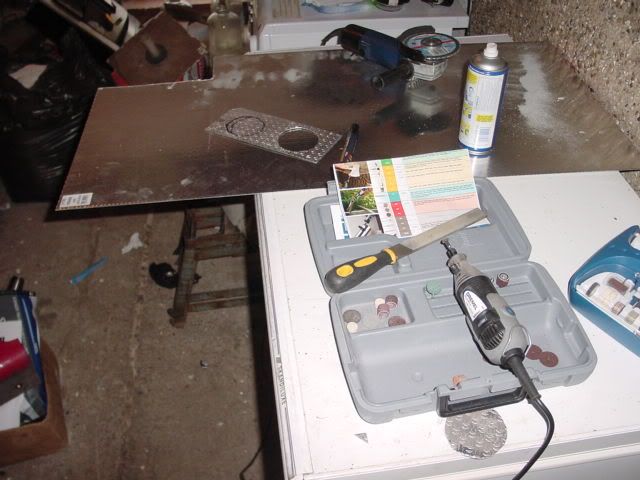
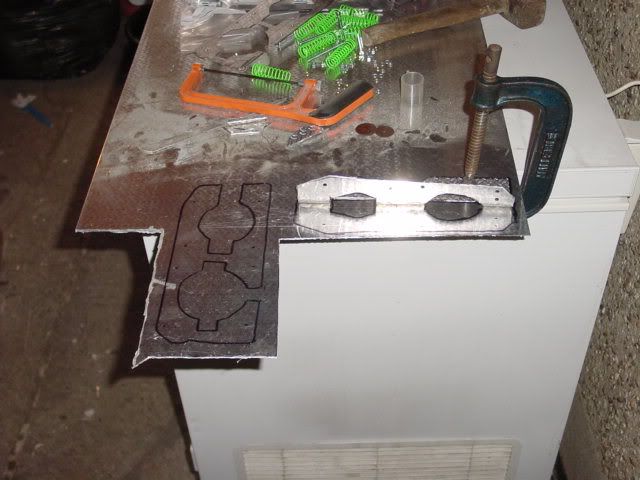
The kit:

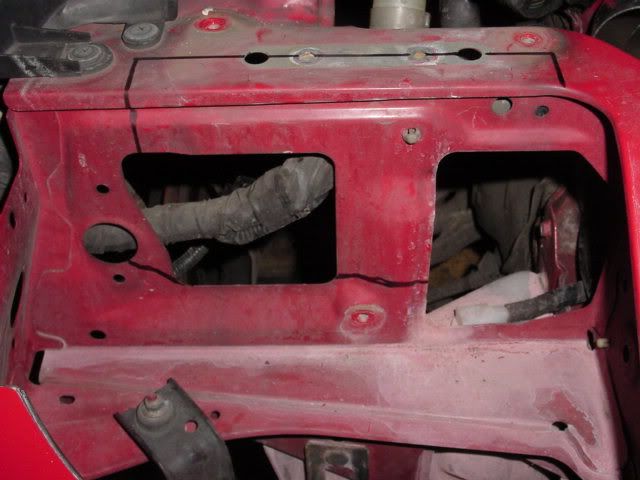
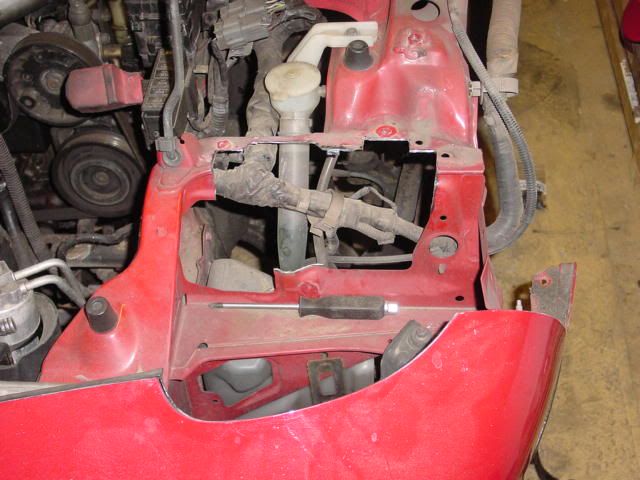
Cutting the chassis:


Over to the fabricating table...alias my freezer haha

Slowly getting there...


And we are done!

That whole bracket was custom made, and a pain in the ***.
MOre to come tomorrow. Hopefully ill get both lights finished tomorrow so i can start pulling the engine thursday.
Please note - you do NOT have to do this with proper sleek headlight kits from reputable manufacturers - dont let my pain desuade you!
Anyways, i have the majority of the offside mount mocked up. Everything fits - just needs some adjustment now for clearances, then im going to paint the bracket and bolt it all down. Then comes the wiring - should be simple compared to today!
The nearside mount should be easier as i can copy the offside mount rather than starting with a piece of cardboard and some scissors haha.
The kit:
Cutting the chassis:
Over to the fabricating table...alias my freezer haha
Slowly getting there...
And we are done!
That whole bracket was custom made, and a pain in the ***.
MOre to come tomorrow. Hopefully ill get both lights finished tomorrow so i can start pulling the engine thursday.
Last edited by dgeesaman; Sep 8, 2006 at 04:35 PM.
Trending Topics

Thread Starter
RX7 lover
Joined: Jun 2005
Posts: 1,160
Likes: 3
From: UK
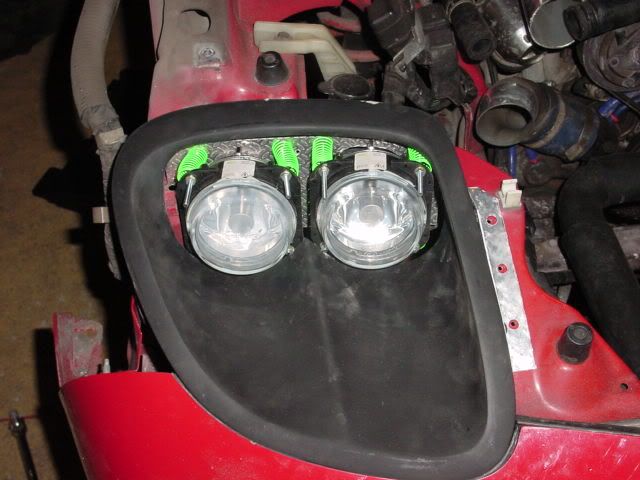
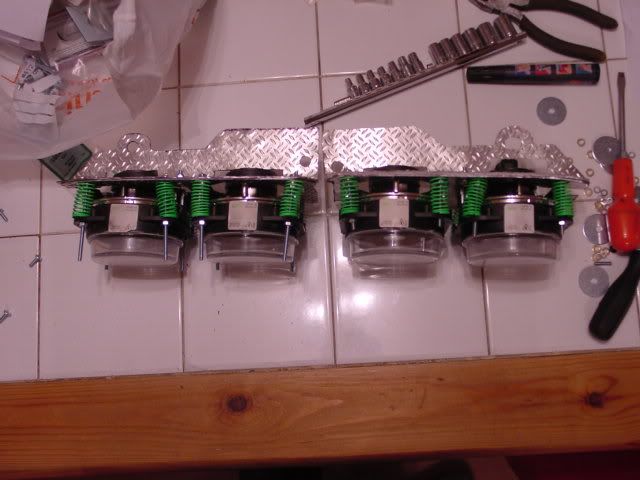
Yes recon, they are. They are from an HPI savage. I spent 30 minutes looking around hardware shops for springs, and then remembered the RC car shop i spend so much money in (my other hobby) they have loads of springs!
Thread Starter
RX7 lover
Joined: Jun 2005
Posts: 1,160
Likes: 3
From: UK
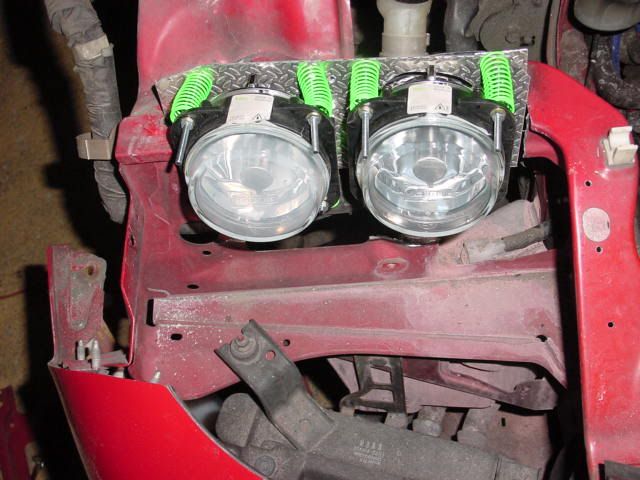
Maybe they reduce vibration to the lights, but the main thing is because i have fabbed this up by hand and its GOING to be seriously bent, i need a way to make large adjustments to the light angles easily without getting to the back of the lights (as the cover will be on)
Springs allow me to do that, by just screwing the nut down or loosening it off.
Springs allow me to do that, by just screwing the nut down or loosening it off.
Senior Member
Joined: Dec 2005
Posts: 453
Likes: 0
From: Wisconsin, Milwaukee
Ahhhh, this brings back memories of trying to install my RE Amemiya headlights......though not fond memories. Im glad to see that you went with the lights suppied with the kit, that was my biggest mistake.
Its lookin Nice!
Its lookin Nice!
Thread Starter
RX7 lover
Joined: Jun 2005
Posts: 1,160
Likes: 3
From: UK
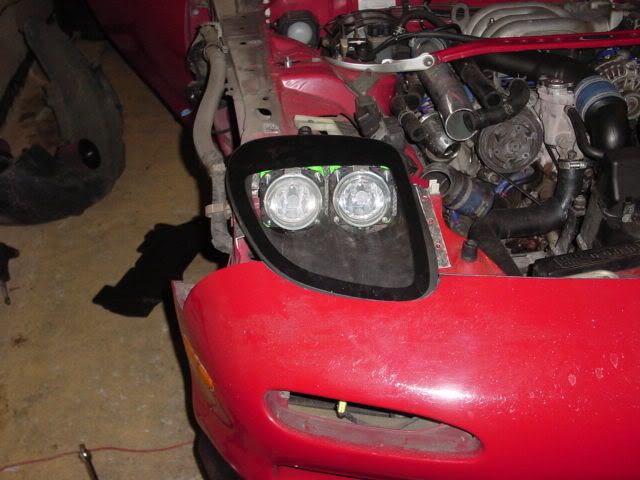
Todays works:
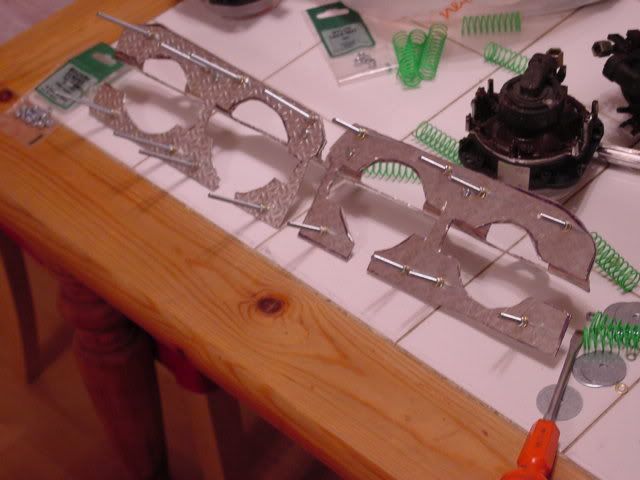
Got the o/s mounts done yesterday, so traced them today for the N/s mount:

Cut chassis:

And got the other side provisionally mounted up:

Started assembly of the final mock up before paint..can anyone spot the mistake?


now the offside is just about done, everything lined up as it should be. Just wiring and finishing up left to do now for this side, and about another 2 hours on the other side.

Progress slower than i would have liked, but thats life.
Tomorrow i hope to finish the lights totally by early afternoon, remove them for paint and then start disconnecting stuff so i can remove the engine.
Got the o/s mounts done yesterday, so traced them today for the N/s mount:
Cut chassis:
And got the other side provisionally mounted up:
Started assembly of the final mock up before paint..can anyone spot the mistake?
now the offside is just about done, everything lined up as it should be. Just wiring and finishing up left to do now for this side, and about another 2 hours on the other side.
Progress slower than i would have liked, but thats life.
Tomorrow i hope to finish the lights totally by early afternoon, remove them for paint and then start disconnecting stuff so i can remove the engine.
Last edited by dgeesaman; Sep 10, 2006 at 09:14 AM.

Thread Starter
RX7 lover
Joined: Jun 2005
Posts: 1,160
Likes: 3
From: UK
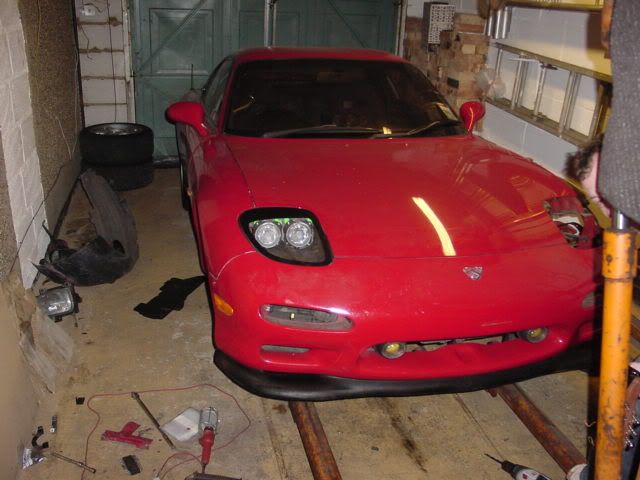
quick update...while i have a well deserved break. Got the lights on, just fitting the front wings and finalising, then i gotta tidy up and start pulling out the engine.
Made a cover for the lights...well, its just a strip of gaffer tape at the moment but plan is to paint the perspex some more! covers the springs.

Made a cover for the lights...well, its just a strip of gaffer tape at the moment but plan is to paint the perspex some more! covers the springs.
Last edited by dgeesaman; Sep 10, 2006 at 09:15 AM.


Thread Starter
RX7 lover
Joined: Jun 2005
Posts: 1,160
Likes: 3
From: UK
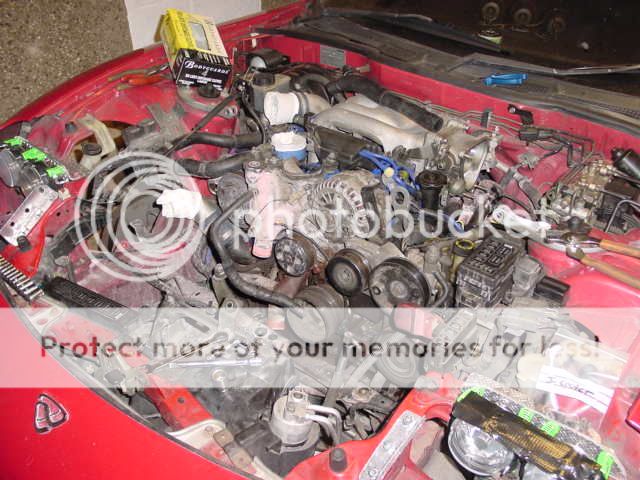
Quick update...no pics, sorry.
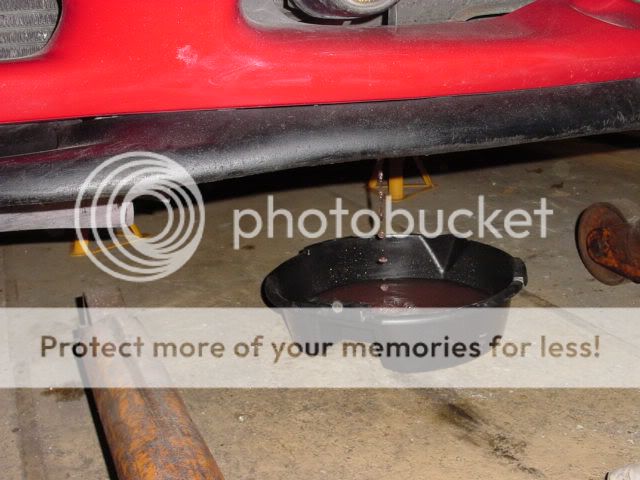
Got the pulley off - used a strap oil filter wrench (chain type) with a leather band around the pulley to hold it still and it came free.
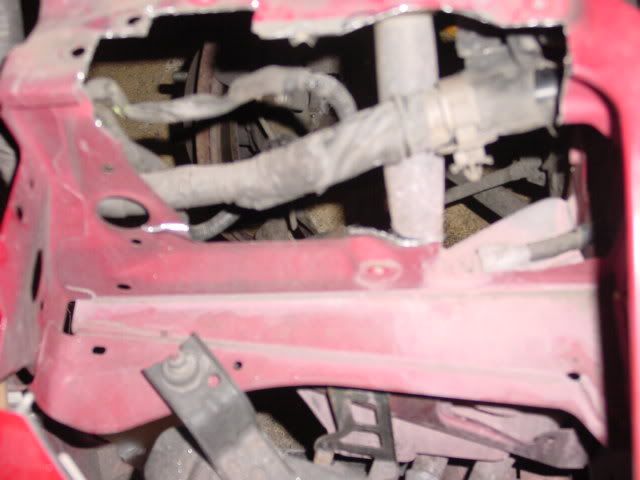
PS pump off, AC pump off, DP disconnected, all looms out, fuel lines disconnected, clutch disengaged, bla bla. Basically, ive got to undo the bellhousing and engine mounts, and out she comes.
Thats happening at some point this week, possibly thursday.
Got the pulley off - used a strap oil filter wrench (chain type) with a leather band around the pulley to hold it still and it came free.
PS pump off, AC pump off, DP disconnected, all looms out, fuel lines disconnected, clutch disengaged, bla bla. Basically, ive got to undo the bellhousing and engine mounts, and out she comes.
Thats happening at some point this week, possibly thursday.