
Vert spoiler install help

Good evening all!
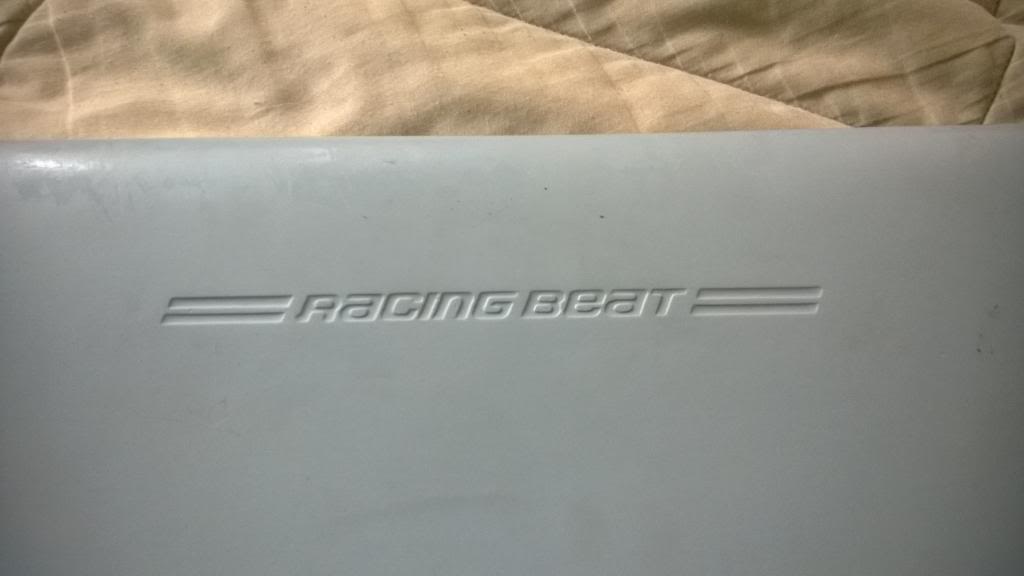
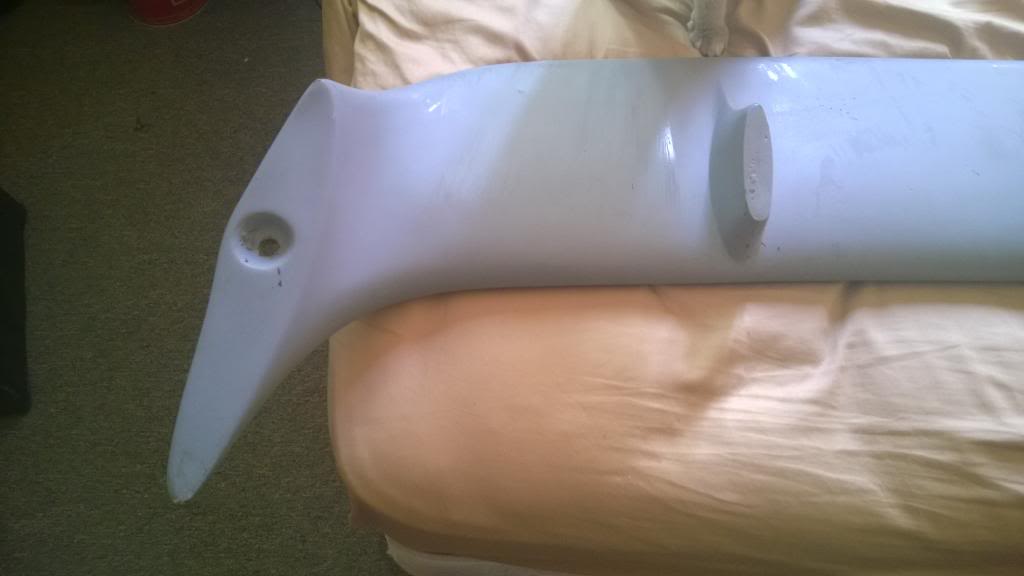
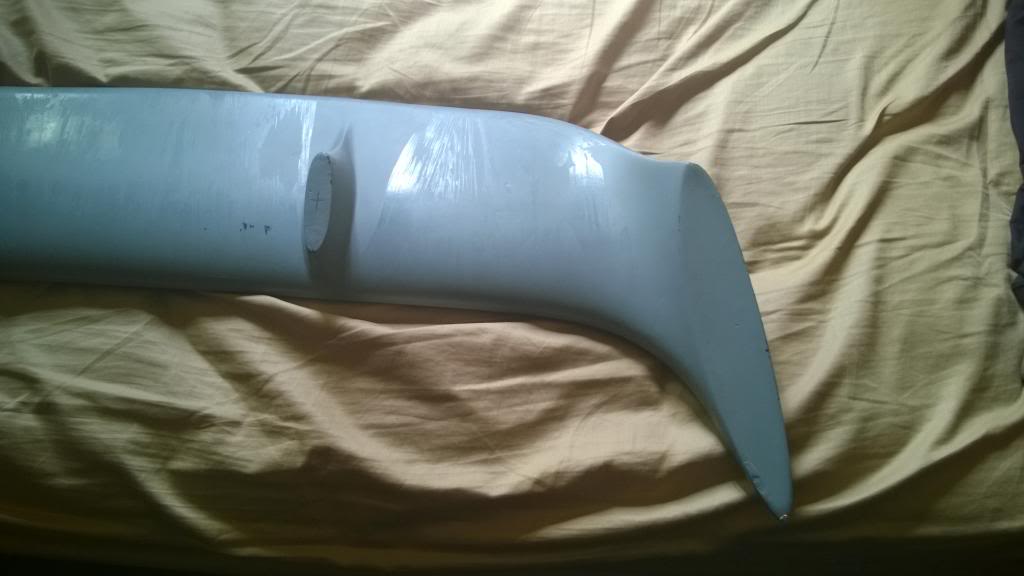
I recently came into possession of a racing beat spoiler made for the convertible, and I don't think has ever been used due to the fact that there are no holes drilled anywhere.


This is a test fit to see how it looks on the car.
I do need to get it sanded and painted, but that part is fairly easy.
I'd like to be able to use this spoiler, but I'm not quite sure how to specifically attach this spoiler. I would like to put studs into the spoiler and be able to bolt it to the trunk lid, but I'm not sure if that is the correct way to do that.
Any experienced body work people have any input?
You lucky dog, I've been looking for one of these for a few years now. I can't provide much help in getting it mounted for you. I'd think the two pieces that attach it to the trunk would have threaded studs. You'd make sure it's centered and make two or maybe four holes in your trunk lid and bolt it down.
If you decide to part ways with it let me know (for real, let me know)
If you decide to part ways with it let me know (for real, let me know)
We put a 3000GT wing on ours and it had two threaded inserts in the center mounting pylon and a stud (rear) and insert in each of the outer. I'm sure yours has inserts as they'd have to be built in to the wing structure. The wings don't so much improve downforce as create a ton of drag and a strong fastening system is a requirement or you'll leave debris on the roadway. Don't Mess with Texas.
If you don't see them I'd call Racing Beat and ask them.
When we mounted ours we covered the mounting areas with plenty of blue tape. That allowed us to position it without scratching the paint. We then used some thin cardboard (from a 12-pack of Dr. Pepper) and using the studs and bolts made templates for each of the pylons (marking them for identification) and cut them out.
Then we positioned the wing and measured from the sides and back to the studs to get it even. You can put bolts into the inserts and then cut the heads off. The studs made for nice positive references. We marked the stud positions on the blue tape and put the wing aside. Then we opened the trunk to see how the substructure would interfere with the fasteners. It would for all of them which is probably good because the stress wouldn't be placed on just sheet metal.
We drilled out the stud holes and then placed the wing and measured again to be sure. We then drew on the blue tape the outline of each pylon. We pulled the wing and used the templates to mark and drill the other holes. Then we had to drill out the bigger holes in the structure which was a pain because of the angles and curves. Its been a while but I think we used some carbide bits in a pneumatic. The idea is to get them just big enough for a socket.
Then we painted all the exposed metal so it wouldnt rust and let it dry overnight.
We had to build up the bottom of the pylons to get a perfect flush fit since the wing wasn't built for the RX7 but you shouldn't have to deal with that. The ends of yours don't look even with the fender but that could be the photo.
Good luck.
I'll need to add some sort of spacers to the pedestals in order to get it to sit on the car just right, but I'm still trying to figure out exactly how to do this. I was thinking of using some sort of rubber mat thing and cut it down to shape does it doesn't look odd and then seal the holes with something so water doesn't leak into the trunk.
I'll photoshop the idea I had and post it to see if my idea is going in the right direction.
I'll photoshop the idea I had and post it to see if my idea is going in the right direction.
Honestly if you don't know it's best to take it to someone who does. You can find bodymen doing work under the table by going into your local autobody supply shop and asking for people doing work on the side.
That is a kinda rare piece you have there, it'd be a shame to butcher the job or worse yet damage it or your trunk lid from it not being installed properly.
That is a kinda rare piece you have there, it'd be a shame to butcher the job or worse yet damage it or your trunk lid from it not being installed properly.
Ok to give y'all a better idea of what I'm working with, I included photos of the underside of the spoiler. I plan to put some sort of cushioning on the parts that touch the fender. I purchased small round adhesive felt pads that are 1" in diameter and should work nicely for that purpose.


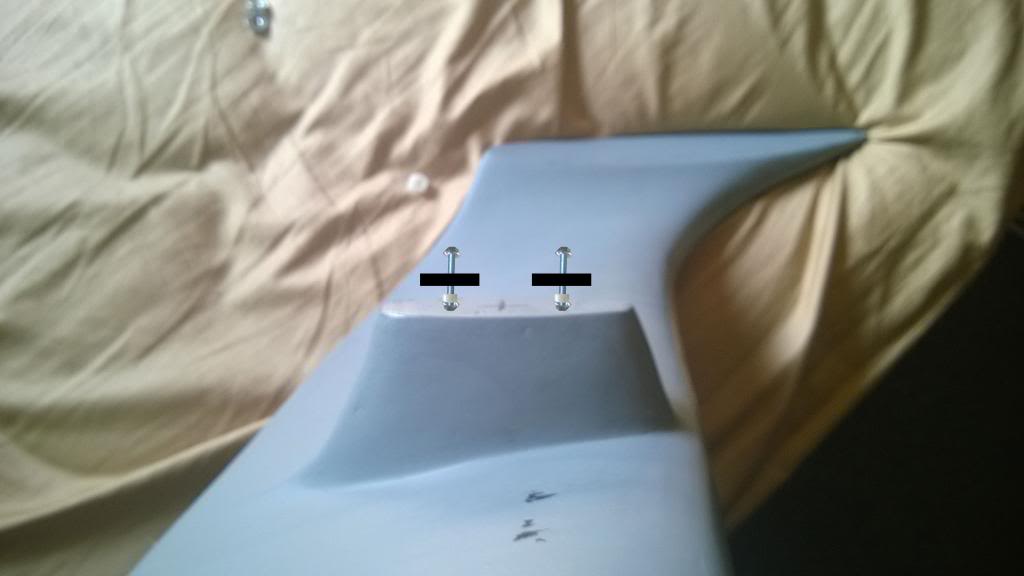
I'm starting to think that maybe two studs per pedestal would be better than just one per pedestal. I've photoshop'd the idea I have for putting the hardware on there. I was thinking it may work if I drill a hole, and use a strong adhesive and glue a nut in, and then insert the thread (loctite on the threads as well) and then drill holes into the trunk lid and figure out the spacing part and then bolt it down with the a nut per stud and maybe a flat washer or something.
I'll do some more research on mounting a spoiler to see some other techniques and I may give RB a call to see if they have any sort of documentation or advice that could help.

Thoughts?


I'm starting to think that maybe two studs per pedestal would be better than just one per pedestal. I've photoshop'd the idea I have for putting the hardware on there. I was thinking it may work if I drill a hole, and use a strong adhesive and glue a nut in, and then insert the thread (loctite on the threads as well) and then drill holes into the trunk lid and figure out the spacing part and then bolt it down with the a nut per stud and maybe a flat washer or something.
I'll do some more research on mounting a spoiler to see some other techniques and I may give RB a call to see if they have any sort of documentation or advice that could help.


Thoughts?

Trending Topics

Thread
Thread Starter
Forum
Replies
Last Post