When you click on links to various merchants on this site and make a purchase, this can result in this site earning a commission. Affiliate programs and affiliations include, but are not limited to, the eBay Partner Network.
I just wanted to share and document my experience changing the key code of my ignition lock. When I bough my FC I had to manage 4 keys, 1 for each door, 1 for the hatch and 1 for the ignition (with the duplicates). Then I went to a Mazda dealer and with the VIN they could tell me what was the original key code of the car. NONE of the keys was the original key code. The car is in good shape, but I had no idea what kind of history led to all locks being exchanged. In any case, I decided to rekey everything according to the original key code, since then the key code is tied to the VIN and documented at Mazda, so I asked the dealership to cut a new key for me with the original code.
I managed to rekey the hatch and the 2 doors. Those locks were easy to disassemble. The final lock was the ignition lock and I found zero guidance on that anywhere in the internet, so I guess it fell onto me to do a tutorial on it.
First, know that I'm a nuclear engineer, not a lock smith. Since I'm not a professional at this, I take zero responsibility for any occurrences coming out from following this guidance. It worked for me, twice, because I bought a spare lock to test before doing it on mine. Both locks work, but you do it at your own risk.
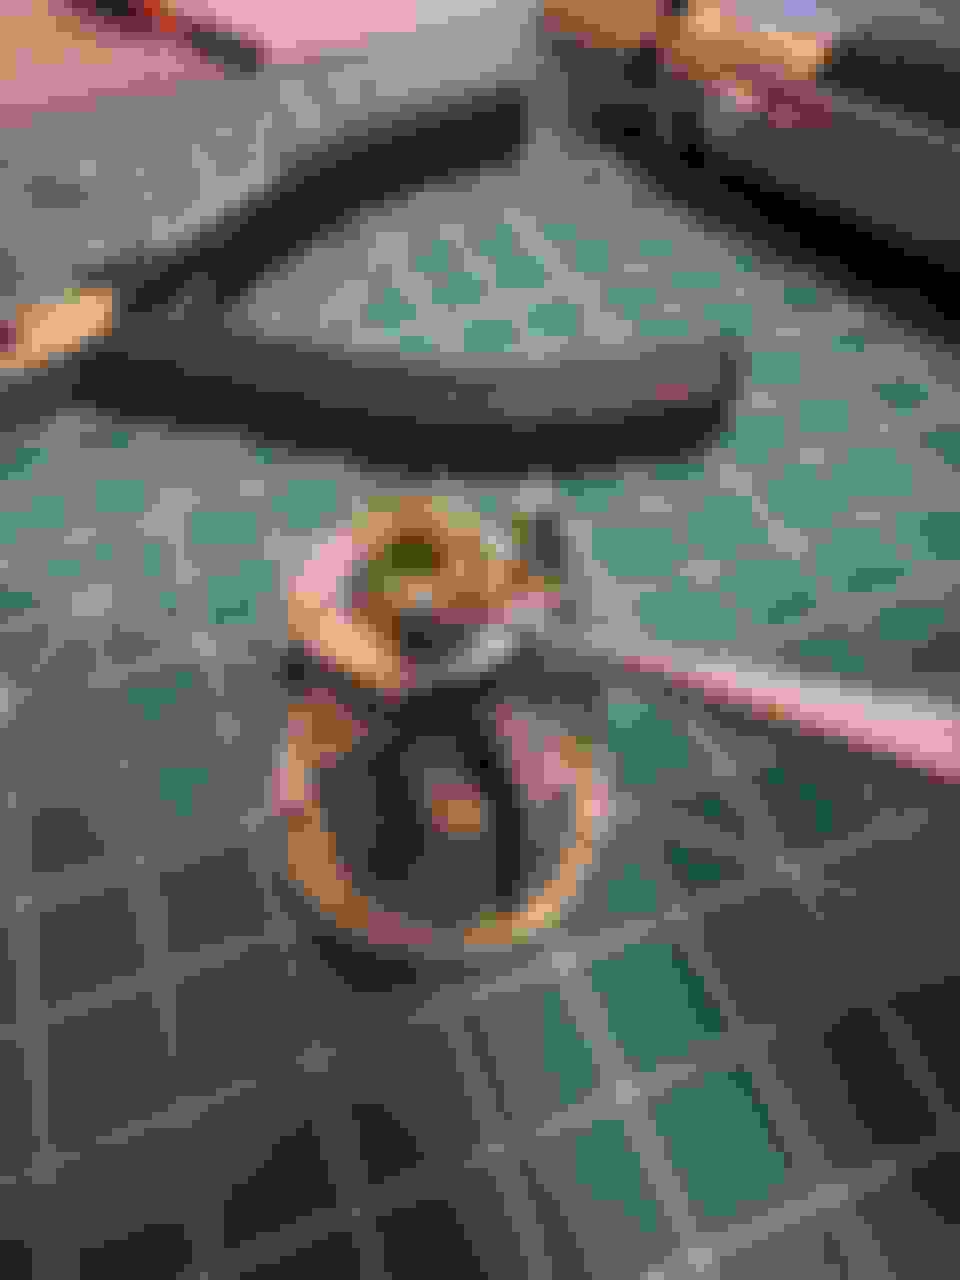
Remove the ignition lock and switch from the steering column (you can figure out how to do that). Remove the screw that mounts the switch to the lock, and de-pin the red-black and black cables to separate the switch from the lock. You can de-pin using a very fine pointed tweezers or similarly pointy tool. You should have just the lock and that switch which detects the presence of the key. That switch is held in place by push nuts, so removing it is too much of a bother. We can proceed with it mounted. The lock barrel is held in place by 2 roll pins. Using a paper clip, I measured the depth to be around 8 mm. Drill those roll pins to free the lock barrel. The 5/64 drill bit, or some drill around 2 mm does this job well. Be patient to avoid damaging the lock body. Be careful when drawing the barrel! There is a spring right there and if you're not careful, you will lose it. Put aside the spring-loaded lever and the spring at the end of the barrel. Remove this retaining clip. and set aside the this washer. I didn't manage to remove the entire roll pin before, but now there is another chance to remove it and clean the hole. Insert the lock key inside. This is the key that currently works with the lock. This is necessary to align all the wafers inside and allow it to slide out. Otherwise, you will have problems.
Now, everything is out, and we can rekey the lock. To rekey, you need to replace these wafers, which slide into place when you insert. Be careful not to lose the small springs that spring-load the wafers. I used this chance to remove the grease on the barrel with break cleaner. I will replace this by a dry lubricant. If you decide to do the same, use dry lubricant only on the barrel (to avoid the wafers getting sticky with time and dust). Leave the grease on the other parts of the lock. To rekey the lock, remove all wafers (except the last, which mounts the barrel and has nothing to do with the lock code). Then insert them 1 by 1, using the key you want to use on the car to check that the wafer you used stays flush with the barrel when the key is inserted. Chances are if you are just switching the wafers, you won't have the right wafers for all 7 slots. If you want to have a complete lock you might have to order wafers from ASP. The catalog code for the RX-7 FC lock wafers are: P-20-111 P-20-162 P-20-163 P-20-164 The rekey is complete. Now you can insert the barrel (with the key) into the assembly. To reassemble everything, I will tap the holes and use set screws. It the M3 tap, and M3 set screw work well for this. Tap the body of the lock on both roll pin locations with the M3 tap. You can see that when we insert the set screws, they have different insertion depths. We will grind that part to make it into a pin. Grind the threads that were exposed. You should have something looking like this. Test if the smooth part slides into the hole in the assembly. Put the lever and the springs back into the assembly.
Reinsert the assembly back into the body. Put the set screws to hold everything in place. Now this lock can be easily disassembled in the future if necessary (either to re-lubricate or to exchange worn wafers for new ones). It's done. To finalize, use dry lubricant in the key slot. I used B-N one, since it binds with the metal surface to create a dry film. It should allow everything to move well, but prevent it from getting slimy in the future. And now I can throw all these into the garbage! Bye!
Well documented, good job. Did this many times over the years for a few lock sets. I hated having a loose key as well, folks considering this should pay attention to bad cut/worn keys that like to jingle to the floor on the highway 👍