
JerryLH3's RX-7 Turbo II Restoration

Thread Starter

Joined: Feb 2001
Posts: 2,855
Likes: 225
From: Tampa, FL
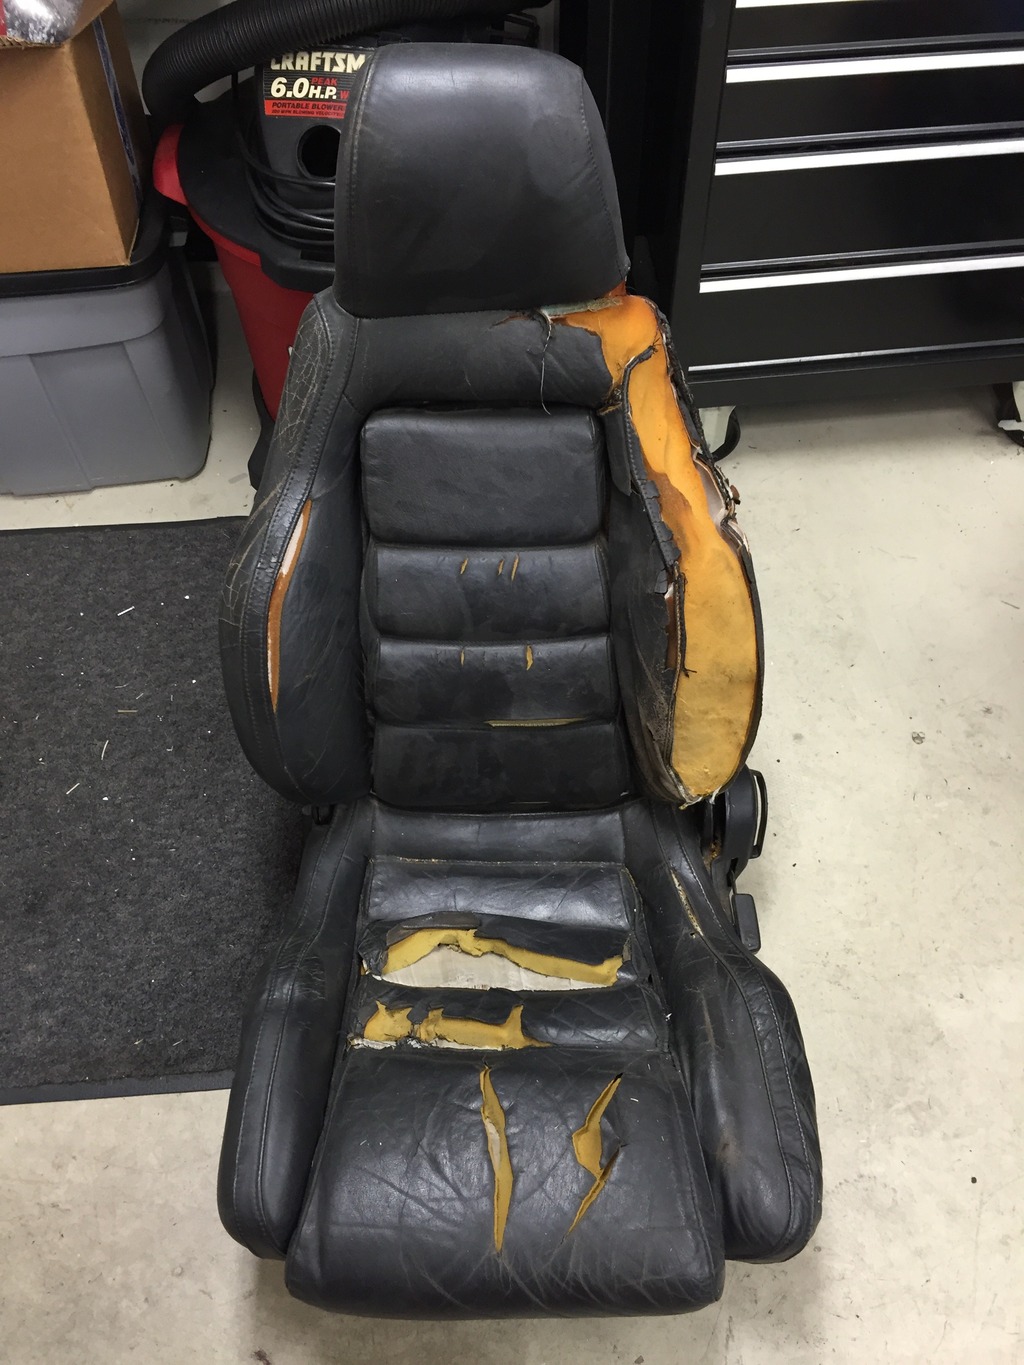
I guess it�s time for an update. I shifted gears a little bit and did this project in late July and August. It certainly wasn�t necessary for it to be done now, but I needed to create some space in the garage and this allowed me to discard unused parts once I was done.
With just a little bit of effort (and some foam from another set of seats), I went from this:
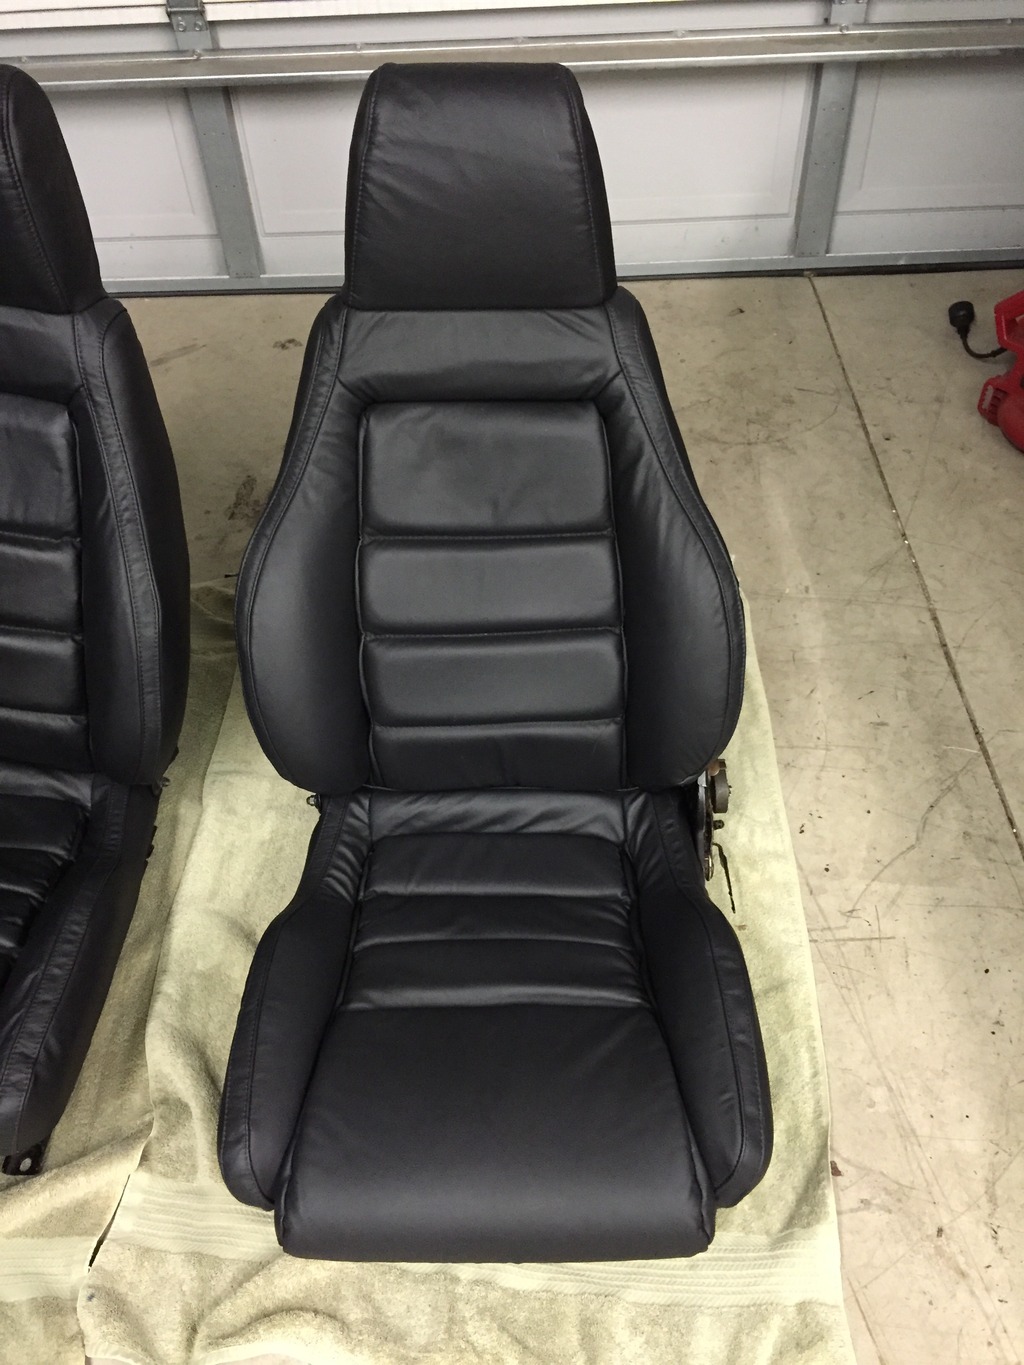
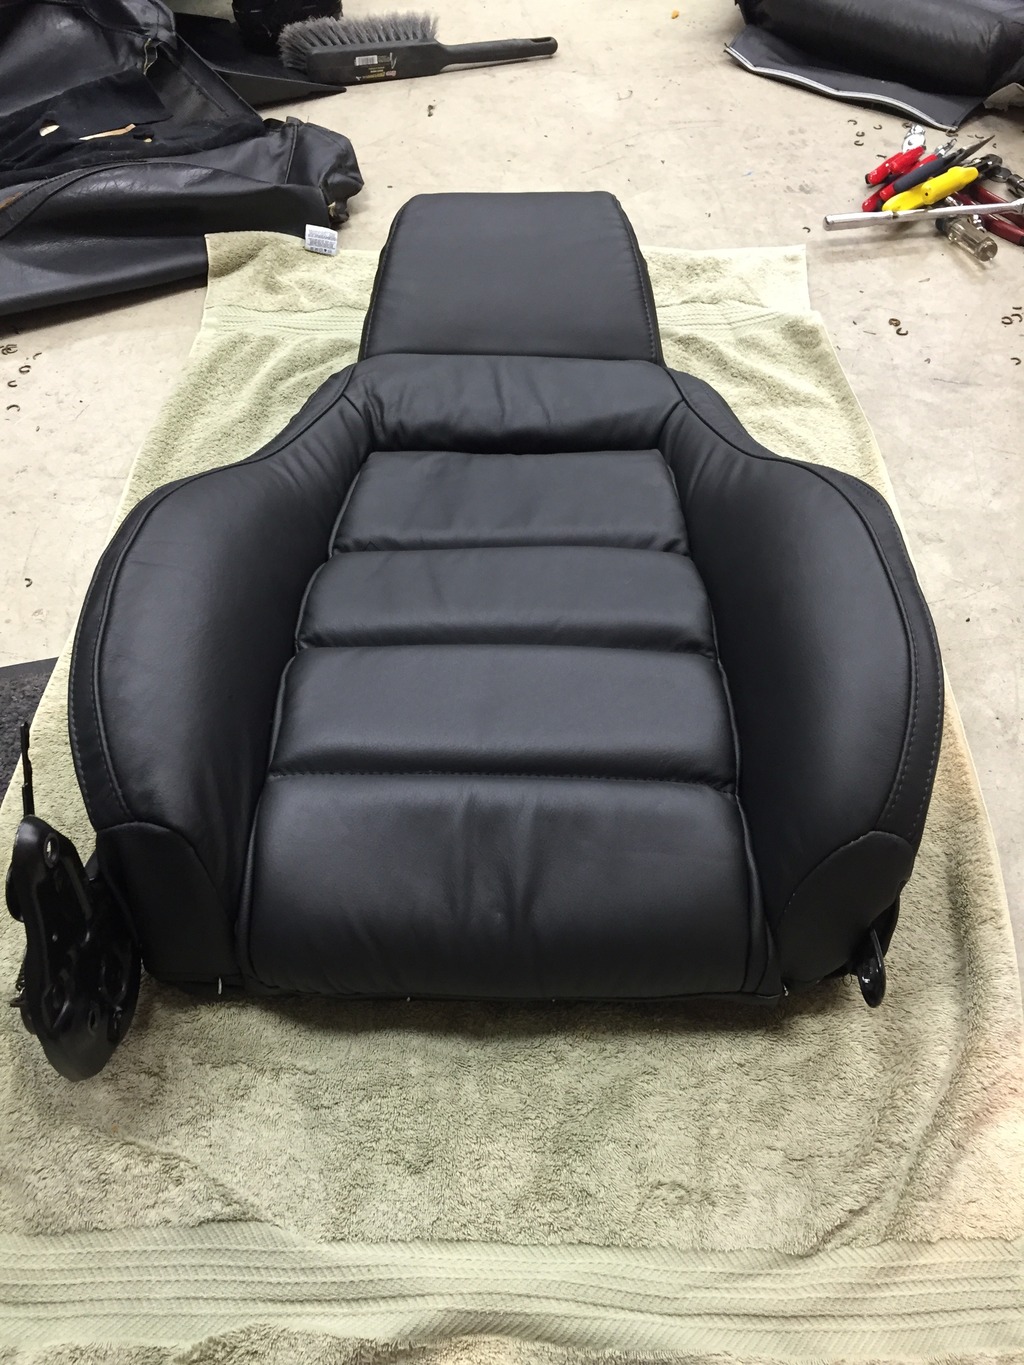
To this:
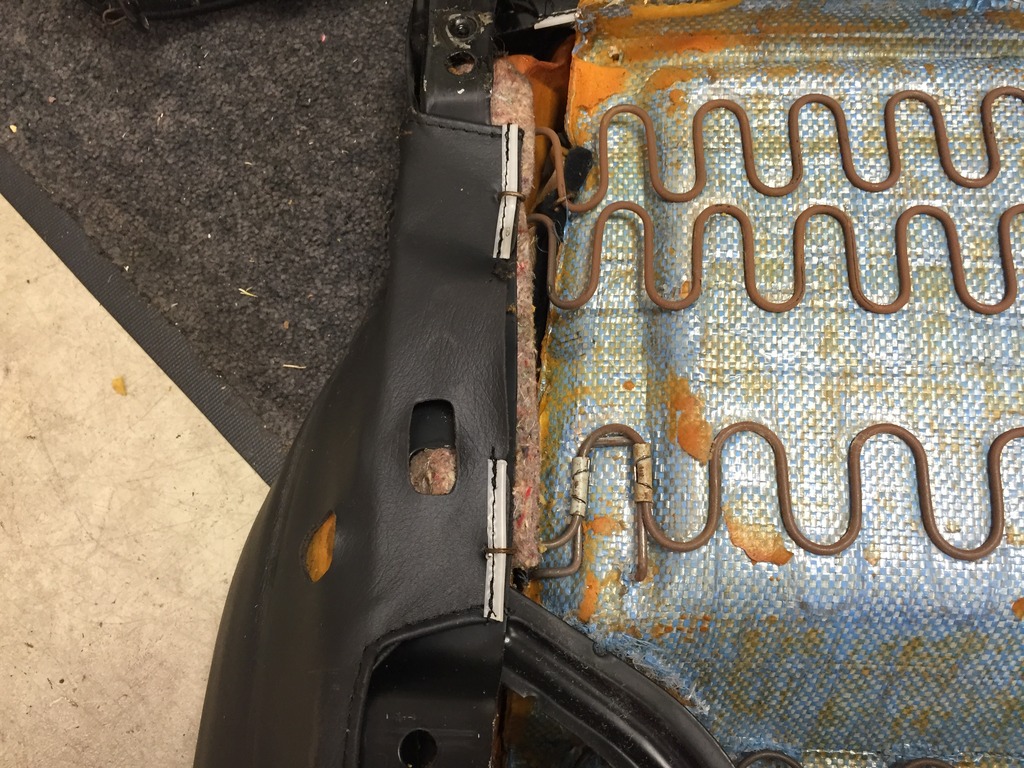
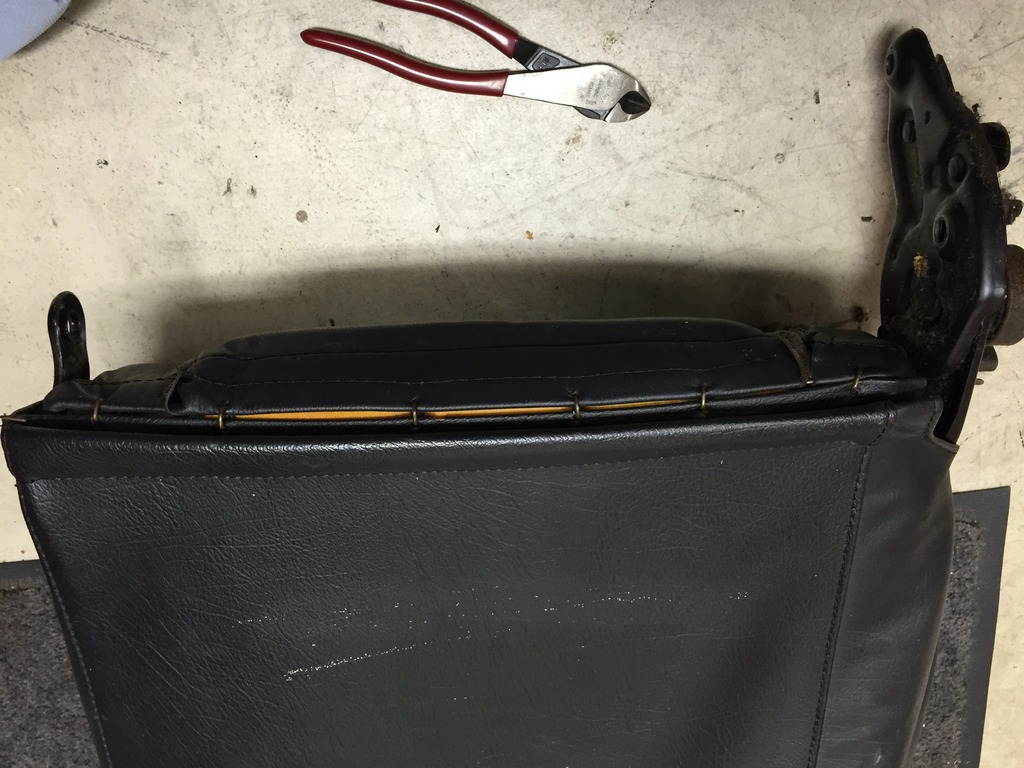
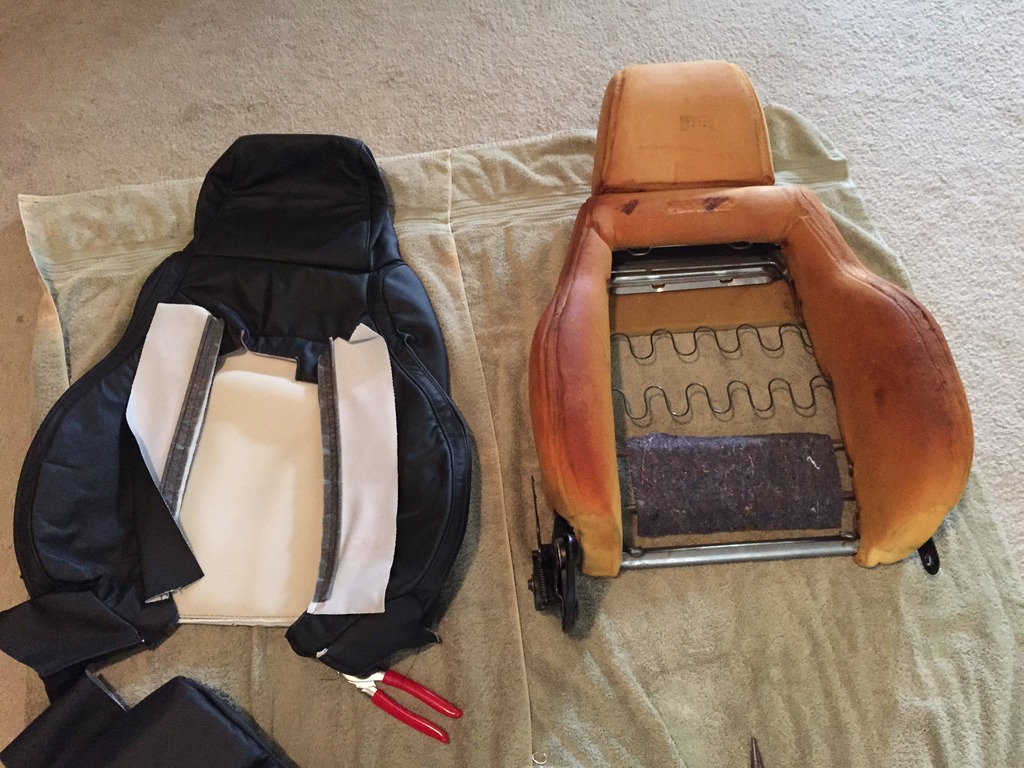
So, let�s get started. Disassembly is pretty easy. I�ll let the pictures tell most of the story.

With just a little bit of effort (and some foam from another set of seats), I went from this:
To this:
So, let�s get started. Disassembly is pretty easy. I�ll let the pictures tell most of the story.
Thread Starter
Joined: Feb 2001
Posts: 2,855
Likes: 225
From: Tampa, FL
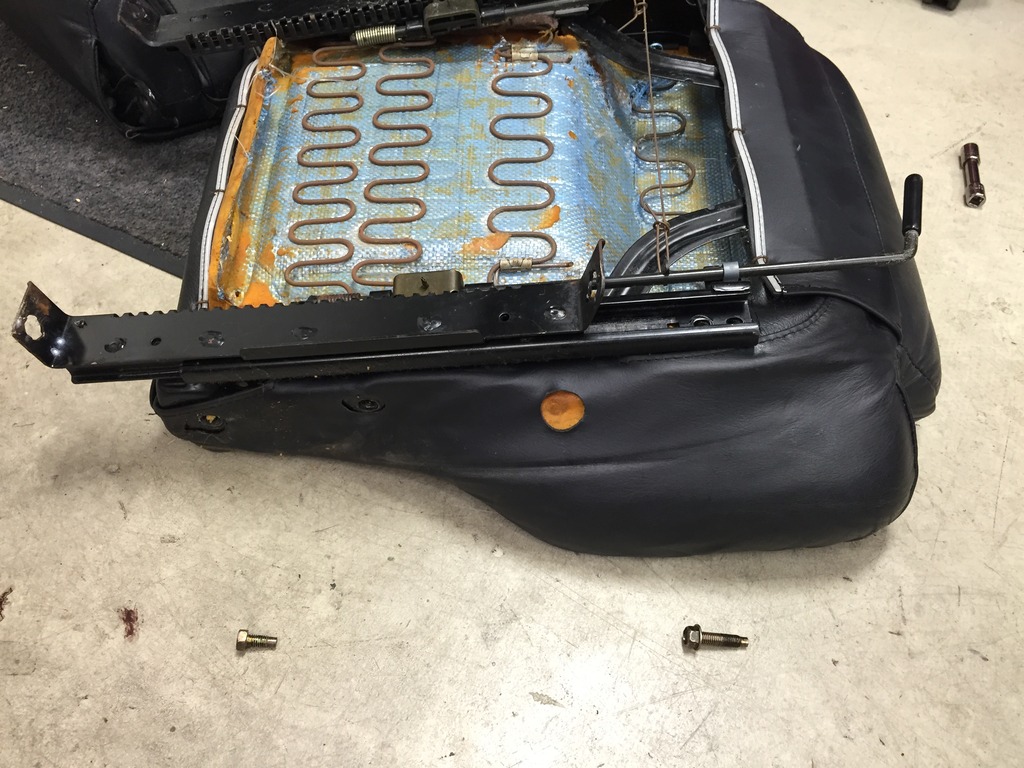
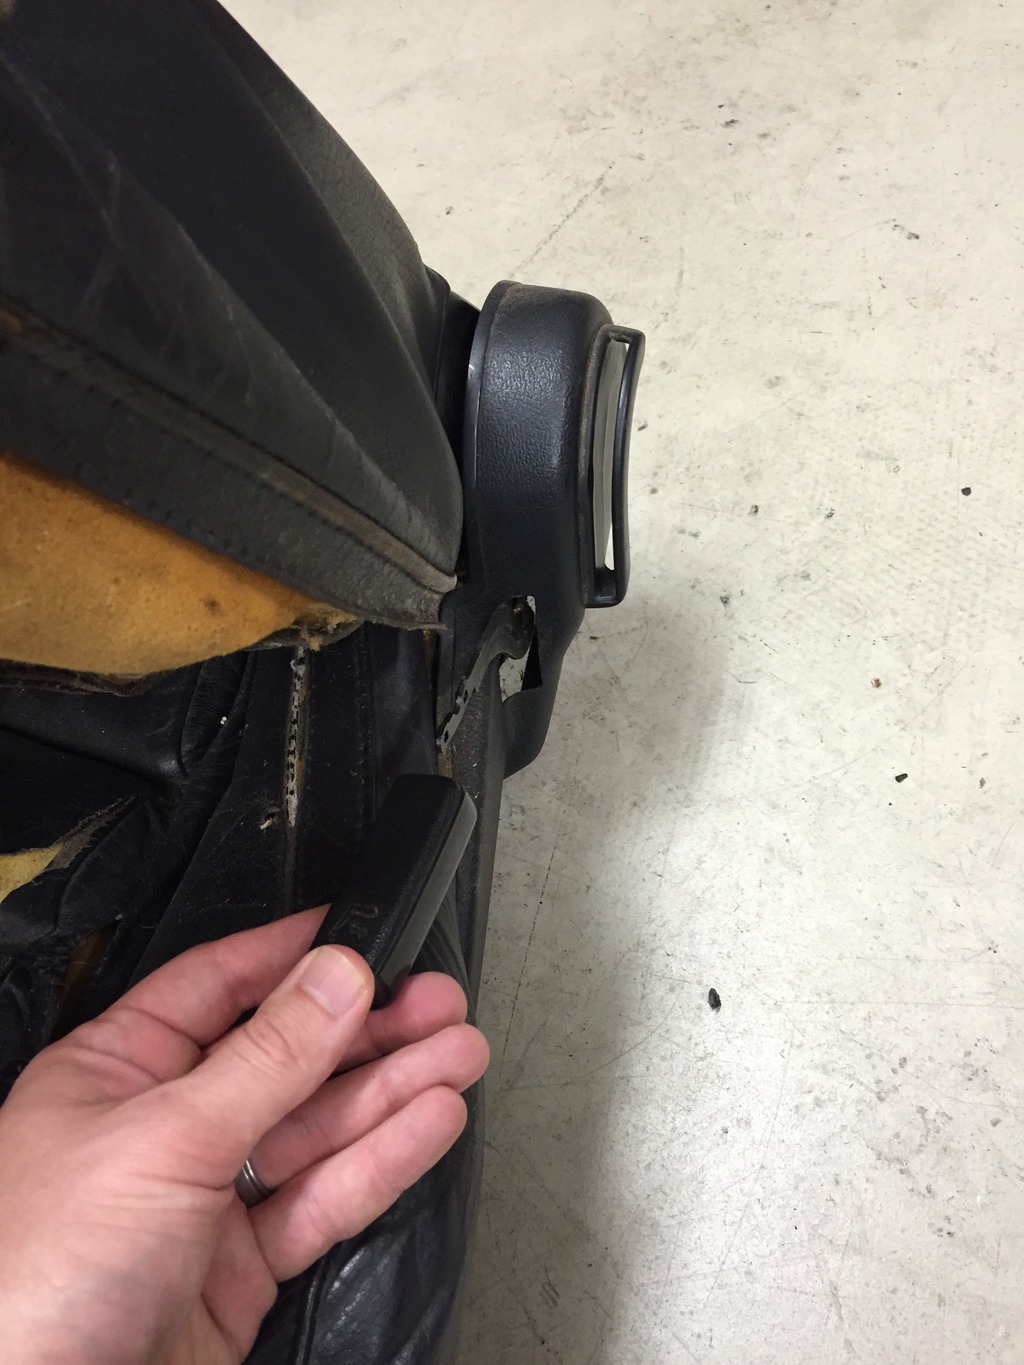
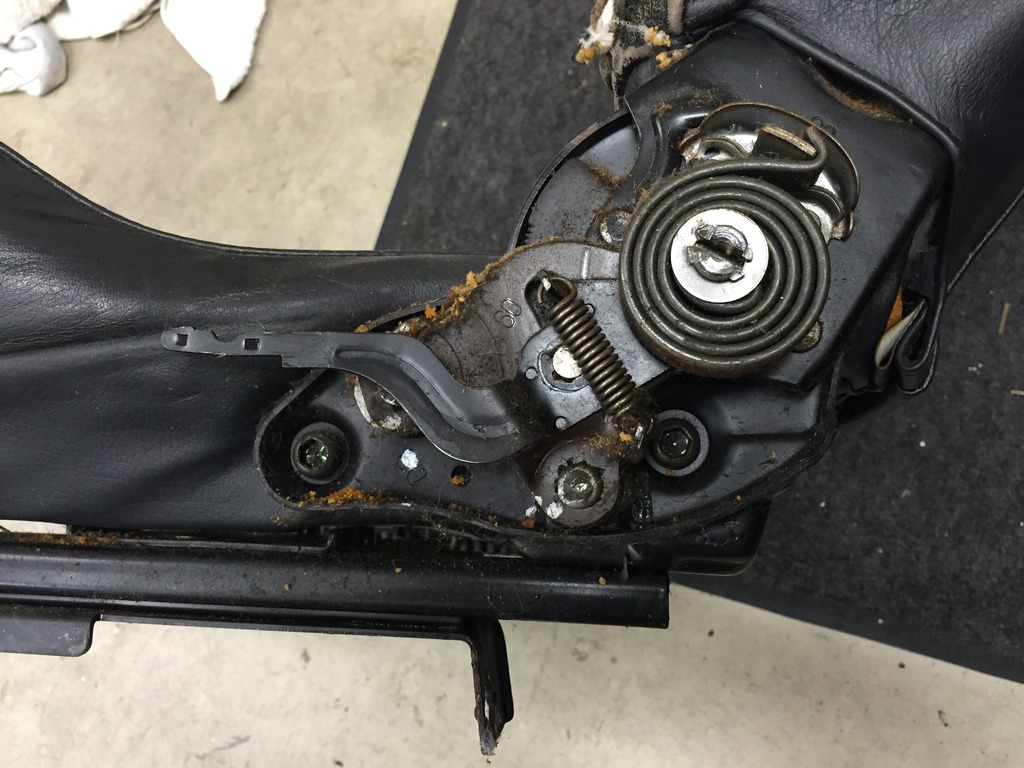
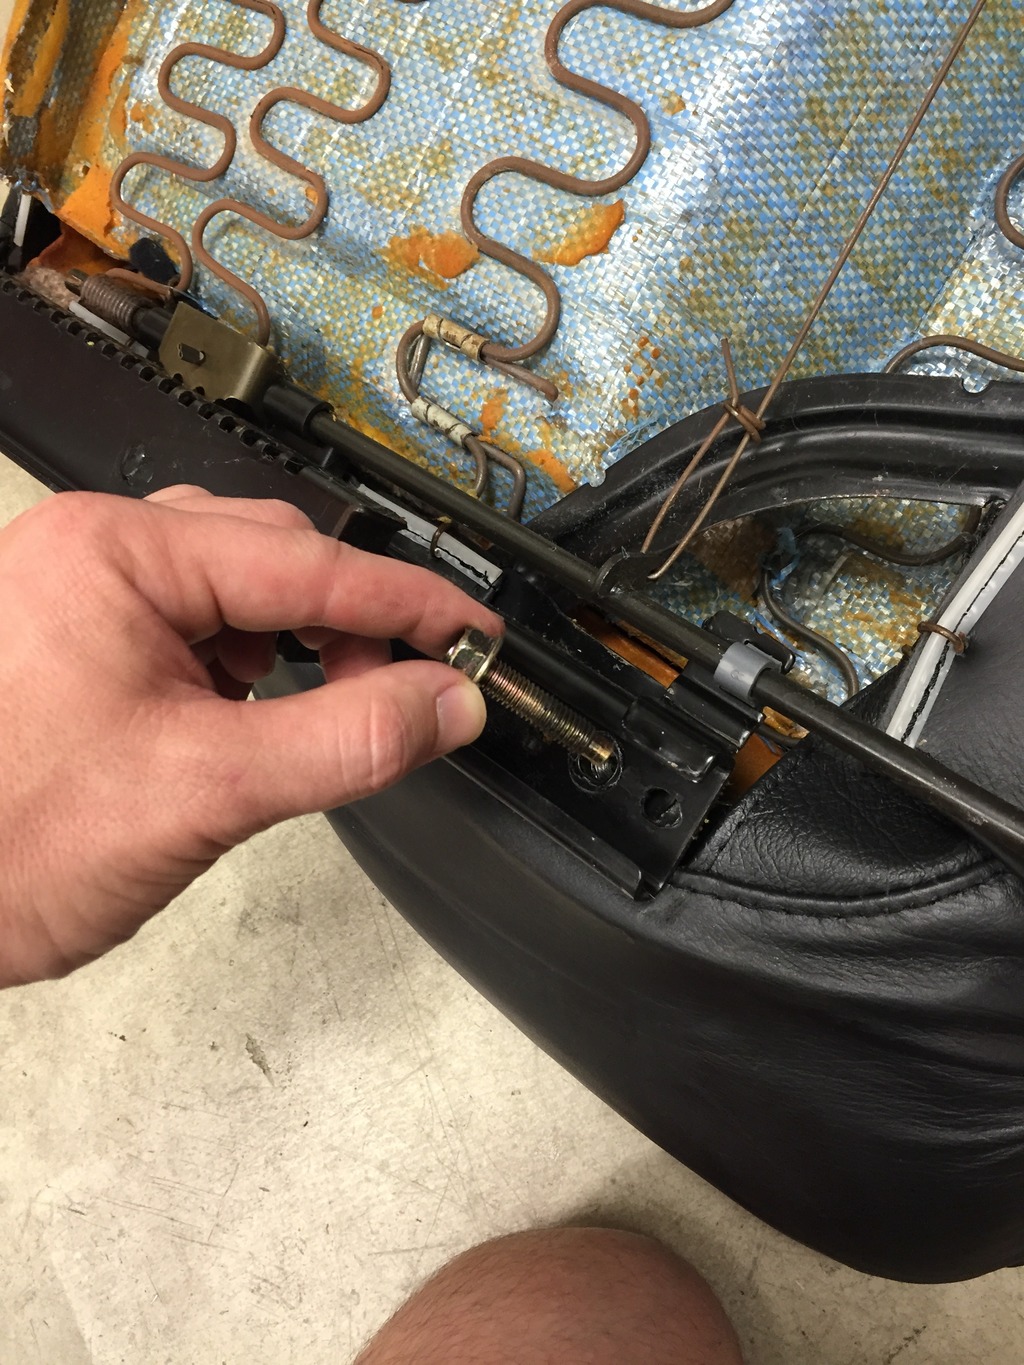
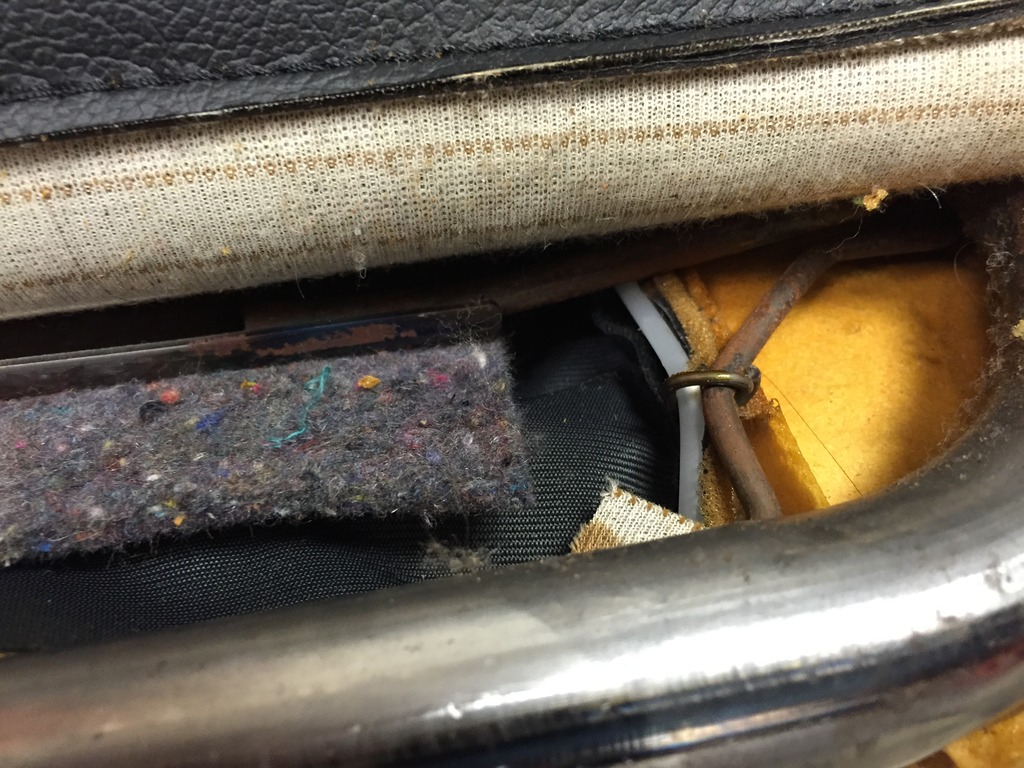
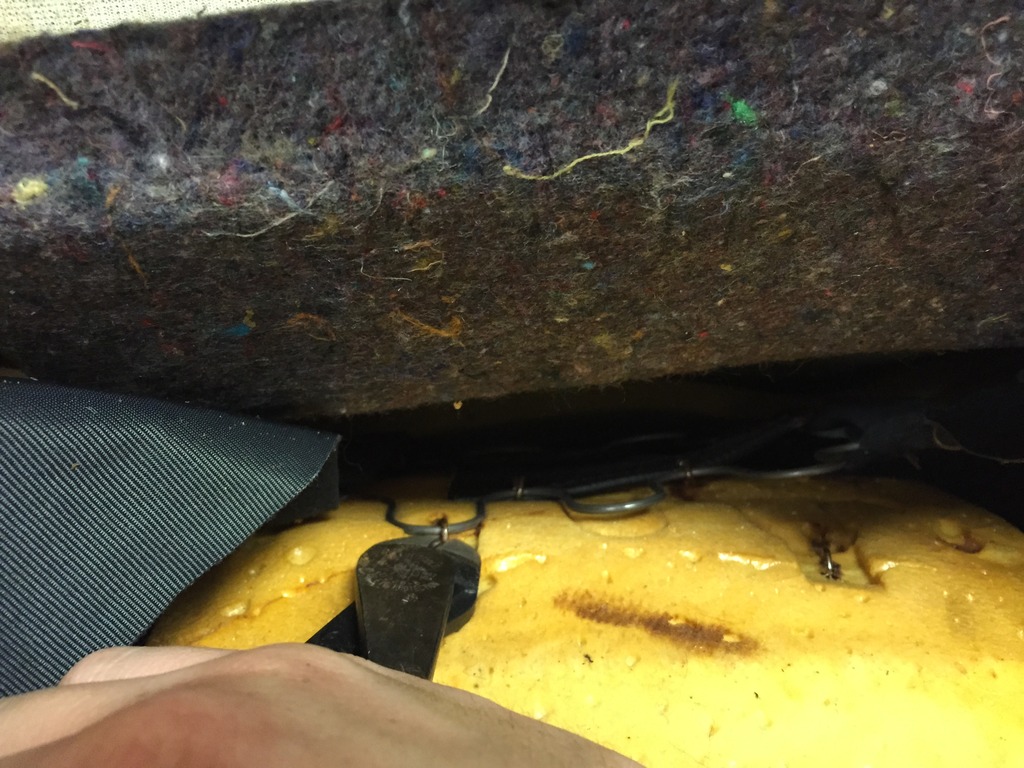
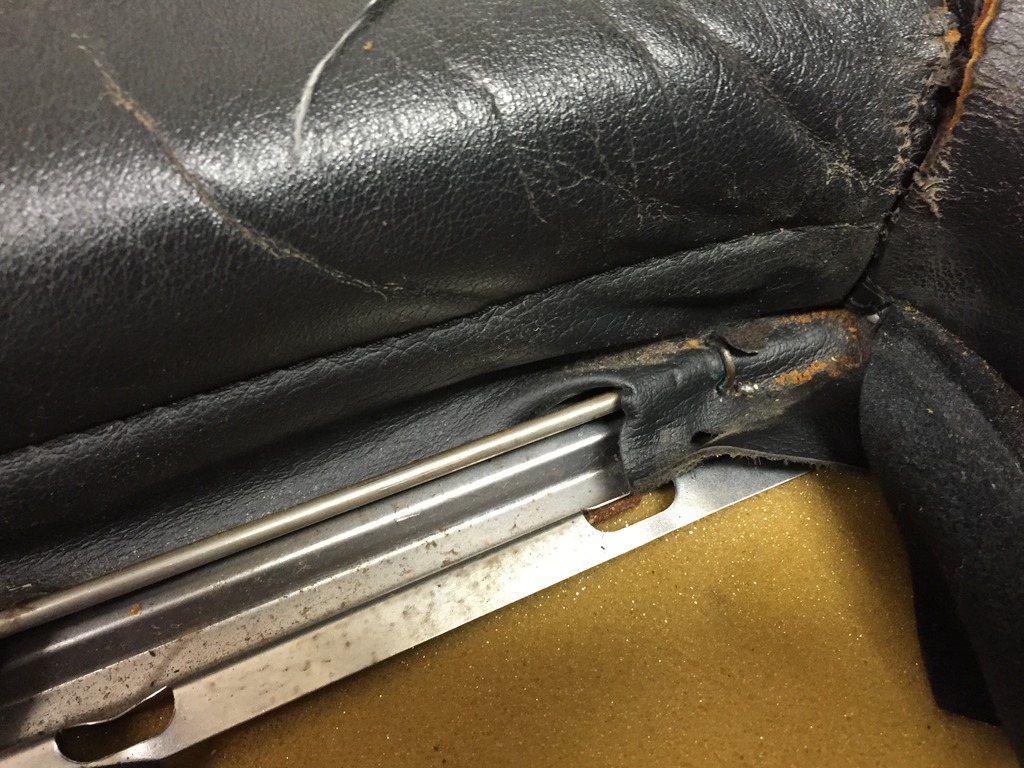
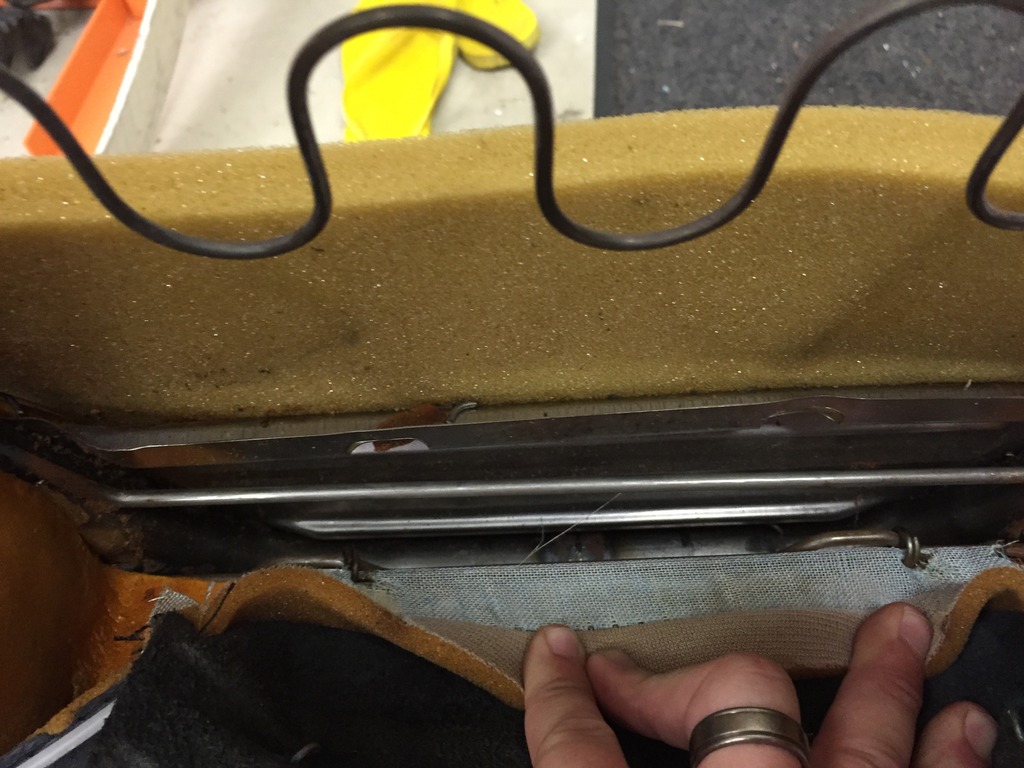
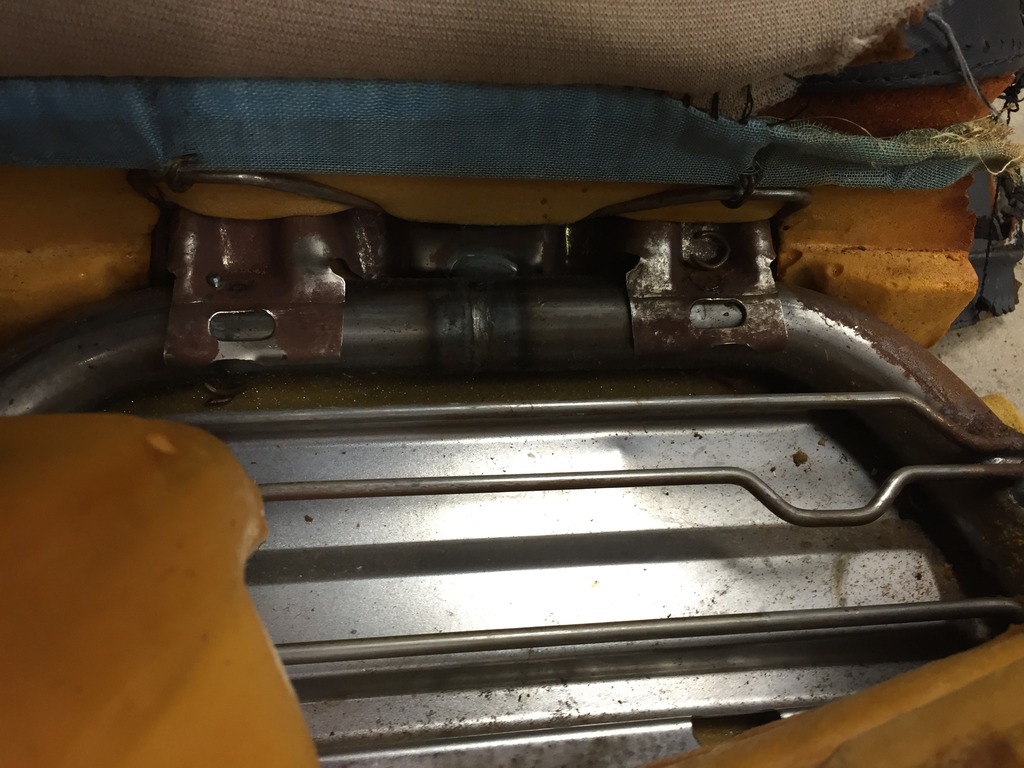
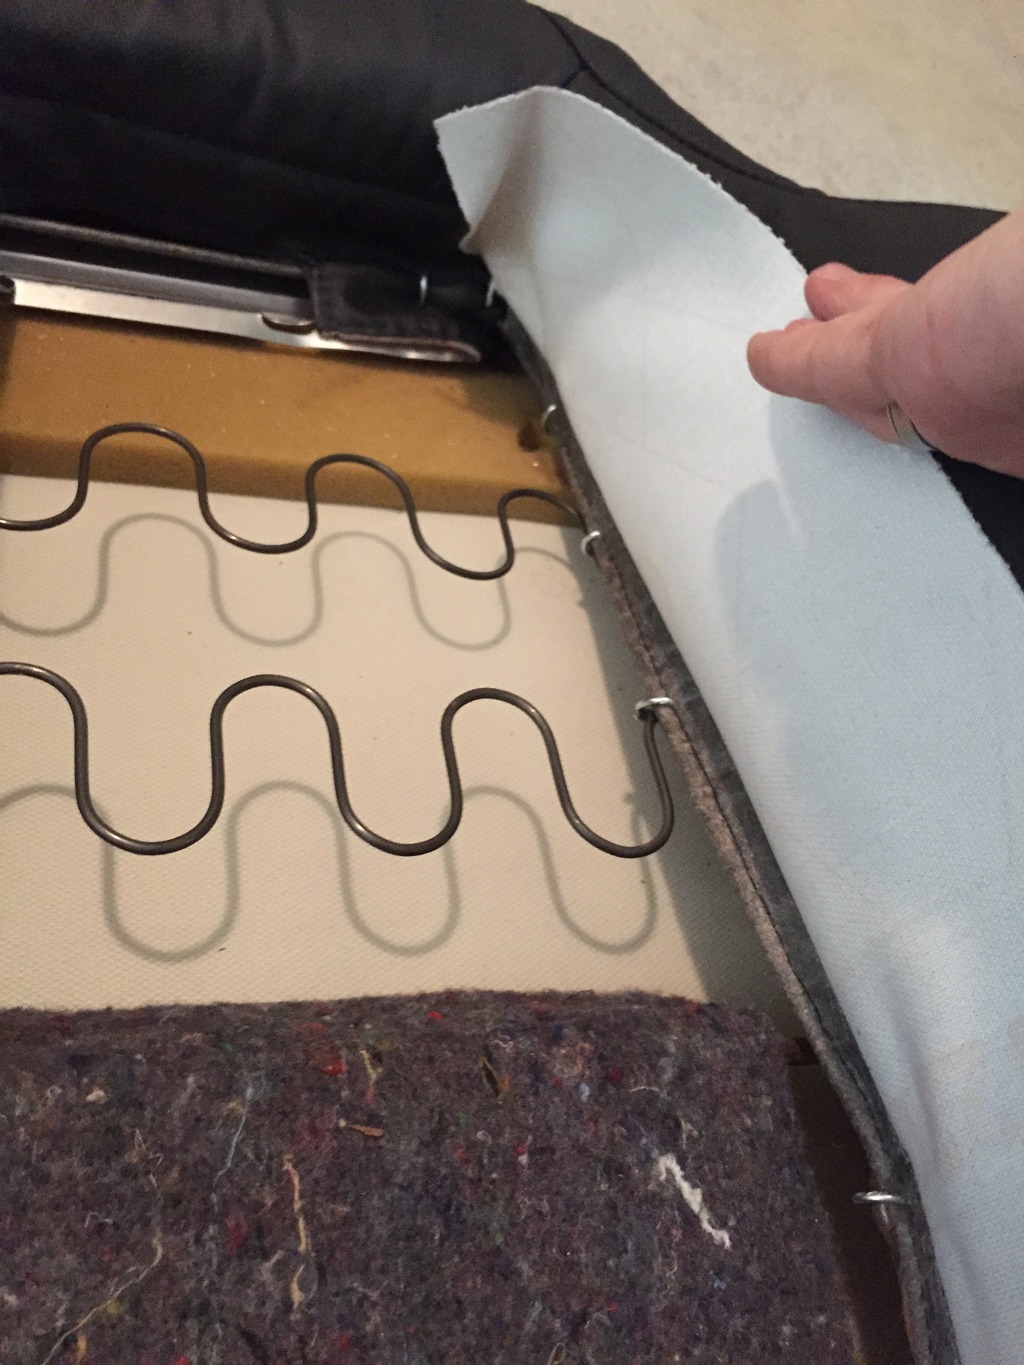
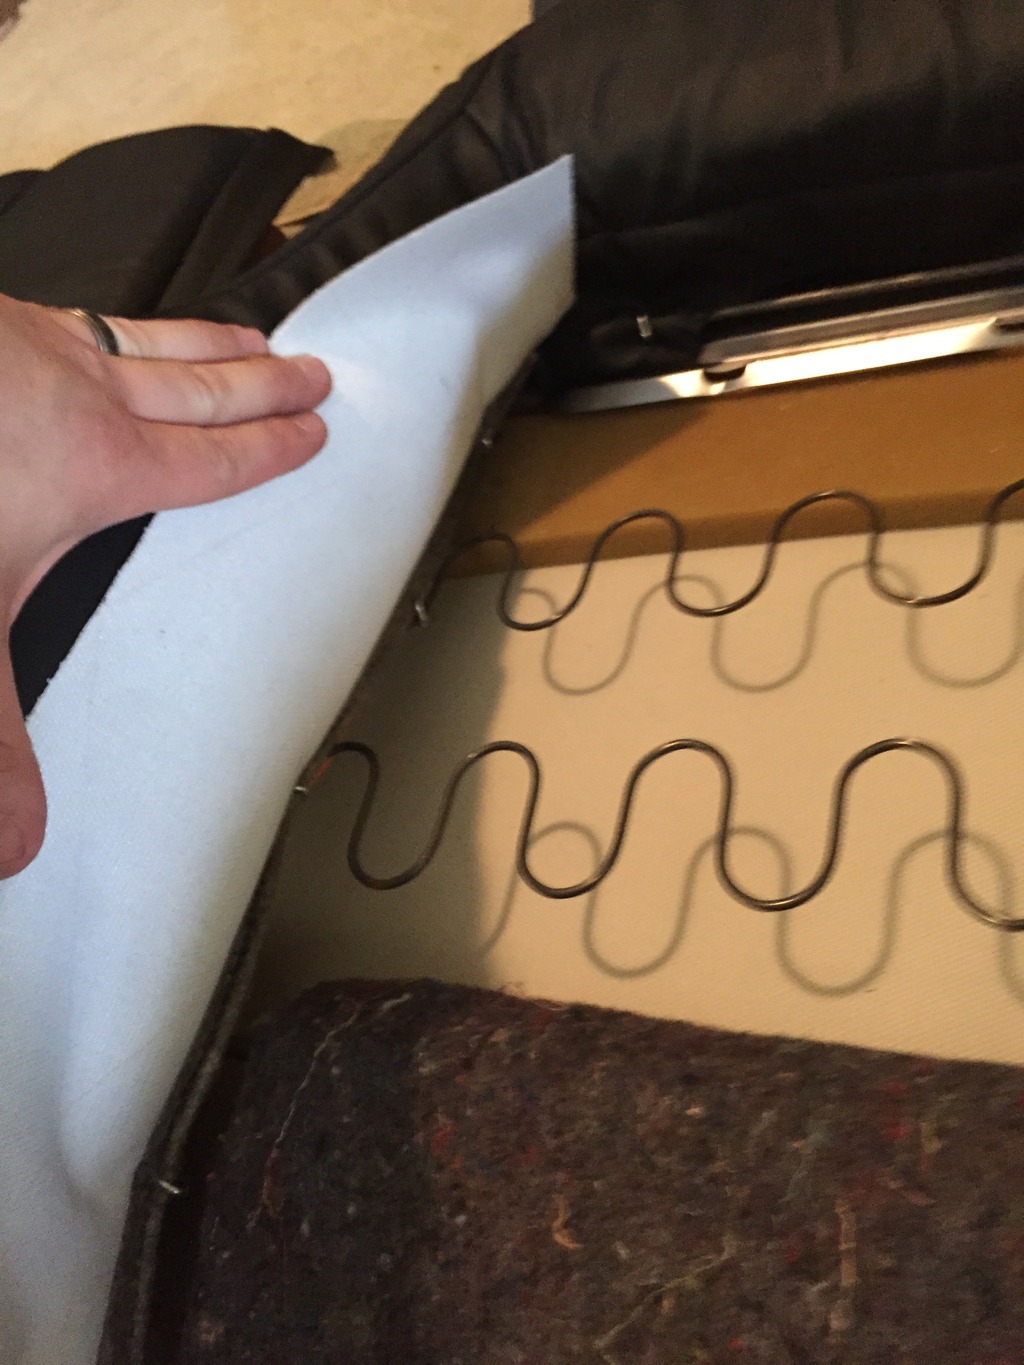
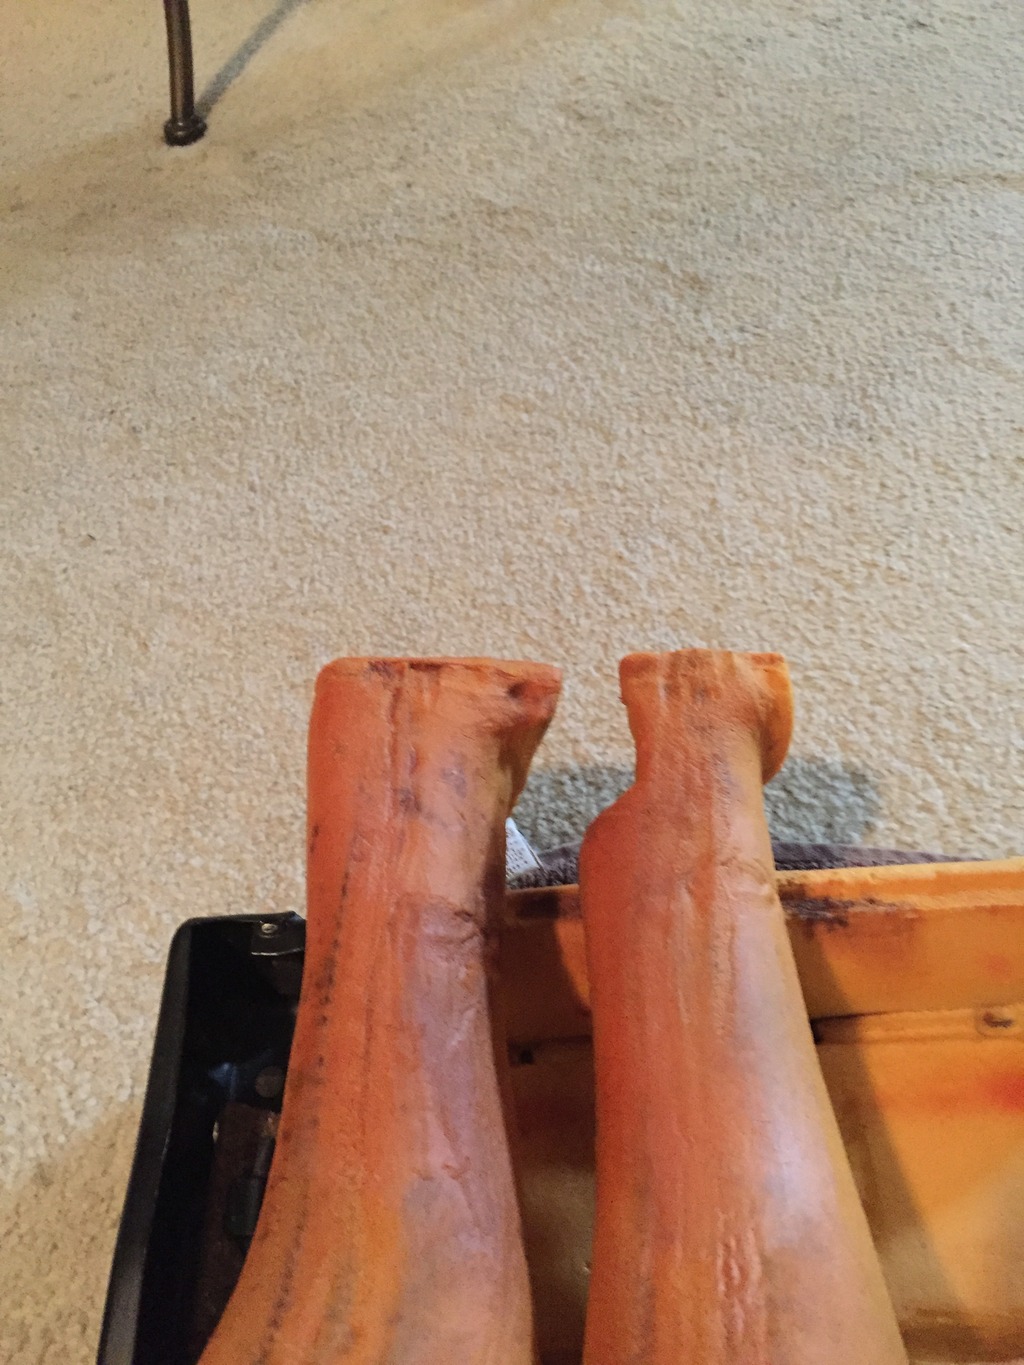
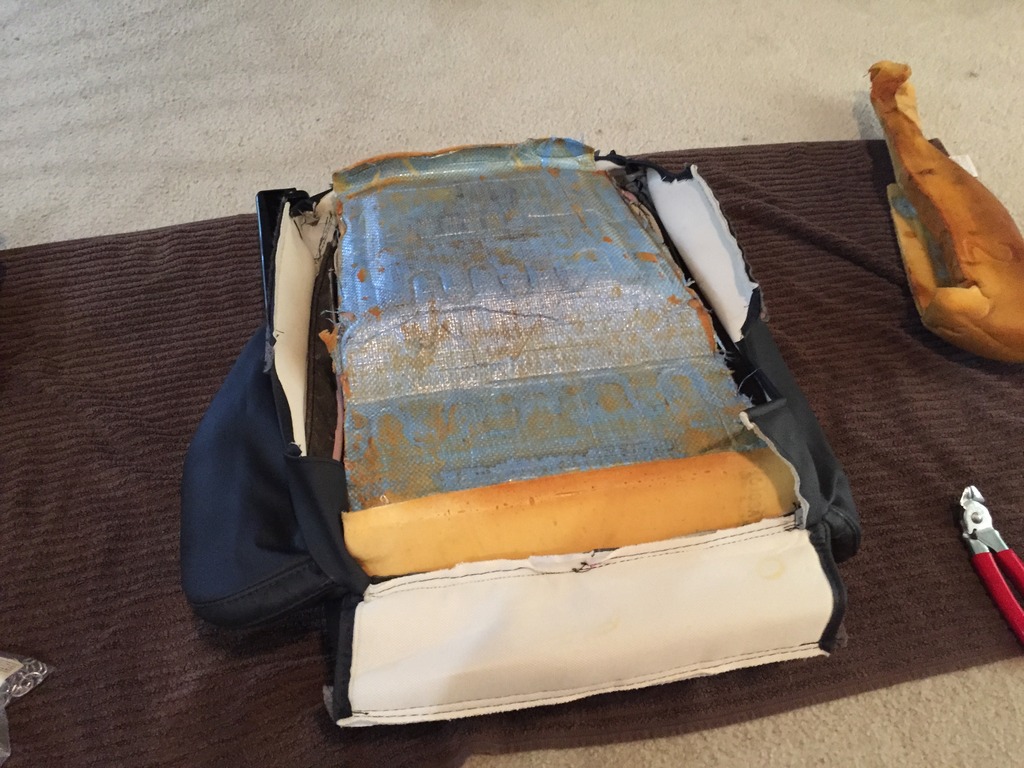
Once you start cutting hog rings, pay attention to where they were. It�s pretty easy to tell once you start putting the new cover on, but it helps to have a clear picture of how you will be reattaching the new cover.
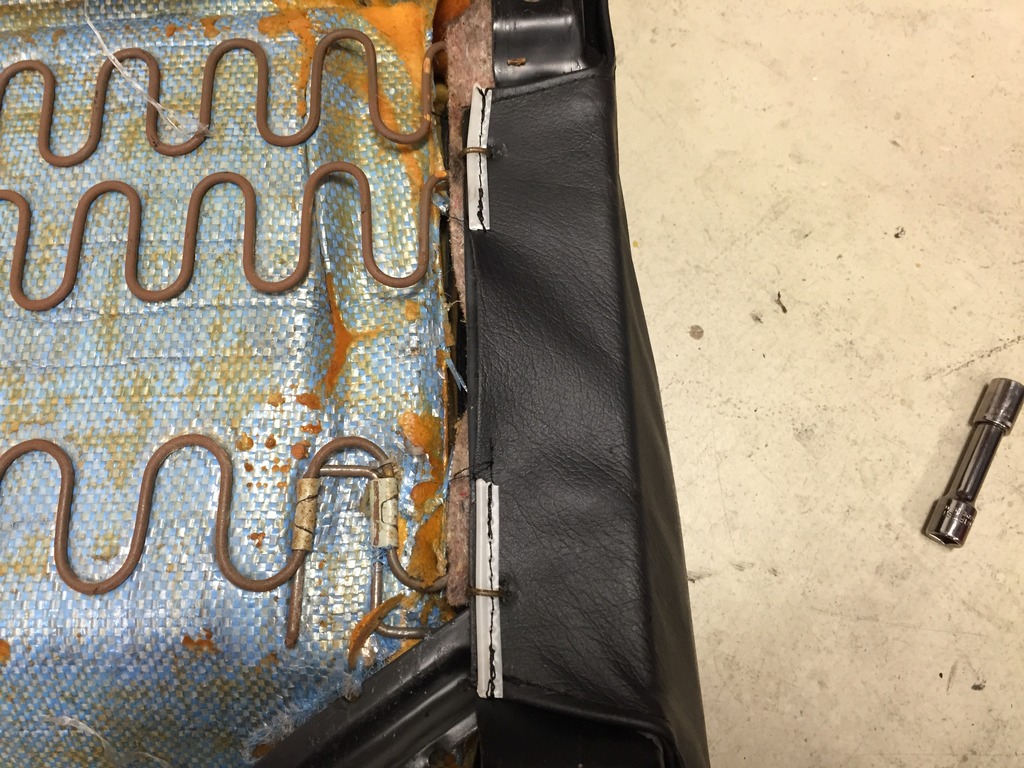

Apparently I skipped a few pictures when I was in the flow of hog ring cutting. Nice foam, eh?
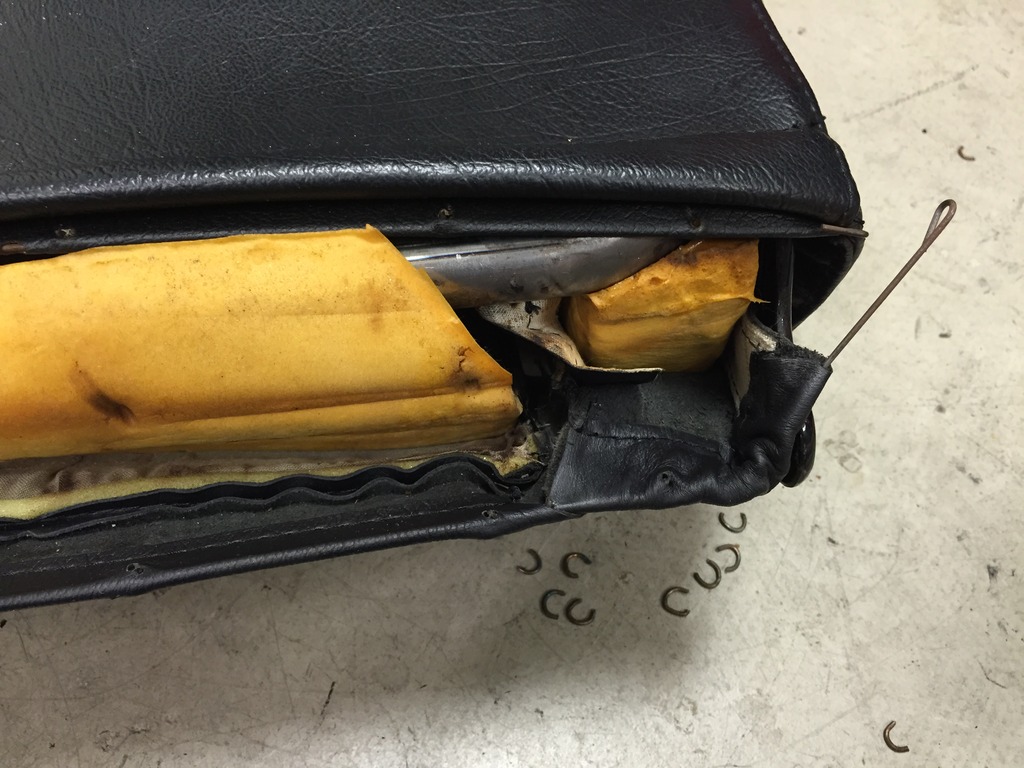
Save the above metal rod. Depending on your kit, you will need to reuse it.
Thread Starter
Joined: Feb 2001
Posts: 2,855
Likes: 225
From: Tampa, FL
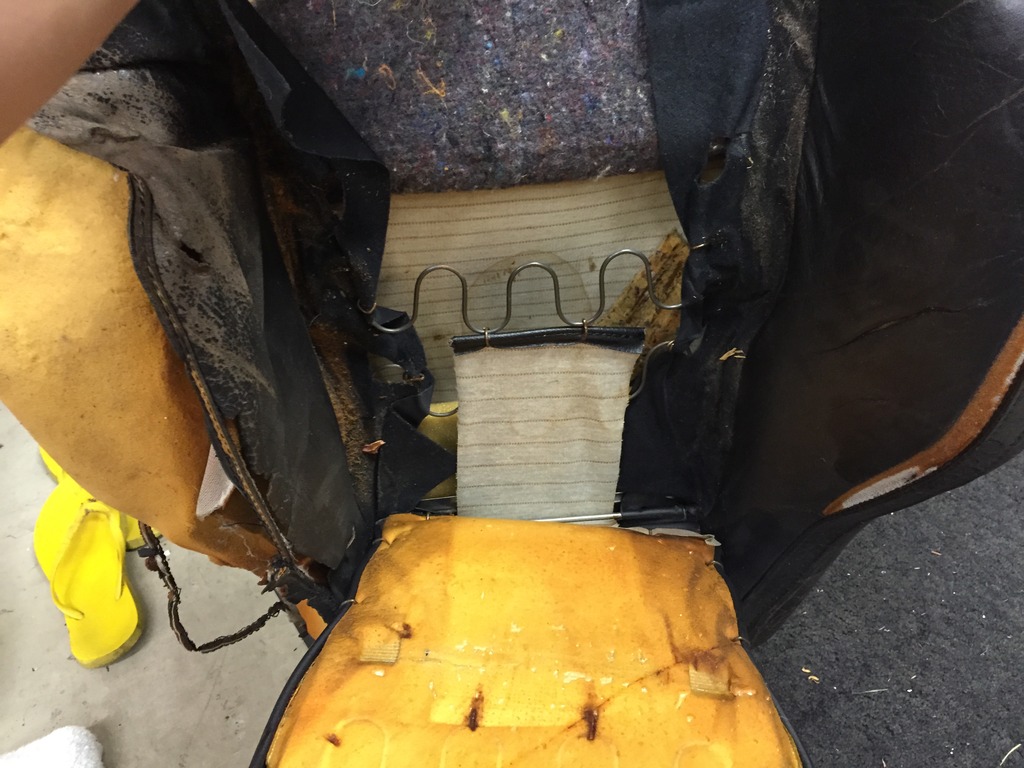
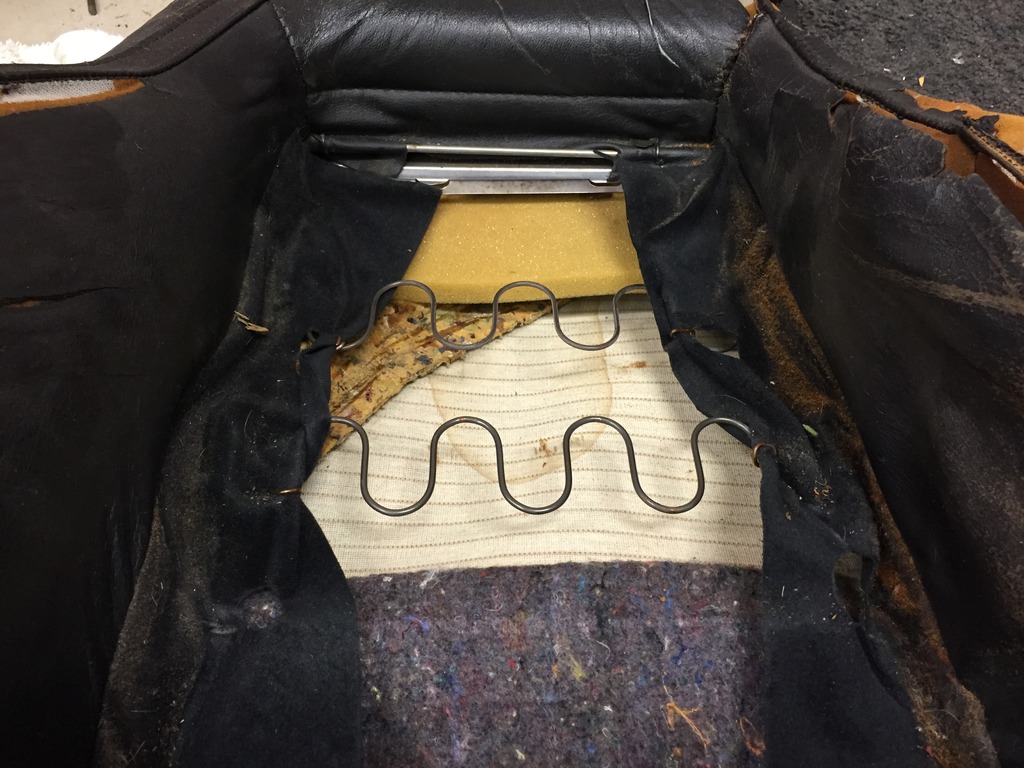
With destruction complete, we can move to putting on the new leather. Make sure you have some good hog ring pliers, I had a set of two, one with a straight nose and one with a bent nose that was handy to get in tight places.
First up was the back insert, which was a very easy warm-up.
Then on to the rest of the seat back. Please note, I think my disassembly pictures were of a driver�s seat and reassembly is of a passenger seat. They are essentially the same anyway.
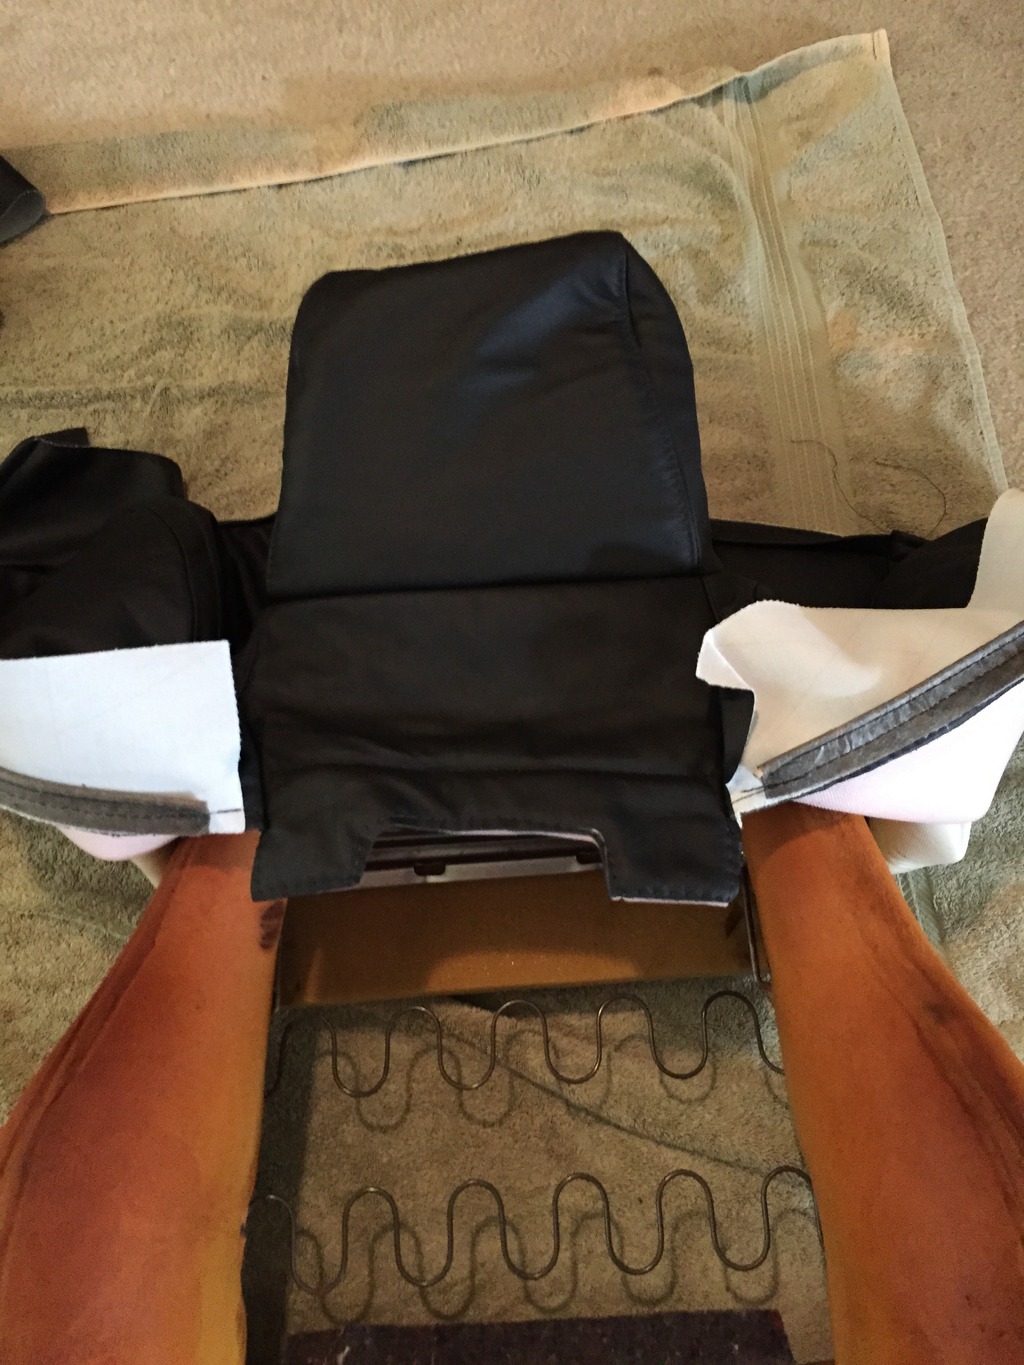
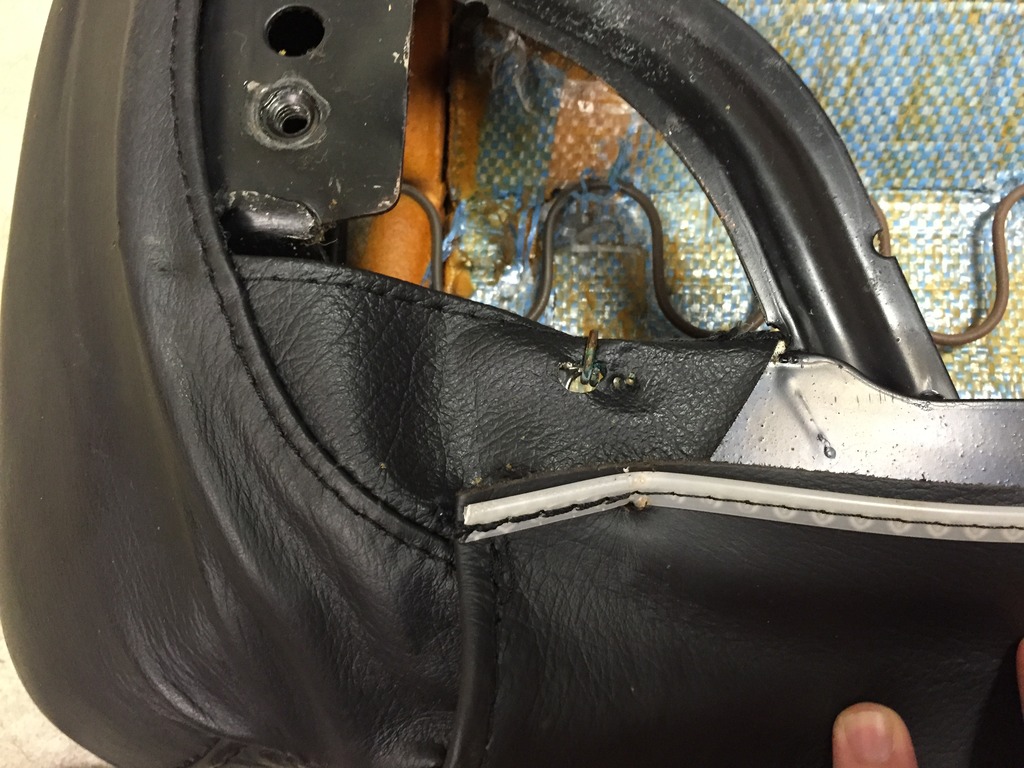
In the above picture, I ended up taking the side bolster foam off to ease access to the hog rings for the head rest.
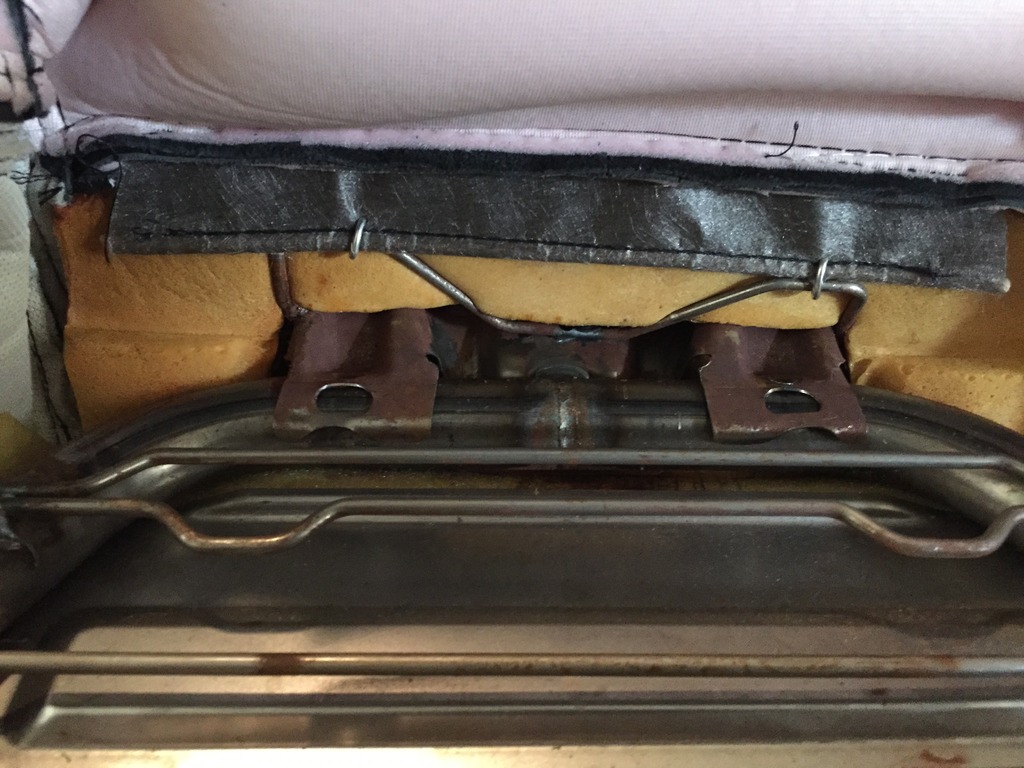
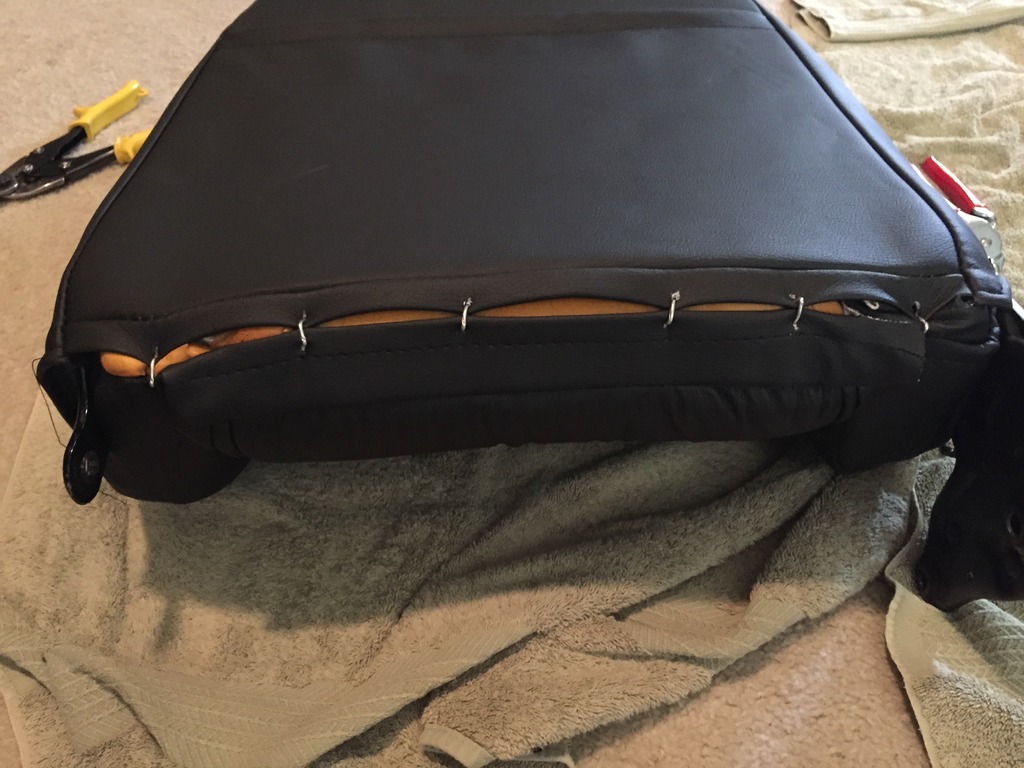
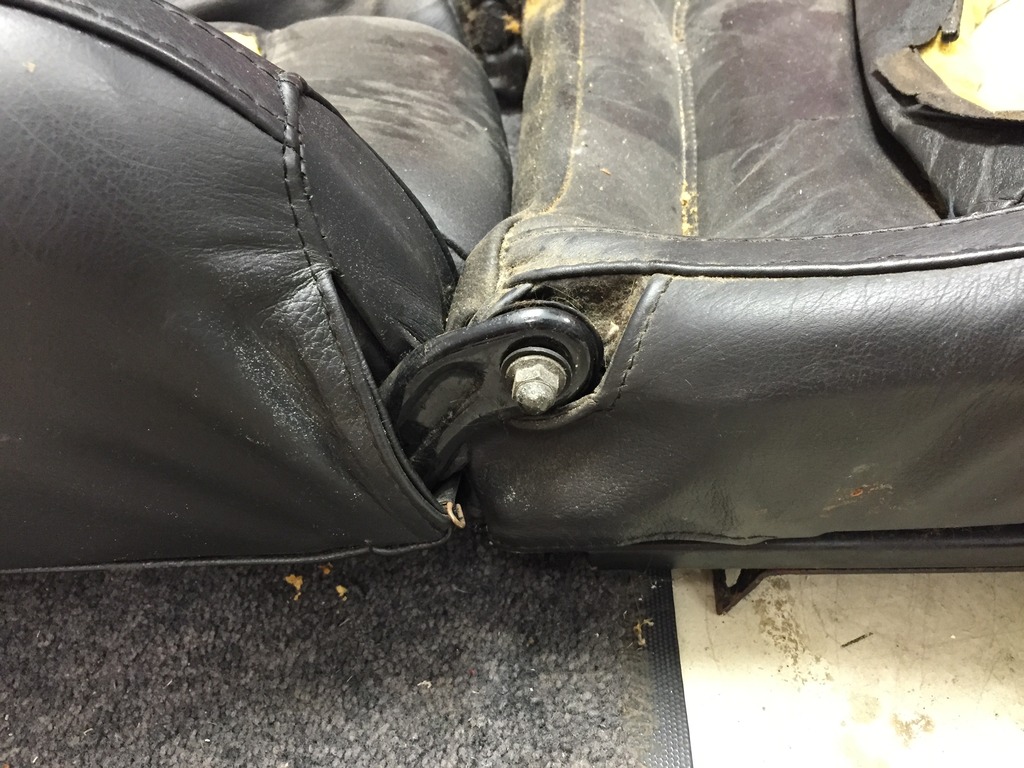
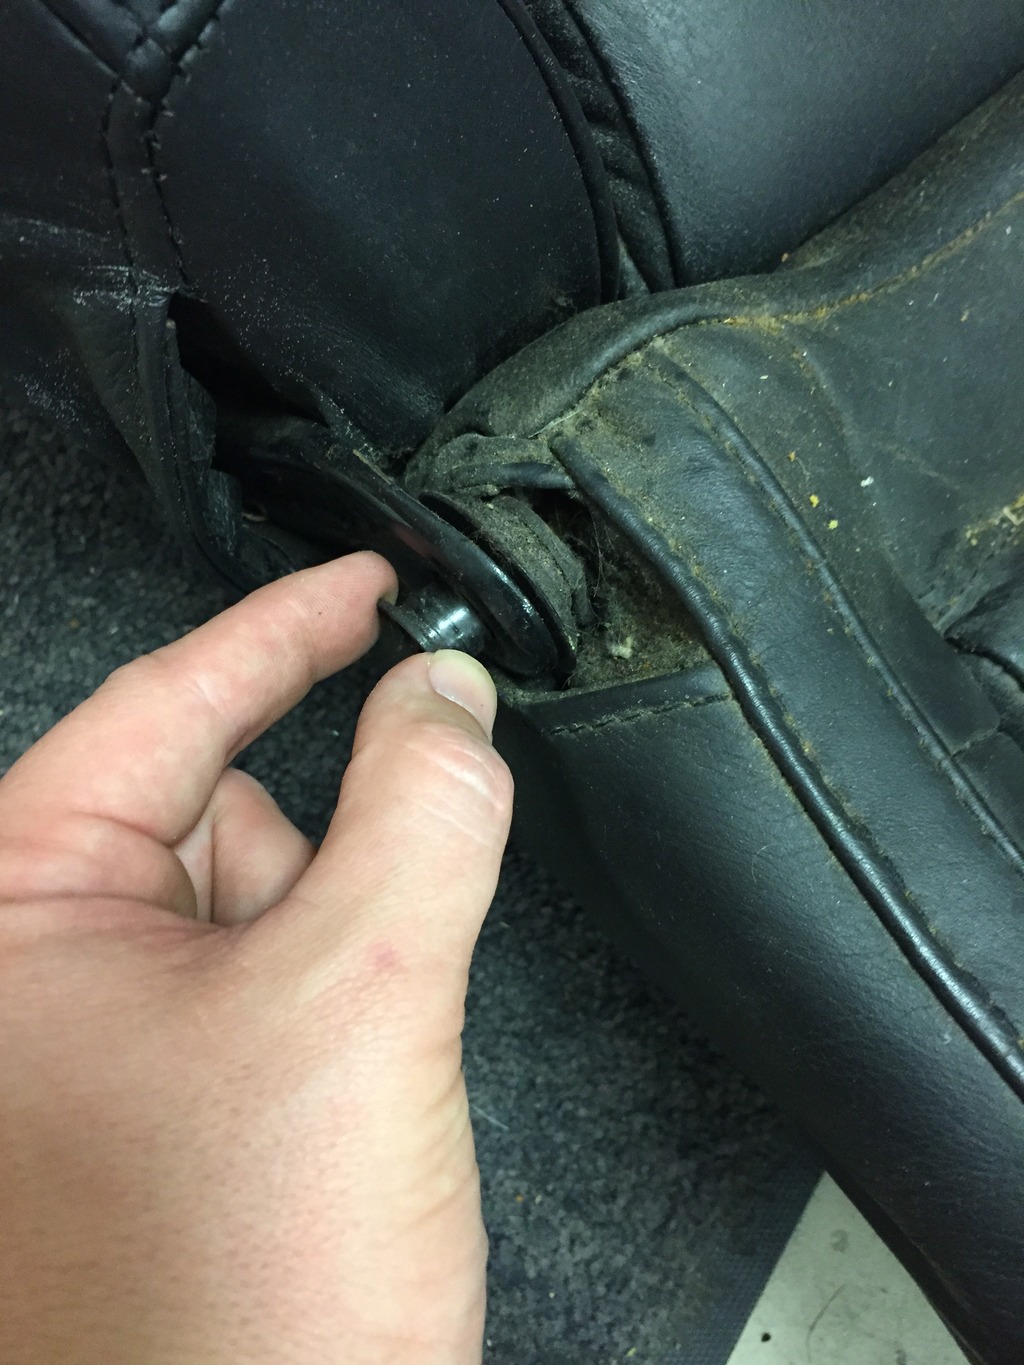
The above picture illustrates the one issue I had. Either it would have been nice to have a few more millimeters of material or I could have done a better job pulling and stretching for a better connection at the bottom. Given my lack of upholstery experience, I�m inclined to go with the latter. Not a huge issue either way, as this will never really be visible.
First up was the back insert, which was a very easy warm-up.
Then on to the rest of the seat back. Please note, I think my disassembly pictures were of a driver�s seat and reassembly is of a passenger seat. They are essentially the same anyway.
In the above picture, I ended up taking the side bolster foam off to ease access to the hog rings for the head rest.
The above picture illustrates the one issue I had. Either it would have been nice to have a few more millimeters of material or I could have done a better job pulling and stretching for a better connection at the bottom. Given my lack of upholstery experience, I�m inclined to go with the latter. Not a huge issue either way, as this will never really be visible.
Thread Starter
Joined: Feb 2001
Posts: 2,855
Likes: 225
From: Tampa, FL
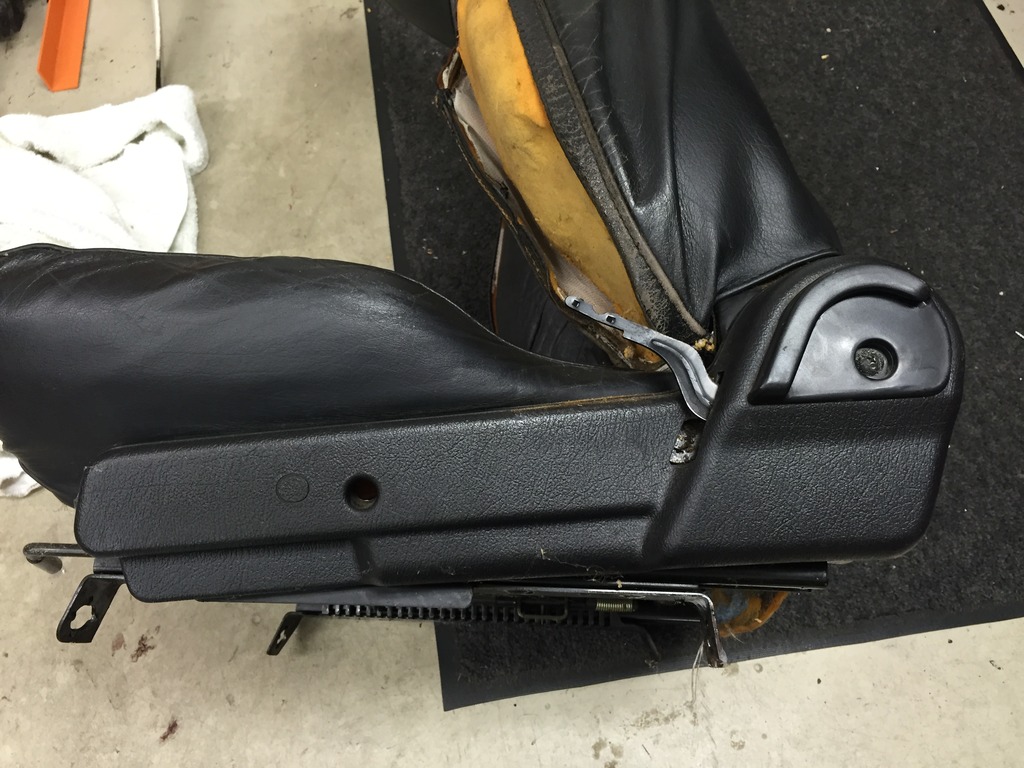
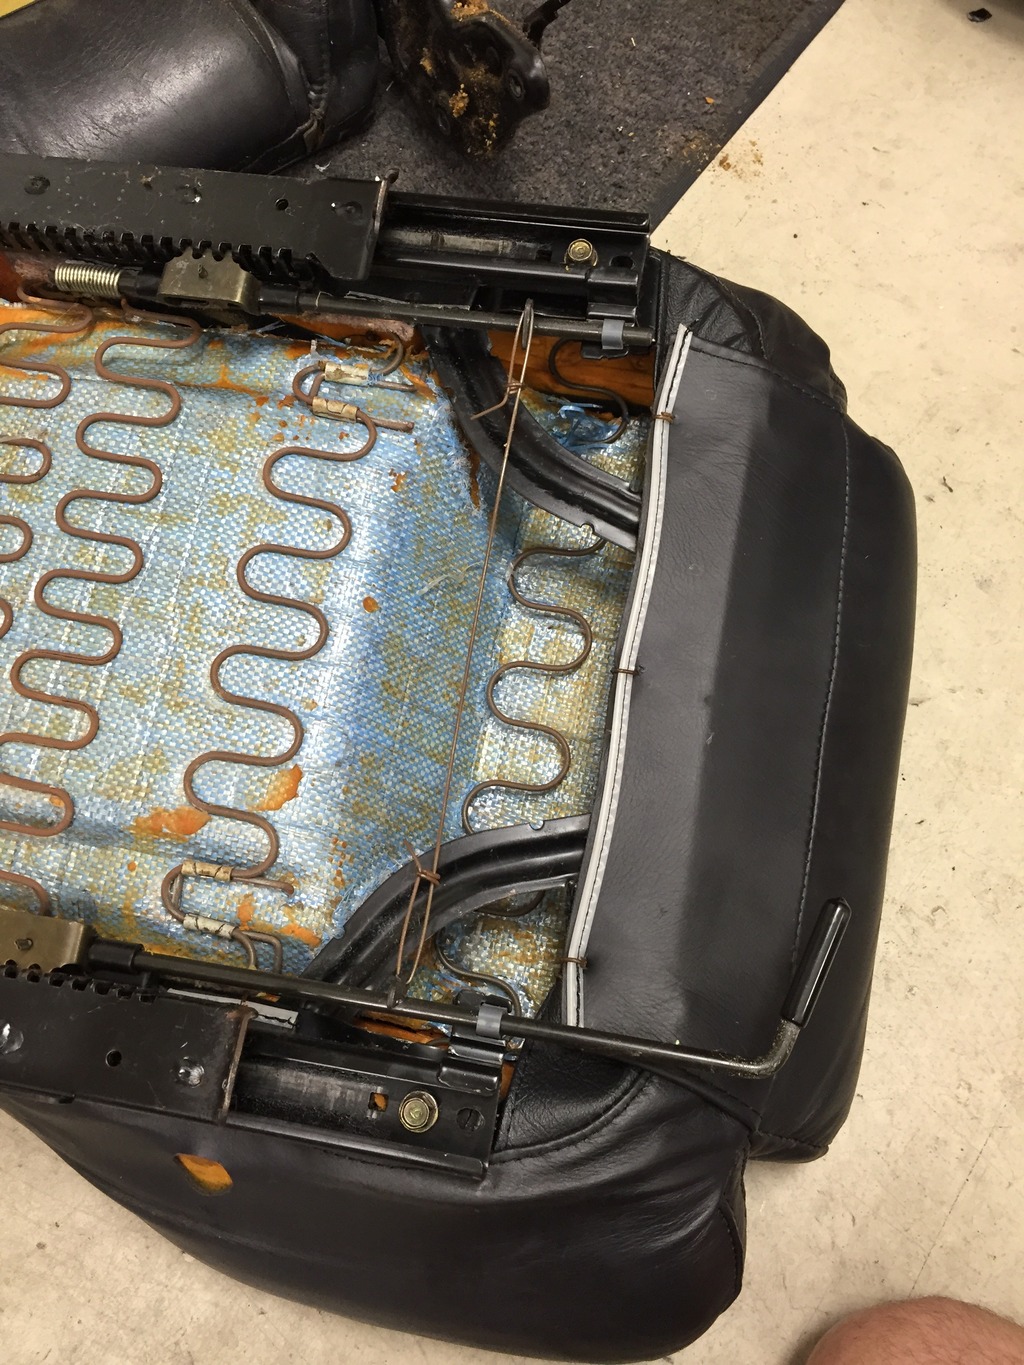
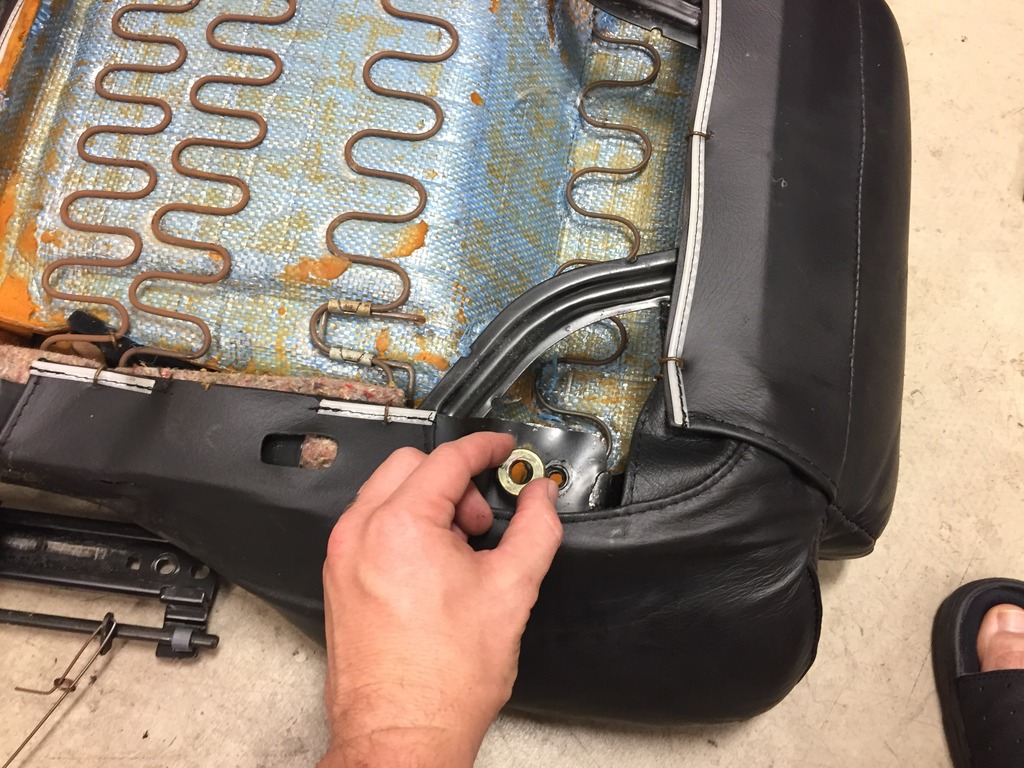
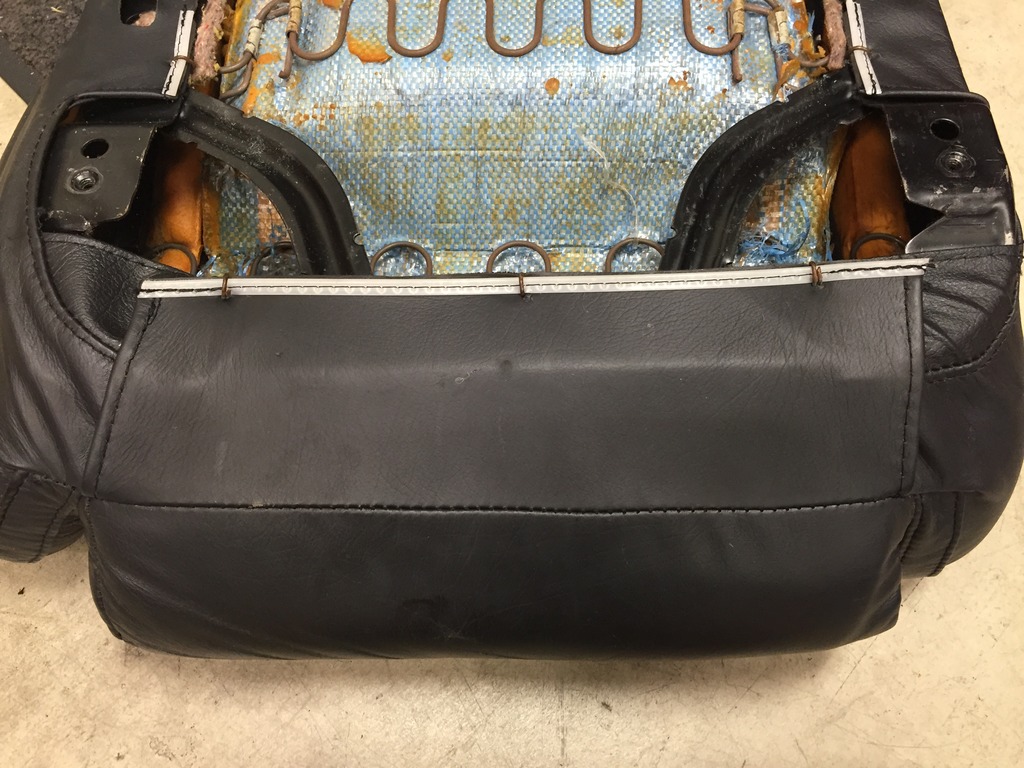
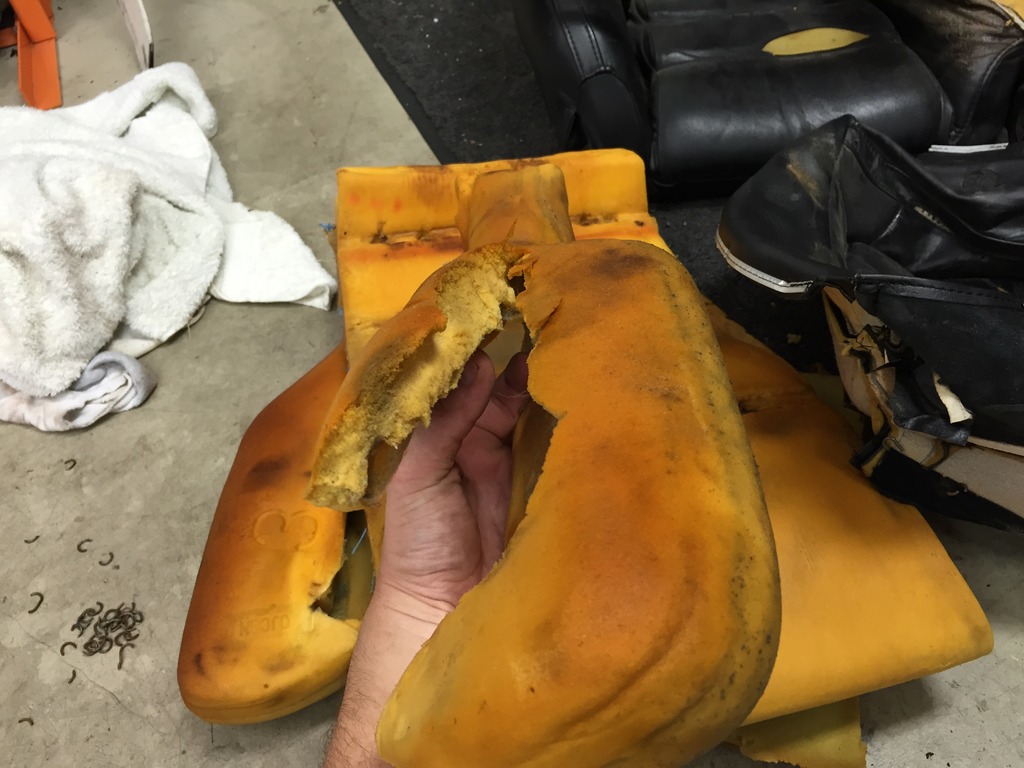
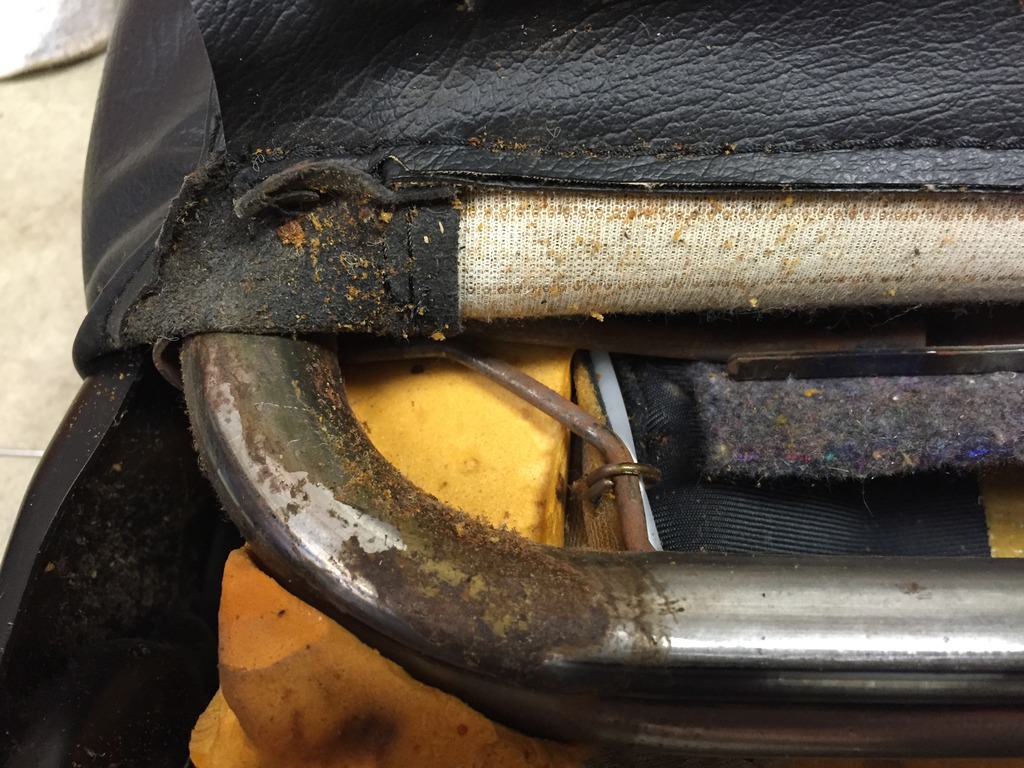
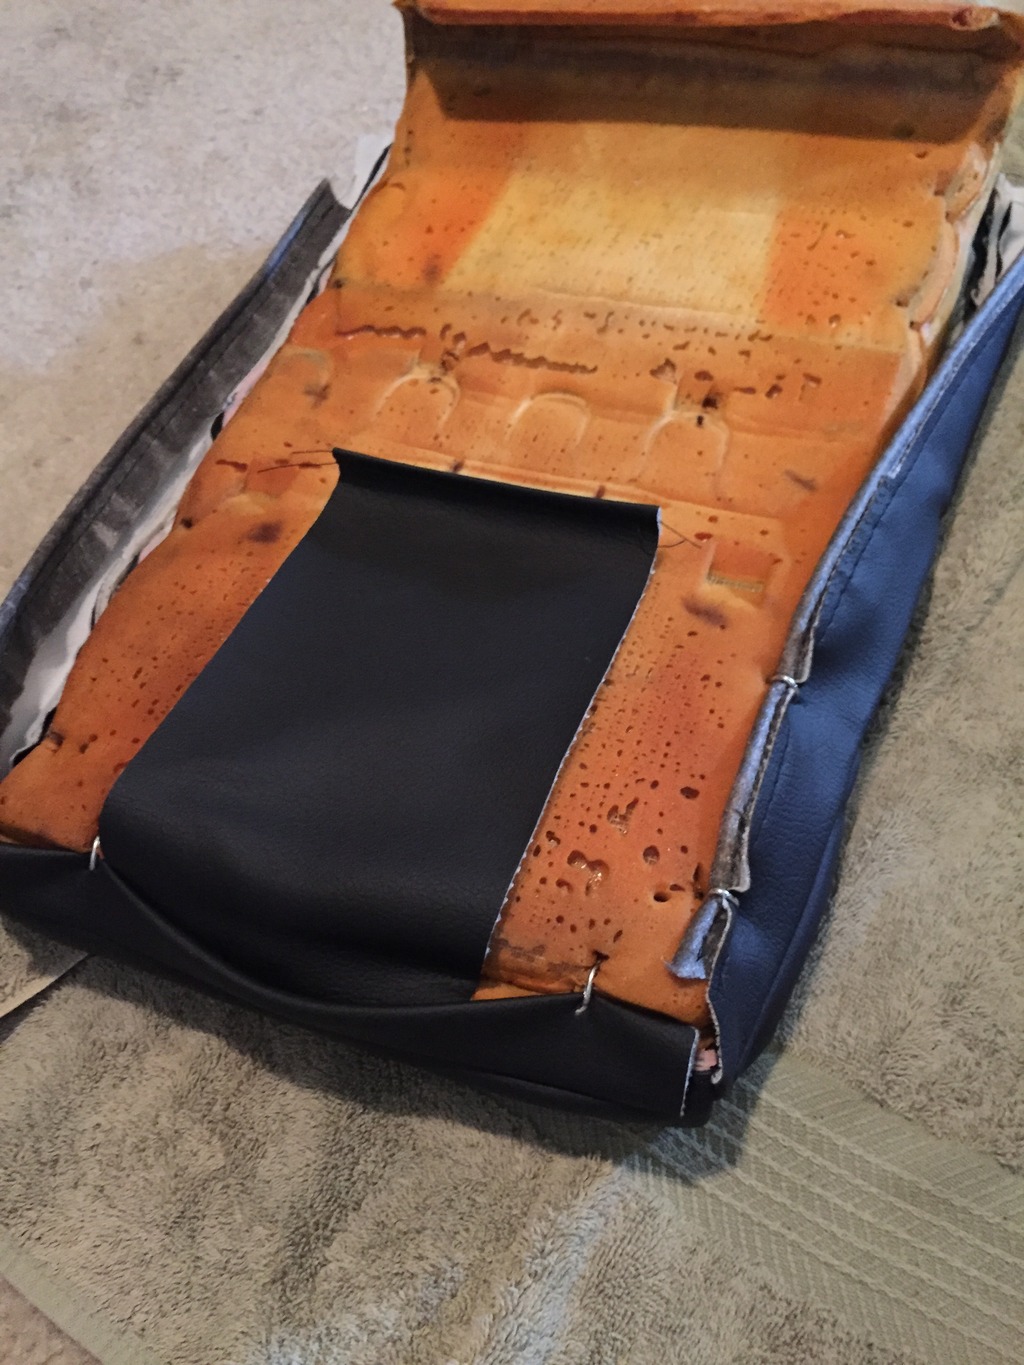
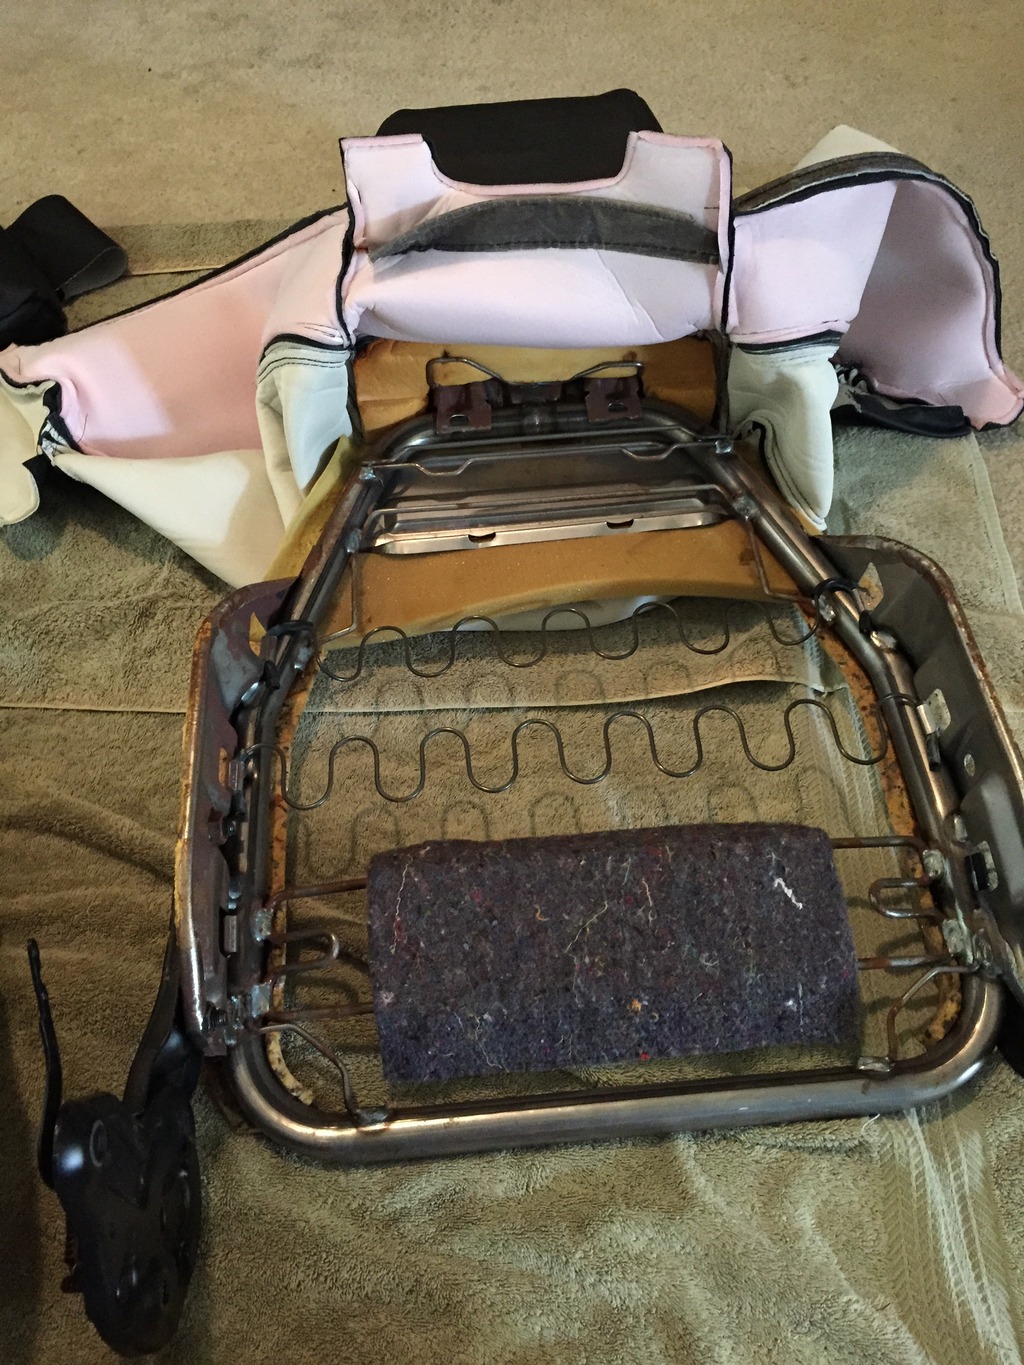
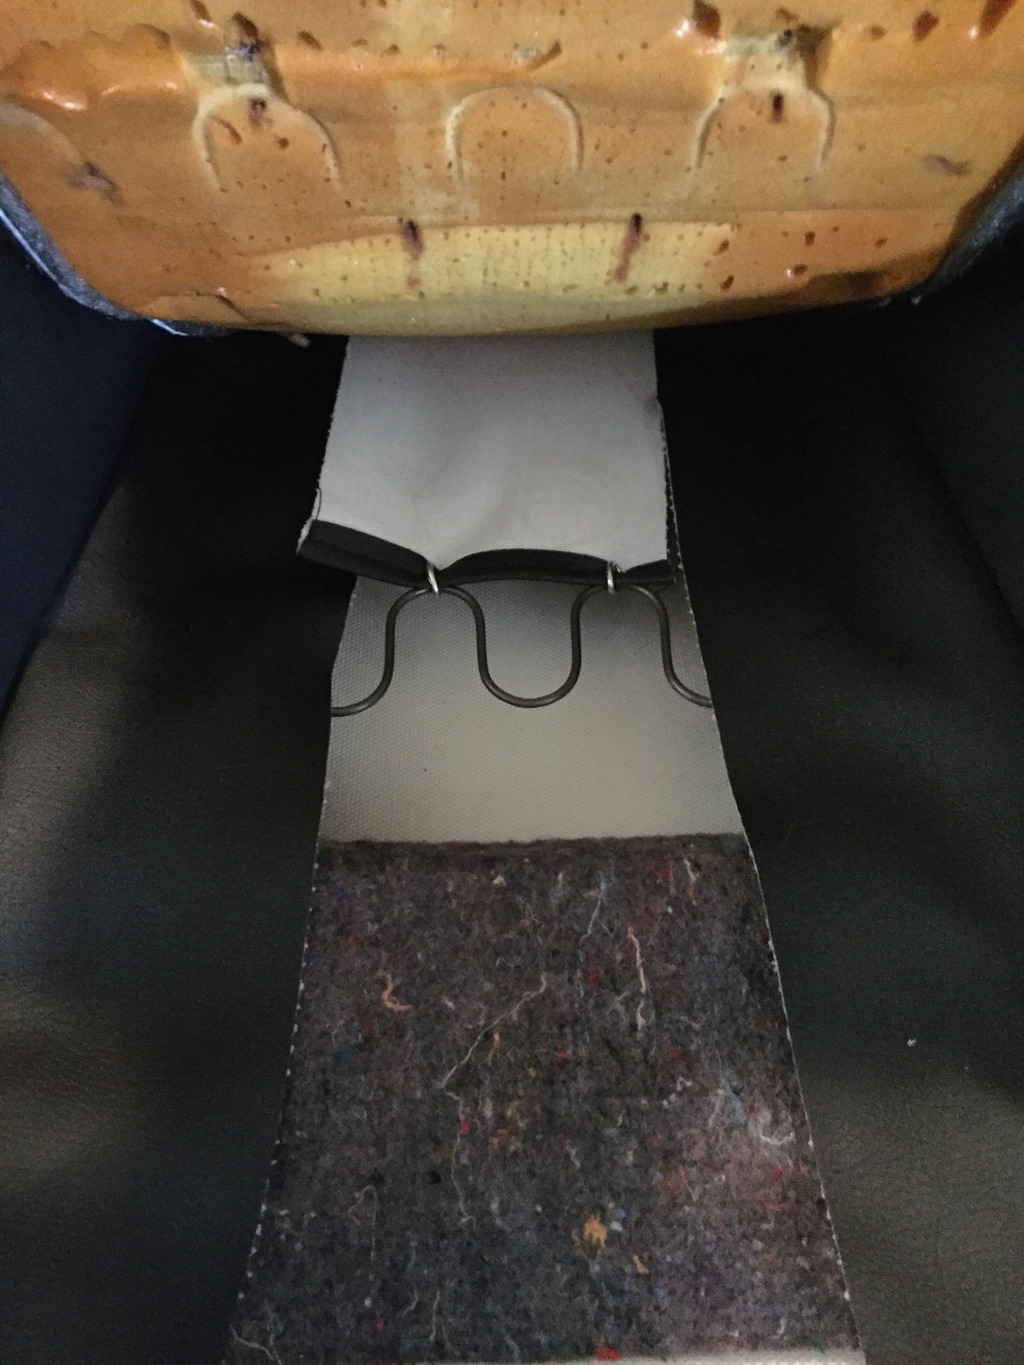
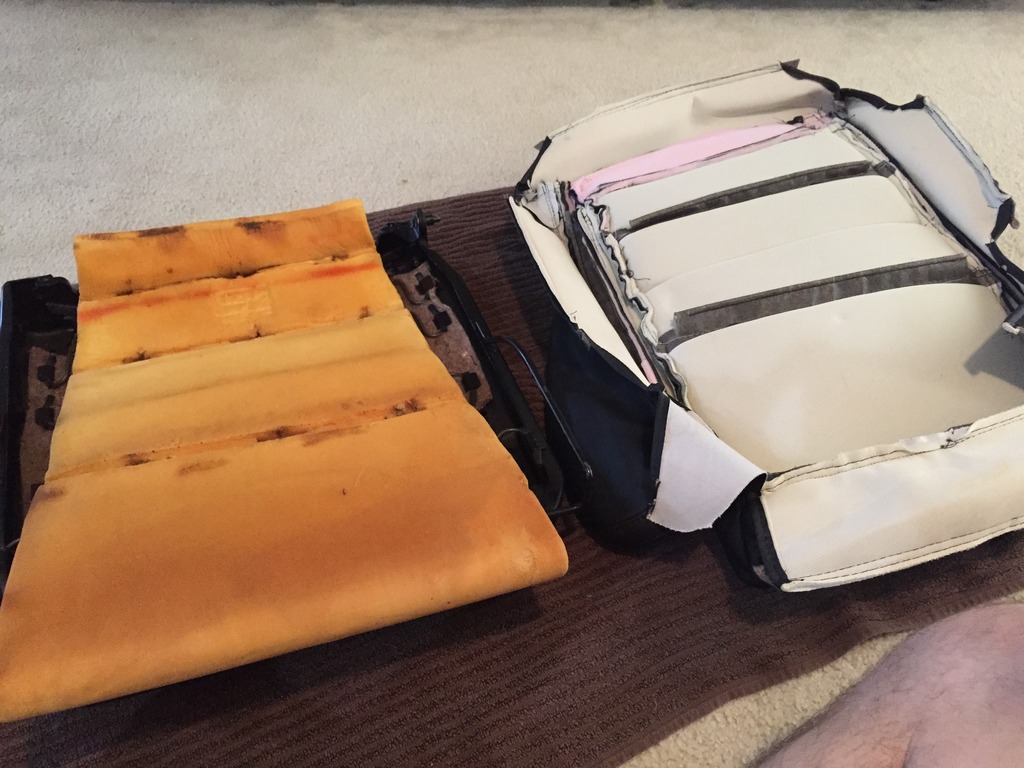
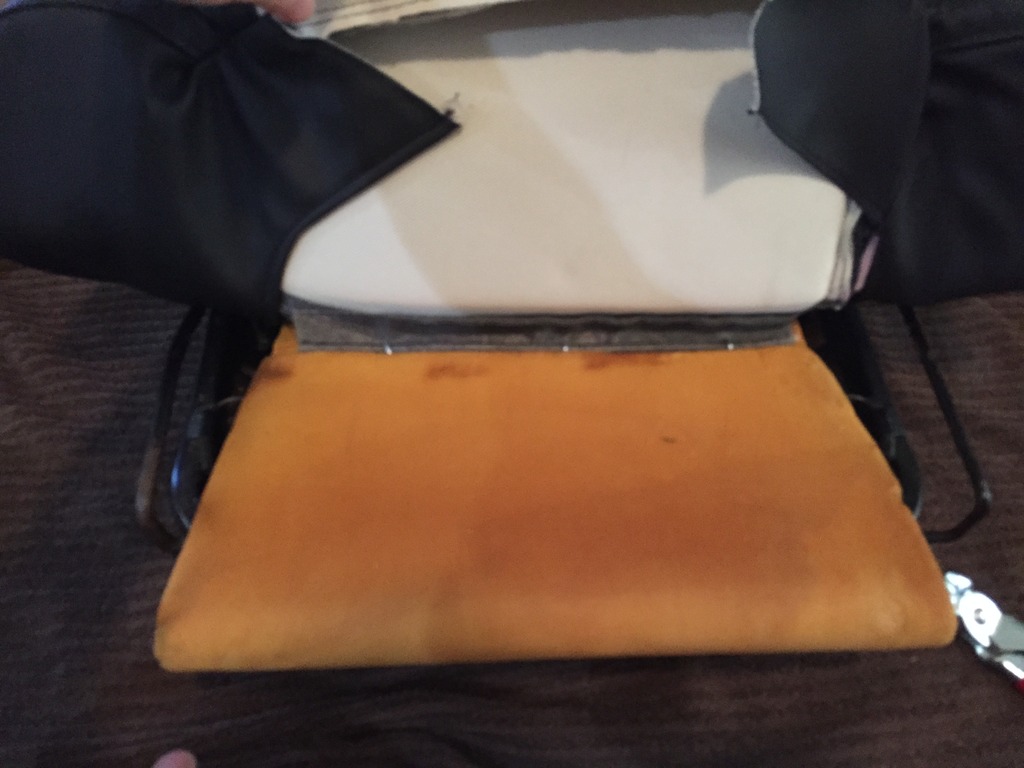
The bottom seats presented a problem. The thigh bolsters on the outside of the car (driver�s left, passenger�s right) were completely shot. Years of ingress/egress had destroyed them. The foam is essentially identical for driver left/passenger left and passenger right/driver right with a key difference where the seat back is:
I had an extra pair of seats that were in good shape, but the bolsters that were destroyed on my seats weren�t really much better on the spares. So, I used a passenger left bolster on the driver�s seat and a driver�s right bolster on the passenger seat. The one modification I made was to glue a small section of foam in the void. Pictured below is the passenger seat bottom with a driver�s bolster for the right side.
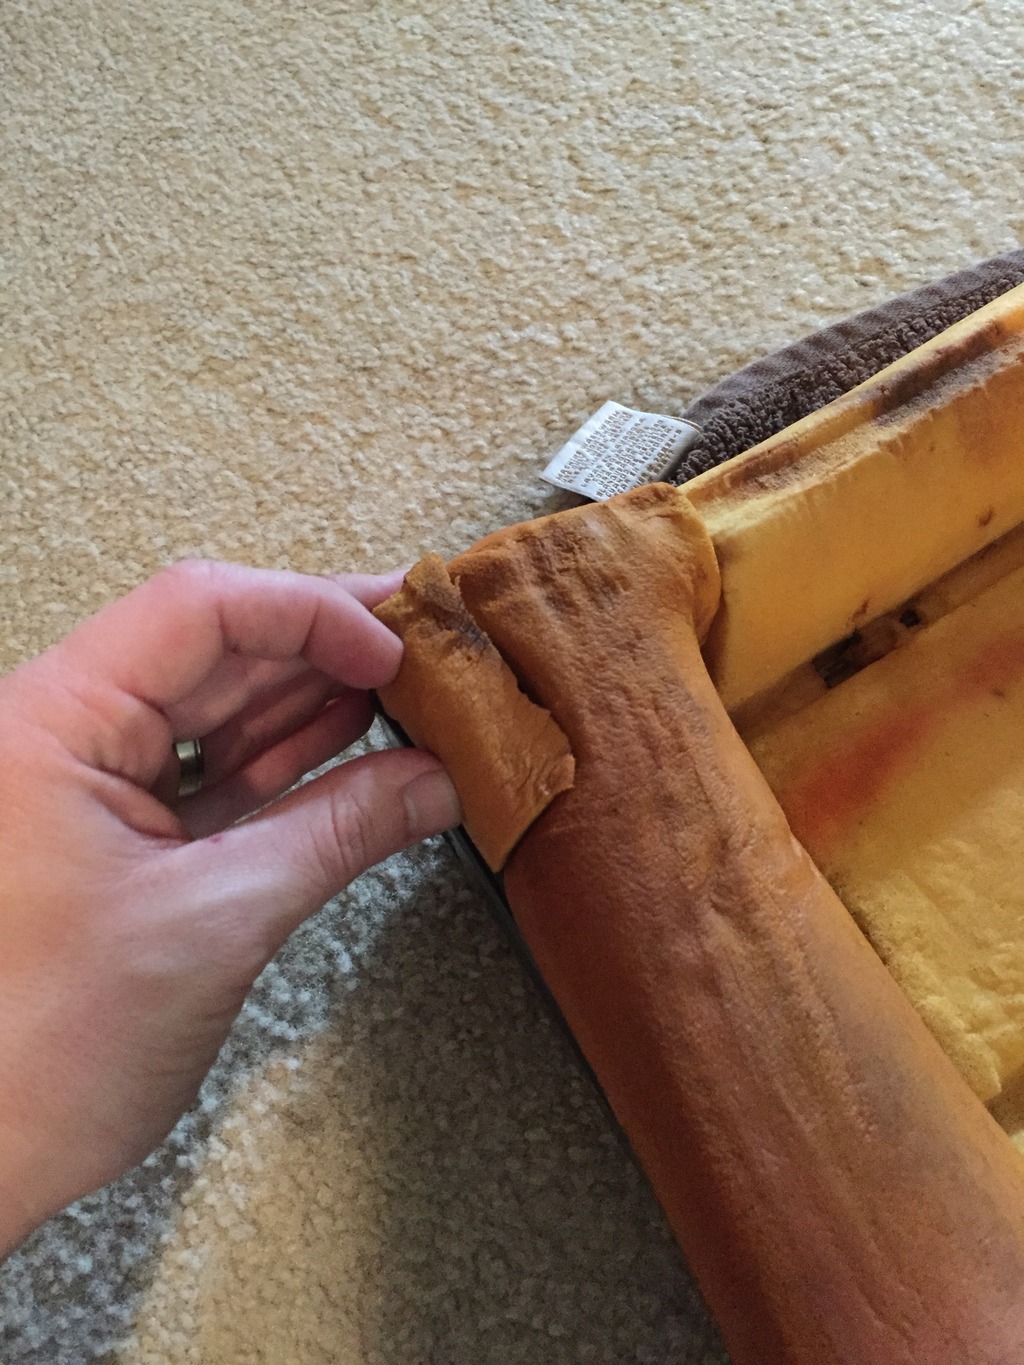
Using bolsters from the opposite side was the cheap option. Once the seats were together, I don�t see any issues with this swap. It may not be ideal, but it works.
Continuing on�

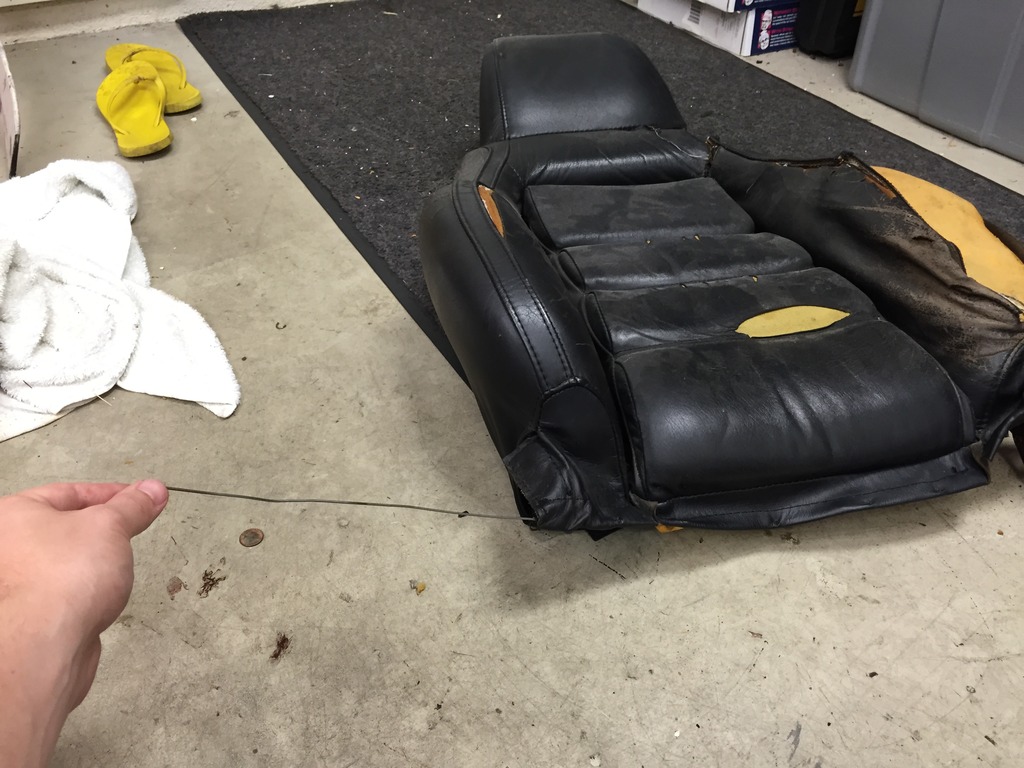
And the end result once both seats were done:
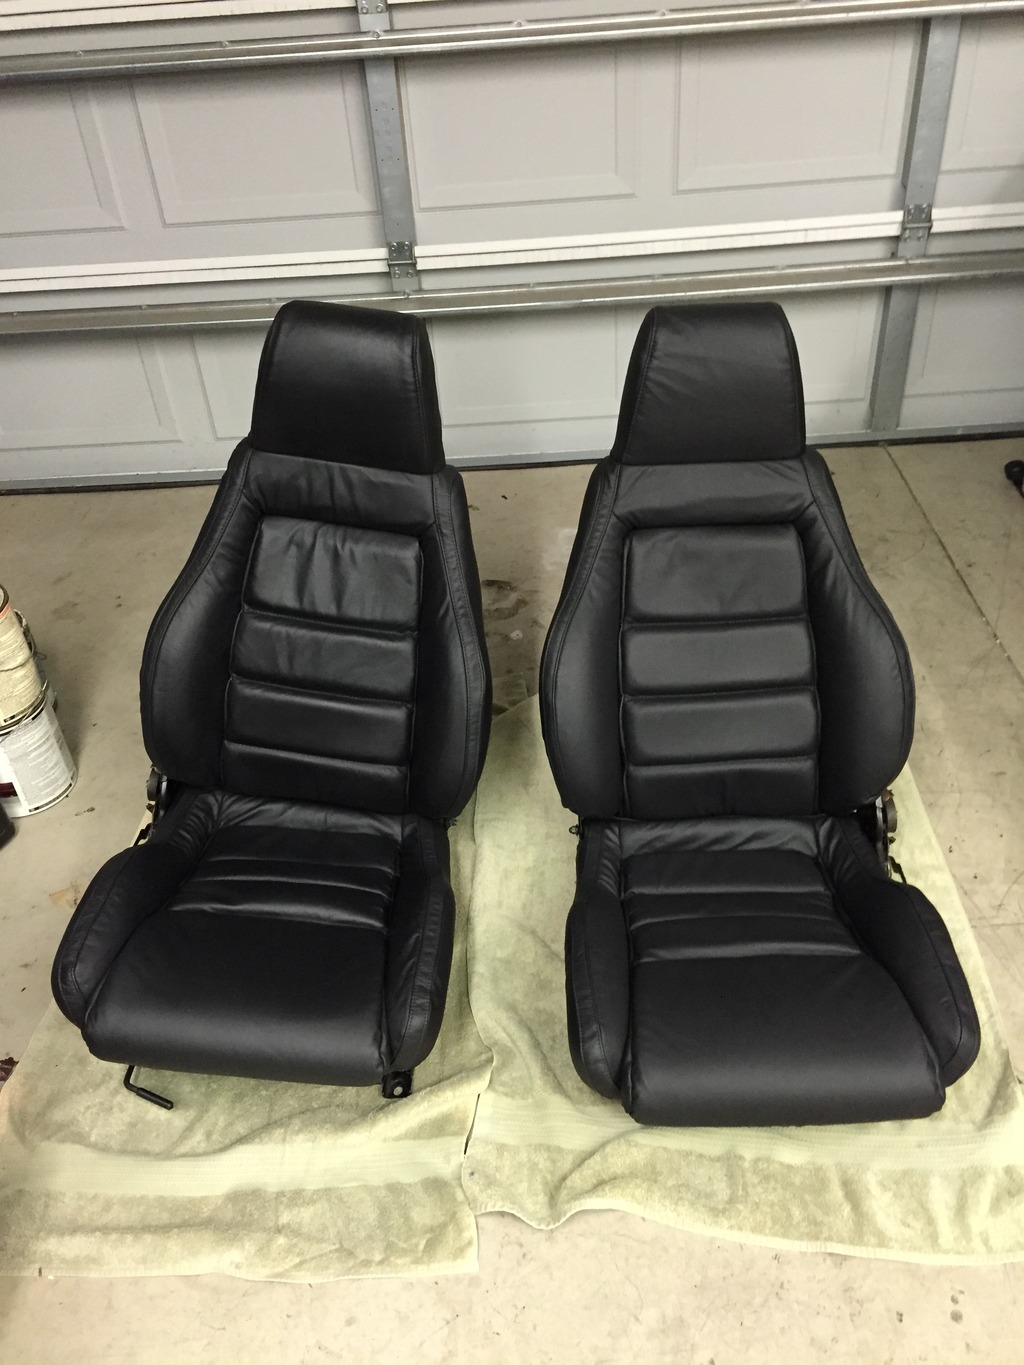
The passenger seat looks sort of odd as the rails are asymmetrical and the seat is leaning.
Overall, I�m happy with how they turned out. I think the wrinkles look worse in the picture than real life. I�ve been told with some sun and heat they will tighten up.
I had an extra pair of seats that were in good shape, but the bolsters that were destroyed on my seats weren�t really much better on the spares. So, I used a passenger left bolster on the driver�s seat and a driver�s right bolster on the passenger seat. The one modification I made was to glue a small section of foam in the void. Pictured below is the passenger seat bottom with a driver�s bolster for the right side.
Using bolsters from the opposite side was the cheap option. Once the seats were together, I don�t see any issues with this swap. It may not be ideal, but it works.
Continuing on�
And the end result once both seats were done:
The passenger seat looks sort of odd as the rails are asymmetrical and the seat is leaning.
Overall, I�m happy with how they turned out. I think the wrinkles look worse in the picture than real life. I�ve been told with some sun and heat they will tighten up.


Thread Starter
Joined: Feb 2001
Posts: 2,855
Likes: 225
From: Tampa, FL
I got them from leatherseats.com. Cost was substantial compared to some other sources I'd seen, but I was very happy with the quality and fitment. They can do custom options, so the price can go even higher if you choose some of those.

Thread Starter
Joined: Feb 2001
Posts: 2,855
Likes: 225
From: Tampa, FL
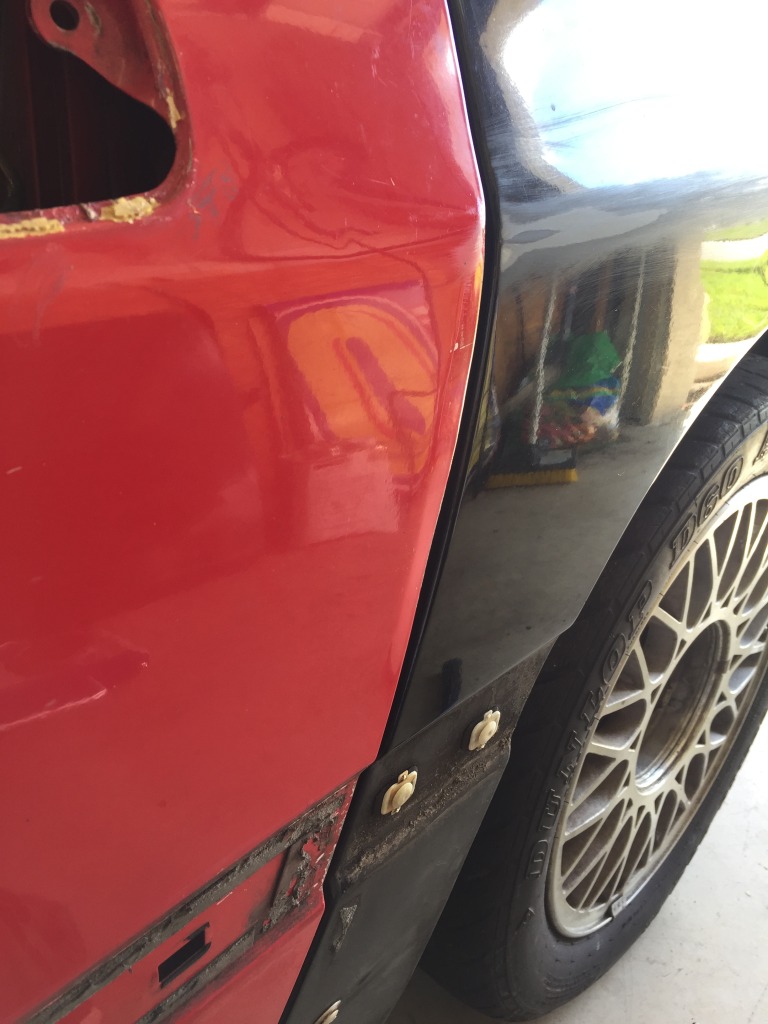
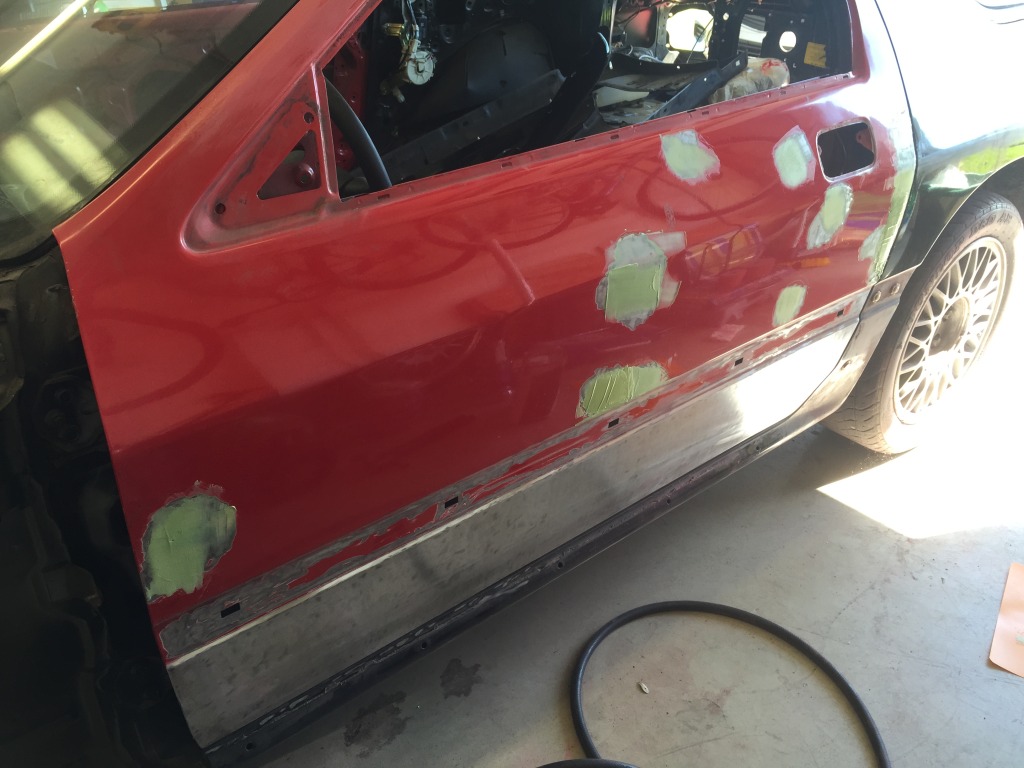
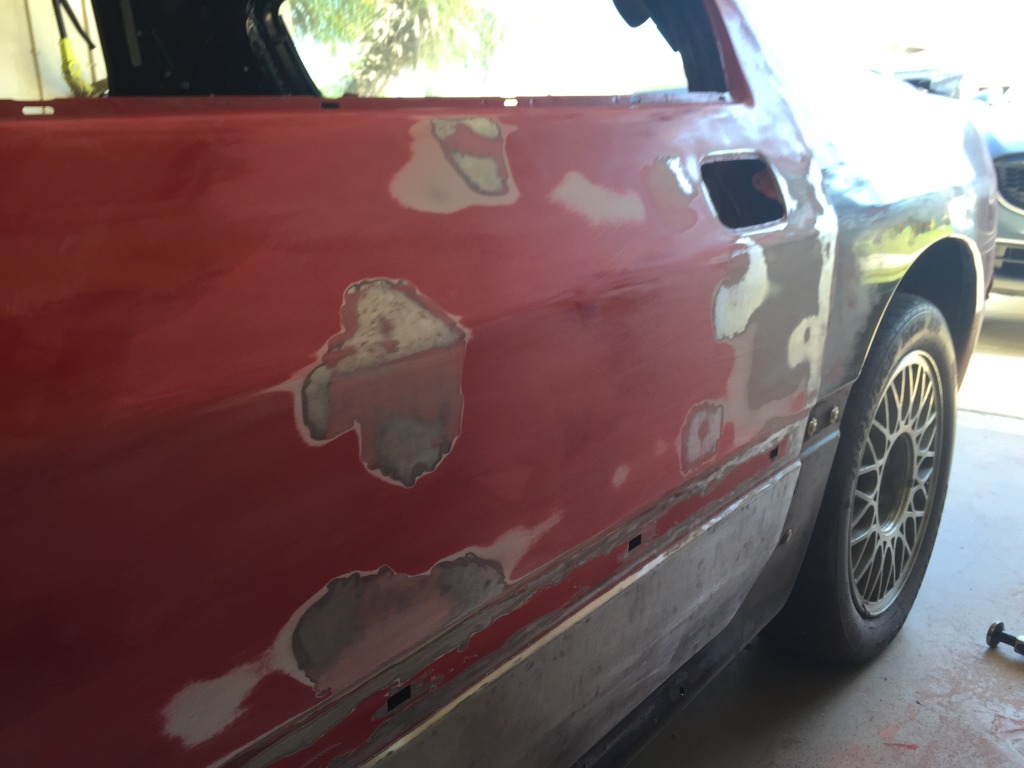
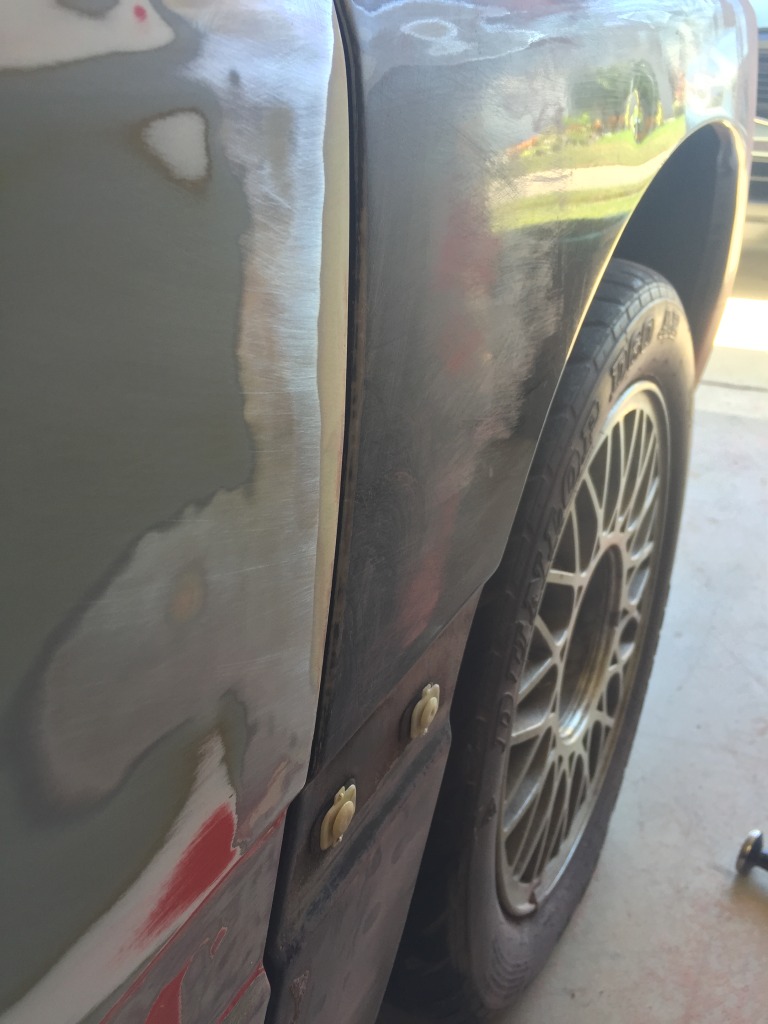
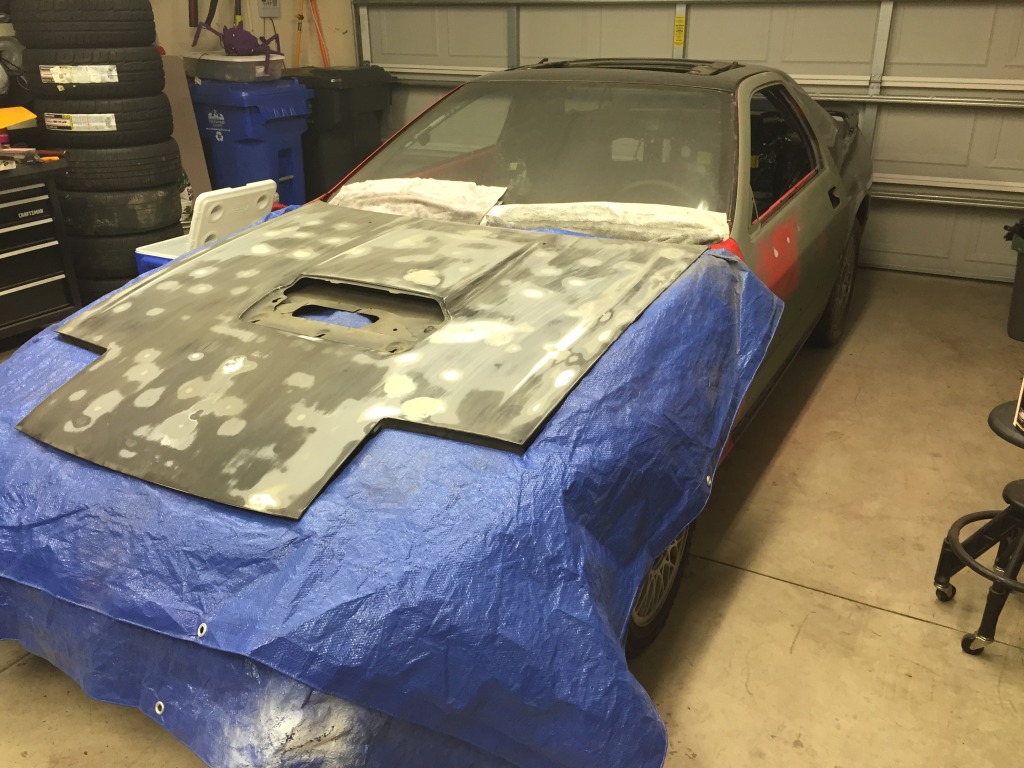
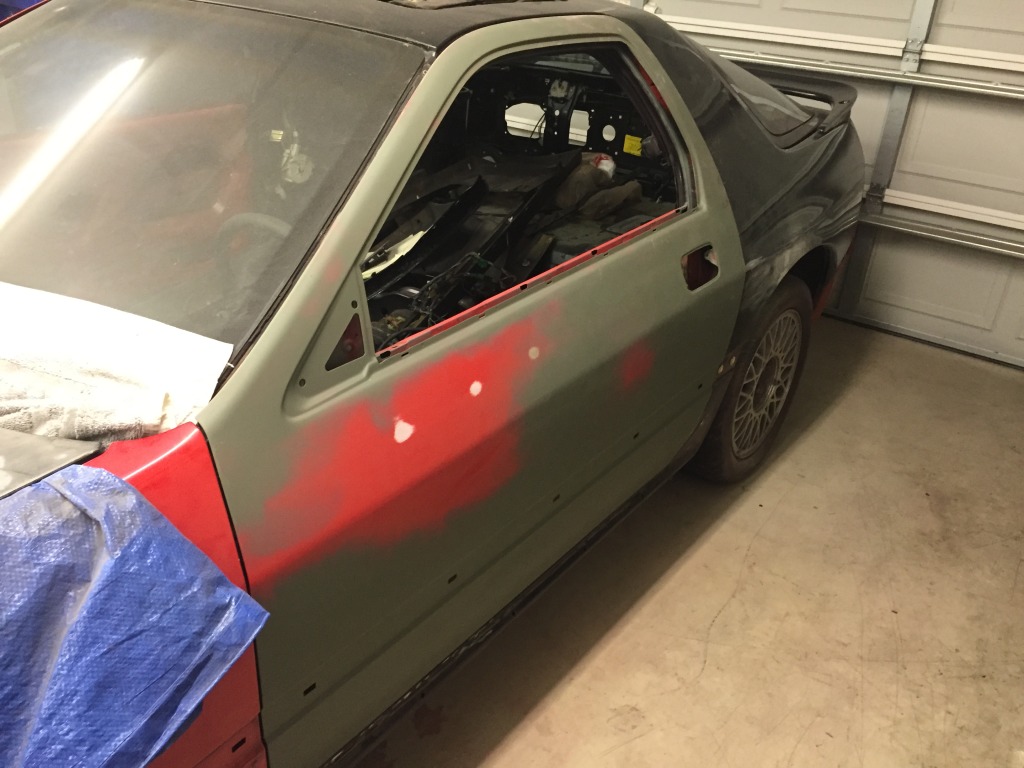
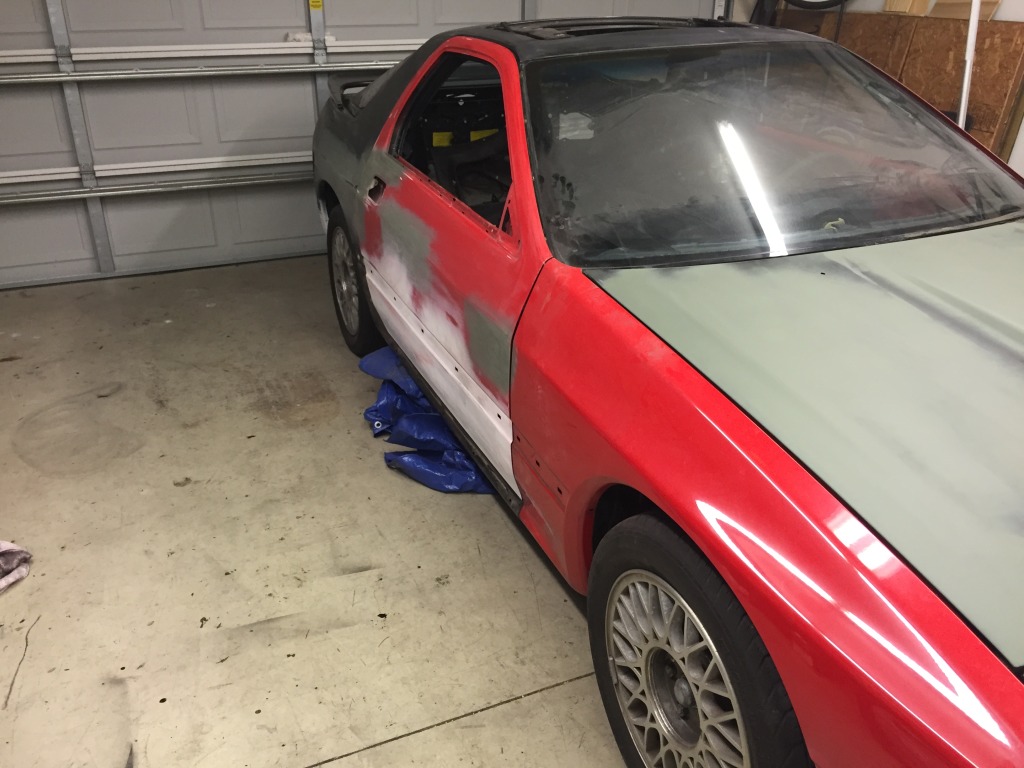
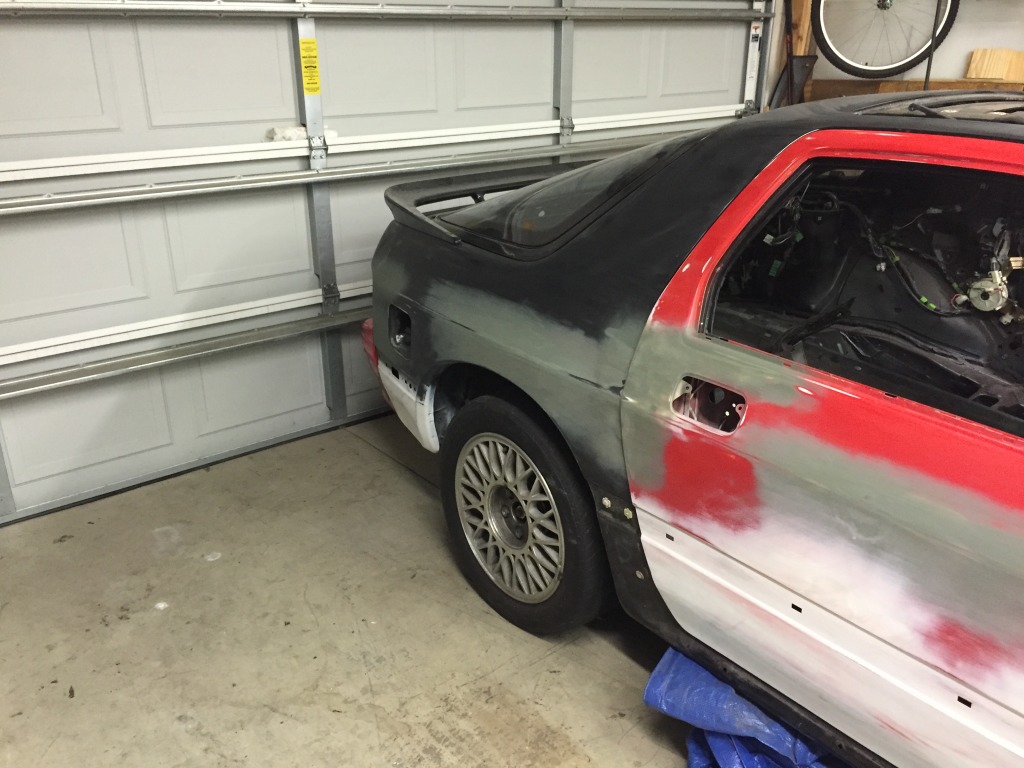
Time sure does fly. There clearly have been no updates, but bodywork has progressed. I really am getting close to having the car ready for primer. Here are some pictures from the past few months of snail's pace body work..
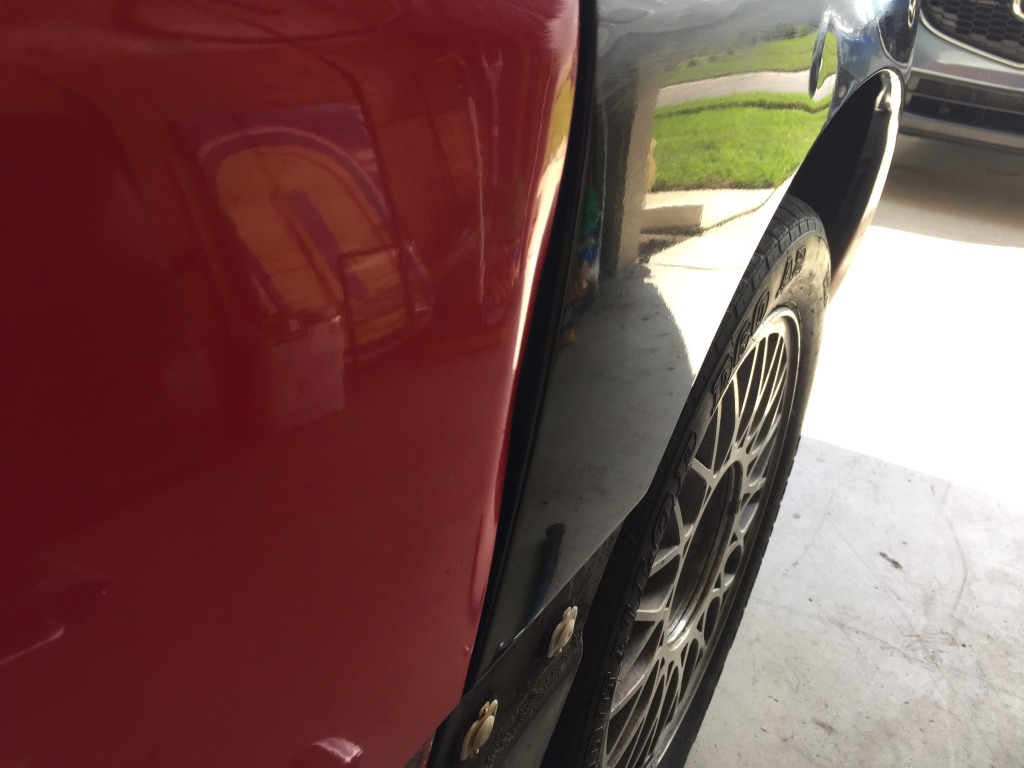
More to come when Photobucket decides to start working as it should.
More to come when Photobucket decides to start working as it should.

Thread Starter
Joined: Feb 2001
Posts: 2,855
Likes: 225
From: Tampa, FL
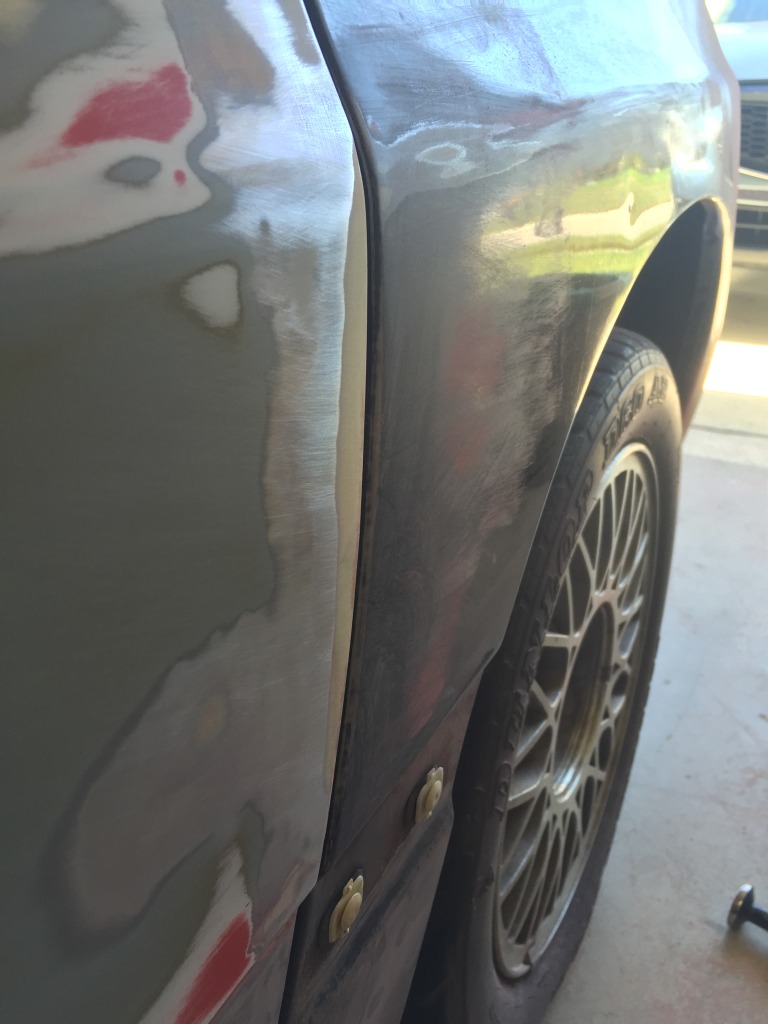
The lack of updates is purely due to body work not being conducive to taking pictures since my hands are always dusty from sanding. Body work is non-glamorous as well. Sand, filler, sand, filler, sand, guide coat, sand, filler primer, sand, maybe some glazing putty, sand...
You get the point. I hope to be able to do a worthwhile update soon. But that may not be until the car is all one color again (probably primer gray).
Ugh, six years! I'm still working. Body work is progressing slowly but surely. Quite a few panels are ready to be primed. Goals are now nonexistent because I always miss them!
The lack of updates is purely due to body work not being conducive to taking pictures since my hands are always dusty from sanding. Body work is non-glamorous as well. Sand, filler, sand, filler, sand, guide coat, sand, filler primer, sand, maybe some glazing putty, sand...
You get the point. I hope to be able to do a worthwhile update soon. But that may not be until the car is all one color again (probably primer gray).
Thread Starter
Joined: Feb 2001
Posts: 2,855
Likes: 225
From: Tampa, FL
Right now, just off the shelf primers from the auto parts store. Come actual paint time, I'm using TCP Global's Restoration Shop line - primer, urethane base coat and clear coat.
Thread Starter
Joined: Feb 2001
Posts: 2,855
Likes: 225
From: Tampa, FL

Thread Starter
Joined: Feb 2001
Posts: 2,855
Likes: 225
From: Tampa, FL
So, Photobucket decided to stop the madness and it looks like this thread makes sense again.
If anyone is still with me, we should have some early Christmas presents coming soon.
If anyone is still with me, we should have some early Christmas presents coming soon.
