When you click on links to various merchants on this site and make a purchase, this can result in this site earning a commission. Affiliate programs and affiliations include, but are not limited to, the eBay Partner Network.
HOWTO: Remove Cluster Switch and Instrument Cluster
Figured I would throw this together for anyone else looking to take their gauges out without breaking anything, and without having to drop the steering column to get at the speedo cable clip.
EDIT: The steering wheel and the shroud around the ignition do NOT need to be removed even though these pictures show them out. I just had them out because I started out thinking I had to drop the steering column from someone else's instructions. Just lower the tilt wheel as far as you can.
First, remove the three screws underneath the top of the cluster switch, and the two on the bottom:
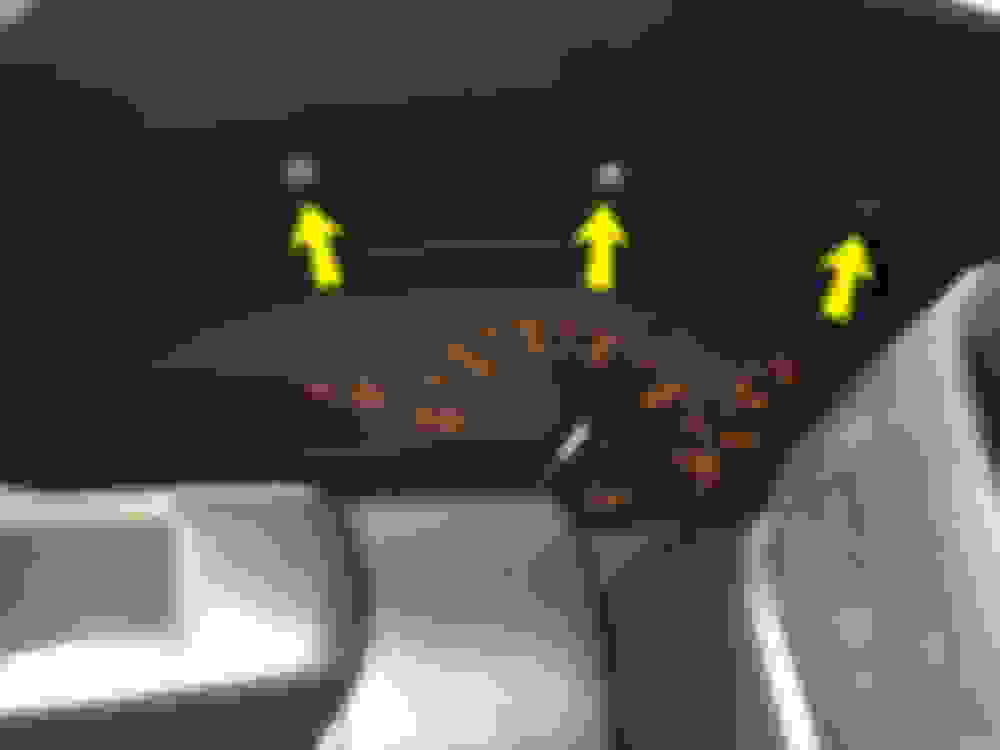
Then you can slide the cluster switch out, and push the marked tabs inward to release each of the four connectors:
At this point you can remove the cluster switch.
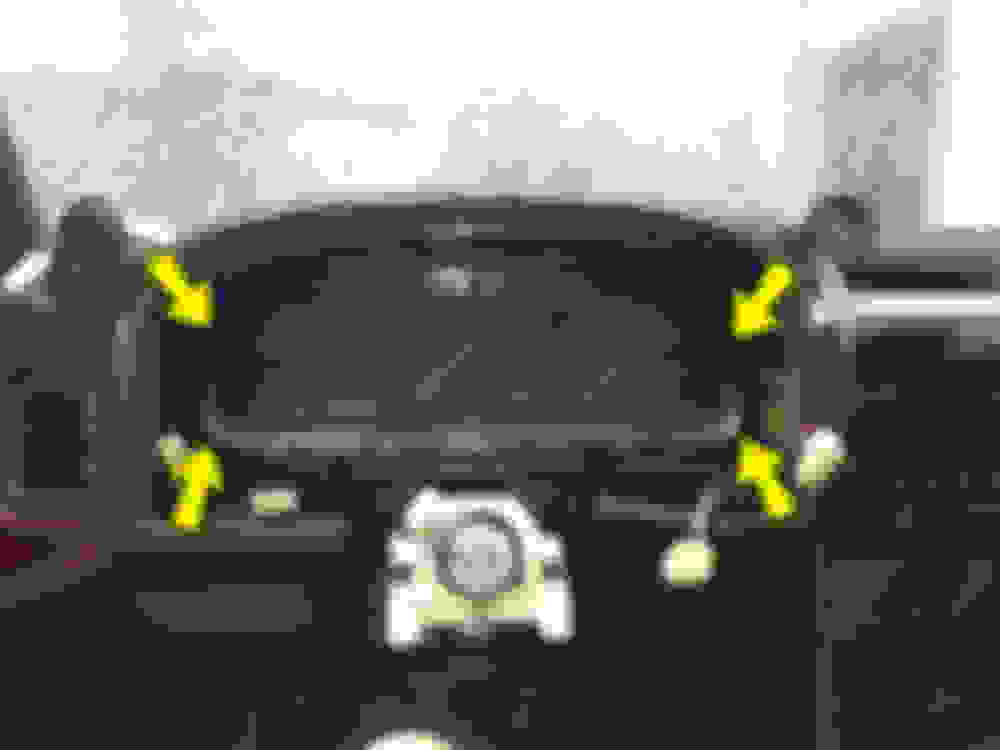
Next, remove the 4 marked screws that hold the gauge cluster in place:
And here's a little trick I found to make disconnecting the speedo cable a lot easier. Unclip the speedo cable from the two marked tabs underneath the car on the driver's side. This will give you about a foot of extra slack in the cable.
Don't tug on the cluster from the inside. Pull it as far as you can without too much force, and then push some slack through from the firewall side.
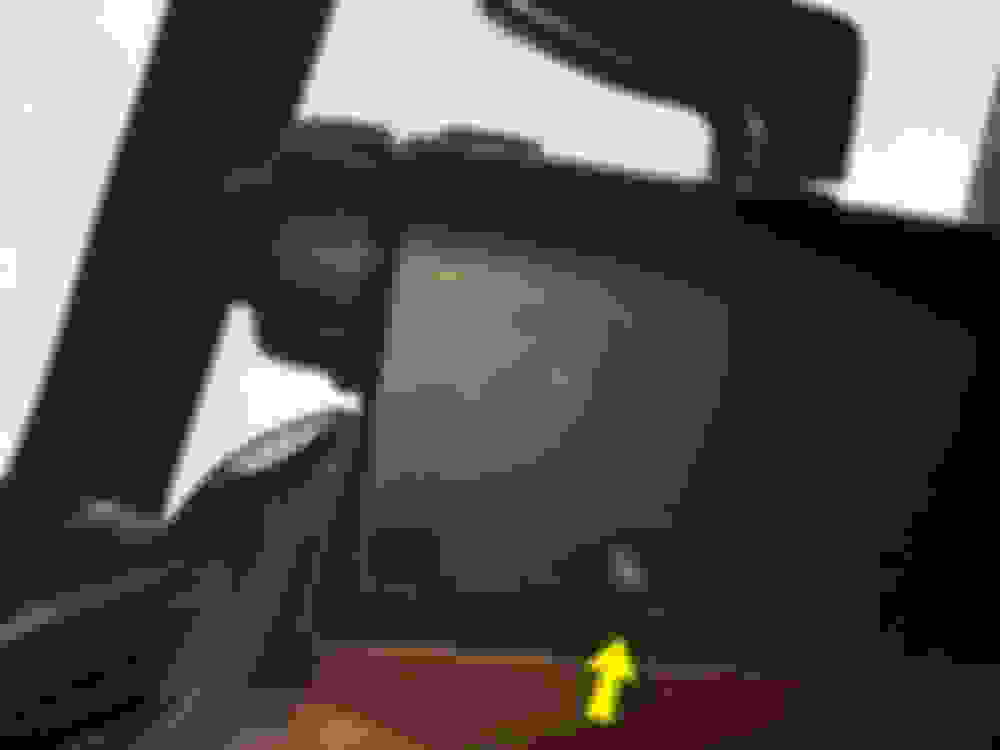
At this point you just push down on the speedo cable clip where the arrow is and pull the cable out.
For the round white and black connectors, just push up on the center tab to release the connector.
Note, when putting this back together, the speedo cable must be on far enough so that the clip engages the groove, or it could slip out over time.
Last edited by Philip Casciola; Sep 7, 2016 at 09:51 AM.
I only had the steering wheel out because I started out following someone else's instructions about dropping the steering column, but then I realized none of that is required if you just give yourself some slack on the speedo cable which is why I posted these simpler instructions. I should edit the post to clear that up because my pics do show some unnecessary steps.
I only had the steering wheel out because I started out following someone else's instructions about dropping the steering column, but then I realized none of that is required if you just give yourself some slack on the speedo cable which is why I posted these simpler instructions. I should edit the post to clear that up because my pics do show some unnecessary steps.
I recommend removing the steering wheel, as it gives you way more room. The reason I said it could be done without removal, is because it can but, you have to bend some things and it get scary doing so.
Or if you are impatient like me you destroy the bracket that holds the center trim piece onto the wheel and wind up with something that looks like this....
Instead of removing the wheel or the column surround you can remove the lower dash trim and remove the two steering column bolts, it will sag and free up space above.
Instead of removing the wheel or the column surround you can remove the lower dash trim and remove the two steering column bolts, it will sag and free up space above.
Instead of removing the wheel or the column surround you mentioned removing lower dash trim and two steering column bolts, it will sag and free up space above.
Please indicate location of lower dash trim and steering column bolts. Is lower dash trim same as cluster surround bottom screws or other area. I don't want to remove black steering column plastic trim cover (2 pieces) due to 4 underneath screws - difficult to install once removed.