
88 rear sway bar install write up

Thread Starter
Joined: Nov 2002
Posts: 1,790
Likes: 3
From: Travis AFB, CA to Okinawa, Japan
88 rear sway bar install write up
The bar I installed is from Suspension Techniques and is one of the thickest bars you can buy. Part# 51155
Tools:
Basically you will need metric sockets (14mm)
Various extensions
Jack and stands
Gloves, Old car with rusty bolts = busted knuckles
Breaker bar
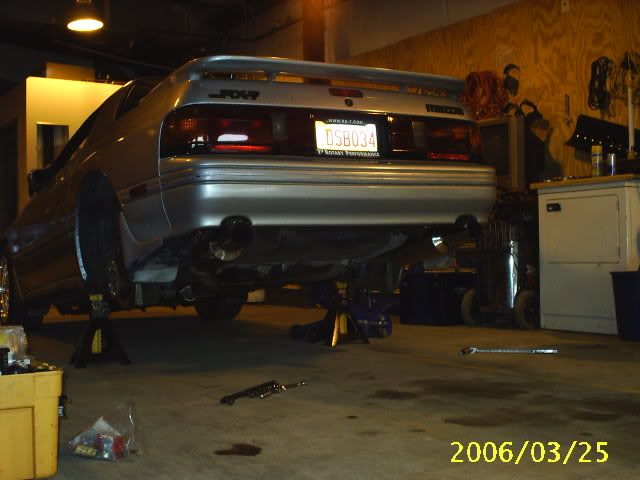
First start lifting the car up with the jack just a little under the differential. Then loosen you lugs on your wheels. Jack the car the rest of the way up and then secure the vehicle with jackstands. I placed the jackstands so that the suspenion is fully unloaded so that you have the most clearance when removing and installing the sway bar. Take the wheels off.
You can also remove the exhaust to make it easier, but you don't have to. I didn't remove mine and I have a dual exhaust and I didin't have any problems.
Spray the endlink bolts and mounting plates with some PB blaster. Go outside and smoke a cig.
Unbolt the endlinks

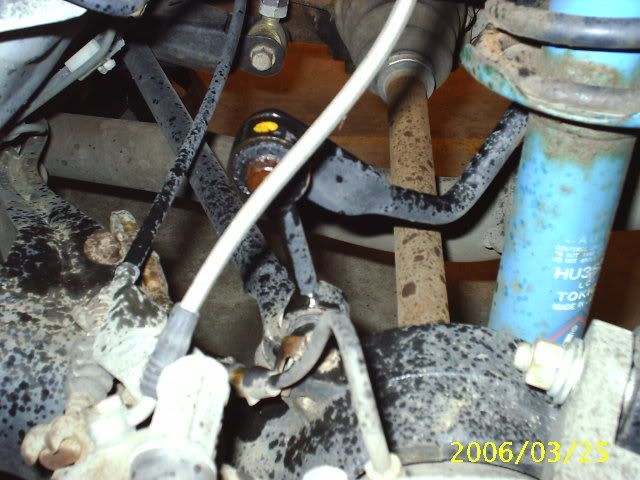
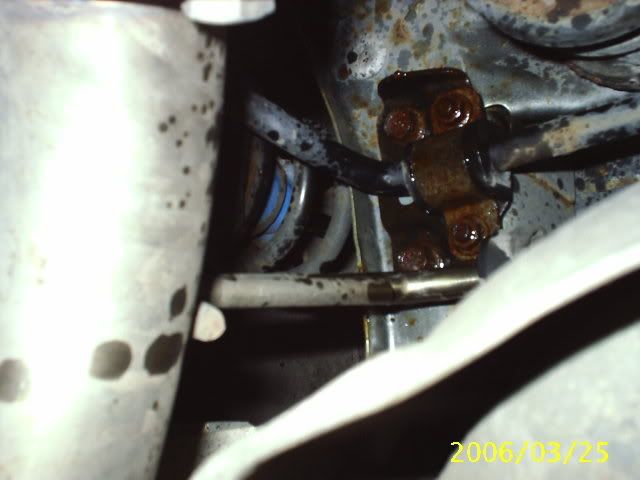
Then unbolt the 2 bolts on each side that mount the sway bar to the car. They are the 2 bolts that are on the strut/spring side of the car. Don't worry about the the bolts that hold the bushing in place. They don't physically hold the bar to the car.
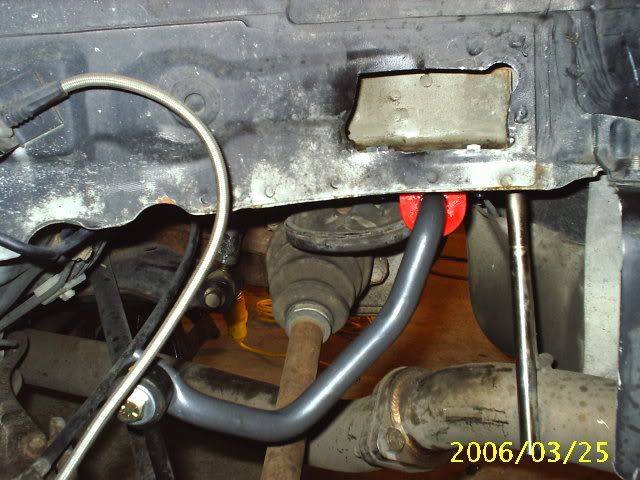
**Warning** Try to avoid using an impact on the bolts that hold the bar to the car. They might break. Which happened to me. This is a good time to have a smoke and a beer.
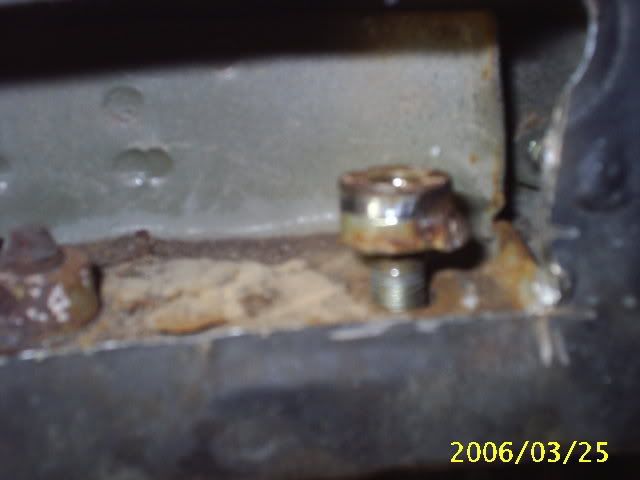
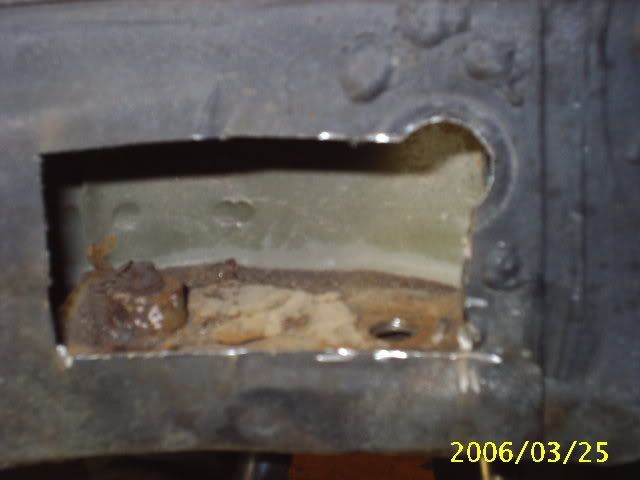
The bolts themselves didn't break but the mounting nuts that are welded on the frame broke. I had to cut a small hole through the fender well to access the broken mounting nuts to remove them. See pics above. I also had to remove the struts/springs to be able to cut the holes. After I removed the broken pieces ( I broke all of them, two on purpose) I just dropped in new bolts with washers.
Before removing the bar take note of how the stock bar is mounted. Remove the bar. Then go have another smoke.
A couple of pics comparing the stock T2 sway bar and the ST bar:
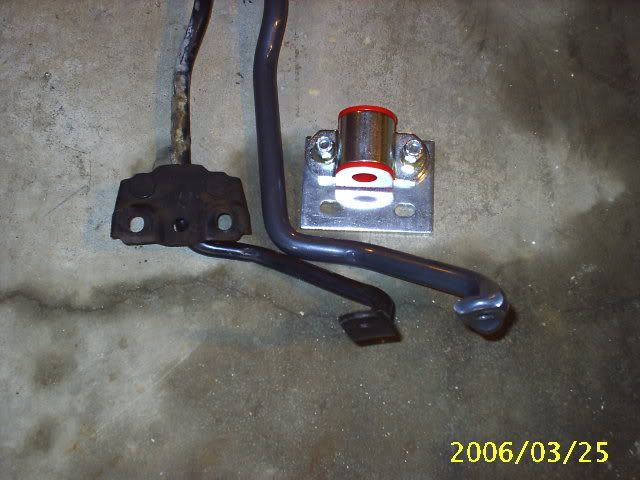

Get your small pouch of grease that came with the kit and grease your bushings. Try to use all of it on both bushings. Install your bushing onto the bar along with the u mount.
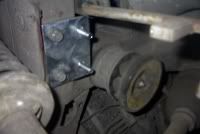
Grab the mounting plates with the four holes and go ahead and install them. You will need the four bigger bolts (2 per side). The bolts will hang in the slots. *Not my pic*
Go ahead and install your new bar (I hoped you remembered how it mounted). Mount it to the mounting plates first. Install the spacer between the plate and the bushing.
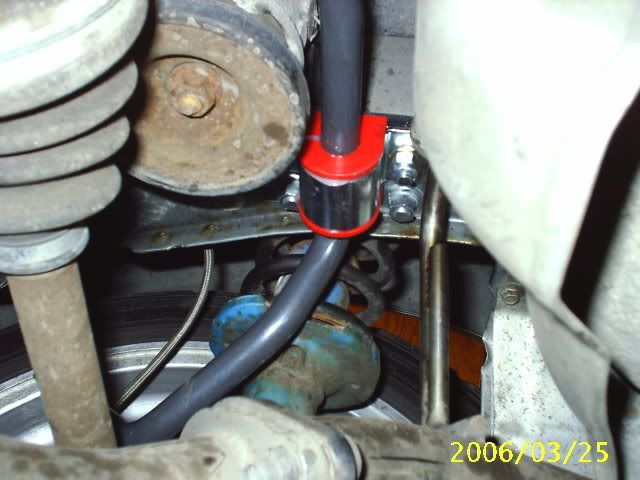
Once the bar is hanging and even on both sides go ahead and bolt the bar to the end links using the new bolt and nut that is provided. The stock bolt/nut won't fit with the thicker bar. ( You can see the hole that I had to cut better in this pic )
That should be it. Put the wheels back on and go have some fun.
Thanks to sesolcSTI for the help. :thumbup:
Oh and I need to quit smoking. LoL..
Tools:
Basically you will need metric sockets (14mm)
Various extensions
Jack and stands
Gloves, Old car with rusty bolts = busted knuckles
Breaker bar
First start lifting the car up with the jack just a little under the differential. Then loosen you lugs on your wheels. Jack the car the rest of the way up and then secure the vehicle with jackstands. I placed the jackstands so that the suspenion is fully unloaded so that you have the most clearance when removing and installing the sway bar. Take the wheels off.
You can also remove the exhaust to make it easier, but you don't have to. I didn't remove mine and I have a dual exhaust and I didin't have any problems.
Spray the endlink bolts and mounting plates with some PB blaster. Go outside and smoke a cig.
Unbolt the endlinks
Then unbolt the 2 bolts on each side that mount the sway bar to the car. They are the 2 bolts that are on the strut/spring side of the car. Don't worry about the the bolts that hold the bushing in place. They don't physically hold the bar to the car.
**Warning** Try to avoid using an impact on the bolts that hold the bar to the car. They might break. Which happened to me. This is a good time to have a smoke and a beer.
The bolts themselves didn't break but the mounting nuts that are welded on the frame broke. I had to cut a small hole through the fender well to access the broken mounting nuts to remove them. See pics above. I also had to remove the struts/springs to be able to cut the holes. After I removed the broken pieces ( I broke all of them, two on purpose) I just dropped in new bolts with washers.
Before removing the bar take note of how the stock bar is mounted. Remove the bar. Then go have another smoke.
A couple of pics comparing the stock T2 sway bar and the ST bar:
Get your small pouch of grease that came with the kit and grease your bushings. Try to use all of it on both bushings. Install your bushing onto the bar along with the u mount.
Grab the mounting plates with the four holes and go ahead and install them. You will need the four bigger bolts (2 per side). The bolts will hang in the slots. *Not my pic*
Go ahead and install your new bar (I hoped you remembered how it mounted). Mount it to the mounting plates first. Install the spacer between the plate and the bushing.
Once the bar is hanging and even on both sides go ahead and bolt the bar to the end links using the new bolt and nut that is provided. The stock bolt/nut won't fit with the thicker bar. ( You can see the hole that I had to cut better in this pic )
That should be it. Put the wheels back on and go have some fun.
Thanks to sesolcSTI for the help. :thumbup:
Oh and I need to quit smoking. LoL..
Thread Starter
Joined: Nov 2002
Posts: 1,790
Likes: 3
From: Travis AFB, CA to Okinawa, Japan
It feels stiffer, but I haven't been able to take it on a good test drive yet. It has been raining for the past 2 days. 
I still need to make some panels to cover the holes.
I still need to make some panels to cover the holes.

Full Member
Joined: Apr 2008
Posts: 220
Likes: 0
From: Milton, FL
I know I'm totally ressurecting this thread, but thank you so much for your informative write-up.
I had installed my bar basically upside down and totally couldnt understand why. Your write-up and pics totally saved the day for me.
* +1 for archive
I had installed my bar basically upside down and totally couldnt understand why. Your write-up and pics totally saved the day for me.
* +1 for archive

I'm going to resurrect this one as well and I'll apologiize right now for it.
I had the rear swaybar installed when some other work was being done and I just noticed the other day the sway bar is rubbing against the rear, upper portion of the rear end.
Same swaybar used in this thread and it's on an 88 NA.
Up-side down, maybe?
Thanks,
~Jason
I had the rear swaybar installed when some other work was being done and I just noticed the other day the sway bar is rubbing against the rear, upper portion of the rear end.
Same swaybar used in this thread and it's on an 88 NA.
Up-side down, maybe?
Thanks,
~Jason

Thread
Thread Starter
Forum
Replies
Last Post
need RX7
2nd Generation Specific (1986-1992)
11
Aug 19, 2015 08:27 AM