
'87 TII Ovehaul - from bouncing idle to engine refurbishment


Panties Explode
Joined: Jun 2004
Posts: 750
Likes: 0
From: Miami
come to miami and do my car. lol i need to pull the whole motor out as well. Previous owner completely rigged the motor up and although its run really strong, it looks like crap and very fragile. i gotta do the same thing 
Wings,
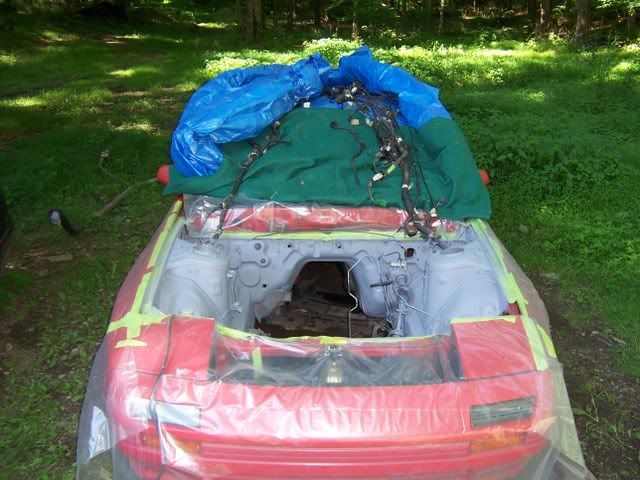
Yeah the harness will be tons of fun i am sure, I'm honestly not looking forward to it but I consider it to be just as important as any coolant, gas or oil line so it will be checked out and repaired if necessary.
Drifted,
I'm in Northwest jersey on the border of Sussex and Warren counties, by the Delaware water gap.
Scrip,
Thanks man.
Snack,
I'd be happy to come to Miami but I gotta work for the next 30yrs as far as I know, so we'll see if I get a vacation....haha.
I'm gonna install the block off of the manifolds tonight after work, maybe finish painting the engine itself.
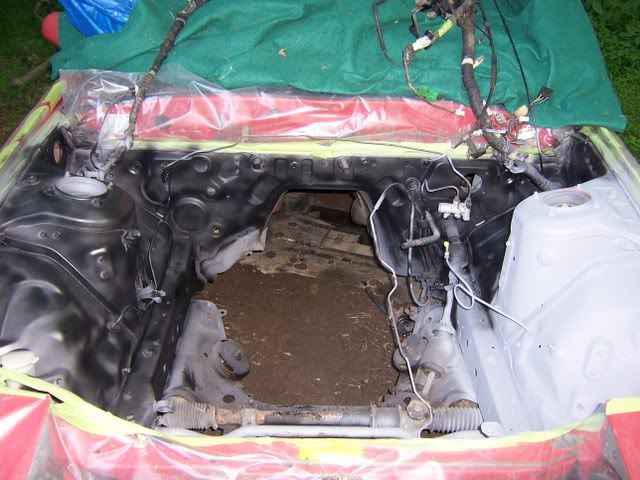
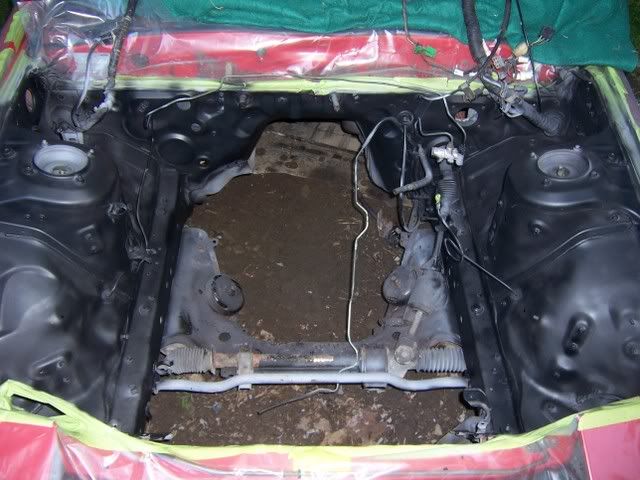
Okay, so i went over the primer w/ ceramic engine paint in a low gloss black duplicolor. here's the process:
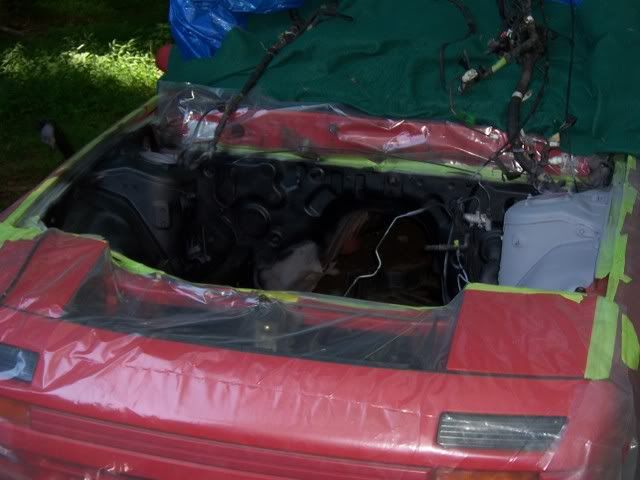
Nice Paint Booth-
Finished Primer-
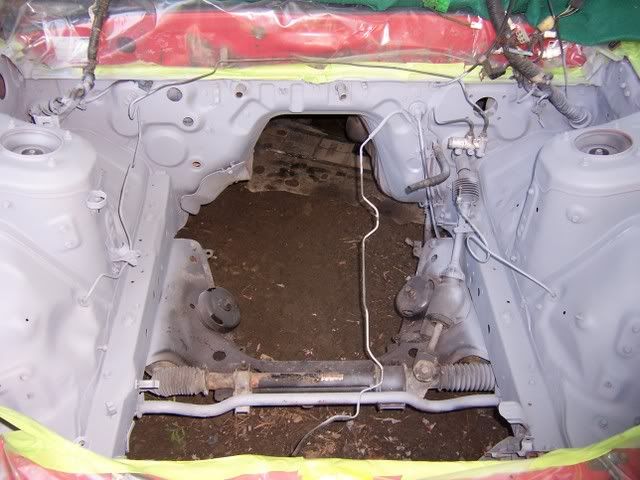
Getting Stated-
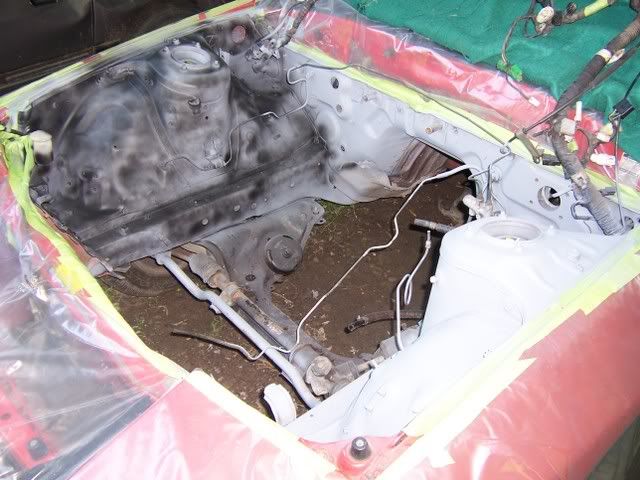
Getting There-
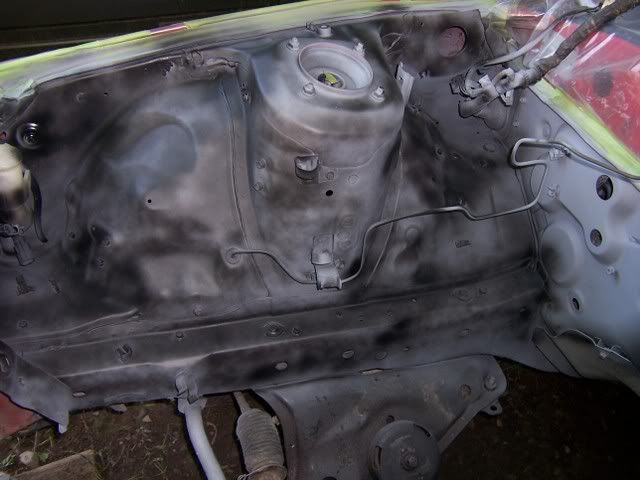
Just About Finished-
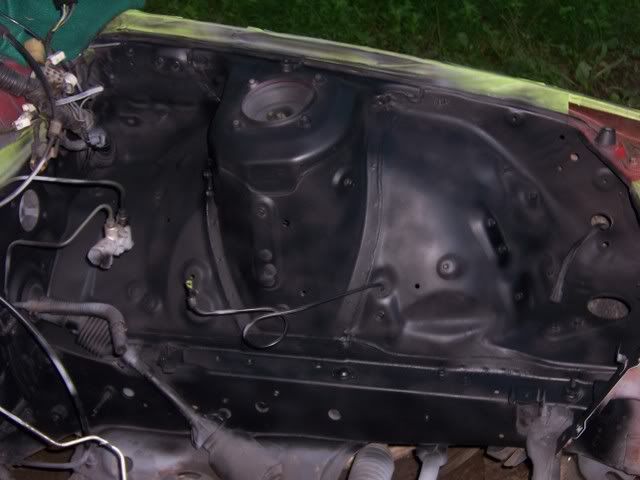
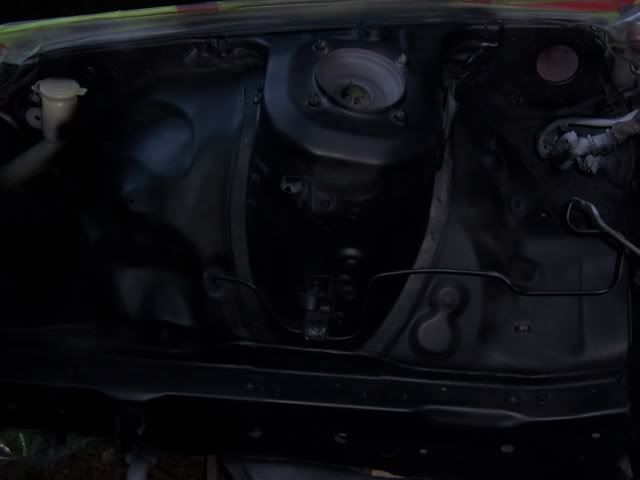
Detail-
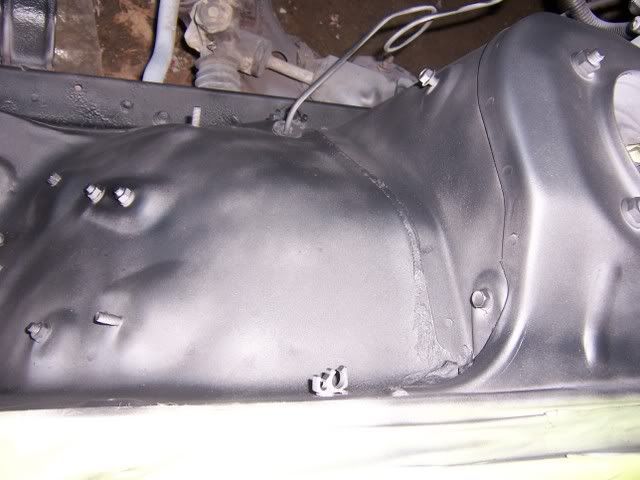
Didn't turn out to bad as far as I'm concerned.
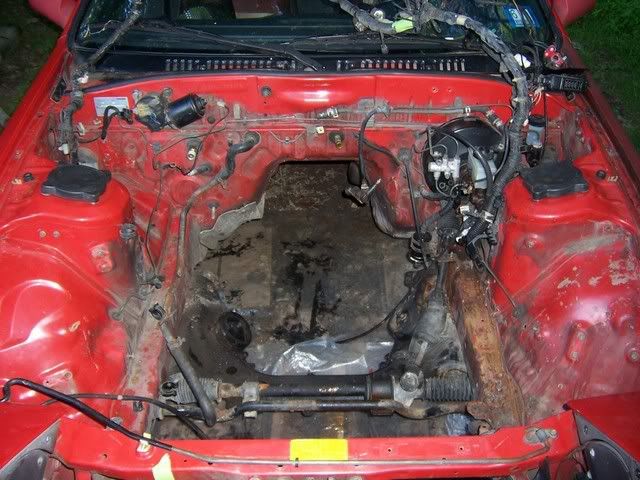
It looks better than:
I just bought a FMIC and piping, gonna be going custom setup rather than $1000 GReddy. We'll see how that comes out as well, might get to learn to weld aluminum.
Nice Paint Booth-
Finished Primer-
Getting Stated-
Getting There-
Just About Finished-
Detail-
Didn't turn out to bad as far as I'm concerned.
It looks better than:
I just bought a FMIC and piping, gonna be going custom setup rather than $1000 GReddy. We'll see how that comes out as well, might get to learn to weld aluminum.
Yeah I actually used a whole other can today to go over to finish up. I tried to everything in multiple light coats and it sees to work well overall.
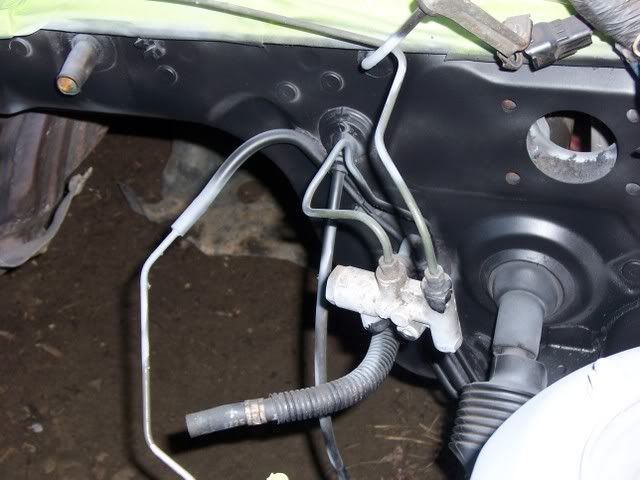
The rust was removed with a wire wheel and then the metal was cleaned with carb cleaner and treated with Metal Ready to inhibit future rust. Just spray it on and leave it for 15mins, then rinse with the water and dry, then you paint it and no worries.
There is some pitting where the rust was but i don't think it'll be a problem again.
I used the same process for the rotor housings on my motor but I used POR15 for that project. Actually I think I'll go finish painting the front cover right now.
Thanks.
I really want to get a paint gun for the body, but i really don't know much about which kind of gun to get. I just need it to spray paint decently mostly for me to learn with on my project cars, not show quality type stuff ya know...just better than it is now. I'm just looking forward to trying a whole bunch of new things coming up in this one.
I really want to get a paint gun for the body, but i really don't know much about which kind of gun to get. I just need it to spray paint decently mostly for me to learn with on my project cars, not show quality type stuff ya know...just better than it is now. I'm just looking forward to trying a whole bunch of new things coming up in this one.
nice thread you got going on there man, im very impressed with your project.
i'd like to own a TII someday and i will subscribe to this thread so i can follow what you've done..
as stated earlier... "These type of threads make me drool"
i'd like to own a TII someday and i will subscribe to this thread so i can follow what you've done..
as stated earlier... "These type of threads make me drool"
Stuff to buy tonight:
-Vacuum Lines and caps
-Fuel Hose w/ clamps
-Alternator Belts (2)
-Radiator Hoses
-Self-Fusing High Heat Engine Harness Wrap
-Battery Terminals
Already done:
Intake and TID
Blitz SS BOV
Racing Beat Downpipe
3” Straight Exhaust to Dual Tips
NGK Wires
Rtek7 Stage 2.0 ECU Upgrade
(4) Venom 720cc Injectors w/ new connectors
255lph pump (new lines in engine bay)
KYB AGX’s
Various small repairs(wiring, de-gunking, regular maintenance)
Needs to be installed:
-Throttle Body
-UIM
-LIM
-GASKET INTAKE CENTER
-LIM to Engine gasket
-Fuel Injectors grommets
-Coolant O-rings
-Oil metering pump lines
-Thermostat
-Front Main Seal
-Rear Main Seal
-Thermal Pellet Upgrade
-Vacuum Spider
-Thermowax Hose
-Emissions Block Off Kit
-Double Belted Alternator Pulley
-Mallory Hyfire 6A CD Ignition kit
-GP Sports Body Kit
- Custom FMIC
Need to buy:
BNR Stage 1 or 2 Turbo Upgrade
Aeromotive FPR
GReddy Profec B Spec II
NGK A/Fx Monitor
Kaaz LSD
Rebuilt Transmission
Exedy Clutch and Flywheel
Tanabe GF210’s
Rear Camber Adjuster Link
Tein Pillow Ball Mounts
Koyo Radiator
My main focus now is to get the turbo out for rebuild and upgrade, I have noticed that i can feel a very slight amount of play in the shaft on the turbo if i force it by hand so ...might as well go Stage 2.
I want to get the harness checked over and repaired, get a new clutch, get a used tranny for the motor and get this thing back together soon...
It's all eventual, can't do it all at once but little by little it'll happen. I have no idea where this is all going but it's fun to watch it progress.
Though, I think I'm gonna stick to the BNR Stage 1 for sure though, this is my first turbo project and I'd rather start small and work up to something bigger as I learn more. I was really tempted to go Stage 2 for the little bit more $$$, I figured I could just keep it low but I would rather go the safer route of the Stage 1 for now. It'll be bad *** as hell anyways.
Though, I think I'm gonna stick to the BNR Stage 1 for sure though, this is my first turbo project and I'd rather start small and work up to something bigger as I learn more. I was really tempted to go Stage 2 for the little bit more $$$, I figured I could just keep it low but I would rather go the safer route of the Stage 1 for now. It'll be bad *** as hell anyways.
I didn't get to do it the other night though, today I actually bought some more parts:
2 Rolls of Self-Fusing High Heat Engine Harness Wrap- 1" x 12yards in length
Car Cover for the TII
A Set of New 4 ply silicone Radiator Hoses
A Set of New OEM Ball Joints
I'll post updates, pics of the progress as they happen.
2 Rolls of Self-Fusing High Heat Engine Harness Wrap- 1" x 12yards in length
Car Cover for the TII
A Set of New 4 ply silicone Radiator Hoses
A Set of New OEM Ball Joints
I'll post updates, pics of the progress as they happen.
Thanks.
I really want to get a paint gun for the body, but i really don't know much about which kind of gun to get. I just need it to spray paint decently mostly for me to learn with on my project cars, not show quality type stuff ya know...just better than it is now. I'm just looking forward to trying a whole bunch of new things coming up in this one.
I really want to get a paint gun for the body, but i really don't know much about which kind of gun to get. I just need it to spray paint decently mostly for me to learn with on my project cars, not show quality type stuff ya know...just better than it is now. I'm just looking forward to trying a whole bunch of new things coming up in this one.
http://cgi.ebay.com/ebaymotors/ws/eB..._promot_widget
And if the auction ends before you get a chance to get one, check back with the seller. He relists it every couple weeks or so. I have been watching this listing for a couple months.

 87 hardtop base model to 91 t2 conversion <3
Have you polished your FTP lenses and turn sig/ tail lenses? It's simple and looks like new when you're done. I used 1500 grit wet-or-dry paper with lots of water as the first step, then used a drill-mounted polishing ball and plastic polish to buff it all out. The tails shouldn't require sandpaper, just plastic polish and either a polishing ball or soft wax applicator. I had my instrument cluster out the other day to swap out a bad temp gauge and I polished the clear lens with the buffing ball and drill and it looks like brand new.