
HIRISK's 1988 S4.5 FC3S RX7 - Build Thread


Thread Starter
Full Member
Joined: Sep 2008
Posts: 123
Likes: 1
From: Australia
Thats why I like it.
But it will be much better looking than the stocky.
4.5" / 115mm tips
2.5" / 63.5mm pipe work
Fully Polished Mufflers
Will look good, sound good and flow good.
But it will be much better looking than the stocky.
4.5" / 115mm tips
2.5" / 63.5mm pipe work
Fully Polished Mufflers
Will look good, sound good and flow good.
Thread Starter
Full Member
Joined: Sep 2008
Posts: 123
Likes: 1
From: Australia
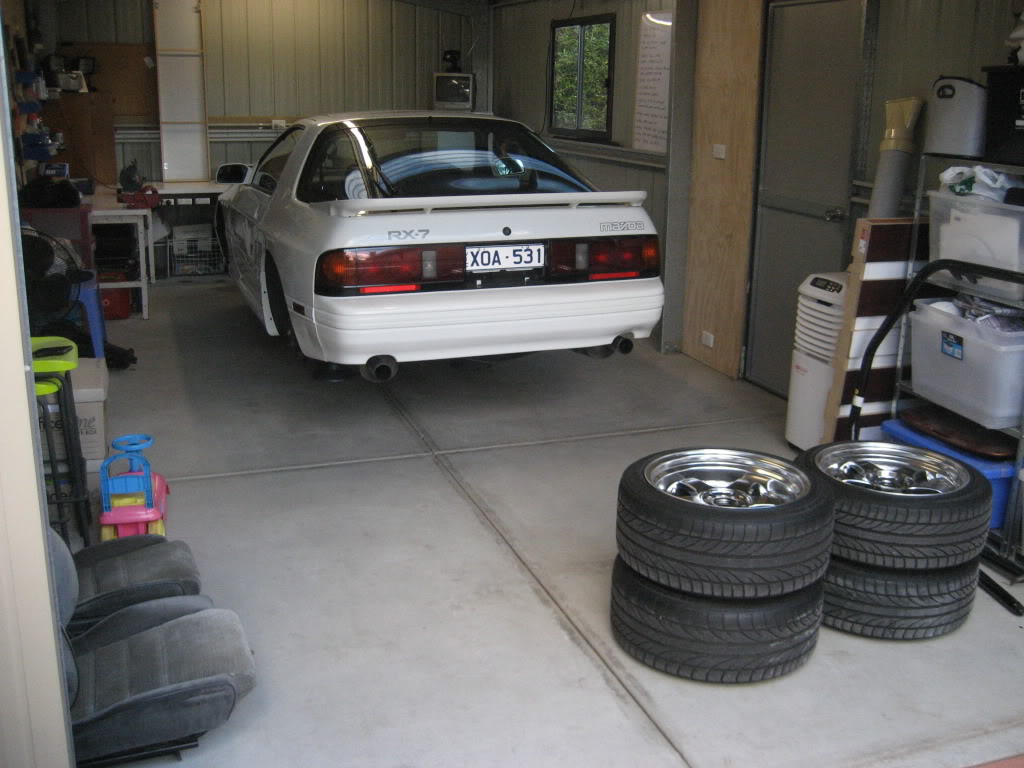
I have decided to take the car off the road and put it up on stands again. This will give me an opportunity to do a few things I have wanted to do for a while but have not been motivated enough to contend with. By taking it off the road it makes me want to actually go out in the garage and work on it.
I have also given the garage a good clean up which is also motivating to get out there and do more work.
So, in the next 4 to 6 weeks, the following will take place..
DRIVELINE
- Remove single spinner auto differential
- Install S5 Turbo LSD I have sitting on the floor
- Install MMR individual rear camber adjusters
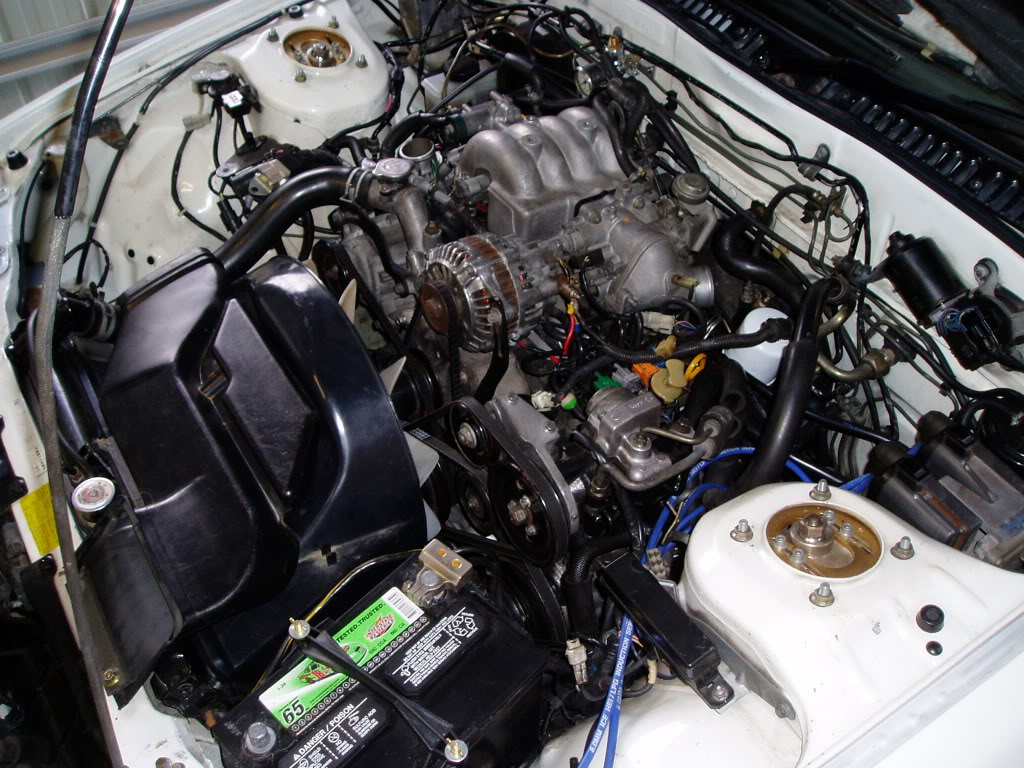
INTAKE / EXHAUST
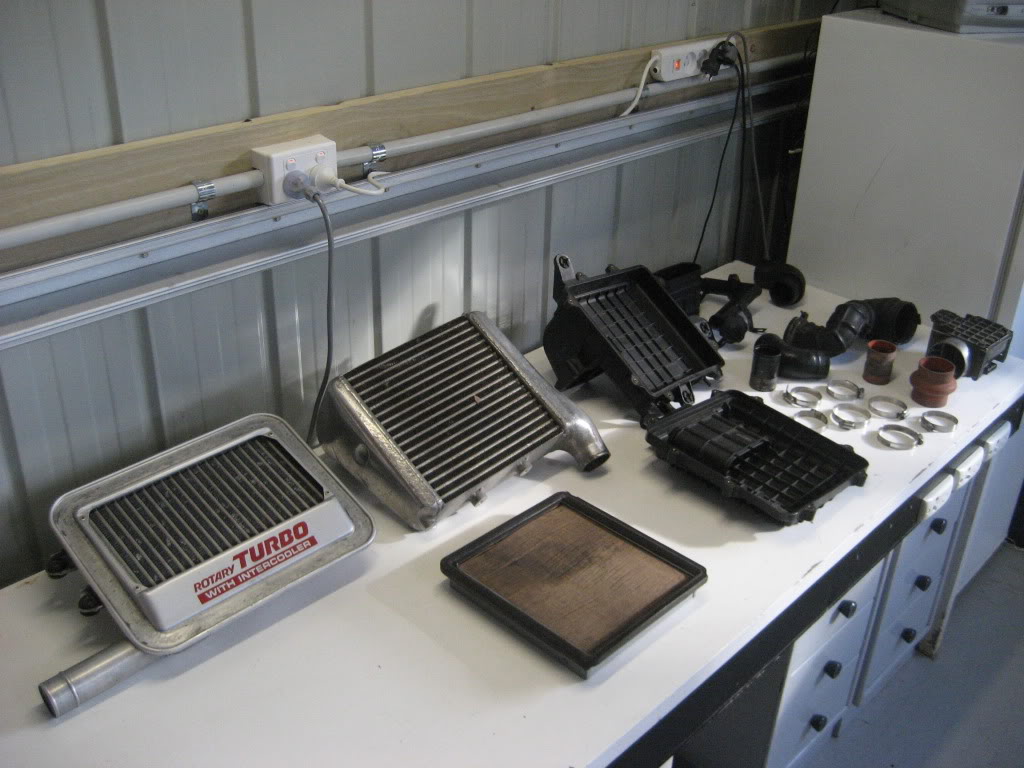
- Remove entire intake system for overhaul (started on this - photos below)
- Modify factory air box in an attempt to increase flow and smooth air passage
- Get a custom stainless air box to turbo pipe made to replace the restrictive factory one
- Install HKS Intercooler
INTERIOR
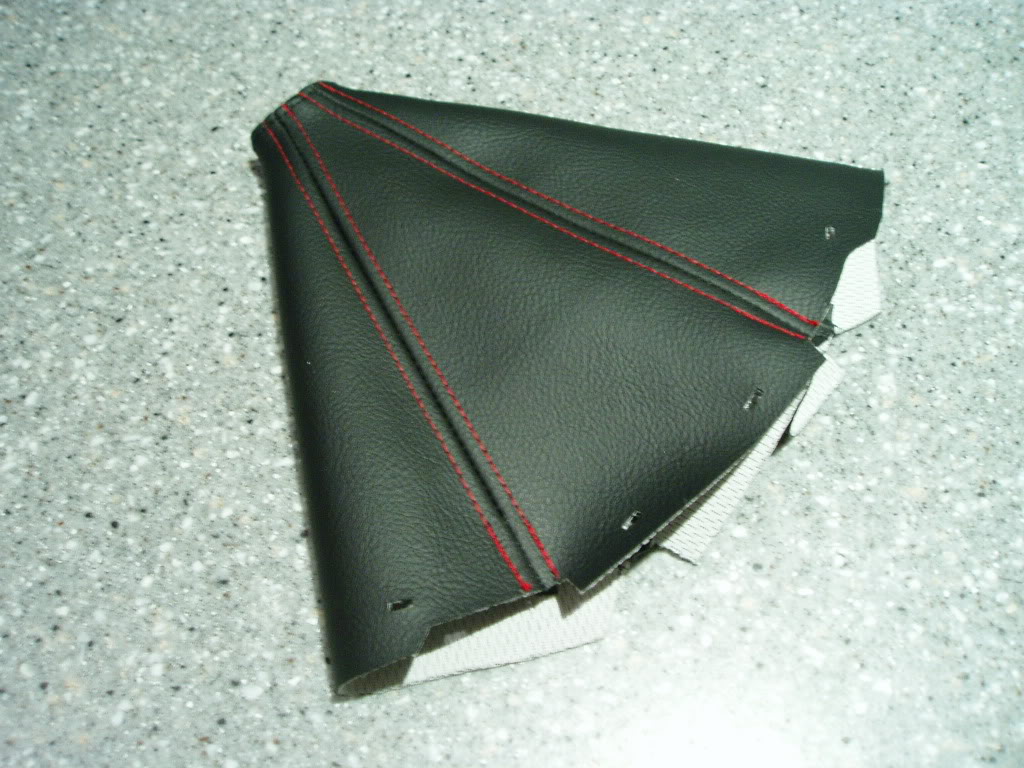
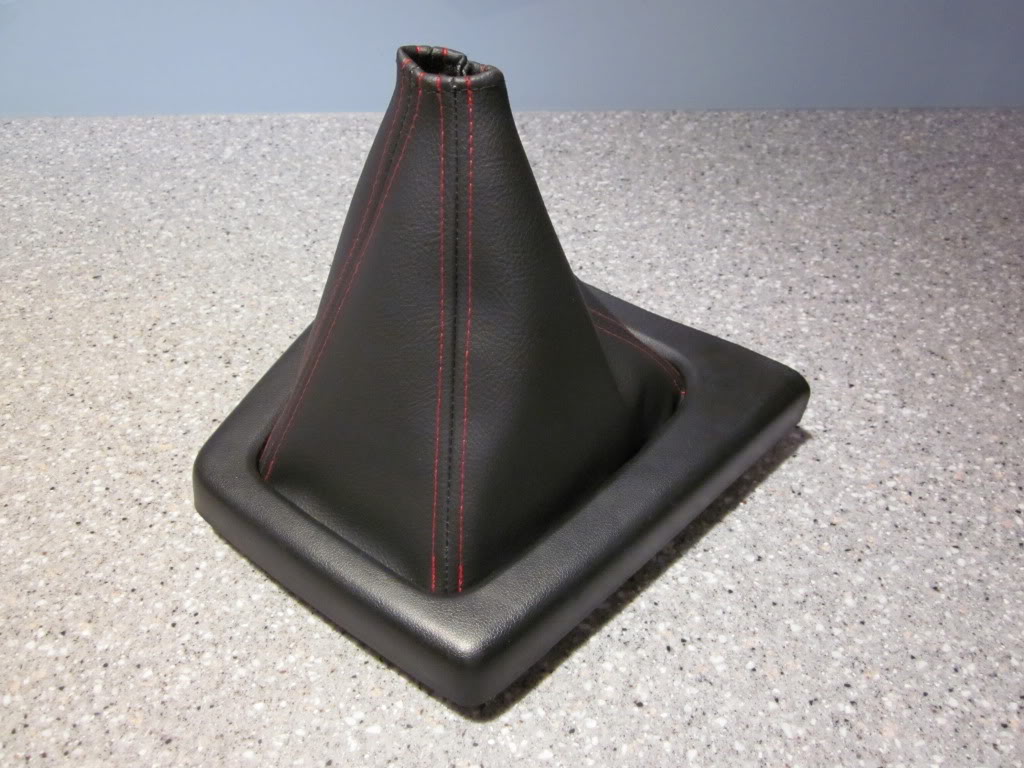
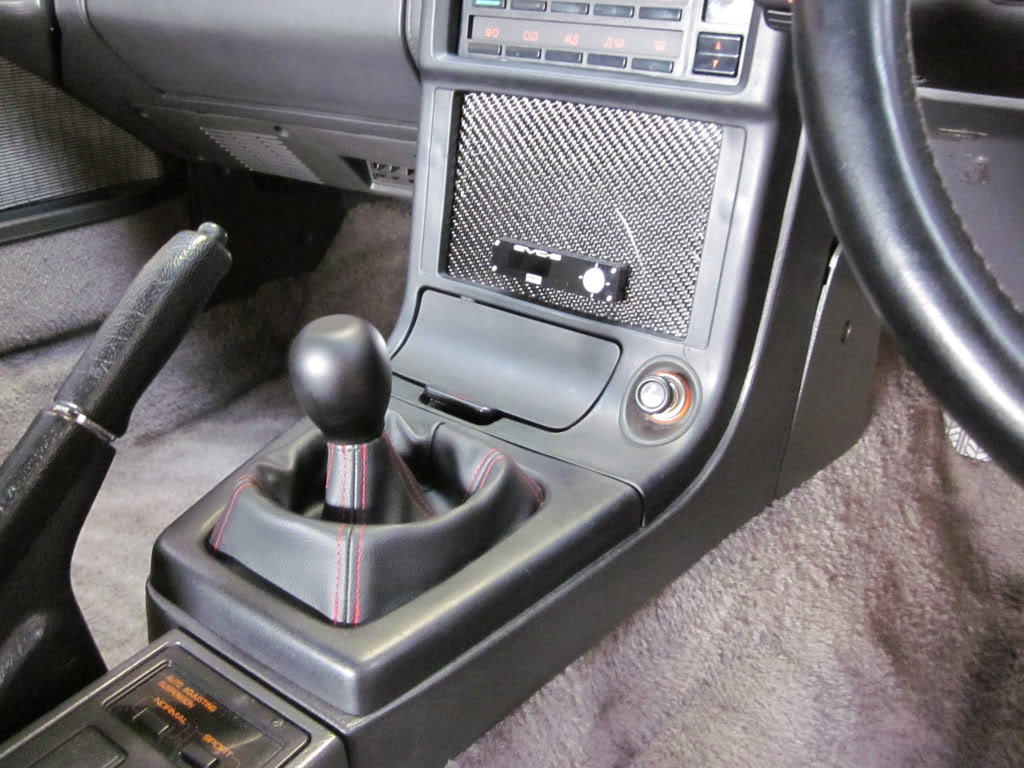
- Install new red stitched leather shifter boot
Here are a few photos of the garage clean up and intake removal in preparation for the above...
GARAGE CLEAN UP
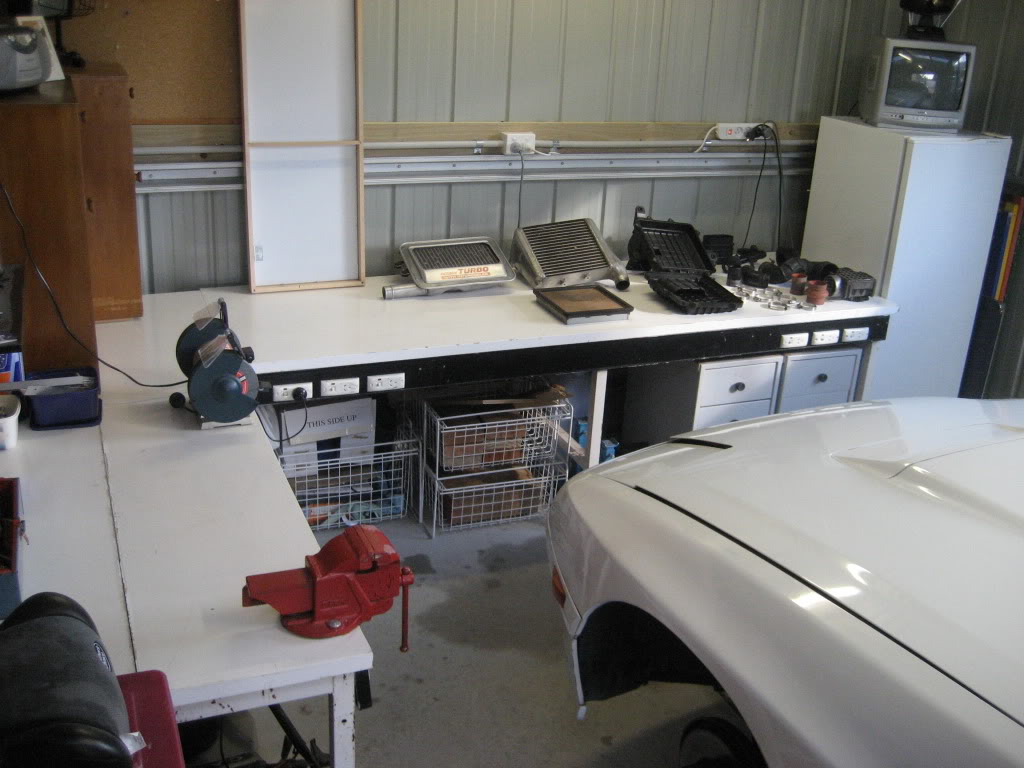
REMOVAL OF INTAKE COMPONENTS
I have also given the garage a good clean up which is also motivating to get out there and do more work.
So, in the next 4 to 6 weeks, the following will take place..
DRIVELINE
- Remove single spinner auto differential
- Install S5 Turbo LSD I have sitting on the floor
- Install MMR individual rear camber adjusters
INTAKE / EXHAUST
- Remove entire intake system for overhaul (started on this - photos below)
- Modify factory air box in an attempt to increase flow and smooth air passage
- Get a custom stainless air box to turbo pipe made to replace the restrictive factory one
- Install HKS Intercooler
INTERIOR
- Install new red stitched leather shifter boot
Here are a few photos of the garage clean up and intake removal in preparation for the above...
GARAGE CLEAN UP
REMOVAL OF INTAKE COMPONENTS

Thread Starter
Full Member
Joined: Sep 2008
Posts: 123
Likes: 1
From: Australia
Ok, so I have not really had any major updates for a while, but the next 4 to 6 weeks, as mentioned above, will be pretty busy for the FC with some nice gear going on the cars.
Here are a few of my purchases that will be going on the car shortly...
HKS TOP MOUNT INTERCOOLER
I will be giving it a good clean and polish it up as best I can. Once on the car it should look sweet and perform well too.
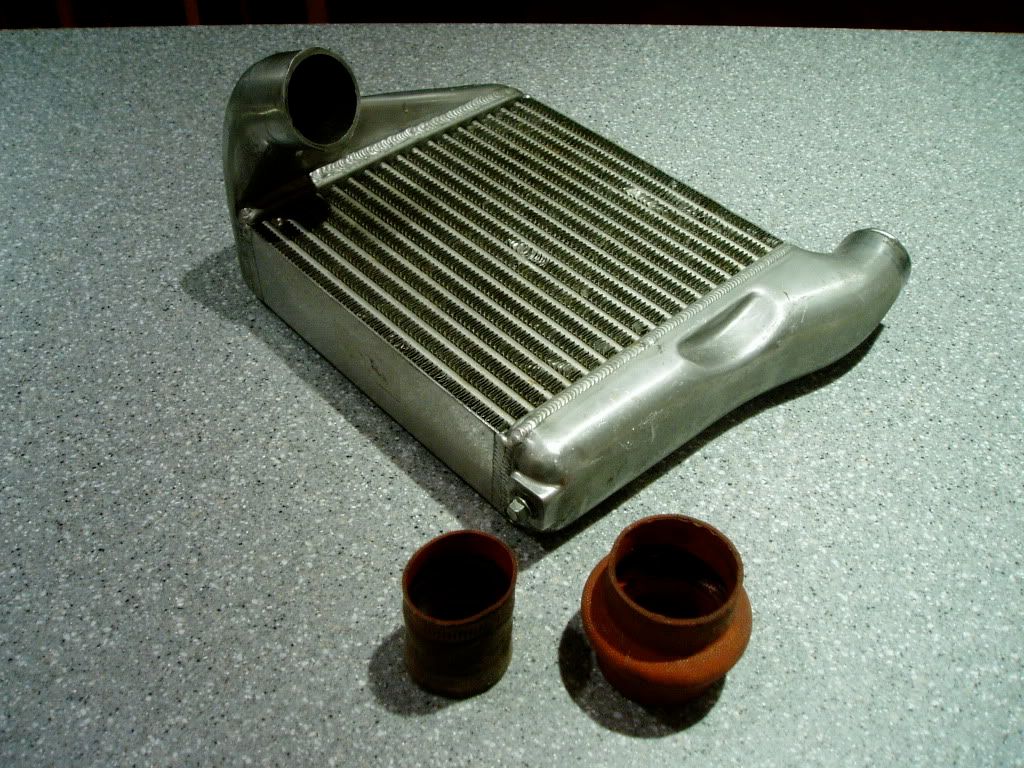
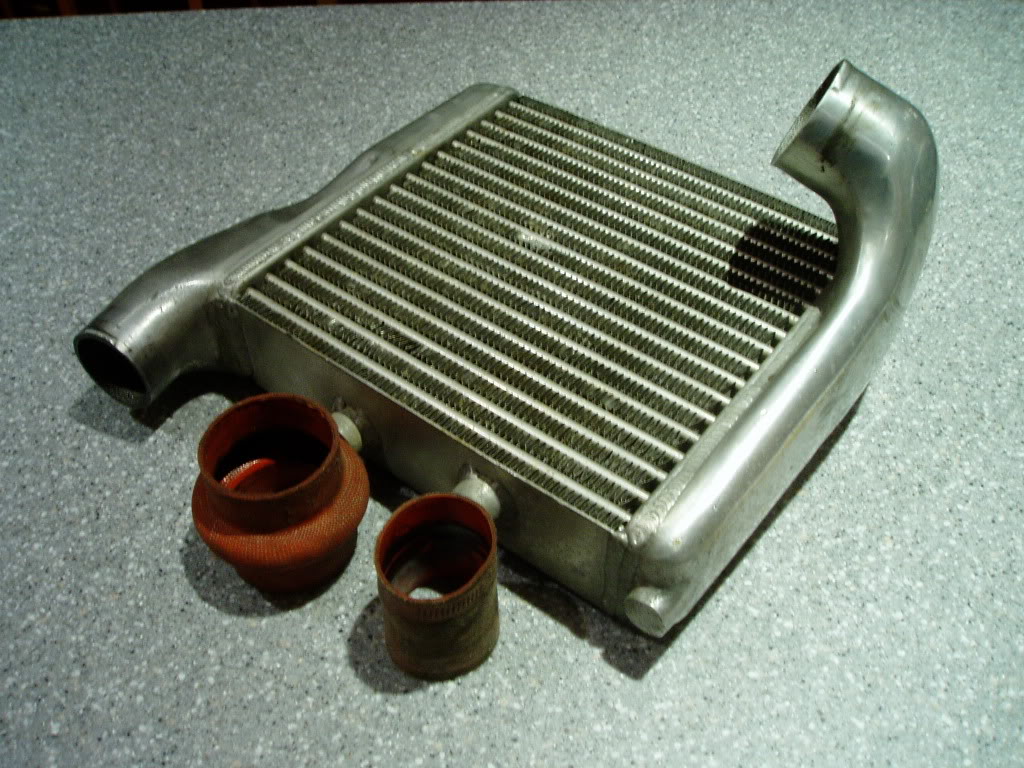
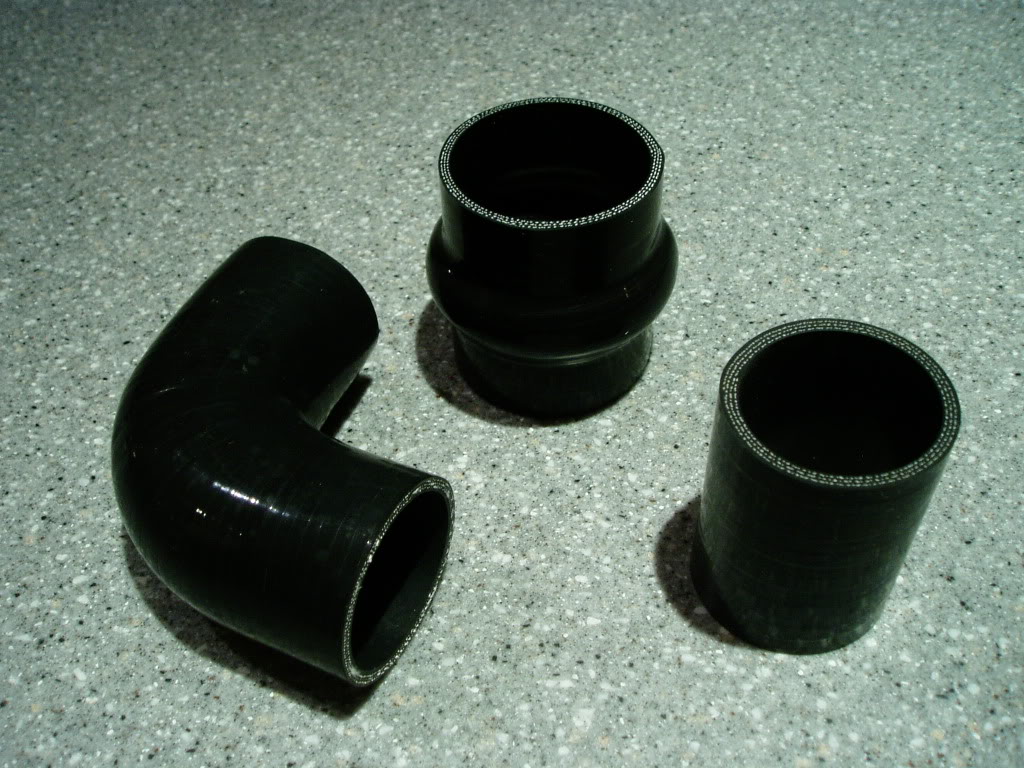
NEW SILICONE CONNECTORS FOR HKS COOLER
As you would have seen in the photos above the original silicone joins are very old and worn. As a result I have bought some new silicone joins that will ensure a good fit and tight seal.
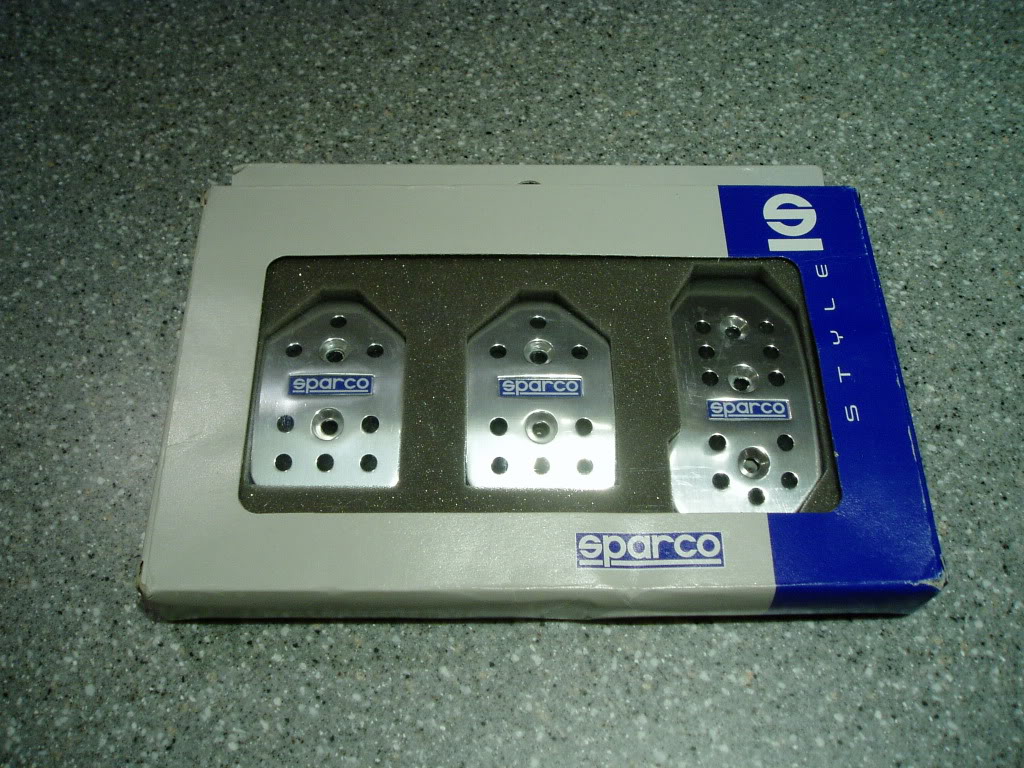
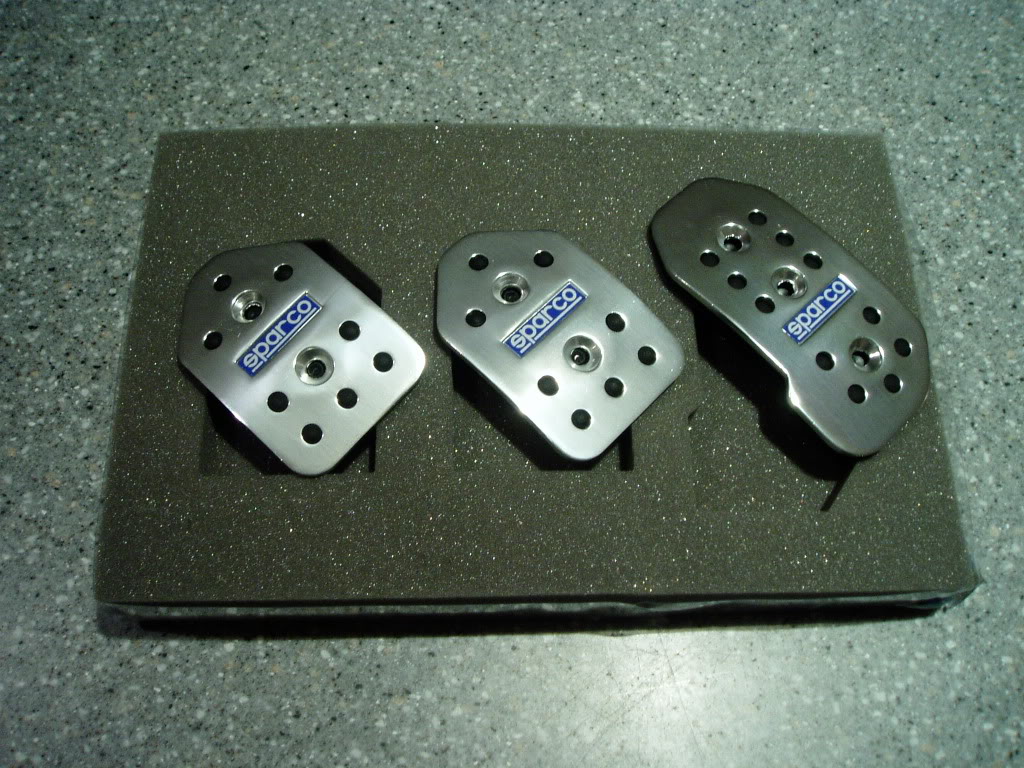
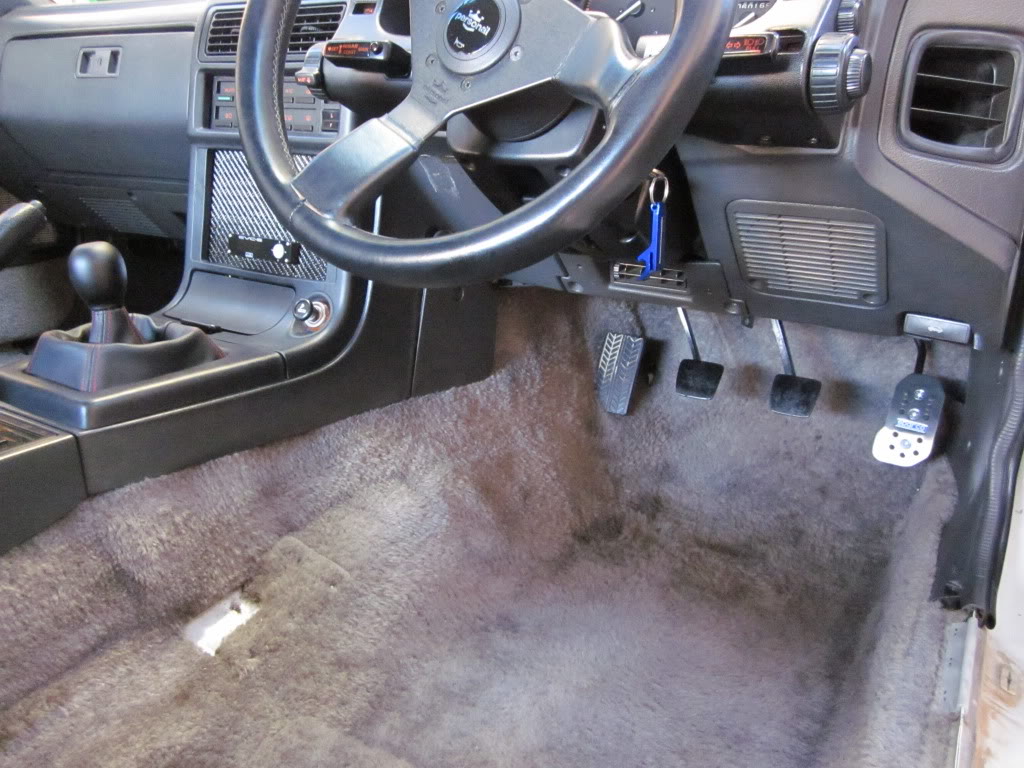
SPARCO ALLOY PEDALS
LEATHER GEAR BOOT WITH RED STITCH
Here are a few of my purchases that will be going on the car shortly...
HKS TOP MOUNT INTERCOOLER
I will be giving it a good clean and polish it up as best I can. Once on the car it should look sweet and perform well too.
NEW SILICONE CONNECTORS FOR HKS COOLER
As you would have seen in the photos above the original silicone joins are very old and worn. As a result I have bought some new silicone joins that will ensure a good fit and tight seal.
SPARCO ALLOY PEDALS
LEATHER GEAR BOOT WITH RED STITCH

Thread Starter
Full Member
Joined: Sep 2008
Posts: 123
Likes: 1
From: Australia
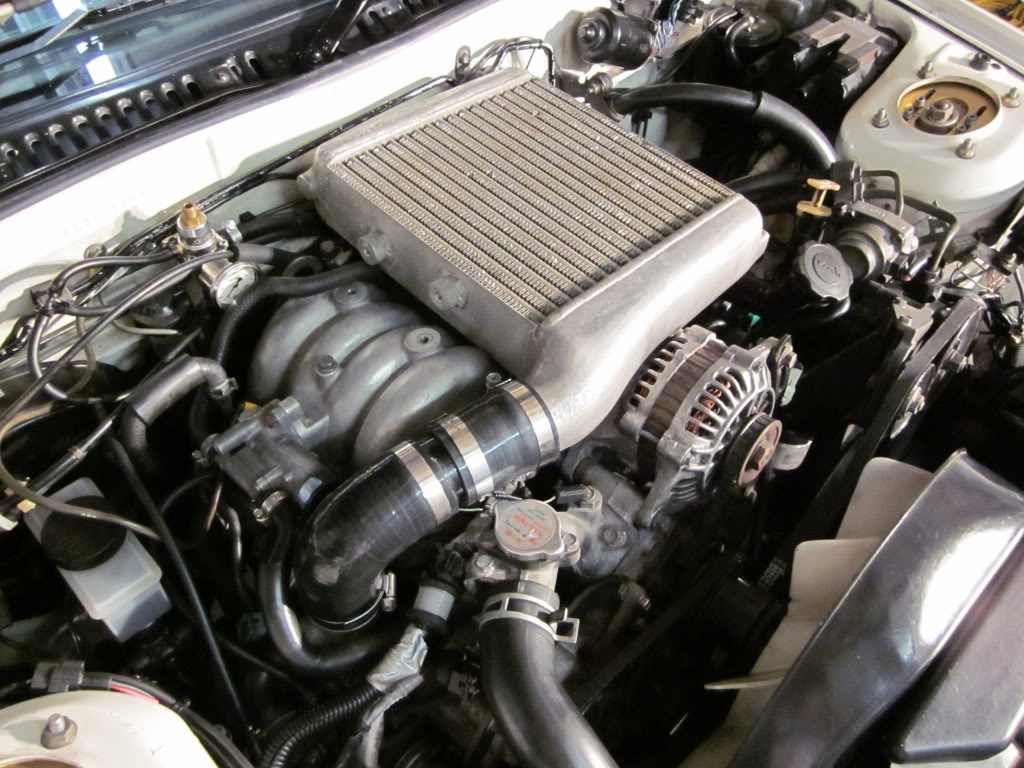
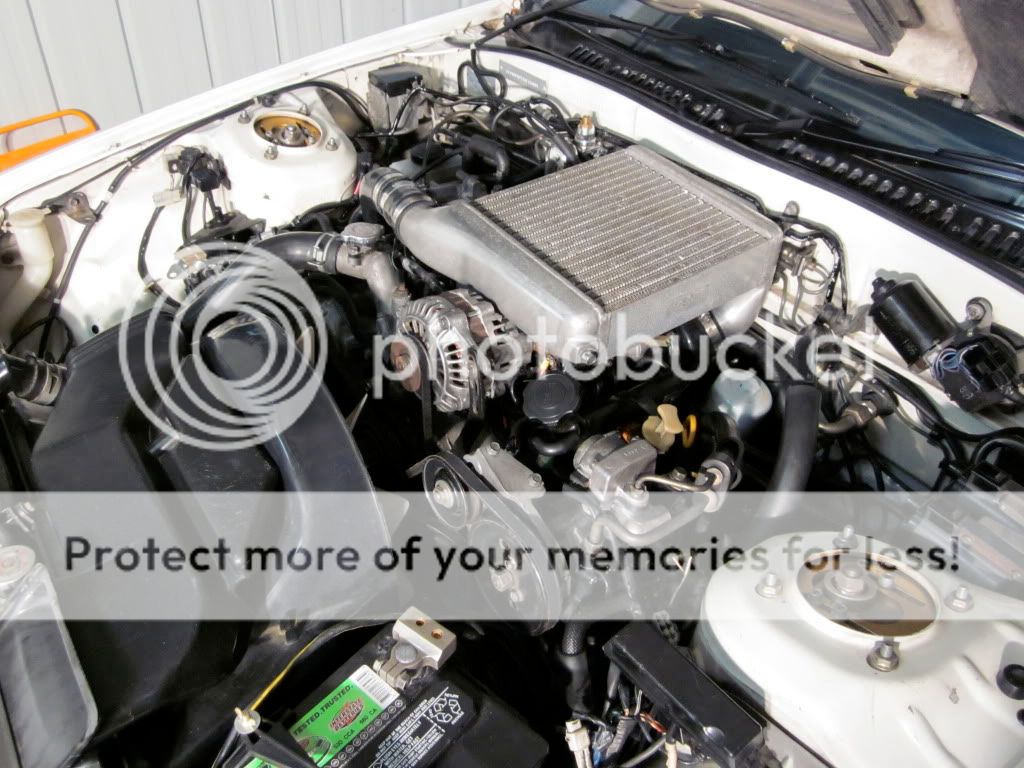
So I have done an initial test fit of the HKS Cooler and it is tight, but all good.
So what I will do now I know it bolts up OK is remove it and give it a light rub with 1200 grit sand paper and then polish the crap out of it.
Should look great once finished and re-installed.
So what I will do now I know it bolts up OK is remove it and give it a light rub with 1200 grit sand paper and then polish the crap out of it.
Should look great once finished and re-installed.
Thread Starter
Full Member
Joined: Sep 2008
Posts: 123
Likes: 1
From: Australia
Junior Member
Joined: Jul 2010
Posts: 27
Likes: 0
From: PR
Wow I'm very impressed by your build , very inspirational to look at all that hard work. HIRISK do you still have your old rear tail light's. I'm looking for a picture of the turbo rotary logo in the rear tail light's. Can you pleas post a couple of close up pictures of the emblem not in an angle. I want to recreate the Rotary Turbo into a vinyl stick on. Look at my post hear https://www.rx7club.com/2nd-generation-specific-1986-1992-17/1985-savanna-gt-x-rotary-turbo-emblem-914004/ Thanks
Thread Starter
Full Member
Joined: Sep 2008
Posts: 123
Likes: 1
From: Australia
Today I removed the throttle assembly and installed the Sparco throttle pedal.
I had to trim some of the factory pedal away so it was not sticking out from behind the Sparco pedal as the factory one is a fair bit longer. Trimming 1" off the bottom and a section off one corner was all it needed.
So thats one down and two to go...

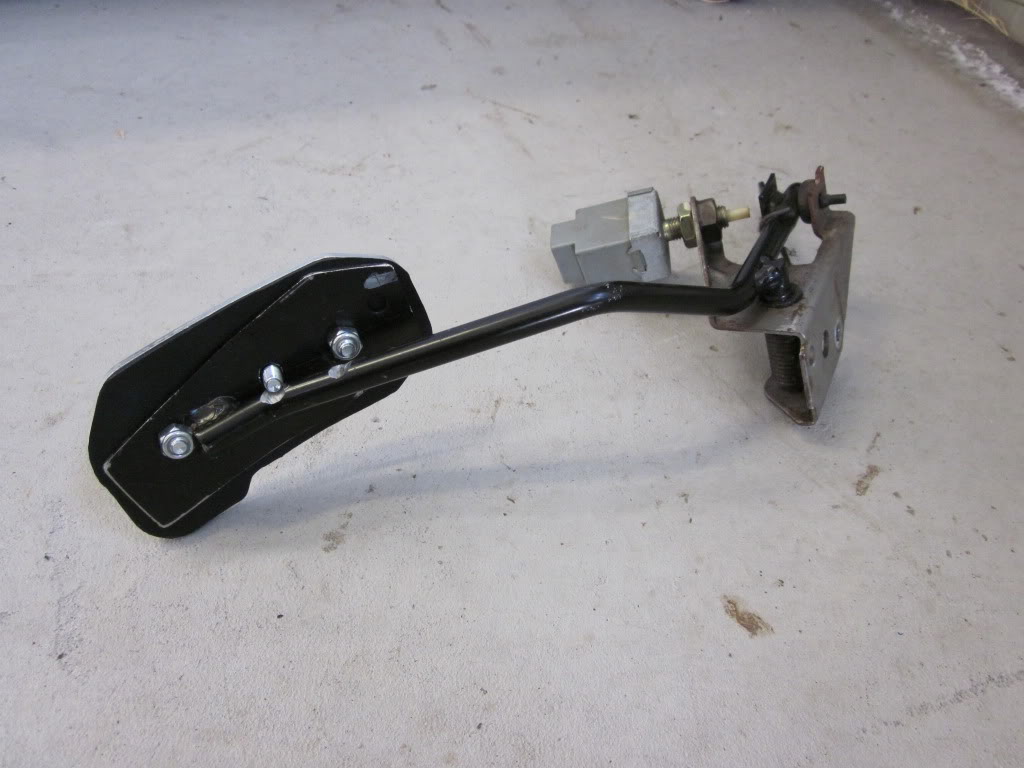
I had to trim some of the factory pedal away so it was not sticking out from behind the Sparco pedal as the factory one is a fair bit longer. Trimming 1" off the bottom and a section off one corner was all it needed.
So thats one down and two to go...
Thread Starter
Full Member
Joined: Sep 2008
Posts: 123
Likes: 1
From: Australia
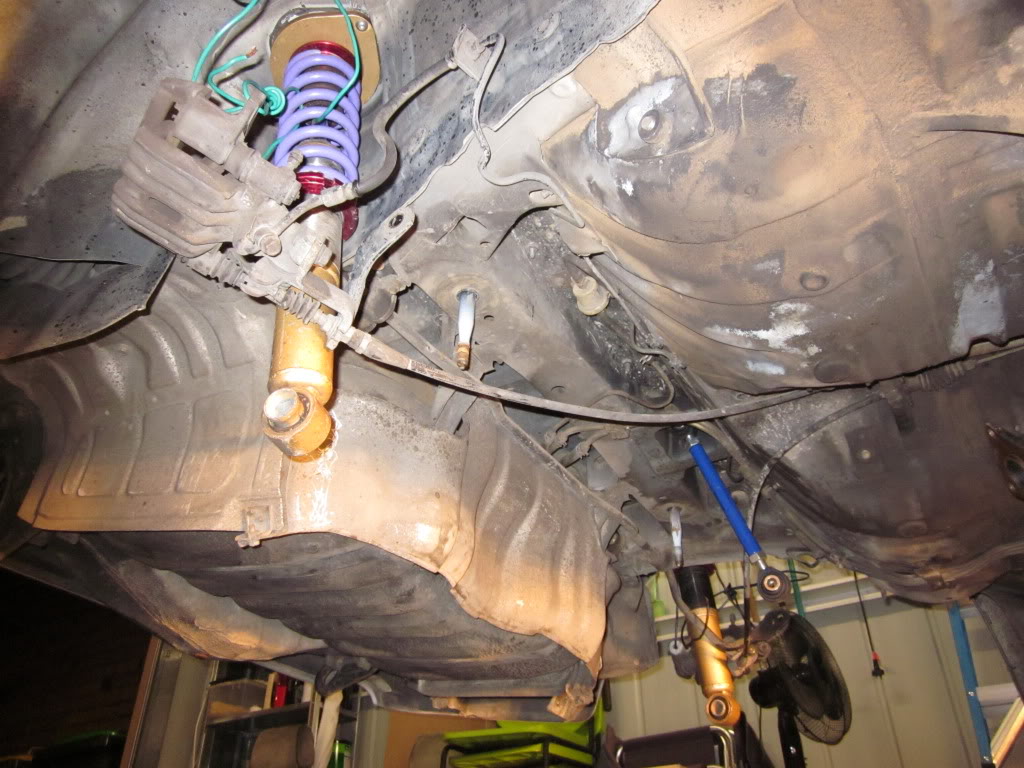
II have started work on removing all of the under carriage at the rear.
I have removed the exhaust and unbolted the rear calipers and tail shaft, now the big one, removing the rear subframe and differential.
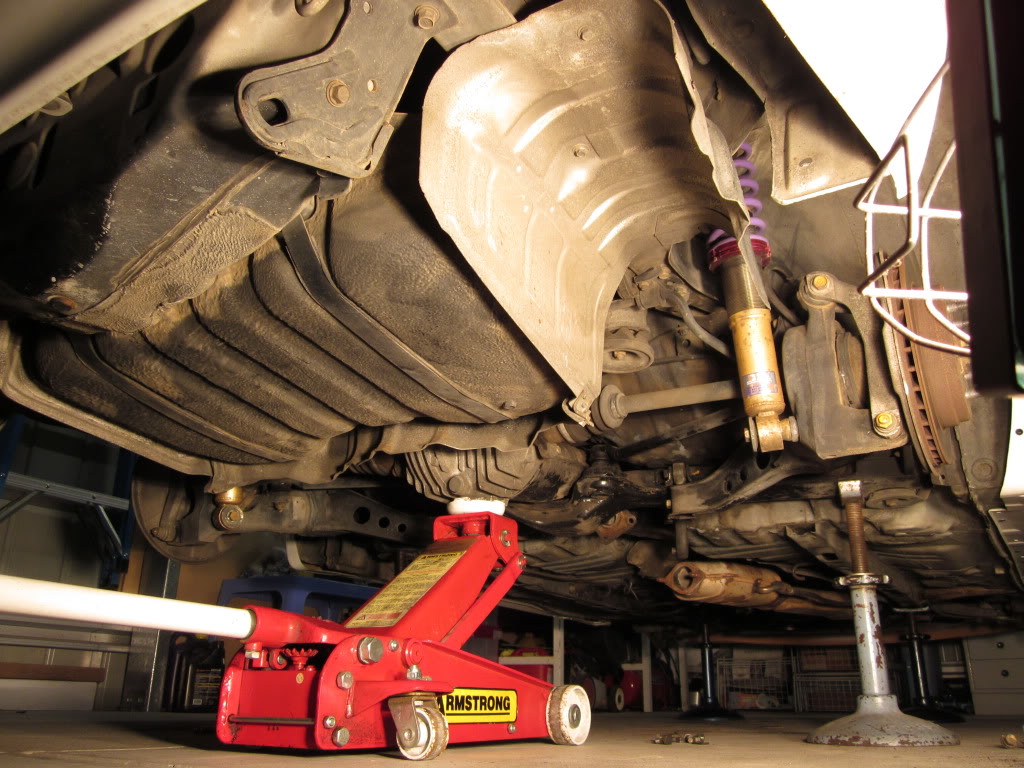

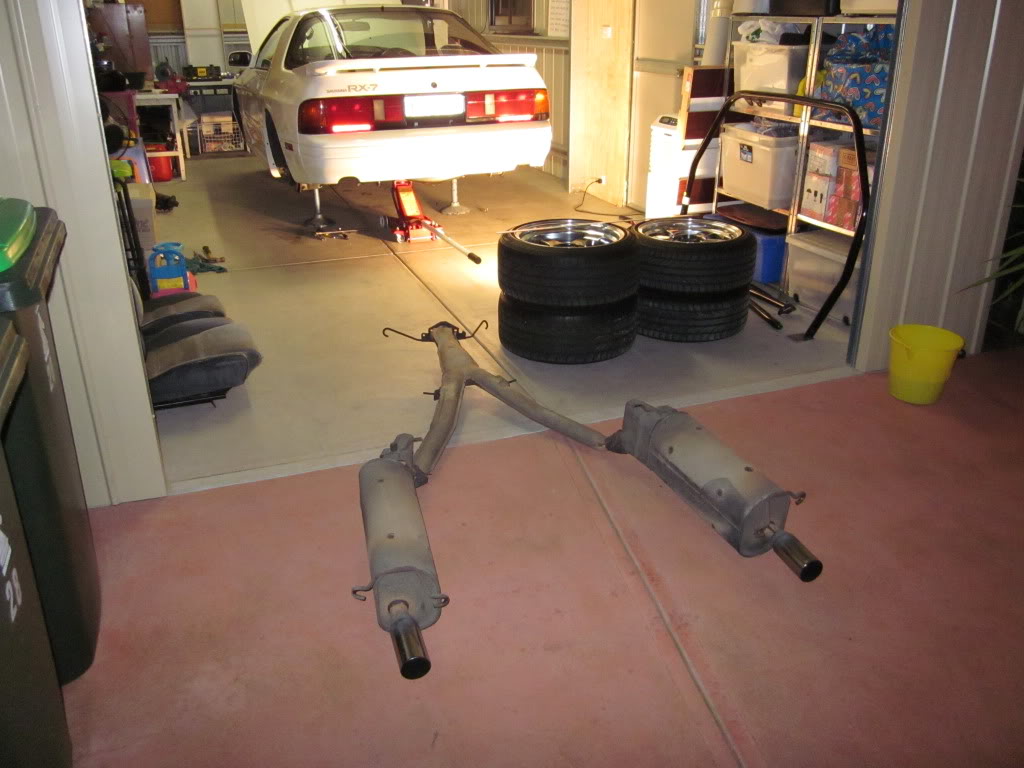
I have removed the exhaust and unbolted the rear calipers and tail shaft, now the big one, removing the rear subframe and differential.

Junior Member
Joined: Jul 2010
Posts: 27
Likes: 0
From: PR
 didn't know that was you picture. Thanks for posting!
Thread Starter
Full Member
Joined: Sep 2008
Posts: 123
Likes: 1
From: Australia
Hi Guys,
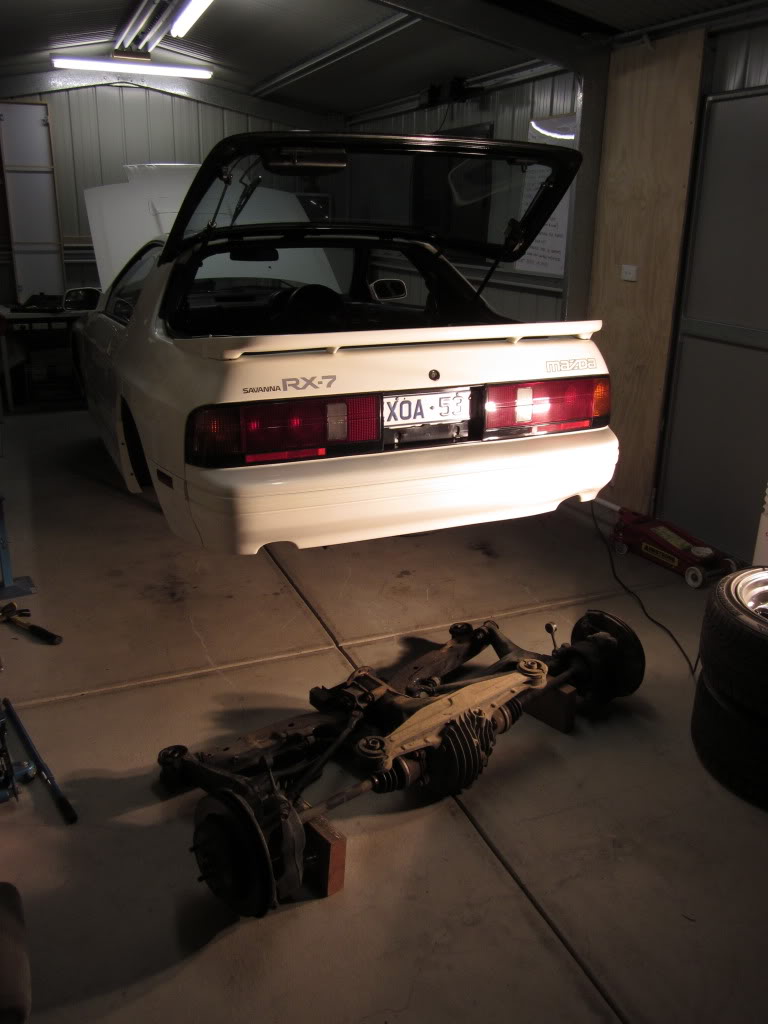
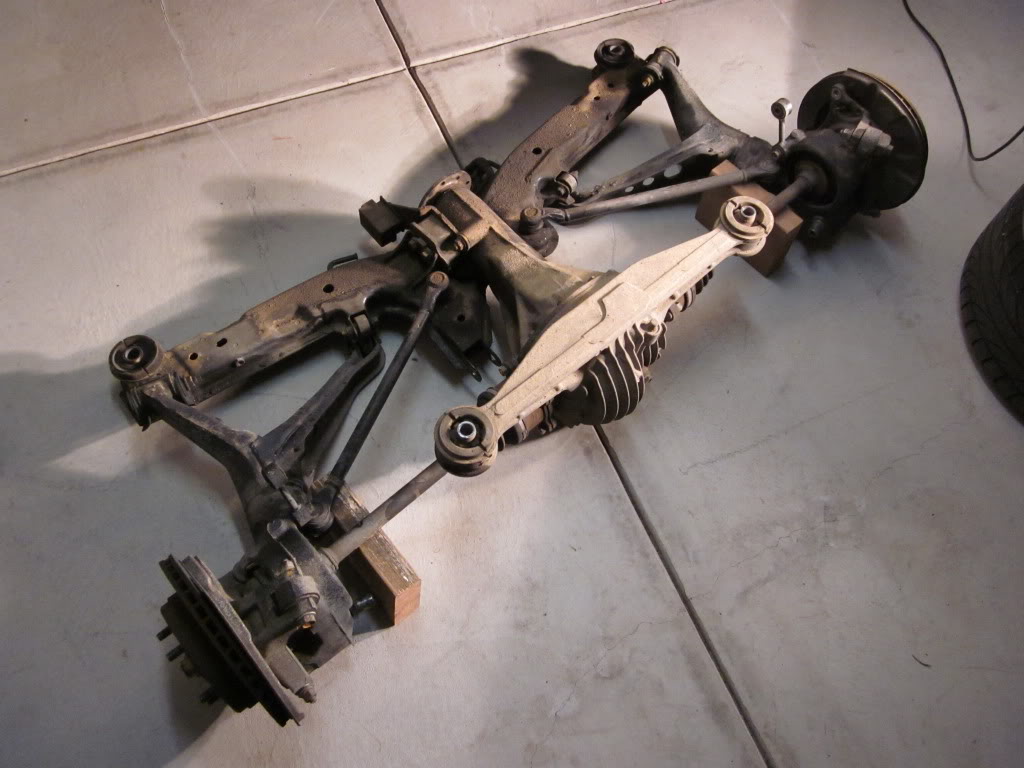
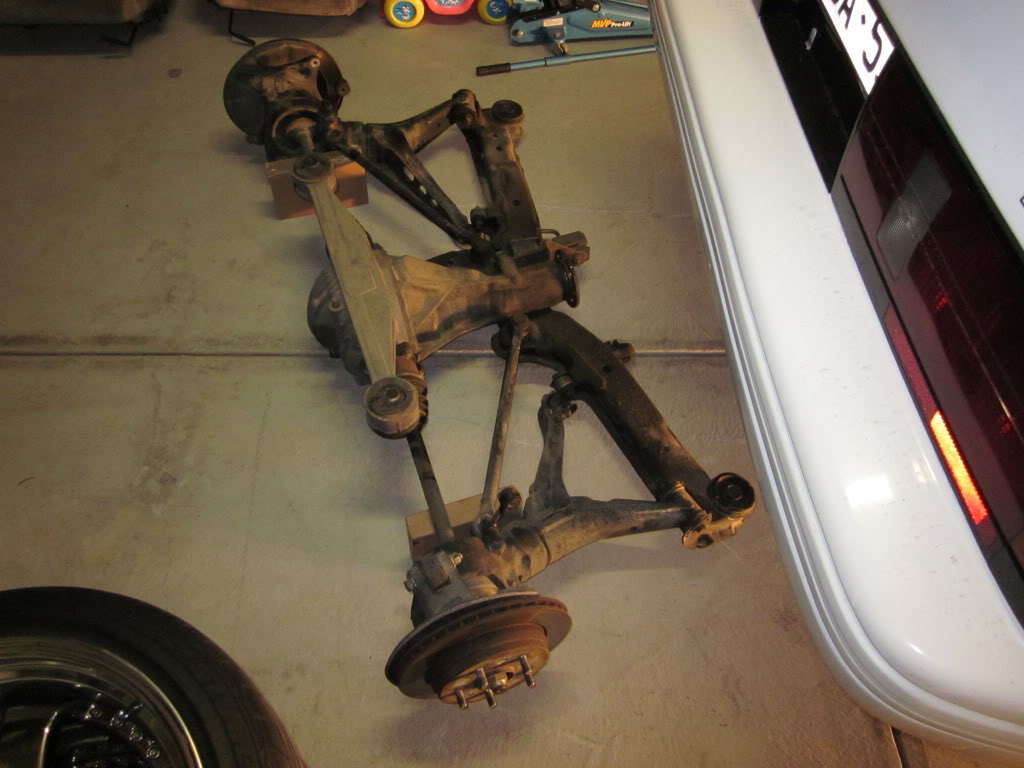
So I went out and had another good session in the garage tonight and have now successfully removed the entire sub frame.
I was surprised at how easy it actually was, even doing it on my own, definitely no problems as a one man job.
This is a big step forward for me as it will allow me to...
- Install MMR Individual Camber Links
- Install Mazdatrix Rear Steer Eliminator Bushes
- Install a Series 5 LSD (my diff is a non LSD from an Auto)
- Wash and clean the entire assembly
Joined: May 2006
Posts: 3,881
Likes: 3
From: Jacksonville, Tampa & Tallahassee
Yea, getting it down is a one man job.......just find a buddy w/ some free time when you plan on putting that beast back in
Fantastic Build! I noticed you mentioned about getting a stainless turbo to air box pipe made. I'm not sure if you knew, but Corksport actually makes one! Here's the link if you're interested:
http://www.corksport.com/corksport-p...rx7-turbo.html
Again Awesome build, it reminds me of what I'm doing haha!
http://www.corksport.com/corksport-p...rx7-turbo.html
Again Awesome build, it reminds me of what I'm doing haha!