
20b Turbo track car build (England)

Thread Starter
Grippin' not Driftin'
Joined: Jul 2011
Posts: 149
Likes: 0
From: England
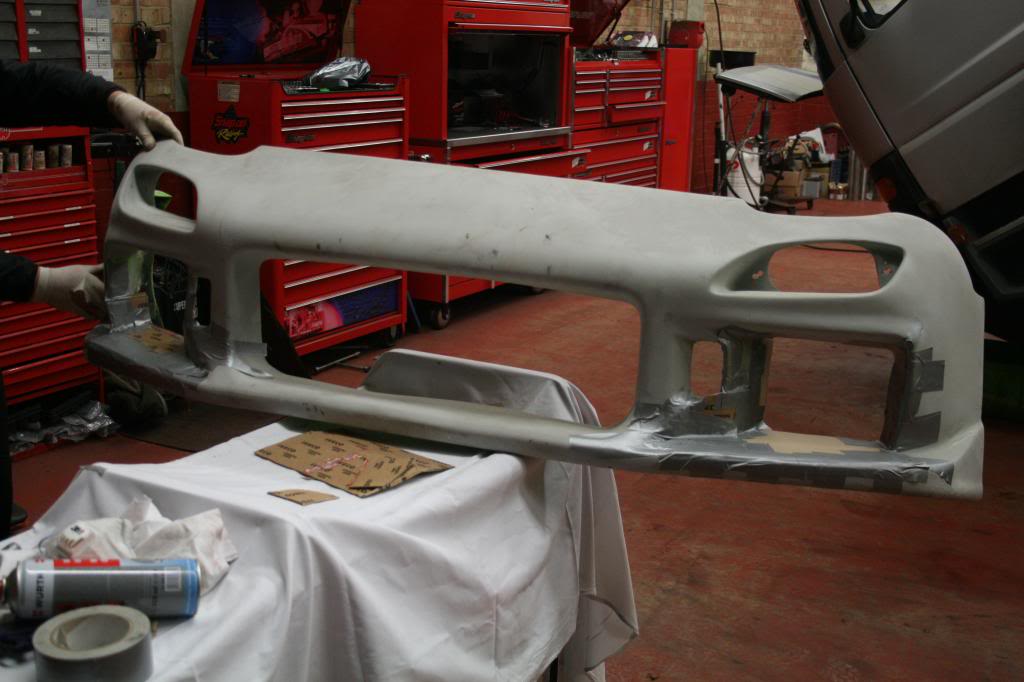
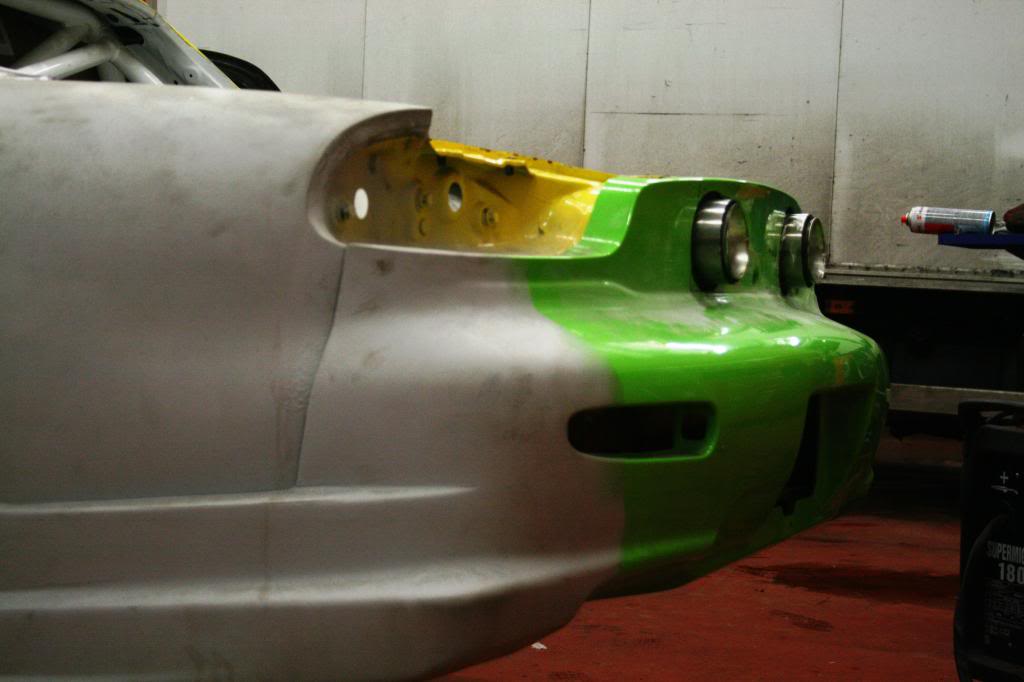
We need a few extra bits to really get into the exhaust for tonight so we've started working on the engine oil
coolers, a bit of cutting to the bumper then onto the brackets to secure into place.
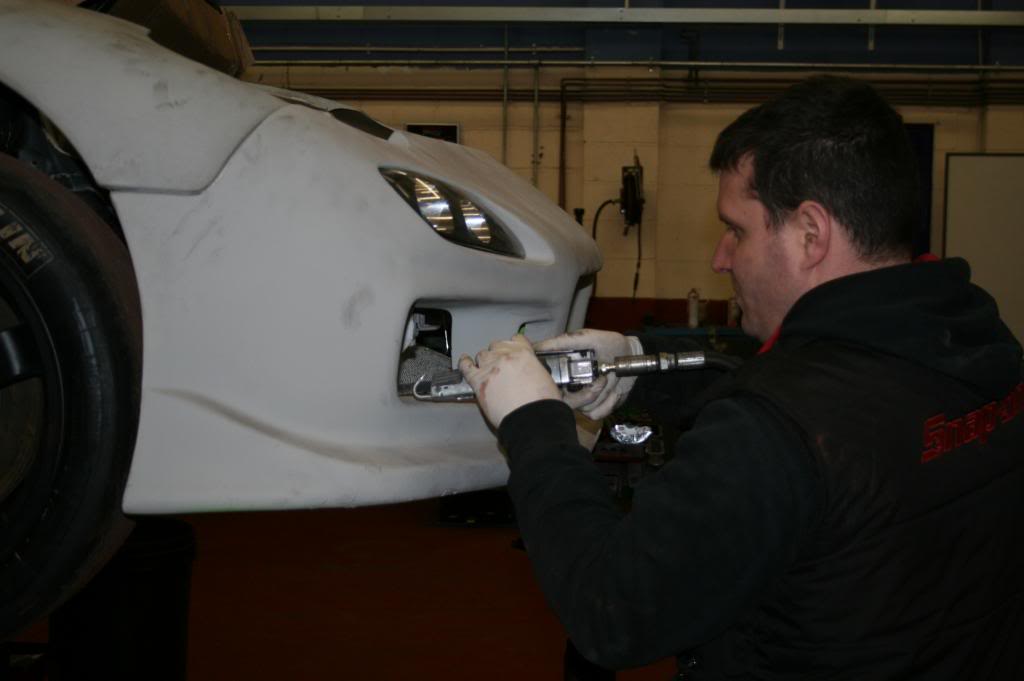
And then the other side
coolers, a bit of cutting to the bumper then onto the brackets to secure into place.
And then the other side


Thread Starter
Grippin' not Driftin'
Joined: Jul 2011
Posts: 149
Likes: 0
From: England
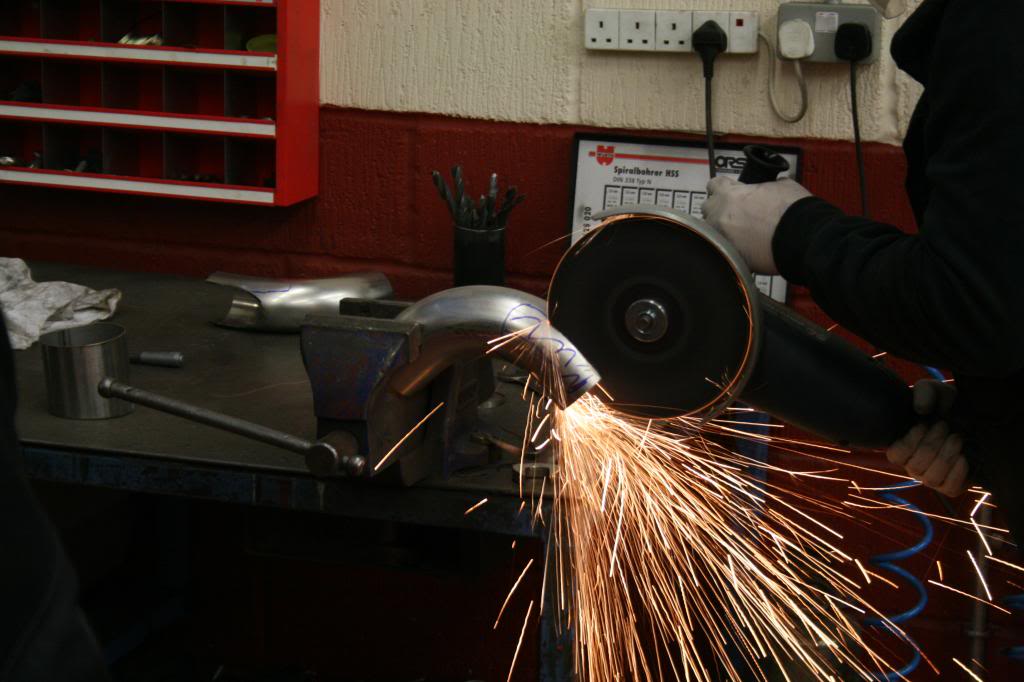
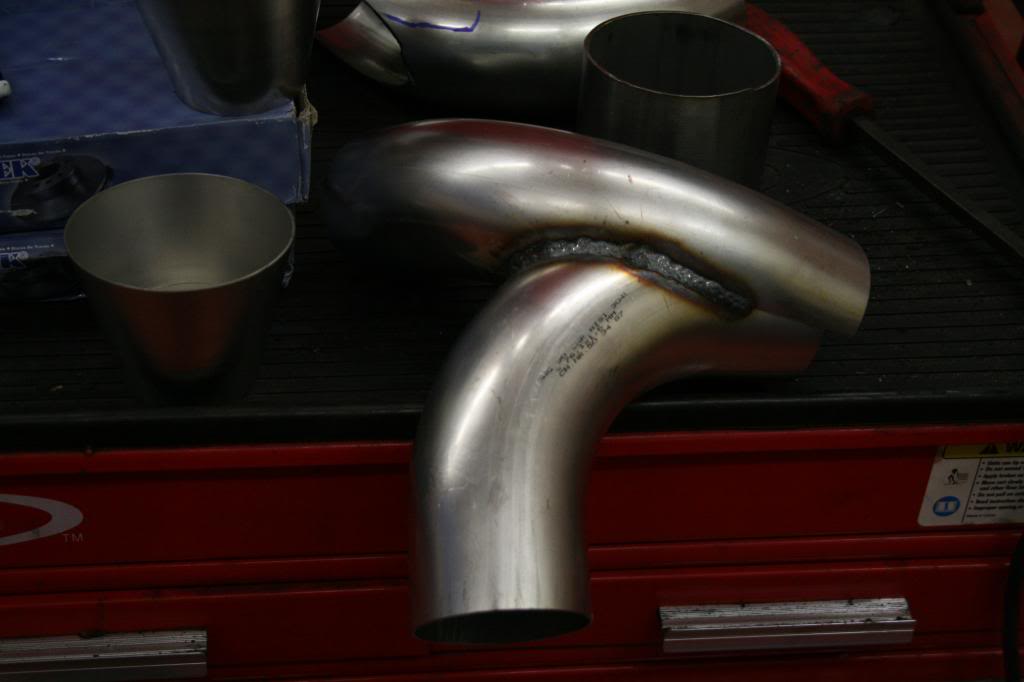
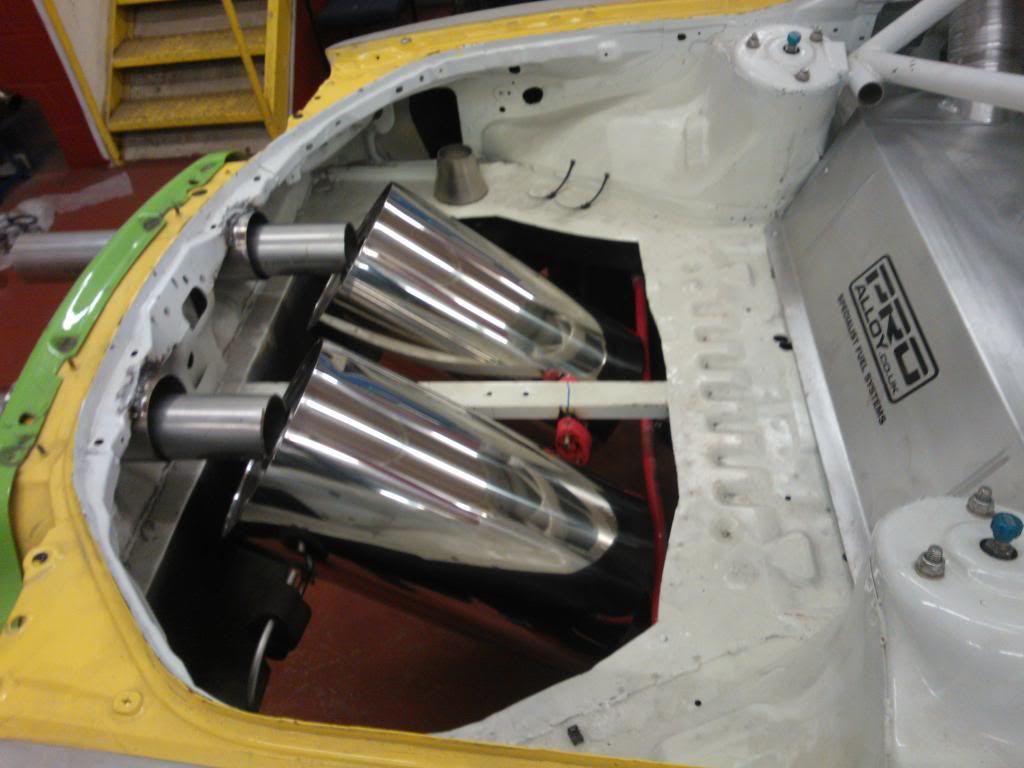
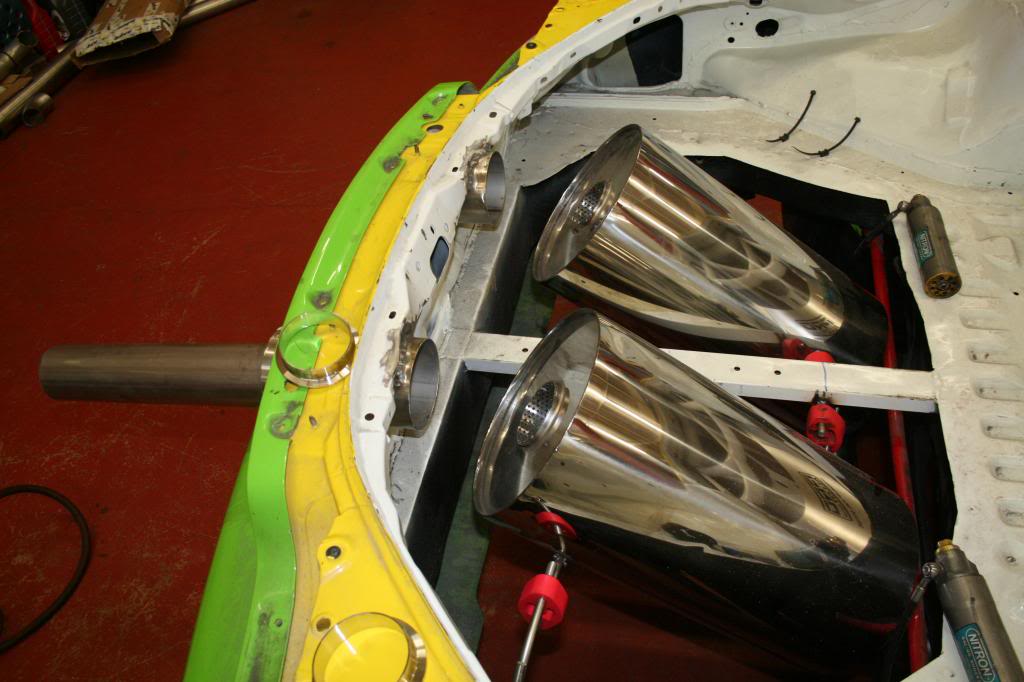
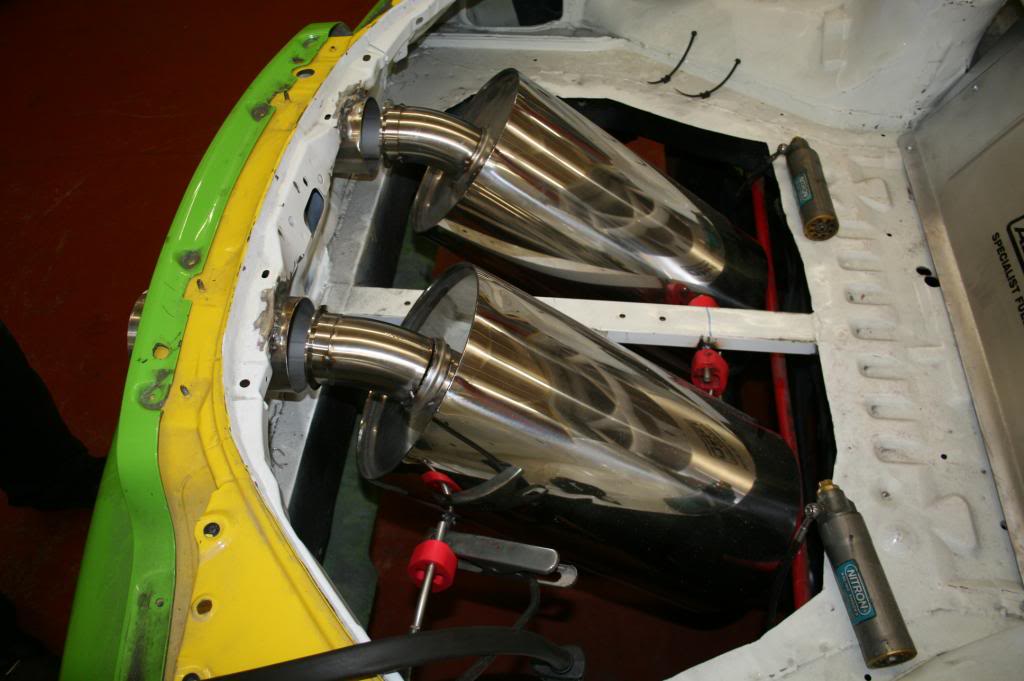
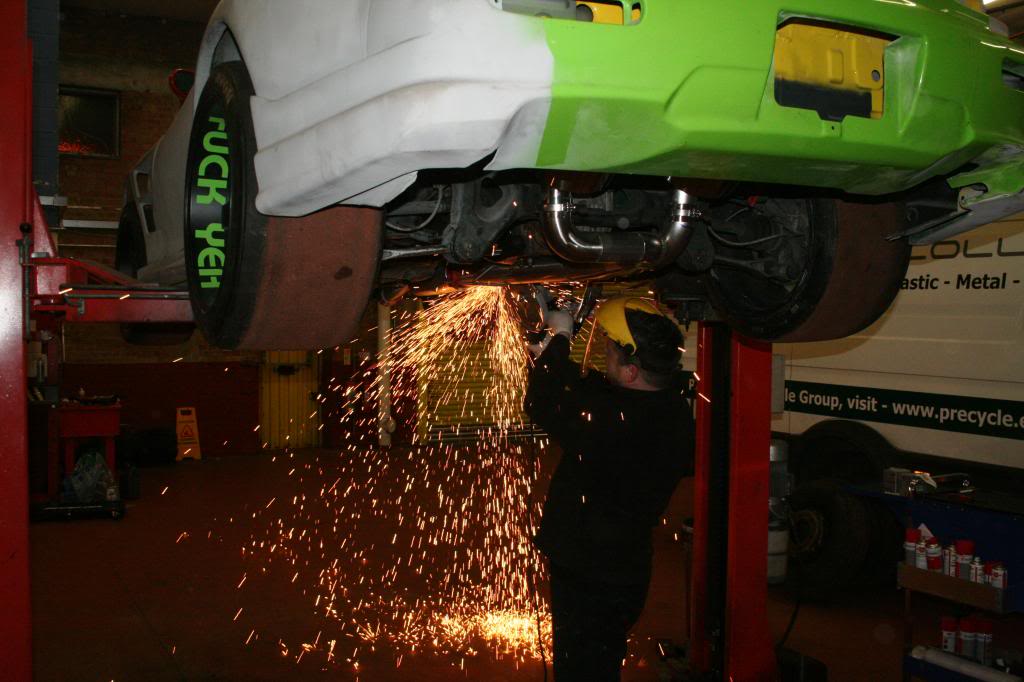
Well we got on with the exhaust but didn't get too far as we run out of bloody gas, so the evening was cut short
One of the cans is now in place ready for the v-bands and final bends to be welded in.
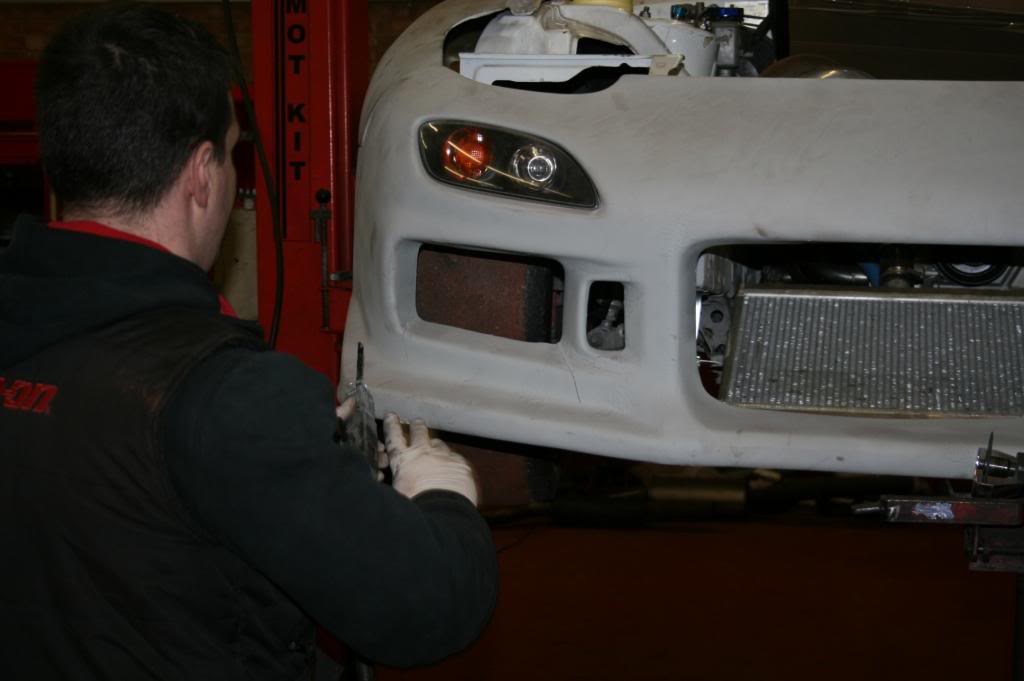
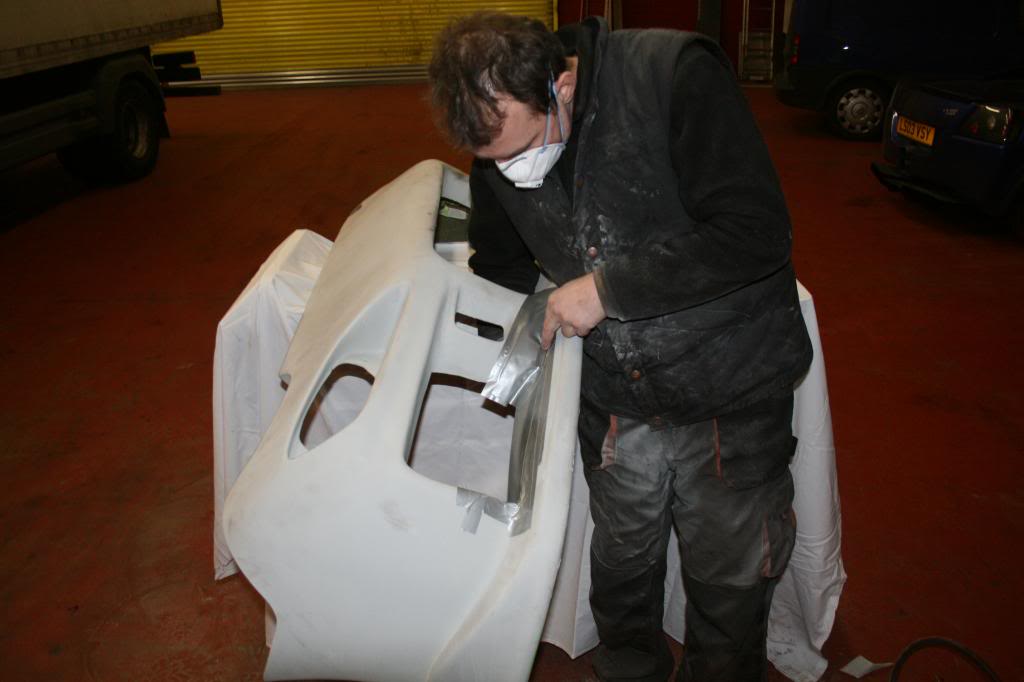
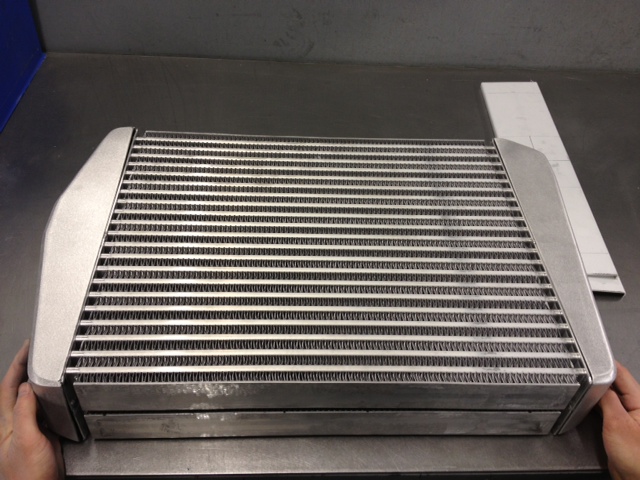
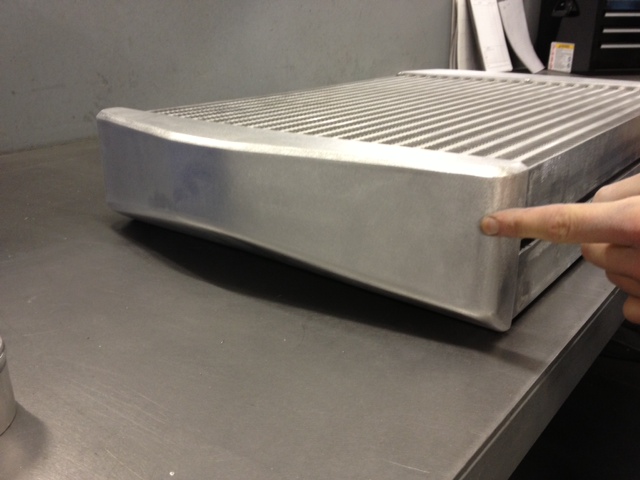
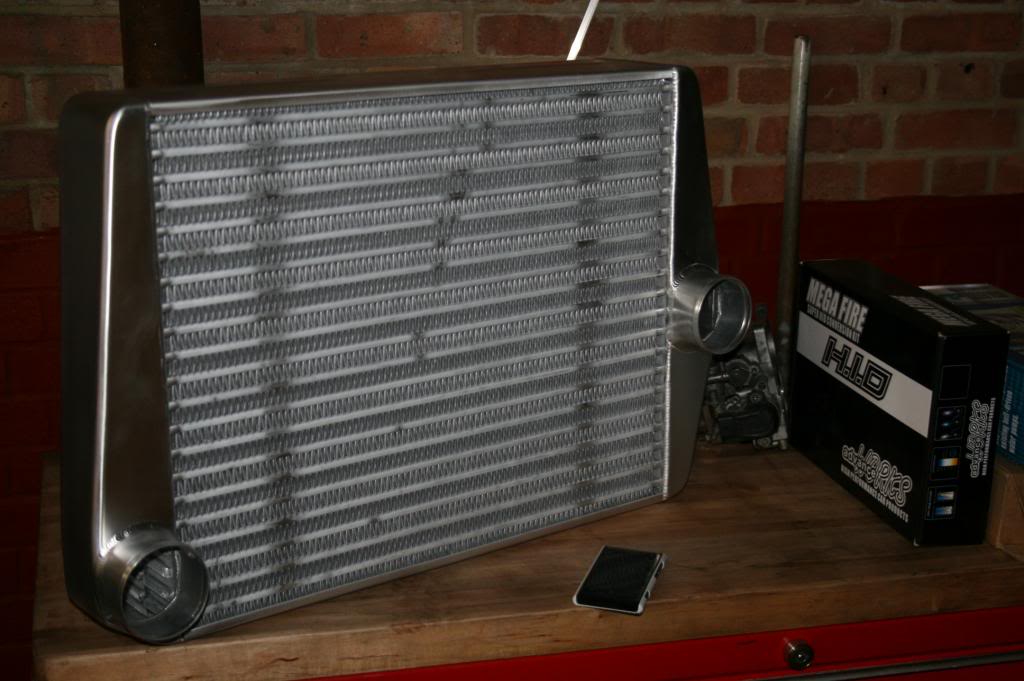
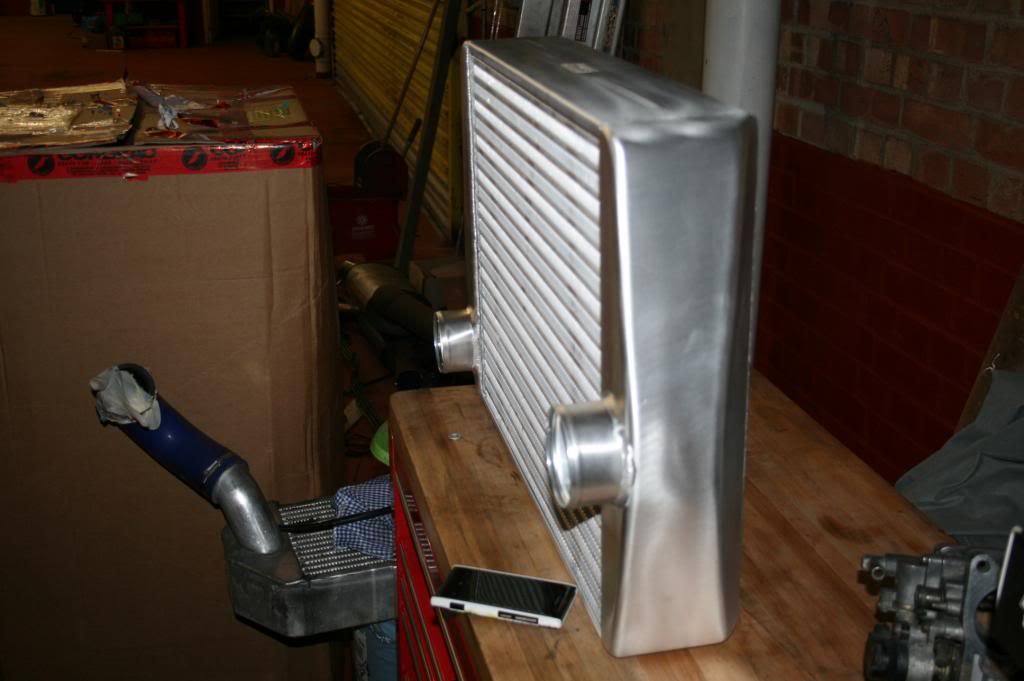
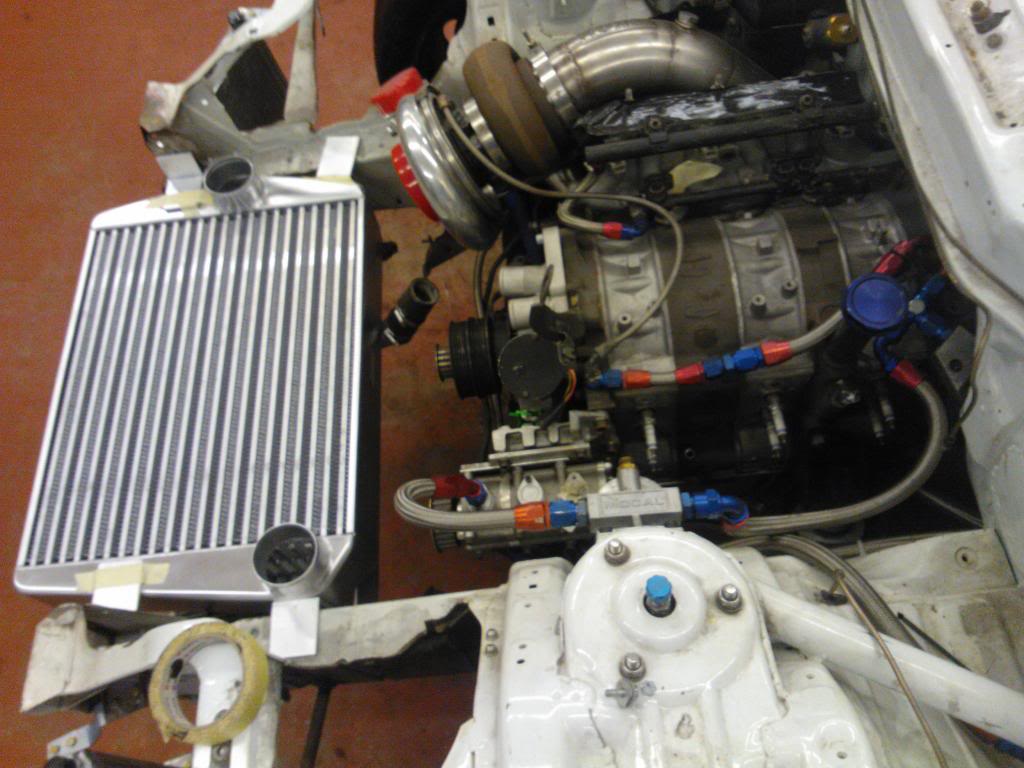
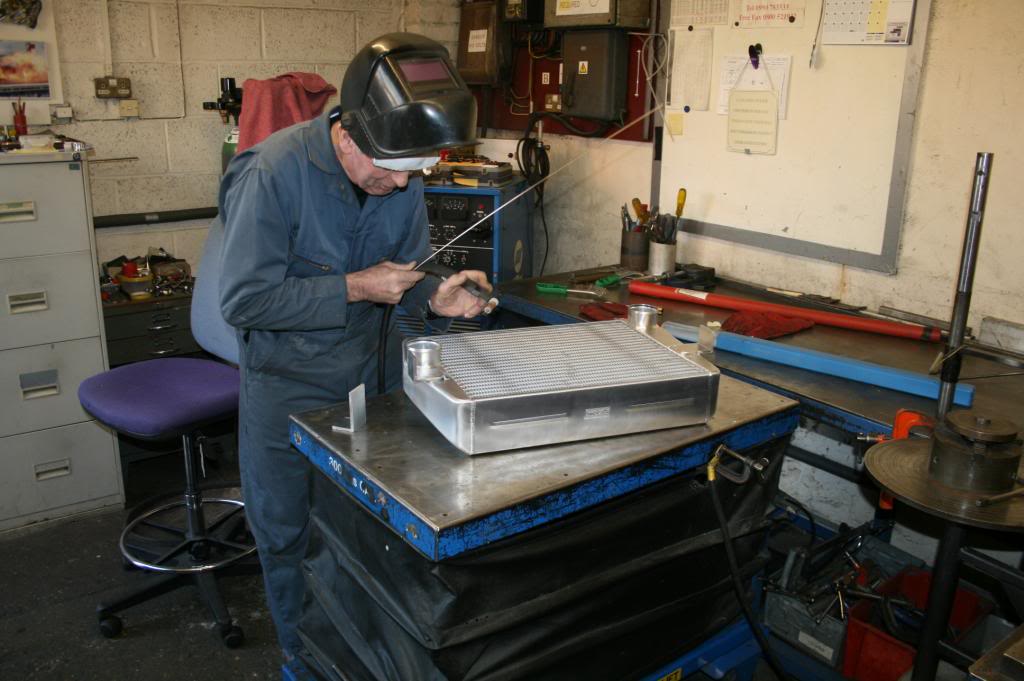
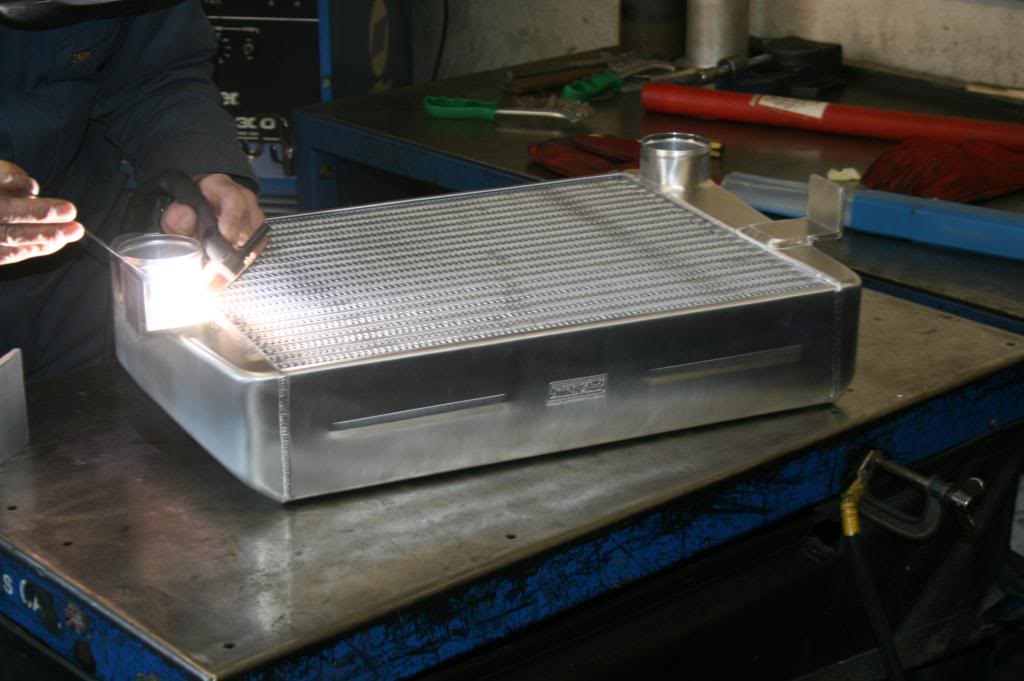
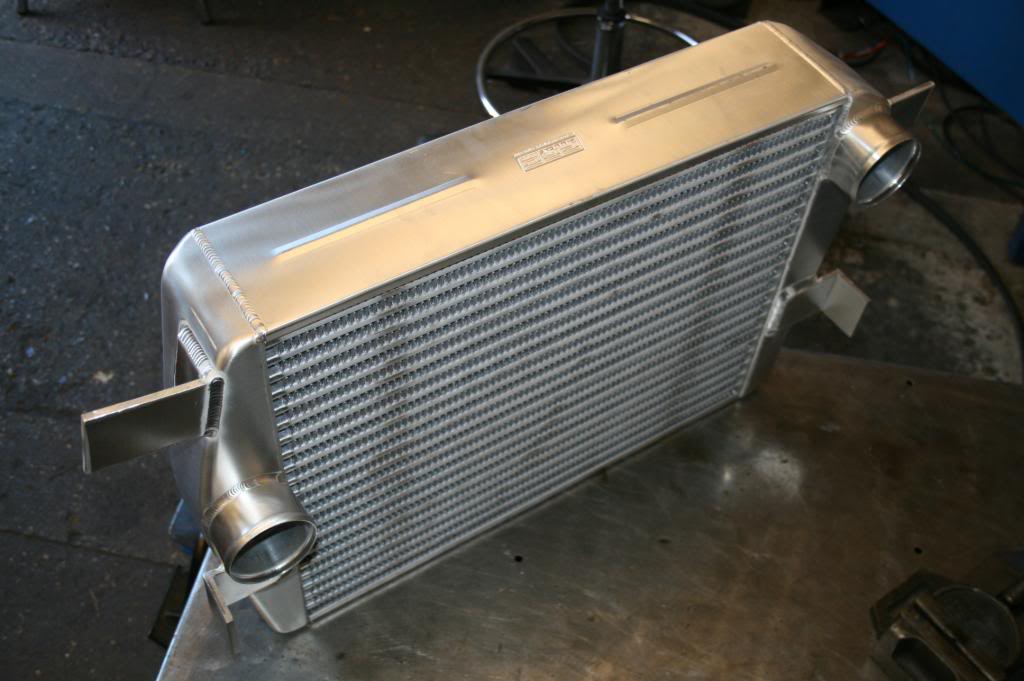
The intercooler is a work of art... and bloody huge !!!
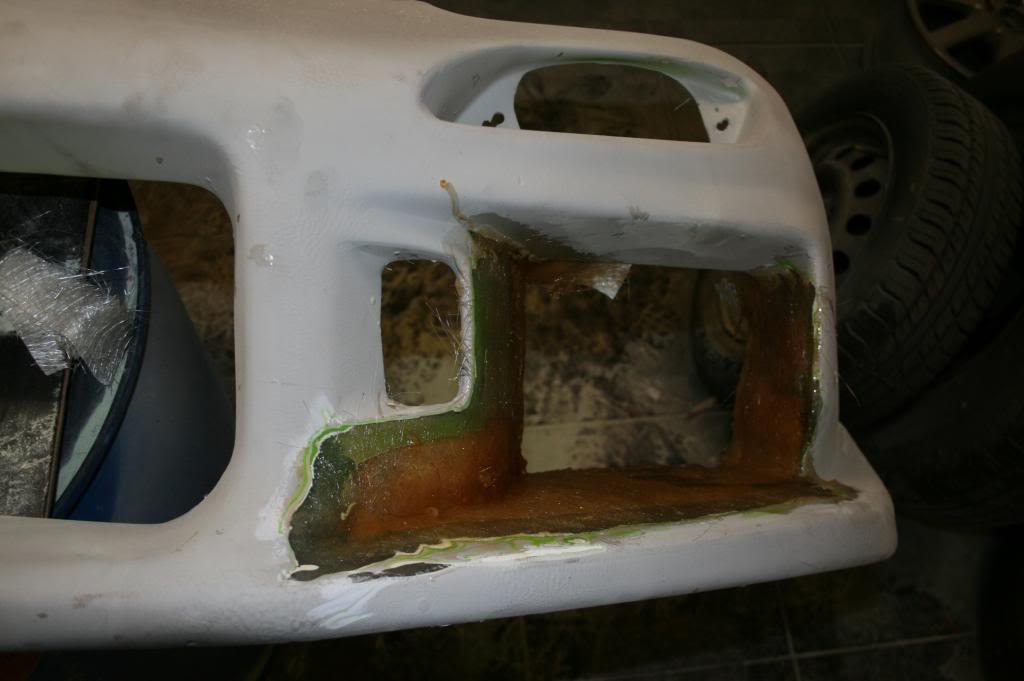
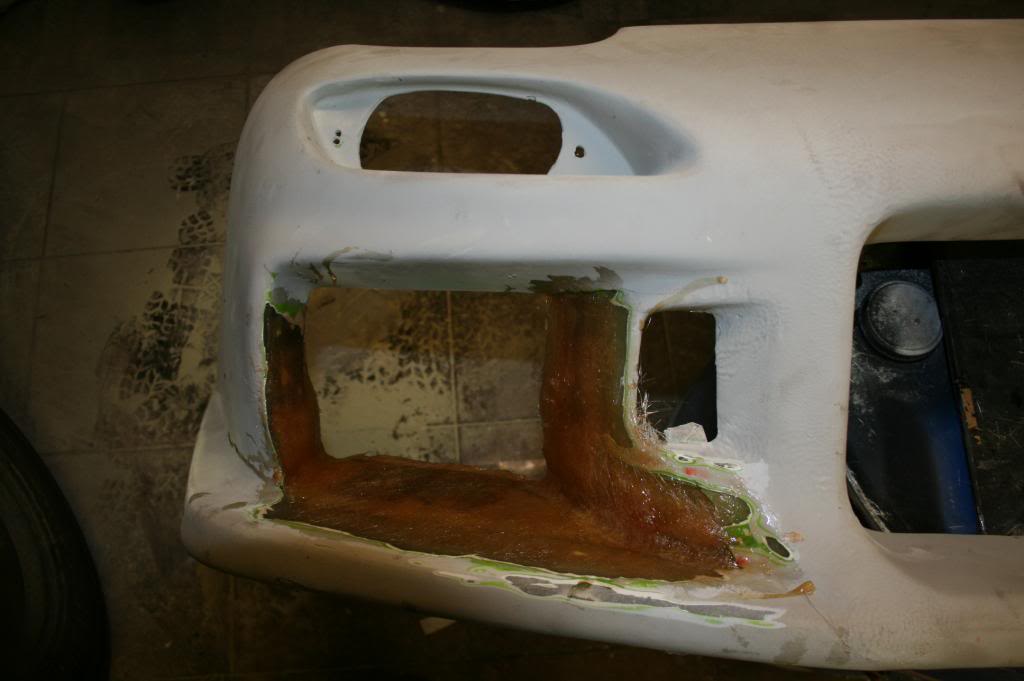
And Eyo got on with fibreglassing the ducting in the bumper.

One of the cans is now in place ready for the v-bands and final bends to be welded in.
The intercooler is a work of art... and bloody huge !!!
And Eyo got on with fibreglassing the ducting in the bumper.
Thread Starter
Grippin' not Driftin'
Joined: Jul 2011
Posts: 149
Likes: 0
From: England
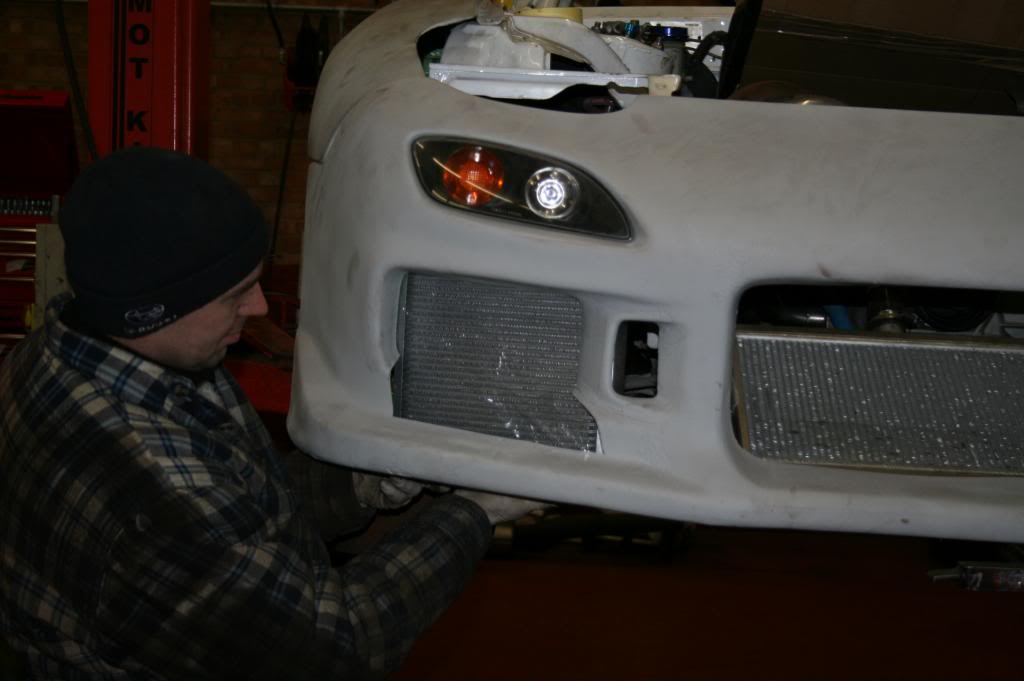
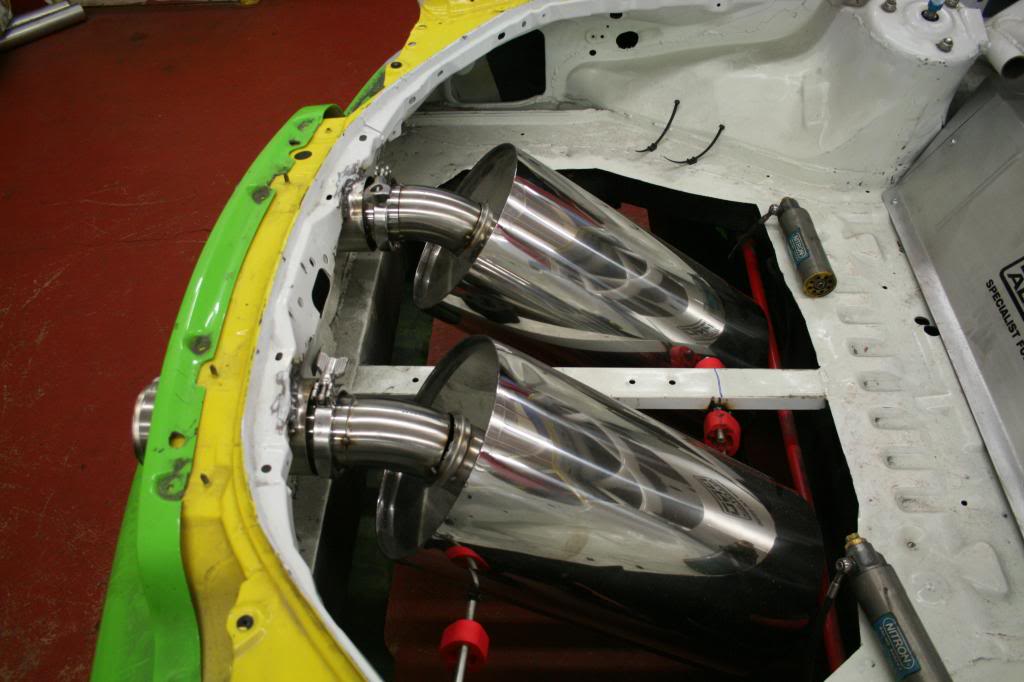
And for tonights developments :-
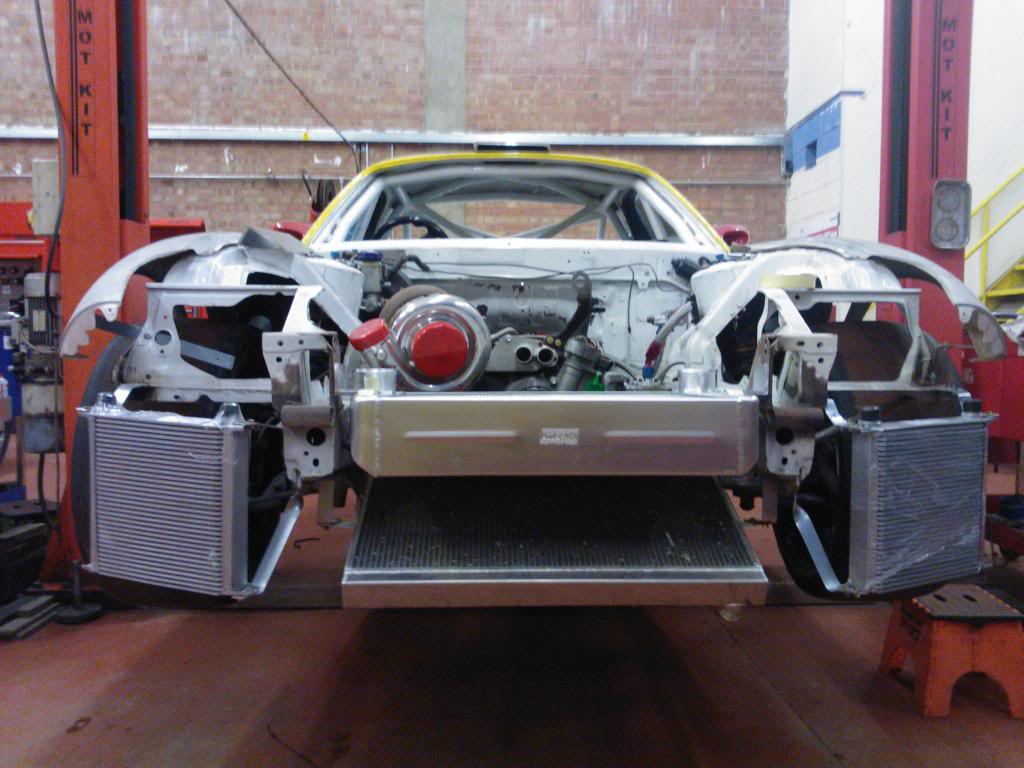
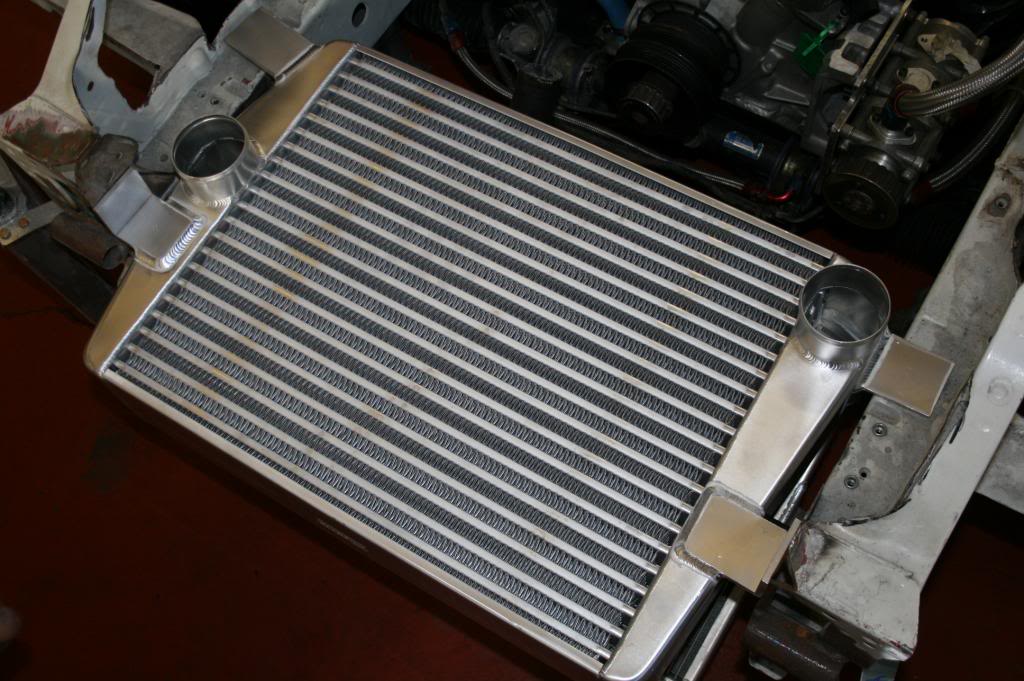
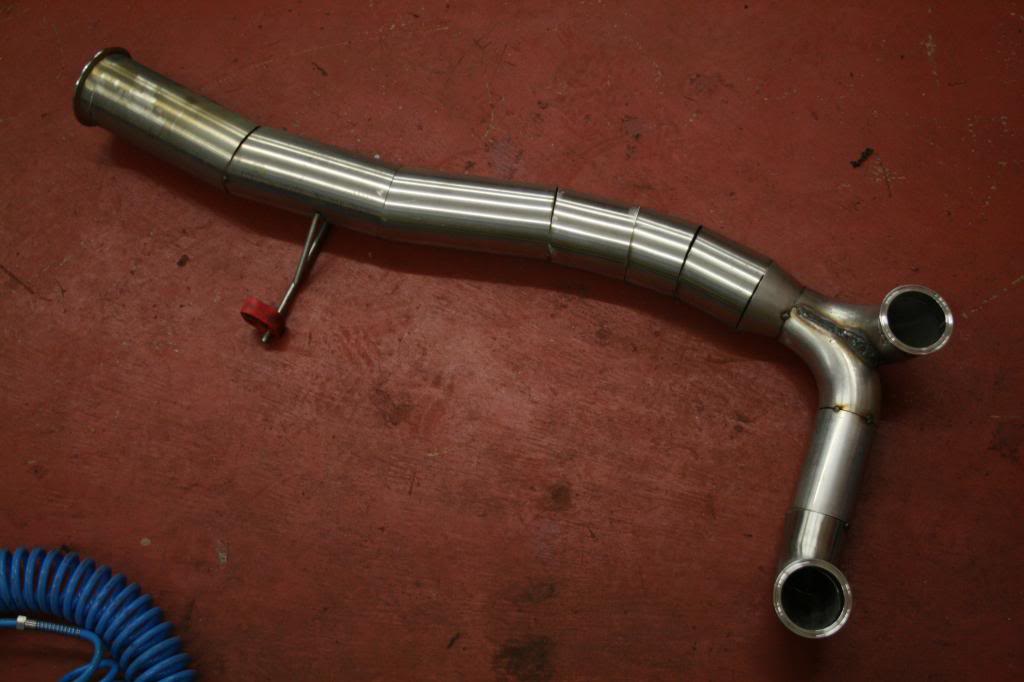
Intercooler is now positioned and one completed side of the
exhaust, the other can is in place as we are waiting for the 90% 3" pipes.
Excuse the bad quality photos tonight, I forgot the camera and these are on the phone.

Intercooler is now positioned and one completed side of the
exhaust, the other can is in place as we are waiting for the 90% 3" pipes.
Excuse the bad quality photos tonight, I forgot the camera and these are on the phone.

Thread Starter
Grippin' not Driftin'
Joined: Jul 2011
Posts: 149
Likes: 0
From: England
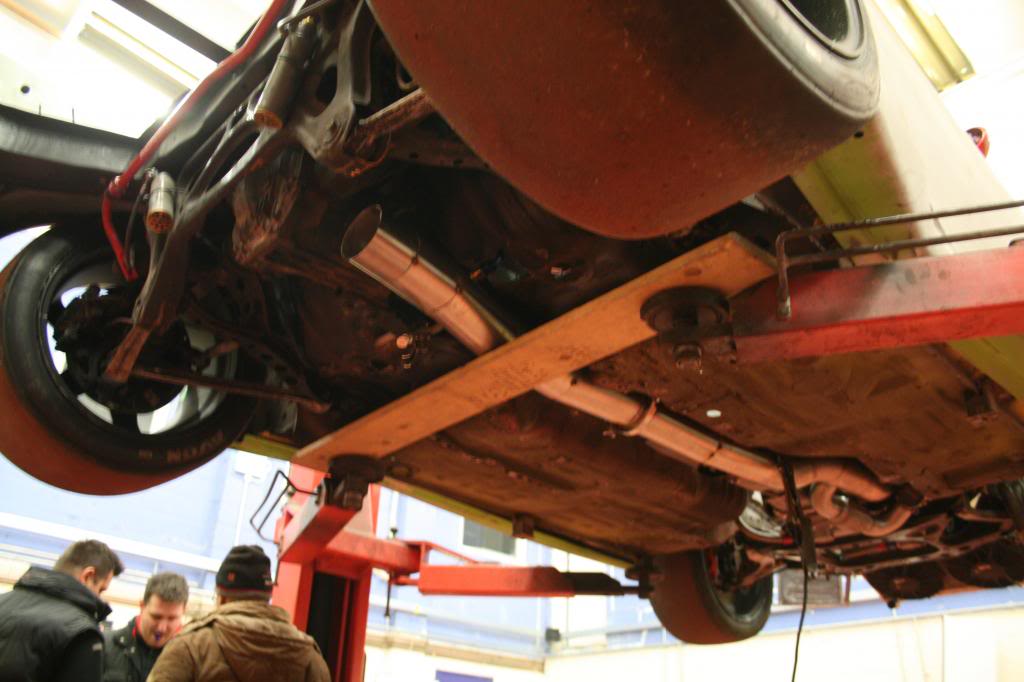
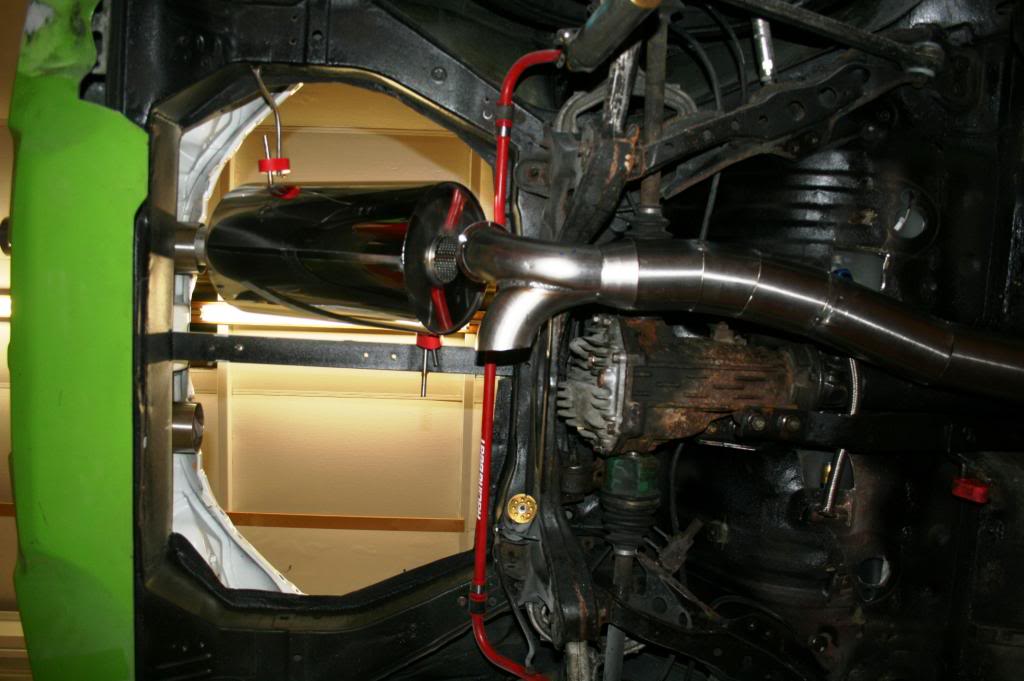
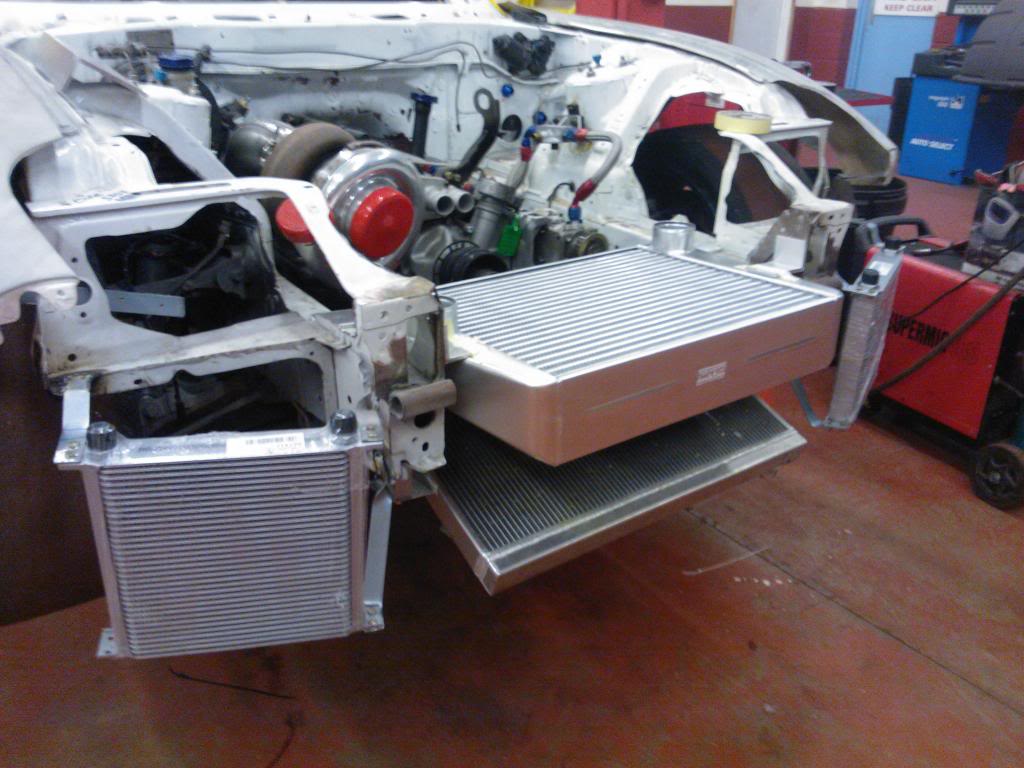
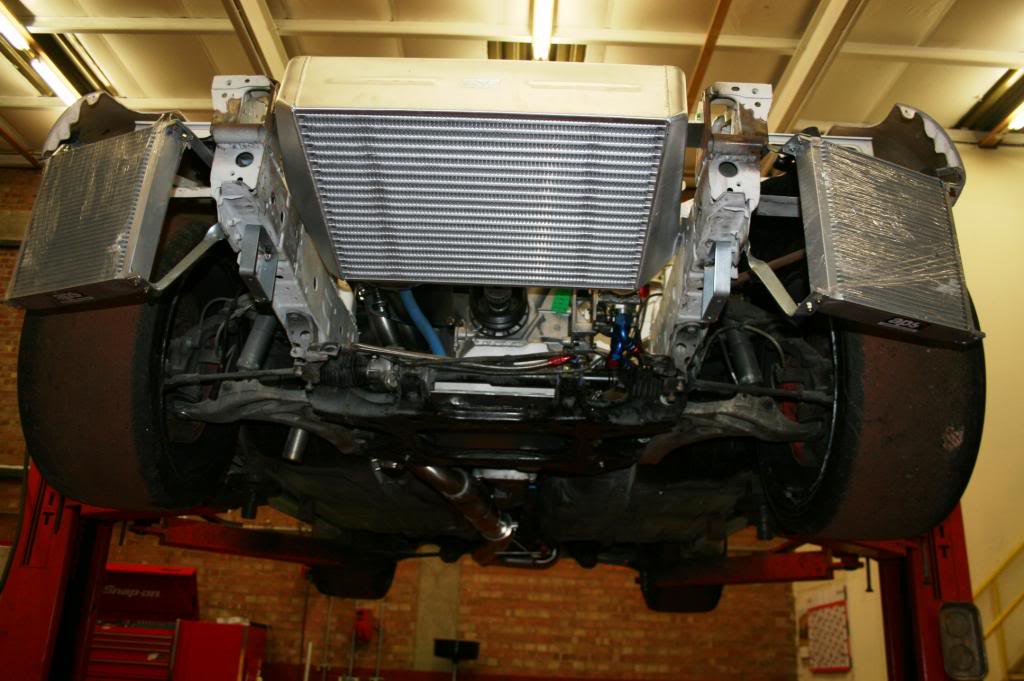
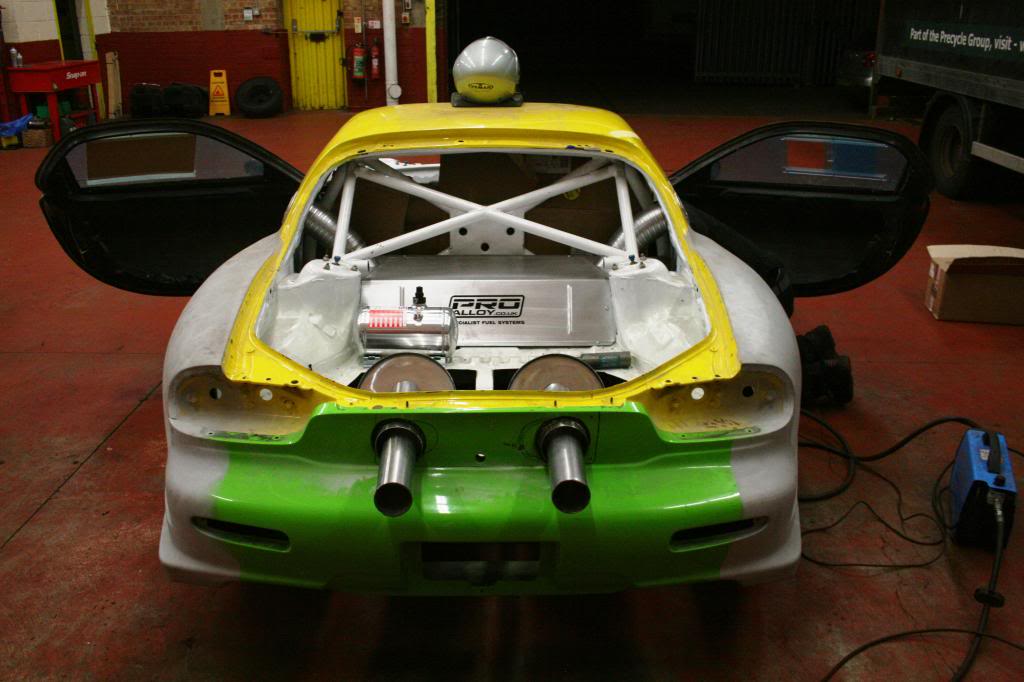
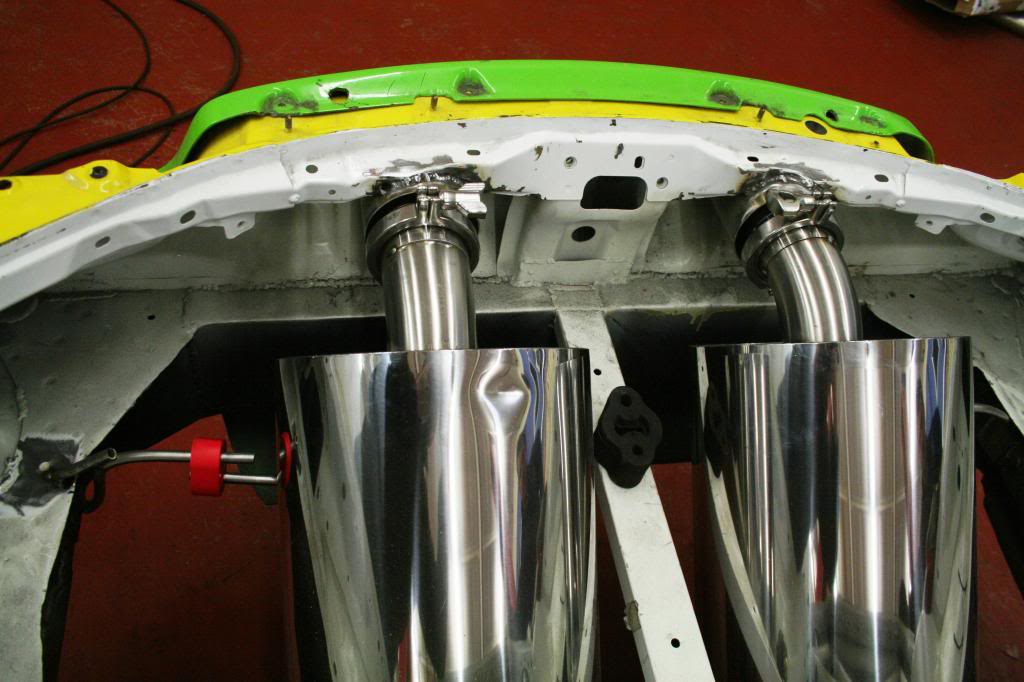
More work tonight, went over to my mate Roger to weld our Ally brackets onto the new intercooler, and have now
positioned and secured it. And finished fabricating and tacking the exhaust.
A few welding bracket shots
It's final resting place
The final gap to fill
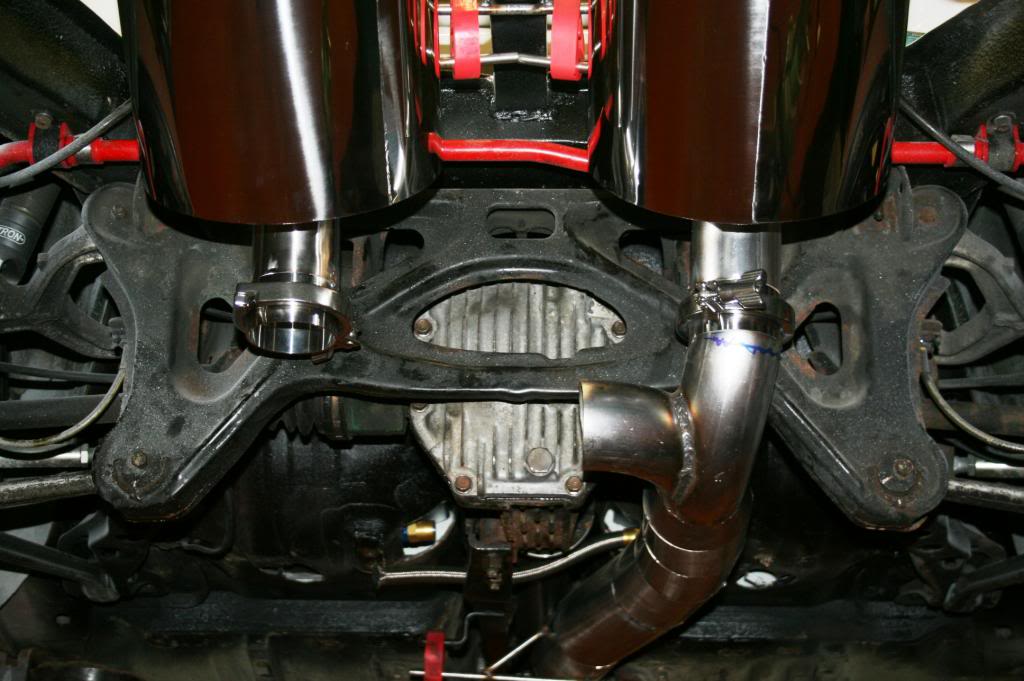
Last piece of the jigsaw fitted
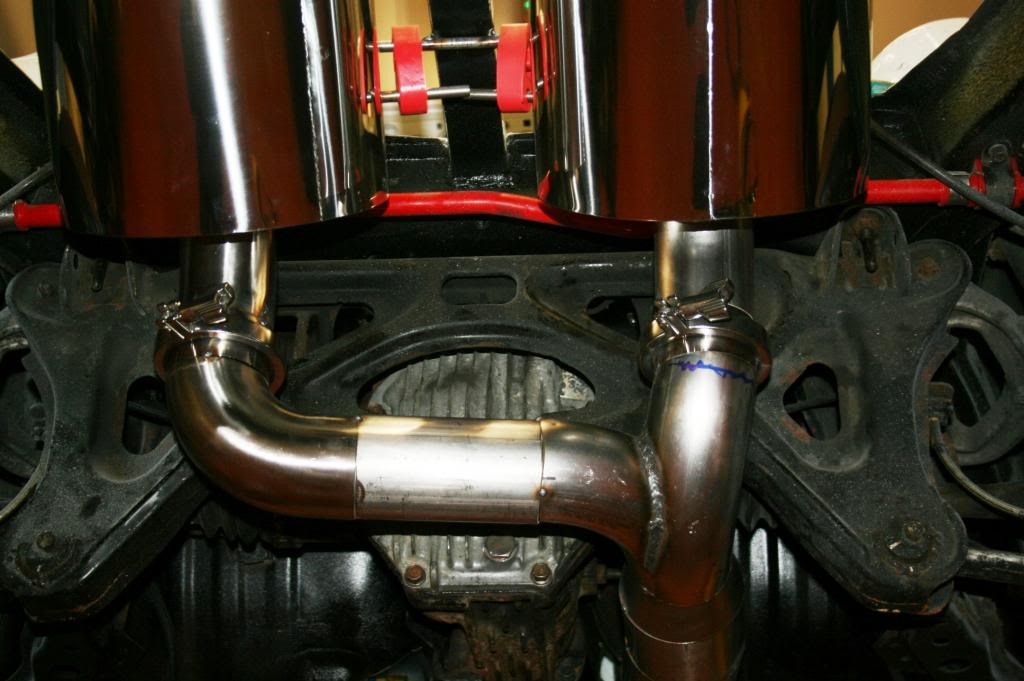
Re-positioning the radiator inlet

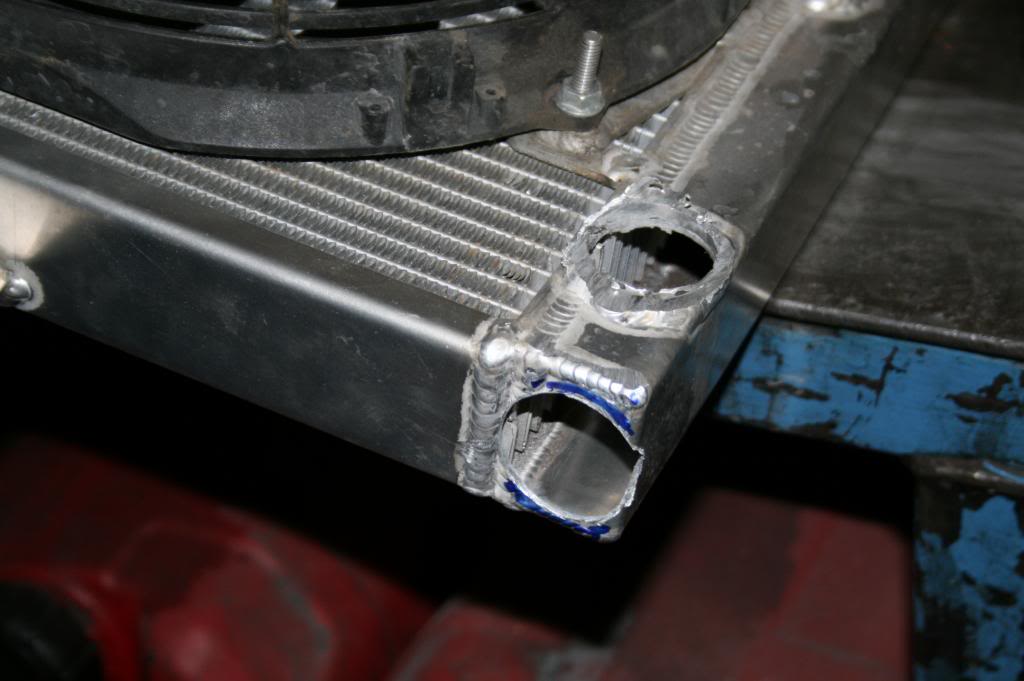
A quick underneath shot of the positioned intercooler.
positioned and secured it. And finished fabricating and tacking the exhaust.
A few welding bracket shots
It's final resting place
The final gap to fill
Last piece of the jigsaw fitted
Re-positioning the radiator inlet
A quick underneath shot of the positioned intercooler.
Thread Starter
Grippin' not Driftin'
Joined: Jul 2011
Posts: 149
Likes: 0
From: England
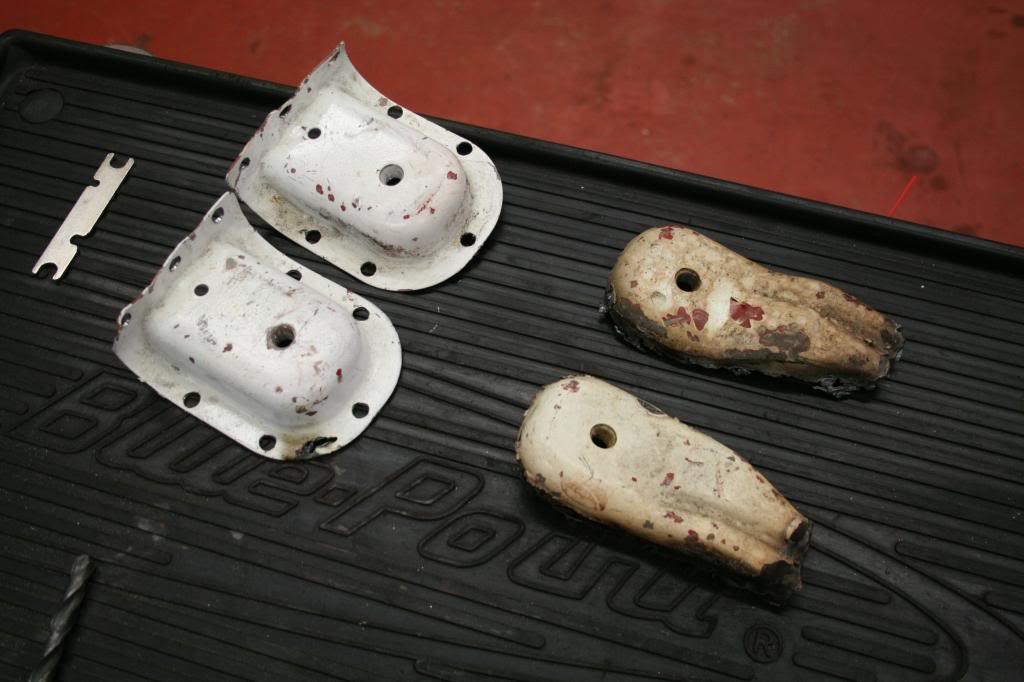
A few of those time consuming things got underway tonight
Out came the Plasma Cutter to get rid of the seat mounting points
These were the resulting parts removed
Put the seat rails on to work out the seat positions
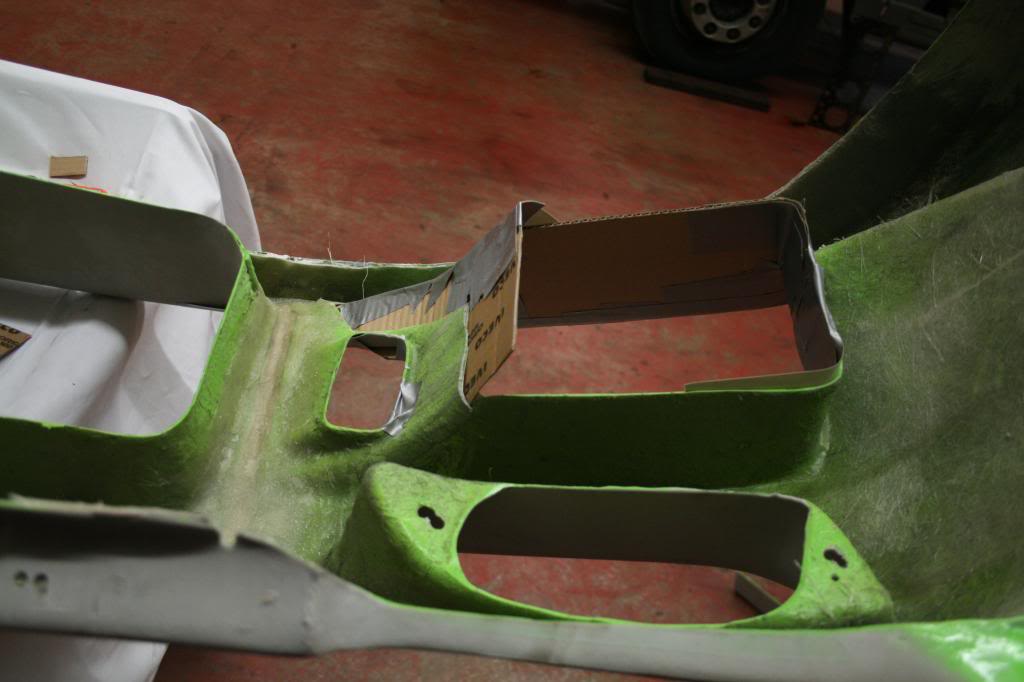
Cut a nice big hole in the tunnel to move the seat accross slightly so my head has more clearance
And sited the Sparco extinguisher bottle
Out came the Plasma Cutter to get rid of the seat mounting points
These were the resulting parts removed
Put the seat rails on to work out the seat positions
Cut a nice big hole in the tunnel to move the seat accross slightly so my head has more clearance
And sited the Sparco extinguisher bottle
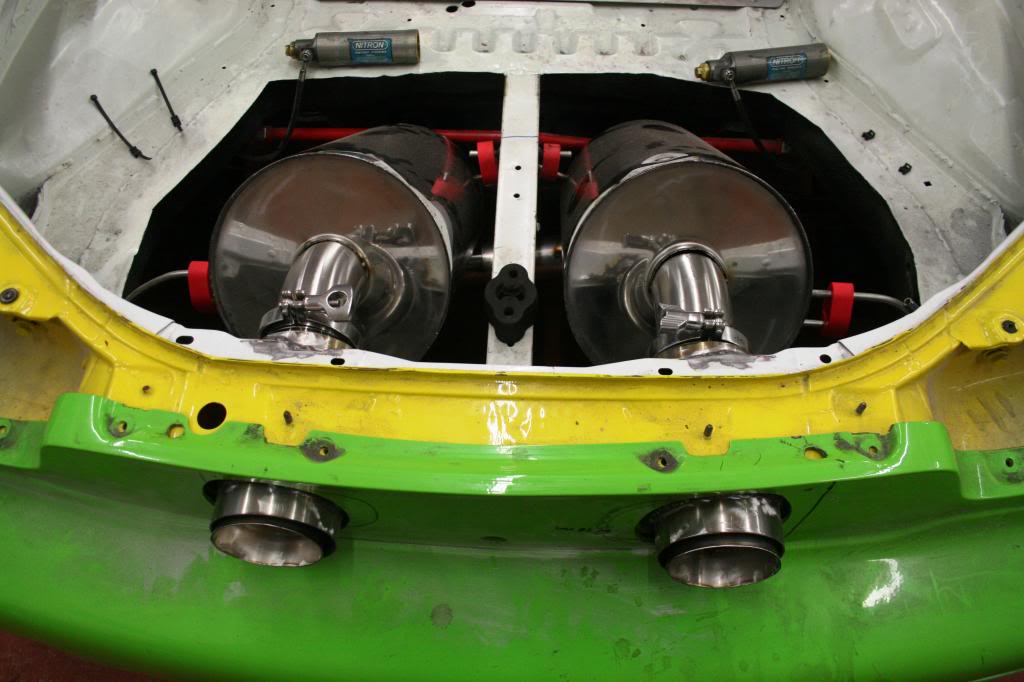
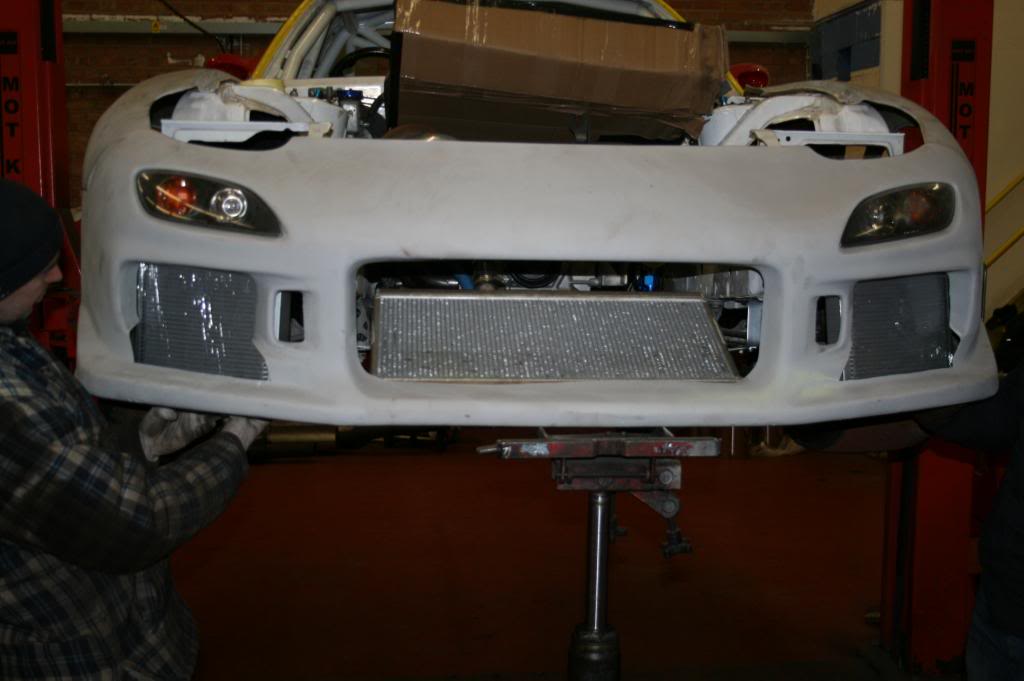
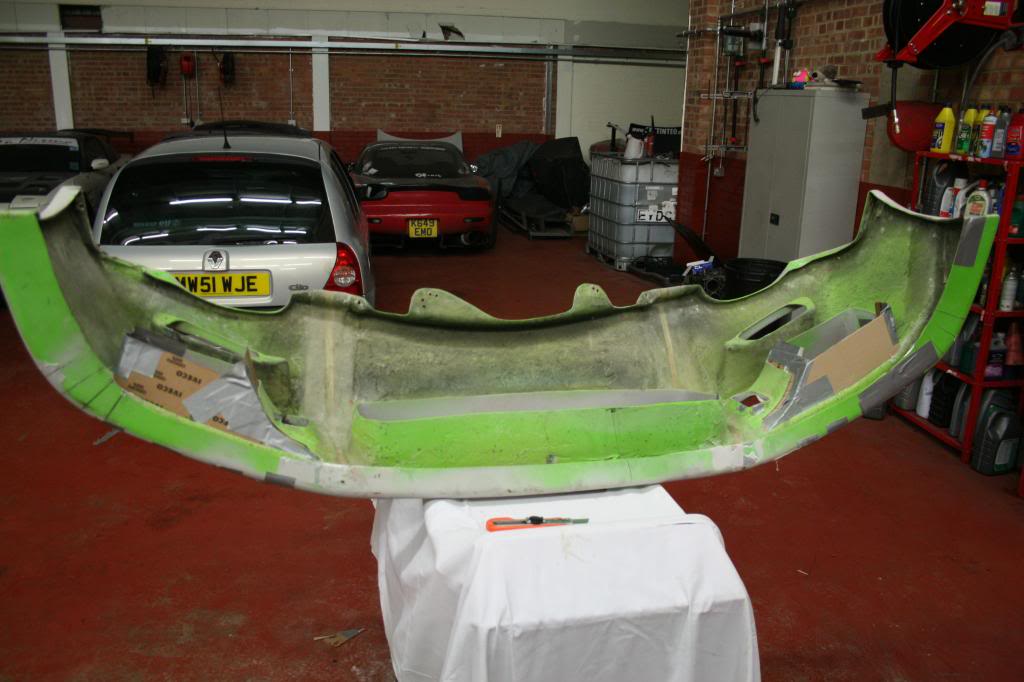
 Bumper refitment was interesting to see. Top notch on everything!
Thread Starter
Grippin' not Driftin'
Joined: Jul 2011
Posts: 149
Likes: 0
From: England
Thanks fella, I really want it to have the lines of the original FD just a lot wider, it creates a lot more work doing that but will
really be worth it in the end. :o)
really be worth it in the end. :o)
Thread Starter
Grippin' not Driftin'
Joined: Jul 2011
Posts: 149
Likes: 0
From: England
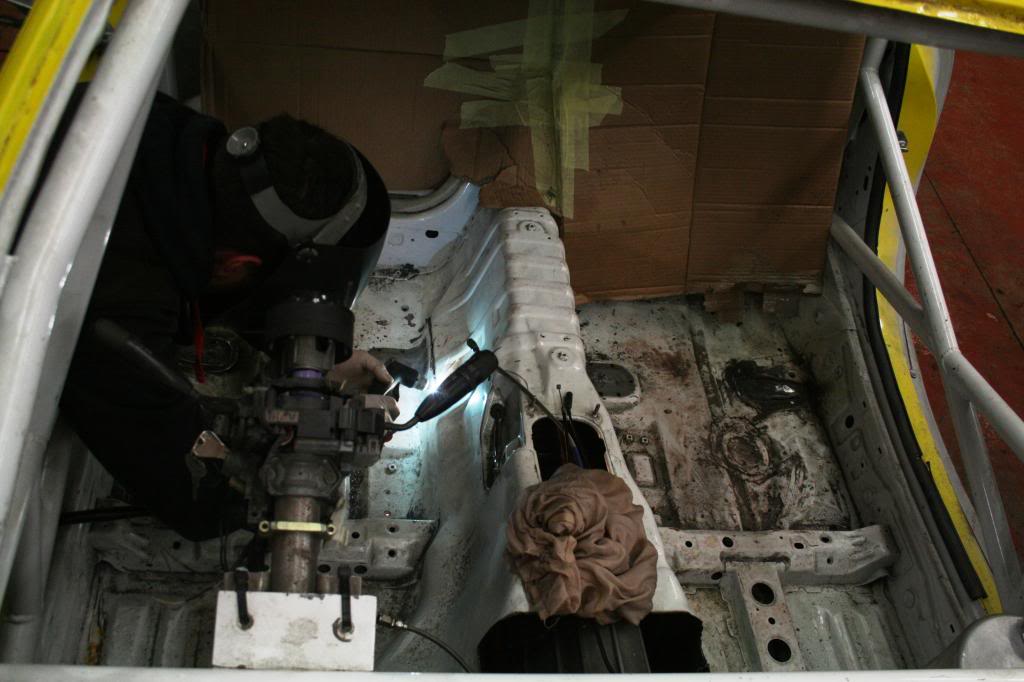
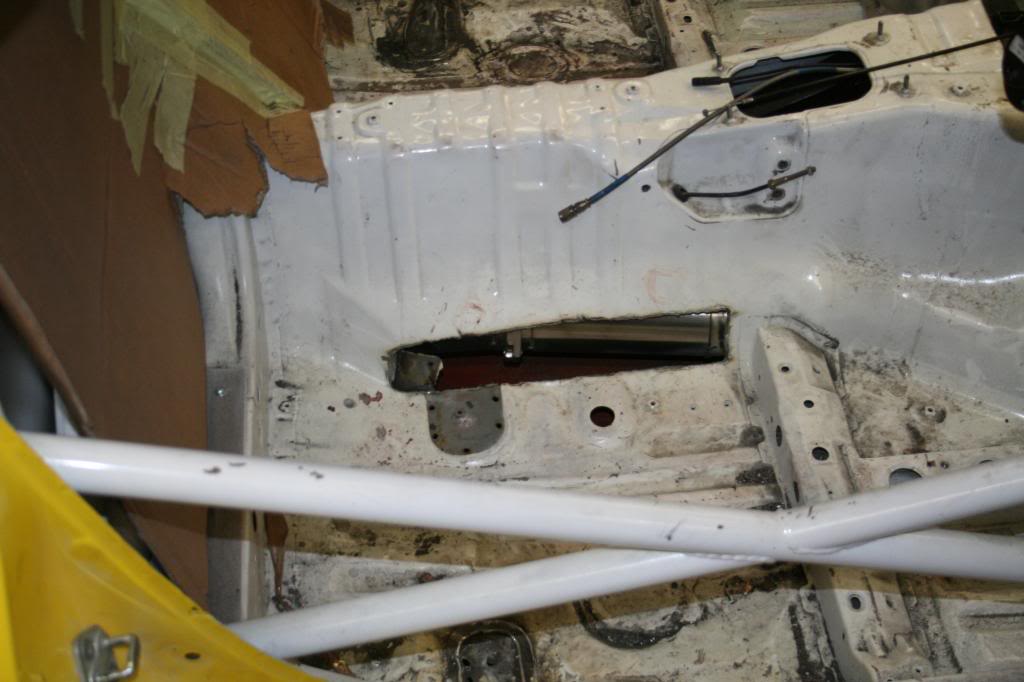
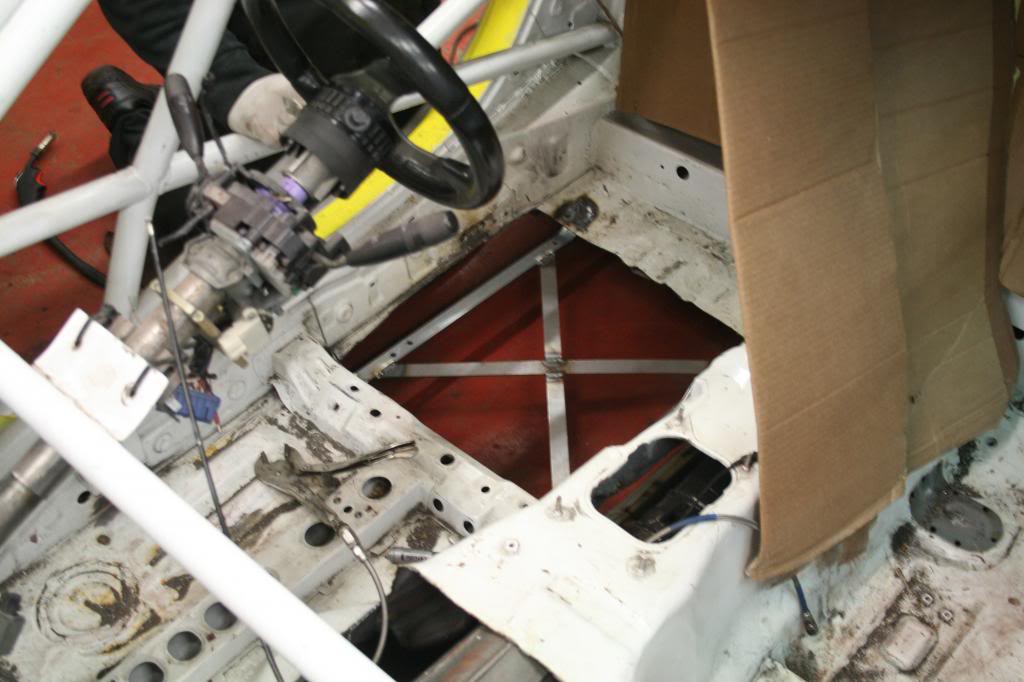
Not too much movement tonight considering the amount of work put in.
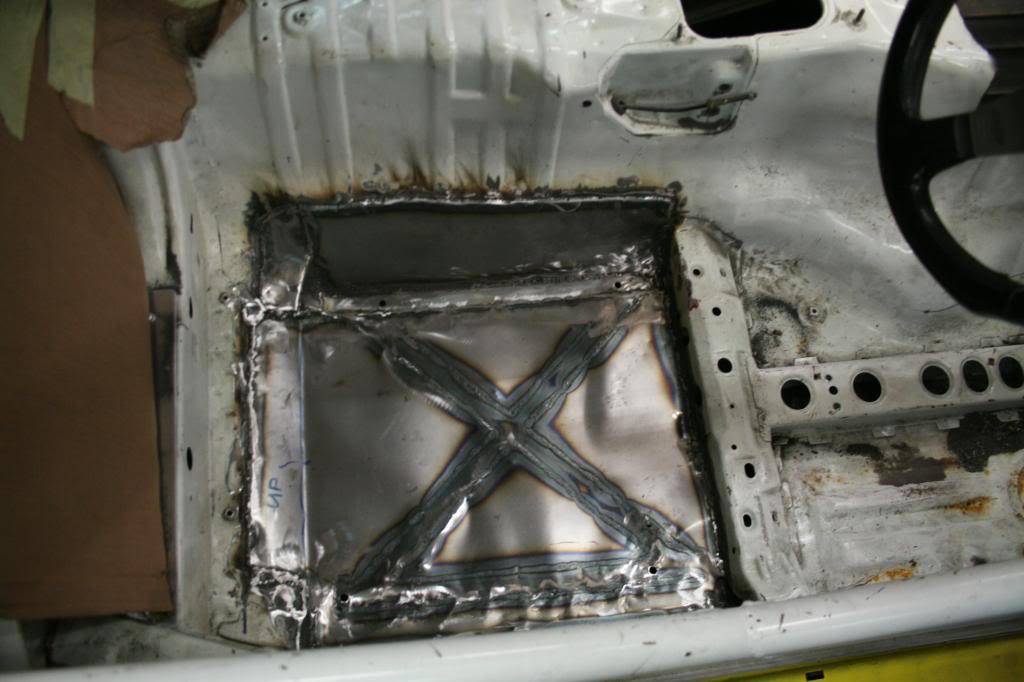
We came to the conclusion that the only way we could get the optimum position for me was to cut the floor
out and start again so thats what we did !!
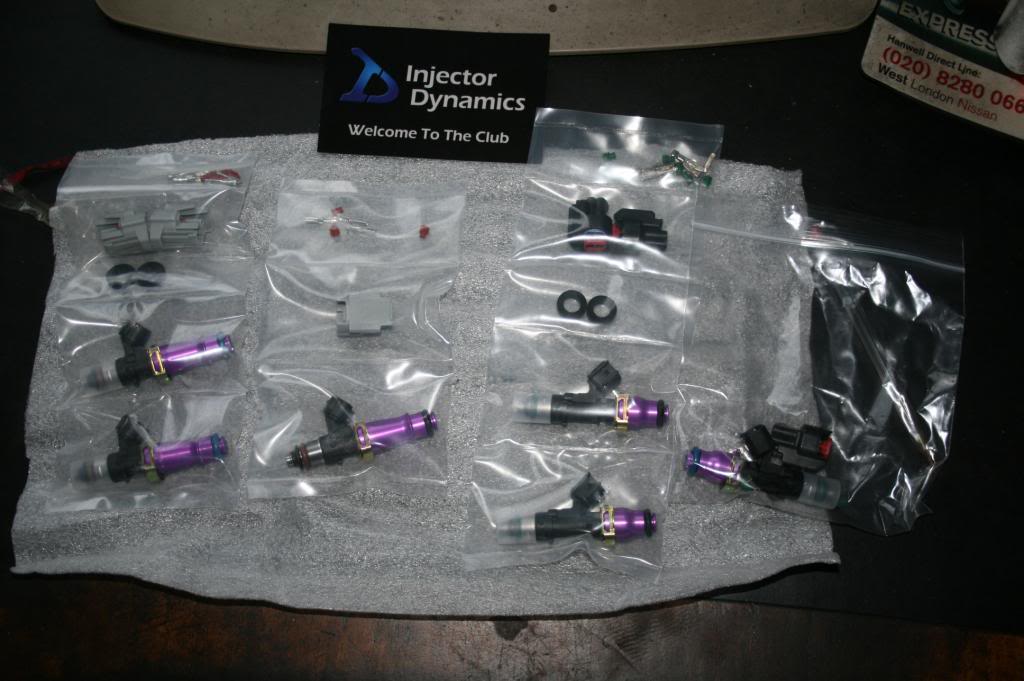
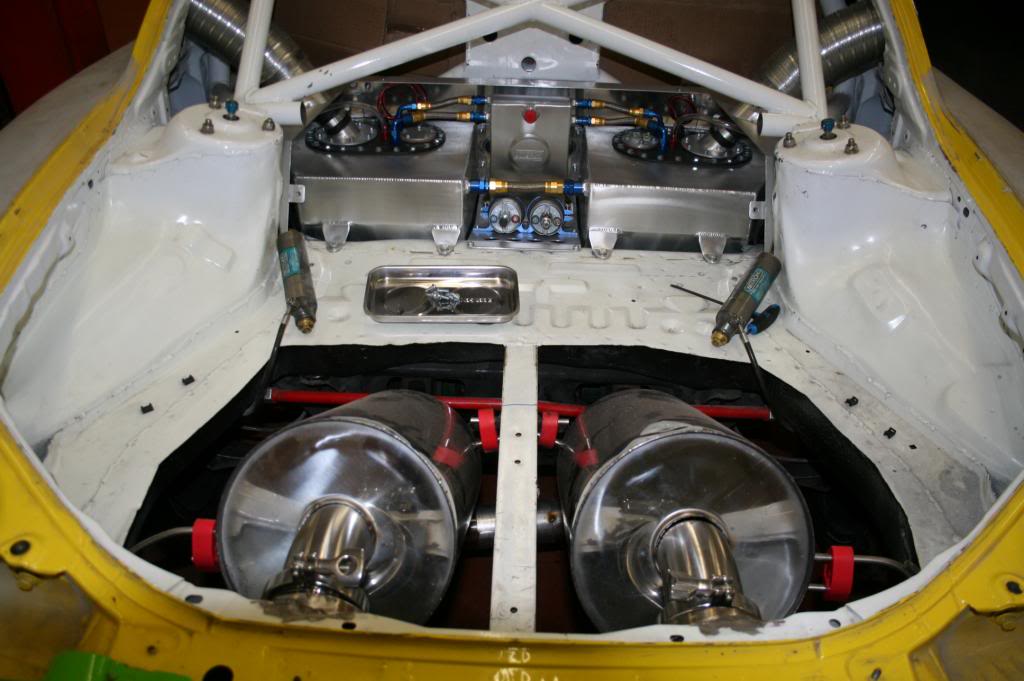
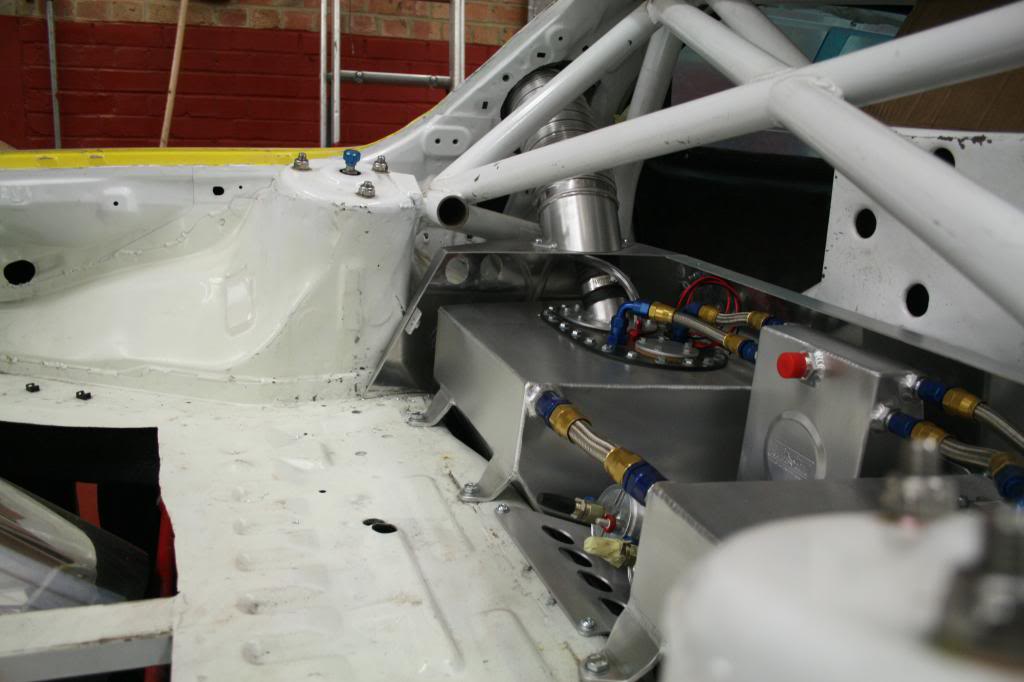
First tonight I installed the 044 fuel pumps.
Onto cutting the floor out

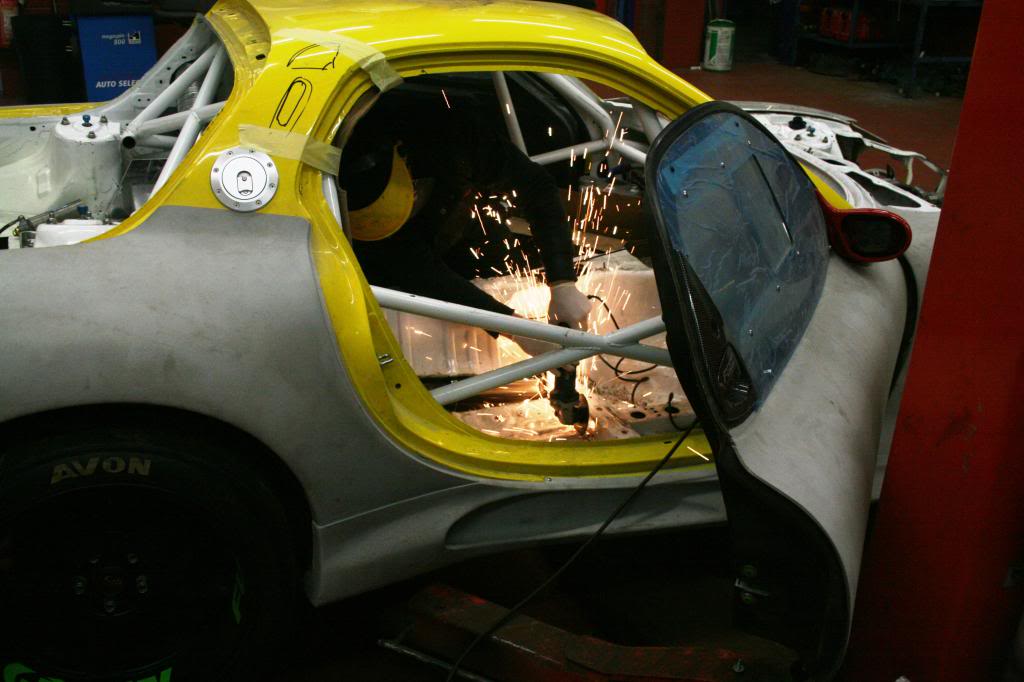
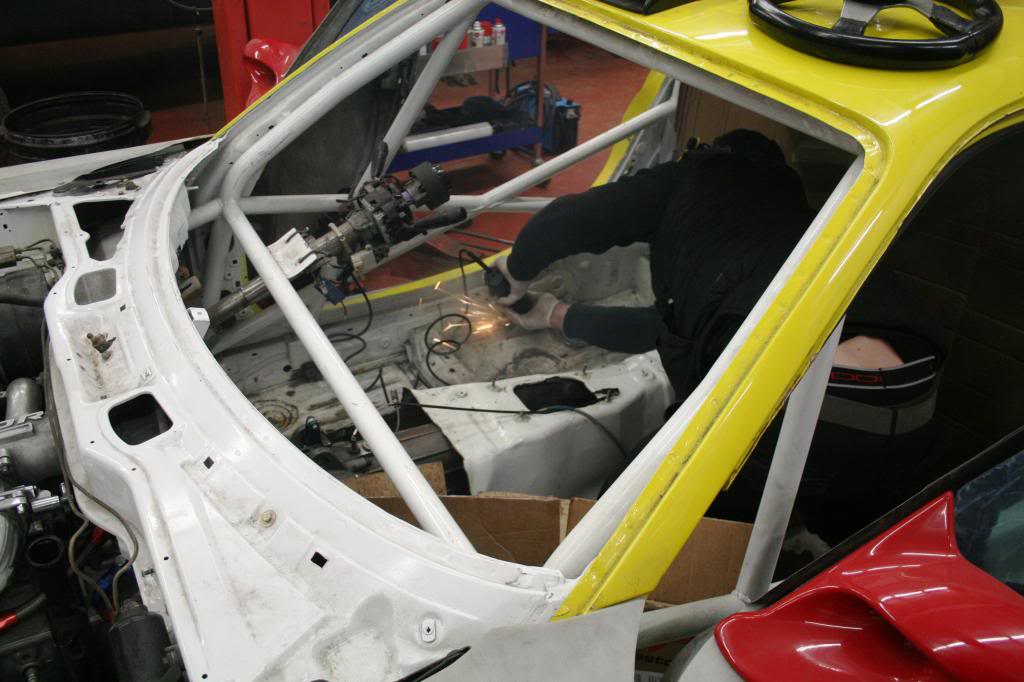
More weight saving !! lol

Just a quick shot of one of the sections ready for tig welding.
We came to the conclusion that the only way we could get the optimum position for me was to cut the floor
out and start again so thats what we did !!
First tonight I installed the 044 fuel pumps.
Onto cutting the floor out
More weight saving !! lol
Just a quick shot of one of the sections ready for tig welding.
Thread Starter
Grippin' not Driftin'
Joined: Jul 2011
Posts: 149
Likes: 0
From: England
Another fiddly bit tonight with the fuel system. Back onto the seats tomorrow evening.
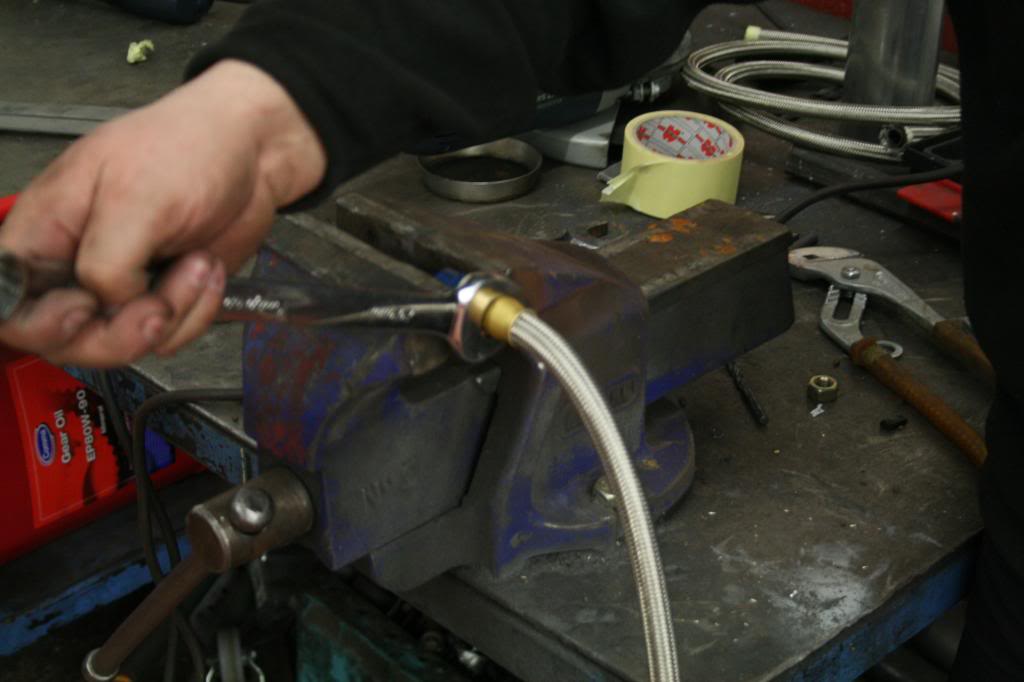
The fuel parts arrived today, all the joins and the teflon hoses.
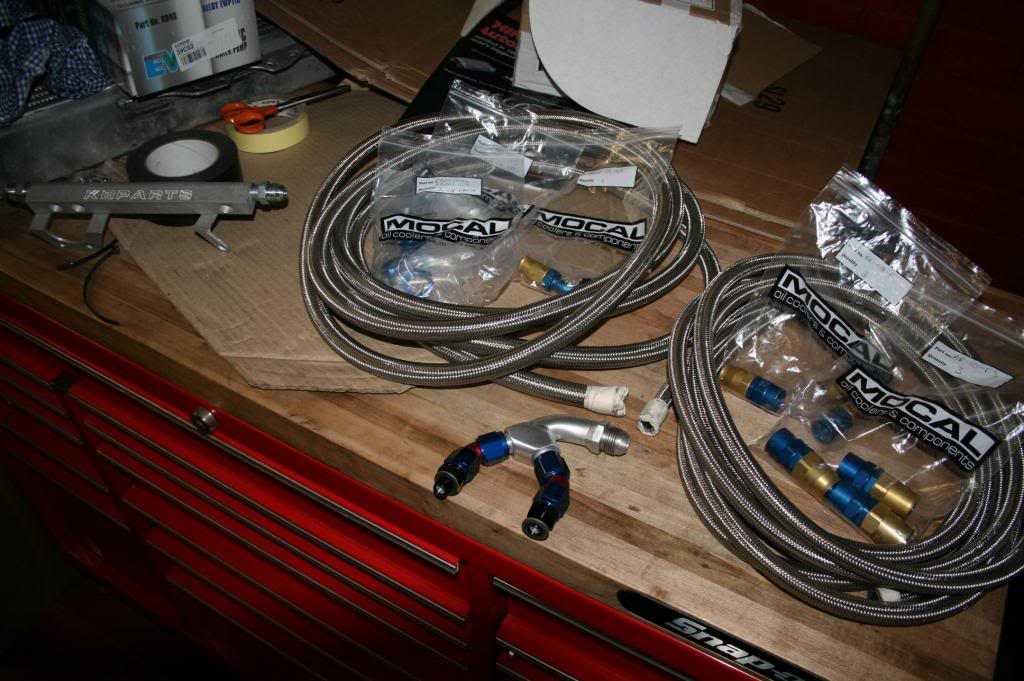
Drilled a couple of holes in preparation for the hose grommet and hoses to run through.
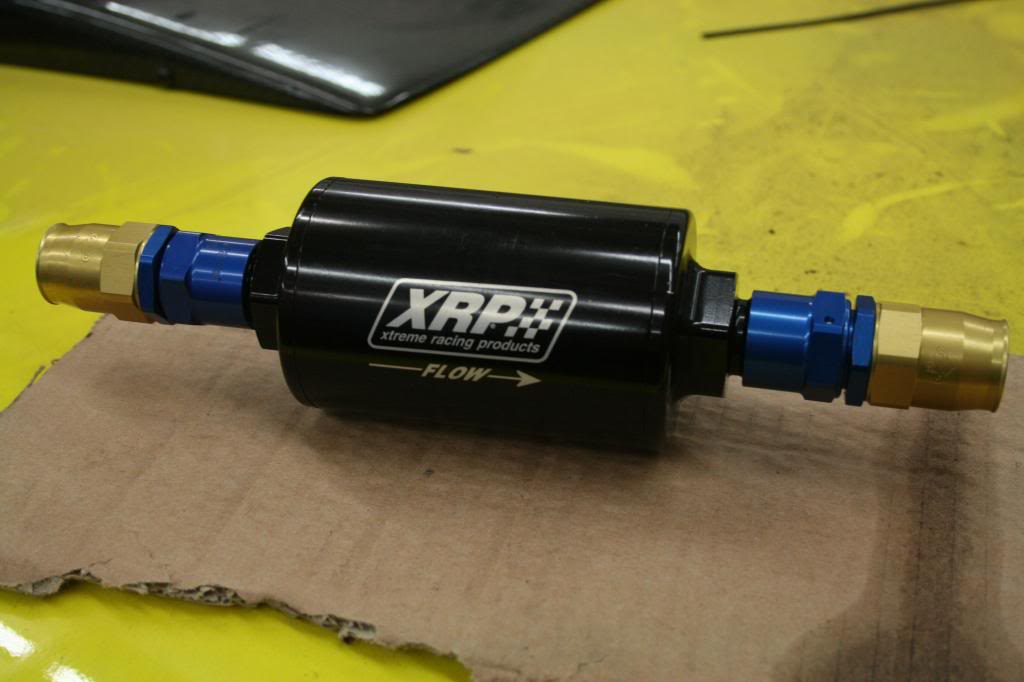
And fitted the fuel pumps properly and a few of the joins in preparation for the arrival of the dash 10 fuel filter tomorrow.
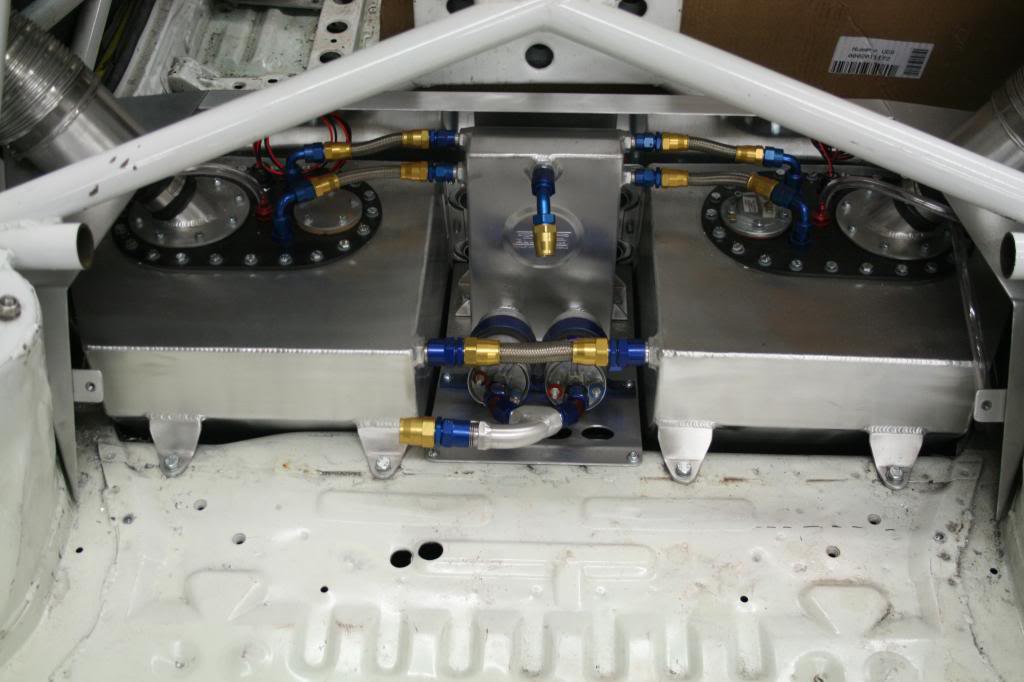
The fuel parts arrived today, all the joins and the teflon hoses.
Drilled a couple of holes in preparation for the hose grommet and hoses to run through.
And fitted the fuel pumps properly and a few of the joins in preparation for the arrival of the dash 10 fuel filter tomorrow.
Thread Starter
Grippin' not Driftin'
Joined: Jul 2011
Posts: 149
Likes: 0
From: England
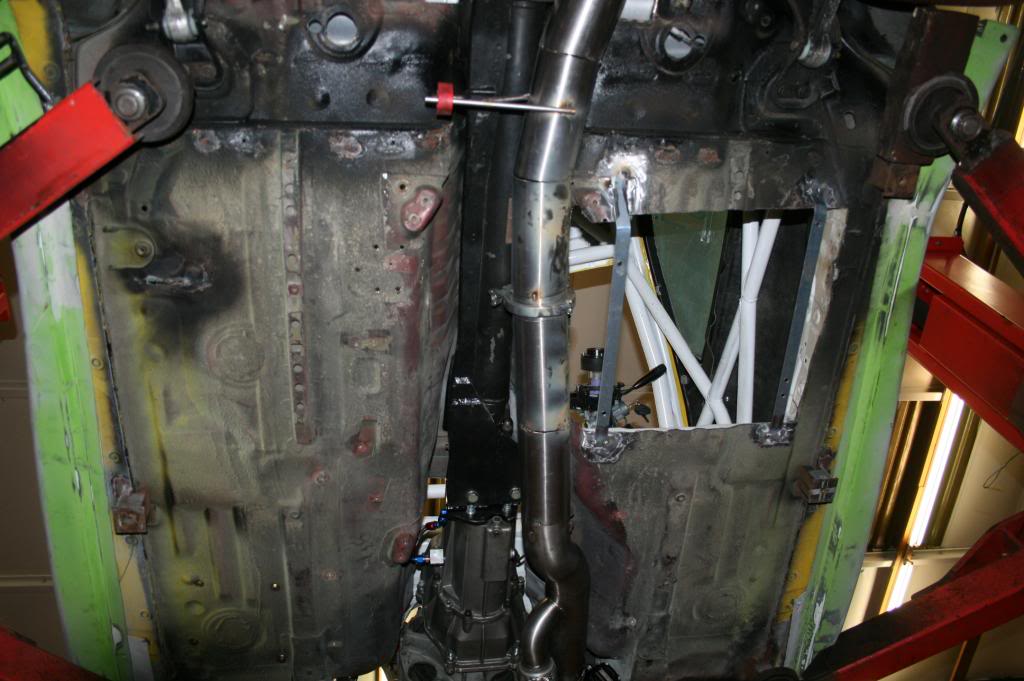
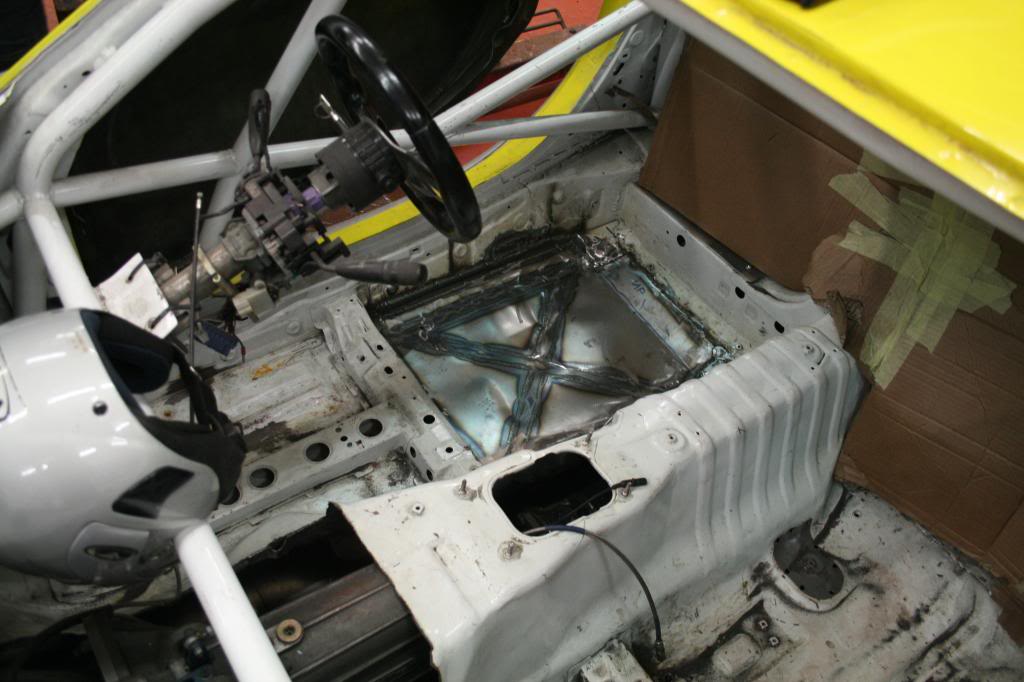
Progress seems to have slowed at the moment due to a couple of time consuming areas.
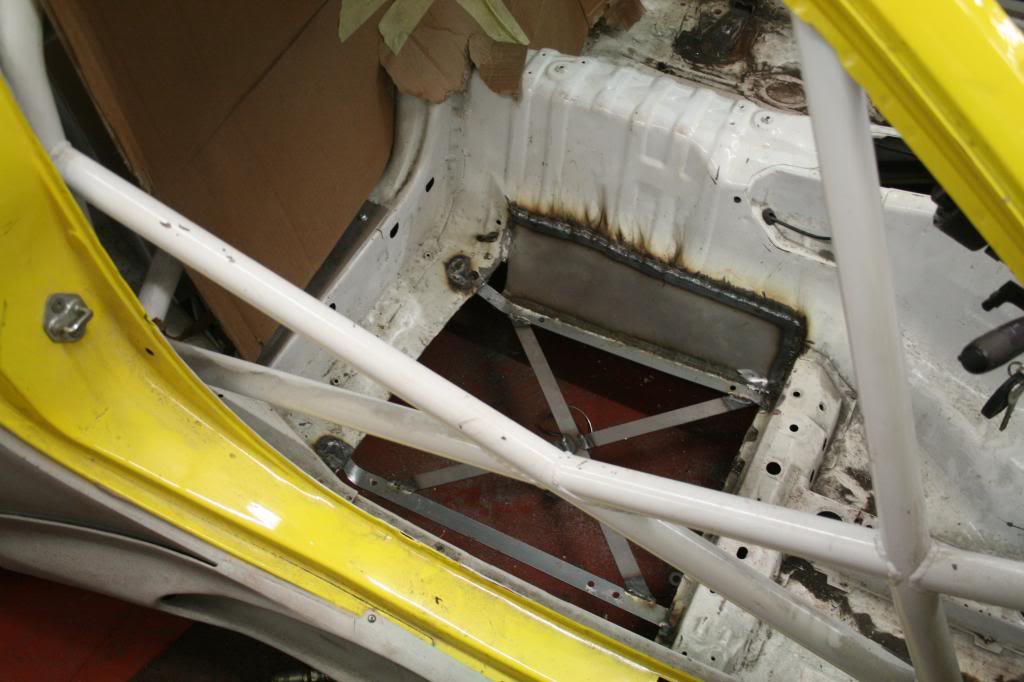
Tonight Balky got to grips with welding the deeper, flatter floor in, will hopefully finish this tomorrow.
Measured out all the fuel lines and fitted all the teflon connectors ( bad pic but you get the idea)
And received the dash 10 fuel filter today . :thumbsup:
Tonight Balky got to grips with welding the deeper, flatter floor in, will hopefully finish this tomorrow.
Measured out all the fuel lines and fitted all the teflon connectors ( bad pic but you get the idea)
And received the dash 10 fuel filter today . :thumbsup:
Thread Starter
Grippin' not Driftin'
Joined: Jul 2011
Posts: 149
Likes: 0
From: England
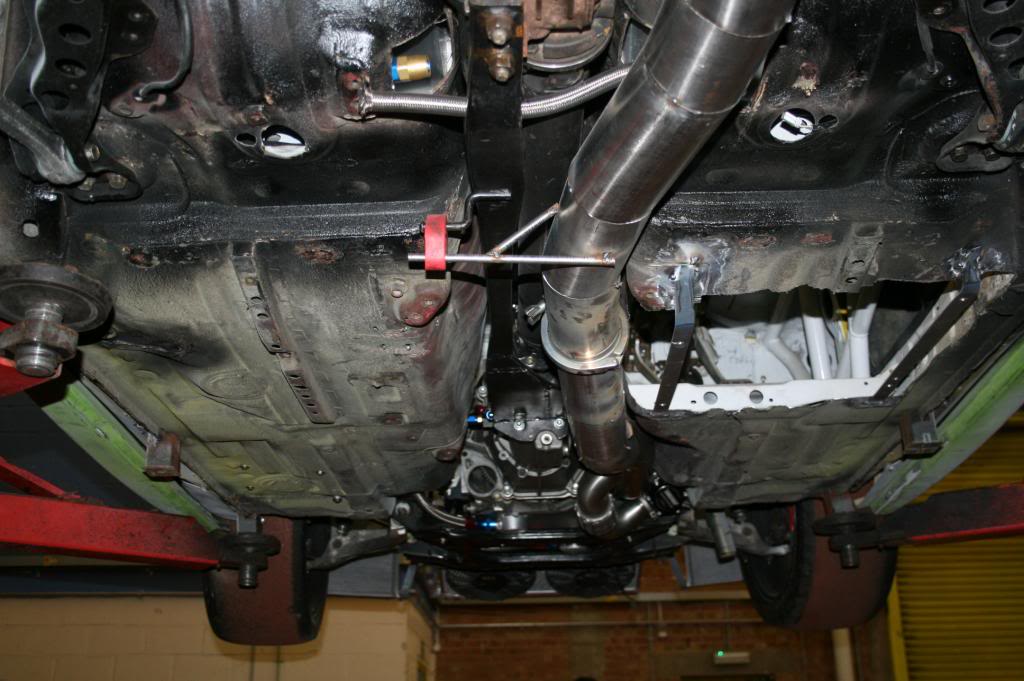
OK, we've really been lacking in motivation as the latest bits have taken so long, but we stuck at it today and Balky
finished welding the drivers lowered floorpan in.
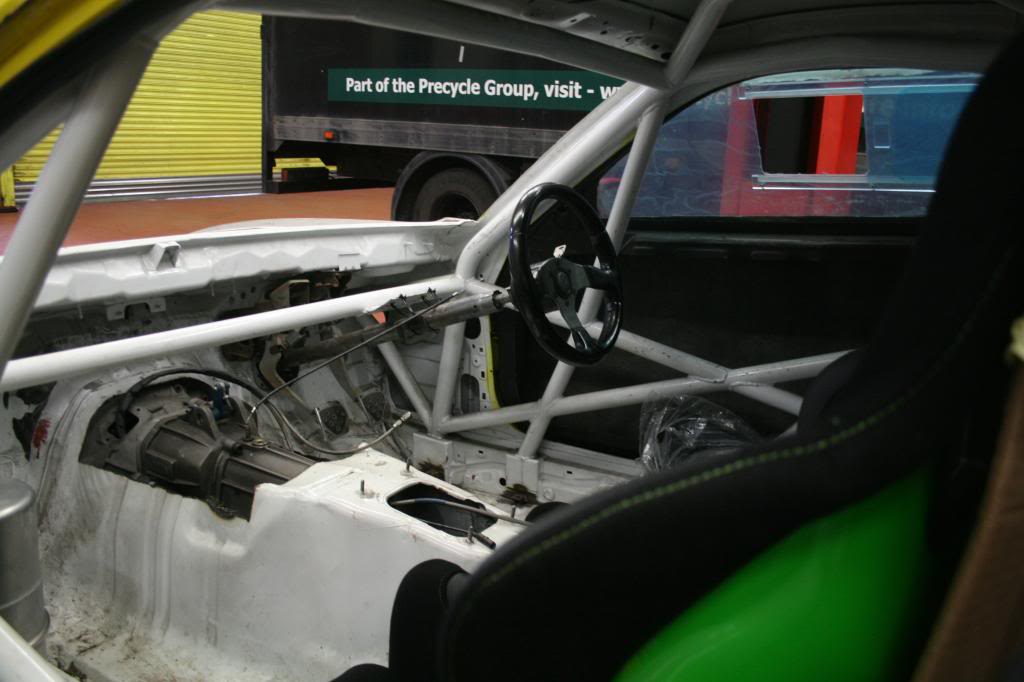
No pics but the seat rails are now bolted in and we test fitted the dash.
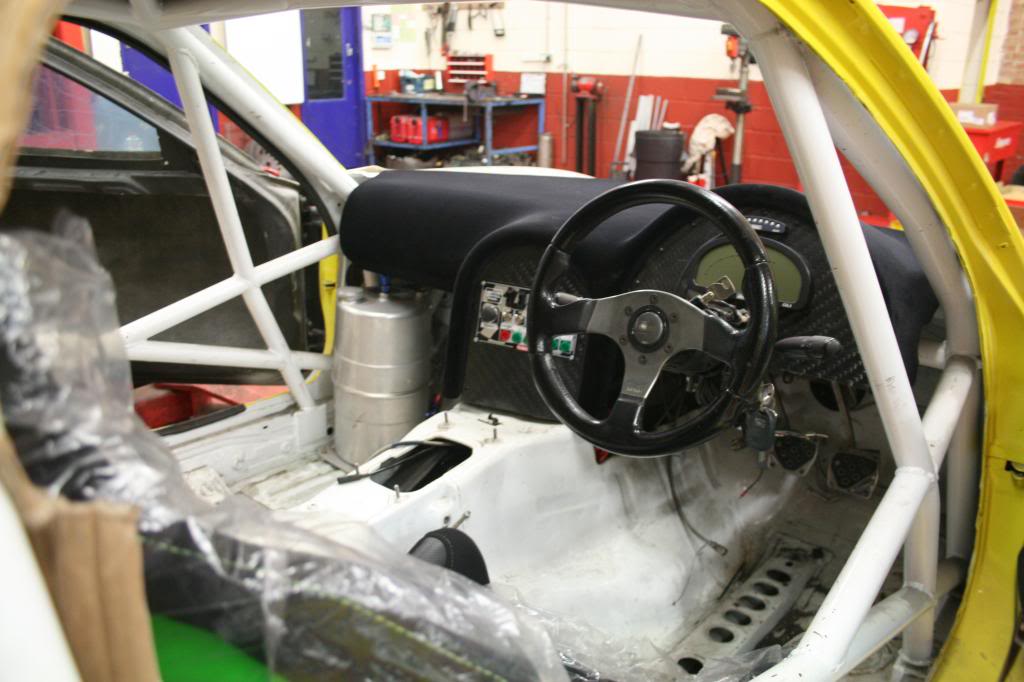
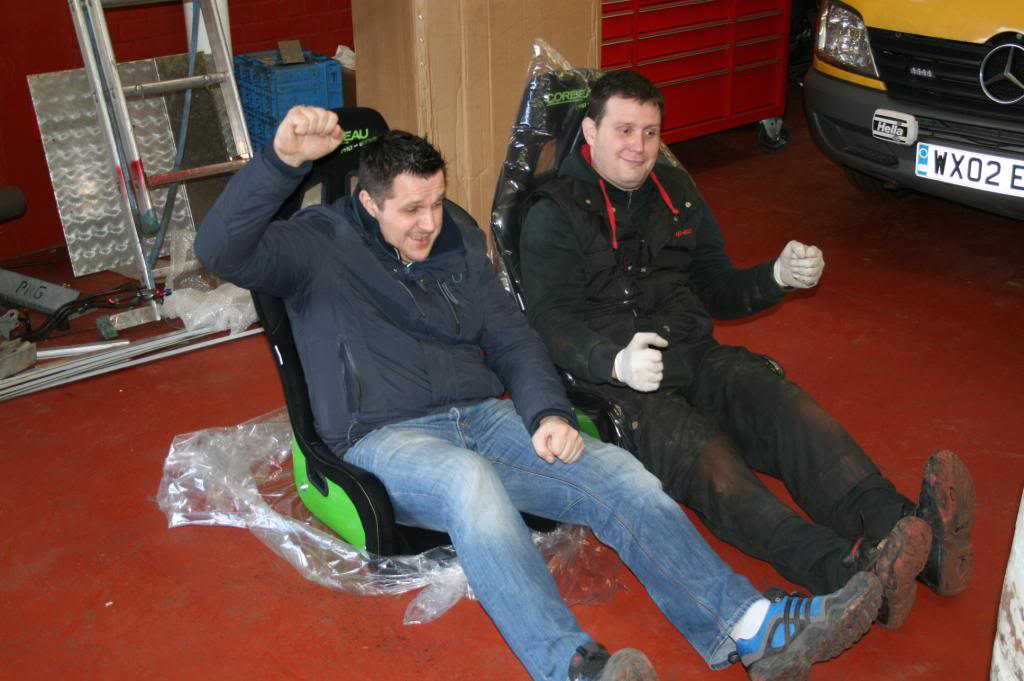
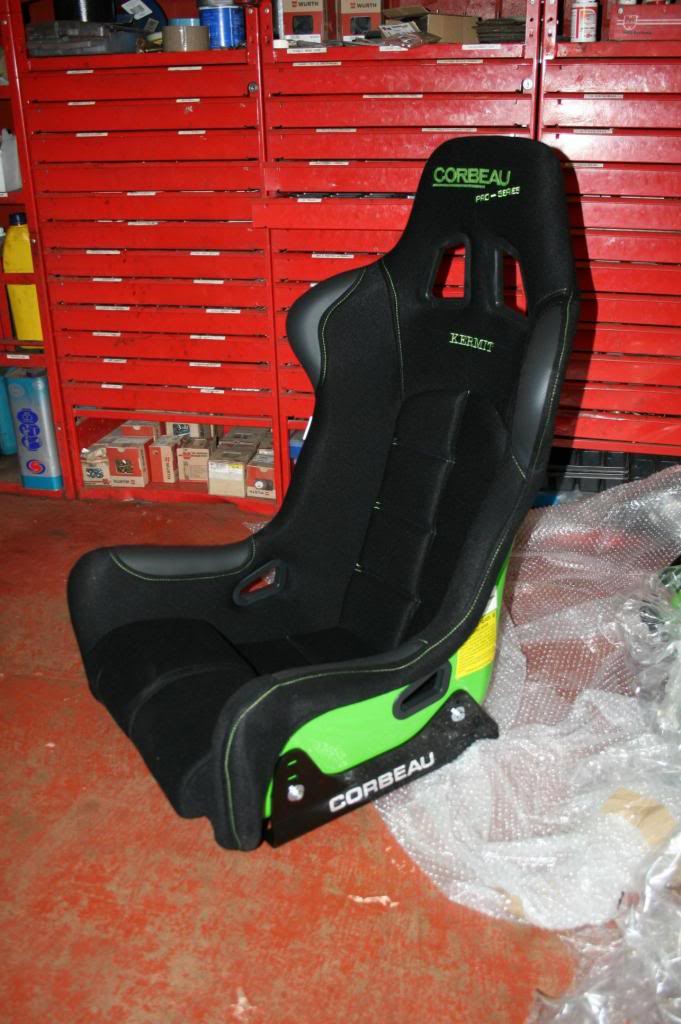
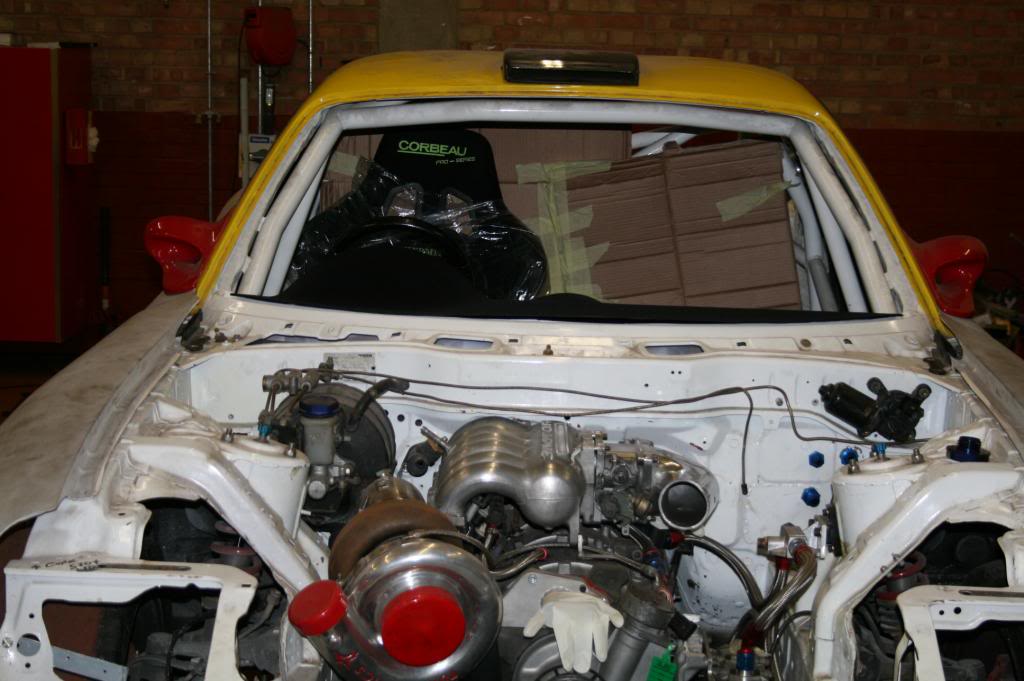
And the drivers seat in place.
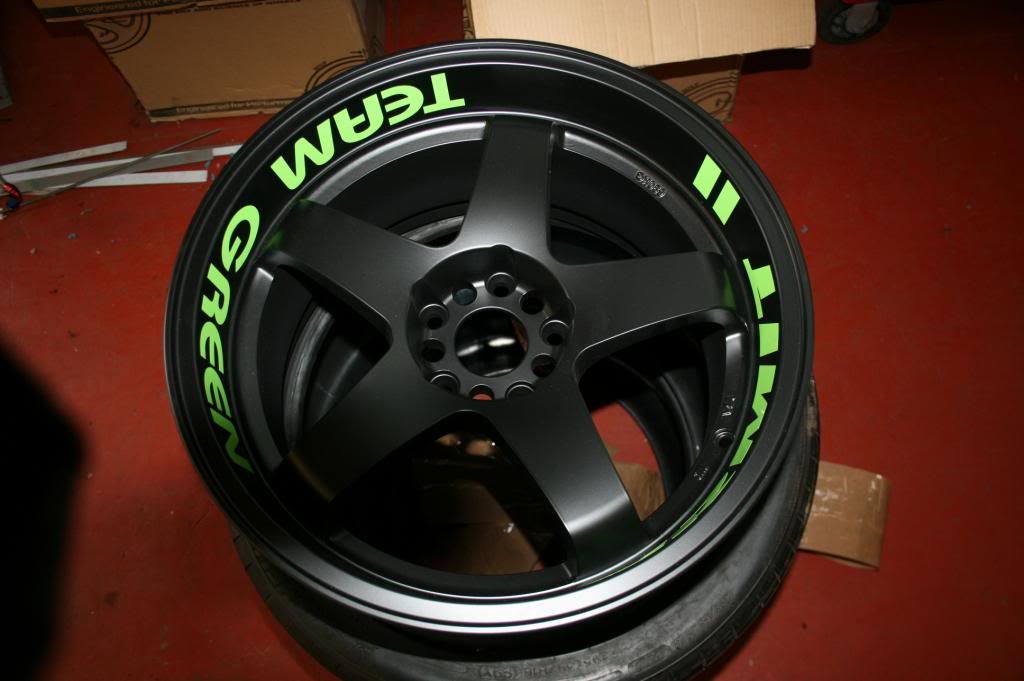
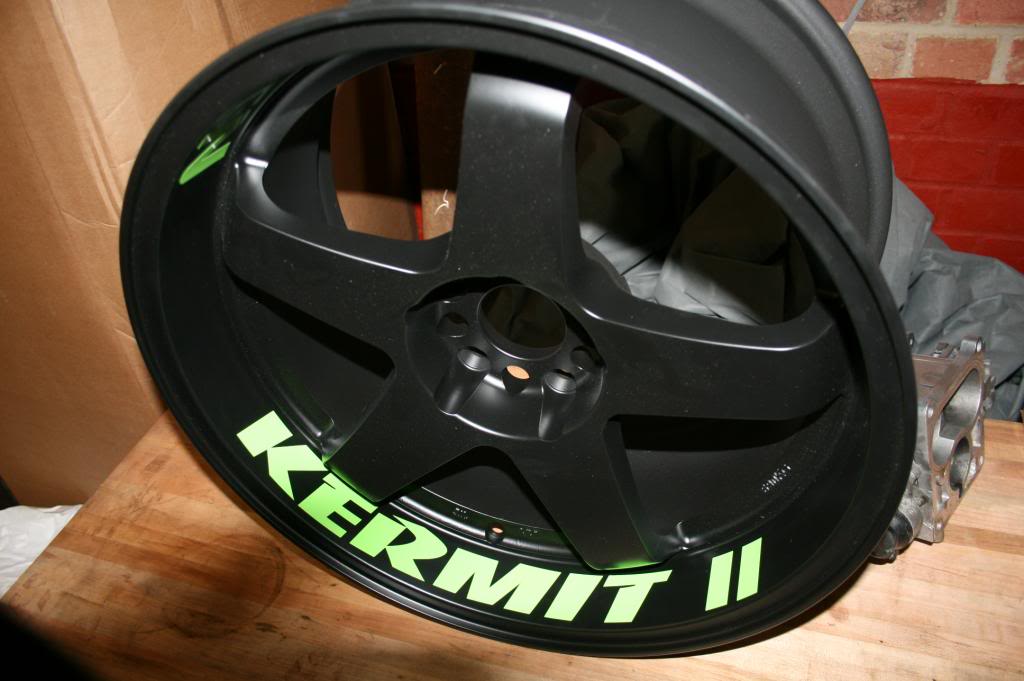
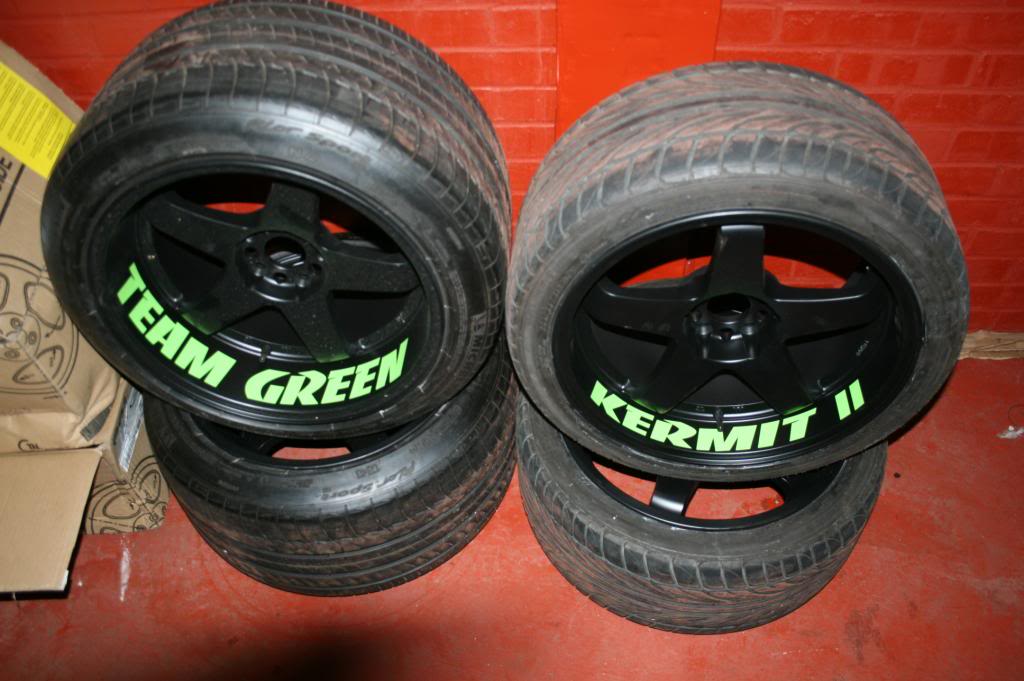
And a quick shot of the wet and road wheels now with tyres.
finished welding the drivers lowered floorpan in.
No pics but the seat rails are now bolted in and we test fitted the dash.
And the drivers seat in place.
And a quick shot of the wet and road wheels now with tyres.
Thread Starter
Grippin' not Driftin'
Joined: Jul 2011
Posts: 149
Likes: 0
From: England
A few minor updates
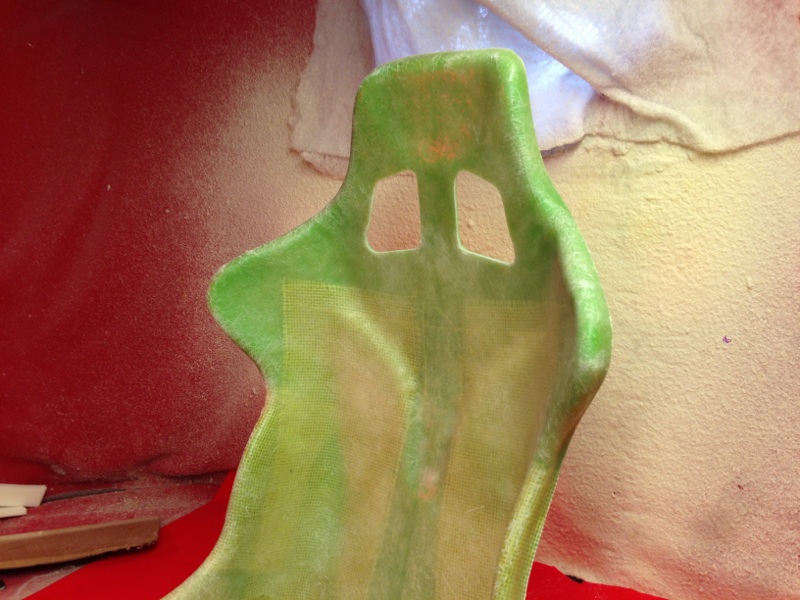
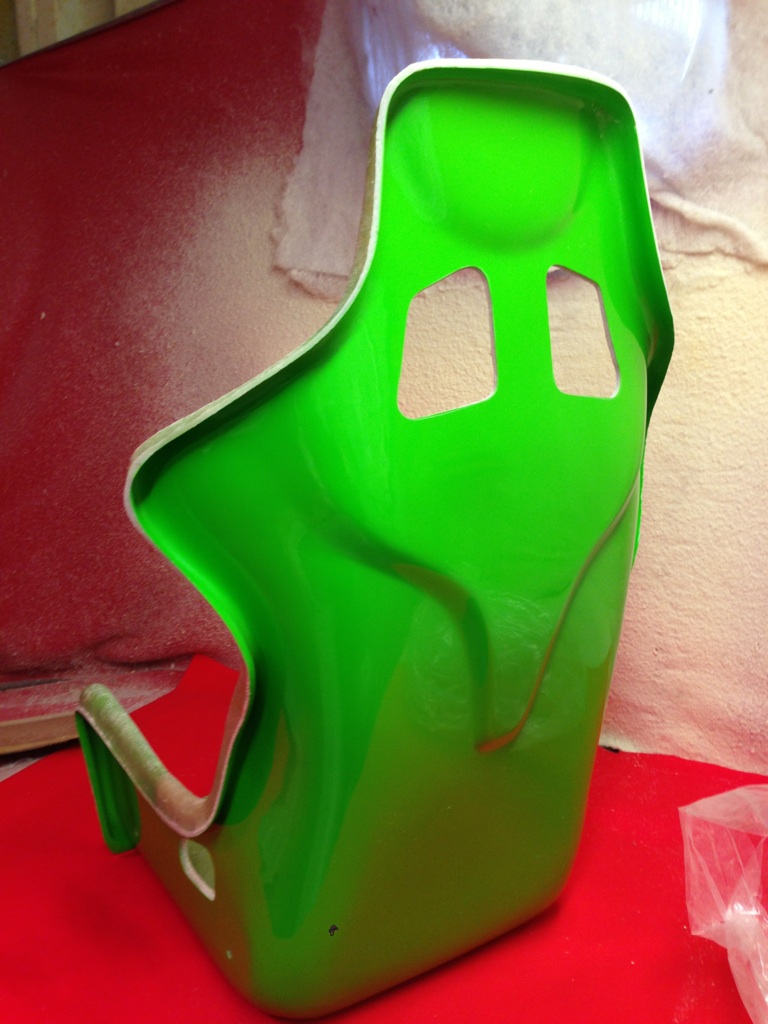
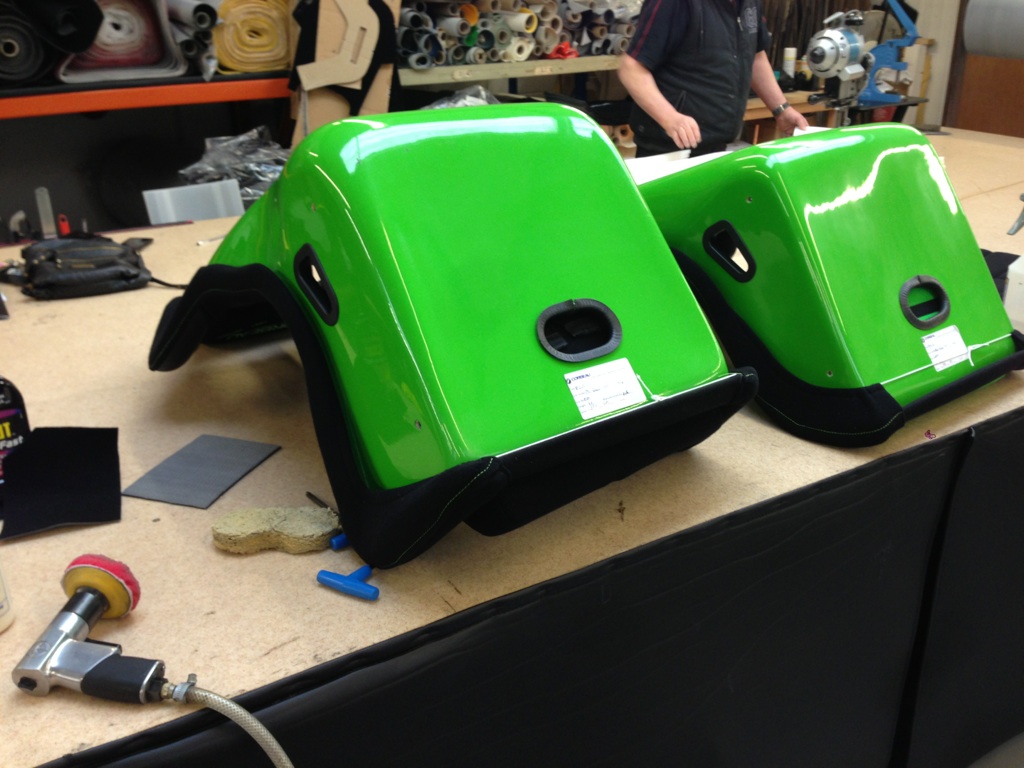
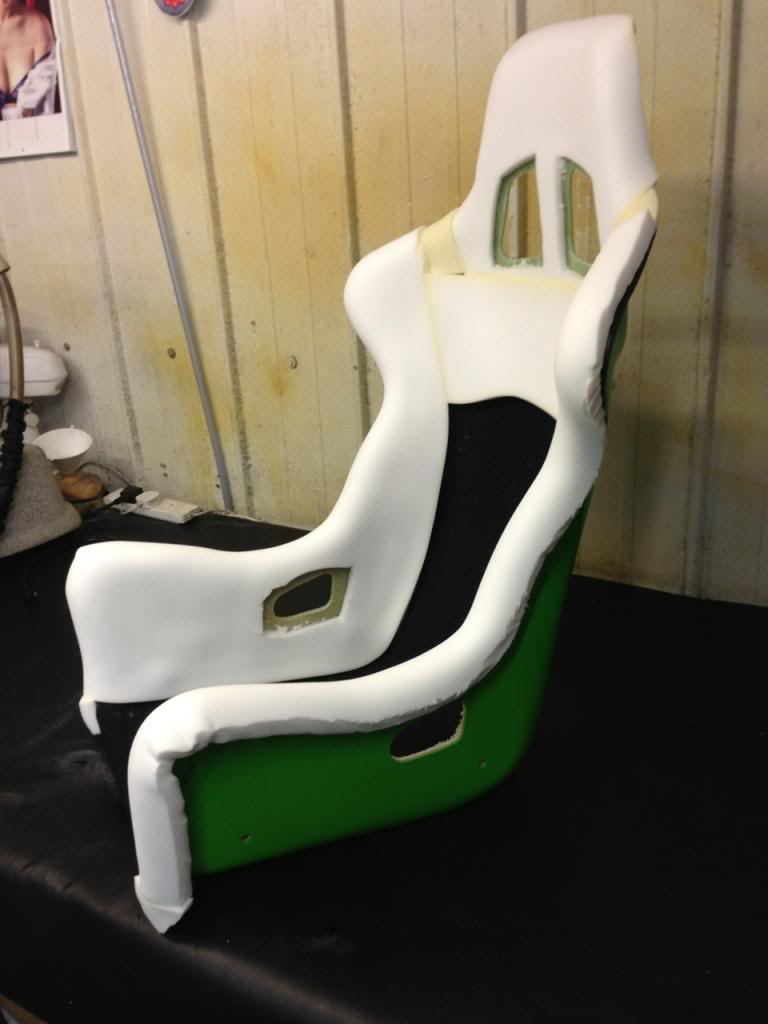
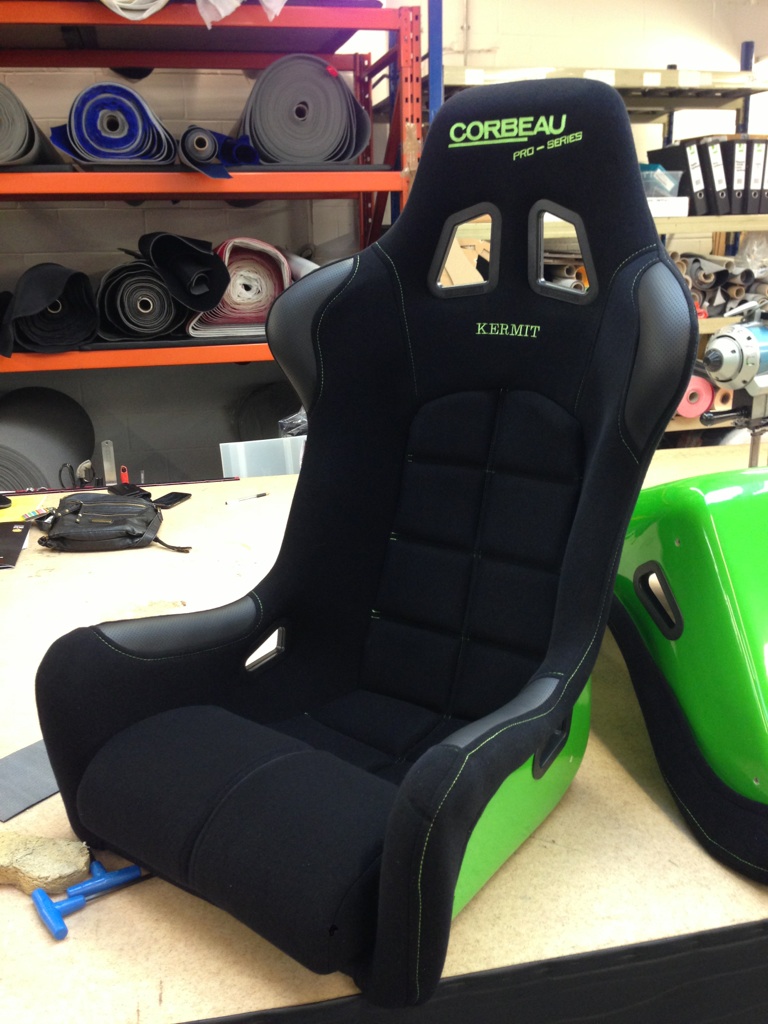
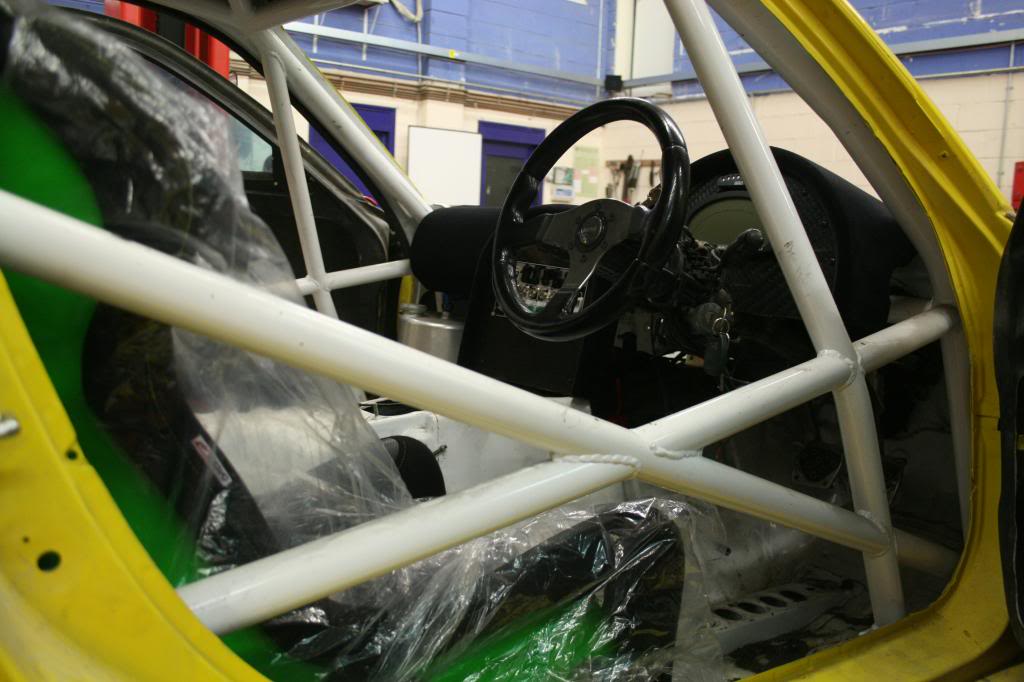
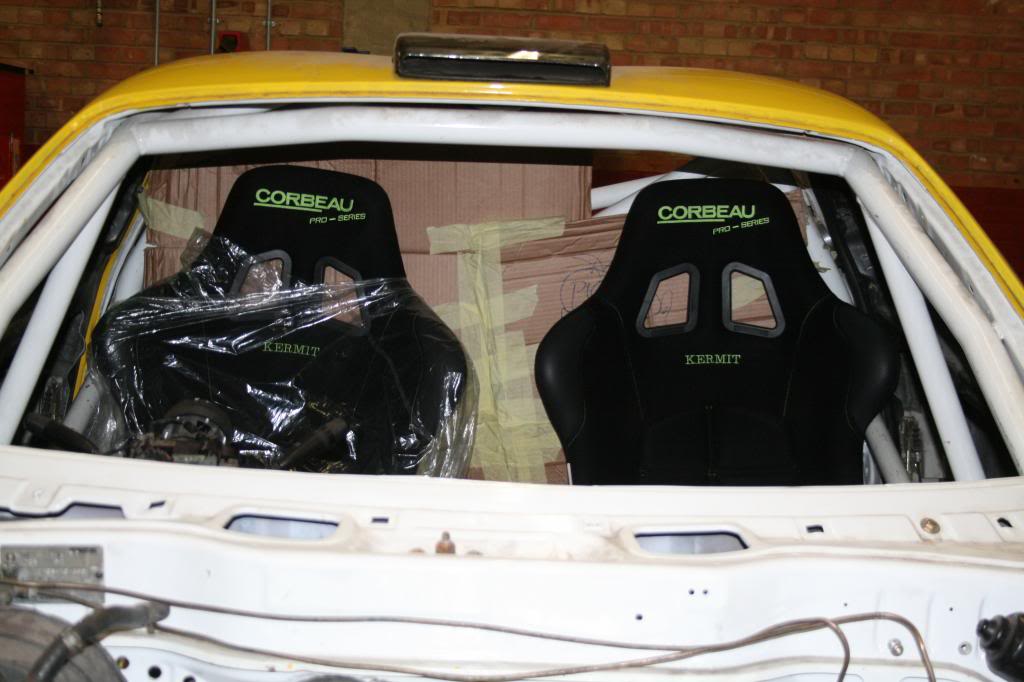
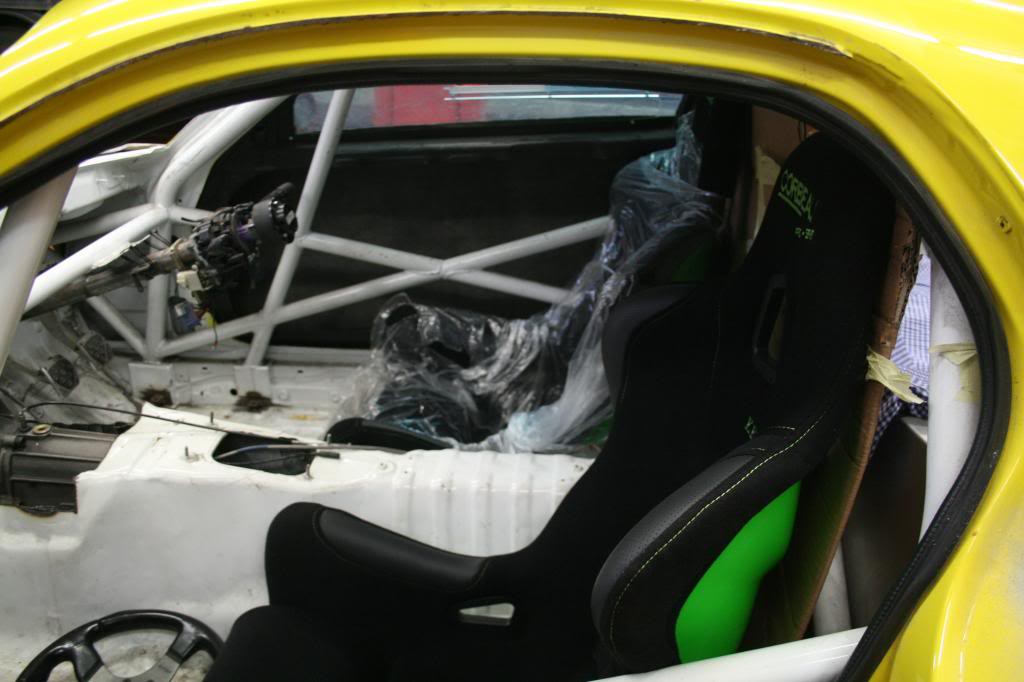
Both seats are now positioned and secured.
I then made the executive decision to go a different direction with the stalks and switches.
Firstly I removed the stalks

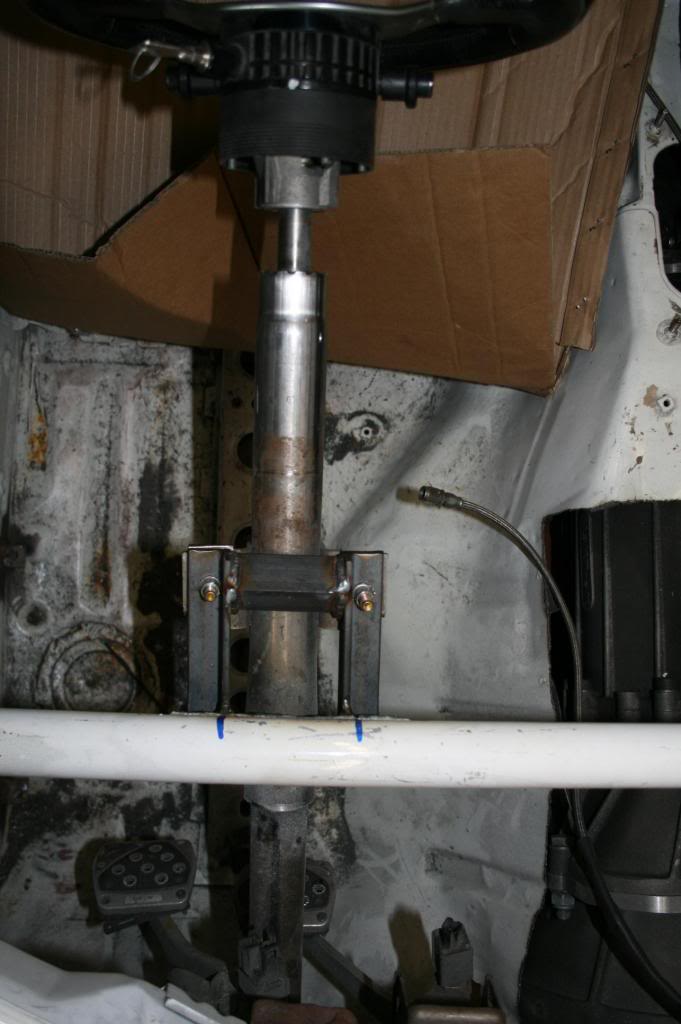
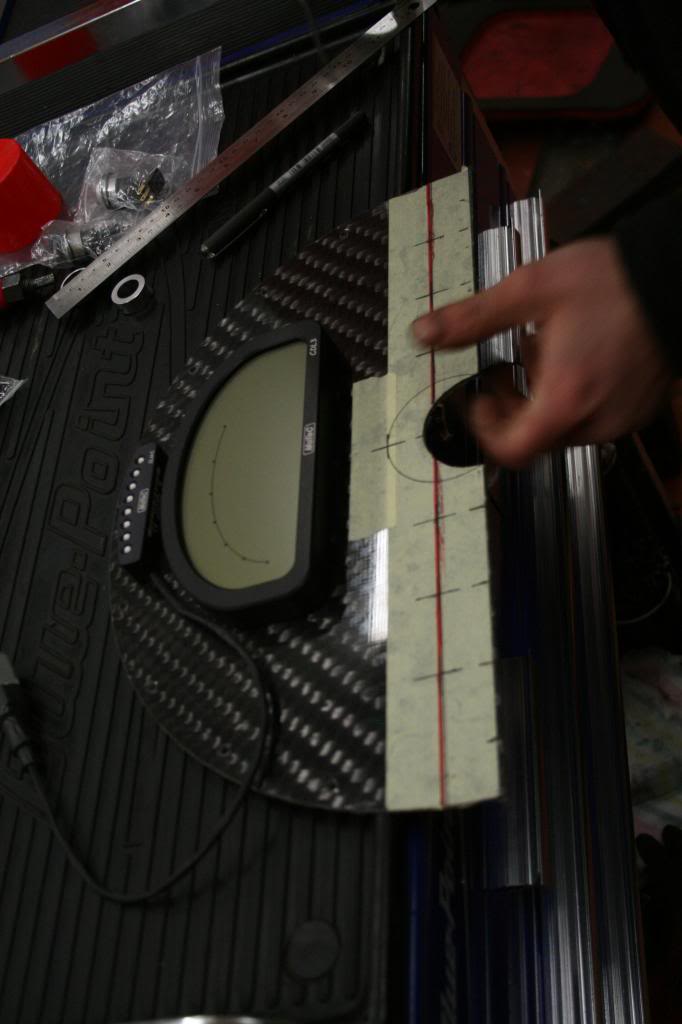
Then we fabricated a bracket and welded it into place in my optimum position.

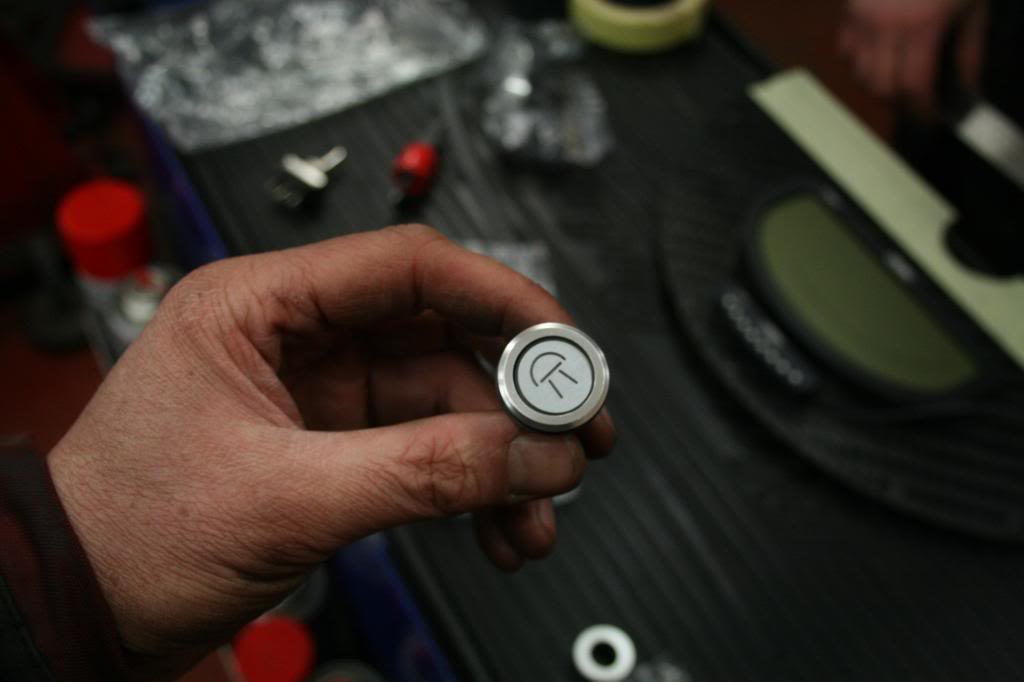
These are the little babies that are to replace the stalks.
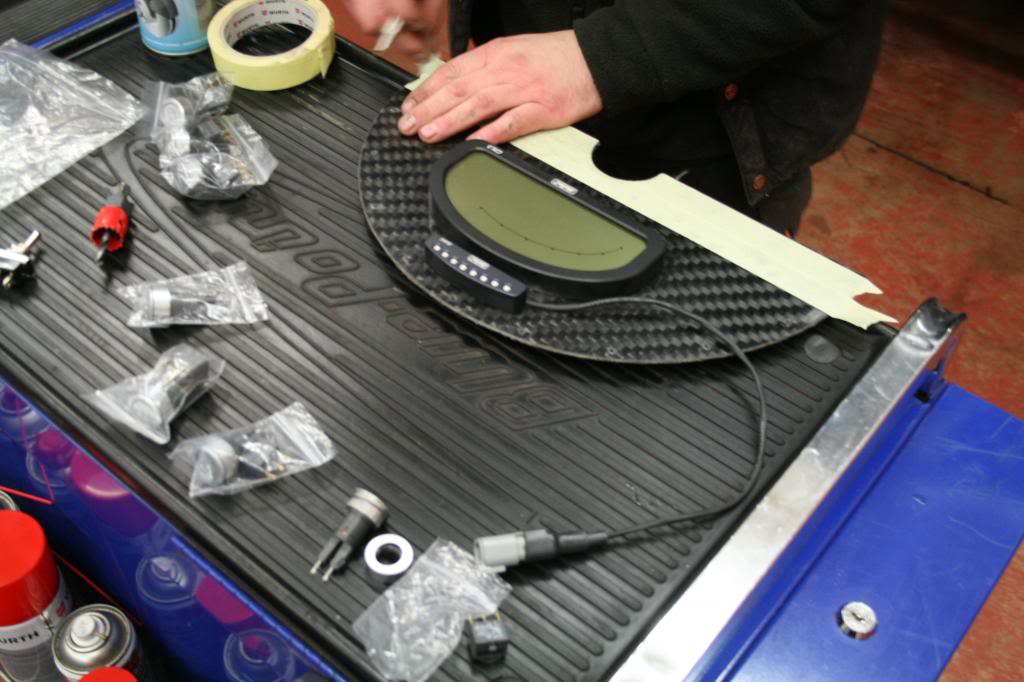
And then prepping the dash to accept them.
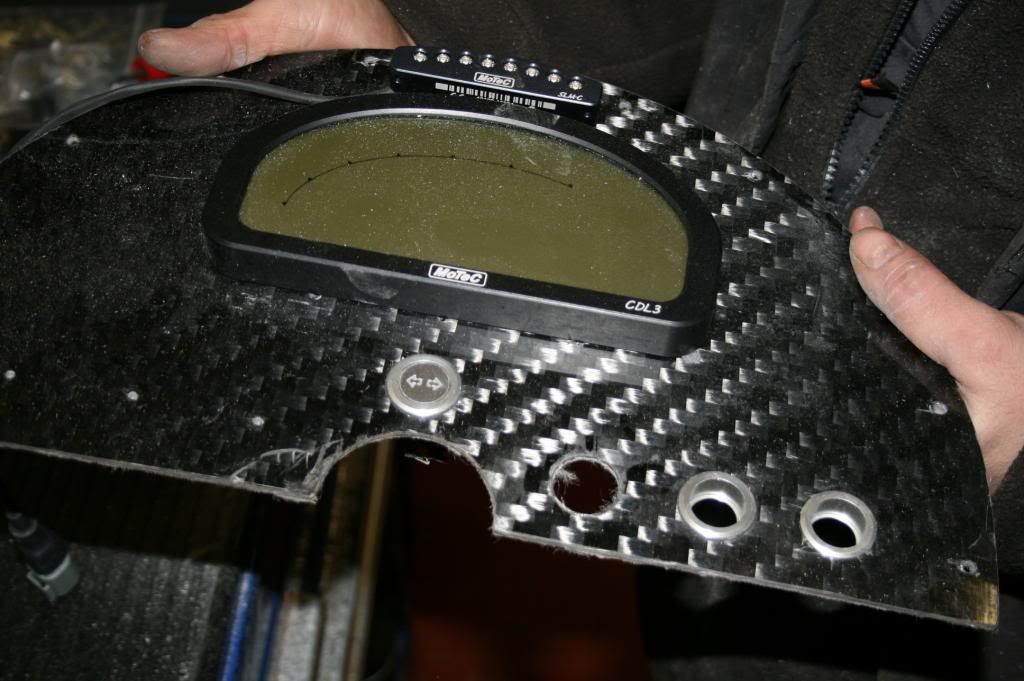
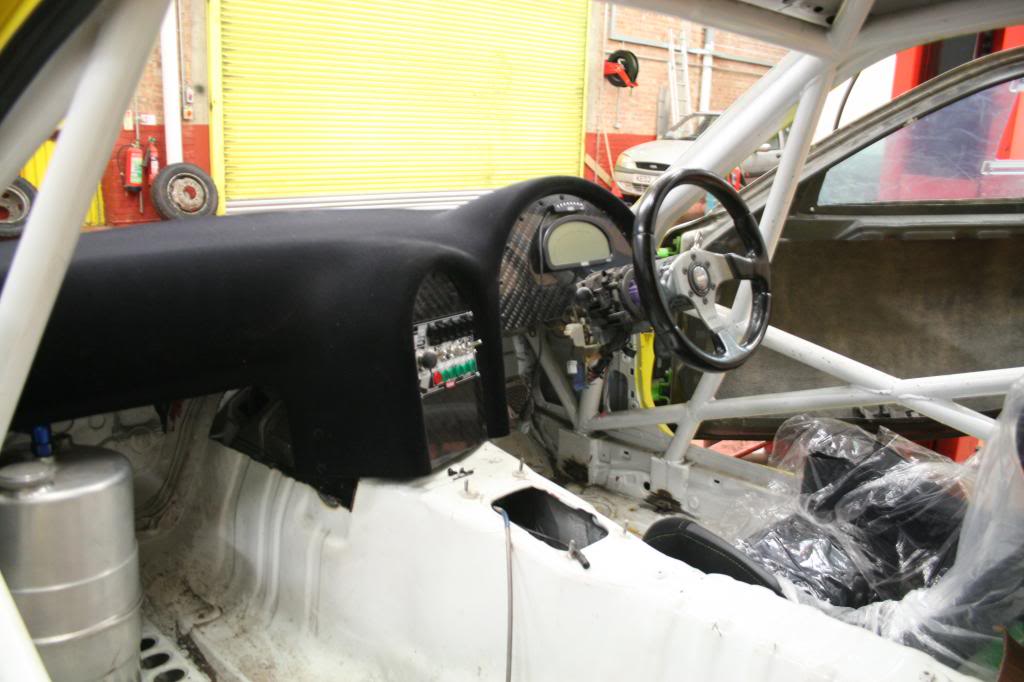
And the finished article (they look a bit pissed but the panel isn't straight and they ARE level)
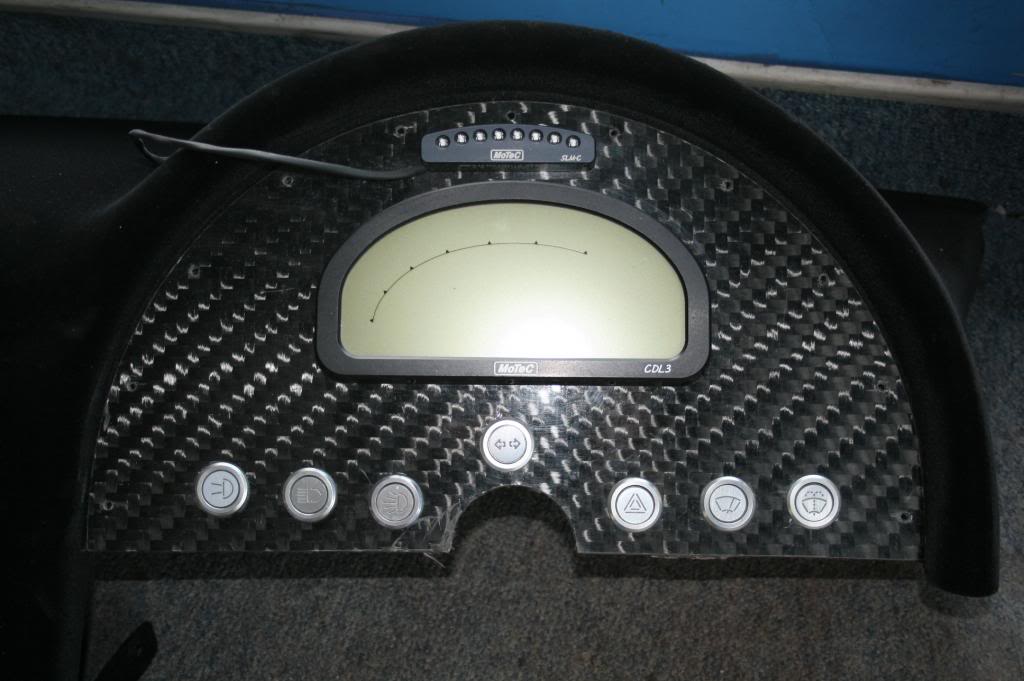
Both seats are now positioned and secured.
I then made the executive decision to go a different direction with the stalks and switches.
Firstly I removed the stalks
Then we fabricated a bracket and welded it into place in my optimum position.
These are the little babies that are to replace the stalks.
And then prepping the dash to accept them.
And the finished article (they look a bit pissed but the panel isn't straight and they ARE level)

Thread Starter
Grippin' not Driftin'
Joined: Jul 2011
Posts: 149
Likes: 0
From: England
Hi Adam, they're ALL switches that have LED backlights, all except for the dual indicator warning lamp as I'm putting
a mini toggle switch behind the steering wheel.
PS: you CAN get exactly the same as just warning lamps as well.
a mini toggle switch behind the steering wheel.
PS: you CAN get exactly the same as just warning lamps as well.