When you click on links to various merchants on this site and make a purchase, this can result in this site earning a commission. Affiliate programs and affiliations include, but are not limited to, the eBay Partner Network.
I'm replacing shoes and rotors. I got most of it apart. Had a hell of a time getting the caliper off.
Actually never did; didn't realize there is a downward facing bolt on the bottom of the caliper (pic) guarded by the brakeline. I'm gonna have fun getting it lose, after 30 yrs. Its a really tight fight.
Unless I'm doing worthing wrong and I should be going at this another way?
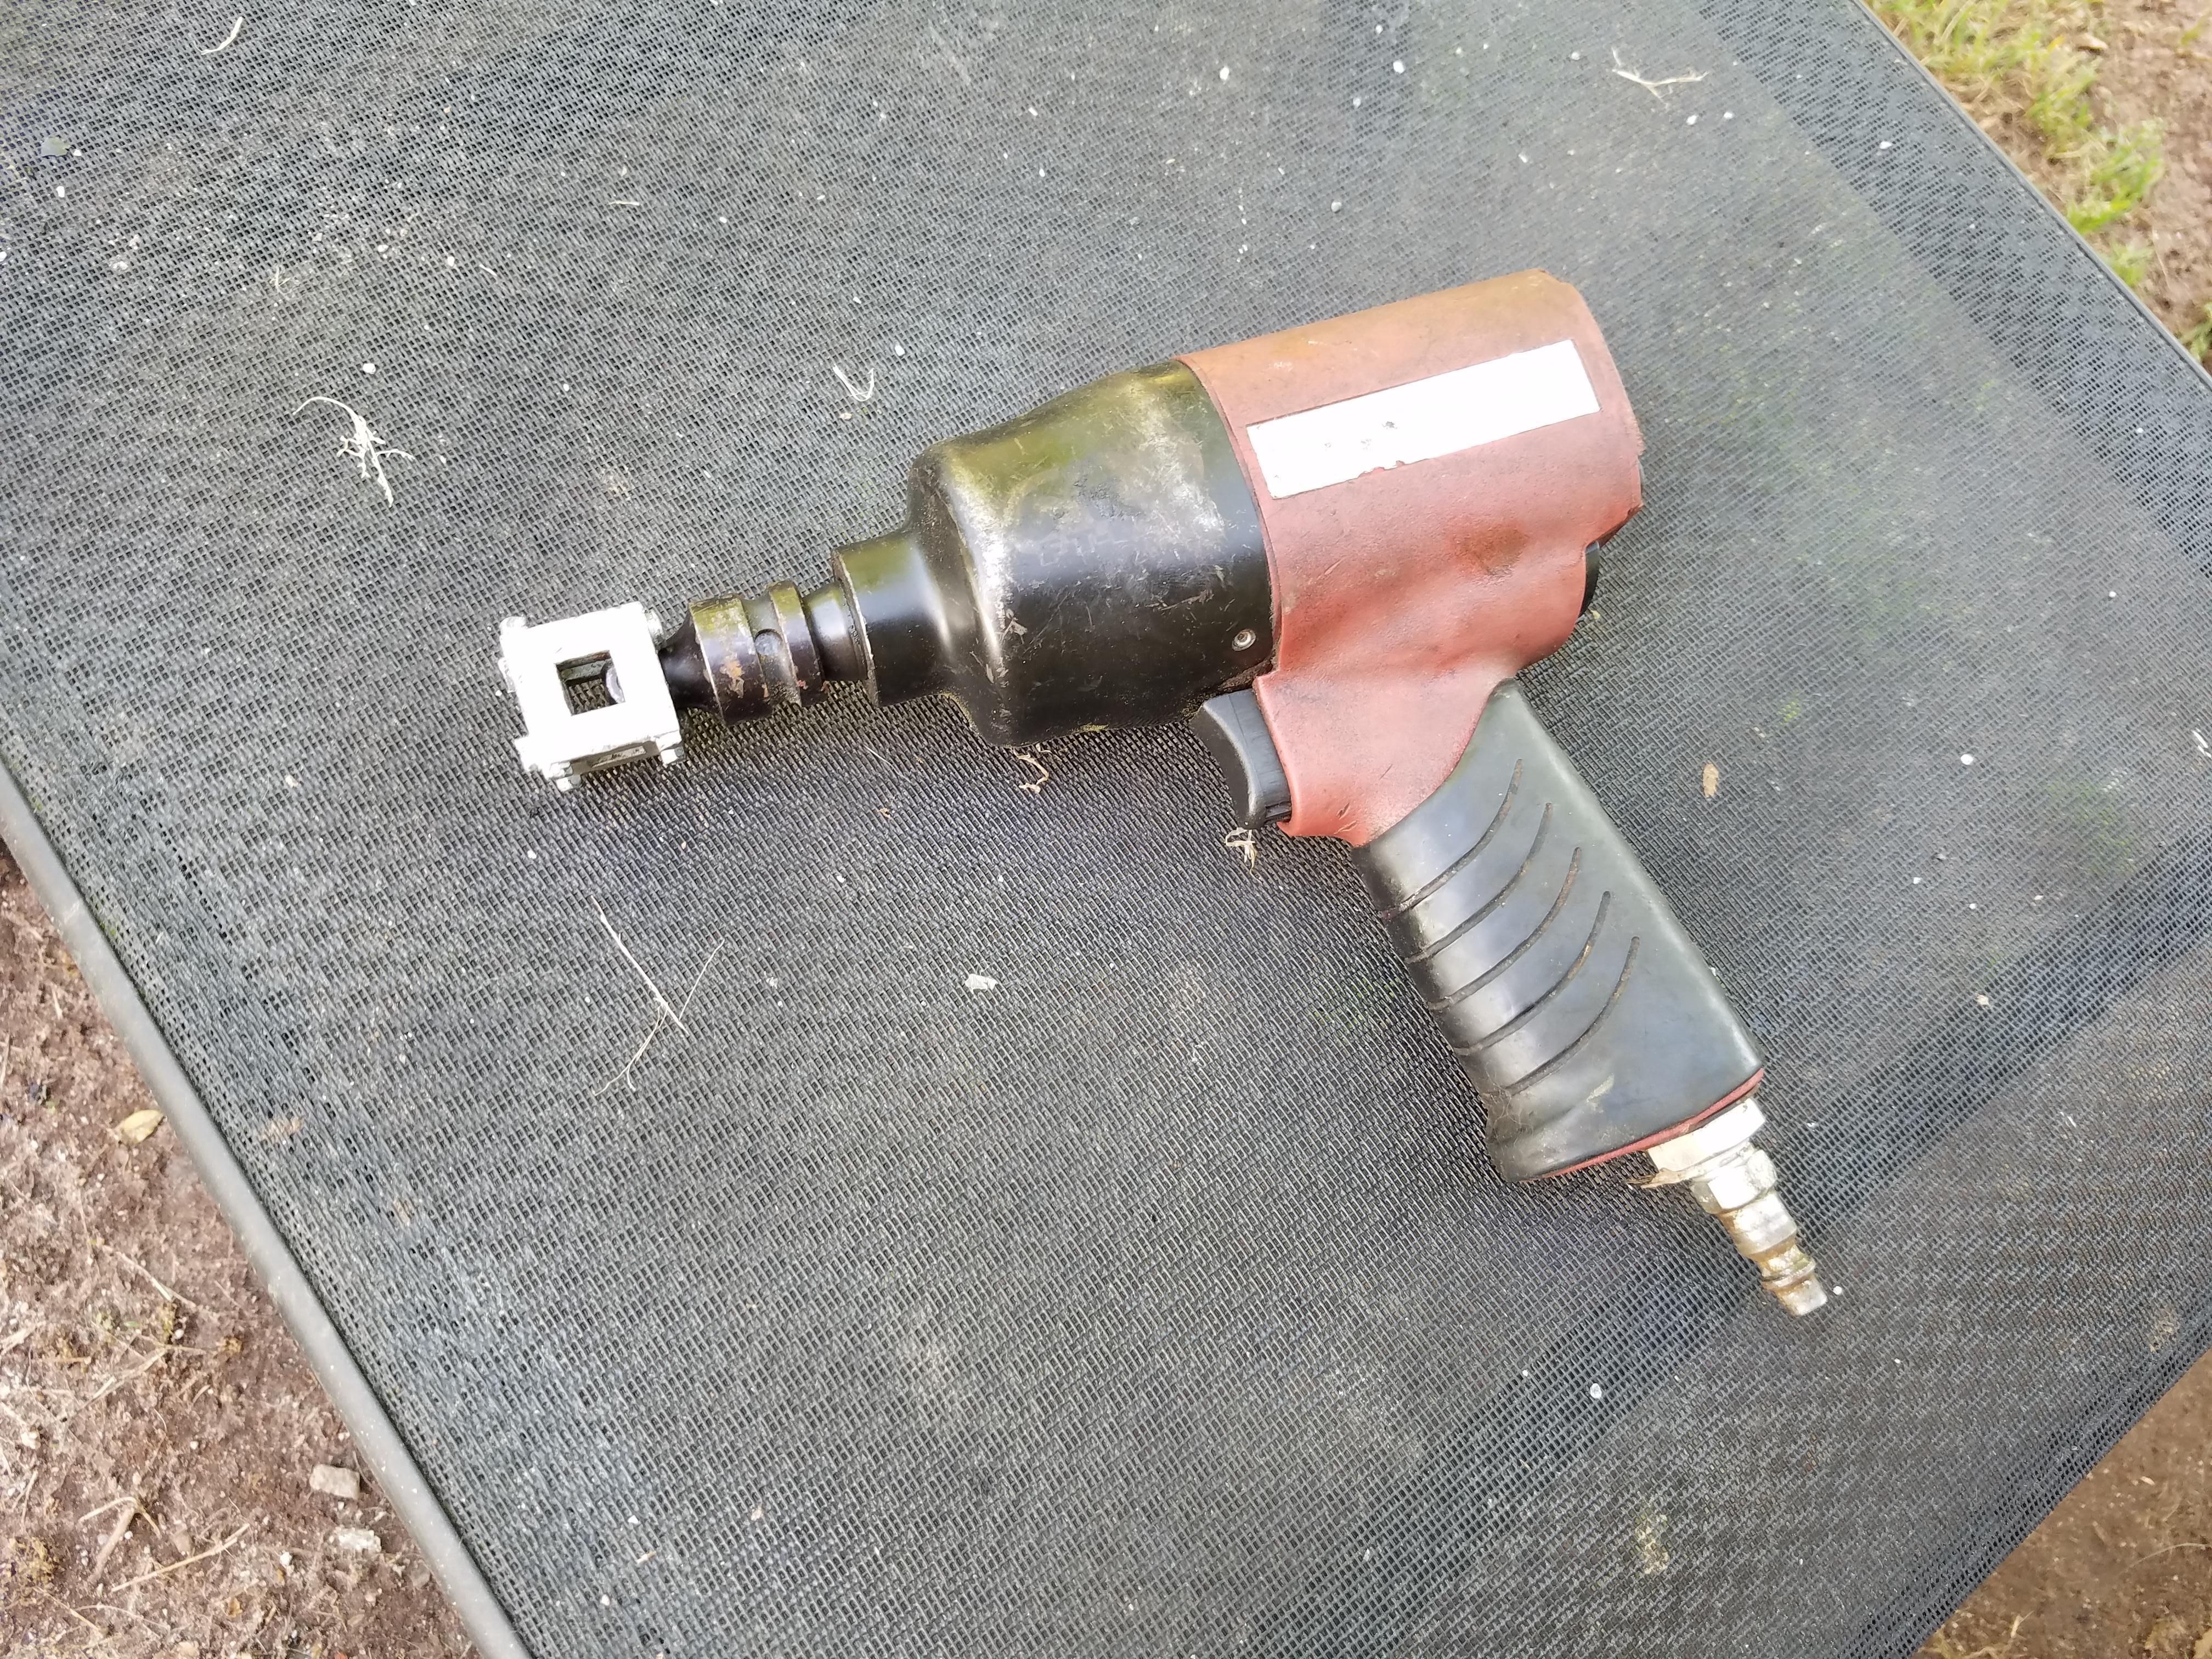
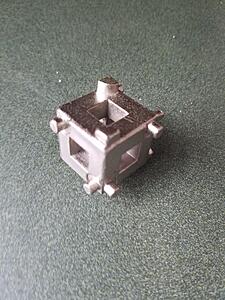
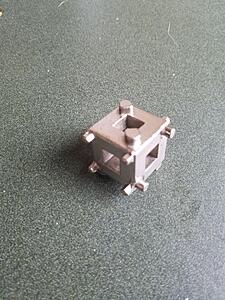
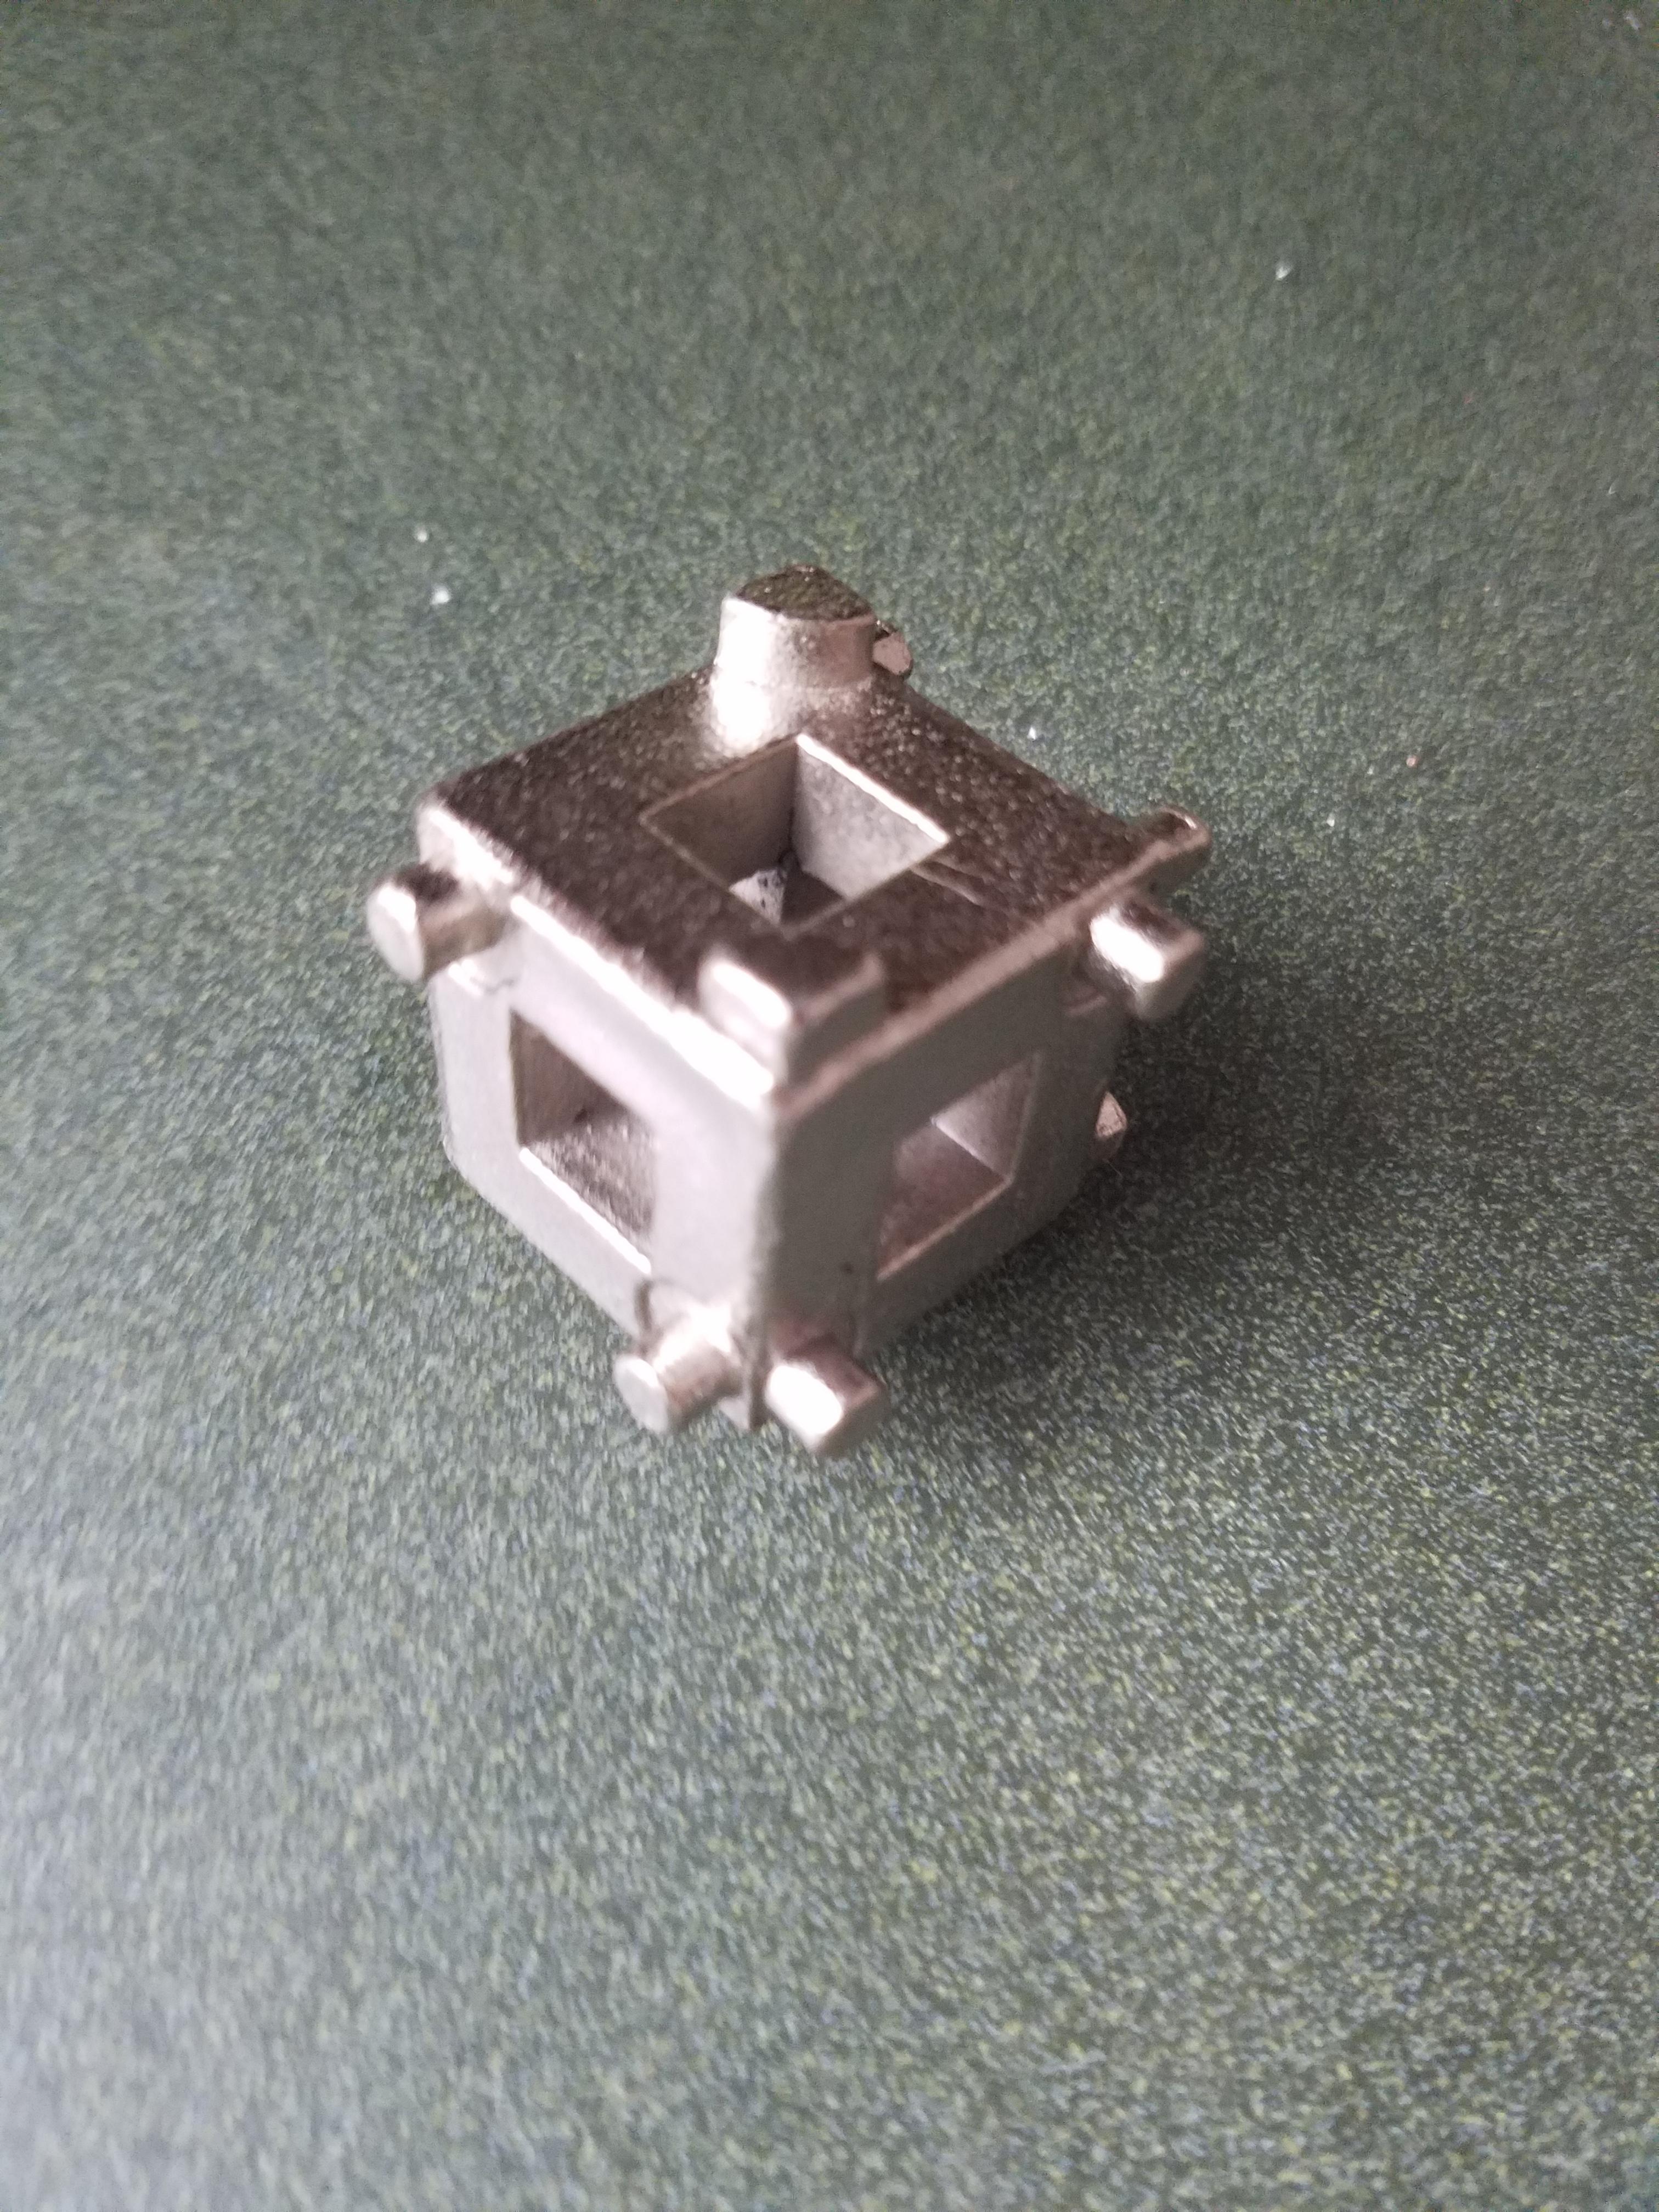
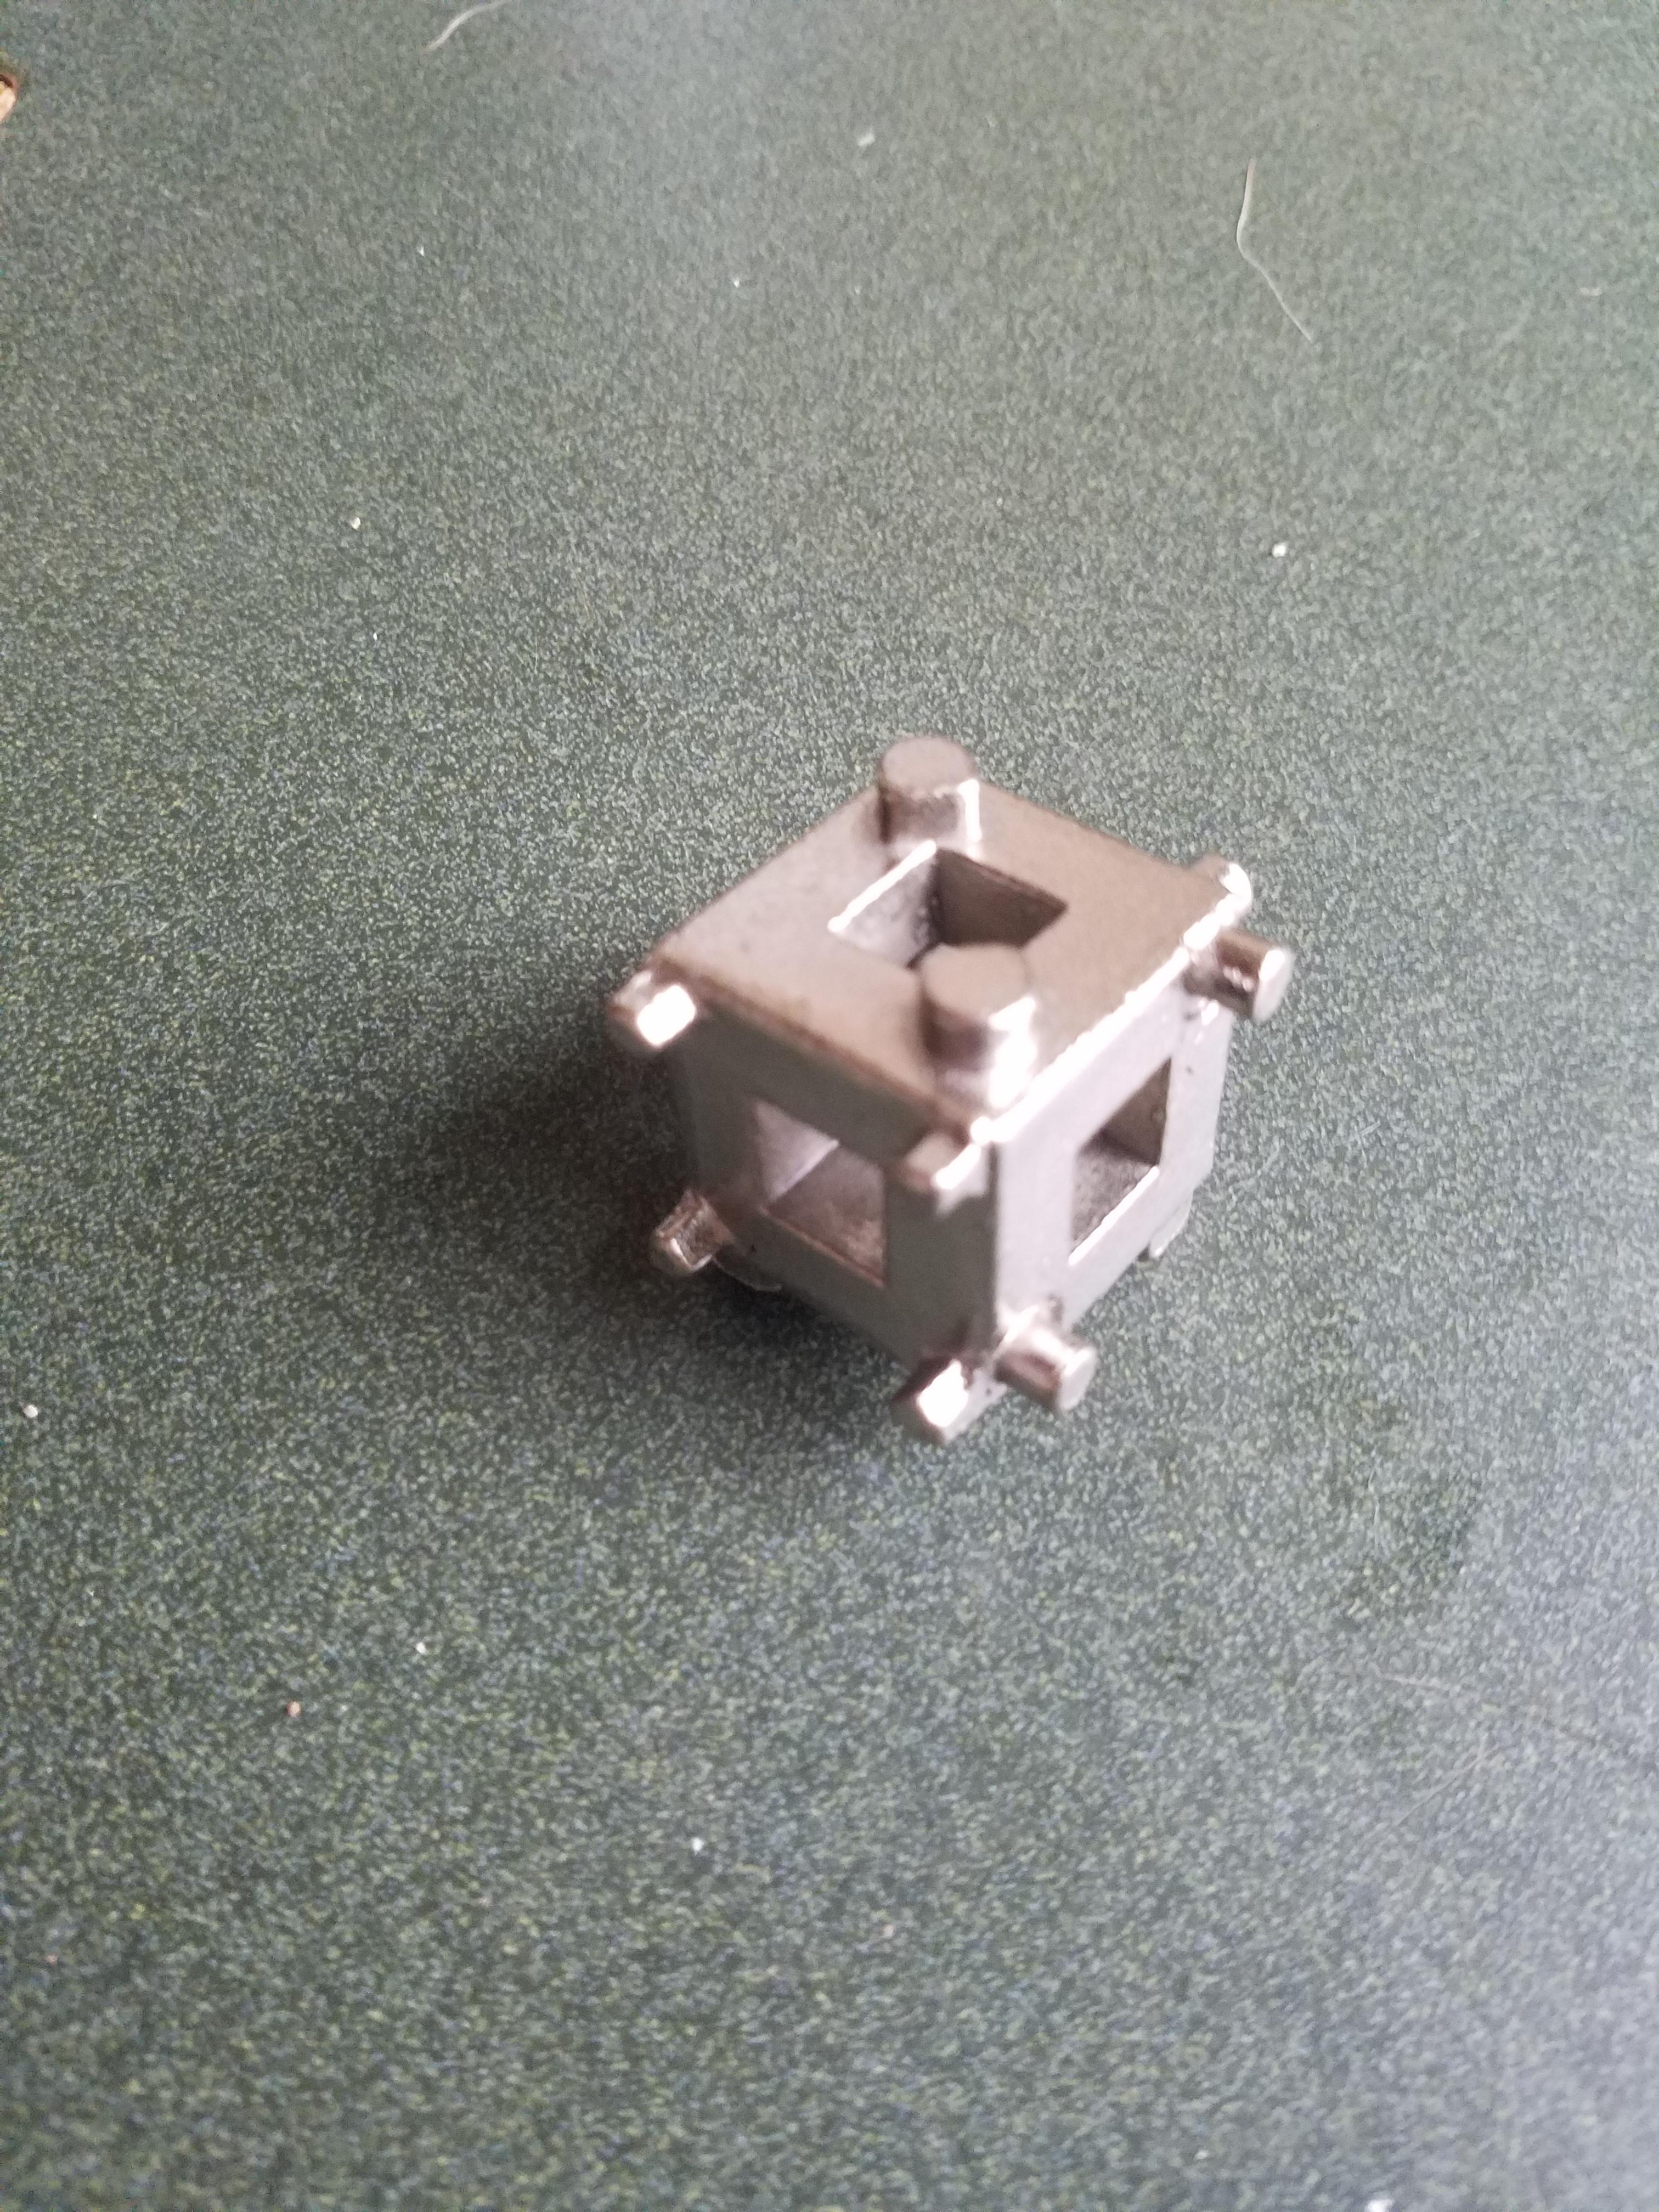
I bought a "Cube" tool to reset the caliper piston. I couldn't figure out which face fists Cube Rear Disc Brake Caliper Underside of Caliper
the piston head. Anyone have any suggestions?
unhook the cable end from the caliper's ebrake lever (it actuates he little brake shoe in the rotor)
loosen the nut highlighted in the photo, and slide the detached cable sideways out the notch in that bracket.
Those nuts aren't rusty in the least, it will go easy, spray some penetrating lube on it if you like but it looks super clean.
The cube won't fit perfectly. Choose the face that fits best and you might have grind off a couple of the tangs on one of the 4 tang faces. Do make sure to twist that caliper piston back in, don't just compress it straight back in!
Make sure you keep track of all of the little springs that locate the pads and where they go.
IMPORTANT: Do only one side at a time so you can refer to the other side.
I can't get this piston to budge. I've screwed most of the caliper and frame back on just to get leverage and hold the caliper still while I twist. But, it won't turn.
How do I determine if its not already 'seated' as far in as it will go? Does removing the shoes automatically release the piston forcing it out, requiring it be manually compressed on every brake job?
Because it doesn't even look like it needs to be twisted in any deeper.
Removing the brake pads does not cause the caliper piston to extend. The piston does need to be manually compressed any time the pads are replaced. Its difficult to tell if the piston is in all the way. If you go to assemble the brakes and the caliper does not slide over the pads due to the piston not being retracted fully then you'll know. Also, the slots need to be horizontal as they mate with tabs on the brake pads on some of the better quality pads. Also, when compressing the caliper piston, its always best to ensure the bleeder screw is cracked open. This will allow easier compression of the piston and you will not be forcing fluid backwards into the system.
Open it with either a flare end or box end part of the wrench, you really don't want to round it off. A quarter turn open is fine, no more than a half turn.
Look up youtube videos on brake bleeding, that's how fluid comes out when you pump the pedal.
A tool like this can be rented from Autozone or similar, might work better than just the cube tool and ratchet:
I've never needed more than the cube tool and a ratchet. Turn it in clockwise (*as if tightening a bolt), and it will slowly retract on the parking brake mechanism. When the pistol face is flush with the face of the caliper, it's bottomed out. This also accordion compresses the rubber dust seal, so be certain that collapses properly alongside the piston while you're turning it in. Don't damage the rubber dust cover, as it's part of the seal - or you'll be rebuilding your calipers soon...
Also, you seem new to this, so I'll add; be sure to use a brake caliper grease on the sliding pins for the caliper and clean off all of the old grease. This allows the caliper to float on the bracket and will allow your pads to release fully and also wear evenly. Failure to do so results in one of the pads getting worn heavily while the other looks brand new, and also causes drag when driving and poor fuel economy.
So you took the piston out? Placing a piece of wood or an old brake pad in the opening and removing the bleeder and using air will also push the piston out. Just be careful, the piston can pinch fingers or fly away.