
Primer job on my SA


Thread Starter
The RE Noob
Joined: Aug 2005
Posts: 39
Likes: 0
From: Port St. Lucie, FL
Primer job on my SA
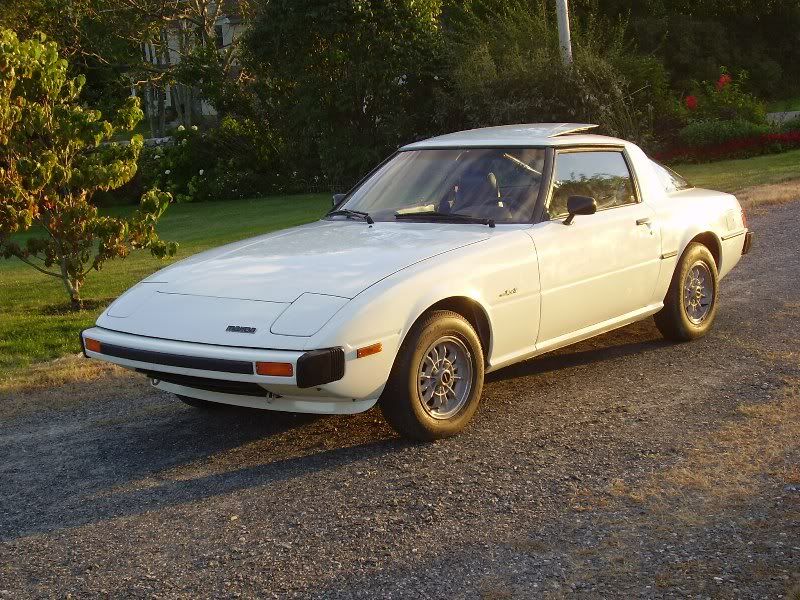
Well, I've finally began primering my SA. It's my first time ever primering an automobile, so I'm constantly having to sand down runs:p But it's coming out well.. I'm so used to seeing rust all on the hood, but now that the primer is on, it looks a lot better. Here's a few before/after pictures
looks pretty good. I'm somewhat in the same process as you are. I have some questions:
Did you primer the car yourself? What gun did you use? What compressor are you using? What type of primer are you using? What type of body filler did you use? Any advice for someone else doing the same thing?
Thanks I appreciate it, all the information I can rack up the better!
Did you primer the car yourself? What gun did you use? What compressor are you using? What type of primer are you using? What type of body filler did you use? Any advice for someone else doing the same thing?
Thanks I appreciate it, all the information I can rack up the better!
Thread Starter
The RE Noob
Joined: Aug 2005
Posts: 39
Likes: 0
From: Port St. Lucie, FL
Well, the primer is just your 20oz auto primer that you can get from Discount Auto, don't know the brand off hand. But it works real well.. I have a compressor, and a gun, but I wanted to be a cheapo about it and use the can:p Now, the body filler as well is in a 20oz can, and it does the job well also.. As you can see, there is no difference in looks of both methods, but if you have a bit more to spend, and you're very picky, you can use it in the gun. But as far as advice, I'd have to suggest that you be sure to tape up -everything- before you begin painting. I was a bit excited, and in a hurry, and I was just taping up certain areas that I would be painting that moment, and it really slowed me down. But when it comes to supplies.. I suggest a pack of those little blue masks, they were like 5 bucks I believe, a package of steel wool, and a belt sander for your very tough spots. You will mostly spend a lot of time on the hood, atleast as it seemed to me.. It's not too difficult, but it can be tedious.. Good luck man.
What about the rusted areas? Did you do anything to cure them or did you just sand them to bare metal and primer over? Also what did you clean the car with before starting to primer to ensure that all the grease and stuff was off the body?
Thanks again!
Thanks again!
Thread Starter
The RE Noob
Joined: Aug 2005
Posts: 39
Likes: 0
From: Port St. Lucie, FL
Well, the primer is just your 20oz auto primer that you can get from Discount Auto, don't know the brand off hand. But it works real well.. I have a compressor, and a gun, but I wanted to be a cheapo about it and use the can:p Now, the body filler as well is in a 20oz can, and it does the job well also.. As you can see, there is no difference in looks of both methods, but if you have a bit more to spend, and you're very picky, you can use it in the gun. But as far as advice, I'd have to suggest that you be sure to tape up -everything- before you begin painting. I was a bit excited, and in a hurry, and I was just taping up certain areas that I would be painting that moment, and it really slowed me down. But when it comes to supplies.. I suggest a pack of those little blue masks, they were like 5 bucks I believe, a package of steel wool, and a belt sander for your very tough spots. You will mostly spend a lot of time on the hood, atleast as it seemed to me.. It's not too difficult, but it can be tedious.. Good luck man.
Banned. I got OWNED!!!
Joined: May 2005
Posts: 255
Likes: 0
From: oklahoma
Originally Posted by Abyss
Well, the primer is just your 20oz auto primer that you can get from Discount Auto, don't know the brand off hand. But it works real well.. I have a compressor, and a gun, but I wanted to be a cheapo about it and use the can:p
http://www.cardomain.com/ride/528725/6
Check that out, that is a buddy of mine and his miata that he spray painted yellow, turned out really well, i'm still suprised when I see his car that it came from a rattle can.
But, I have a question, How many cans of spray paint do you think it will take you? I need to do the same thing and get it prepped for paint (at some point)


Trending Topics
i did the same to my FB, sanded the hood down to bare metal then primed it. gave up after that and rattle can painted the rest. looks like *** now, but once temps raise up i plan to finish the job in a more proper fashion.
Thread Starter
The RE Noob
Joined: Aug 2005
Posts: 39
Likes: 0
From: Port St. Lucie, FL
Yeah, I just took some steel wool on the oxidized rust spots and just sanded 'em down to metal, and used the belt sander where the rust was old.. But I figure in the end I'll use up about maybe 9, 10 20oz cans. So far for the hood, left front/rear fenders, left door, and the rear, I've used 6, and 2 all went to the hood. But if you have few, or no rust spots at all.. I'd guess about 6 20oz cans.


sweet...
I'm doinig this to my "beater" FB too..
I'm not full-out primering though, only primer where primer is needed, the rest just scuff and paint.
I've done rattlecan paintjobs before, they can turn out really well! my talon looked awesome.
I'm not going that route this time just because I have a compressor, I'm sure it'll be easier with a spraygun
Rotary Enthusiast
Joined: Jun 2004
Posts: 1,081
Likes: 2
From: Richmond, VA
hey! looking good. My car was painted by my grandfather and I over the summer. We used to kinds of primers, a polyester one (slick-sand, from Eastwood), and a normal one. The first one was like spraying a layer of bondo on. It sanded down great and worked wonders for filling in all the little deviations in the surface.
here's a pic after the second coat primer-

we used a $100.00 Ampro gun from Advance Auto and a 35 gallon Craftsman compressor.
Have fun with the rest of the work!! The end result is worth it!
here's a pic after the second coat primer-
we used a $100.00 Ampro gun from Advance Auto and a 35 gallon Craftsman compressor.
Have fun with the rest of the work!! The end result is worth it!
If you are taking it down to bare metal and rust, make sure you are using the appropriate primer for that, i.e. self-etching primer or bare metal primer.
2nd, part of advice is don't leave it in primer for long. Primer can absorb moisture and begin rusting underneath, you won't even see it. Proper prep is the key to a good looking and long lasting paint job. I had a box van painted years ago, it began showing rust in 6 weeks, because they didn't use the correct primer/sealer. 5 years later, there were many spots you could see though the body and they were not small holes.
2nd, part of advice is don't leave it in primer for long. Primer can absorb moisture and begin rusting underneath, you won't even see it. Proper prep is the key to a good looking and long lasting paint job. I had a box van painted years ago, it began showing rust in 6 weeks, because they didn't use the correct primer/sealer. 5 years later, there were many spots you could see though the body and they were not small holes.

Thread
Thread Starter
Forum
Replies
Last Post