When you click on links to various merchants on this site and make a purchase, this can result in this site earning a commission. Affiliate programs and affiliations include, but are not limited to, the eBay Partner Network.
I've been going over my new-to-me FB (1984 GSL-SE, stock) bit by bit and got around to changing the fuel filter, as I was having some hesitation/loss of power at high RPMs (+6k) and heard a clogged fuel filter may be the culprit. Well, looks like it was more than just a clogged filter...
After pulling the filter, I noticed the color of the gas looked a bit dark and after drying on a paper towel, it almost looks like dirt. I'm planning to drop the fuel tank and get it cleaned (full clean and coating was quoted at ~$300?!?!), but was a bit worried about not being able to find the fuel level sensor gasket (8871-60-962A) or replace the pickup screen (GA97-42-113).
I had the following questions:
1. Is it reasonable to get an in-line filter for the pickup unit since the screen is no longer available? This would be added to the fuel line between the pickup and the pump.
2. What should I do about the sensor unit gasket? Hopefully I wont have to go back in there anytime soon, so would liquid gasket/RTV work for something like this? Don't want my car reeking like gas.
3. Any recommendations to clean out the fuel lines? After cleaning the tank, I plan to remove the main fuel hose and pump some fresh gas and cleaner through the system (shortcircuit the pump per FSM), as well as check the fuel pump pressure at the same time.
I just put a pick up filter for a Jaguar on mine. I haven't put it back together yet so i can't guarantee it's going to work but it looks like it should. If you read my thread you can see pictures.
you should also call around about the price for cleaning the tank. the first place i called wanted $400 just to steam the tank. The next guy i called was a one-man radiator shop. He hot tanked it and put a liner in it for $160.
Last edited by broccolini; Nov 2, 2018 at 12:32 PM.
Reason: had wrong thread referenced
I did my tank a few months ago for only 40ish bucks. I pressure-washed the tank, then hooked up a heat gun on the filler port and let it run for a few hours. I then repeated this a couple times giving the tank a good shake with water every once in a while, and then finally letting it dry for about 12 hours plus a few with the gun. I used the Northern Rad Tank Liner and it seemed pretty impressive - I did some testing with it before I put it in my tank and, at least over short periods of time, it holds up real good. One can was enough (for the 14.5 gallon tanks in the '79 - '80) and it really just requires a bunch of patience while holding the tank in all sorts of weird positions. If you were to do it yourself, sure as heck read the instructions, and when you're done rolling it around, get out as much as you can otherwise it'll pool. I let mine cure for about a week. While I can't say much for the longevity yet, it stopped my filter from filling with rust particles weekly so... If you feel like taking a chance and have the time, IMHO I would save the cash.
As for cleaning the lines, I'd start with a good blast of air and then run some gas through it. Maybe put a little sea foam in the tank if ya want. I'd also take this opportunity to replace all the rubber sections since by now they're 34 years old.
Thanks for all the replies! Not sure I want the tank out for that long and fixing it not something I really want to mess with, so I'll probably call around a bit more. Got another quote for $275, which is still a bit high, but that's the Bay Area, I guess...Might as well buy a new gas tank at that point, lol.
Got the fuel tank dropped and waiting till Sunday to break it open, since I don't really want it sitting open for the weekend. The gas that came out was clear, but the bolt head of the drain plug was definitely rusty. Some good news/bad news.
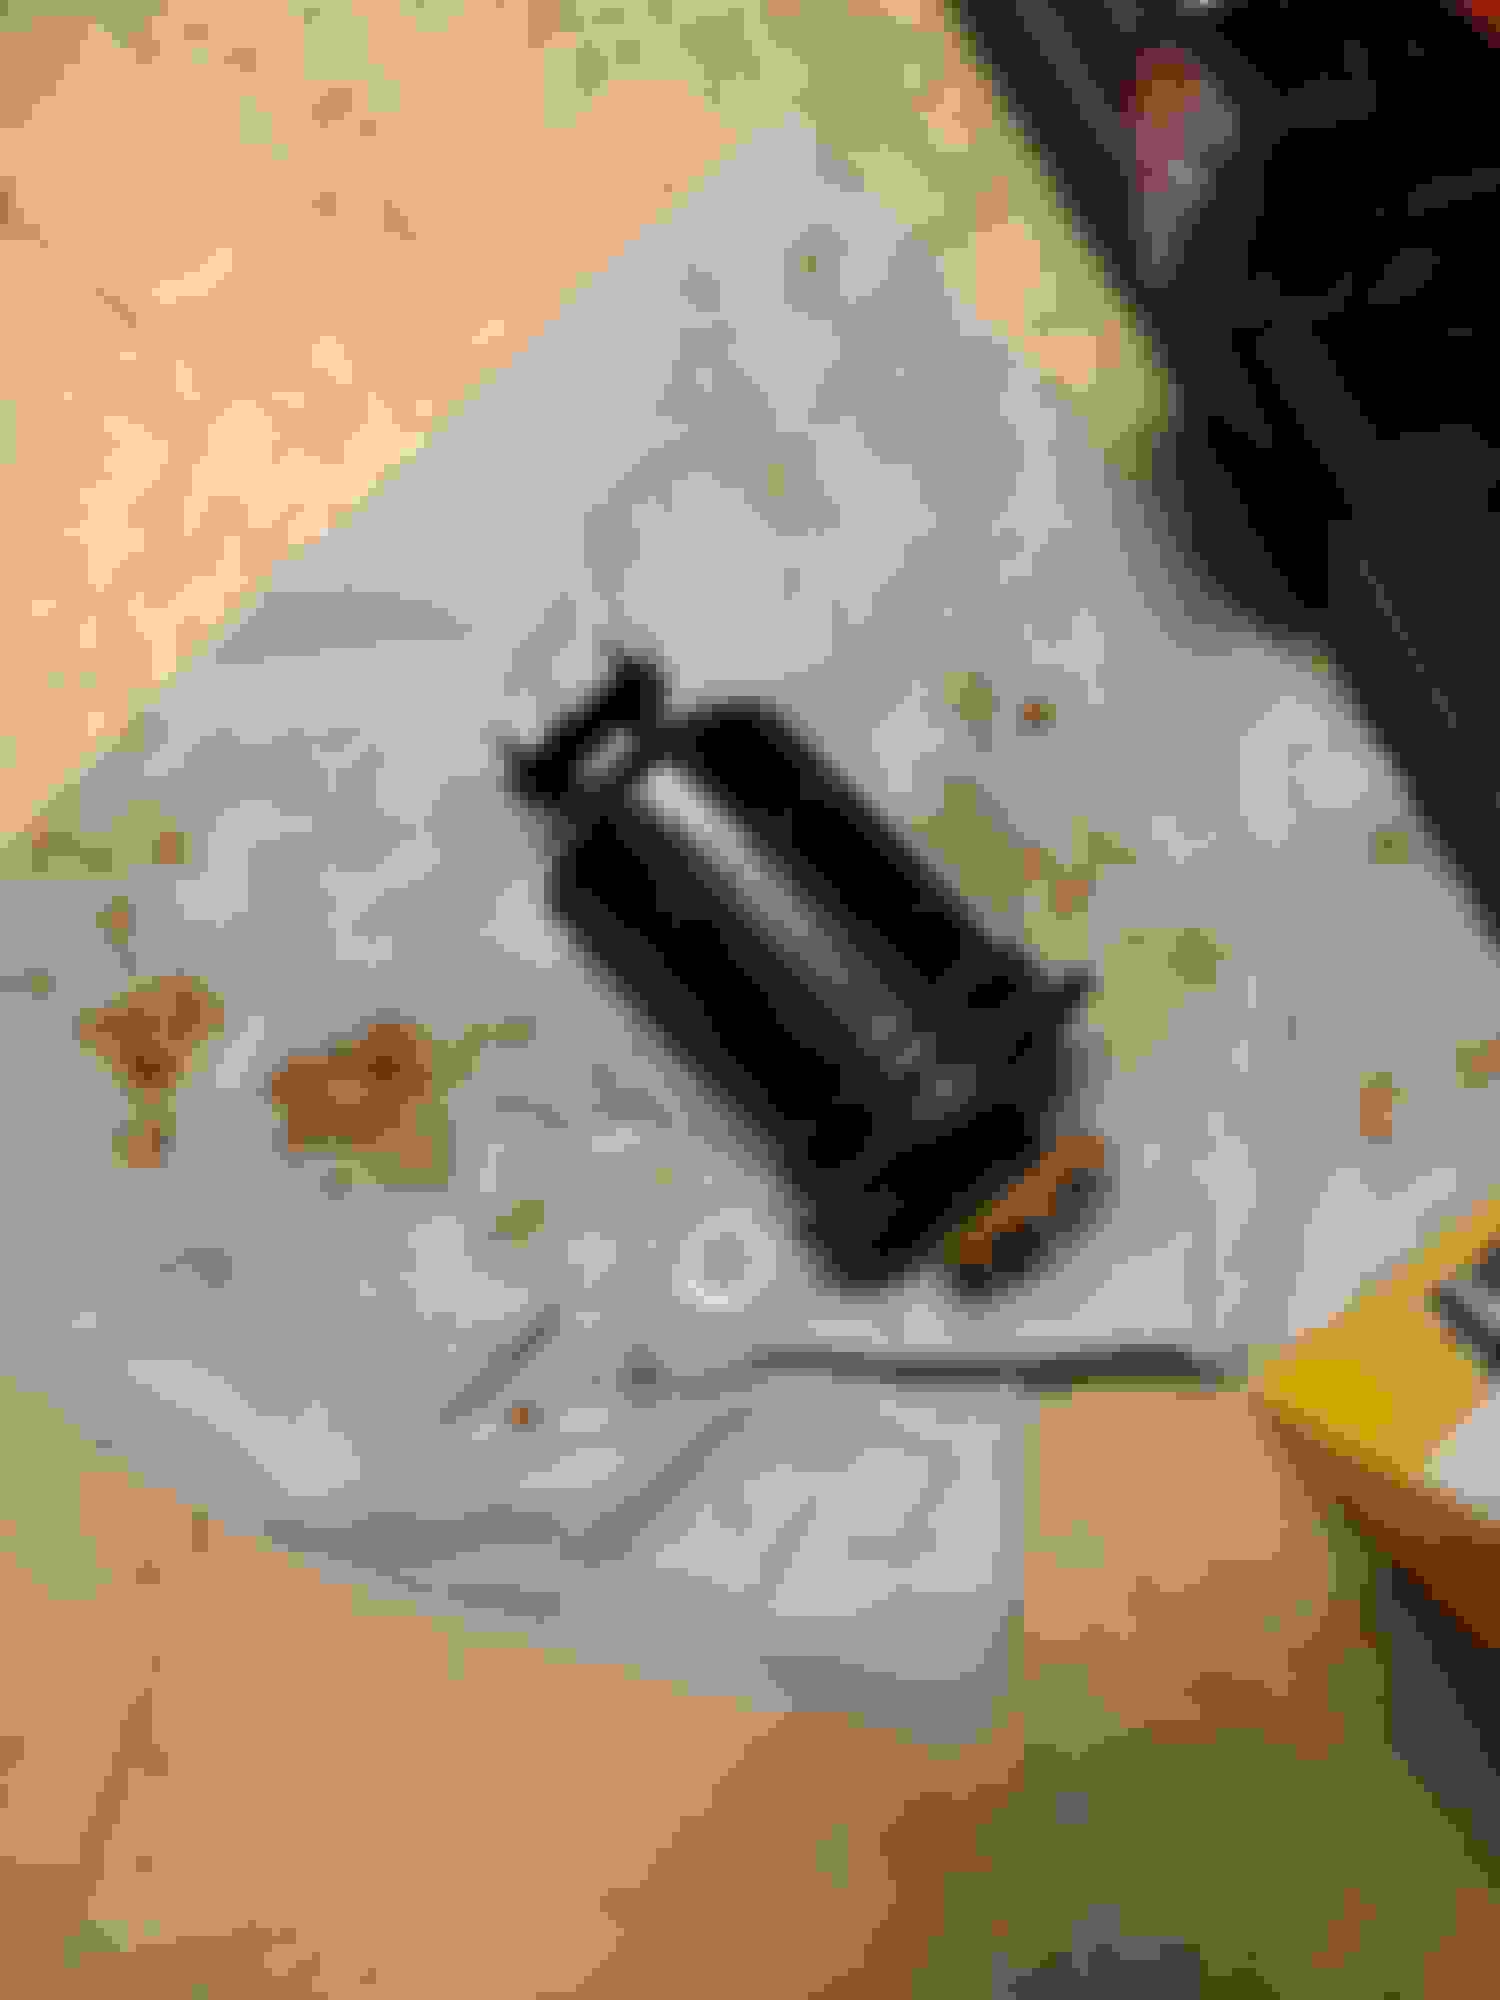
Any opinions about the sensor gasket? I know they make a sending unit gasket, but not about to dish out $$$ for just a $10 gasket. That jag filter looks like a good fit, so I might give that since my pickup filter is likely shot or filled with crap, so thanks for the link.
Also, my gas level gauge works, but the gas light stays on, so hoping its an issue at the sensor end that I can fix while I'm in there too.
POR15 (.com) makes a fuel tank cleaner kit for about $50. I used it on my SA with the same prob. comes with a coating system as well, so do it once and forget about it. All DIYS with the tank out. Your 1/2 way there....
i ordered a new sending unit just because i was replacing everything else. but the gasket on the old one is still pretty soft and pliable. could you just reuse yours if you put a thin layer of gasket goop on each side when you reinstall it? assuming yours is in reasonable shape.
I got a Bosch in line filter for an FC, the squarish one, for the tank pick up tube when I cleaned mine. It has a lot of surface area, so less chance of getting clogged than any sock filter. The tip of the pick up tube is beveled out, kind of making the tip a little wider than the tube itself. I did not want to cut it, but I used a grinder to reduce the bevel. It's a tight fit, but it will work, especially if you heat the plastic where the tube goes on the filter just a little bit to soften it up. Whatever you do, please put something in the tank or in line between the tank and your fuel pump, or you may regret it, as that will be the only filtering you will have between your tank and your fuel pump. Also, if you still have the factory fuel pump, check for the little cone filter that came from the factory at the fuel pump inlet. If it's there is probably also nasty and clogged up. Just for good measure, I also cut the line just after the tank and put a cheap clear Wix filter there to keep an eye out for particulates from the tank. But that's mostly paranoia on my part. Good luck.
Yeah, I talked to a local guy who I picked up some hardware from and he mentioned to just do it myself, so I guess I'll give it a shot. At $300 to take it to a shop, guess I can just buy a new tank if I mess up somehow anyways
Got around to taking everything off and inside is indeed all gunked up. Filter sock had fallen off and was chilling in the baffle when I removed it. Can I soak the pickup lines and sensor unit in the cleaner as well? Looks like they were affected by this gunk as well.
I was careful about taking the rubber seal off the sensor unit, so looks like it should be reusable. Just a bit cracked at one of the bolt holes, but otherwise good.
If I stick something like the Wix 33003 before the fuel pump instead of a sock, do you guys think that would be fine? Don't want to add too much work for the pump pulling in the fuel from the tank.
By the way, which line is the "inline mesh screen" supposed to be on? I took both these off, but neither had a screen in them:
Also, took a soft-bristle toothbrush to the sender and sensor, and both look a LOT better.
By the way, how do I test the low gas light off the car? I assume it's supposed to break continuity when the piece wrapped in wire is submerged in some fluid? This test in the FSM won't do much for me, since my issue is the gas light STAYS on, lol:
Assuming it works the same as explained in this thread, can I submerge the sensor in some sort of sensor-safe rust remover? Not sure if POR degreaser would be useful for something like this or if I should just use something like Evapo-Rust... opinions?
Last edited by FBPersimmon; Nov 4, 2018 at 09:28 PM.
Yes, that's the FC filter I used. Tight fit, but it will work. And yes, thats the WIX filter I also have in line. Also a tight fit, but doable. I'll try to take photos Monday or Tuesday night for reference. I only wish they made that same filter in 1/2" inlet outlet, but haven't been able to find one that's see through, only the metal ones. You should be able to soak all the metal parts in a good cleaner. I have thought about spending the $100 to $120 in five gallons of Metal Rescue or Evaporust, dump into the empty tank and let it sit in different positions for half a day or so in different positions. I dunked the filler tube and plate that has the pick up tube vent and return line in Evaporust, and it really worked like a charm. Only thing is it will take off the zinc plating. Biggest problem I had with my tank was a bad Redkote job the original owner had, or so I believe, and some rust. I found out most of the "tank coatings" turn to Ash at about 250 degrees. My car is in Texas now, and spent it's whole life between Arizona, Oklahoma, Tennessee. So I don't want it again here in Texas heat. Again, maybe just paranoia.
You can test the sending unit with a multi meter. The FSM has the different resistance values according to the arms position, empty, half, full. Mine wasn't working when I bought it. Took it out, cleaned it pretty good, and then fiddled very lightly with a part that long like it was not making contact right, next thing I know, it worked. I think I was just lucky with that one.
Check out my posts. I have videos of my tank and what I had to do to clean it. Looking back, some of it was kinda crazy, but it worked. Stay at it and you will learn a lot and that cars are so much fun to drive. I know I have learned a lot and still have way more to learn.
I had my tank boiled out, turned into a nightmare, wish I had never done it
I would just wash the tank out with degreaser and lots of water, blow it dry, then use vinegar, rinse again, blow it dry again I used one of those cage fans like they dry floors with. You can get a smaller one for like 40-$60. comes in real handy when its hot out and you are working under the dash or under the car.
then coat the inside with Red Kote following the instructions to the letter
Yes, that's the FC filter I used. Tight fit, but it will work. And yes, thats the WIX filter I also have in line. Also a tight fit, but doable. I'll try to take photos Monday or Tuesday night for reference. I only wish they made that same filter in 1/2" inlet outlet, but haven't been able to find one that's see through, only the metal ones. You should be able to soak all the metal parts in a good cleaner. I have thought about spending the $100 to $120 in five gallons of Metal Rescue or Evaporust, dump into the empty tank and let it sit in different positions for half a day or so in different positions. I dunked the filler tube and plate that has the pick up tube vent and return line in Evaporust, and it really worked like a charm. Only thing is it will take off the zinc plating. Biggest problem I had with my tank was a bad Redkote job the original owner had, or so I believe, and some rust. I found out most of the "tank coatings" turn to Ash at about 250 degrees. My car is in Texas now, and spent it's whole life between Arizona, Oklahoma, Tennessee. So I don't want it again here in Texas heat. Again, maybe just paranoia.
You can test the sending unit with a multi meter. The FSM has the different resistance values according to the arms position, empty, half, full. Mine wasn't working when I bought it. Took it out, cleaned it pretty good, and then fiddled very lightly with a part that long like it was not making contact right, next thing I know, it worked. I think I was just lucky with that one.
Bought some Evapo-rust for the pieces, so I'll update you once I get them soaked and cleaned. Any yeah, looks like they only have metal filters at 1/2". Have you had any issues using the 3/8" Wix see through filter?
Again, its not the "level sensor" that's having the issues, but the "low fuel" light. Probably won't soak the level gauge part, since it was working fine and don't want to end up removing any coatings that keep the resistance as expected. Looks like the three holes on the sensor unit (for the low fuel gauge) are filled with rust, so hopefully soaking it in the cleaner will get that fixed.
Originally Posted by Rob XX 7
I had my tank boiled out, turned into a nightmare, wish I had never done it
What issues did you have after getting it boiled out?
Last edited by FBPersimmon; Nov 5, 2018 at 02:16 PM.
Electrolysis. Google search it. People mostly do it on motorcycle tanks but it will work for you and make that tank look like brand new.
It takes about 24hours and a battery charger. Just hook up some sacrificial bolt or coat hanger and stick it down in the tank. Connect one lead to the tank and the other on the sacrificial metal. Fill the tank with water and substrate (I use salt but baking soda works too). Set the battery charger to run overnight. And stir occasionally. The liquid that comes out will be frothy and rusty. Once you cleaned out the nasty stuff use the POR15 stuff to seal the tank.
Whelp, I already have the POR on the way and I'd rather not do anything like that near where I'm storing the fuel, as space is somewhat limited.
On a side note, I believe the following should be accurate regarding fuel hose sizes, based on my measurements and what other people have posted. Would you guys recommend changing these out? I'm finding it a bigger pain than expected to find FI-rated fuel hoses and my hoses don't seem too bad so I'm thinking about throwing them back on rather than risk getting the wrong thing, lol. Sizes are ID and I believe OEM is in mm, so this would be the closest conversions.
Ended up buying this one (New CRP Fuel Hose (12 X 18 mm) Gas, 16 12 1 176 440), as it seems rated for high pressure, especially since its for BMWs and I'm sure we've all heard of those HFPFs, lol. Should be here by Friday, too. The other hoses, I'll just go to the local parts store, I guess. Thanks!
None of the hoses before the fuel pump are high pressure. As I was explained before, power steering hose will work since it's supposed to withstand some pressure and power steering fluid is also pretty corrosive (not sure if this is all correct).
The electrolysis is a great route, but the sacrificial rod needs to be in Direct Sight of the Rusty spot. The SE tanks have baffles with three chambers. If you want to get the rust off from the other two chanbers. To get the rust from the other two chambers, you have to find a way to get the sacrificial rod through a hole in the baffles without grounding it to the tank. I did extensive research on this and found out it would be more trouble than it's worth for our tanks.
I also thought about the vinegar option. Fairly cheap, but it's very slow acting. Figured out i would need about about 15 gallons to fill the whole tank and let it sit for no less than three days (probably about five) to really make a dent on rust. Then neutralizing with water and baking soda after to keep it from etching too much and flash rusting, then coat it with WD 40 (quite a bit of it) unless you can immediately mount it back and fill it up with gas and some pre mix. Still will be nearly impossible to fill it ALL the way to the top to get the top part protected.
Your can't get an SE tank new anymore, only the NON SE unbaffled ones are still available new. Look at what you have, do some research and make the best decision for you and your situation. If I had to do it again, I would spend the money on about six gallons of acetone to dissolve the old Redkote, and at least five gallons of Evaporust, maybe six or seven gallons. Acetone should be able to dissolve the gunked old gas you have at the bottom of your tank, and you should not need that much to put about an 1/8" of it at the bottom. For the rust, pick your poison. Even if I had the money, I still wouldn't take it anywhere. I just like to do things myself as much as possible, and like I said before, I don't want mine coated.
Oh, about the filter. I really didn't notice any ill effects from the 3/8" filter, after it stopped getting clogged once I put the FC one in the tank. I just went under the car to take the photo for your I said I woul take, and noticed/rememberd that I did put the 1/2" metal one after putting the FC one.
Here it is.
Whelp, I already have the POR on the way and I'd rather not do anything like that near where I'm storing the fuel, as space is somewhat limited.
On a side note, I believe the following should be accurate regarding fuel hose sizes, based on my measurements and what other people have posted. Would you guys recommend changing these out? I'm finding it a bigger pain than expected to find FI-rated fuel hoses and my hoses don't seem too bad so I'm thinking about throwing them back on rather than risk getting the wrong thing, lol. Sizes are ID and I believe OEM is in mm, so this would be the closest conversions.
Its a prep thing. The POR15 won't adhere to rusty tanks; it will flake off and clog any filtration you put in your tank. It doesn't require any room you do it inside the tank. Just my $.02.
Its a prep thing. The POR15 won't adhere to rusty tanks; it will flake off and clog any filtration you put in your tank. It doesn't require any room you do it inside the tank. Just my $.02.
I was definitely going to clean the tank first using POR degreaser and metal prep, so hopefully I wasn't giving the impression that I would simply coat the rust :P
I used:
1 quart of POR degreaser with 1 quart of hot water
followed by:
1 quart of POR Metal Prep
then:
Pressure wash
finally:
POR fuel tank sealer (1 pint was enough)
Anyways, got around to cleaning and coating the tank, so here are some update pics:
1. After degreaser and metal prep, still had a bunch of rust sitting around:
2. Borrowed a pressure washer from a friend, which DEFINITELY helped to knock all that off. I noticed the rust was loose as I was able to easily rub some off near the opening that I could reach. After pressure washing:
3. Pics while coating. I'll try to grab some now since it should be dry.
Got a few chunks, even though I tried mixing it thoroughly with a popsicle stick:
Still waiting on the fuel pump gasket, so won't be able to reassemble until Friday. Did a quick fuel pump pressure check and it got up to 85psi, so I assume that's fine, even though its a bit above spec, since I measure it before the FPR via the main fuel hose. Did a quick flush before the pressure check and got a bit of the rusty gas come out before fresh gas, so hopefully my injectors arent all clogged up too
Last edited by FBPersimmon; Nov 14, 2018 at 05:16 PM.
Probably didnt get 100% rust removal, but it was my first shot, so figured it might not be perfect. Somewhat terrified at what the insides of the baffles look like, lol. All the suggestions definitely helped though! I ended up going with the Jaguar filter that broccolini mentioned, so I'll post some pics of that tonight, since it just came in the mail. Figured once I have that, I shouldnt have to worry about the inline filter. Thanks for the pic and some good info for those who may want an external fuel screen.