When you click on links to various merchants on this site and make a purchase, this can result in this site earning a commission. Affiliate programs and affiliations include, but are not limited to, the eBay Partner Network.
I asked about finding replacements for these because mine were broken. Since they are delicate, there aren't really any used ones available. There is a member here who was making them, but none are available right now so I decided to just repair the ones I had. I was lucky that mine weren't too bad and were broken on opposite sides so I was able to make a mold for the entire rim. The rest of the plastic was also in very good shape and is not brittle. The rim on these is very thin so when I repaired them, I made it thicker. Hopefully that will make the part more robust. I will paint them with SEM plastic when it stops raining.
I used a clay mold and some epoxy. If I were doing it again, I would use slower setting epoxy and a syringe. I used 5 minute epoxy because that's what I had on hand. It worked fine but was messy because I had to work fast. Cleaning the parts up would have been faster if the initial cast was done better. The section on mine where it was cracked but not missing, I used CA glue and a paper towel to bond it back together. You have to move the paper towel back and forth quickly and it will not stick. It just sort of melts into the plastic.
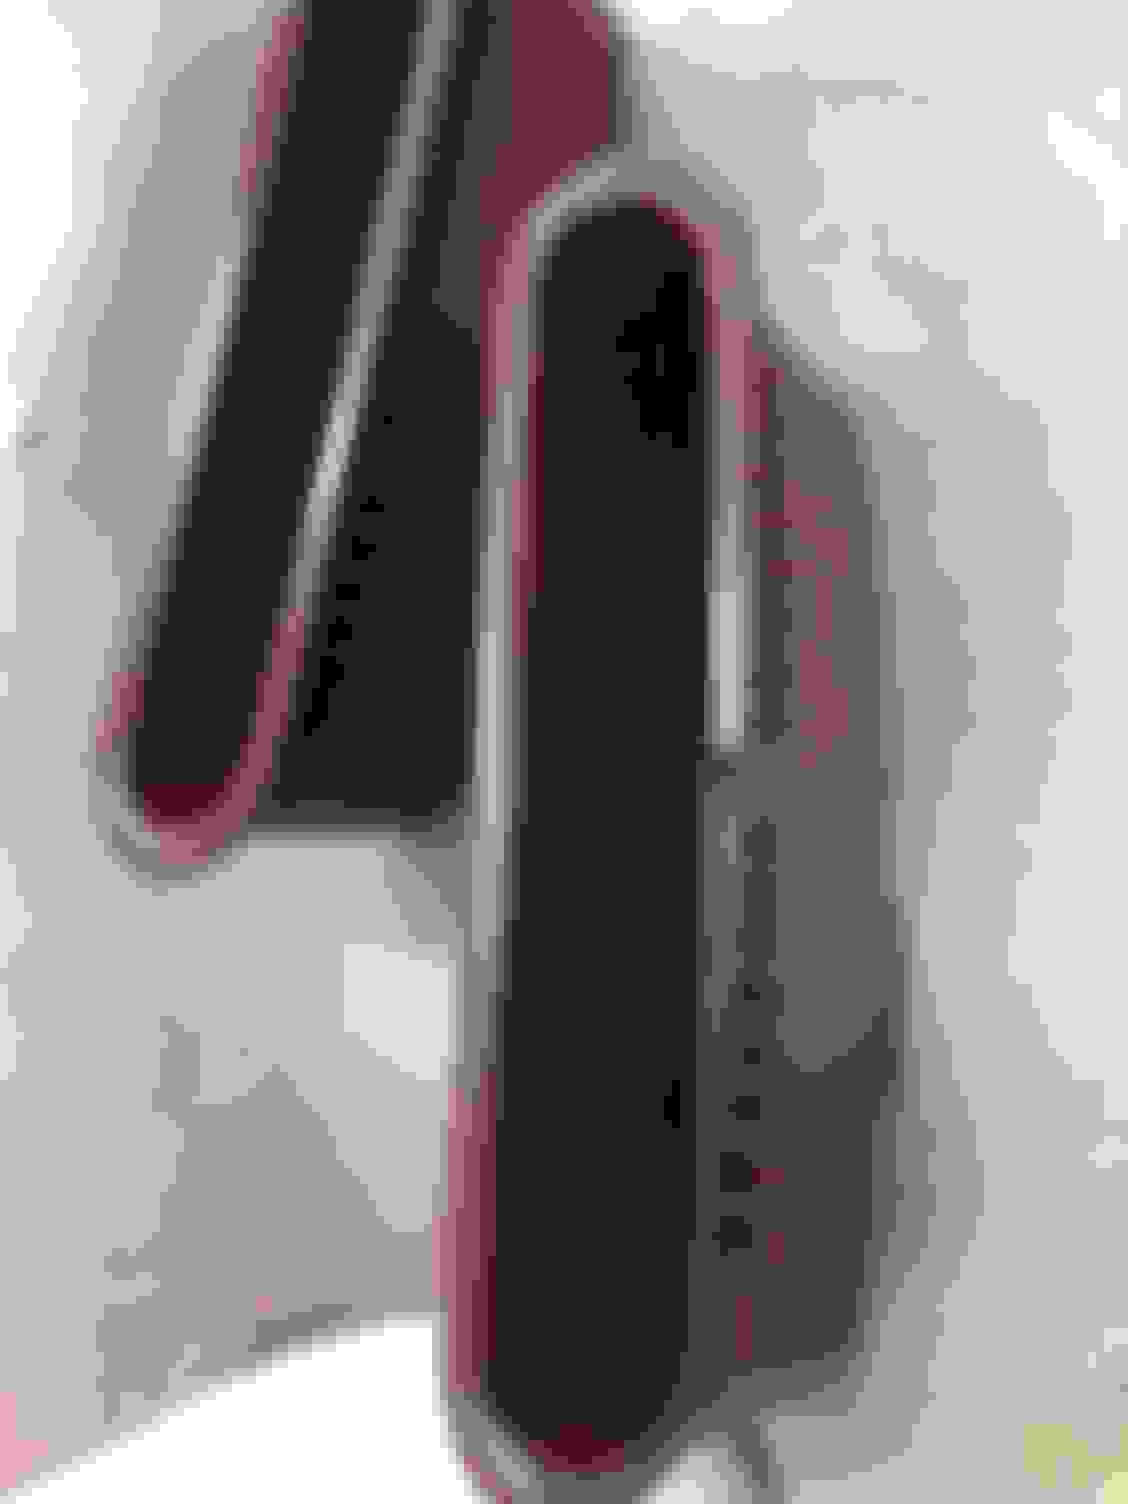
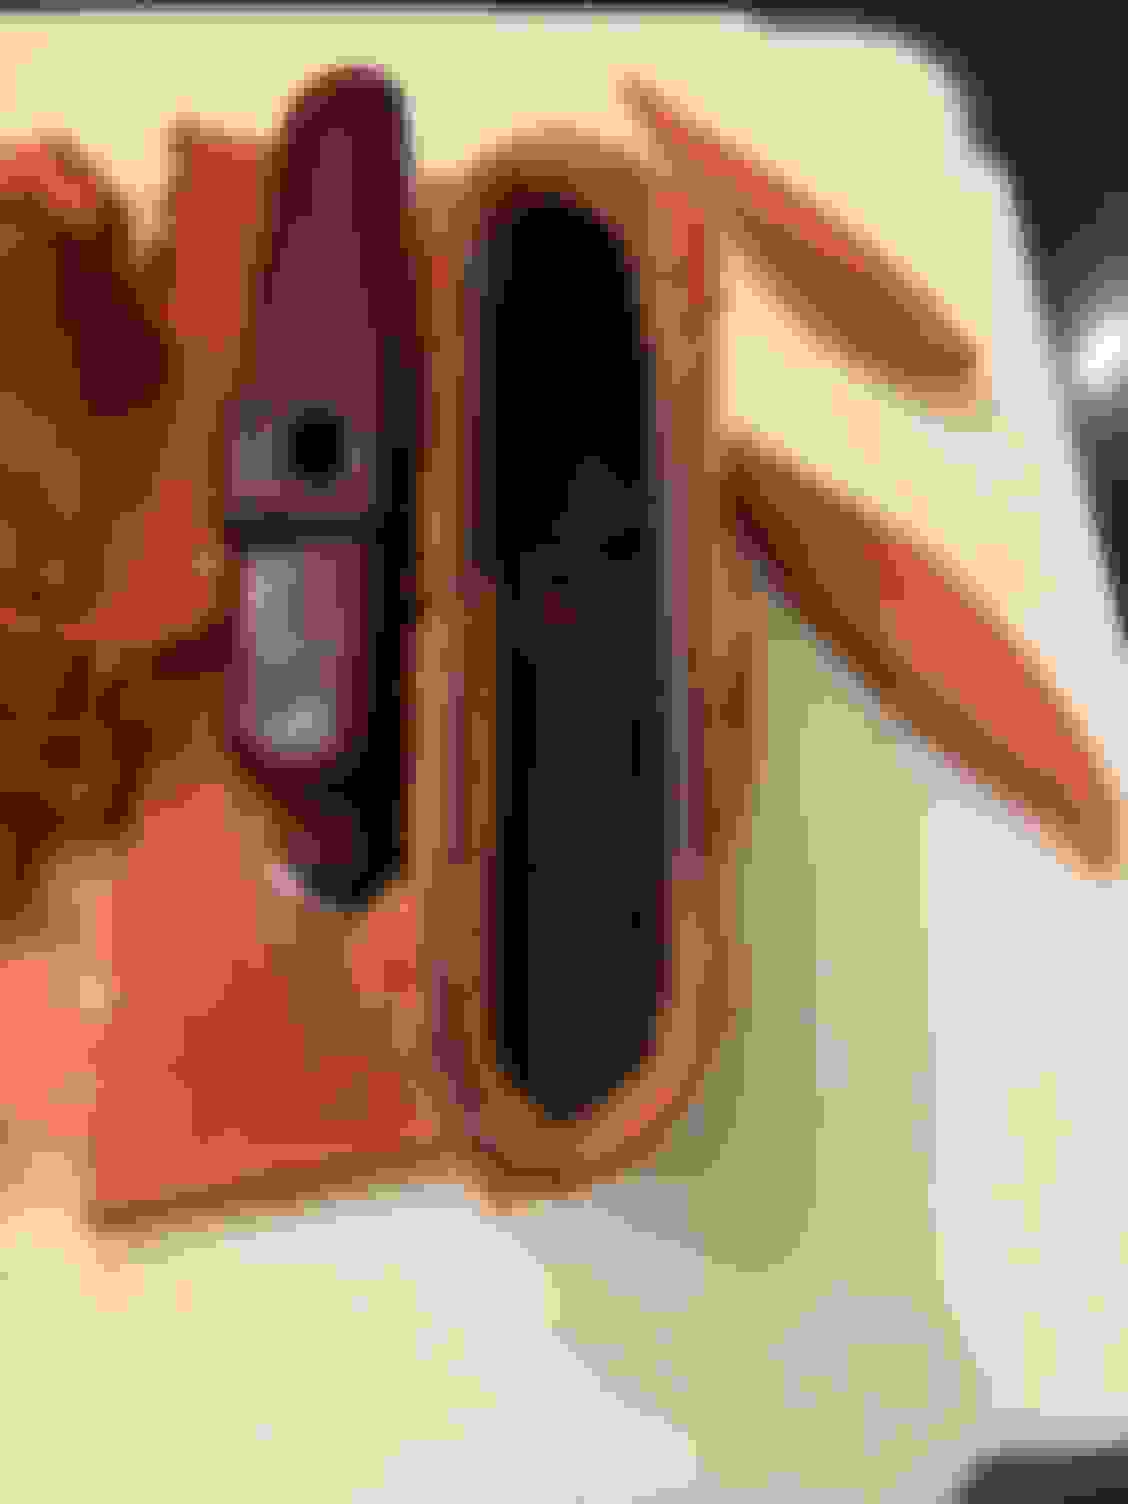
Here are pictures of the process. It's pretty self-explanatory, but if anyone has any questions, just ask.
I did something similar with my 80 SA chrome door pull tips (impossible to find anywhere). They were cracking up, so I carefully epoxied them together and added some JB Weld inside to add strength.
Since there is not much in the way of aftermarket support for 1st gens we all have to get creative. Nice job. Make sure to post up the finished results and re-installation.
I stabilized these things today. I used thin CA and just let it soak into the plastic. It should keep it together and also provides a strong finish. I'm prepping the door panels for refinishing and I'll spray these at the same time to tone down the shine.
I stabilized these things today. I used thin CA and just let it soak into the plastic. It should keep it together and also provides a strong finish. I'm prepping the door panels for refinishing and I'll spray these at the same time to tone down the shine.
Whats "thin CA" or whats CA? Nice work, thanks for sharing.
Whats "thin CA" or whats CA? Nice work, thanks for sharing.
Sorry. It's Cyanoacrylate. I use it a lot in woodworking for stabilizing burls or spalted wood. Also for finishing pens. It's fancy crazy glue. There is a thicker formula that's good for filling small voids and it's more flexible.