What did you do to your FB today?
 04-04-15, 10:10 PM
#5726
Backfire blaster
Join Date: Dec 2012
Location: Saint Catharines Ontario Canada
Posts: 86
Likes: 0
Received 0 Likes
on
0 Posts
The HAWK HPS pads are not the HP+. I have HPS pads in my 85 GSL and they are dead quiet and almost no dust. Certainly better than the OEM pads in all respects. At least this is true on stock rotors. I see that Hawk has changed the HPS pads starting in Jan 2015 to the HPB compound which is higher friction but is supposed to have all the same characteristics of the older HPS pad. I have the older pad compound in my car.
 04-05-15, 12:17 AM
#5727
Last night, in prep for the 13b swap we'll be doing next weekend, I cleaned up the garage a bit and did a compression test on the 12a that's currently in the car. It's always run well for me, so I figured it had decent compression, but I was really surprised at the results:
Front rotor:

Rear rotor:

Here's the graph on the back of the compression tester. Notice that the RPMs dropped below 200 on the rear rotor. If it had run at full speed, I'm reasonably certain the rear rotor would have been in the 8s.

fm
Front rotor:
Rear rotor:
Here's the graph on the back of the compression tester. Notice that the RPMs dropped below 200 on the rear rotor. If it had run at full speed, I'm reasonably certain the rear rotor would have been in the 8s.
fm
04-05-15, 01:20 PM
#5728
wankel wankel
Join Date: Oct 2005
Location: topeka, ks - home of SCCA
Posts: 132
Likes: 0
Received 0 Likes
on
0 Posts
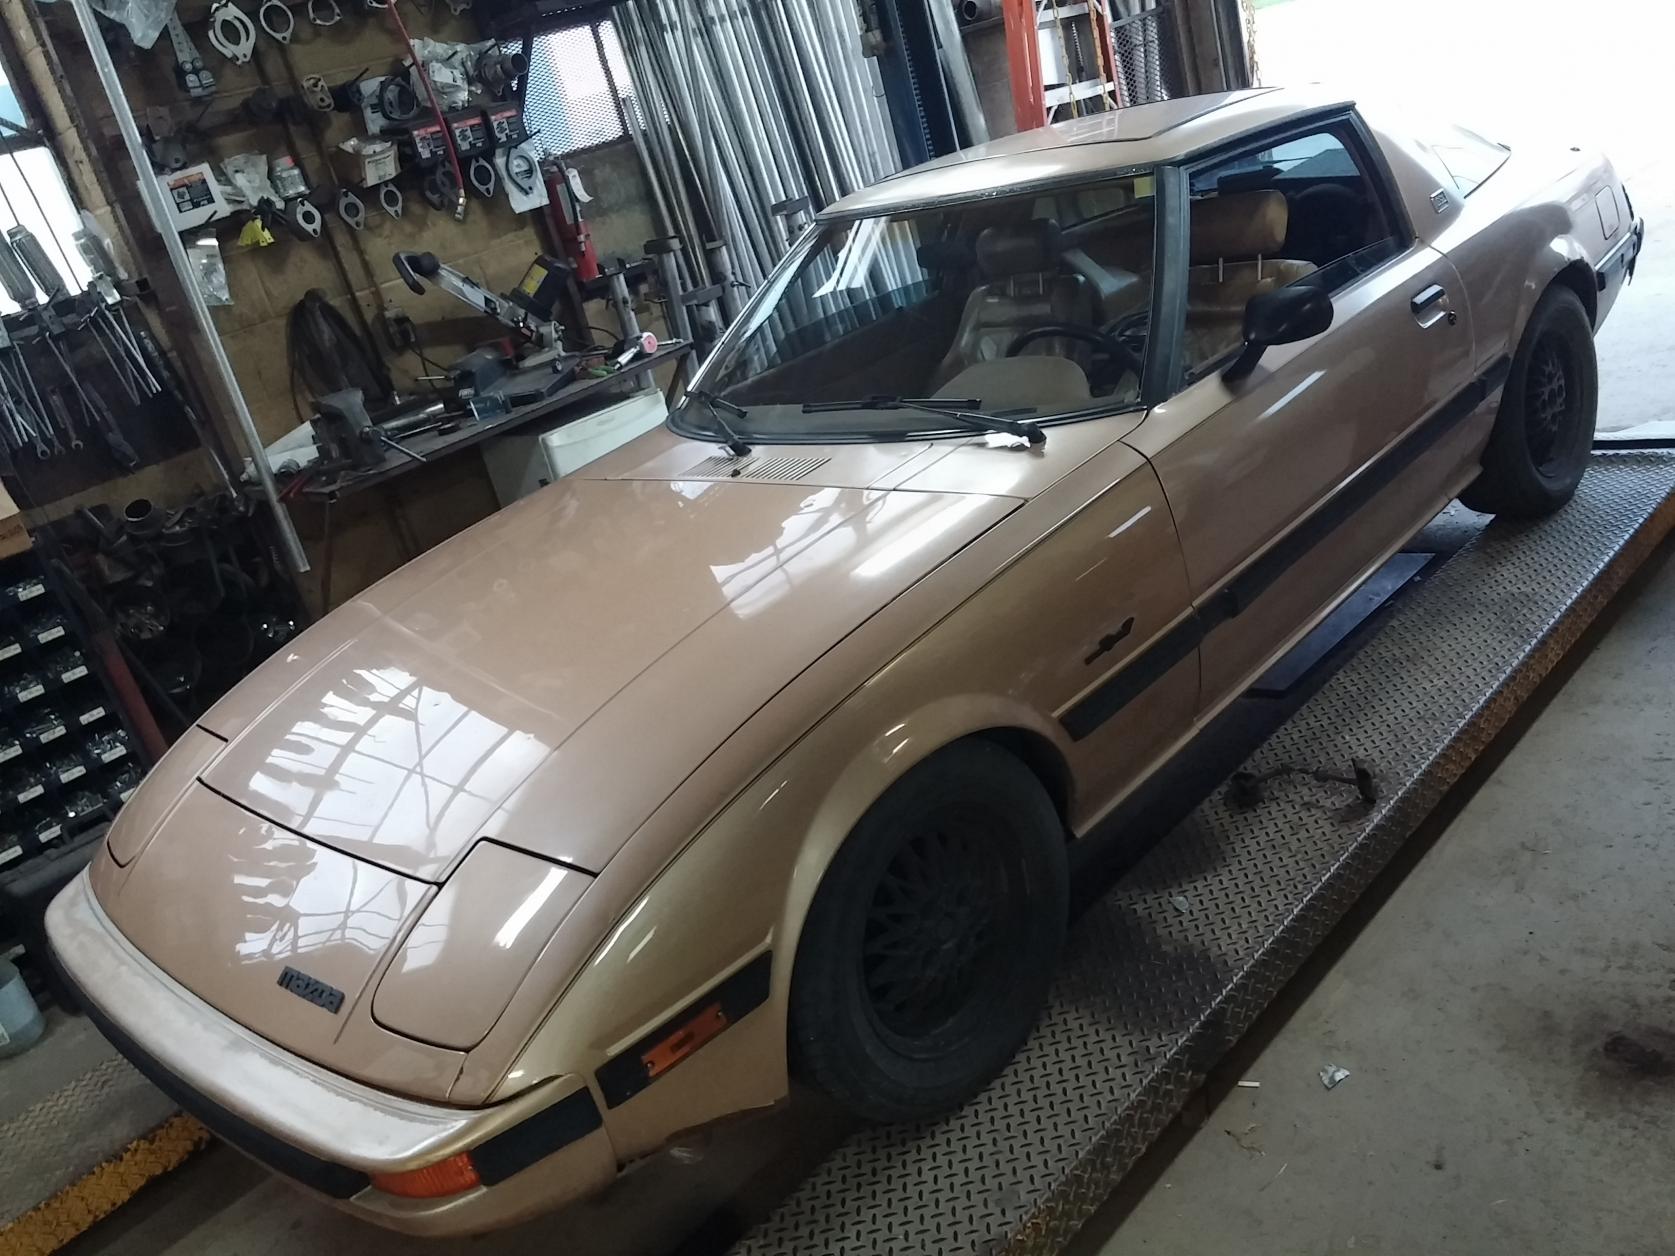
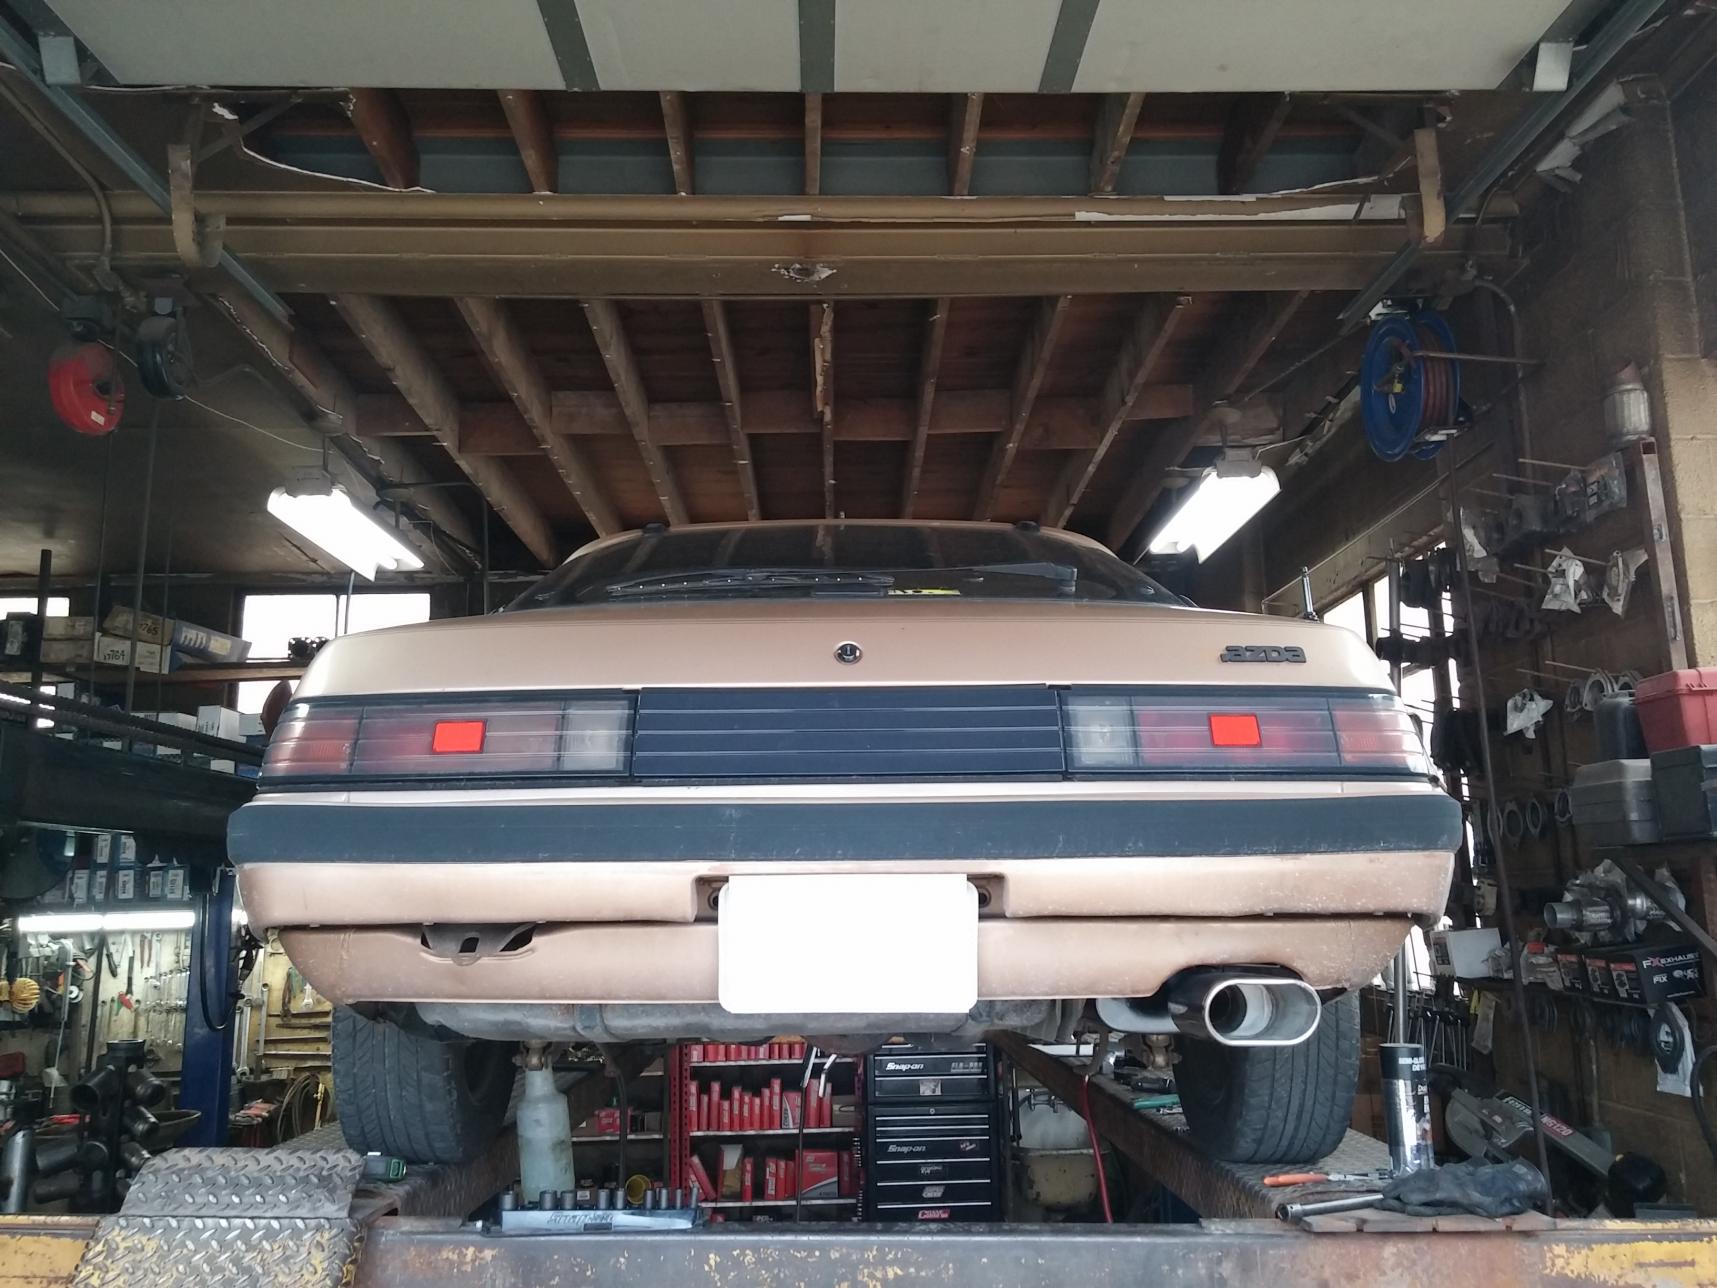
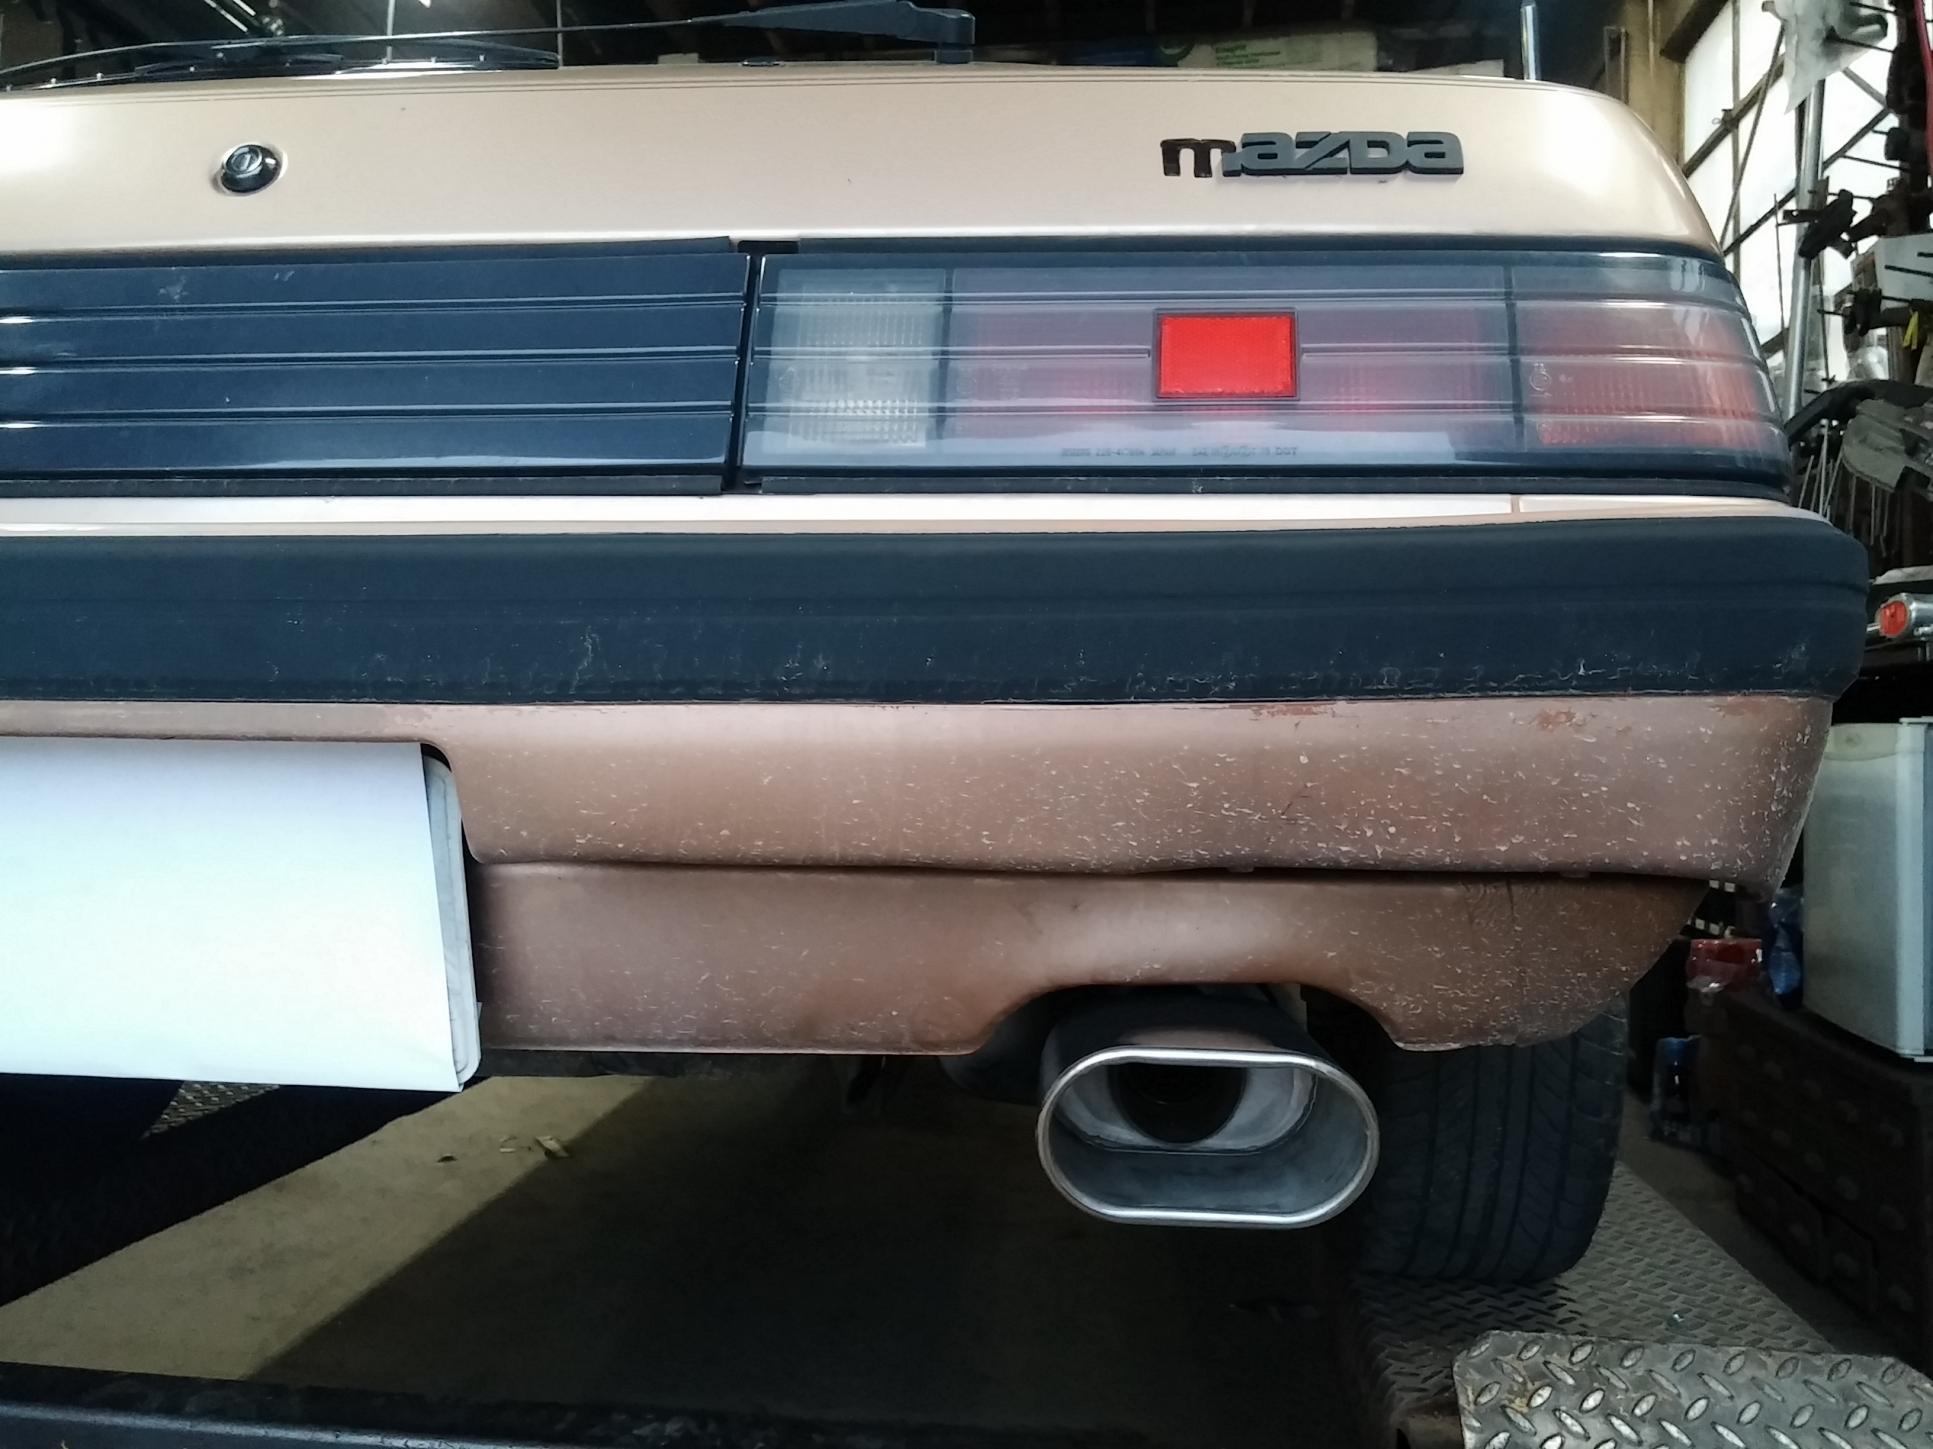
Got rid of my leak in the over-axle pipe, and changed it up to a Magnaflow muffler. I'm running a K&N drop-in filter, modded Nikki, Racing Beat 2-into-1, RB Presilencer, newly made over-axle pipe back to a Magnaflow 11134 with an oval tip to replace the dual-outlet.


 04-06-15, 10:10 AM
#5733
OldNewRX7*****

Join Date: Sep 2012
Location: Dumfries, Virginia
Posts: 20
Likes: 0
Received 0 Likes
on
0 Posts
Winter (and possibly a trickle draw somewhere) killed my battery so bought a new one. Started to put it in when I discovered the plastic tray was cracked (funny I don't remember having one with my original 83). Fixed the tray and discover the battery was lower and the clamp won't screw down far enough. Trusty saw and piece of plywood later and problem solved.
04-08-15, 06:52 PM
#5734
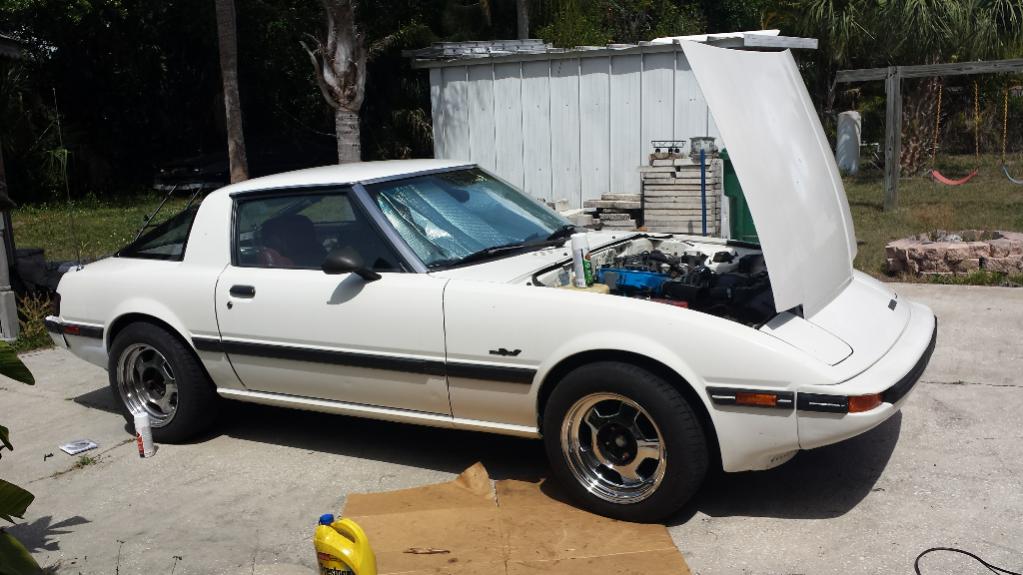
Drove it, showed it off, got some jaws dropped even from some V8 guys 
Only 300 more miles to put on this fresh rebuild and then its time for a dyno tune. This motor is by far THE most powerful NA rotary I've been in, and I don't even have the 6ports or VDI hooked up, and only street tuned. Very excited to see what we're pulling.

Only 300 more miles to put on this fresh rebuild and then its time for a dyno tune. This motor is by far THE most powerful NA rotary I've been in, and I don't even have the 6ports or VDI hooked up, and only street tuned. Very excited to see what we're pulling.
04-11-15, 05:38 PM
#5735
Backfire blaster
Join Date: Dec 2012
Location: Saint Catharines Ontario Canada
Posts: 86
Likes: 0
Received 0 Likes
on
0 Posts
Took it off the jacks from winter storage. It started right up after checking all the fluids and tire pressures so I took it for a test drive. It's all good, ready for the 13B transplant in a few weeks.
04-11-15, 08:42 PM
#5737
Today I fixed my power windows, both were useless and would jam and need serious help getting both up and down. I put armorall in the window troughs, which helped slightly, then realized that the rollers on the scissor / rail mechanism were totally jammed and crapped up. some WD-40 in there cleaned them right up, and my windows function AS NEW!!!!
Also replaced the gap in the blower-to-heater system where the AC unit once was. I got some 7" heat resistant ducting from the hose shop, and bent the wire coil in it to match the shape of the blower and heater fittings. It looks OEM and my blower system works better than it ever has!
Fixed a squeaky clutch pedal, re-aligned the windshield wiper that was hitting the window trim, and also replaced my short shifter that was rattling like crazy with the OEM shifter. I do miss the short throw, but being able to shift into 1st and reverse and no rattling is SO much nicer.
Finally feeling like the car is returning to daily-driver status.
04-13-15, 01:58 AM
#5738
Today I fixed my power windows, both were useless and would jam and need serious help getting both up and down. I put armorall in the window troughs, which helped slightly, then realized that the rollers on the scissor / rail mechanism were totally jammed and crapped up. some WD-40 in there cleaned them right up, and my windows function AS NEW!!!!
Also replaced the gap in the blower-to-heater system where the AC unit once was. I got some 7" heat resistant ducting from the hose shop, and bent the wire coil in it to match the shape of the blower and heater fittings. It looks OEM and my blower system works better than it ever has!
Fixed a squeaky clutch pedal, re-aligned the windshield wiper that was hitting the window trim, and also replaced my short shifter that was rattling like crazy with the OEM shifter. I do miss the short throw, but being able to shift into 1st and reverse and no rattling is SO much nicer.
Finally feeling like the car is returning to daily-driver status.
Also replaced the gap in the blower-to-heater system where the AC unit once was. I got some 7" heat resistant ducting from the hose shop, and bent the wire coil in it to match the shape of the blower and heater fittings. It looks OEM and my blower system works better than it ever has!
Fixed a squeaky clutch pedal, re-aligned the windshield wiper that was hitting the window trim, and also replaced my short shifter that was rattling like crazy with the OEM shifter. I do miss the short throw, but being able to shift into 1st and reverse and no rattling is SO much nicer.
Finally feeling like the car is returning to daily-driver status.
Last Thursday and Friday were very busy days for j9fd3s and me. It is 12A->13Bpp swap time. I took off work at noon to meet him at my house. The first task was to drop the 12A out from under the car. Removing the steering linkage allowed clearance for the engine to come out of the bottom. A well-placed floor jack and some delicate balancing resulted in this:


This was done in under 2 hours and no lift or pickup truck was required. We picked up my daughter from school, had supper and went back to it at around 7pm.
While j9fd3s removed the bits he needed from the 12A (the front cover, filler tube, clutch), I pulled the tailshaft off of my hybrid RX-7/Miata tranny and put the speedo driver gear back in. He transferred most of the stuff we needed from my 12A to the 13B and we called it a night and had a
 .
. The next day, I cleaned up the engine bay as best I could and we put new engine in. Started at around 9:30 and finished at around noon. Had lunch and came back to put on the intake, exhaust, driveshaft, etc. We knocked off at around 3:45 to pick up my daughter again. We picked up a few bits I needed to mount the Weber carb at the hardware store on the way back. After dinner j9fd3s re-jetted the Weber for our best guess at what the 13Bpp was gonna like. I covered my RB header heat shield with gold foil heat tape and managed to get it to work with my setup. I wasn't sure if I was going to be able to use it or not, but I'm very pleased that I am.
That's where we left it as of Friday night. Here's what it looked like:


Note the radiator is still out and the oil cooler is just dangling there.
This afternoon, I went to the local Pick-n-Pull to find an S4 clutch fan. I knew there was an S4 there, but I wasn't sure what was left. I was disheartened to see that the engine had been pulled, but then my friend said, "hey, it's over here in the passenger seat". Score! No tools required even! My love-hate relationship with Pick-n-Pull continues.
This evening, I went to the hardware store and got some steel straps, some M6-100 bolts, and some lock nuts and made a pair of oil cooler mounts. They're not pretty, but they do the job.


Still left to do:
- install radiator
- install water pump and clutch fan
- figure out what to do about the OMP. I want to run it, but I need to find oil inlet bungs to put on the carb
- figure out what to do about an throttle cable bracket
- get the correct fuel inlet for the carb so I don't have to redo all my fuel lines
- probably some other stuff that I'm not aware of now.
Very pleased with the progress so far. Depending on parts, I hope to have this thing running within 2 weeks.
fm

 04-13-15, 10:58 AM
#5740
I was going to change that damn brake fluid on Saturday, but earlier in the week my Z (daily) started crying for new brakes.
I really want to pull my front hubs down and repack them soon; no problems, but it's been a long time. One problem with a car that's driven very few miles a year is the normal triggers for fluids/lubes don't apply. It's easy to lose track of how long your hubs have gone without scrutiny, for example, when a set of brake pads still measure out near-new after 5 years.
Driving out to Vegas for WHIV in a few weeks. A non-trivial trip for a 35-year-old car, around 250 mi each way under the desert sun. Pays to make sure all is in ready condition.
04-13-15, 02:35 PM
#5741
Waffles - hmmm good
iTrader: (1)
Did you know the freeze plugs installed as part of the mod to block flow of coolant into the stock
intake don't really seal completely? I didn't. I did the mod a few years ago and did not use orings,
assuming the freeze plugs would completely block coolant from leaving the block. Wrong!
A year or so ago I notice coolant pooling along the intake manifold. I tried smearing
some high temp silly cone on it which appeared to work, for month or two.
This time I got new orings and intake gasket, pulled the old freeze plugs, cleaned
up the silly cone mess and reinstalled with orings and gasket. Problem solved.
I know, I know some fluid will be leaking into the intake, but it doesn't really
cause a problem because the flow is very restricted and once it gets full it will
not really cause the intake manifold to heat up much anyway.
I toyed with the idea of epoxy on the freeze plugs but felt that was a little too permanent.
04-13-15, 03:31 PM
#5742
Moderator
iTrader: (3)
Join Date: Mar 2001
Location: https://www2.mazda.com/en/100th/
Posts: 30,829
Received 2,597 Likes
on
1,845 Posts
it was kind of funny as the miles ticked by, the odometer kept adding miles, but the gas gauge wasn't moving much, so i was wondering if they were lying, but no.
compared to my MGB, your car is some kind of rocket ship from the future
04-13-15, 07:25 PM
#5743
I've been talking about the freeze plug mod for years; how I found out pretty quickly that it's not a perfect seal and it can never be on old rotor housings pounded in with a less than ideal installation tool (socket). So I started using RTV as a sealant and a low speed lubricant to get the freeze plugs in there easier and then seal things up as well as possible. It's hit or miss but usually is a good enough seal you can leave the intake off for several days and it might only drip once or twice. Yes the manifold will fill with coolant over time, but that's not a big deal. At least you're not left with a gusher from the engine every time you pull the manifold.
And then there's the ACV port on some models. It needs to be blocked with quicksteel or some other putty; I like quicksteel. Some folks didn't believe me at first that this is a good extra step because they didn't believe every pulse of exhaust carries a certain amount of heat with it. Because air is compressible, it pulses up inside the ACV channel and into the manifold behind the blockoff plate you added. How else does all that carbon get deposited? The heat builds slowly over time but it does build up and leads to a pretty hot intake manifold with no coolant flowing just on the other side of the thin aluminum castings within the manifold, to take it away (or at least bring it to the same temp as the rest of the engine.
Do you really want a hot intake manifold? I don't. So I've been adding quicksteel to the ACV ports of all performance built engines for about ten years now. The results are always very effective. Of course it's easier to add to a fresh rebuild where everything is clean, but is some extra work worth a cooler manifold to you? You're already adding the freeze plugs anyway.
Of course you SA guys with your thermal reactors don't have an active ACV channel running through your intermediate plate, so no need to fill it. The SA manifolds don't even have a casting to use the ACV port anyway. I'm talking about all 81-85 and some old schools.
I'm not telling anyone they HAVE to do this mod on their engines with an active ACV port, but if the main point of adding freeze plugs was to keep the manifold cooler, and it has the opposite effect, how smart can you really feel?
04-13-15, 07:27 PM
#5744
hey yall
been a while since i posted in the forums but i still see some familiar usernames haha
drove her for a bit after finding out i had no more oil to do an oil change on my DD lol...
then i decided to remove the carpeting in the rear hatch and behind the seats. then i took some pictures of my interior to get estimates to have upholstery shops restore.
https://drive.google.com/file/d/0BwK...ew?usp=sharing
https://drive.google.com/file/d/0BwK...ew?usp=sharing
https://drive.google.com/file/d/0BwK...ew?usp=sharing
https://drive.google.com/file/d/0BwK...ew?usp=sharing
https://drive.google.com/file/d/0BwK...ew?usp=sharing
https://drive.google.com/file/d/0BwK...ew?usp=sharing
04-13-15, 10:19 PM
#5745
wankel wankel
Join Date: Oct 2005
Location: topeka, ks - home of SCCA
Posts: 132
Likes: 0
Received 0 Likes
on
0 Posts
hey yall
been a while since i posted in the forums but i still see some familiar usernames haha
drove her for a bit after finding out i had no more oil to do an oil change on my DD lol...
then i decided to remove the carpeting in the rear hatch and behind the seats. then i took some pictures of my interior to get estimates to have upholstery shops restore.
https://drive.google.com/file/d/0BwK...ew?usp=sharing
https://drive.google.com/file/d/0BwK...ew?usp=sharing
https://drive.google.com/file/d/0BwK...ew?usp=sharing
https://drive.google.com/file/d/0BwK...ew?usp=sharing
https://drive.google.com/file/d/0BwK...ew?usp=sharing
https://drive.google.com/file/d/0BwK...ew?usp=sharing
been a while since i posted in the forums but i still see some familiar usernames haha
drove her for a bit after finding out i had no more oil to do an oil change on my DD lol...
then i decided to remove the carpeting in the rear hatch and behind the seats. then i took some pictures of my interior to get estimates to have upholstery shops restore.
https://drive.google.com/file/d/0BwK...ew?usp=sharing
https://drive.google.com/file/d/0BwK...ew?usp=sharing
https://drive.google.com/file/d/0BwK...ew?usp=sharing
https://drive.google.com/file/d/0BwK...ew?usp=sharing
https://drive.google.com/file/d/0BwK...ew?usp=sharing
https://drive.google.com/file/d/0BwK...ew?usp=sharing
 04-13-15, 11:30 PM
#5747
ioTus you got a lot done to that SE recently, looking great man  Glad to know about the power window fixes, you're making me consider swapping mine to power windows since I've got all the parts to do so at home.
FM that 13bpp is going to SCREAM on the track, can't wait to see pics of it out and about!
I took off the right side SE strut assembly from the black car in order to put it on the red car I'm building now. Feel like I'm making some good progress now!
Glad to know about the power window fixes, you're making me consider swapping mine to power windows since I've got all the parts to do so at home. FM that 13bpp is going to SCREAM on the track, can't wait to see pics of it out and about!
I took off the right side SE strut assembly from the black car in order to put it on the red car I'm building now. Feel like I'm making some good progress now!
04-14-15, 08:17 AM
#5748
Waffles - hmmm good
iTrader: (1)
hey yall
been a while since i posted in the forums but i still see some familiar usernames haha
drove her for a bit after finding out i had no more oil to do an oil change on my DD lol...
then i decided to remove the carpeting in the rear hatch and behind the seats. then i took some pictures of my interior to get estimates to have upholstery shops restore.
from the JY out of an 83 GSL with high backs for my SA seats. Did a small writeup
on the reupholstery work as well How to install RB upholstery kit - RX7Club.com.
04-14-15, 06:15 PM
#5749
Moderator
iTrader: (3)
Join Date: Mar 2001
Location: https://www2.mazda.com/en/100th/
Posts: 30,829
Received 2,597 Likes
on
1,845 Posts
04-14-15, 09:13 PM
#5750
Well I tore down possibly the most shameful 12A ever built in history. A friend got a nice gold (yuk) 85 GS with an Edelbrok , Pacesetter header etc for $500.
-The fywheel nut was impacted on to 1,000,000 ft lbs
-the tension bolts were hand tight (maybe 1 ft lb)
-The Apex seals were installed backwards...YES, BACKWARDS! The apex triangles were installed on the non gear side of the rotors.
-The rear rotor spun its bearing and welded itself to the shaft. I had to sledge hammer the rotor off of the shaft! It was so bad the rotor bearing pressed itself out of the rotor and was siezed to the shaft!
-There was no end play
-The coolant seals were all twisted and the joints were all oriented at the exhaust port lol
-The oil control O rings were super stretched and pinched
-The oil pump chain .................WAS NOT INSTALLED!!!
............and due to that the rear rotor siezed, the irons burned up (they were black), and the stationary gears and front rotor were spun to a lesser degree. No oil = bad mmkay. This engine had only a few minutes of run time on it.
but there is a light at the end of the tunnel. It was built with NOS 12A rotor housings! They shine like mirrors.
Last edited by NCross; 04-14-15 at 09:19 PM.