What did you do to your FB today?
#2526
Ready or not...
Join Date: Dec 2009
Location: Taos, NM
Posts: 261
Likes: 0
Received 0 Likes
on
0 Posts
#2527
Got home from work and decided to put the painted center console back in with everything I can hook up easily. The XM antenna is just run inside the car for now to above the rear hatch glass and covers the washer sprayer holes since I removed the non functional rear washer and wiper stuff. On a warm day I will run the antenna under the carpet. The power for the XM just runs to the cigarette lighter. No rear speakers yet. Still I have XM + CD + MP3 + AM/FM. And the center console metallic paint looks excellent. I am really looking forward to finishing this up.
Photos attached.
Photos attached.
#2528
Tom Cinnamon
Join Date: Nov 2006
Location: Port Perry Ontario
Posts: 74
Likes: 0
Received 0 Likes
on
0 Posts
Steering box was leaking, so I removed it with the steering column today. What a PITA, especially cause I had to leave the pitman arm on after breaking my gear puller tring to remove it. There is a custom steering repair shop not too far away who promises to have it rebuilt in a couple of days.
Funny, I didn't notice how much play was in the top or the steering column until I had decided to do thwe rebuild. The Top bushing must have been Nylon or similar and it was kinda shattered into a zillion pieces.
Last week I did the fitting of Corbeau brackets and seat rails for my new seats. That took three me three days, drilling holes in the right spots, grinding legs onto an angle, elongating other holes that were close to the right spot, lowering the driver's side, etc. Have yet to repaint the brackets. If I were to do it again I would just plan it out using stock rails and have a welder make the brackets.
Gonna remove the tan color of the interior making it all burgundy and black. Almost ready to put the new carpet in.
Not much of a rebuild really. No body work as we have no rust.
#2529
Ready or not...
Join Date: Dec 2009
Location: Taos, NM
Posts: 261
Likes: 0
Received 0 Likes
on
0 Posts
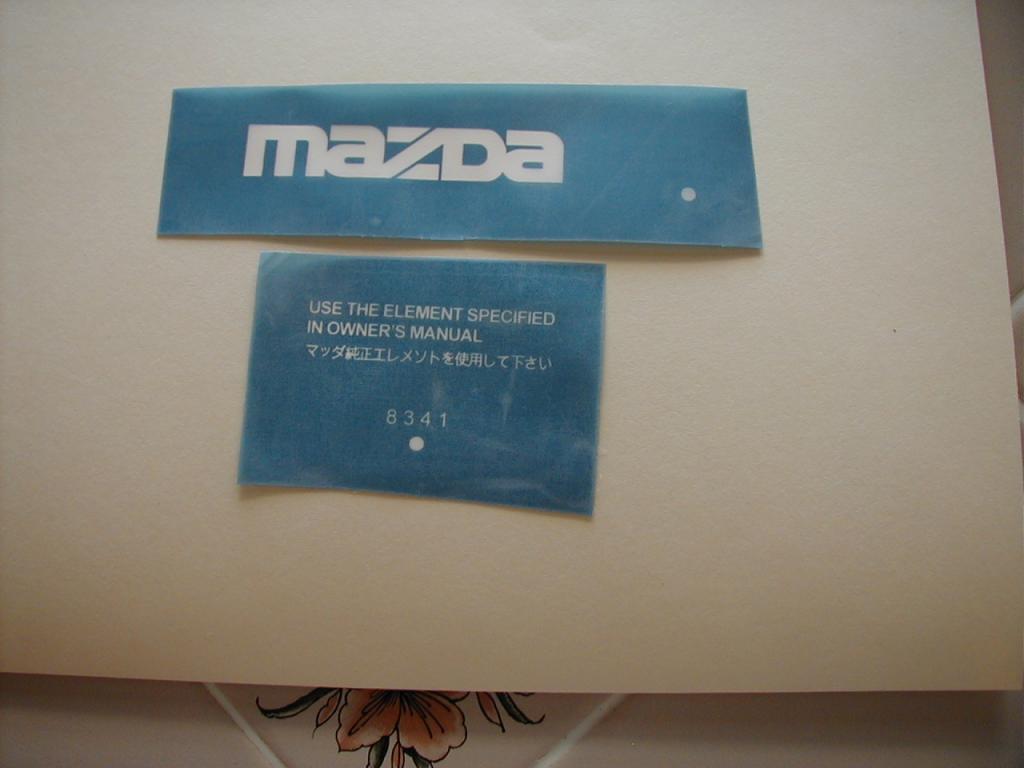
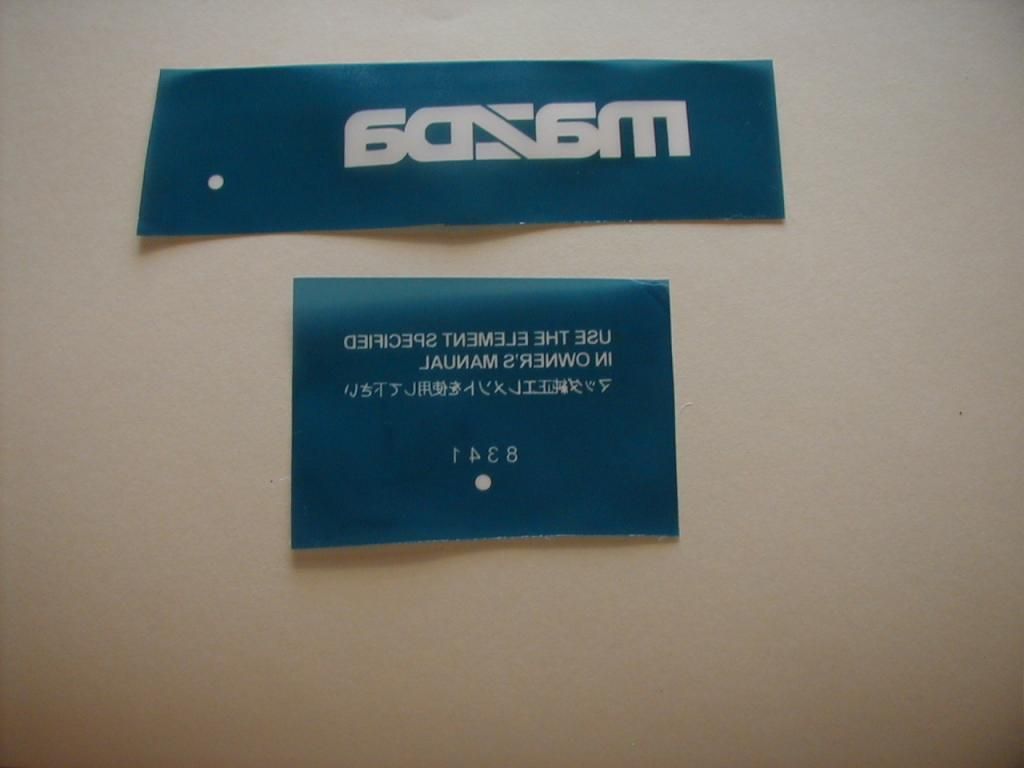
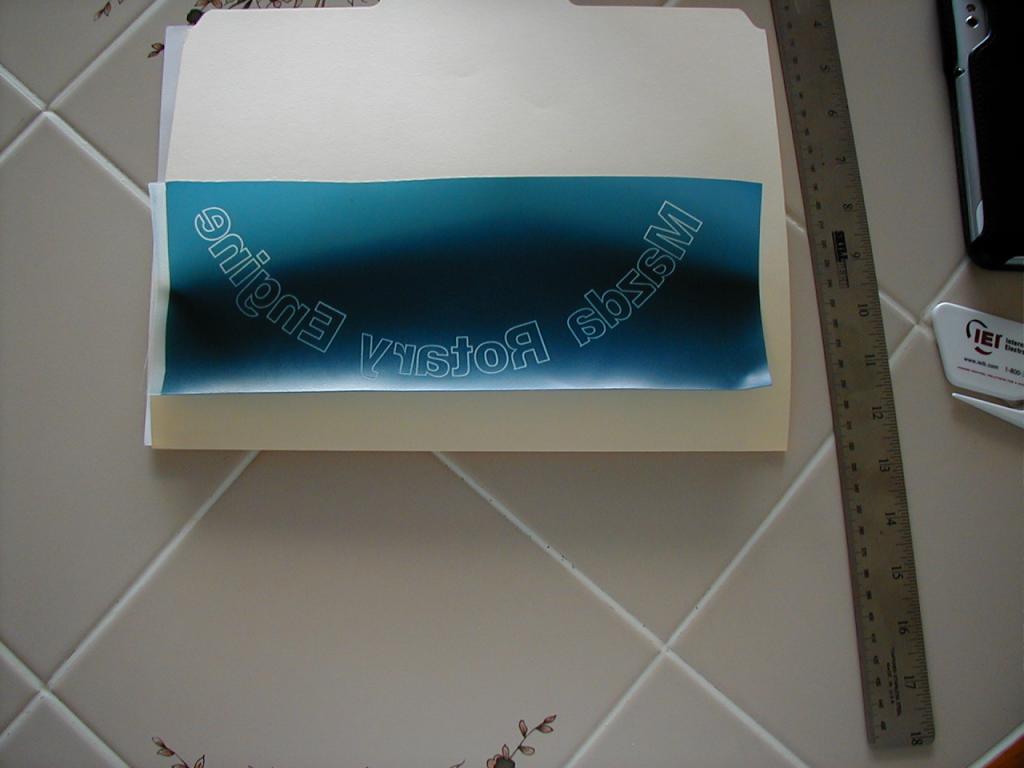
pdf
When I get this attachment right, I'll really know a little!
https://www.dropbox.com/s/pu1672pkzb...tSpecified.pdf
[https://www.dropbox.com/s/pu1672pkzb...Specified.pdf]
https://www.dropbox.com/s/pu1672pkzb...tSpecified.pdf
[https://www.dropbox.com/s/pu1672pkzb...Specified.pdf]
#2530
As so often happens I forgot to take a before picture so I will paint a picture with words. I had a hard case for my sunglasses and I would place it just above the shift boot and on the front of the ash tray. This eventually left a line on the front of the ashtray and to a lesser extent on the metalic paint on the top of the shift boot cover. I had decided at some point I needed to fix this but it was not a priority. When reinstalling the center console trim while checking stereo fit I managed to chip off a piece at the top to the right of center. Expletive deleted. This annoyed me enough that it was time to find a matching paint and fix these things. I found that Rust-oleum has a color that is a pretty good match. I tested on the ashtray first. In the photos I have not yet painted anything but the ashtray. I also decided to repair the lower left mount on the center console trim. A previous owner must have overtightened this and cracked it. The Rust-oleum color is Nickle Satin. It is just a tiny bit brighter than the original color. Since taking the photos I painted the shift boot cover and filled in the crack on the center console trim. More photos later.
I have found this stuff invaluable for fixing broken plastic stuff in my FC and SA, not to mention everything else: Plastex
It's a bit pricy, and the website is cheesy, but the stuff works. The standard kit lasts a pretty long time, because it doesn't take much to make a repair, sort of like model cement. Watch the videos on Youtube:
I generally get mine from eBay for convenience, but there are other places to buy on the web.
#2532
Full Member
iTrader: (1)
Join Date: Mar 2013
Location: Granite Falls, WA
Posts: 166
Likes: 0
Received 0 Likes
on
0 Posts
Installed new Water pump and Idler arm because both were absolutely trashed. The pump had about an inch of play in either direction and the Arm clunked and had about 3" of play when steering. Too bad I ordered two arms thinking that they were on either side of the steering rack -.- Also found out how damn tight that thing is held on there..
#2533
Installed new Water pump and Idler arm because both were absolutely trashed. The pump had about an inch of play in either direction and the Arm clunked and had about 3" of play when steering. Too bad I ordered two arms thinking that they were on either side of the steering rack -.- Also found out how damn tight that thing is held on there..
fm
#2534
Waffles - hmmm good
iTrader: (1)
Ohhhh, the nikki has built in emulsion tubes right on the air bleeds? Making it one solid unit.
So how do people use Holley air bleeds on the emulsion tubes?
Or are people exchanging the nikki fuel jets inside the fuel bowls for the Holley air bleeds?
 I think I'm losing it
So how do people use Holley air bleeds on the emulsion tubes?
Or are people exchanging the nikki fuel jets inside the fuel bowls for the Holley air bleeds?
 I think I'm losing it
Yaw and Streling both did that I think. Its a pretty delicate piece of work. They can
be used with no changes for the fuel bowls no problem.
#2535
You think the idler arm is on tight, try the pitman arm. I broke two pullers trying to remove it until I wised up and got a NAPA puller for 3x the cost of the autozone and HF cheapies. It didn't break although I still needed to cut a slot into the side of the arm to get that thing off. When it came off, it did so with a spectacular CLANG! on the floor.
fm
fm
BANG! Off she came.
The temptation is to hammer the end of the puller to shock the juncture, but this is not good for the steering box; it risks damage to the sector shaft teeth or the worm nut.
#2537
Full Member
iTrader: (1)
Join Date: Feb 2013
Location: Houston
Posts: 98
Likes: 0
Received 0 Likes
on
0 Posts
>replaced the passenger door handle so it stays on now
>replaced the 82 sun visors with the longer 79 visors
>took the shitty seats out
> vacuumed the whole car
>removed the console
>removed the speakers/radio/wires
>removed other random wires
>removed the rear carpet
>removed the exhaust flap from the intake
>removed the sub zero res.
>sprayed the console flat black
>trying to remove dash to repair cracks
>filled in smalls cracks with filler
>sanded and cleaned all the rust i could find on the seats/steering wheel
>painted steering wheel (a non ripped one i got from a spare car) flat black
>put my rear mirror back on
this has actually been more of a 1 and a half day thing but did most of this today.
hopefully i can finish getting the dash out and fill it and then put it back on then have someone help me with the wires.
#2541
Yesterday I got a call from Mazdatrix that they were sending me my oil cooler with the AN fittings now installed. The replacement OEM oil cooler had the OEM fittings installed with some sort of thread sealant gluing them into place. I was gun shy about removing them and Dave offered to remove them for me and put on the fittings for the stainless hose set. Anyway I still needed to remove the old one from the car and that is what I did today on my FB. I guess I replaced the air filter as well. The one in the car looked good but it was filled with seeds of some variety. Lot of seeds! and there was what looked like an acid burn. I am guessing that at some point the intake sucked in a drop of battery acid and it splatted right in the middle of the filter. On the GSL-SE the actual air intake is right by the battery. There is a duct that runs across the front of the radiator under a cover plate.
So two things today.
So two things today.
#2542
Got home from work and decided to put the painted center console back in with everything I can hook up easily. The XM antenna is just run inside the car for now to above the rear hatch glass and covers the washer sprayer holes since I removed the non functional rear washer and wiper stuff. On a warm day I will run the antenna under the carpet. The power for the XM just runs to the cigarette lighter. No rear speakers yet. Still I have XM + CD + MP3 + AM/FM. And the center console metallic paint looks excellent. I am really looking forward to finishing this up.
Photos attached.
Photos attached.
Where you have that pocket filled with carbon fiber I'd put a pocket for storing a phone or anything else you want to shove in there. I was going to do something similar to the pocket idea but now I have to use that entire space for gauge installation. Looks like you have a nice setup though - caught my eye and I like it, keep up the good work!
#2543
Ready or not...
Join Date: Dec 2009
Location: Taos, NM
Posts: 261
Likes: 0
Received 0 Likes
on
0 Posts
I looked in on my tranny pan (A/T) gasket install... weeks later. Just at 1 bolt a tiny drip. Wiped it off. hour later.... same drip. Tightened that bolt a bit... drip returned... another 1/8 turn... felt funny. Broke the bolt.
On the bright side I got the lame bumper stickers off!!! Thanks Doug for the hair dryer technique.
On the bright side I got the lame bumper stickers off!!! Thanks Doug for the hair dryer technique.
#2546
^ I just did this the other evening with a stud that holds on the cover for some of the fuel check-valve bits. There was a ferrule between the big squishy bushing that I was unaware of. Ended up removing the ferrule and was just able to get the nut back on what remained of the snapped stud.
#2548
Picked up 3 replacement keys for the FB yesterday. Today, irritated by the fact I have 3 keys for my FB (each of which unlocks something different), I pulled the two door lock cylinders and the hatch lock cylinder. I'll be taking them into a lock shop to have the internals redone to match the ignition so I'll have 3 keys that open all locks and start the car. The bonus is that since the internals will have been redone, I won't have to futz with the key every time I go to unlock the doors or hatch anymore.
fm
fm


