
(INTERIOR) How to: Repaint your stereo surround/center console pieces.

Thread Starter
Joined: Sep 2002
Posts: 2,932
Likes: 6
From: Surrounded by Sebey parts, Rhode Island
(INTERIOR) How to: Repaint your stereo surround/center console pieces.
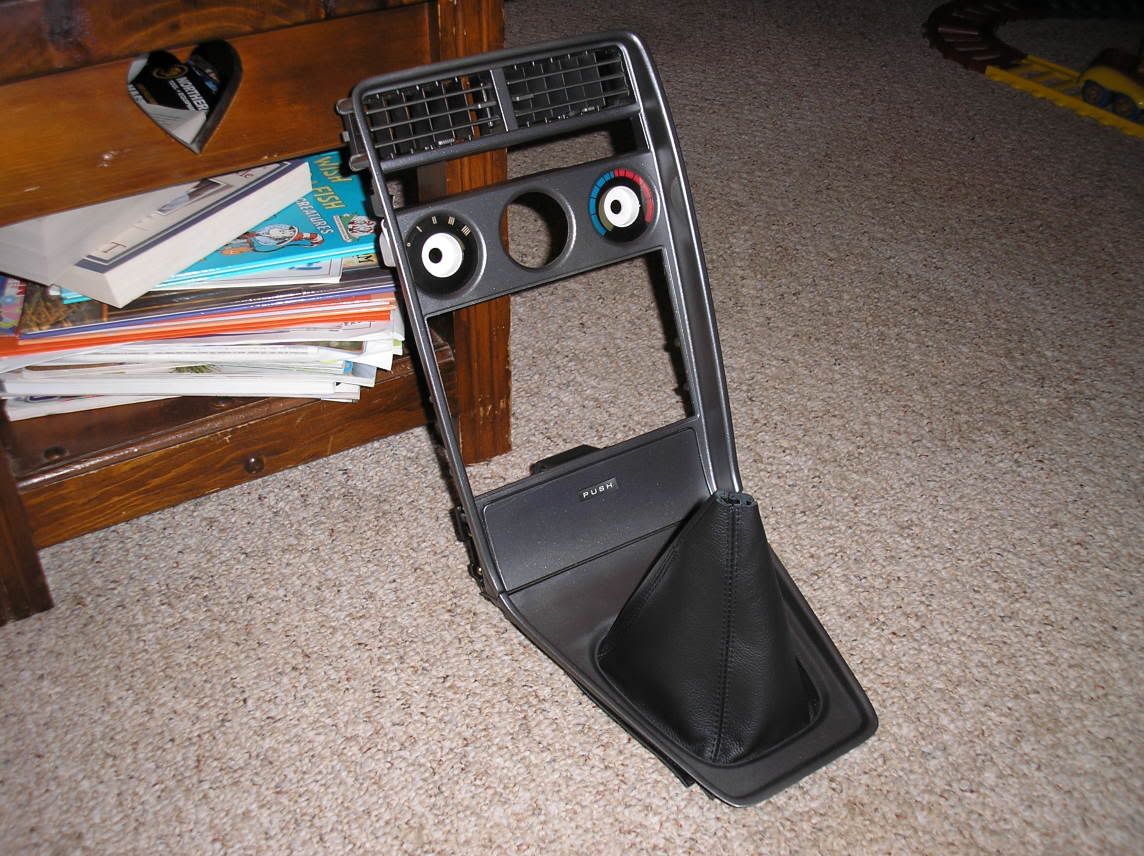
I started with this:
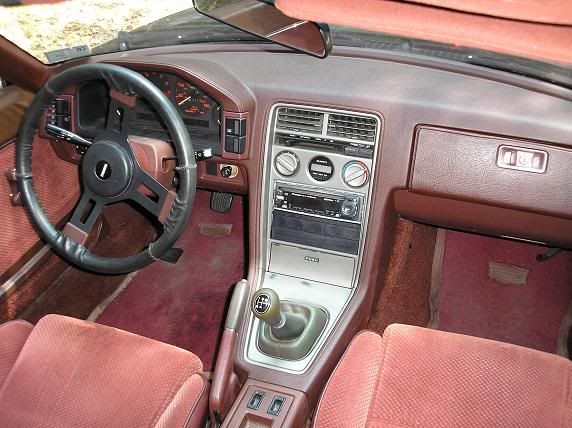
As you can see from this close up, there was some heavy fading...
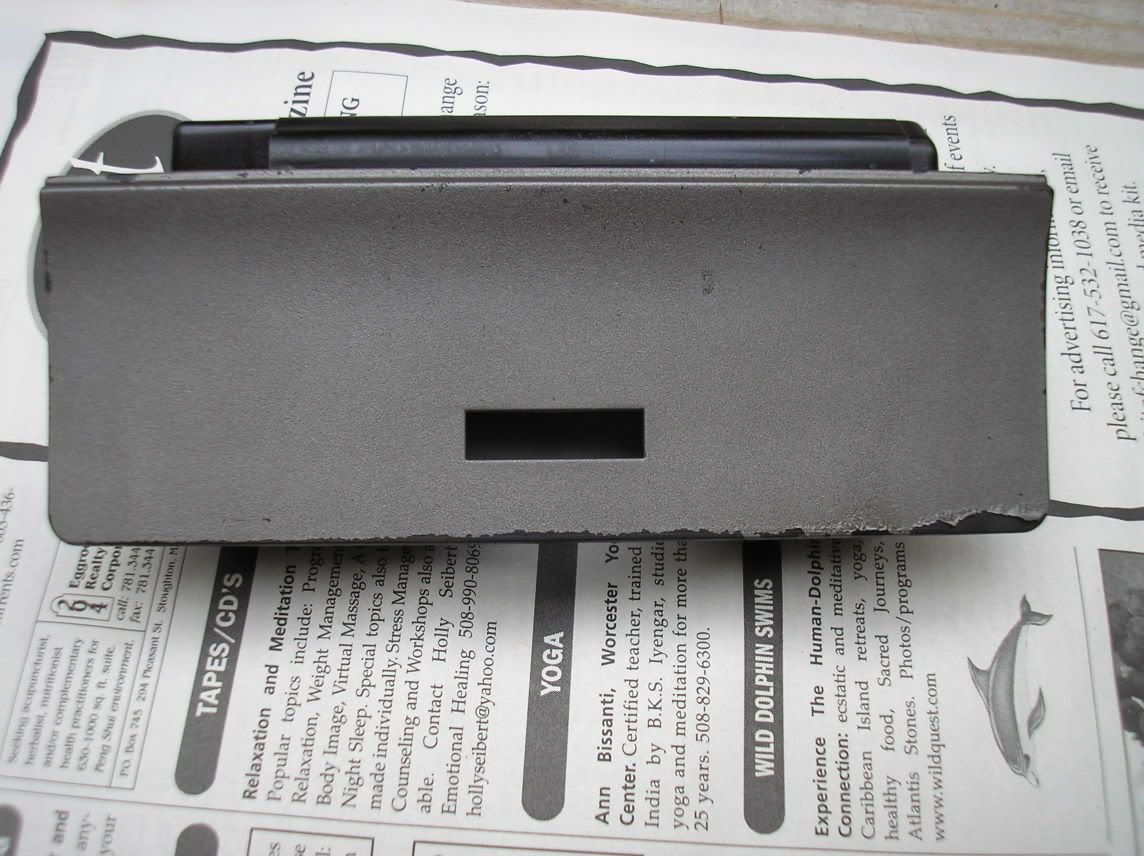
The ashtray is worn, too:
You can't paint those parts without painting this:
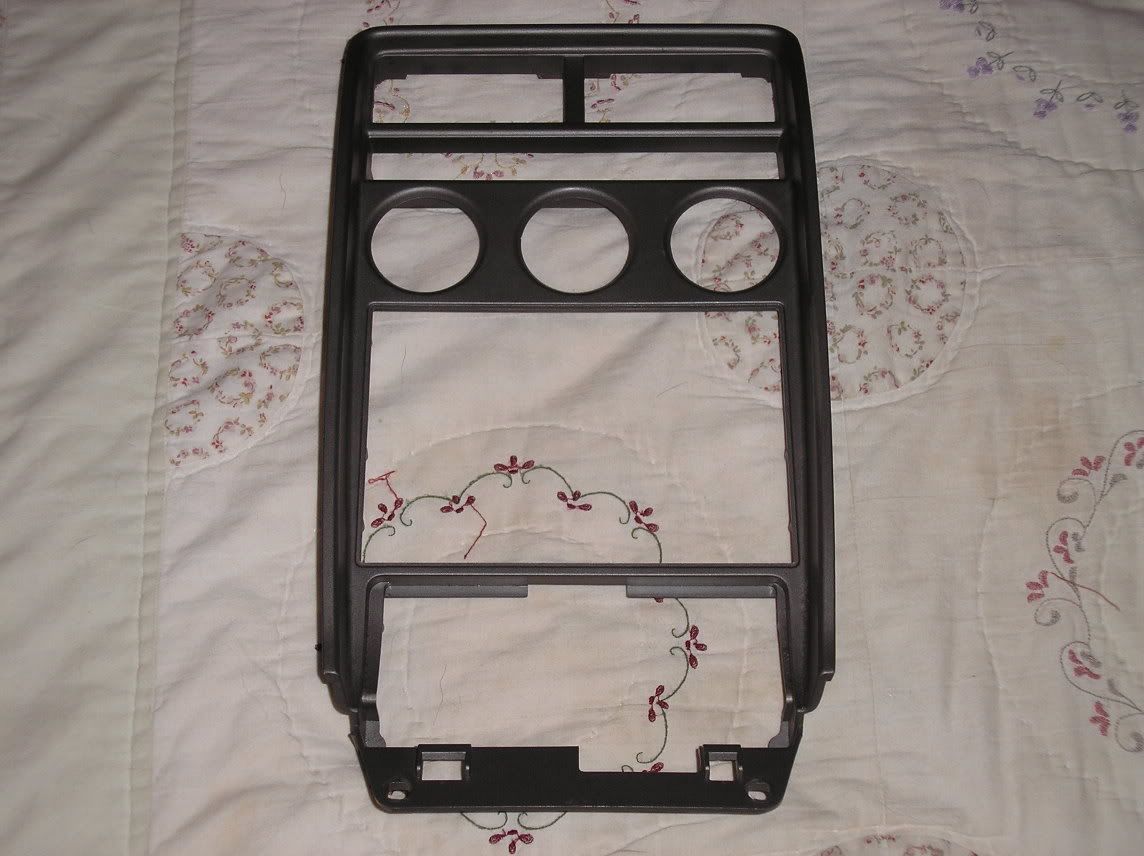
First things first: Remove all the switches, the AC vents, and the ashtray. Take apart everything so it's down to just the bare plastic. This minimizes needing to mask stuff off later. Then, wash the ever loving **** out of it. I used a scrub brush and some dish detergent. Dry well.
Next:
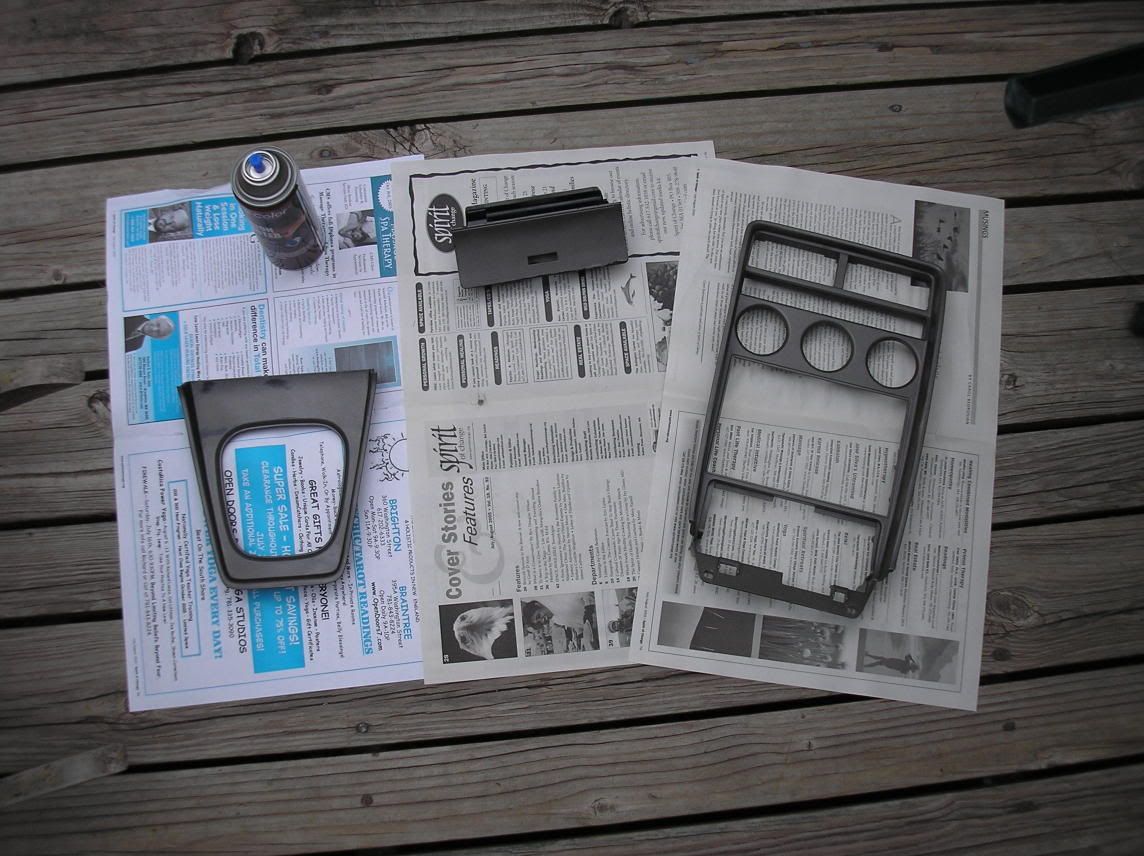
I sprayed everything with "Plastic Adhesion Promoter", bought at my local auto parts store. I gave it about 4 coats.
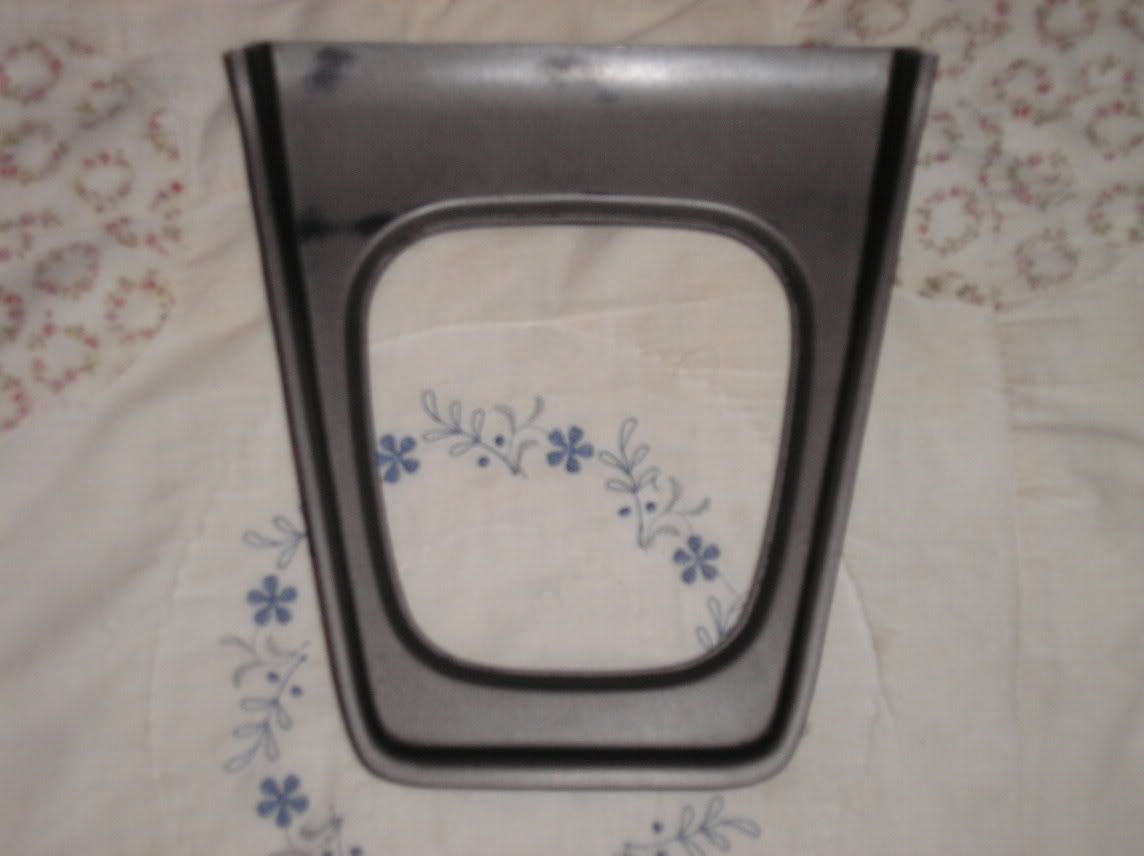
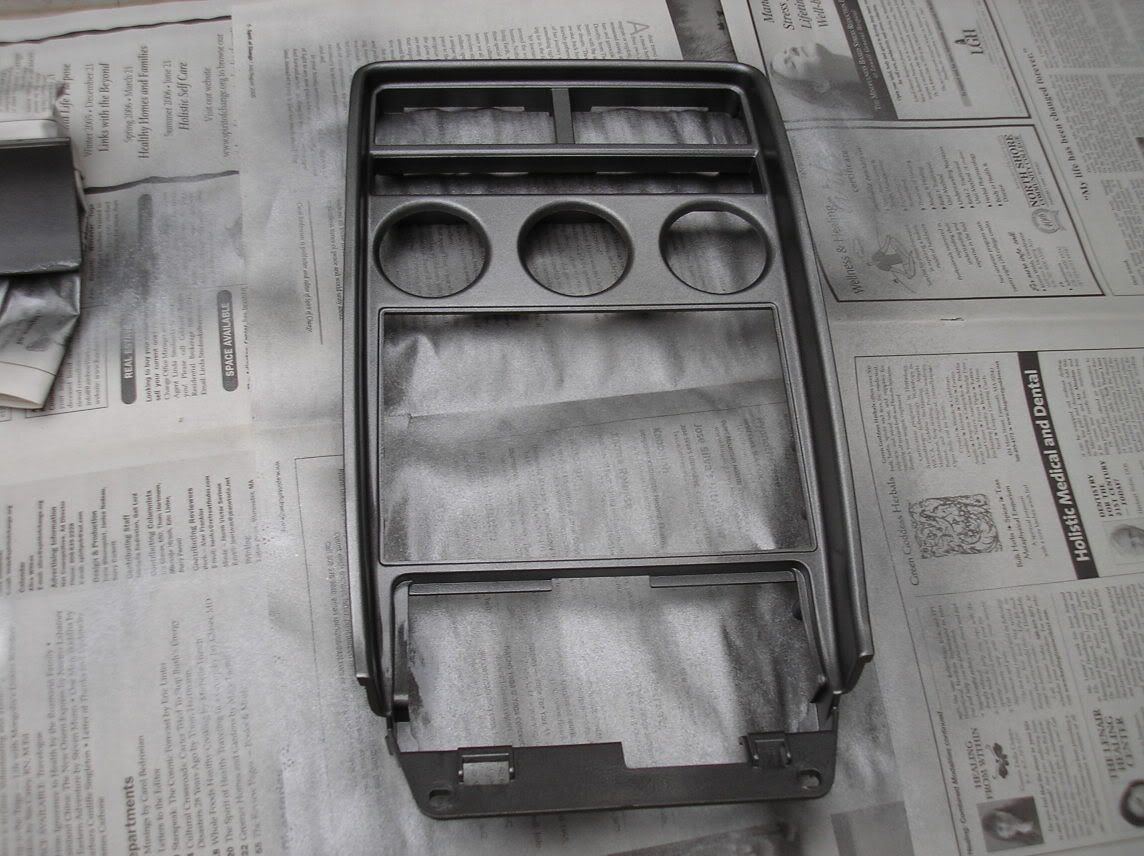
I went with "Medium Gray Metallic", which is actually a tiny bit darker than the factory silver color:
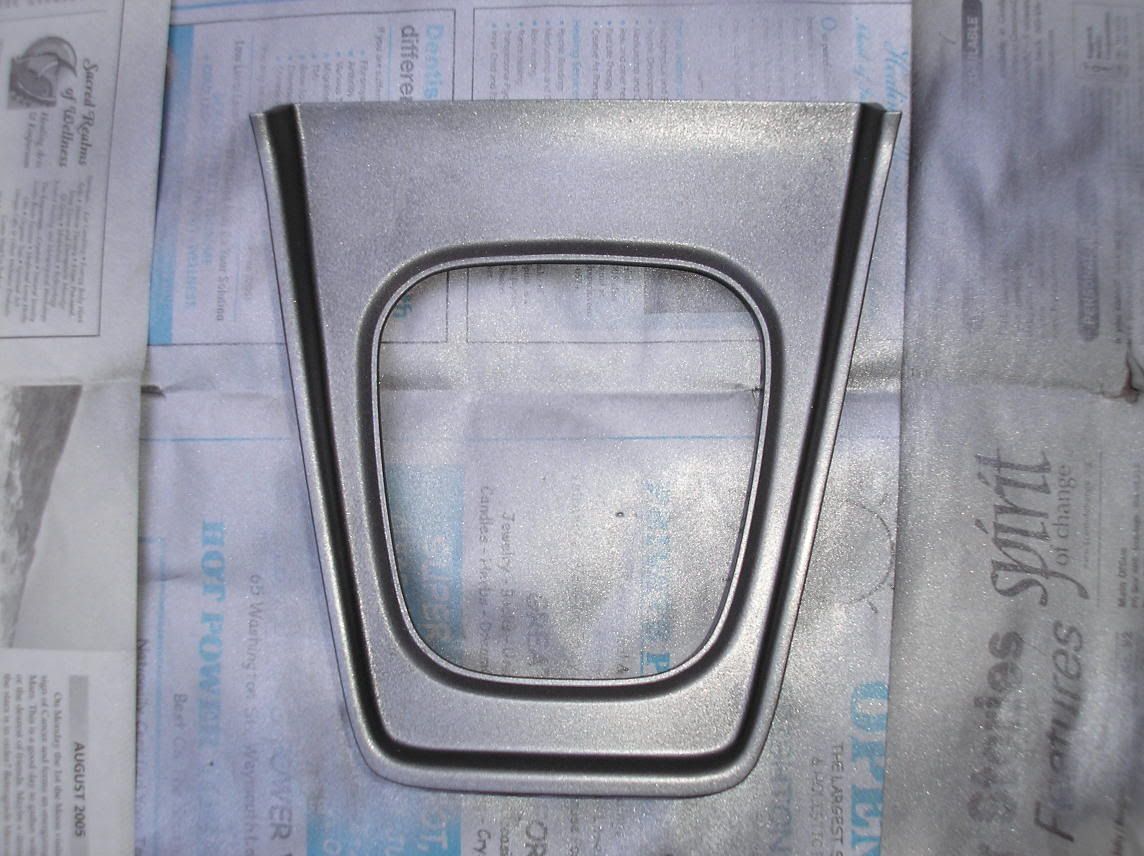
You have to be careful on the shifter surround, because the paint will pool. I did probably 10 very, very light coats after I fucked it up the first time and had to sand it all off.
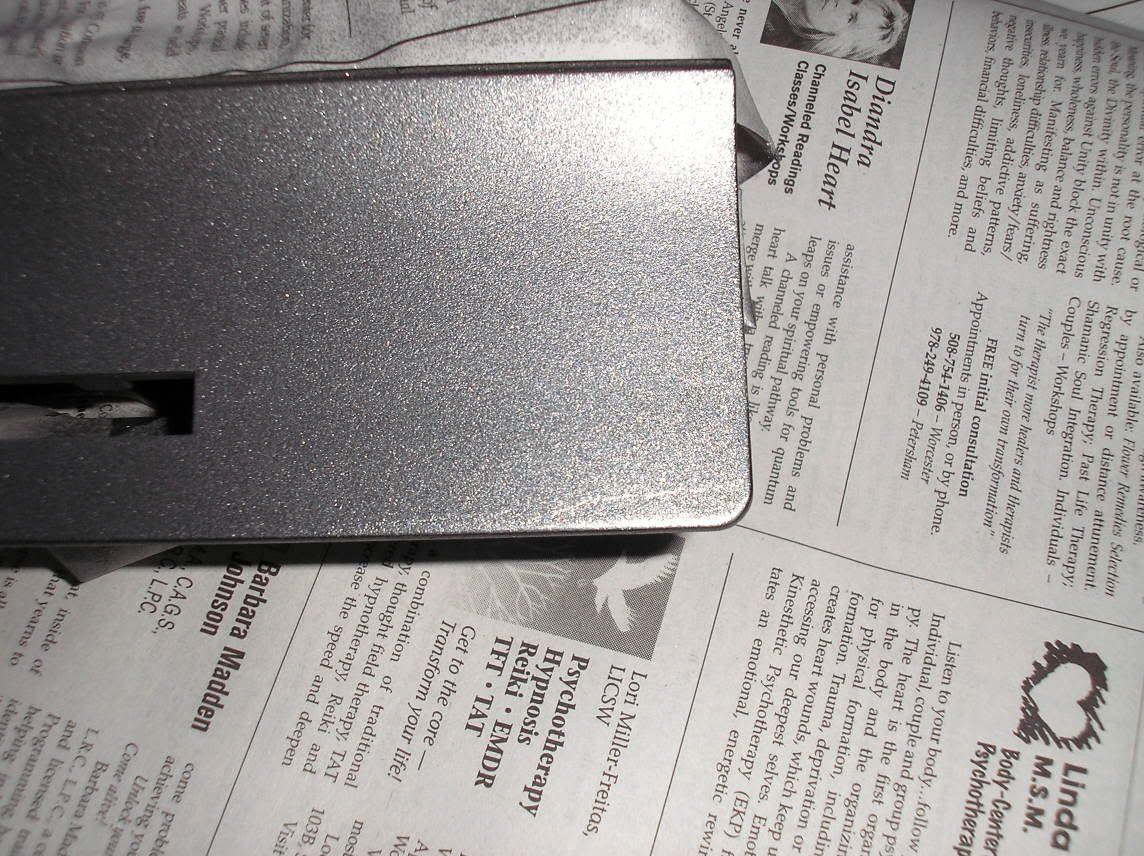
The worn spot on the ashtray was a bitch... I let the paint dry, sanded it flush, then painted a couple more layers... It's barely noticeable now, and it's good enough for me:
And here's the finished product, complete with my new leather shift boot from Maciek:
As you can see from this close up, there was some heavy fading...
The ashtray is worn, too:
You can't paint those parts without painting this:
First things first: Remove all the switches, the AC vents, and the ashtray. Take apart everything so it's down to just the bare plastic. This minimizes needing to mask stuff off later. Then, wash the ever loving **** out of it. I used a scrub brush and some dish detergent. Dry well.
Next:
I sprayed everything with "Plastic Adhesion Promoter", bought at my local auto parts store. I gave it about 4 coats.
I went with "Medium Gray Metallic", which is actually a tiny bit darker than the factory silver color:
You have to be careful on the shifter surround, because the paint will pool. I did probably 10 very, very light coats after I fucked it up the first time and had to sand it all off.
The worn spot on the ashtray was a bitch... I let the paint dry, sanded it flush, then painted a couple more layers... It's barely noticeable now, and it's good enough for me:
And here's the finished product, complete with my new leather shift boot from Maciek:
Thread Starter
Joined: Sep 2002
Posts: 2,932
Likes: 6
From: Surrounded by Sebey parts, Rhode Island
Originally Posted by Directfreak
very nice!!!
The pics take a while to load though.
The pics take a while to load though.


Trending Topics
Burning Oil-Grinding 3rd
Joined: Apr 2002
Posts: 4,094
Likes: 1
From: Union Mills NC
Originally Posted by Eriks85Rx7
Umm noob question here but how do u take off those dash pieces without breaking any clips? btw very nice! I may do the same!

And looks great.
Wheel Revolutionist!
Joined: Apr 2005
Posts: 1,018
Likes: 1
From: West Virginia
lol, not quite what i meant.. more like do u pull down on then up and out. Any screws u need to worry about etc.. Do the ***** slide off or is there is special way. I just helped my friend take his dash off his Escort wagon and it was pain in the butt. Better to know what your doing before start 
I have done the same thing except I used a black primer before the paint so the primer would fill in everything. @ coats of primer and sanded afer each coat dried.
Then very small coats of the color of your choice.
Black is a good primer color if your going dark. If staying light I would use gray.
I also have put dye on my door panels / and parts of the dash. Need to finish the rear cargo area and the inside will be done.
Here is a pic of my door panel when I finished it last winter (I had to drive out side to get a good pic).
The dash and doors are harder than you think to get perfect. After you have scrubbed the parts either the door panel or dash parts, Wipe the **** out of them with alcohol. Then use a prep spray to make the dye stick to the material. Then spray your dye in very small coats. Wear a breathing mask or do it in a very well vented area.
I went to a local automotive paint store and had them match my dye for me. Then I used a 8.00 pump sprayer they sold me. That sprayer is like a can sprayer but is more even and sprays alot better.
If you need to know any of this info about I can post pics.
Here is my door panel,

Thread Starter
Joined: Sep 2002
Posts: 2,932
Likes: 6
From: Surrounded by Sebey parts, Rhode Island
The other thing you can use if you have some light scratches on your plastic pieces is "filler primer", which will handle small imperfections. Mine was nice enough I didn't have to worry about it. And, as far as priming it goes, you don't need to if you use the plastic adhesion promoter... It's basically a clear primer.
Admitted Sevenaholic
Joined: Feb 2001
Posts: 1,910
Likes: 0
From: Ashland, OH
Very nice job, its amazing what a few dollars and some hard work can do.
You seem to be "very" busy with the new beast. Good to see alot of energy going into it.
I did mine awhile back and was amazed at how well it came out, like you said with many thin coats....
my crappy pix...

Now if I can just get off my azz and finish the other 2,389 projects
You seem to be "very" busy with the new beast. Good to see alot of energy going into it.
I did mine awhile back and was amazed at how well it came out, like you said with many thin coats....
my crappy pix...
Now if I can just get off my azz and finish the other 2,389 projects
Thread Starter
Joined: Sep 2002
Posts: 2,932
Likes: 6
From: Surrounded by Sebey parts, Rhode Island
Originally Posted by z-beater
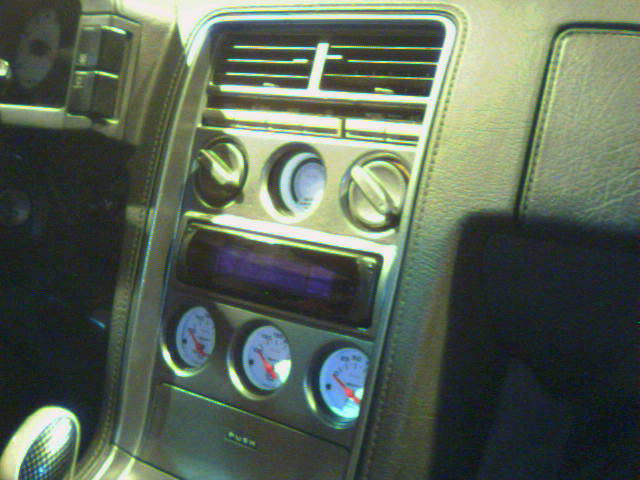
how did you do the lower section to accomodate gauges?
I'll pop it back in the car tonight and do another pic of the same angle as the first one. I think I am going to do the gauge surround in the same color, we'll see. I think it will look nice with the black and grey interior I'm going to do.
Senior Member
Joined: Oct 2002
Posts: 501
Likes: 0
From: Eugene, Oregon
Center Console
Just wondering if anyone has ever tried to just remove the old paint with a very mild stripper.
If you look on the Back Side it is Black. So before the factory sprayed the Panel (Whatever Color it's Now) it started out being solid Black i.e. UnPainted.
I have an extra 84 Surround so I'm going to try to find a Plastic Safe Stripper.
Unless someone here has tried it before of course.
If not I'm going the Paint Route.
Looks Great By The Way!
sgieldon
steve

Paint stripper will melt the plastic. I sanded my surround with fine steel wool and then washed it with dishwashing detergent and dried it well. Next I sprayed it with a few light coats of silver plastic model paint followed by a few thin coats of clear plastic model paint.
Joined: Feb 2004
Posts: 838
Likes: 1
From: Waterloo & Mississauga, Ontario, Canada
Originally Posted by z-beater
how did you do the lower section to accomodate gauges?
REW'd FB
Joined: Dec 2004
Posts: 2,685
Likes: 1
From: WA
That is what I was thinking as well since the holes all line up. I have done some plastic welding before(mostly structural and not to aesthetically pleasing) but to get it that perfect would require welding and then sanding. And project pics max7?
At any rate that looks great!
At any rate that looks great!