sexy time
#26
Rotary Enthusiast
Thread Starter
I'll try to take some pics of the exhaust, but it's just 2 1/2 flex pipe into a collector, then silencer, over the axle with flex pipe and to the muffler. my 1st stop is the muffler shop when i put the tag on it to get get them to solidify things under there. the flex hangs a bit low for my taste.
#27
Rotary Enthusiast
Thread Starter
#28
Senior Member
I'll try to take some pics of the exhaust, but it's just 2 1/2 flex pipe into a collector, then silencer, over the axle with flex pipe and to the muffler. my 1st stop is the muffler shop when i put the tag on it to get get them to solidify things under there. the flex hangs a bit low for my taste.
#31
Rotary Enthusiast
Thread Starter
Allright folks. I suck at thread, but I'm gonna post whats on my phone and hopefully a quick description. As it stand It's almost done, some assembly required lol. (put interior door panels back on, real glass, final coat of paint)
#32
Rotary Enthusiast
Thread Starter
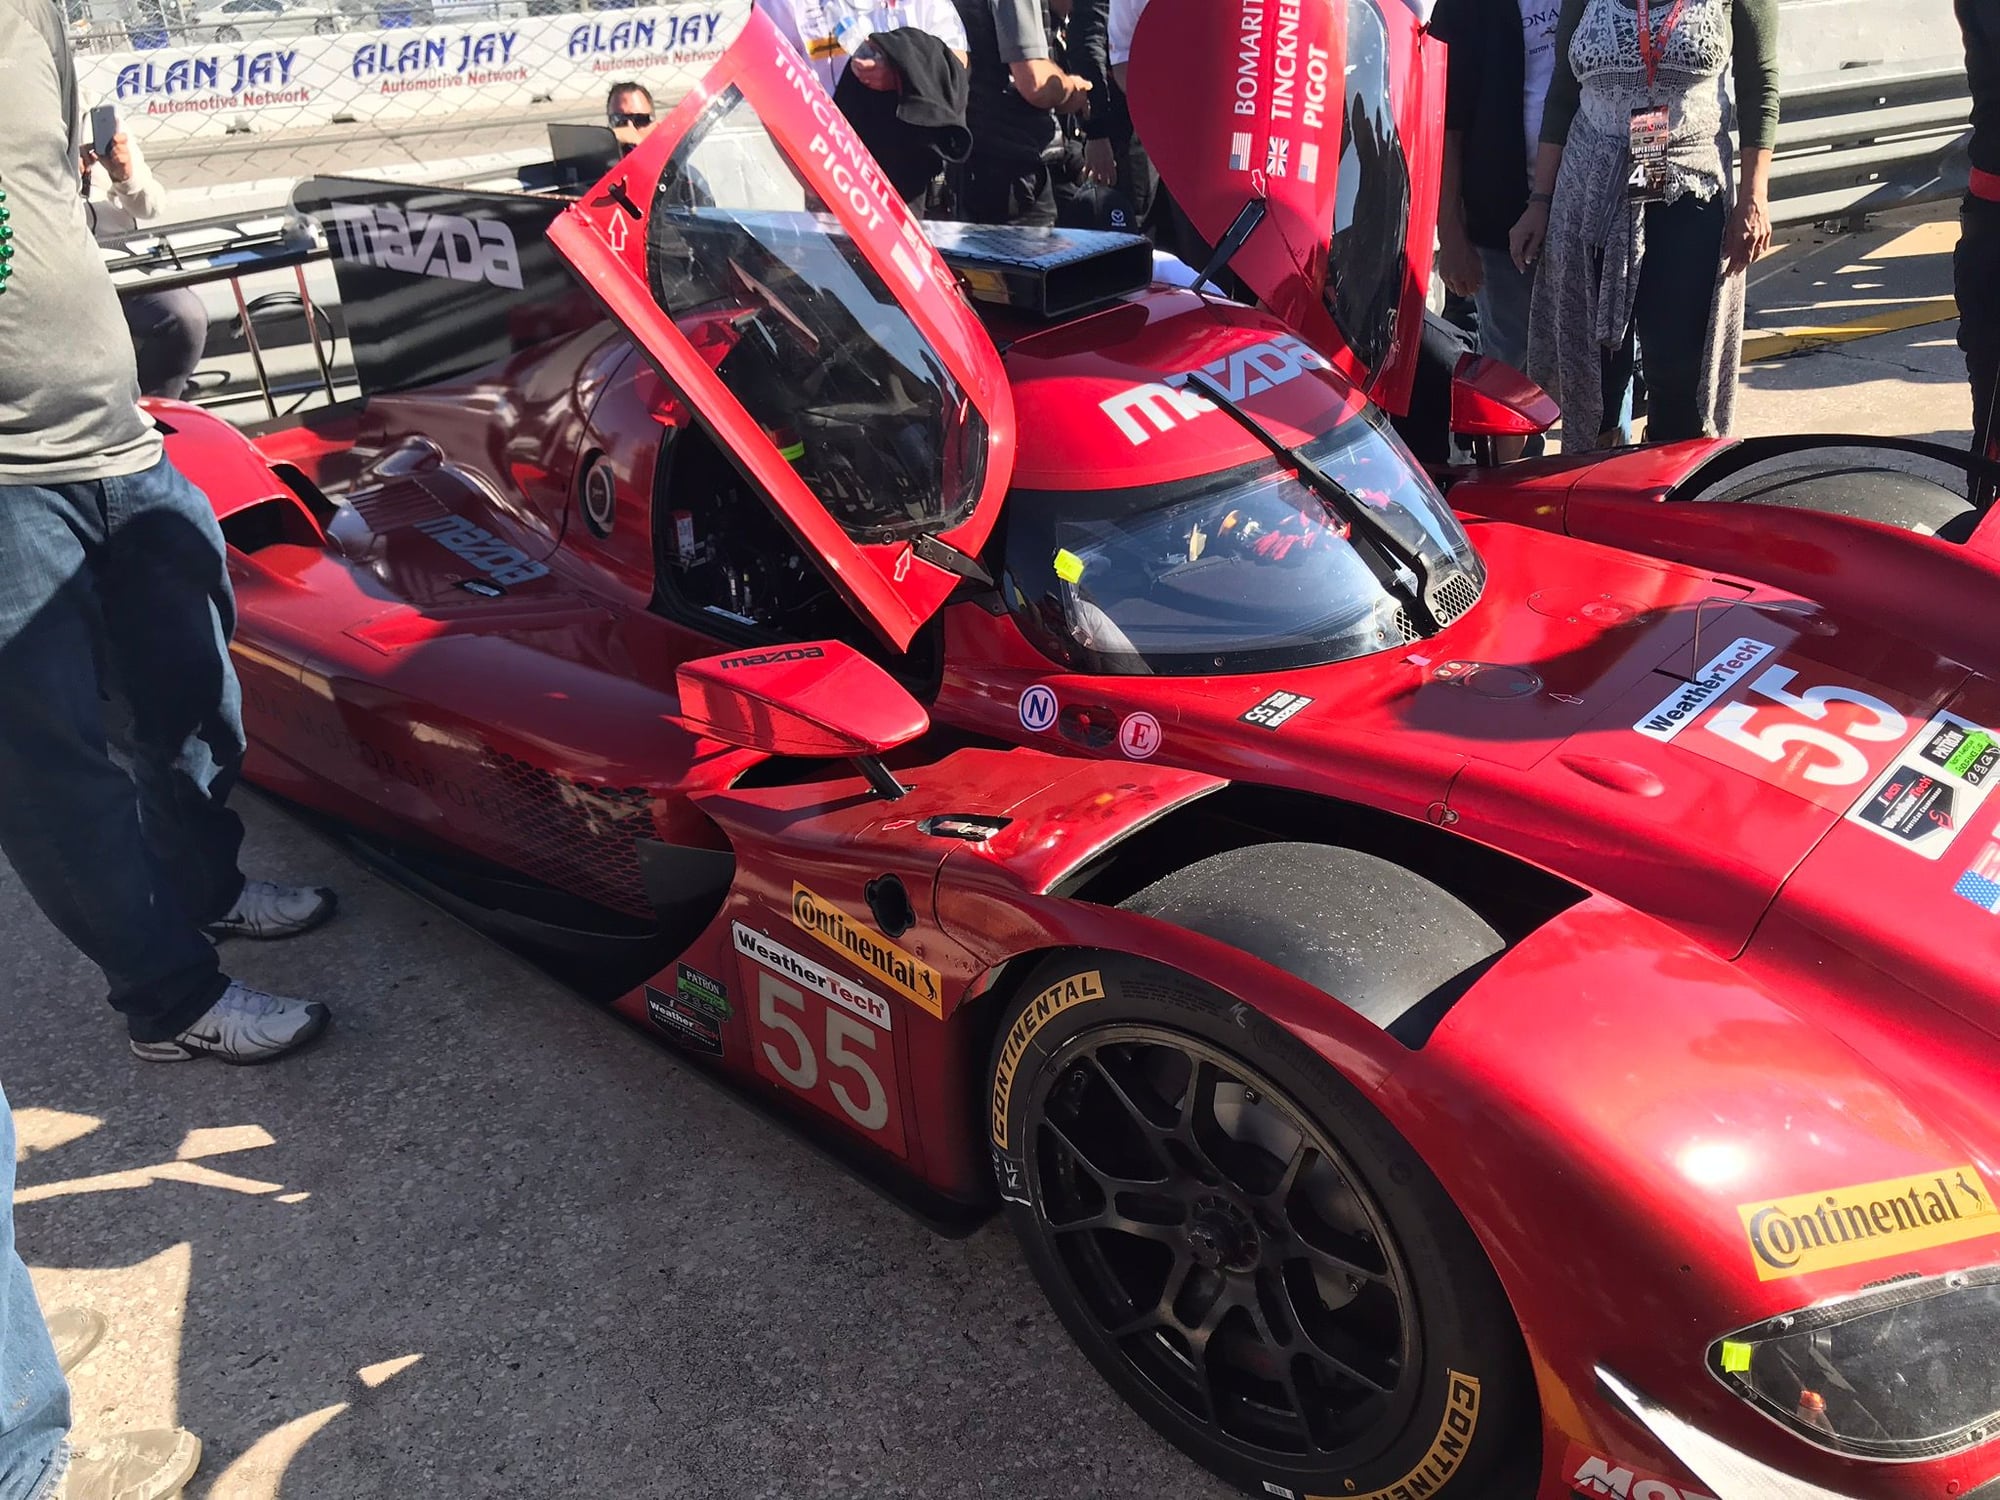
She's almost ready.... nah, just F'in with ya! Sebring 2017 and the 600HP 4 cyl
#33
Rotary Enthusiast
Thread Starter
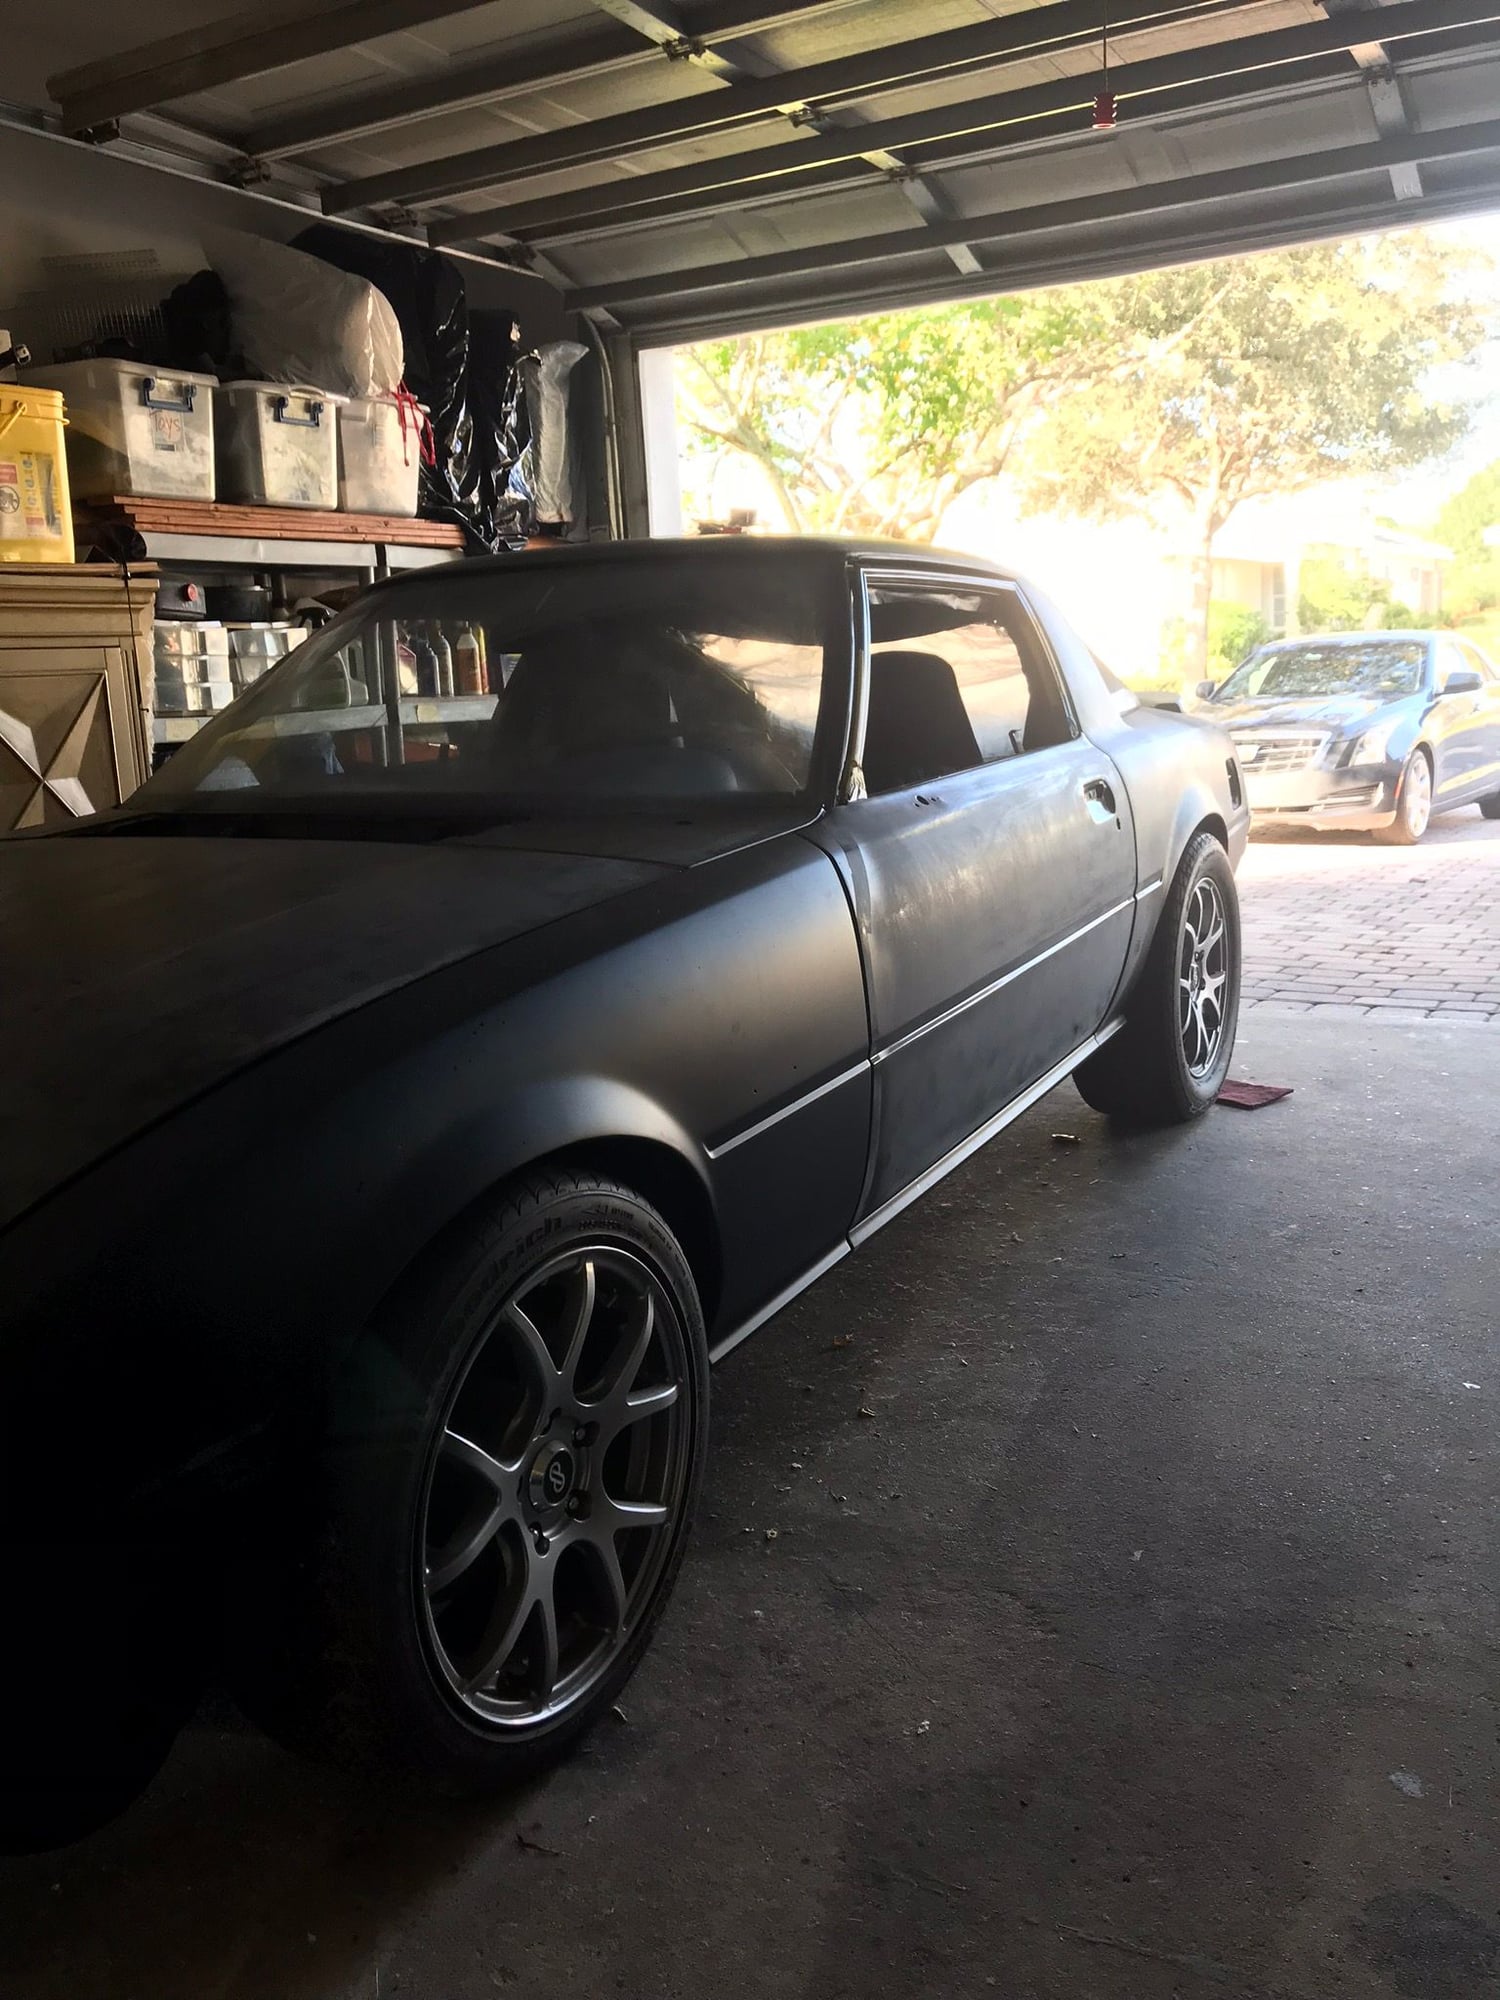
Here's about how she looks now
Last edited by ATC529R; 10-03-18 at 01:03 PM. Reason: its a video
#34
Rotary Enthusiast
Thread Starter
https://www.rx7club.com/build-thread...nning-1043323/
That is a link to my initial thread, future posts will be in this thread
That is a link to my initial thread, future posts will be in this thread
#35
Rotary Enthusiast
Thread Starter
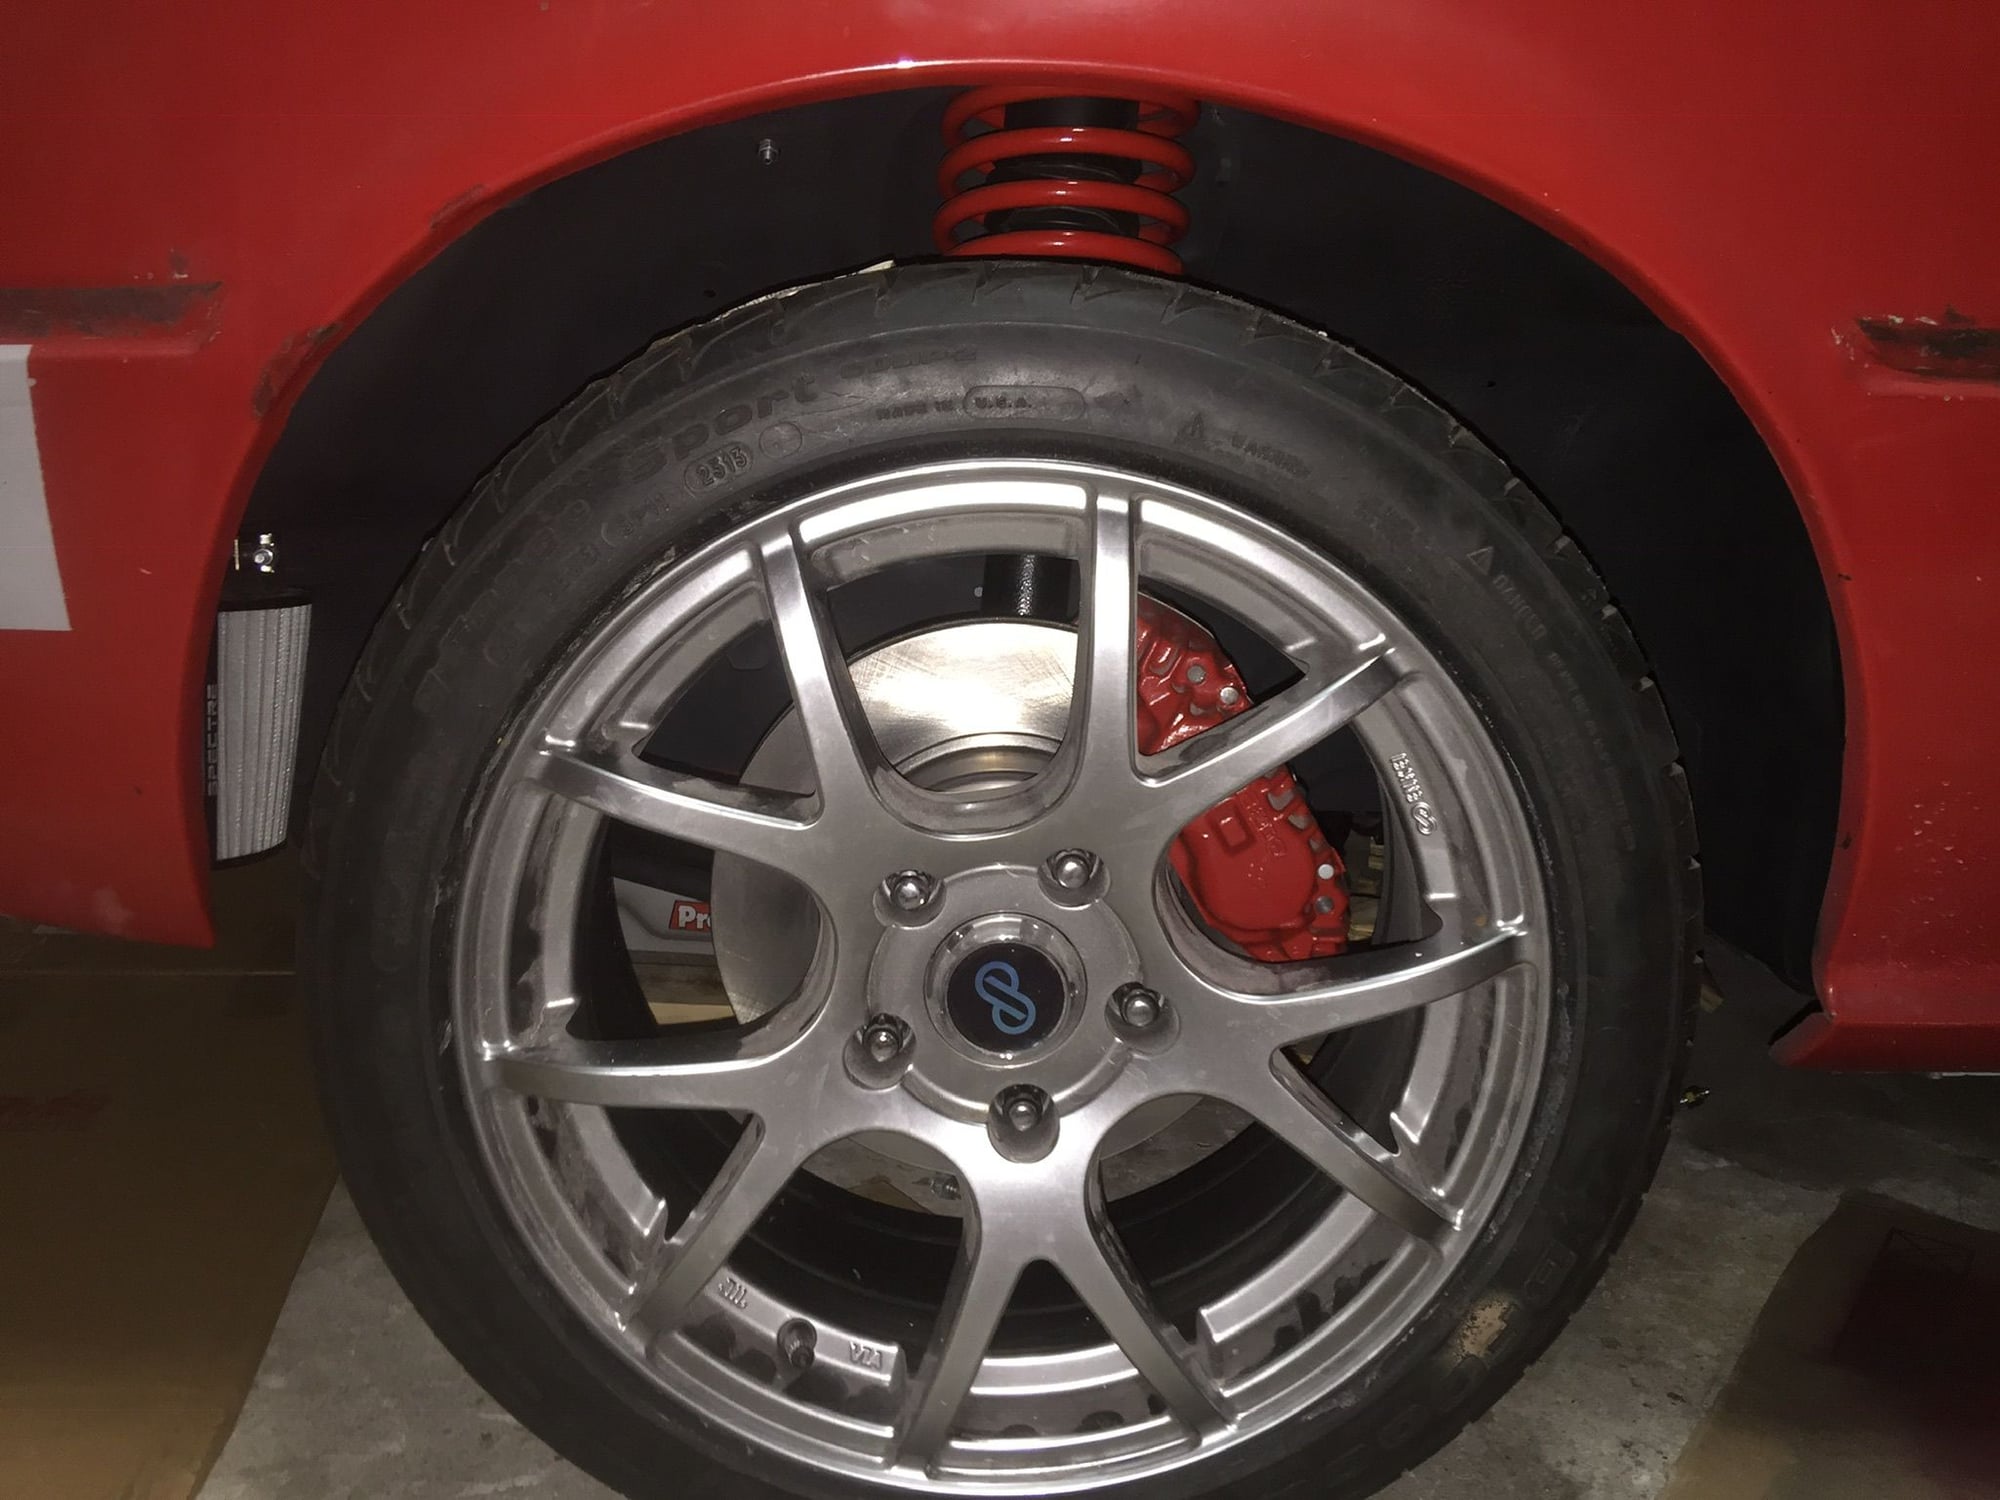
front wheel, caliper, RB springs. 5 lug etc
#36
Rotary Enthusiast
Thread Starter
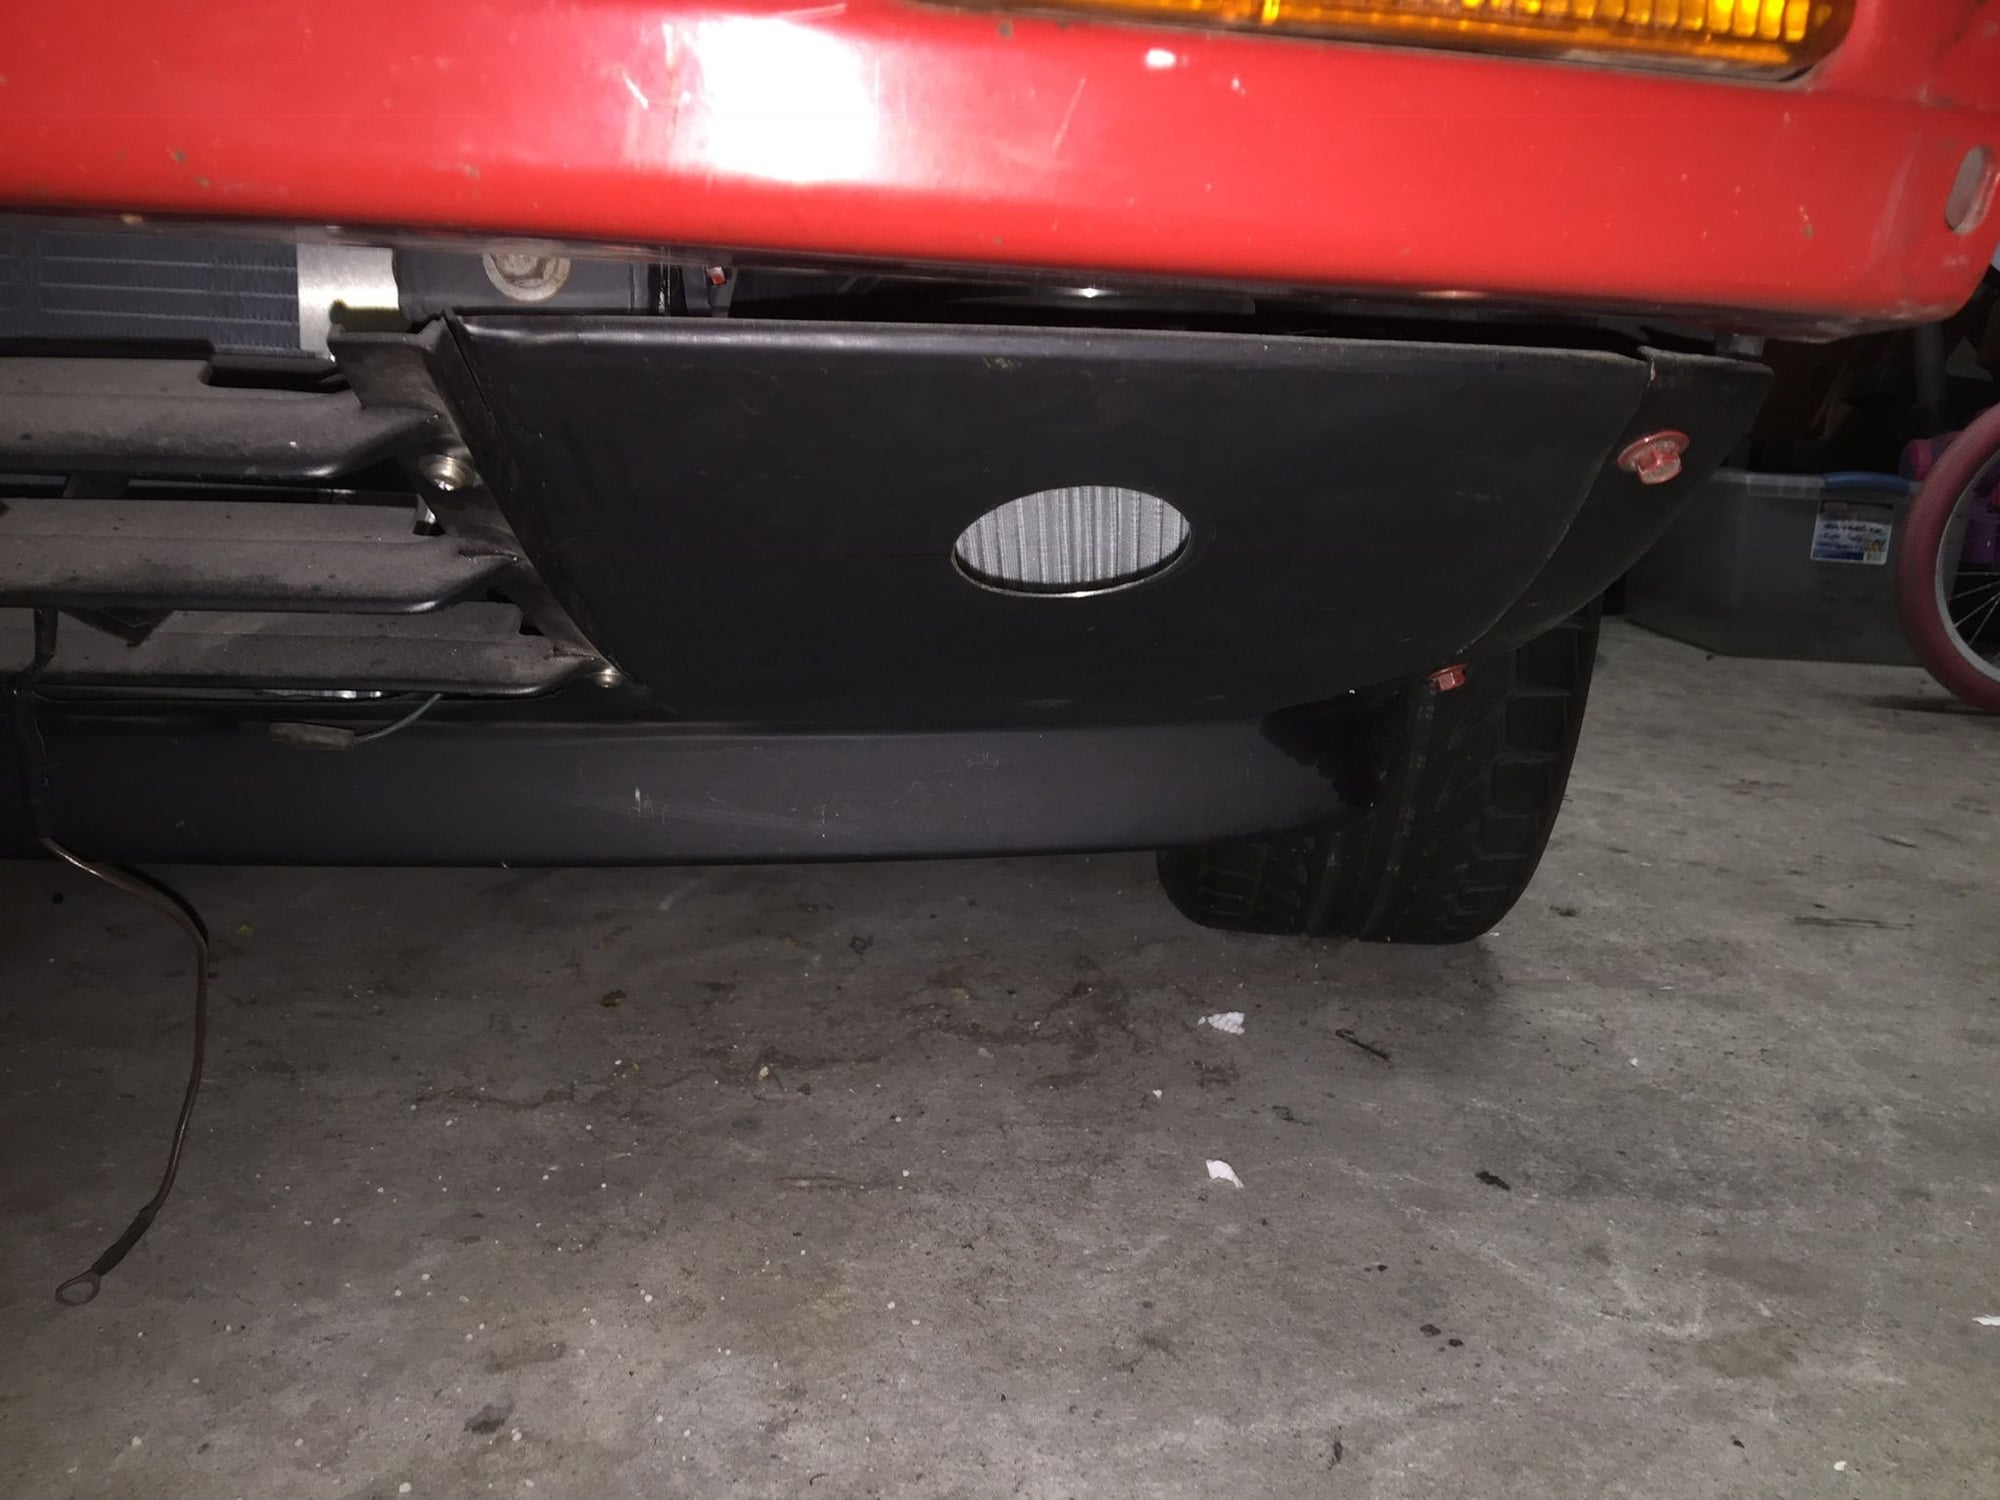
This is a photo from the front underside showing the 3" hole cut to feed the intake. I filter can be seen in above photo as well in the wheel well, but will be covered when I put the final plastic assemblies back in the wheel well. It's the same on bothe side. I over did it a bit with cold air intake as this is S. FL and this thing is hard to cool at 10.5:1
#37
Rotary Enthusiast
Thread Starter
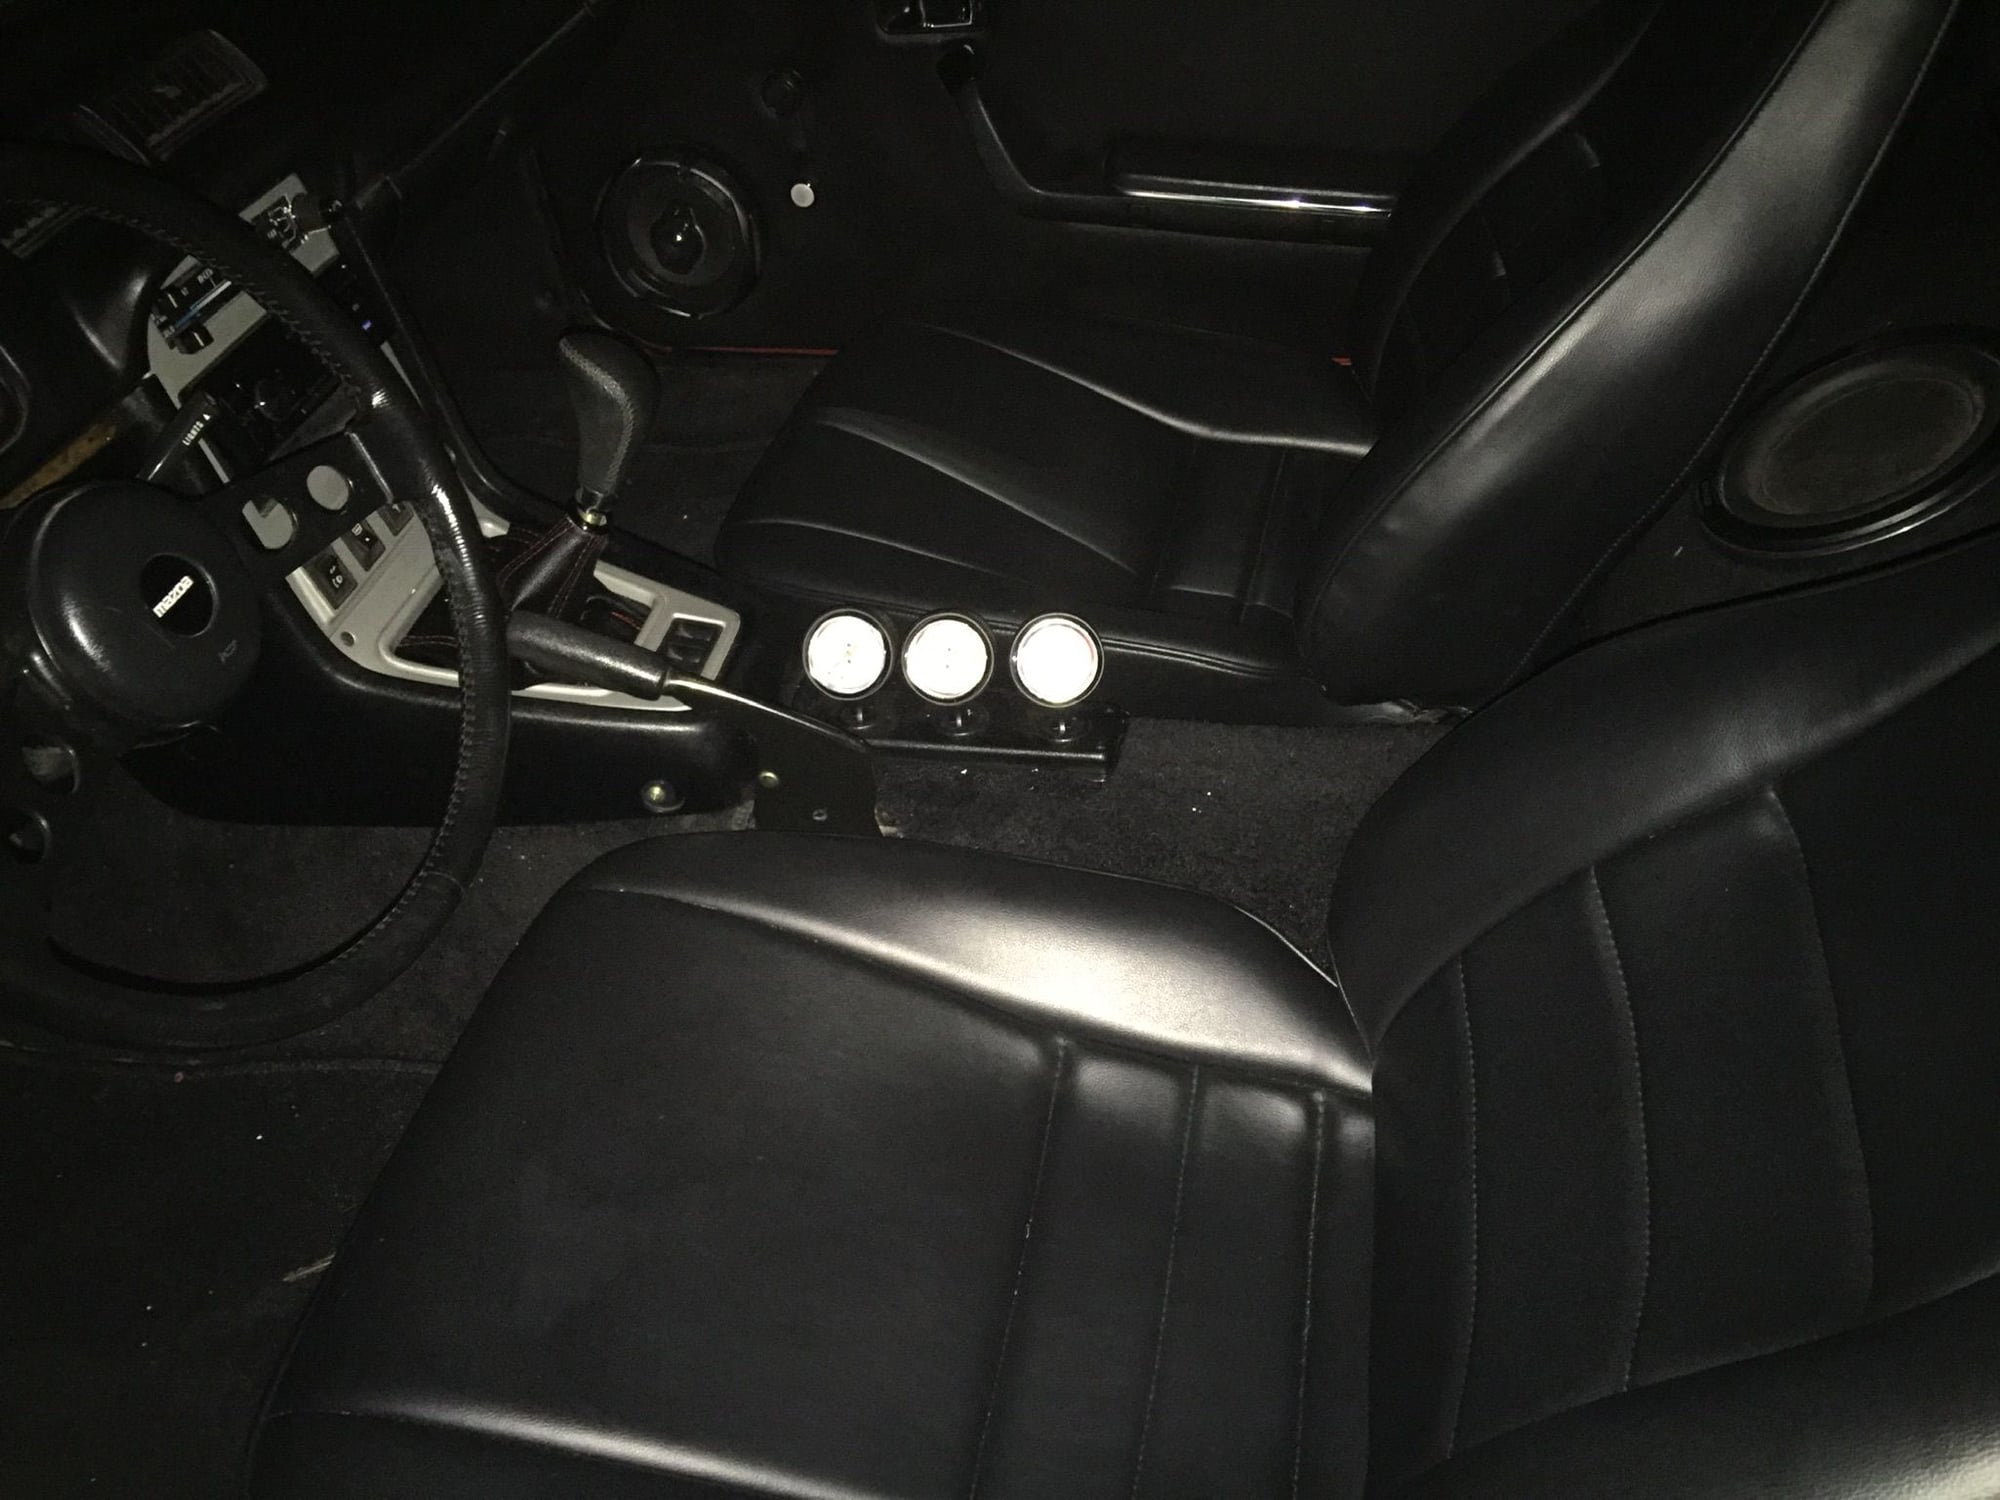
seats I recovered myself with kit. you'll also notice new kick panels by the foot area. made those from fiberglass and covered
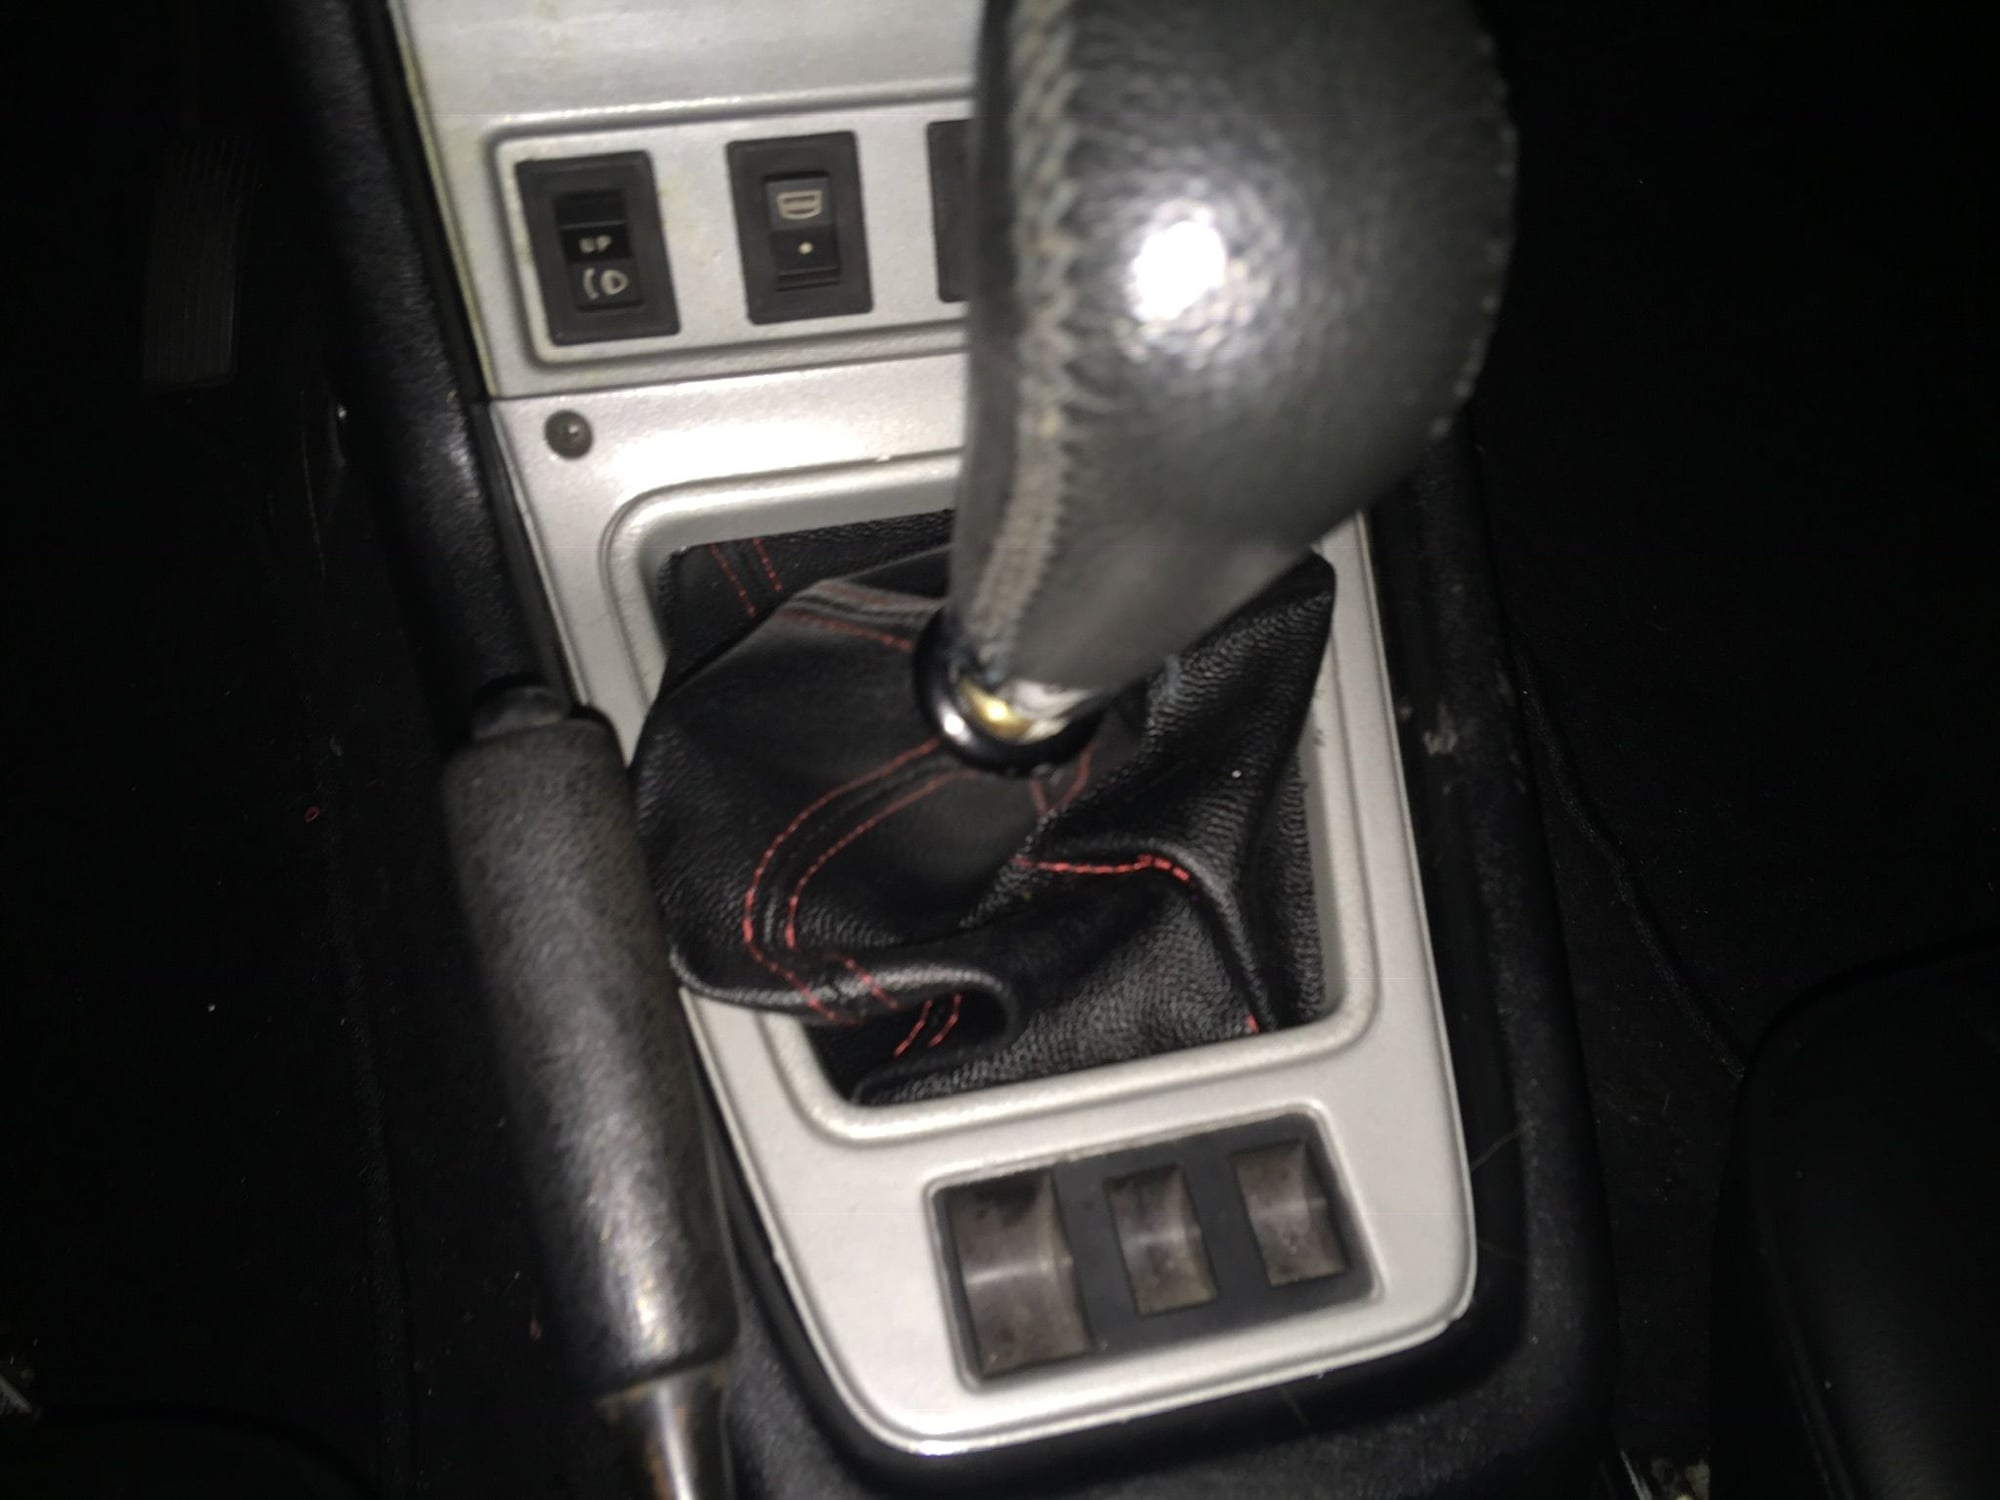
shifter final install. looks stock :-)
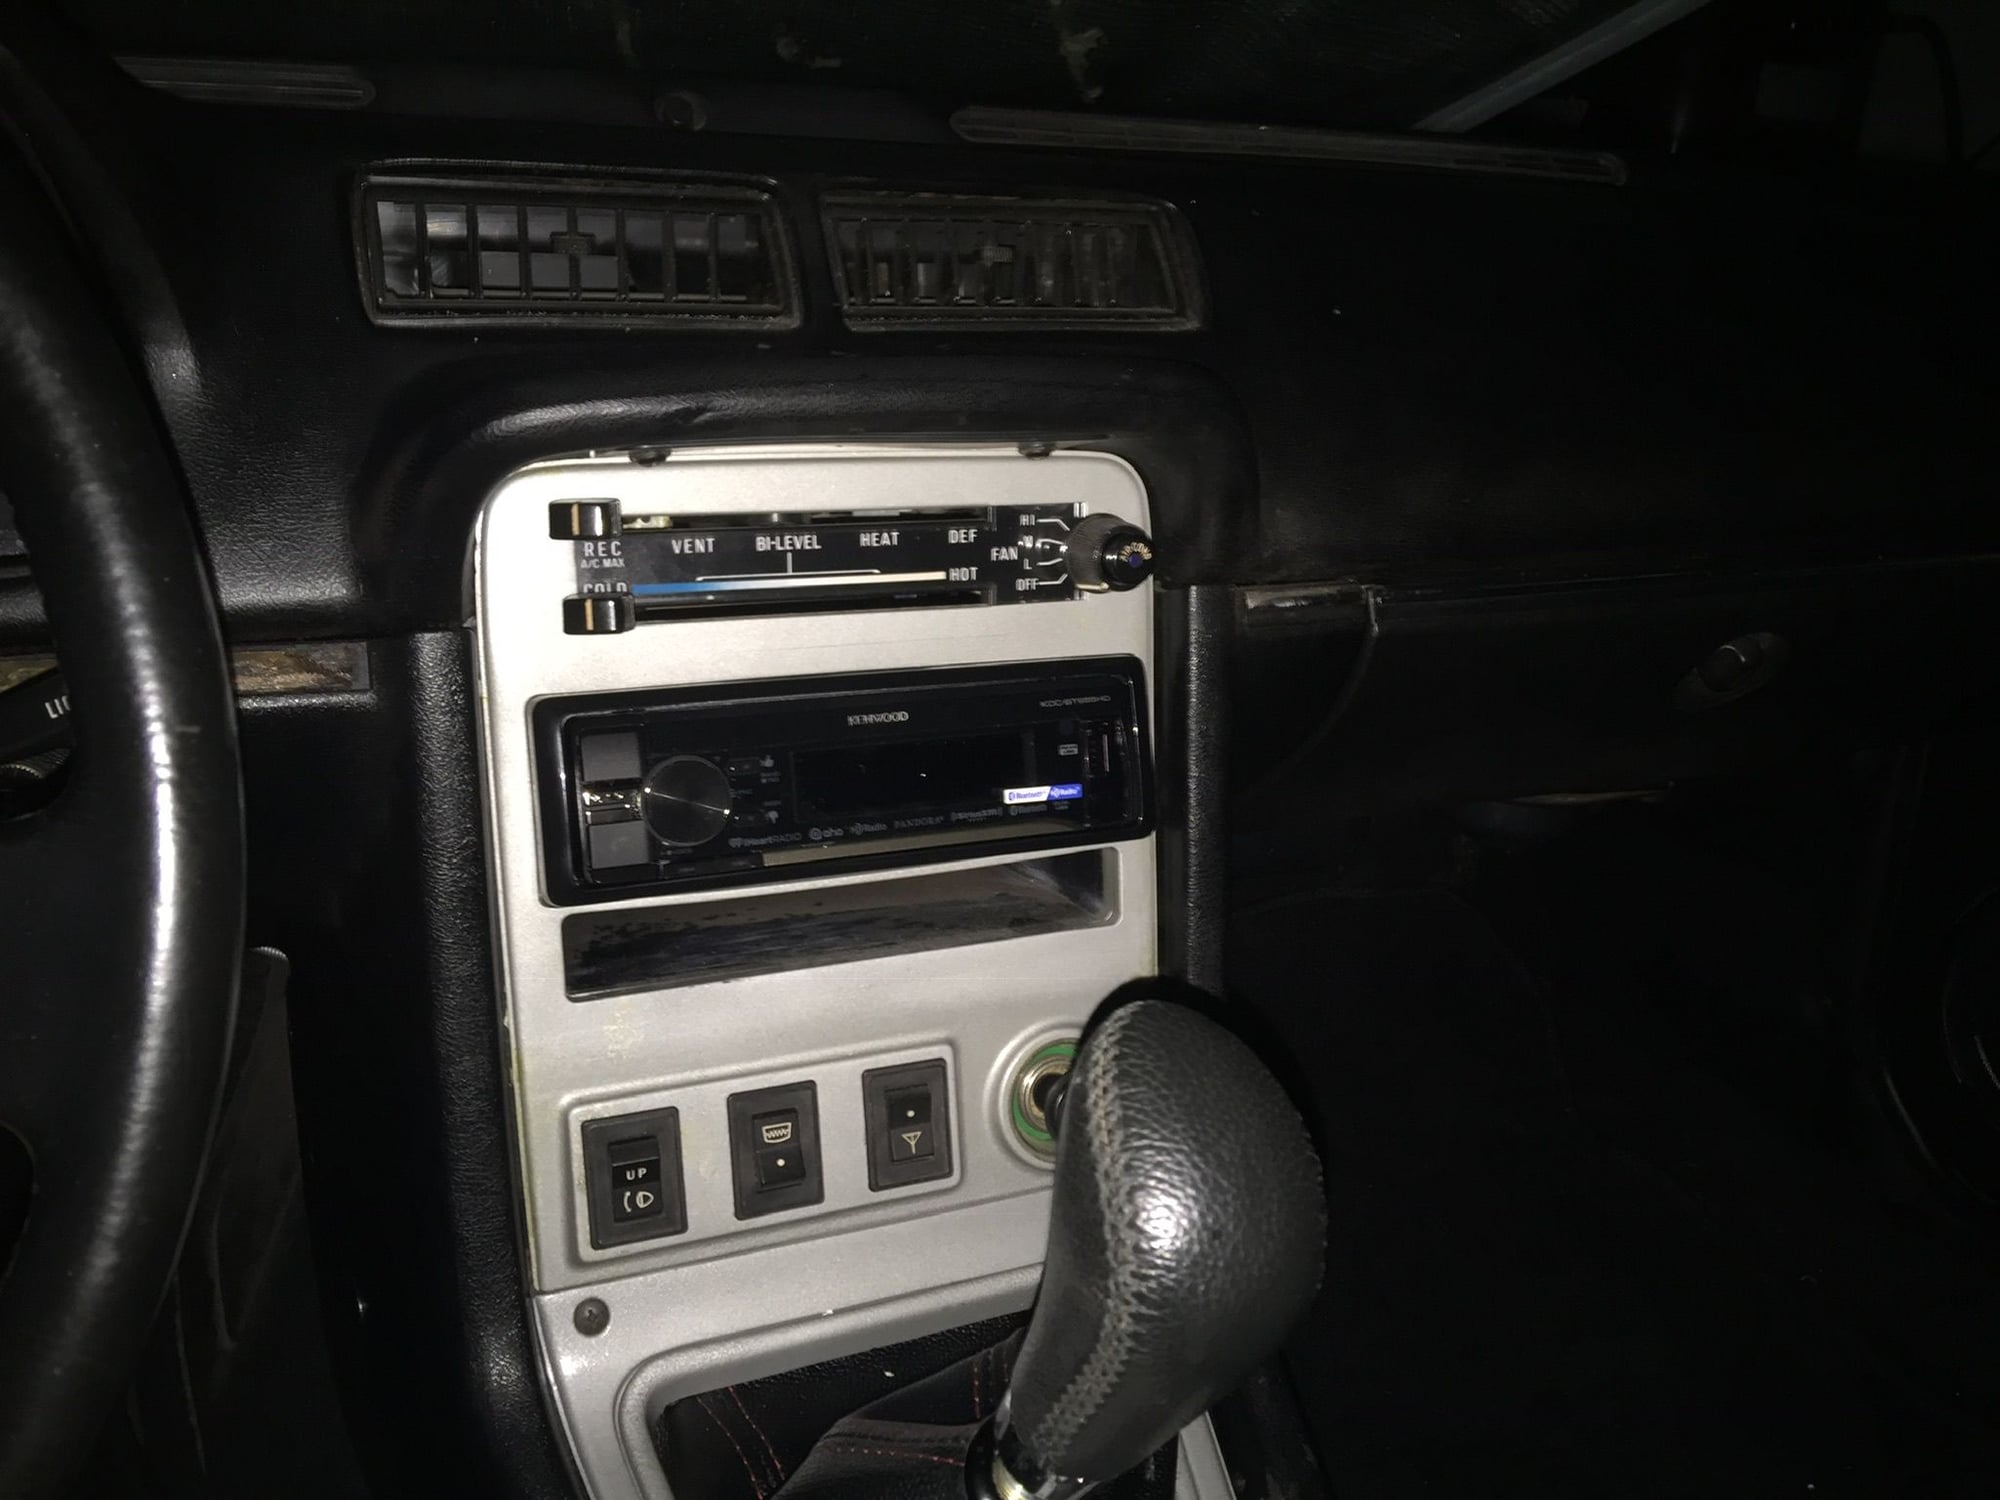
stereo, yeah dash might get a makeover later
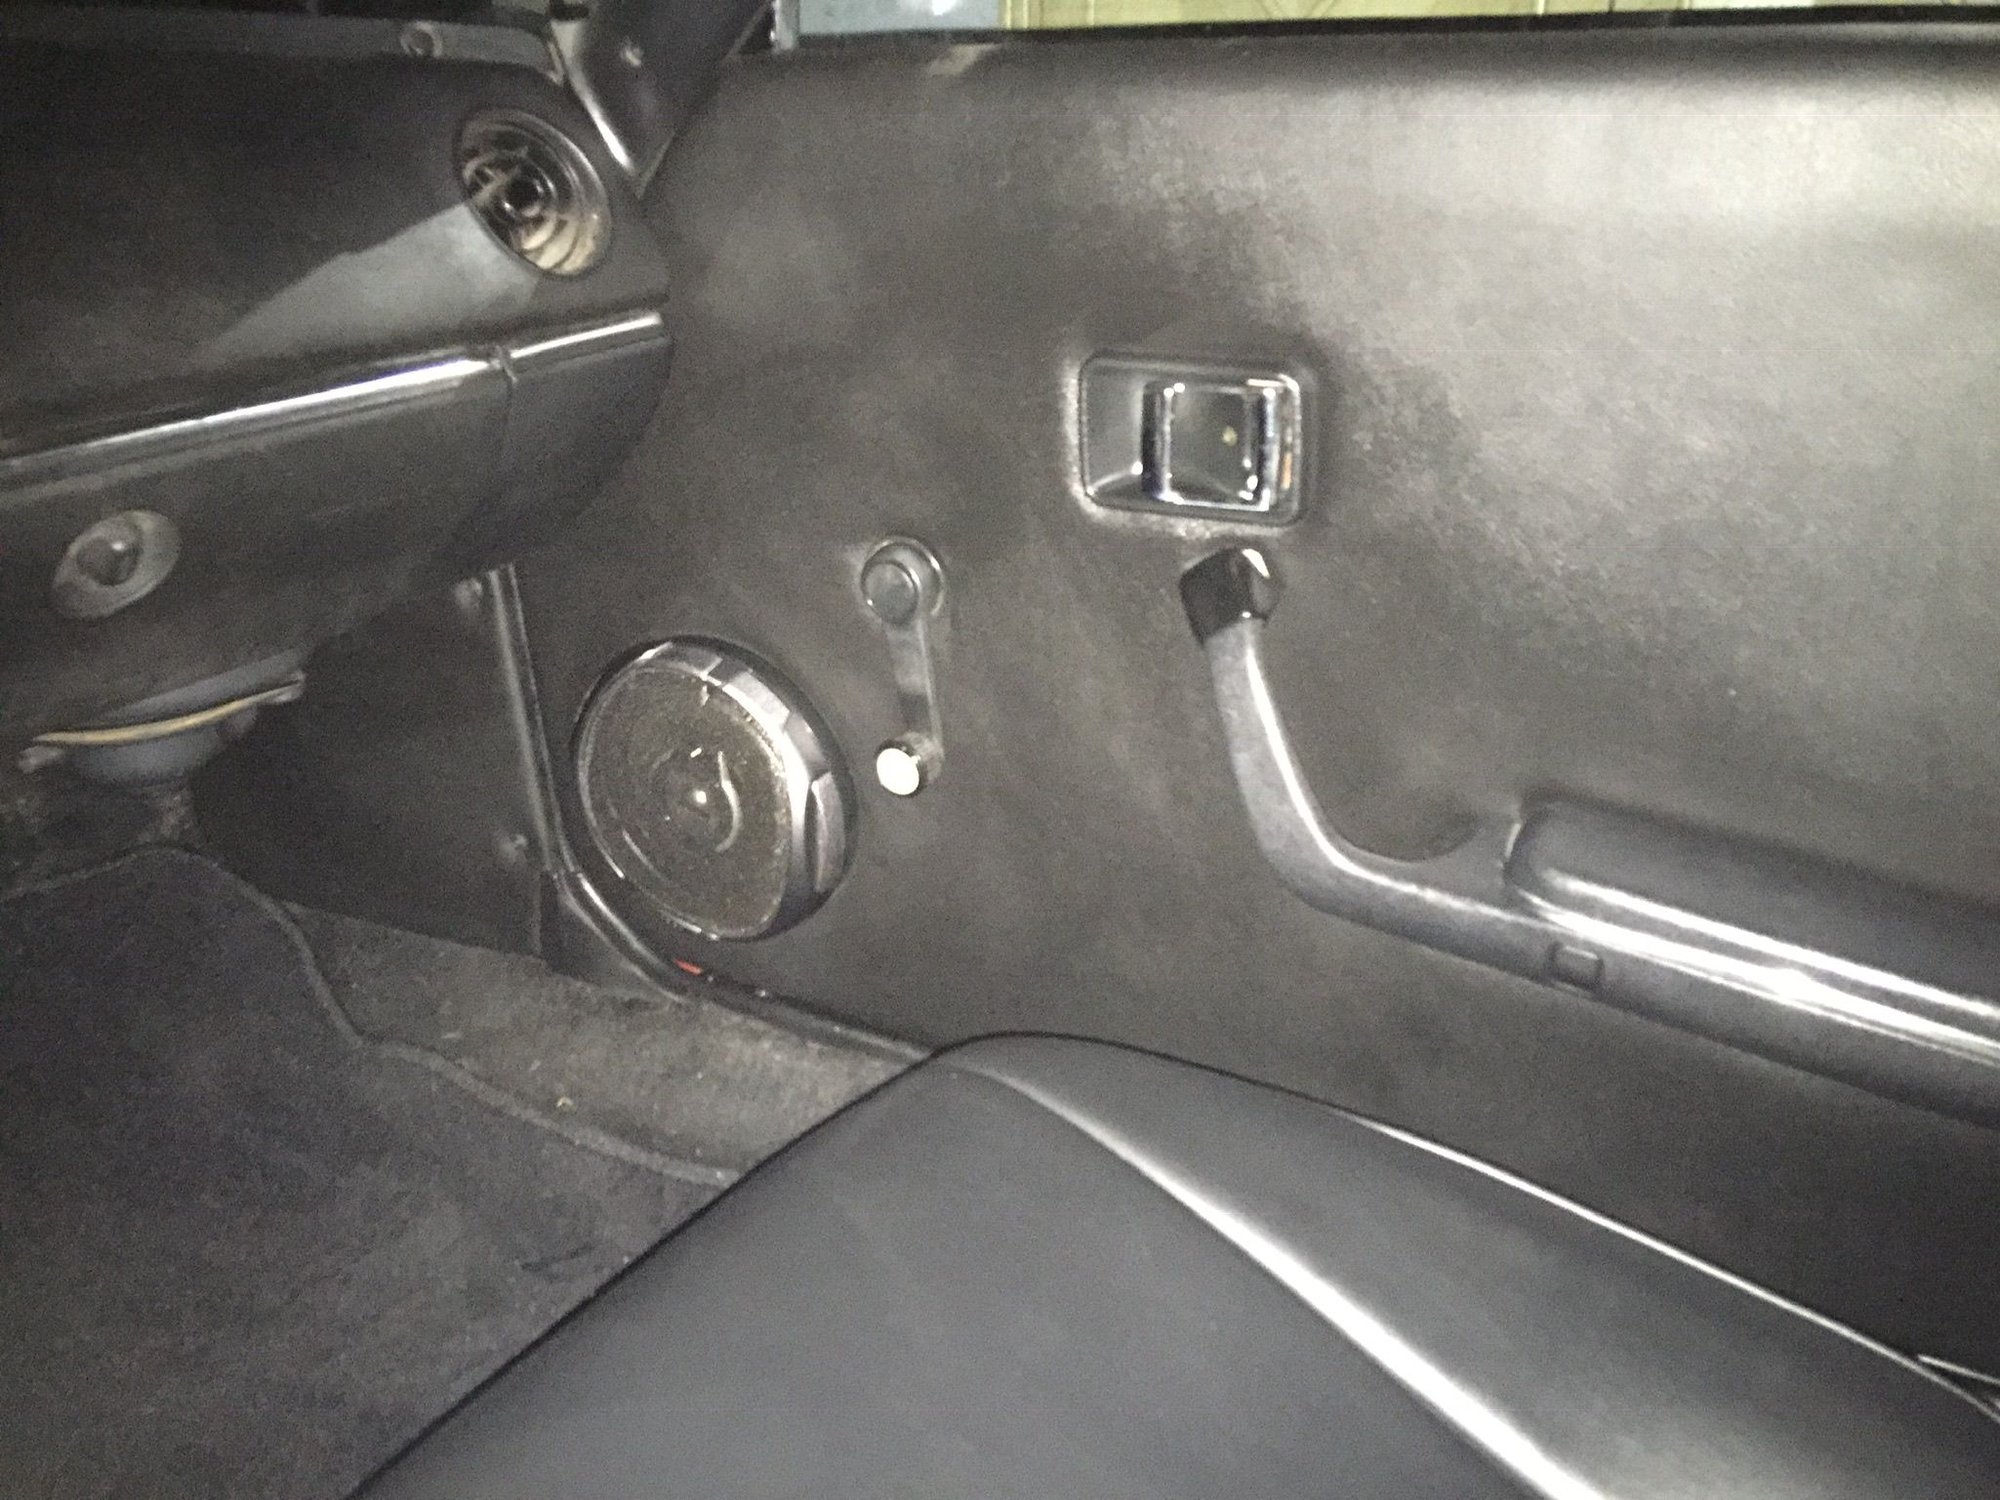
meh, getting there....dirty but getting there
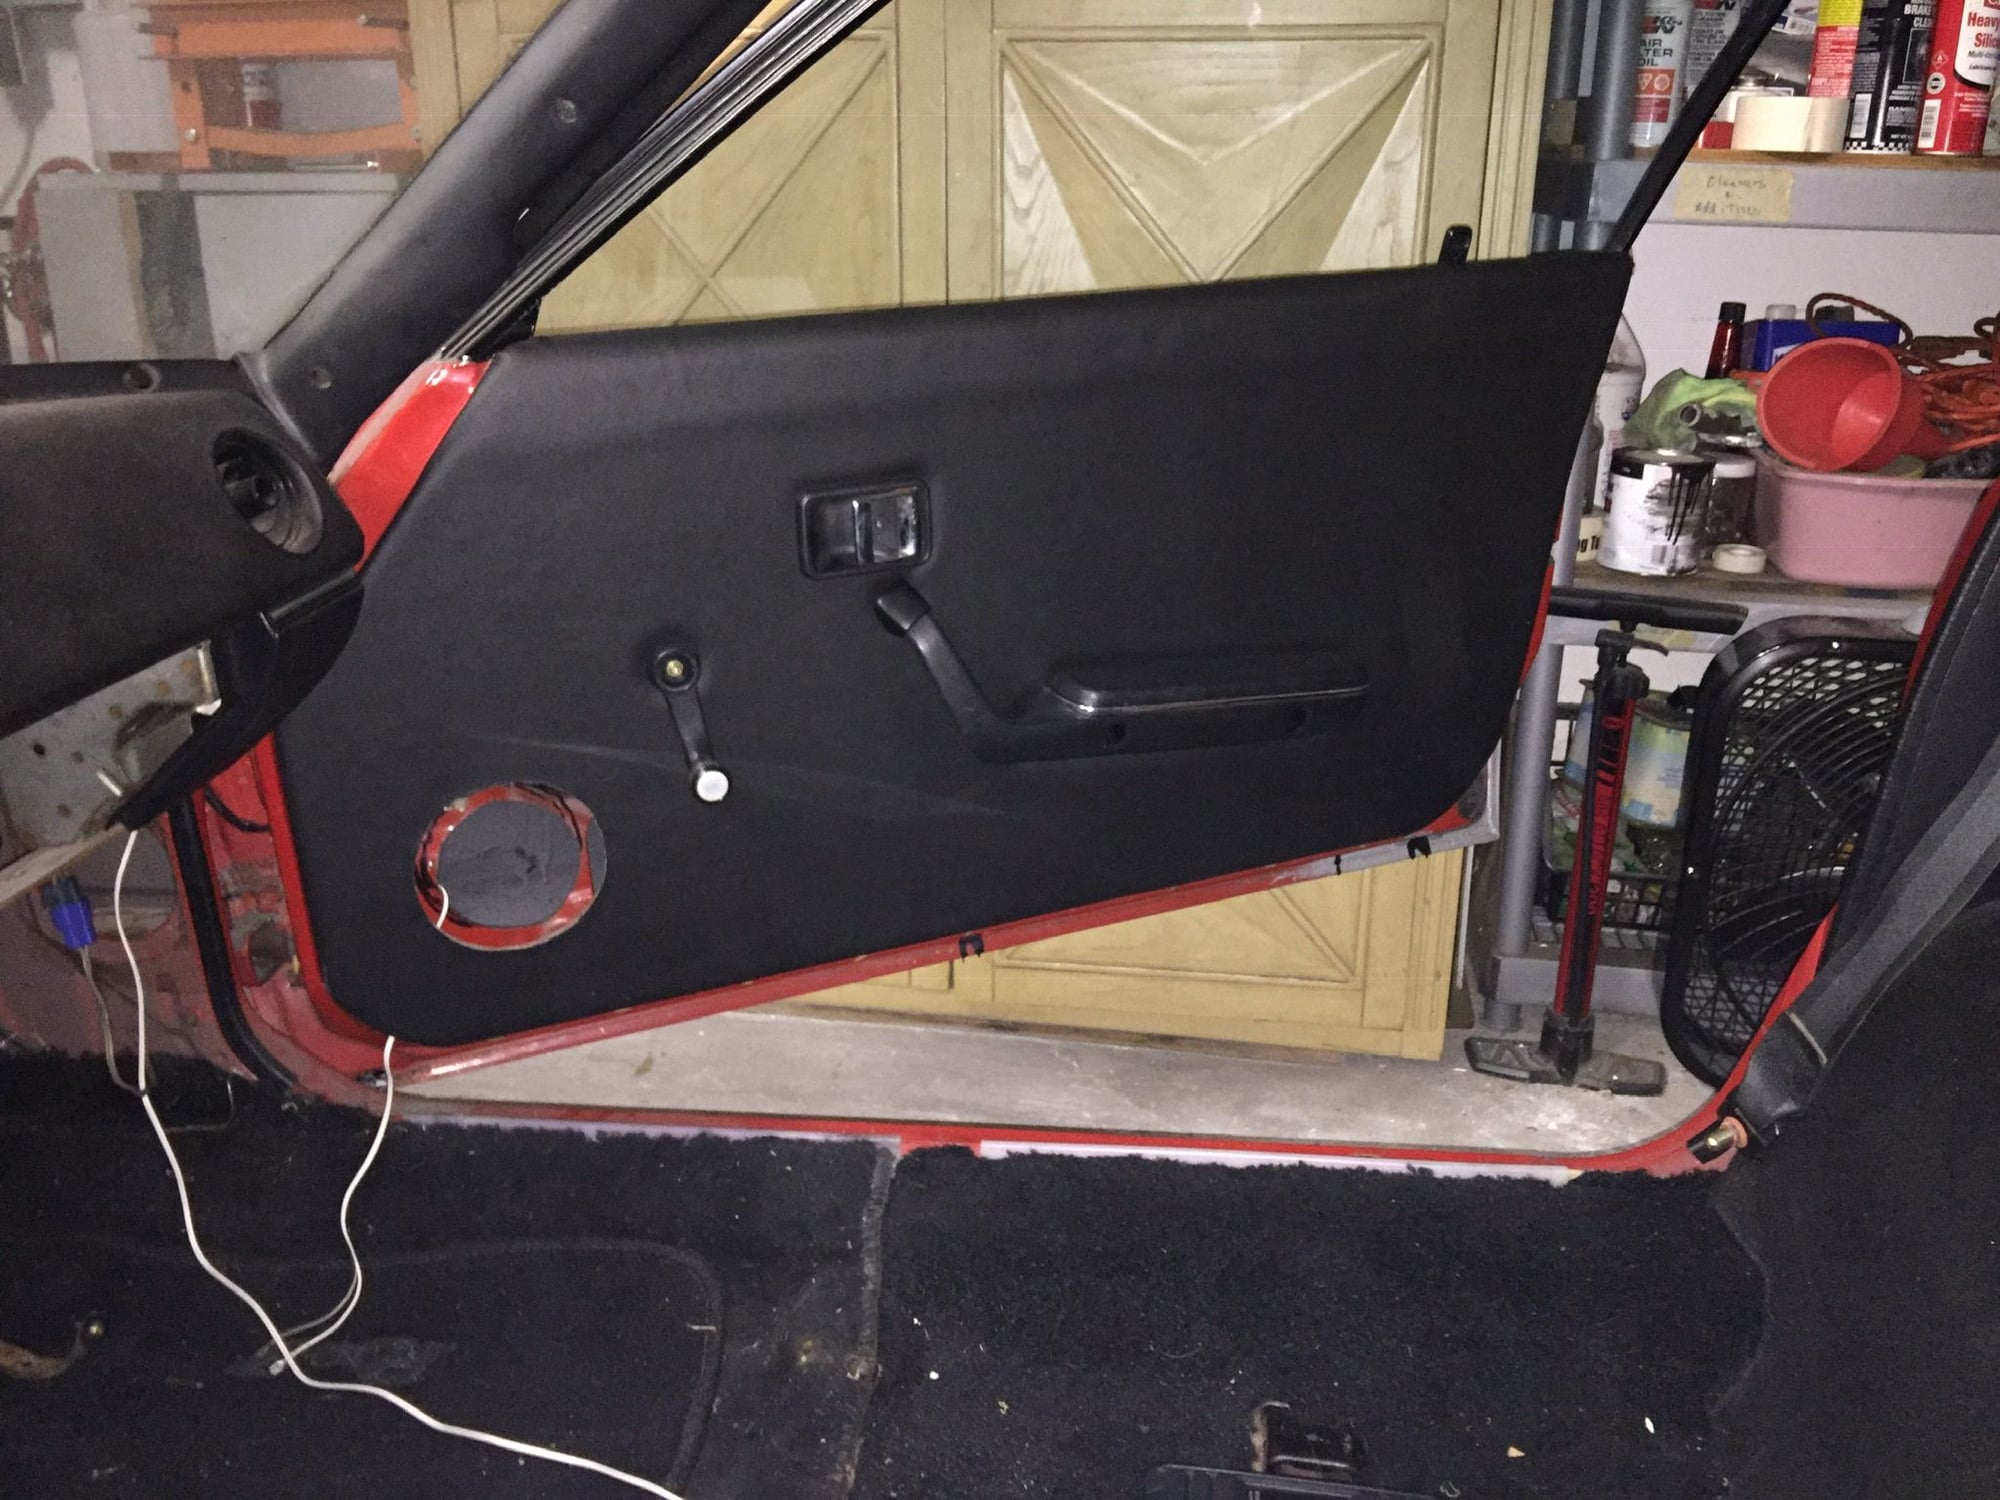
getting those speakers in takes some work. and I made those door panels.
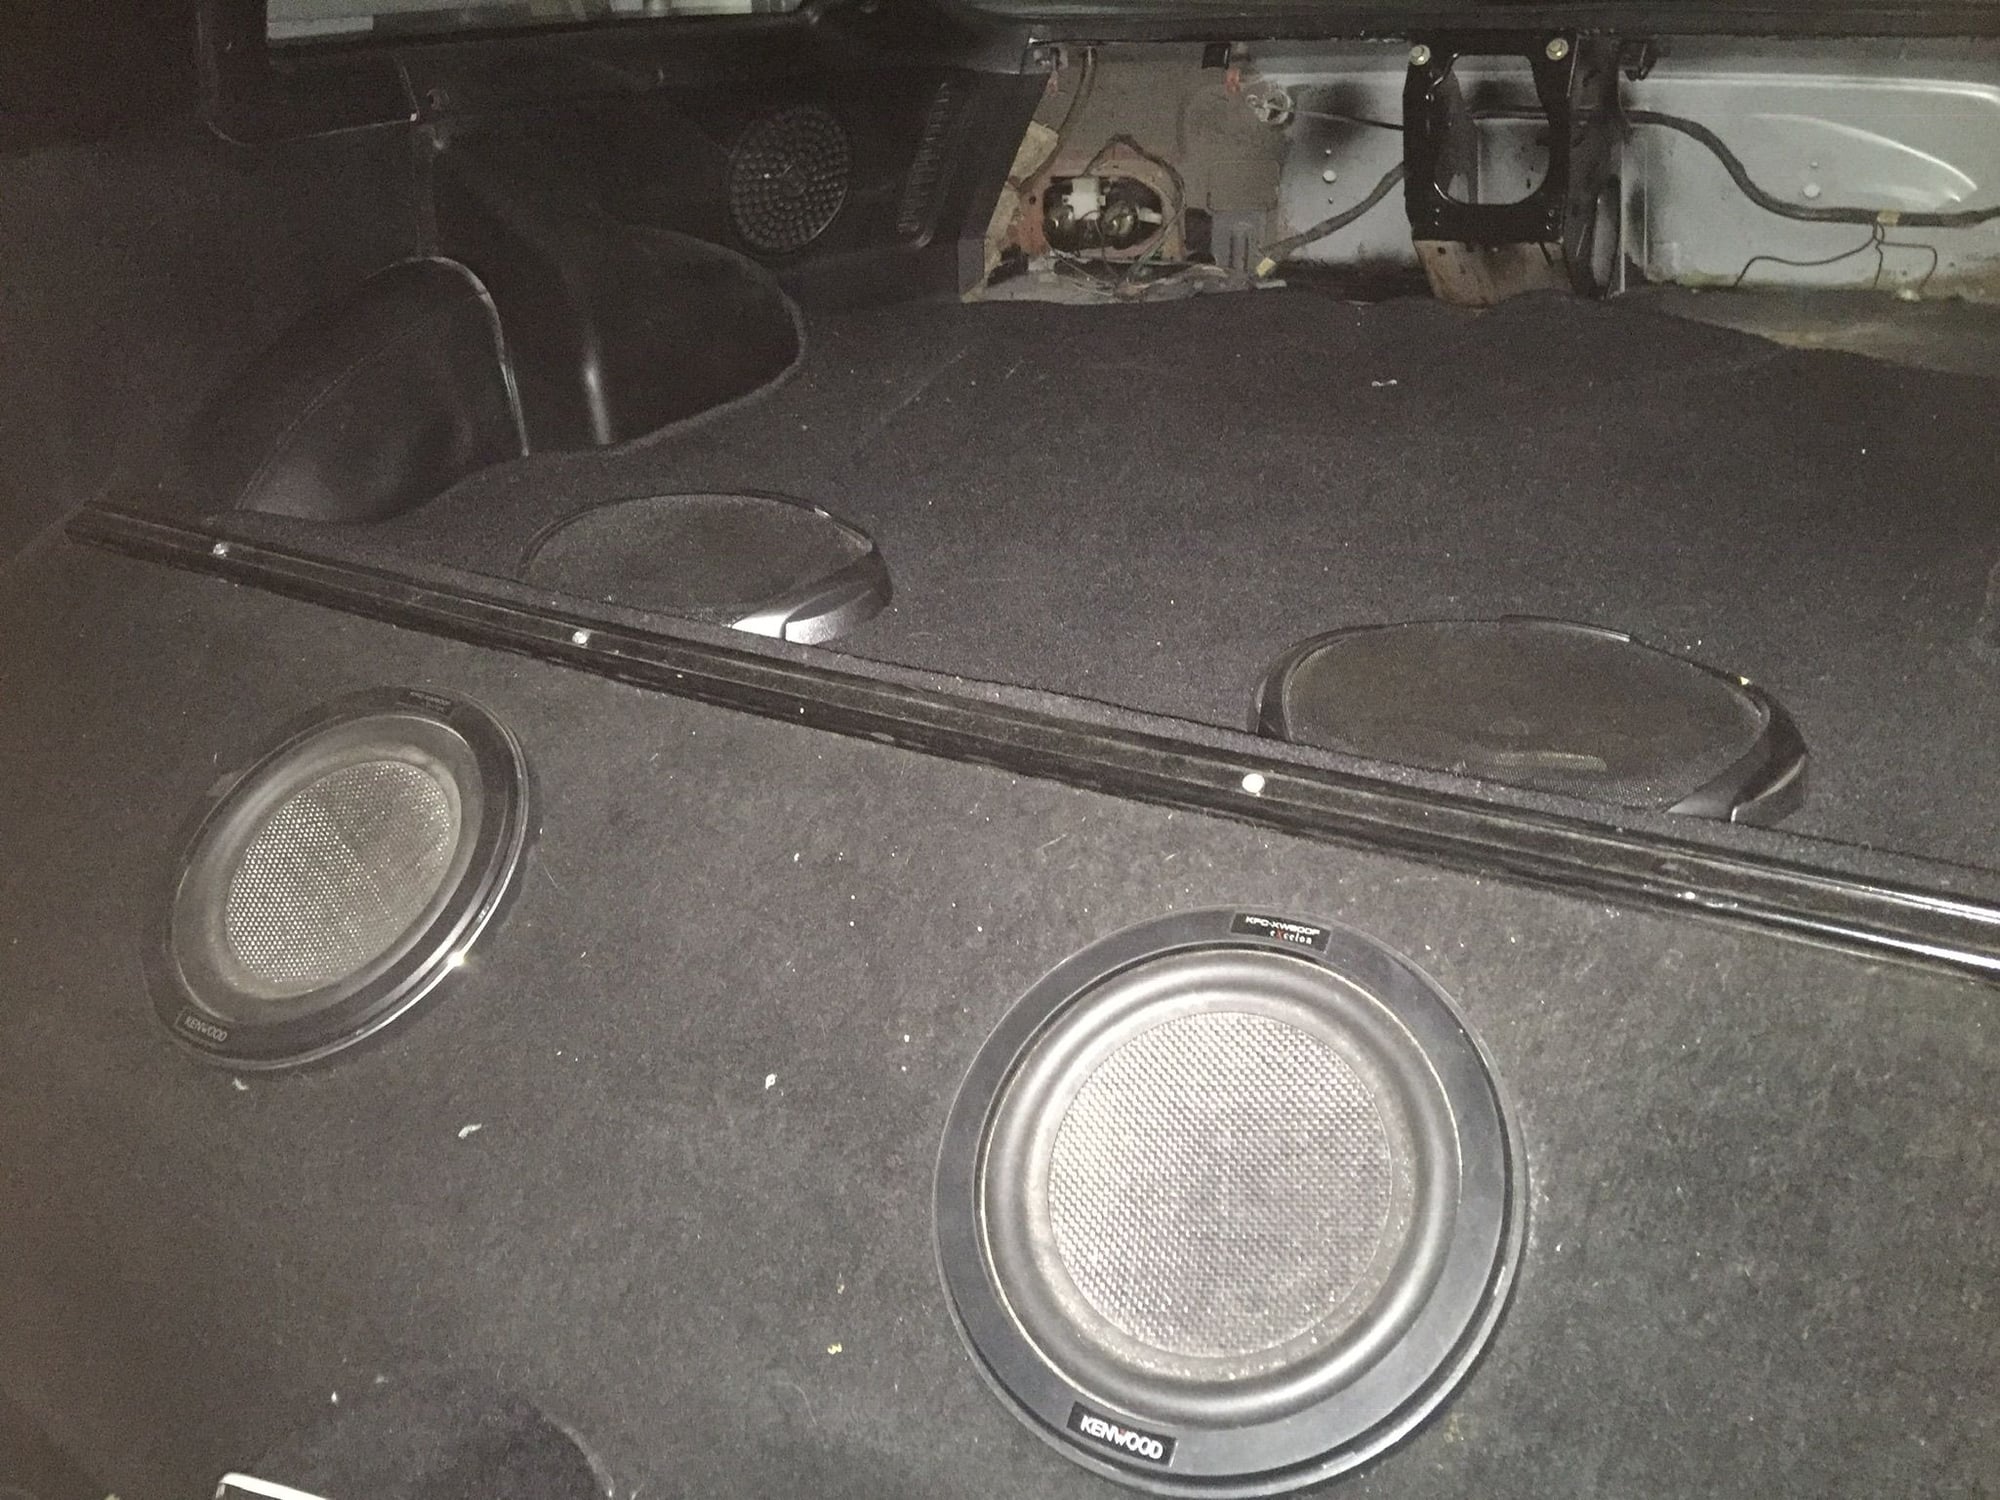
rear speakers installed. 1000 watts. one amp under each seat. one for subs, one for 6x9s and 6.5's in front
Last edited by ATC529R; 10-03-18 at 01:32 PM. Reason: more mords
#38
Rotary Enthusiast
Thread Starter
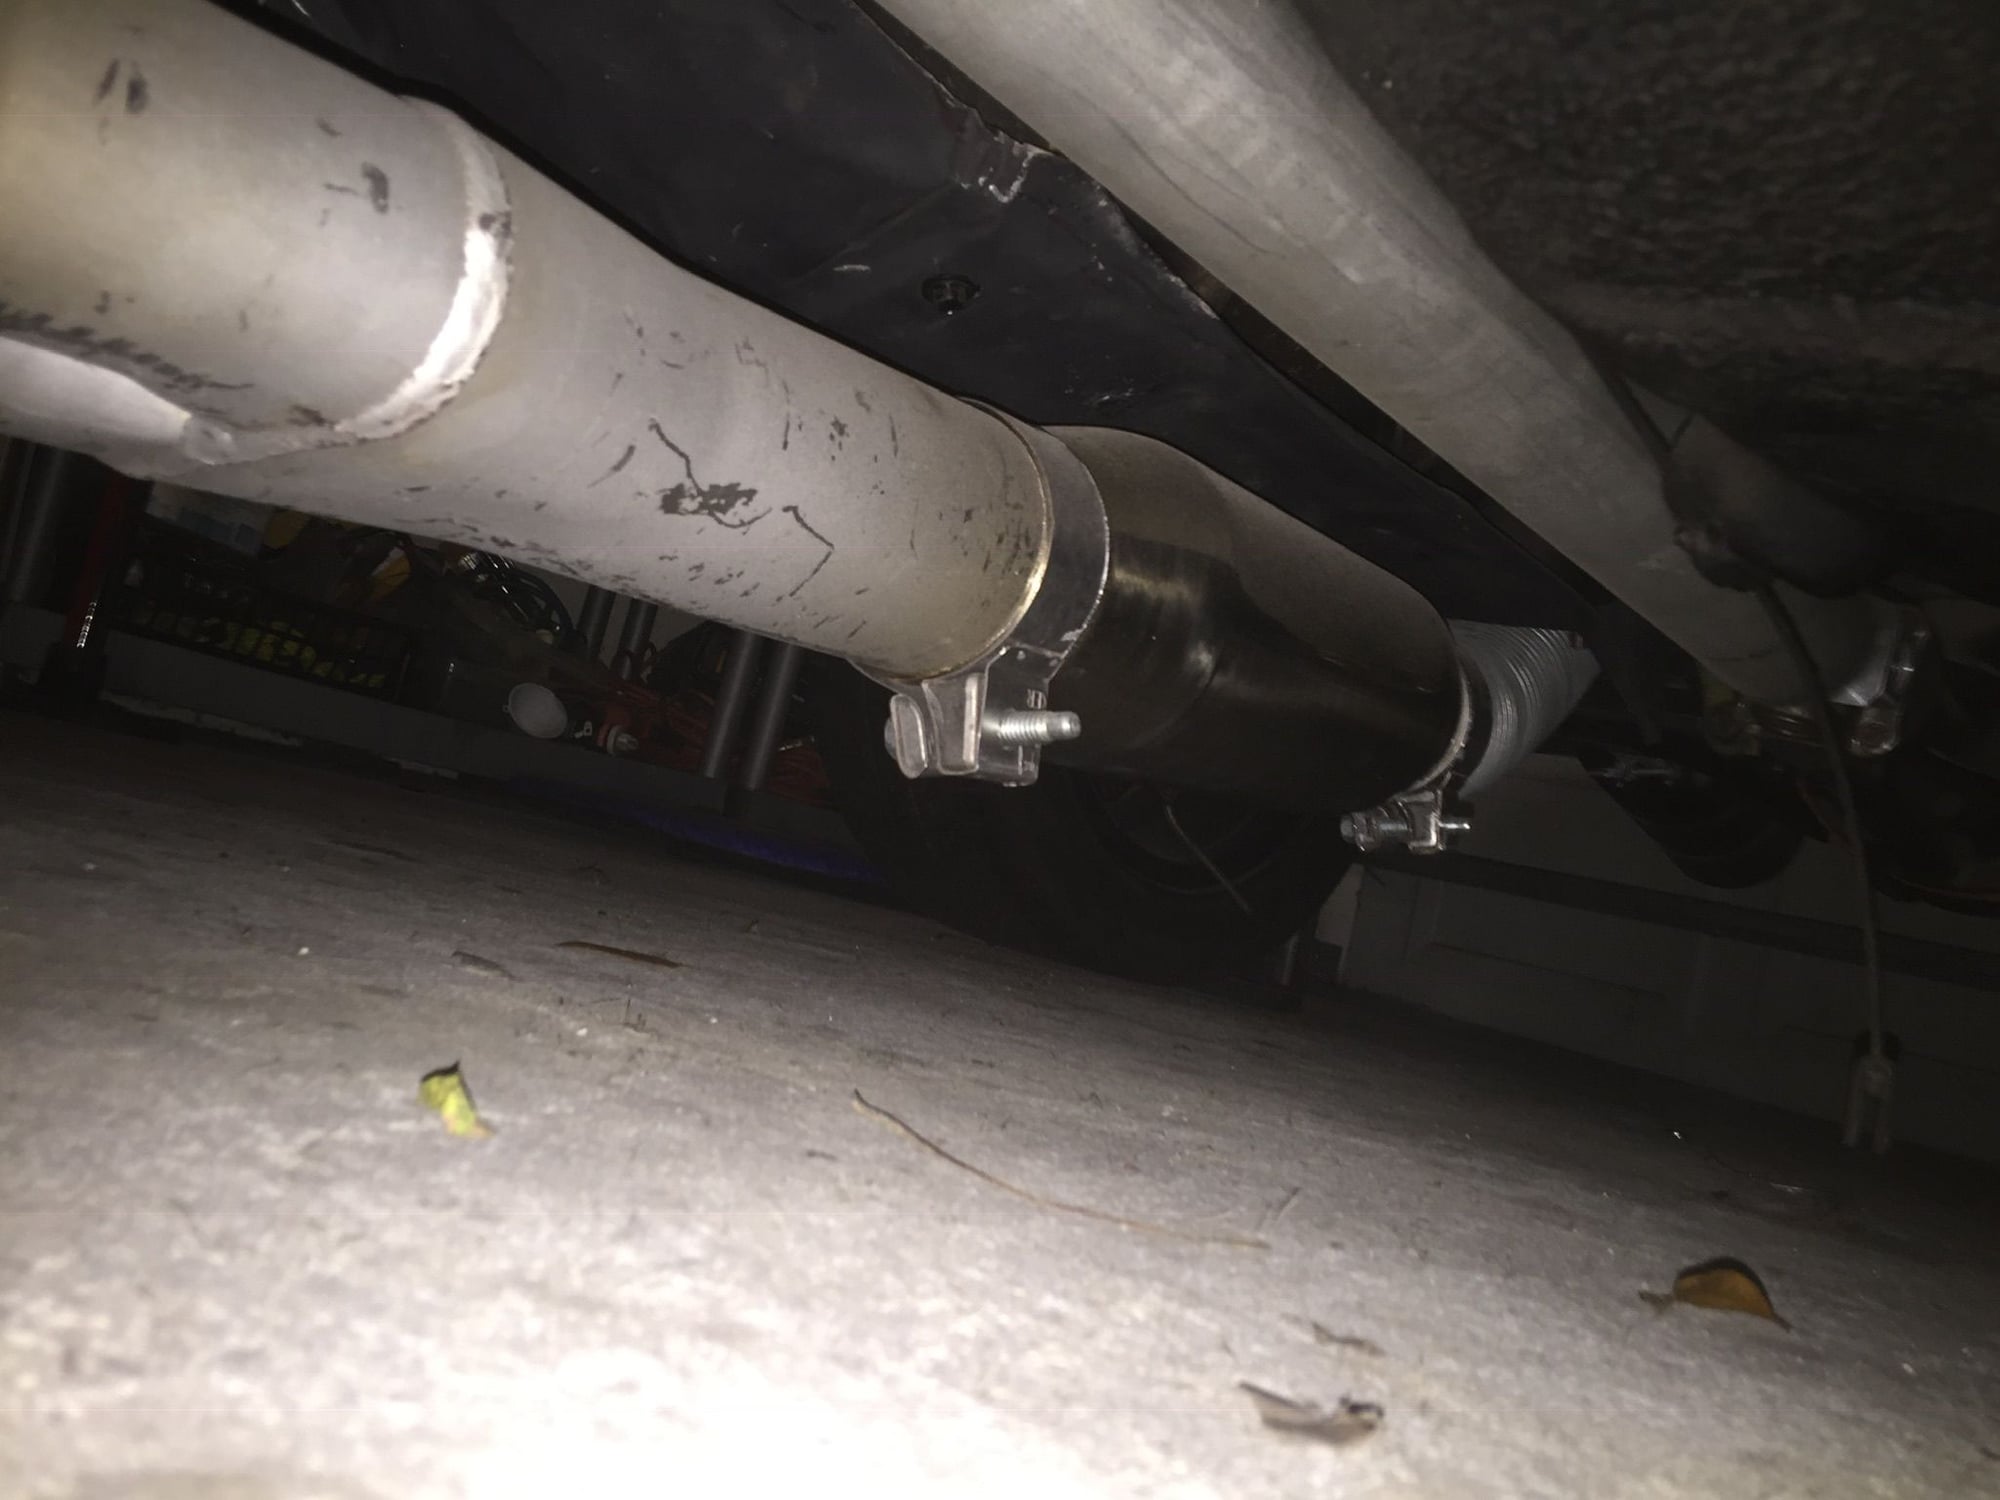
2 1/2 into collector and silencer into 3.5 then to single muffler. I will take to the exhaust shop and have them finish it as it's all flex pipe now. i will need to go to 3" where it goes over rear axle as I can't find anyone near me who can bend 3.5. Will probably drop down to 2 1/4 from headers to collector as well
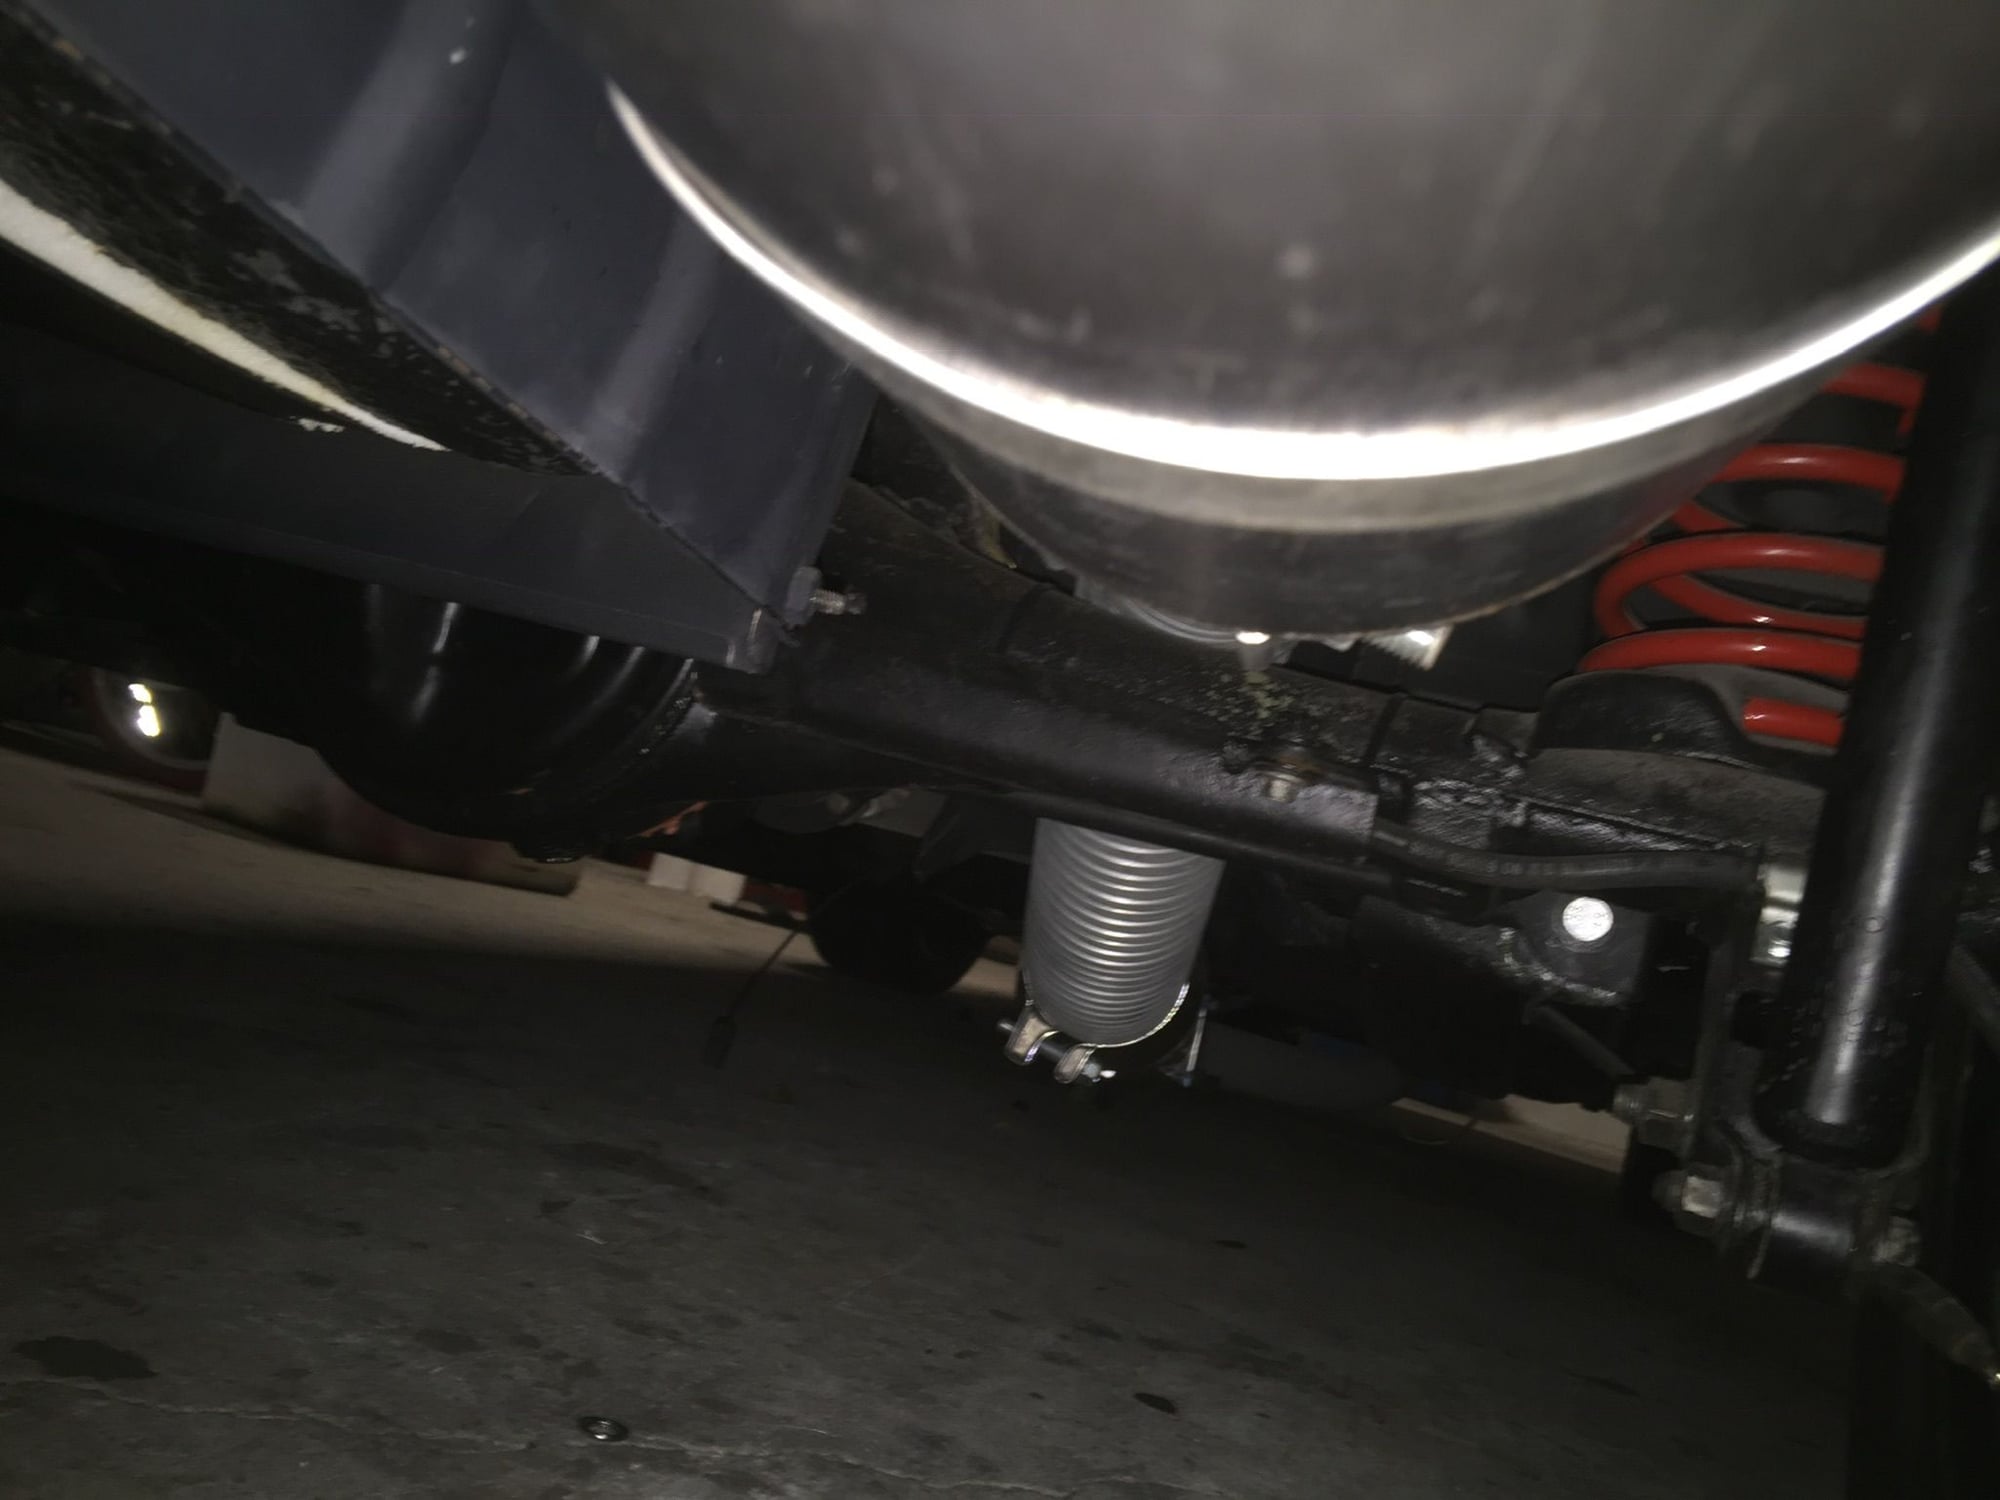
looking forward view
#39
Rotary Enthusiast
Thread Starter
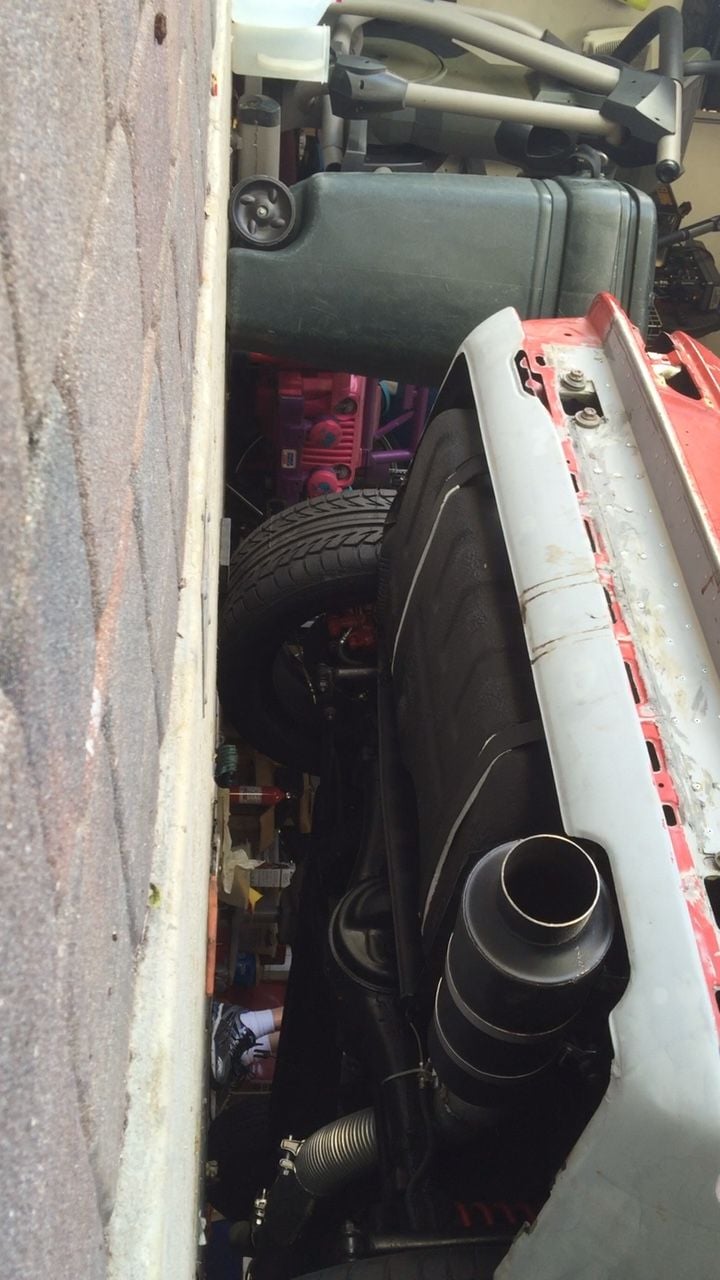
rear view
#40
Rotary Enthusiast
Thread Starter
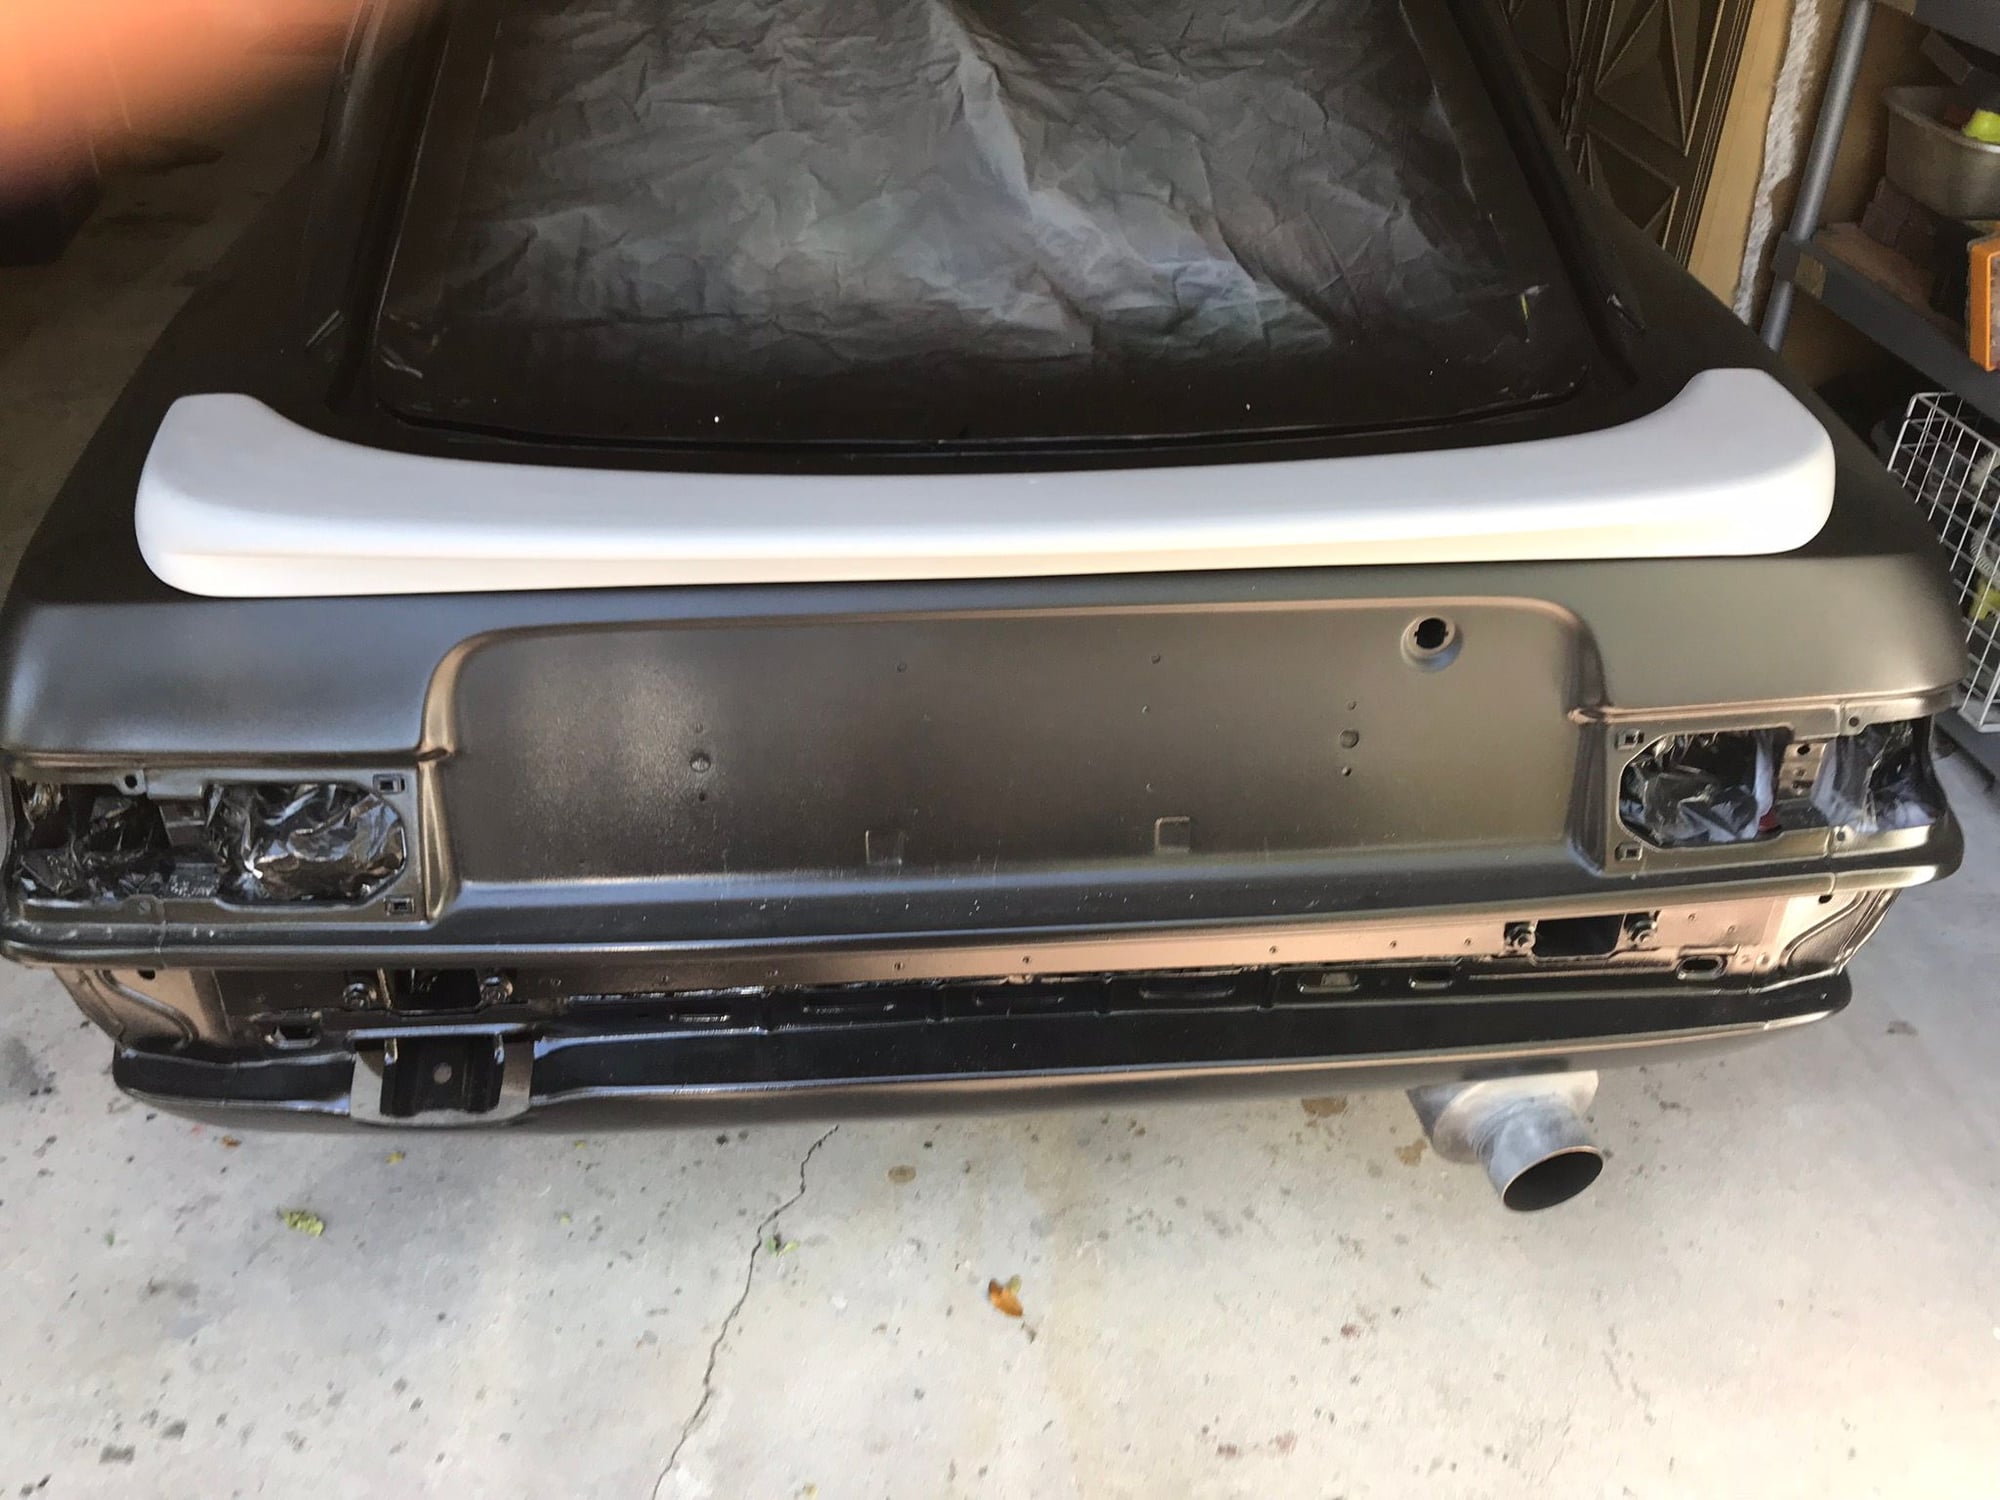
yeah, I know paint is crap, but it's primer, i'll clean it up and it'll be matte black anyway HOW ABOUT THAT FRIGGIN SPOILER. If anyone had any idea the amount of time it took me to make from scratch, they'd slap me. but I LOVE IT!!!!
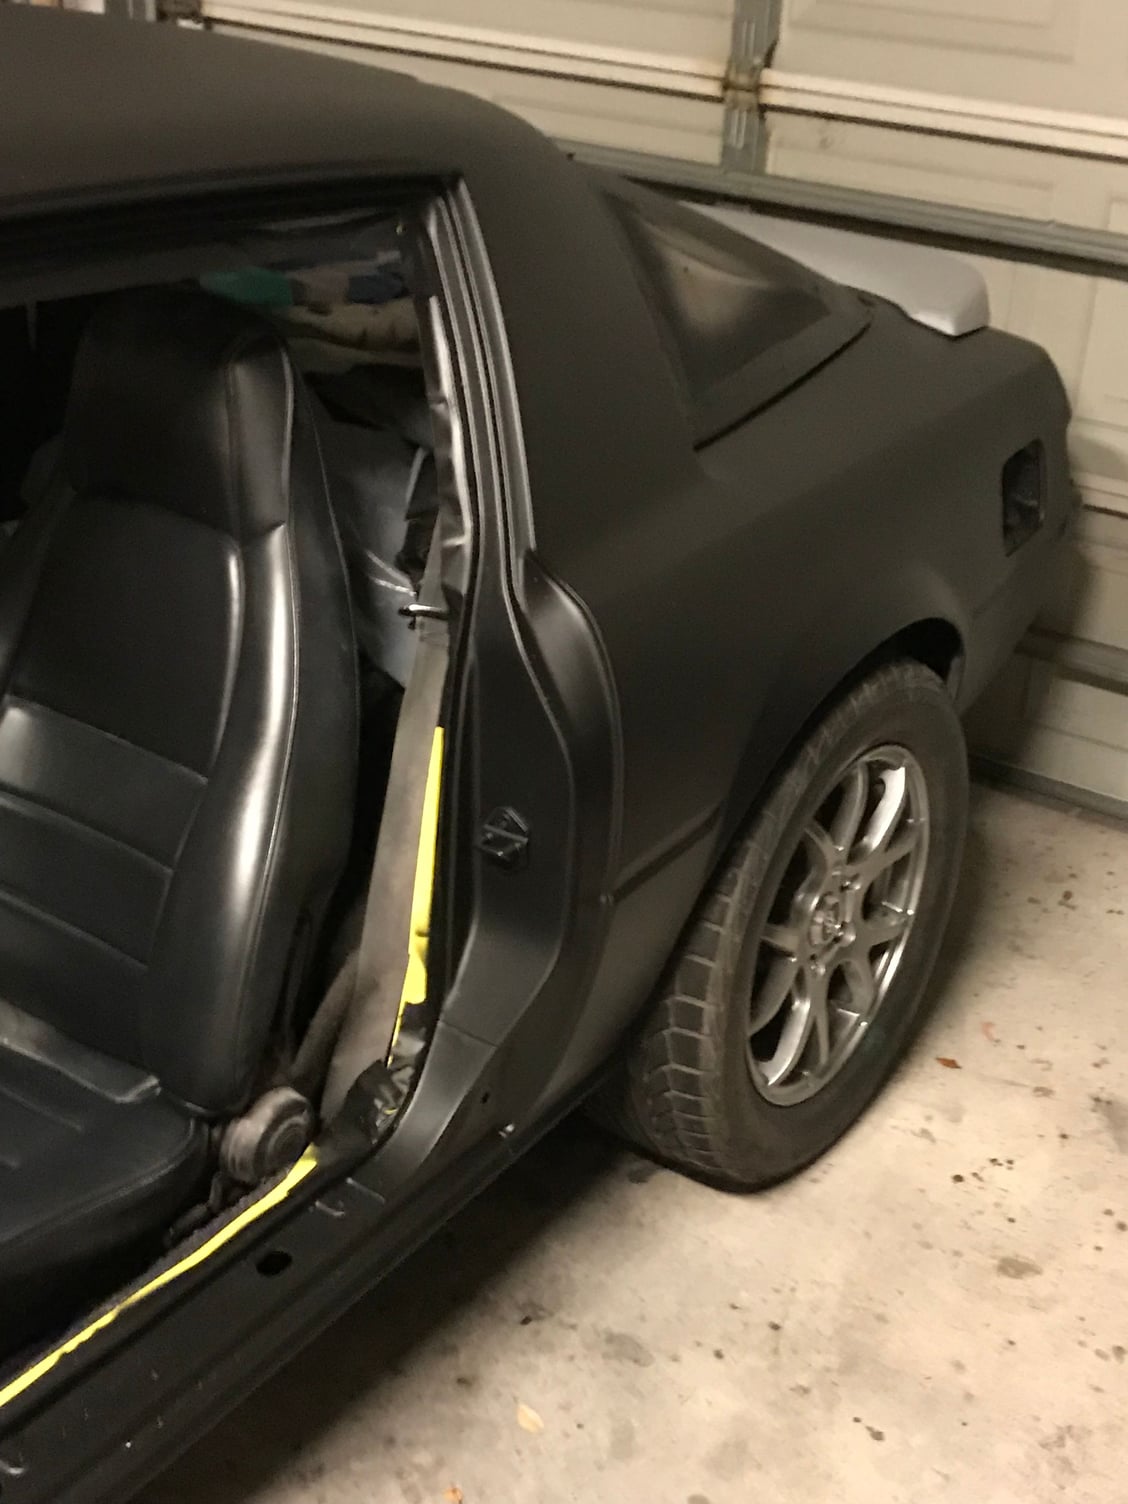
took doors off to paint the jams, came out pretty good.
#41
Rotary Enthusiast
Thread Starter
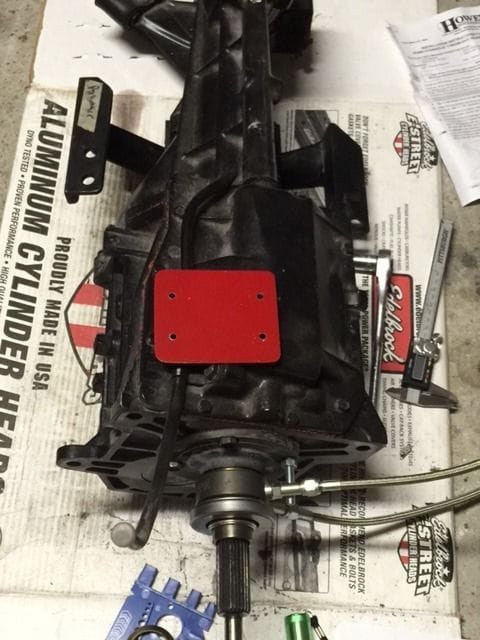
Tranny on the ground showing where I cut and modified it for hydraulic clutch
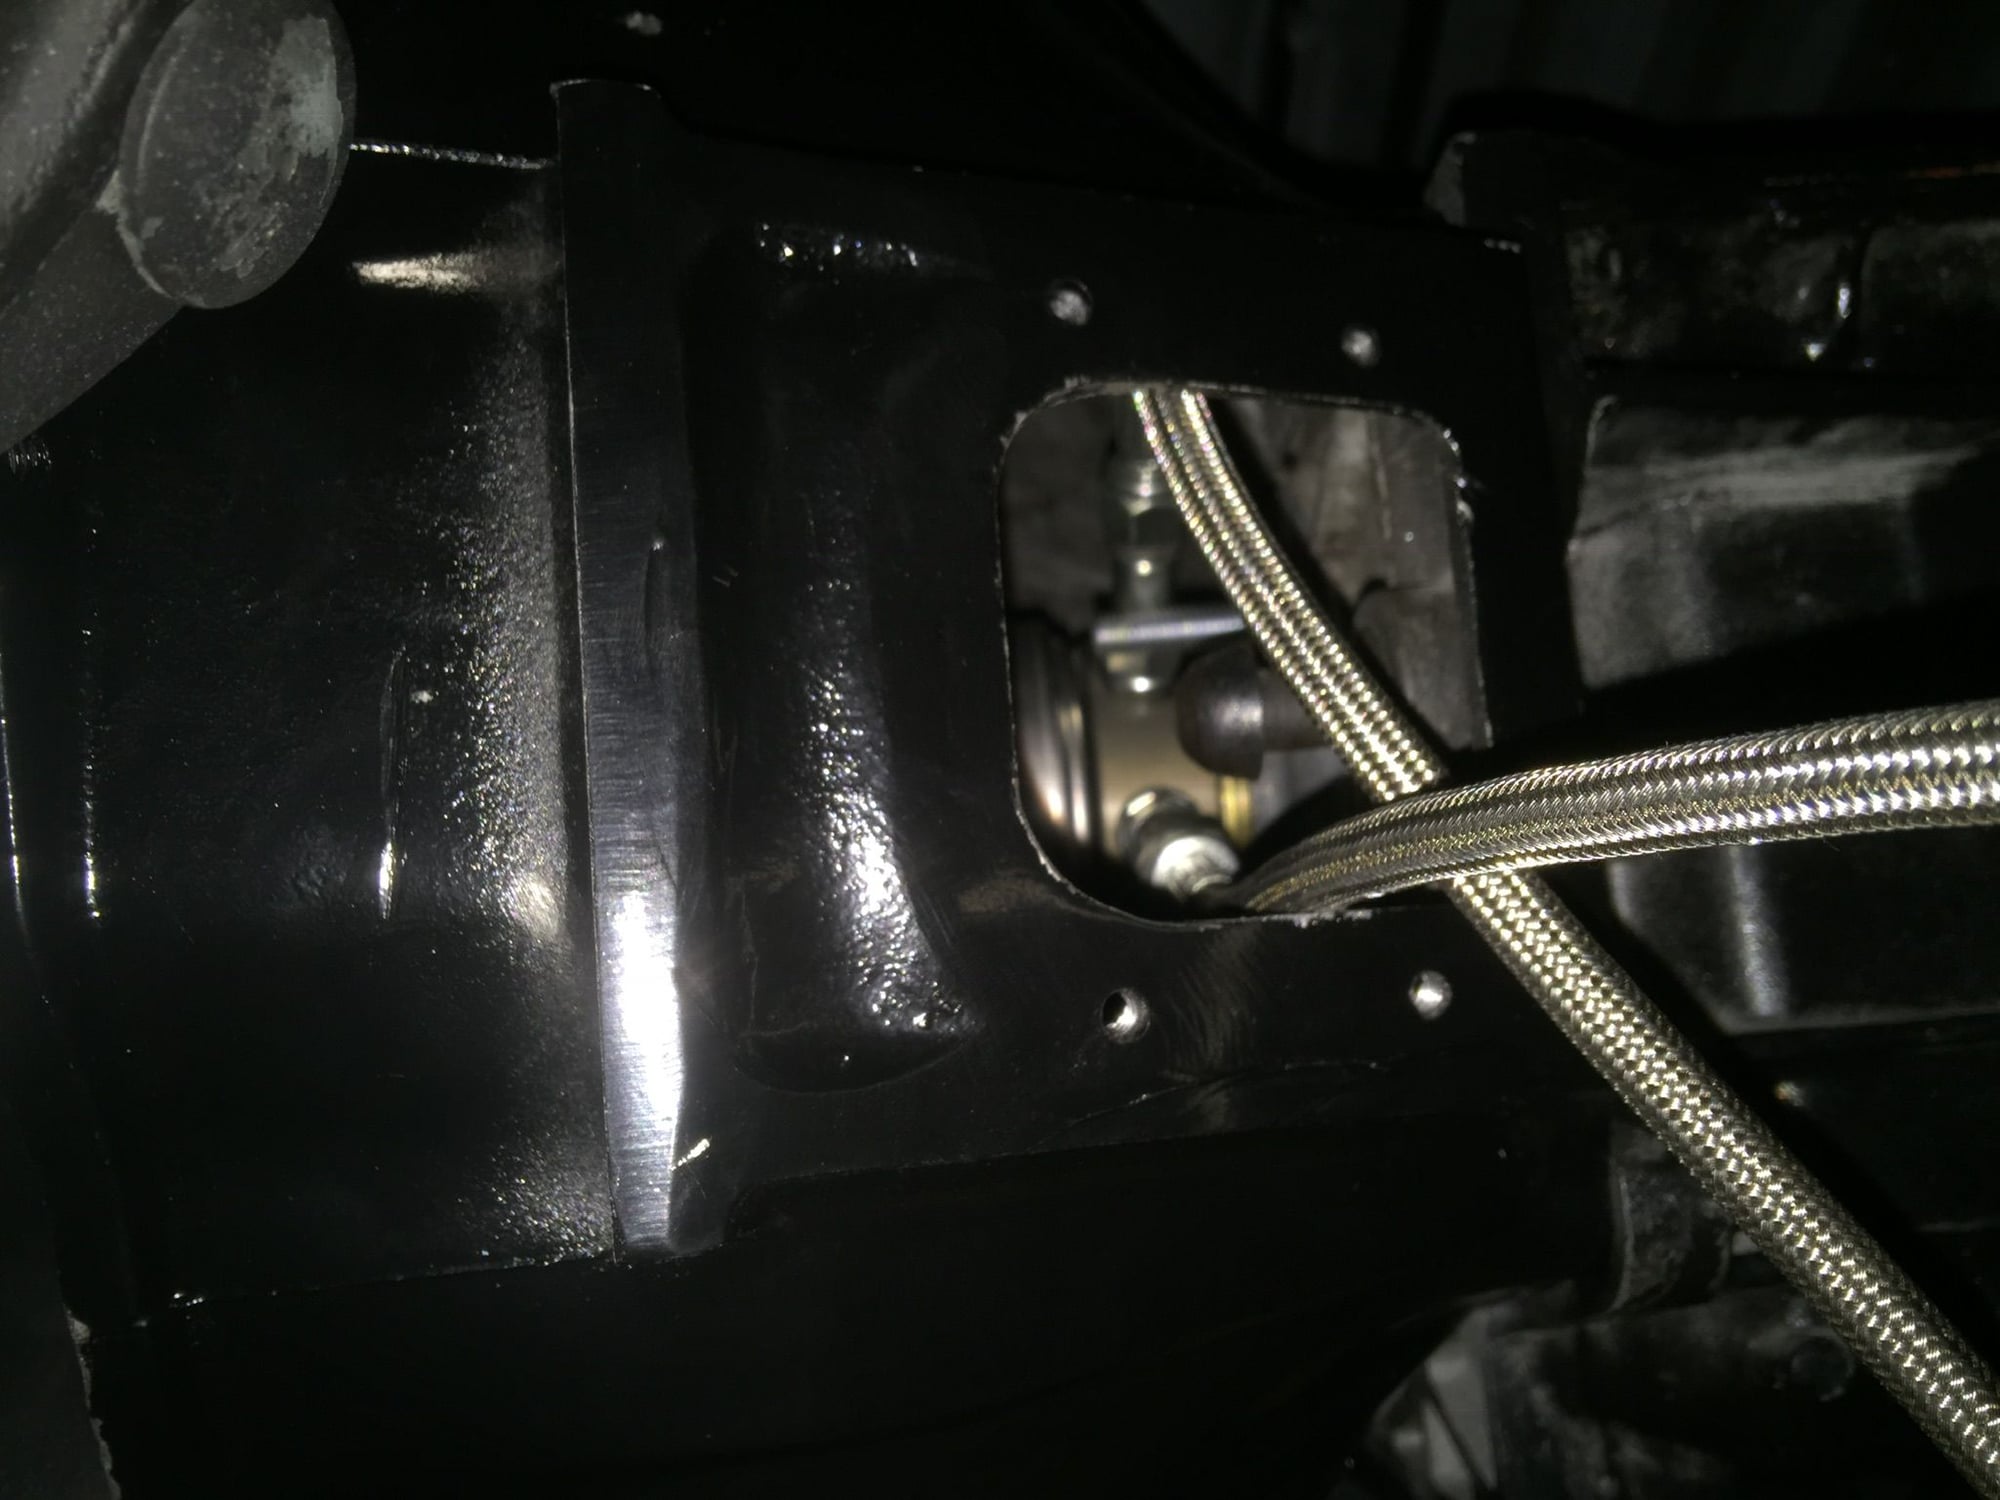
Installing photo from under car before final cover plate put on
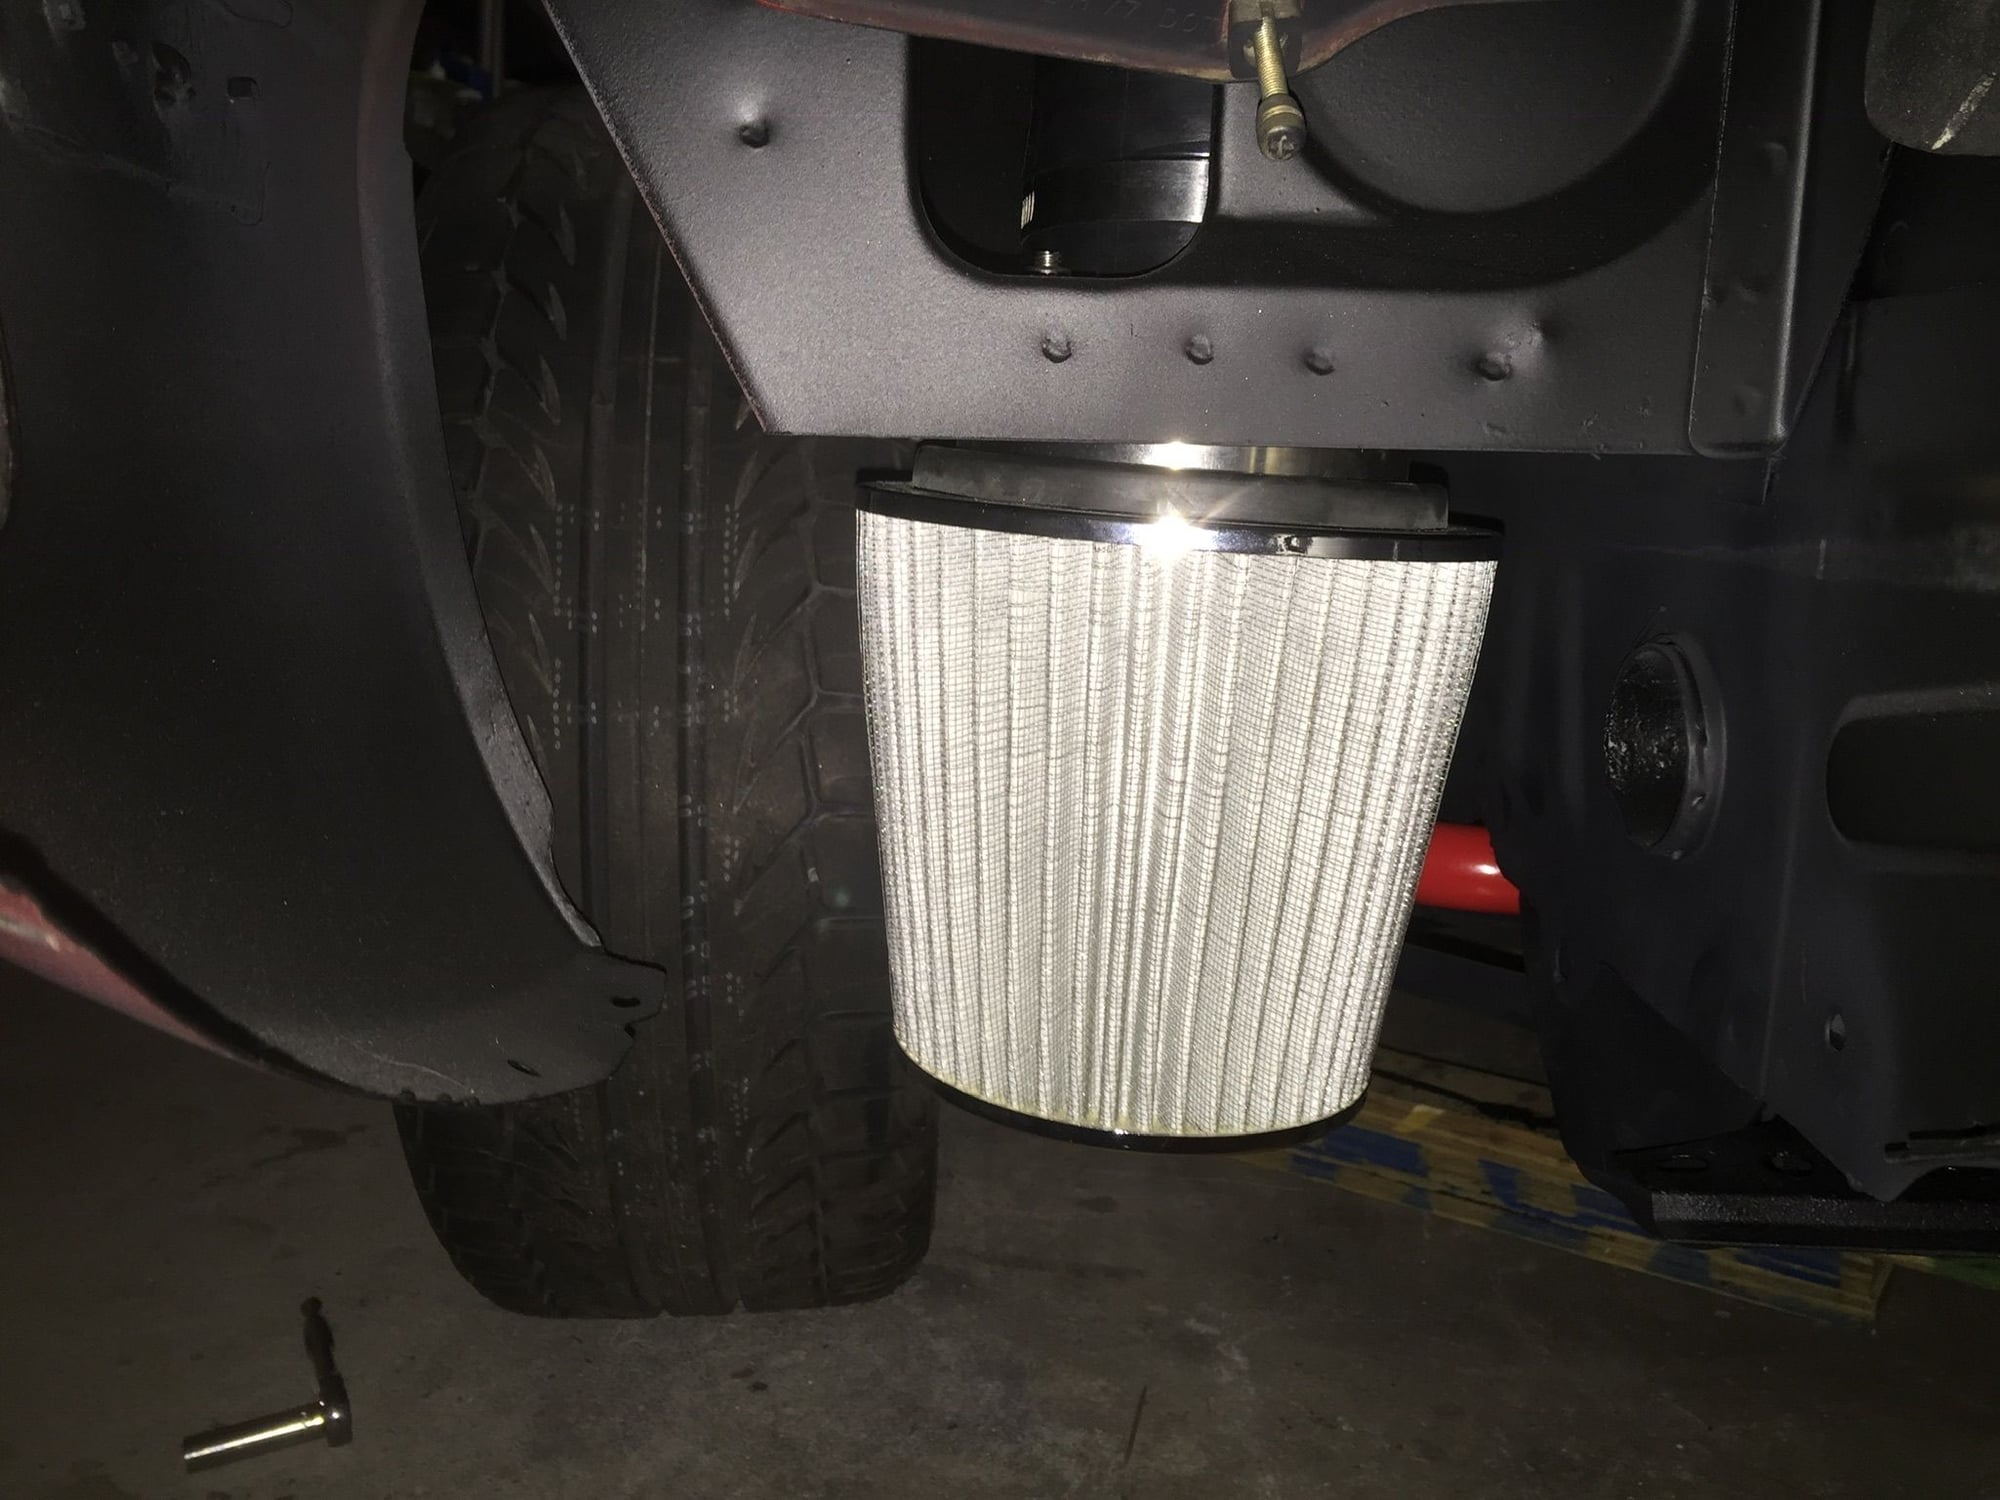
another of one of the cold air intakes before putting on lower front valence
#42
Rotary Enthusiast
Thread Starter
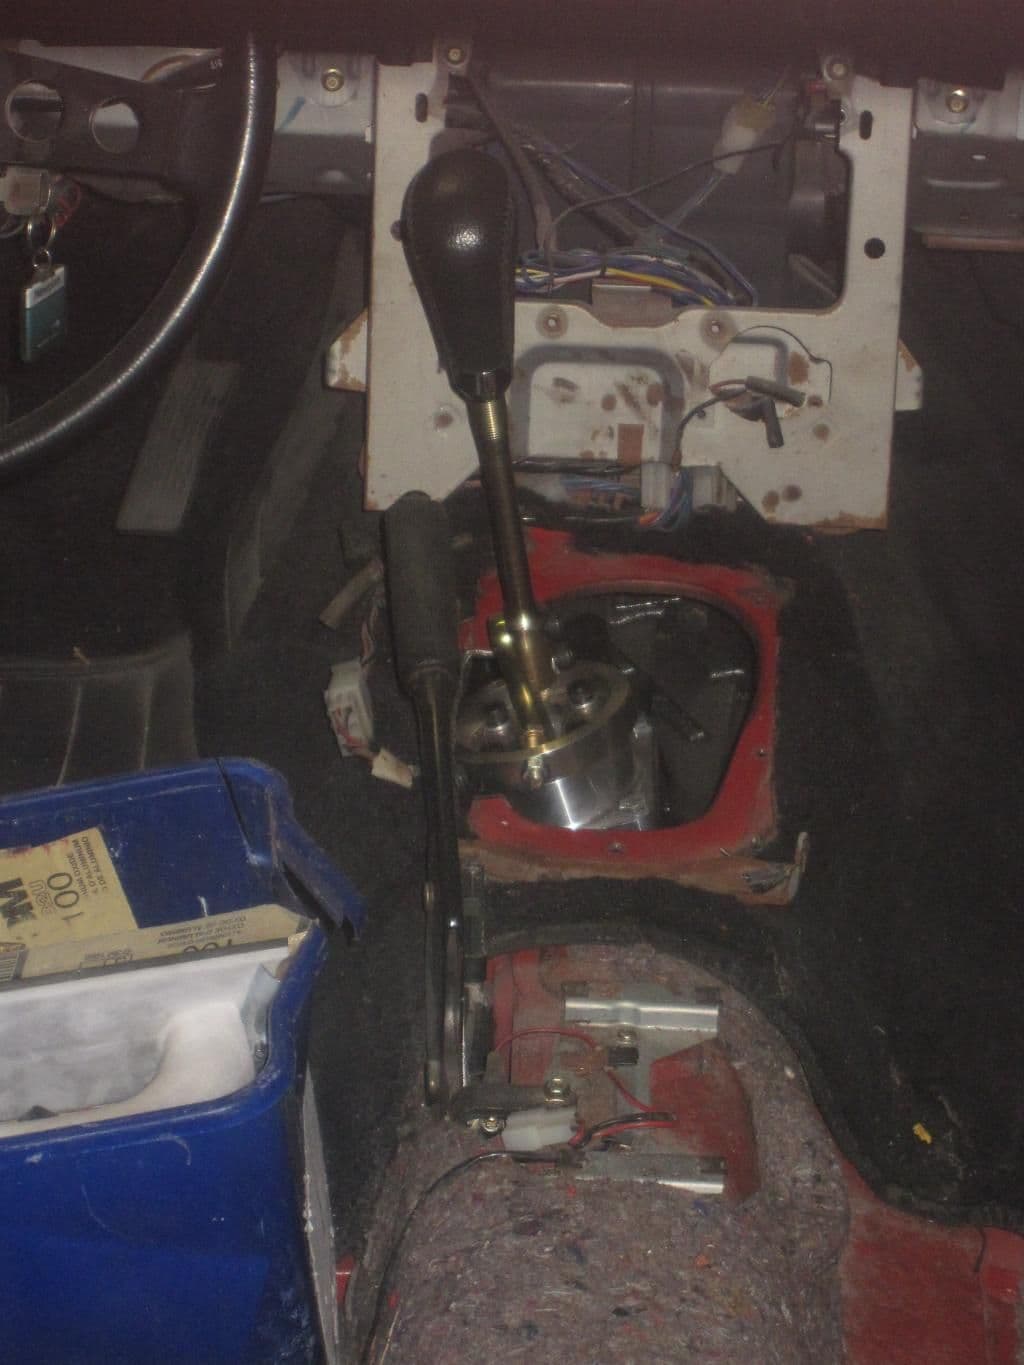
Short throw Shifter with bump stops. Can't afford to miss shifts or miss 3rd with a t5 and a good amount of HP
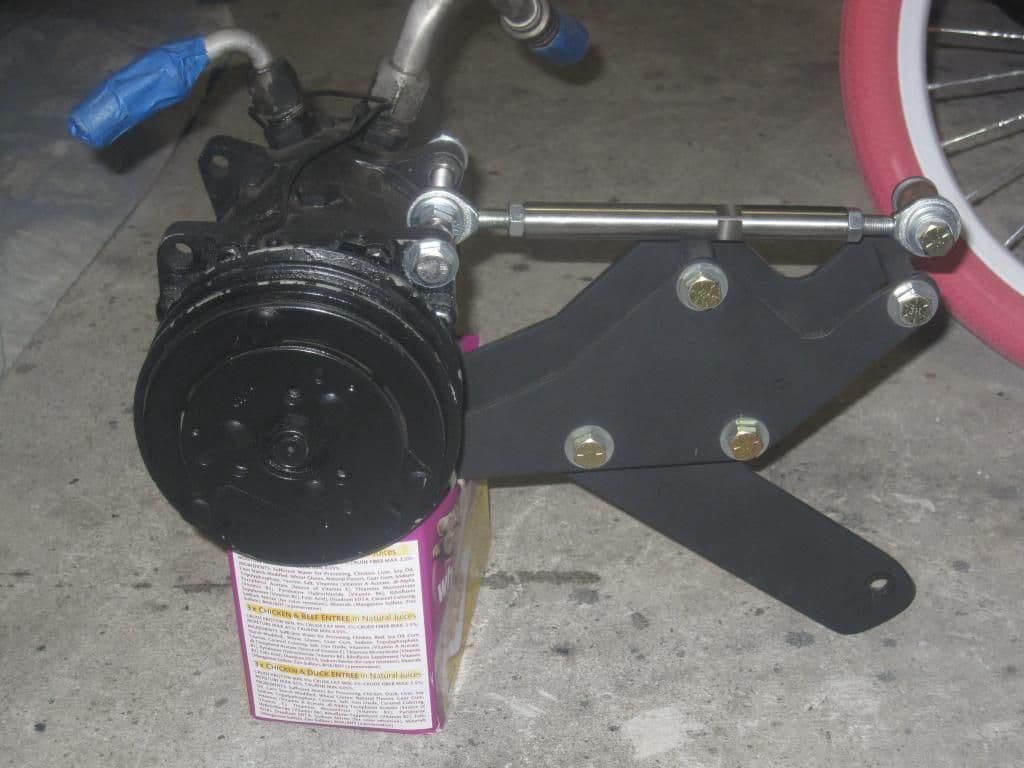
One from the other thread. My A/C bracket I made. much like the spoiler and brakes, this was a MAJOR piece of work to make IMO given hood clearance and header clearance and just getting it to fit! (they don't make these on ebay LOL they're all low or high moun t etc.) The A/C worked on dismantling, so a new compressor and let the A/C guy do all the rest of the hookup!
#43
Rotary Enthusiast
Thread Starter
It's almost done. and can follow up on this thread and pics with more detail if answers are needed.
My thread making abilty sucks almost as bad as my photo categorization ability on my phone and how those pictures end up in space and how to get em back lol
My video work suck too, but my daughter wants a youtube page, so she can teach me :-)
Hope you enjoy, and hit me with questions as I am in final assembly mode (it'll always be work) so I can hit the car scene with my daughter and mabe Moroso a time or two to see what she'll do without beating too hard. I expect 12's, maybe high 11's on street tires. I've had it on the road, and it is WICKED, and I MEAN WICKED fast getting on it from 2nd through 4th. I think 1st might be useless, but we'll see. I had a friend come for a ride, and I felt so bad afterward cause I swear he almost had a heart attack looking for O $hit handles when I jumped on it. All I could say was WTF did you expect when you got in this thing? :-)
Here's a parting video or two for now as the old one's are gone-see video ability. hehe..
Last edited by ATC529R; 10-03-18 at 03:44 PM.
#44
Rotary Enthusiast
Thread Starter
#45
Rotary Enthusiast
Thread Starter
#46
Senior Member
Good to see the update man. I know this forum is not overly friendly on the mobile device. I can tell your definitely juiced about the car right now and I canít blame you.
Iíd like to see a pic or two more on your cold air setup. The picture makes it look like itís right behind the front valence. Iím curious how you got it down there. Cut a big hole in the fender apron area?
Ill definitely reach out to you when it comes to upgrading the brakes.
Keep the posts coming, your doing better than you think. Nothing is wrong with doing a bunch of short clips with photos. Like they say, a photo is worth a thousand words.
My daughter also would love for me to do a YouTube channel, but I donít care to hear my own voice though. Maybe get them to be our camera crews and producers. Lol.
#47
Rotary Enthusiast
Thread Starter
Good to see the update man. I know this forum is not overly friendly on the mobile device. I can tell your definitely juiced about the car right now and I canít blame you.
Iíd like to see a pic or two more on your cold air setup. The picture makes it look like itís right behind the front valence. Iím curious how you got it down there. Cut a big hole in the fender apron area?
Ill definitely reach out to you when it comes to upgrading the brakes.
Keep the posts coming, your doing better than you think. Nothing is wrong with doing a bunch of short clips with photos. Like they say, a photo is worth a thousand words.
My daughter also would love for me to do a YouTube channel, but I donít care to hear my own voice though. Maybe get them to be our camera crews and producers. Lol.
Iíd like to see a pic or two more on your cold air setup. The picture makes it look like itís right behind the front valence. Iím curious how you got it down there. Cut a big hole in the fender apron area?
Ill definitely reach out to you when it comes to upgrading the brakes.
Keep the posts coming, your doing better than you think. Nothing is wrong with doing a bunch of short clips with photos. Like they say, a photo is worth a thousand words.
My daughter also would love for me to do a YouTube channel, but I donít care to hear my own voice though. Maybe get them to be our camera crews and producers. Lol.
#49
Rotary Enthusiast
Thread Starter
yeah, 5 lug on the rear as well. I made the conversion plates, see my link to other thread. https://www.rx7club.com/build-thread...1043323/page2/
84 gsl SE rear end with mosler axles posi works great I went with 16" rims. I haven't weighed it, but it should be 2500 tops as it's base model with no power windows, sunroof etc. and i will have no rear tire, no power headlight motors, power steering etc. I think 2350 was stock.
84 gsl SE rear end with mosler axles posi works great I went with 16" rims. I haven't weighed it, but it should be 2500 tops as it's base model with no power windows, sunroof etc. and i will have no rear tire, no power headlight motors, power steering etc. I think 2350 was stock.
#50
Rotary Enthusiast
Thread Starter
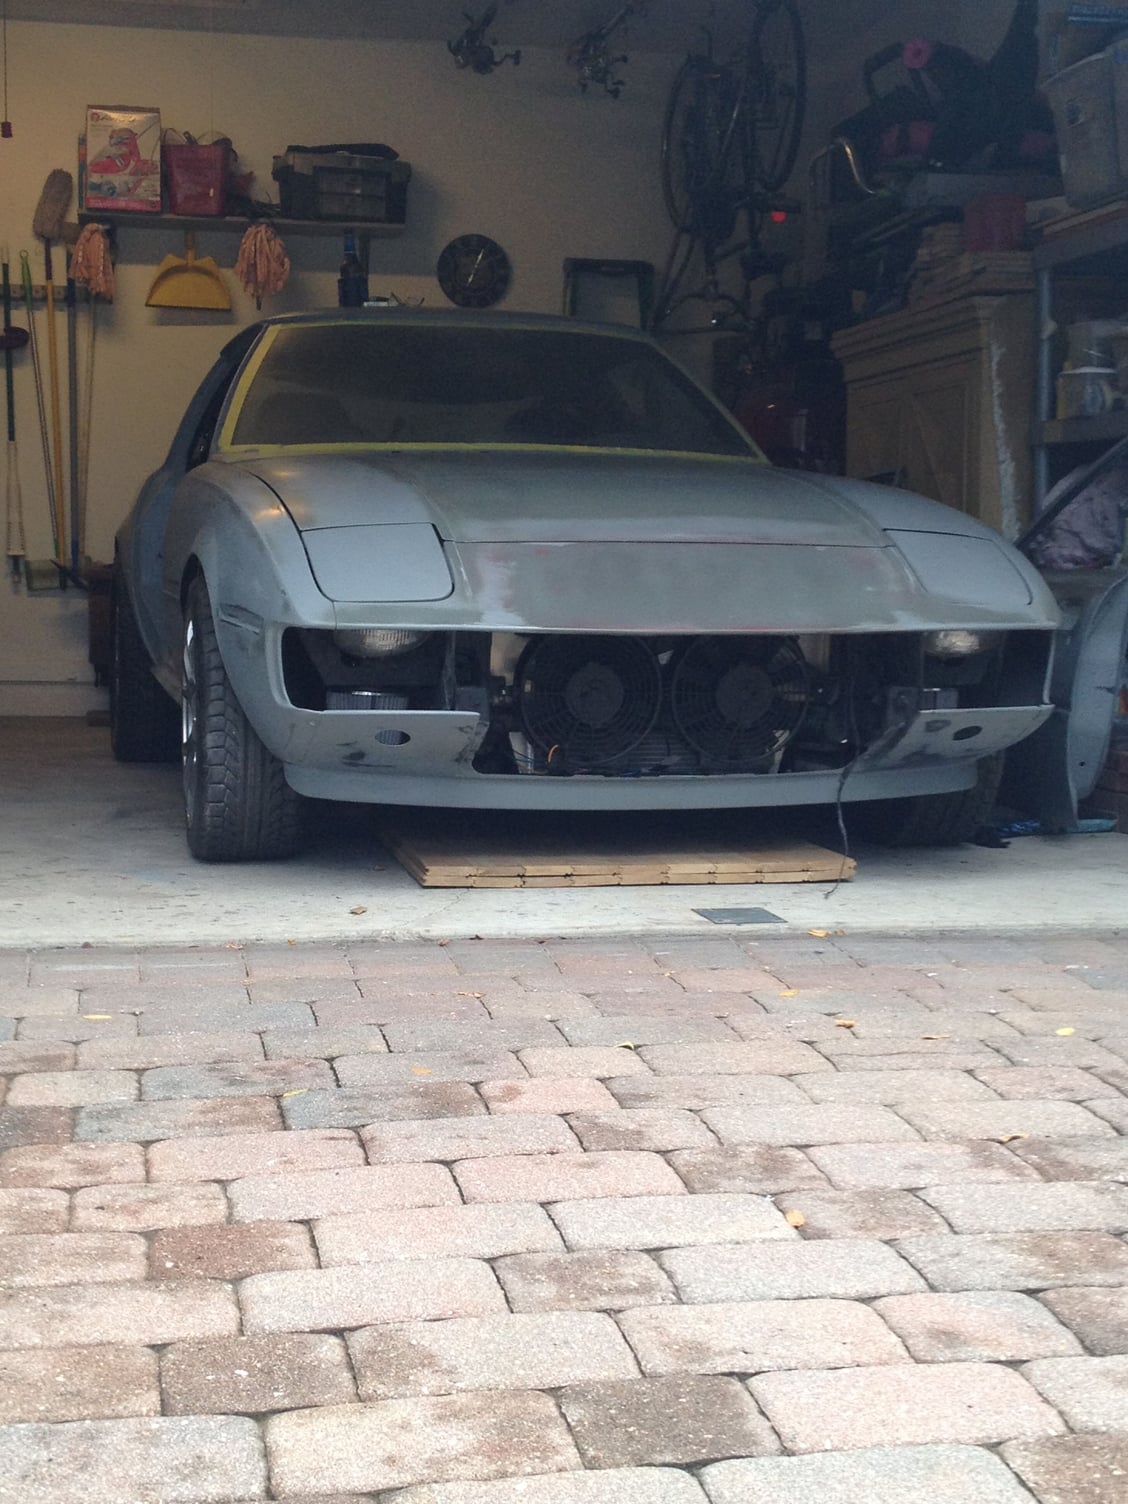
Just found this on computer.......better picture of radiator and cooling fans. It has 3 pushers. One is behind the 2 you can see and is mounted directly to the radiator. It's like a 10" which is all there is room for above the frame support. It didn't do enought so I got 2 more (the ones you see) and made a mounting plate.
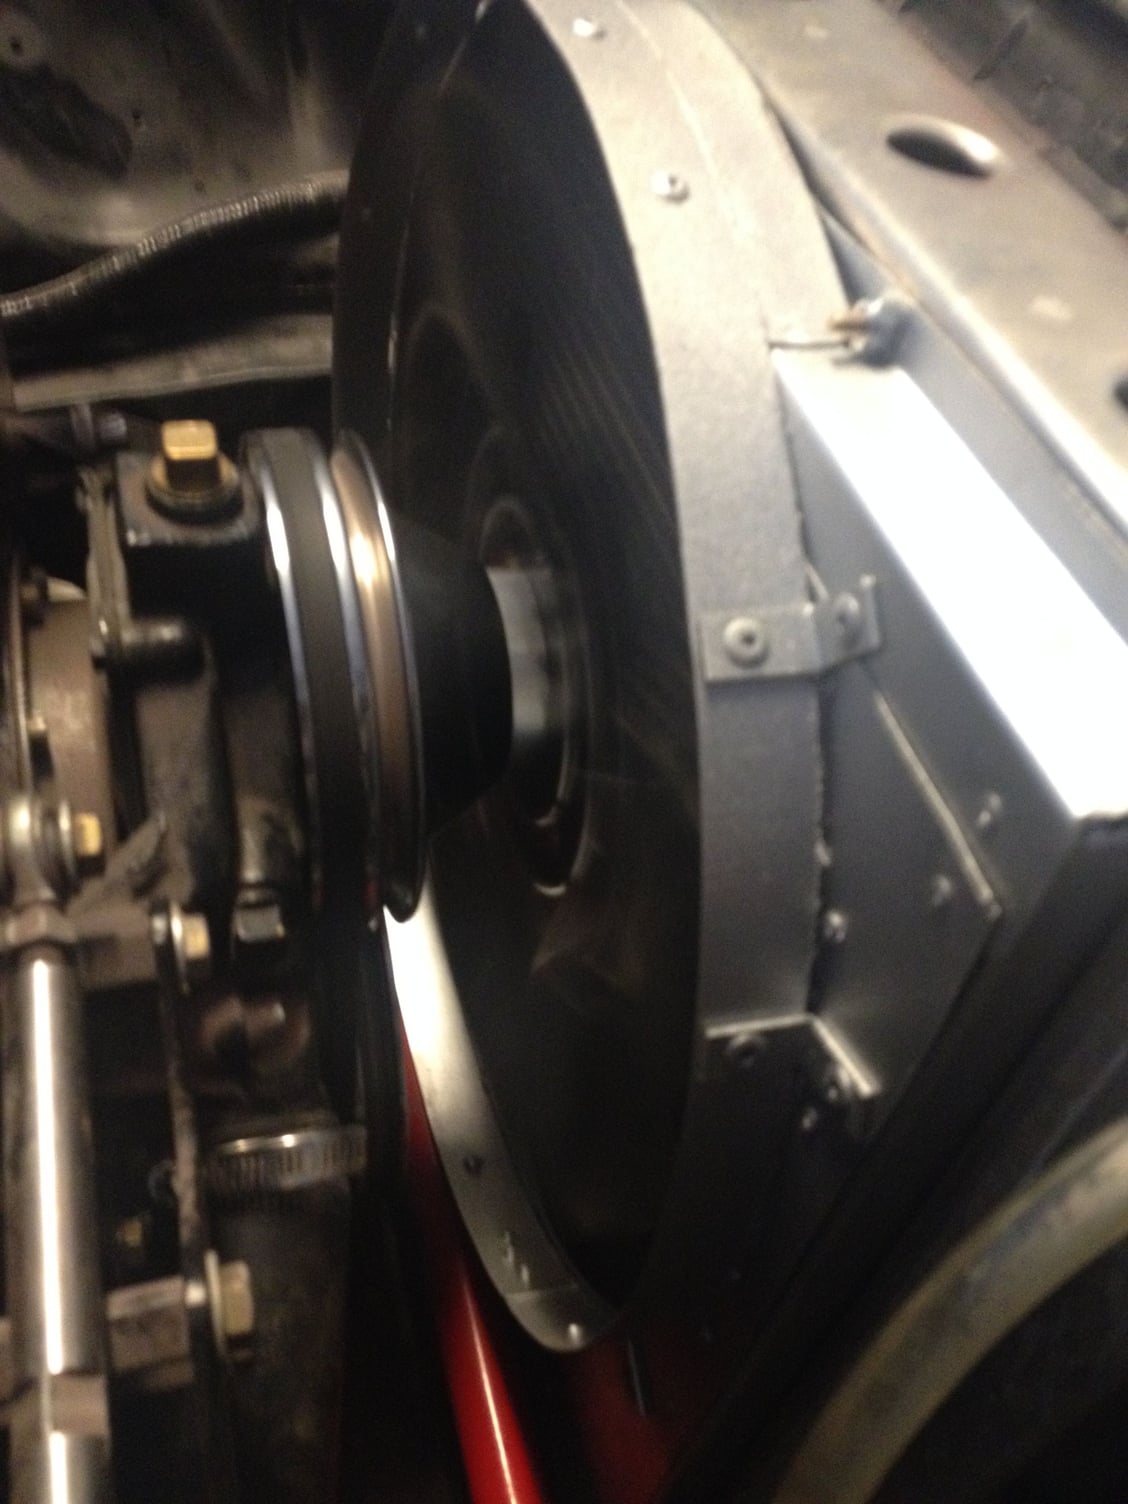
This shows the fan shroud I made. I cut away portions on the sides since making this photo as it was very tight around the fan and I think impeding airflow to some extent. The top is definitely still so I don't lose a hand from the fan.

