
SA22R The beginning


Thread Starter
Rotary Enthusiast


Joined: Jun 2013
Posts: 840
Likes: 2,410
From: Mom�s basement
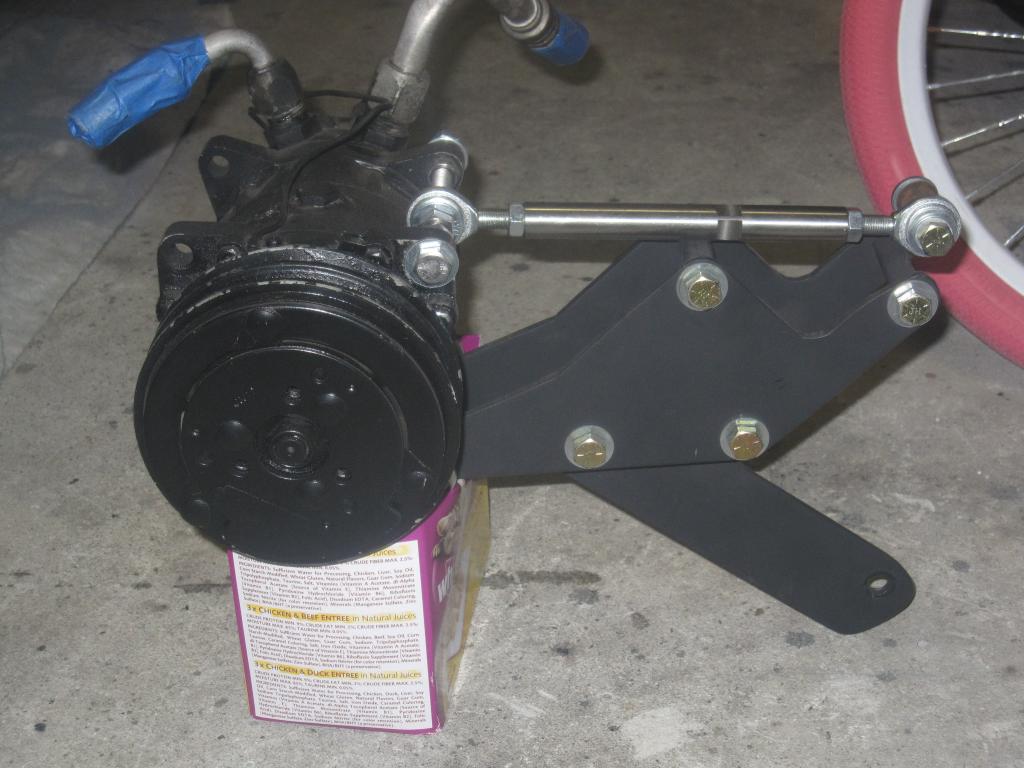
very fond of this AC bracket I made. was a major PITA to get the AC fitted where I want it to clear below the intake piping and clear the radiator hose. they don't sell these on ebay lol.
Thread Starter
Rotary Enthusiast
Joined: Jun 2013
Posts: 840
Likes: 2,410
From: Mom�s basement
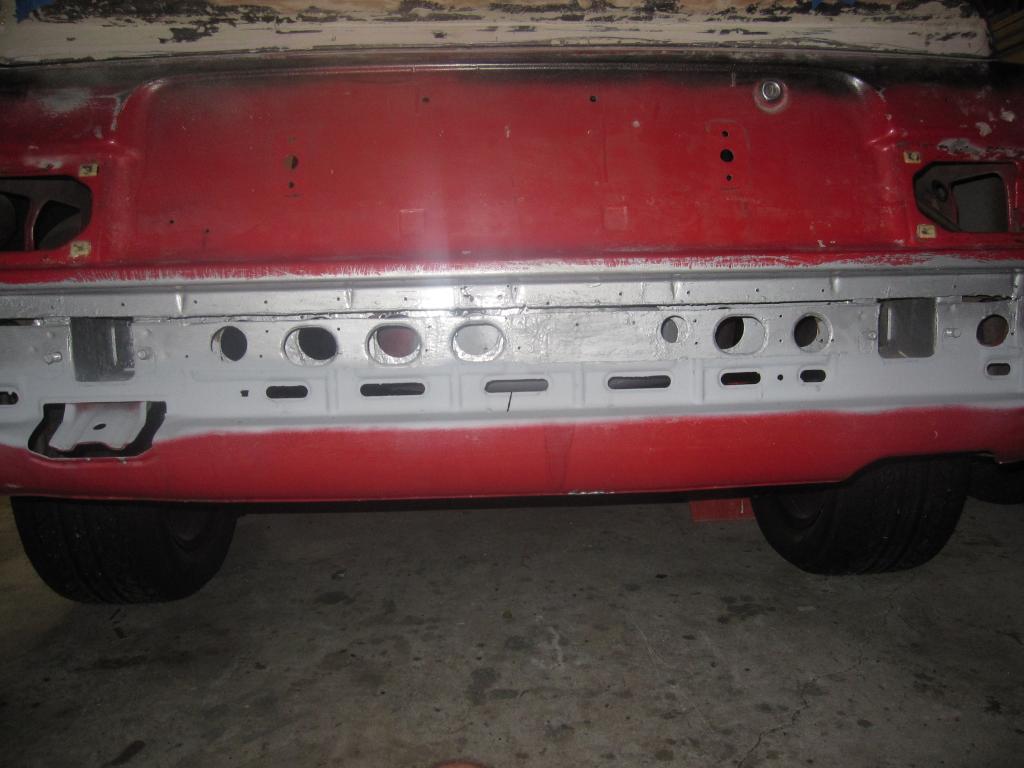
here we have the worst rust are where the seams come together. It had to be cut out as did the small section on the backside that connects to the spare tire are. My solution is a few nice pieces of fairly thick galvanized so if it does comeback some it won't come through the galvanized and the paint. I am basically re-boxing it in on both sides after wire brushing and removing almost all the rust followed by rust bullet and eastwood inner frame spray
Thread Starter
Rotary Enthusiast
Joined: Jun 2013
Posts: 840
Likes: 2,410
From: Mom�s basement
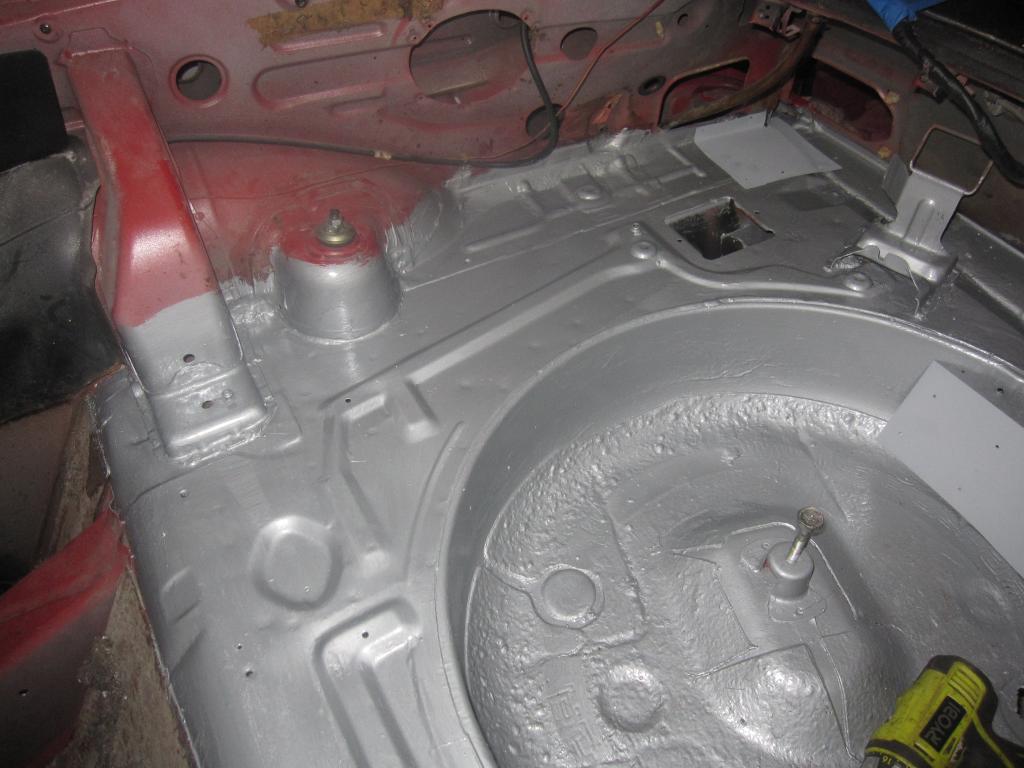
a couple patches yet to be finally riveted in. rust bullet the rear hatch area and you can see the galvanized piece in the spare tire area. This will go on the backside where there was rust that was removed. just beefing it up to add a support where I removed the old one between the spare tire area and rear channel
Thread Starter
Rotary Enthusiast
Joined: Jun 2013
Posts: 840
Likes: 2,410
From: Mom�s basement
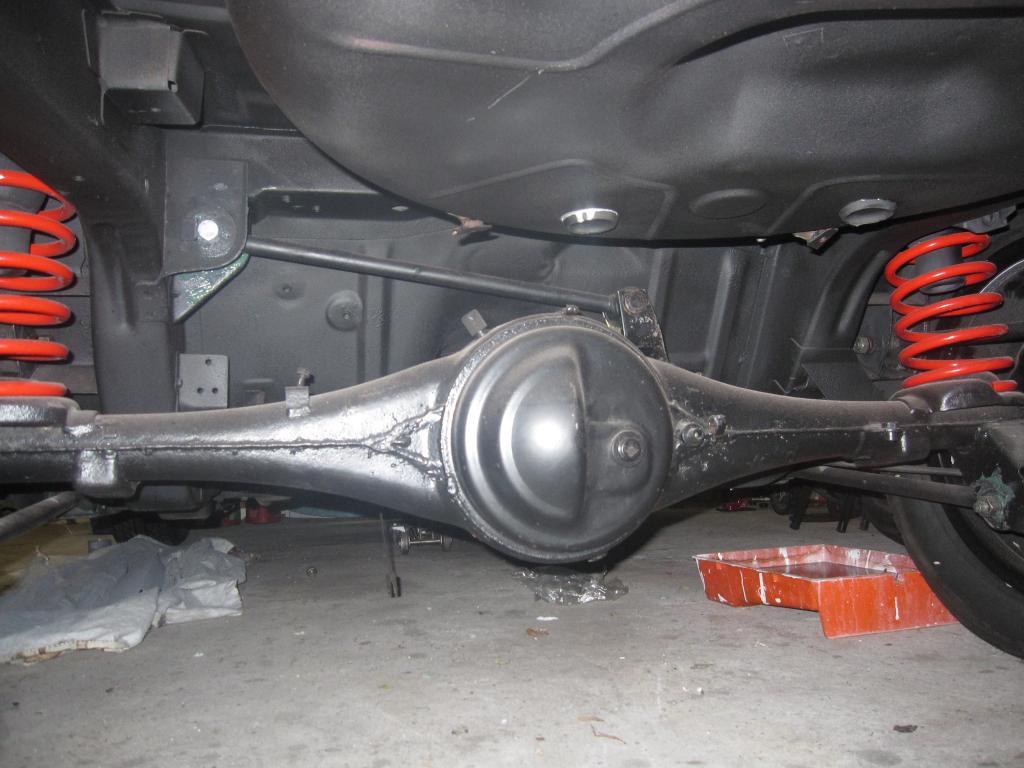
this shows the actual way the off set is. the previous pics where mock ups. this has axles installed and spacers and brake conversions etc.
got meat? shows rear brakes from T2. the tires are 245's and you can see a fiberglass patch that was used after drilling about a 1" rusthole out on rear lower 1/4 panel. I used the right adhesive with an oversized patch coming from the backside

got meat? shows rear brakes from T2. the tires are 245's and you can see a fiberglass patch that was used after drilling about a 1" rusthole out on rear lower 1/4 panel. I used the right adhesive with an oversized patch coming from the backside
Thread Starter
Rotary Enthusiast
Joined: Jun 2013
Posts: 840
Likes: 2,410
From: Mom�s basement

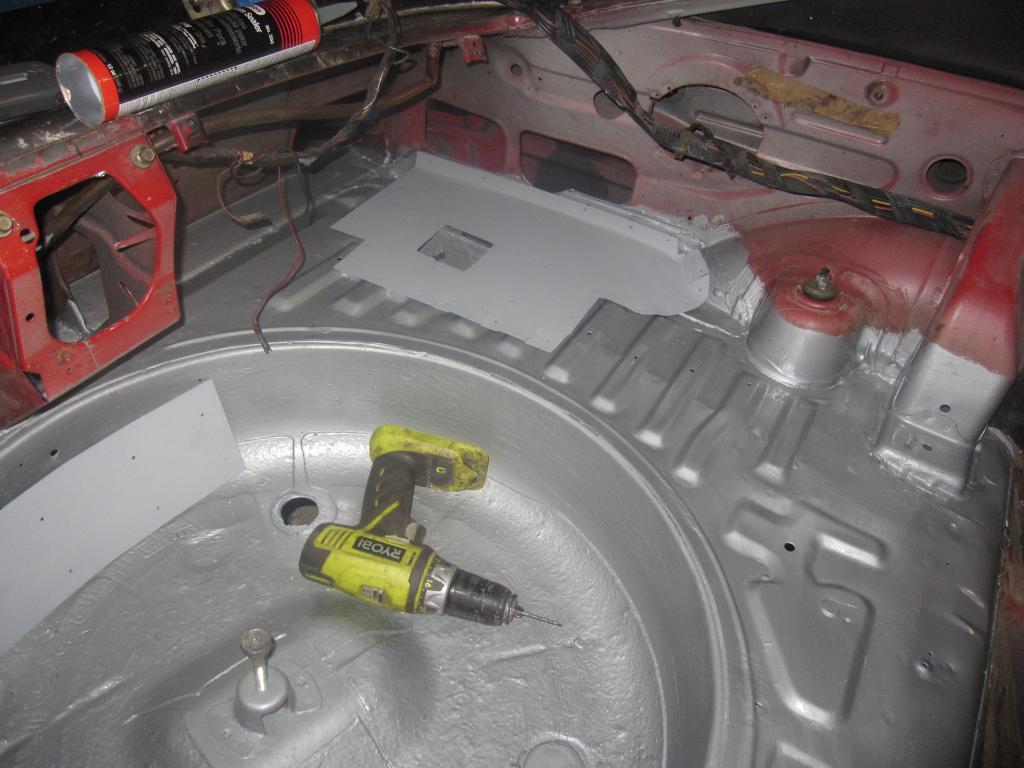
battery tray/relocated to passenger firewall. This is a rough pic I had. but it's complete now and has another support coming across the front that also boxes in the battery.
this picture shows the support I built. It connects the strut towers to the firewall and to the frame. the frame has an 1/8 piece underneath and 1/4 inch on top ...essentially boxing it in and hopefully holding some torque while lowering the engine a smear. the hood clearance is right on....but an extra 1/8 inch never hurts
Thread Starter
Rotary Enthusiast
Joined: Jun 2013
Posts: 840
Likes: 2,410
From: Mom�s basement
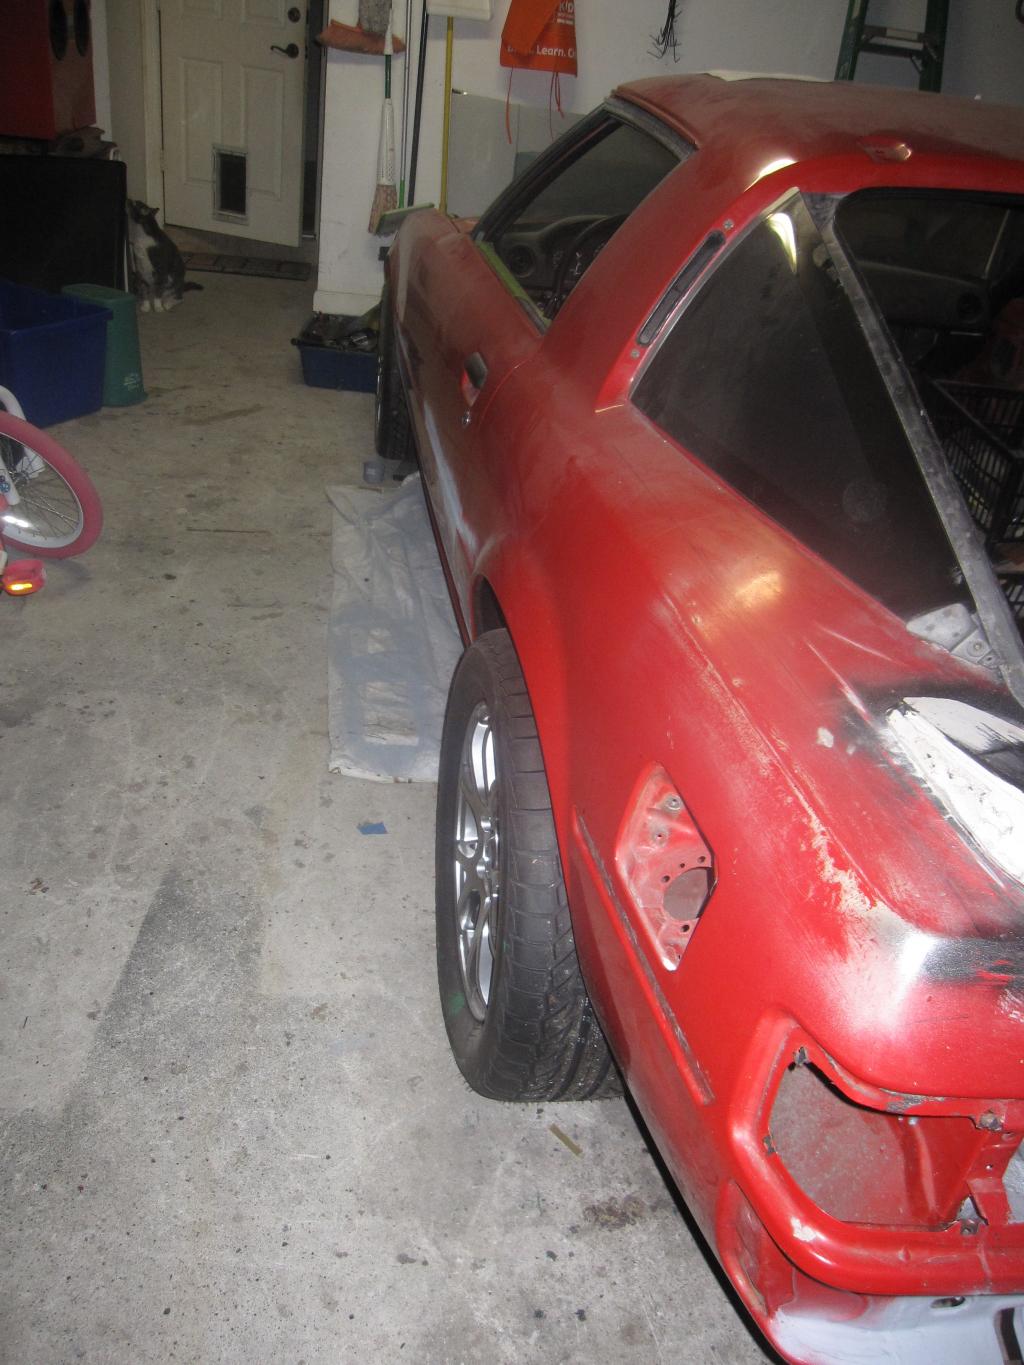
Doing this in a small garage I get about 1/3 work done, 1/3 cleanup and 1/3 trying to find the parts between boxes, the attic or tools lol. I would not recommend it to anyone, but live and learn. Also would not have torn the car all the way apart the way I did. should have done it one section/portion at a time.
The engine is built not be a low end monster. It should come on strong at about 2k up till 5,900 based on what I put in it and the engine programs I ran to select the components. The driveshaft is aluminum and it has a lightened flywheel. The though being less rotating mass to not rip that r end apart if I do decide to jump on it from the line once in a while. It's basically more mid to top end for this type of engine coupled with 3.90 rear gear and the right tranny based on the ratio calculators I have used. It's all 80's technology hehe. That's how she rolls lol. It's well thought out.....may be a clunker....who knows
The engine is built not be a low end monster. It should come on strong at about 2k up till 5,900 based on what I put in it and the engine programs I ran to select the components. The driveshaft is aluminum and it has a lightened flywheel. The though being less rotating mass to not rip that r end apart if I do decide to jump on it from the line once in a while. It's basically more mid to top end for this type of engine coupled with 3.90 rear gear and the right tranny based on the ratio calculators I have used. It's all 80's technology hehe. That's how she rolls lol. It's well thought out.....may be a clunker....who knows
Thread Starter
Rotary Enthusiast
Joined: Jun 2013
Posts: 840
Likes: 2,410
From: Mom�s basement
working on the rear section today to enclose the area with new panels and spray the inner frame rails. also finishing the patchwork in the rear hatch area. it's not so bad laying under the car now that it's not with a wire wheel and the rust isn't flying. :-)

 Look forward to seeing more aye
i like it. i like the little touches you have going on, like the bracing, the brakes and the fact that you opted for a manual transmission. i feel your pain about not having your own space in the garage. as you said, a lot of time goes to cleaning up and remembering where you put stuff the next time you need to work. in 2 years you seem to be doing a great job despite that though.
Thread Starter
Rotary Enthusiast
Joined: Jun 2013
Posts: 840
Likes: 2,410
From: Mom�s basement
It's actually an 84 GSL rear end. It does have upgraded mosler axles though. The T5 tranny is also a concern, but I have a short shifter with bump stops to prebent over shifting which is what destroys a lot of those from what I am told. It is a T5 our of a v-8 though and also has overdrive. (.63) so it should run 80 mph w/o being 5000 rpms lol.
It has a lightened flywheel and aluminum driveshaft to try to reduce rotating mass, and I really don't think it's going to launch hard with 245 tires and a (new) OEM clutch. My though is either the tires break loose or the clutch slips a bit before it breaks the tranny or shred the ring/pinion as grannys says these rears will hold 350-375. I should be pushing 350-400, but the engine is set up to be more mid to top end range which should help with the high rear end gear.
we'll see, but I don't plan on drag racing this care...don't plan on it.
I'll take some more pics and post soon.
Thread Starter
Rotary Enthusiast
Joined: Jun 2013
Posts: 840
Likes: 2,410
From: Mom�s basement
i like it. i like the little touches you have going on, like the bracing, the brakes and the fact that you opted for a manual transmission. i feel your pain about not having your own space in the garage. as you said, a lot of time goes to cleaning up and remembering where you put stuff the next time you need to work. in 2 years you seem to be doing a great job despite that though.
at this point I just want to have it running by years end.


Thread Starter
Rotary Enthusiast
Joined: Jun 2013
Posts: 840
Likes: 2,410
From: Mom�s basement

Thread
Thread Starter
Forum
Replies
Last Post
imitek
3rd Generation Specific (1993-2002)
13
Oct 28, 2015 10:57 AM
Auroraw0lf
New Member RX-7 Technical
5
Sep 15, 2015 04:55 PM