
Mefarri's 1995 FD LS3 turbo build


Junior Member
Joined: Dec 2009
Posts: 17
Likes: 0
From: California
Well, that's good news guys. Since the price of C5 corvettes are going down and the price of RX7s are going up, in a few years we will will be able to swap rotary motors into Corvettes and have the same car for less- since "an ls RX7 is essentially a corvette."

I'm in the process of trying to locate the turbo into the bay right now. It's seriously tight in there. Might have to change my whole planned radiator and fan setup to gain one inch of clearance because that may be as tight as we're talking here.
Yea that'd be kinda crazy. Plus it'd be super low.
So I ordered my collector materials from Cone Engineering last week and they showed up this morning right before I left for work so I took a couple pics. They're 304 stainless, 2" in and 2.5" out, 6" long. They're really nice pieces. I also bought theie cast stainless merge bullets to make the transition into the collectors perfect, and a fixturing ring for lining up all of the primaries. Total it was $187 shipped for all of it, or around $500 cheaper than Burns Stainless. If you didn't buy the merge bullets, you could get out with just the collectors for like $125.
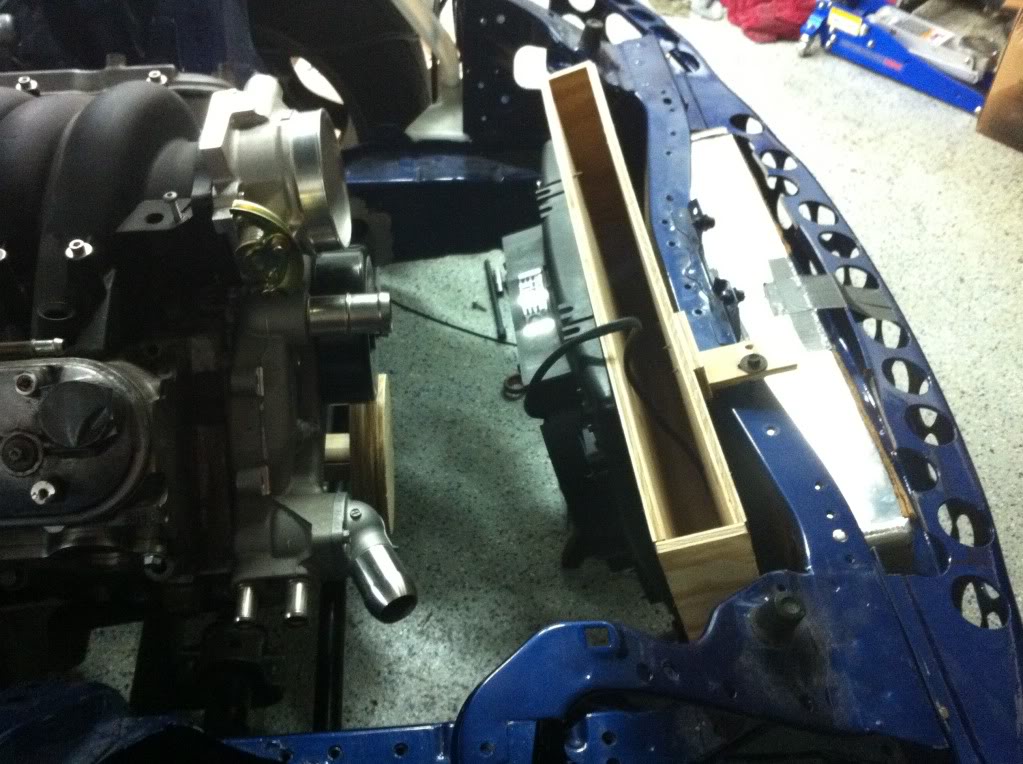
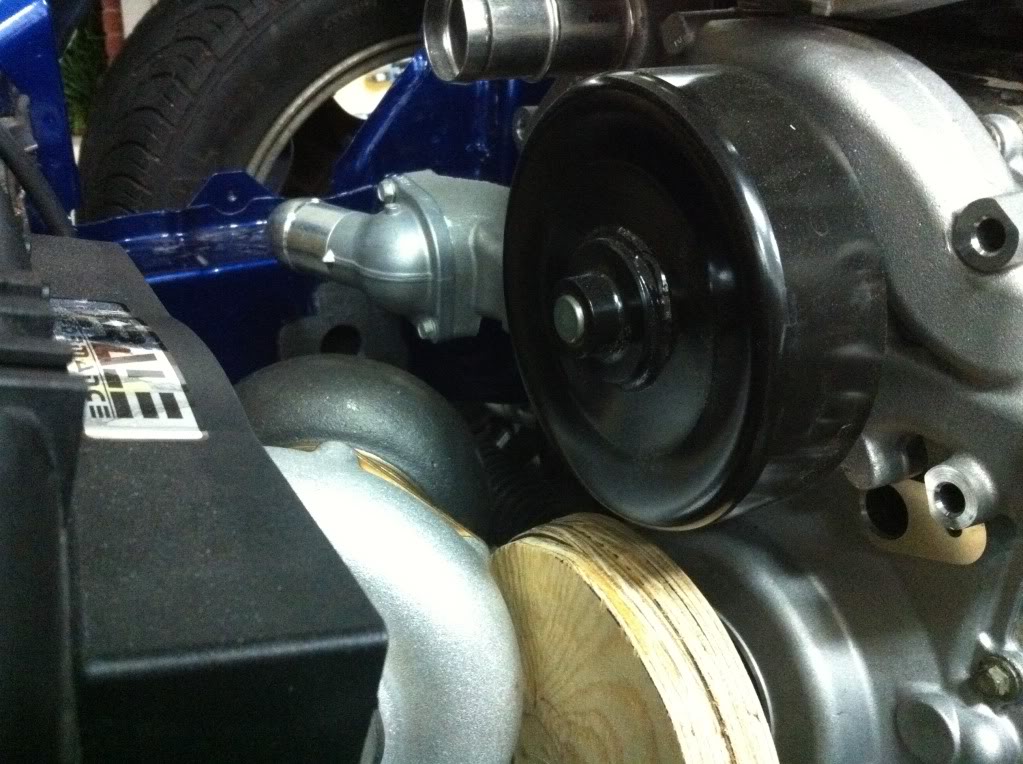
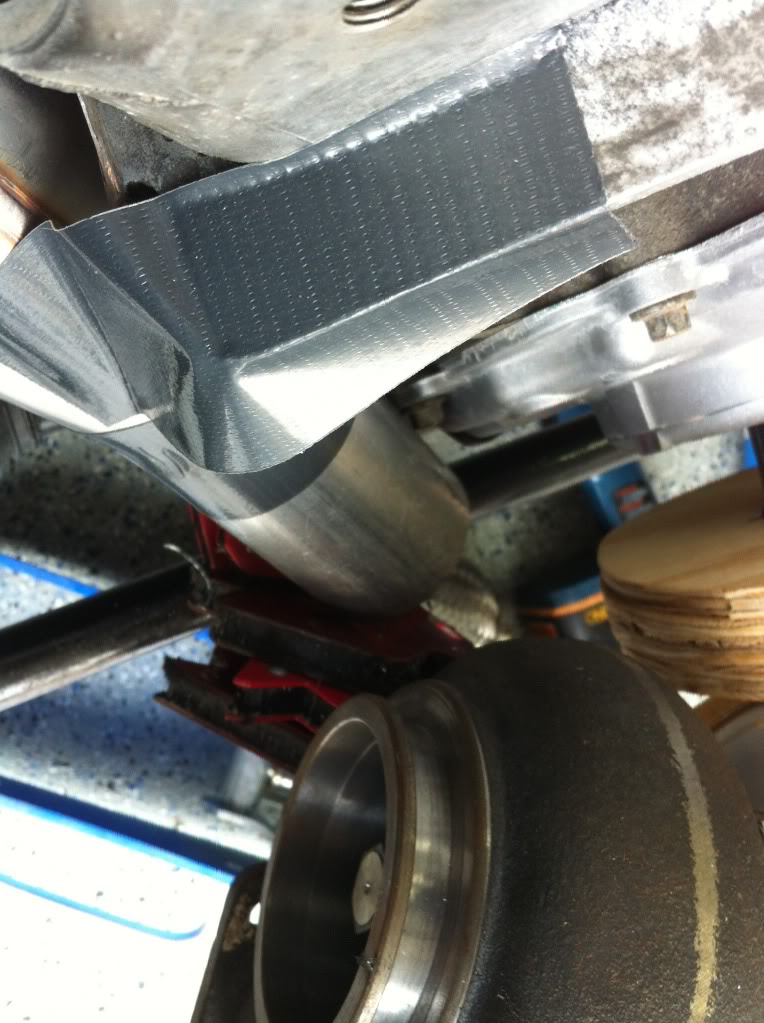
I also was able to spend like 10 minutes looking at the top mounted turbo idea and it looks promising. It's going to be tucked up against the water pump inlet/outlet I think so that the compressor inlet can be turned enough to run the intake pipe behind the radiator. Too shallow of an angle make it aim right into the radiator. But, it looks doable. I started making up a wooden mock up jig to clamp it to the frame rail to check the hood clearance and such.
I'd like to mount it up top for a few reasons. It allows me to keep the intercooler setup I've got = no cutting the bumper. It allows me to keep the radiator and fan setup I had planned. And the oil drain will work really well and I won't have to worry about it backing up. Also, It looks badass sitting up top. The only clearance issue I might have is the upper radiator hose having to snake under the intake pipe and then back up, but we'll see. Still need to check the lower AC compresssor mounting situation too.
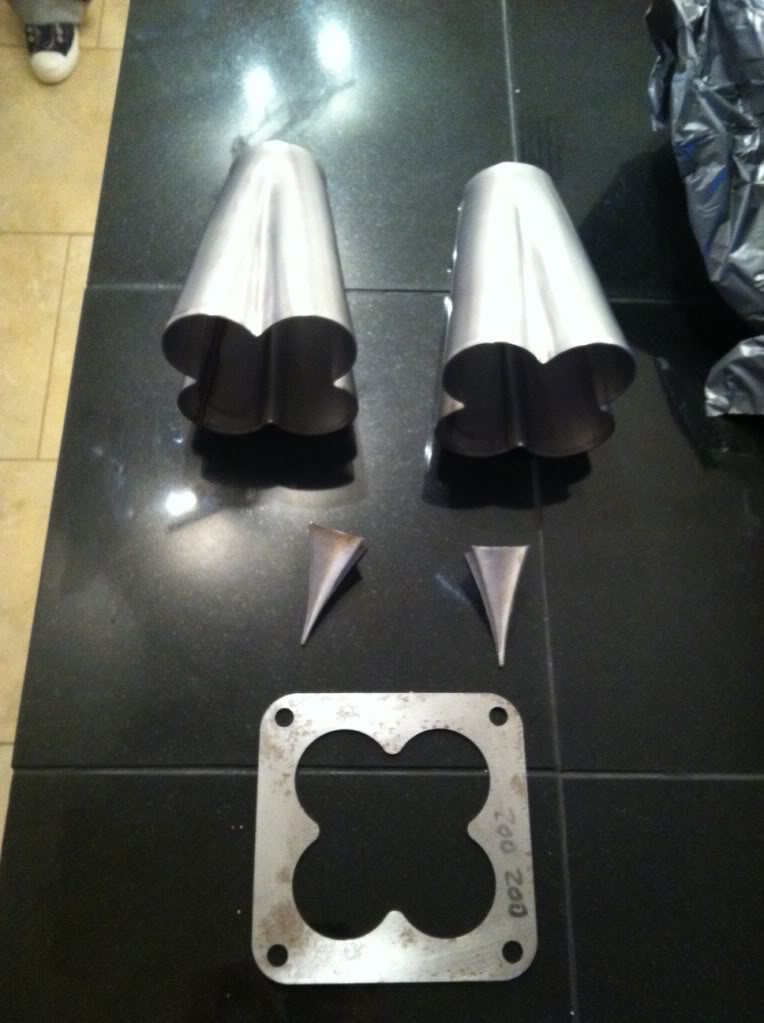

So I ordered my collector materials from Cone Engineering last week and they showed up this morning right before I left for work so I took a couple pics. They're 304 stainless, 2" in and 2.5" out, 6" long. They're really nice pieces. I also bought theie cast stainless merge bullets to make the transition into the collectors perfect, and a fixturing ring for lining up all of the primaries. Total it was $187 shipped for all of it, or around $500 cheaper than Burns Stainless. If you didn't buy the merge bullets, you could get out with just the collectors for like $125.
I also was able to spend like 10 minutes looking at the top mounted turbo idea and it looks promising. It's going to be tucked up against the water pump inlet/outlet I think so that the compressor inlet can be turned enough to run the intake pipe behind the radiator. Too shallow of an angle make it aim right into the radiator. But, it looks doable. I started making up a wooden mock up jig to clamp it to the frame rail to check the hood clearance and such.
I'd like to mount it up top for a few reasons. It allows me to keep the intercooler setup I've got = no cutting the bumper. It allows me to keep the radiator and fan setup I had planned. And the oil drain will work really well and I won't have to worry about it backing up. Also, It looks badass sitting up top.
The only clearance issue I might have is the upper radiator hose having to snake under the intake pipe and then back up, but we'll see. Still need to check the lower AC compresssor mounting situation too.

Junior Member
Joined: Jun 2006
Posts: 11
Likes: 0
From: Columbus, OH
Hey if you're looking for ideas, my buddy worked for a company called mallet racing. They did twin turbo ls swaps in the solstice. Different car I know but you might be able to find some ideas on some of their builds.
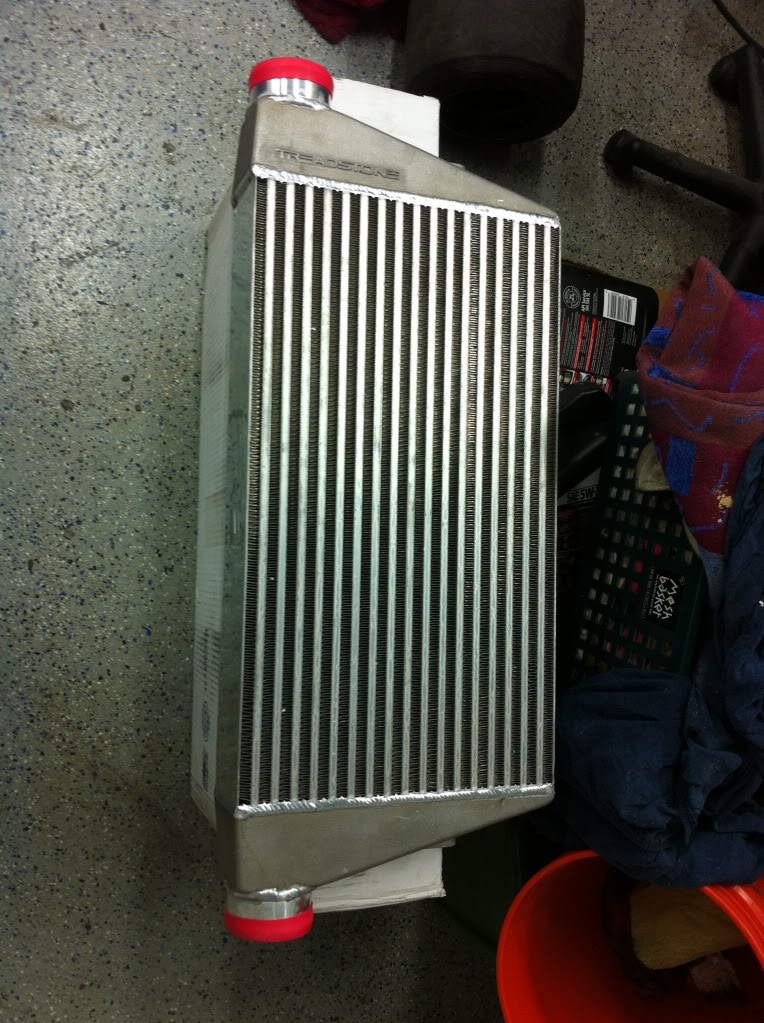
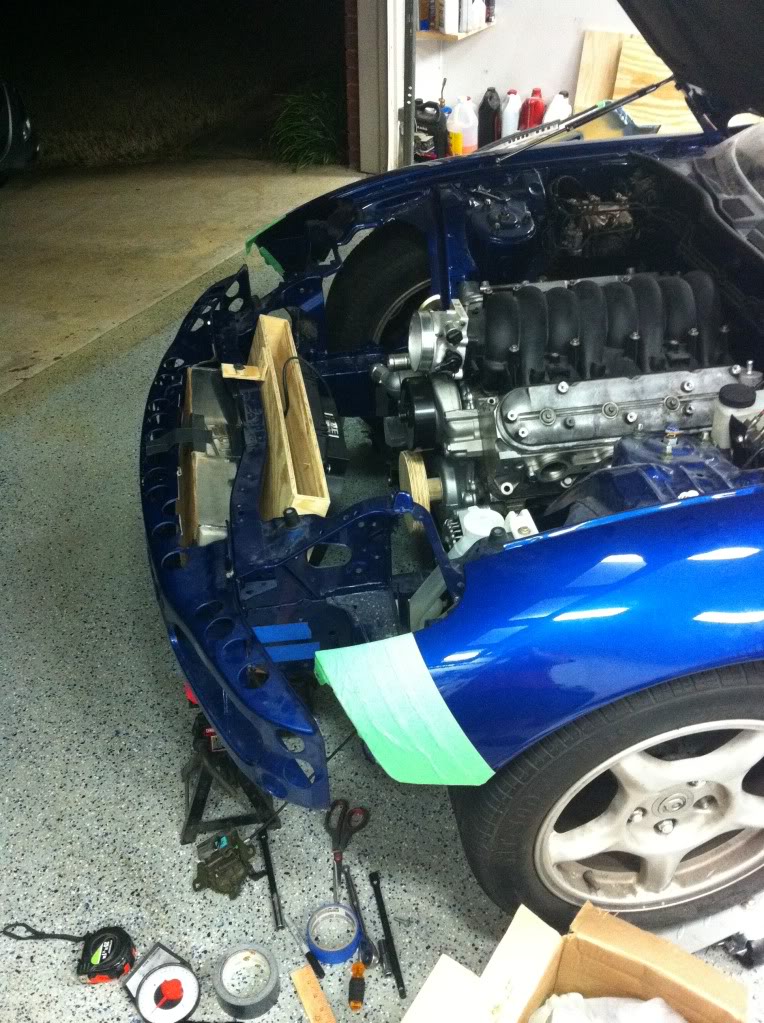
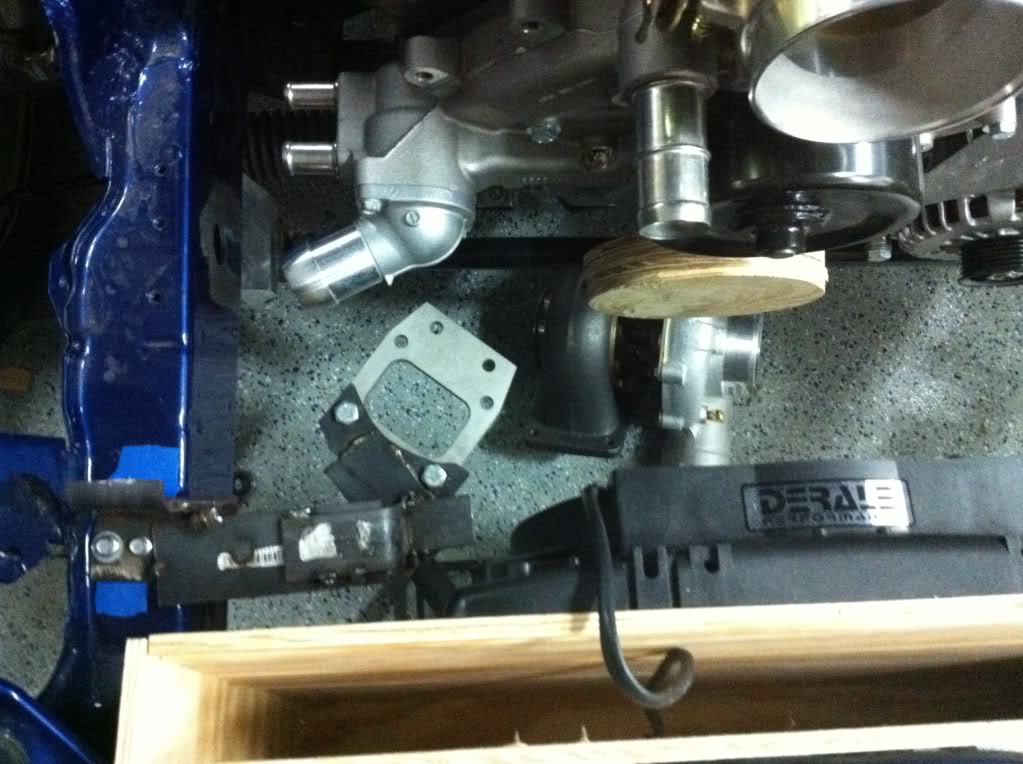
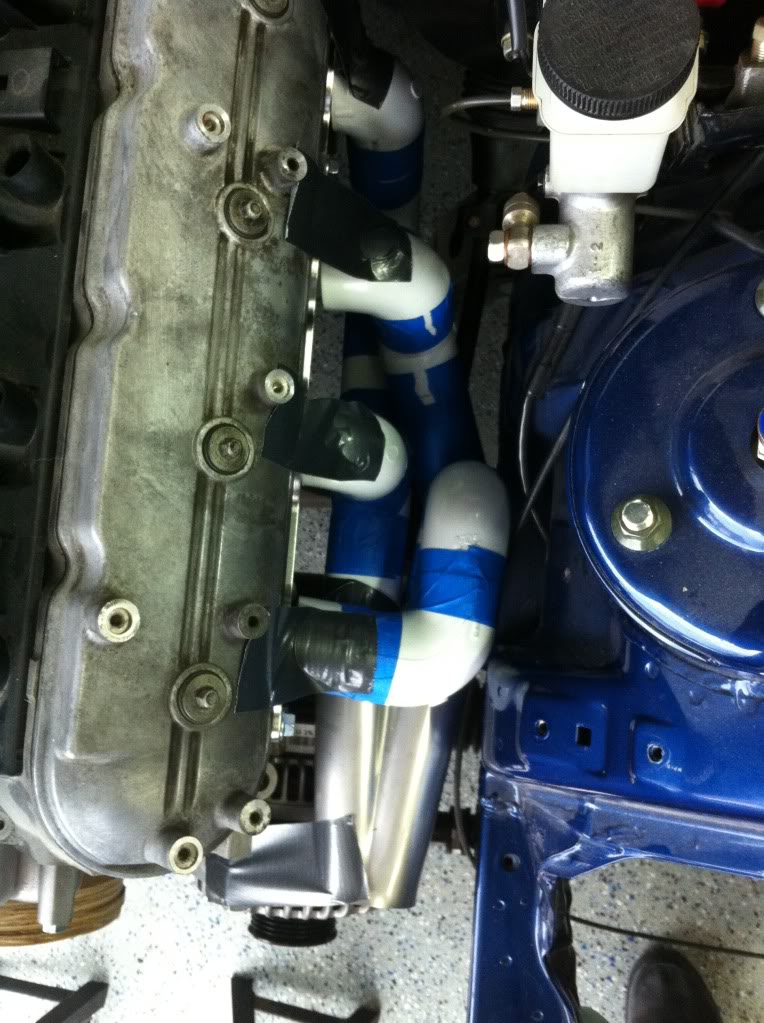
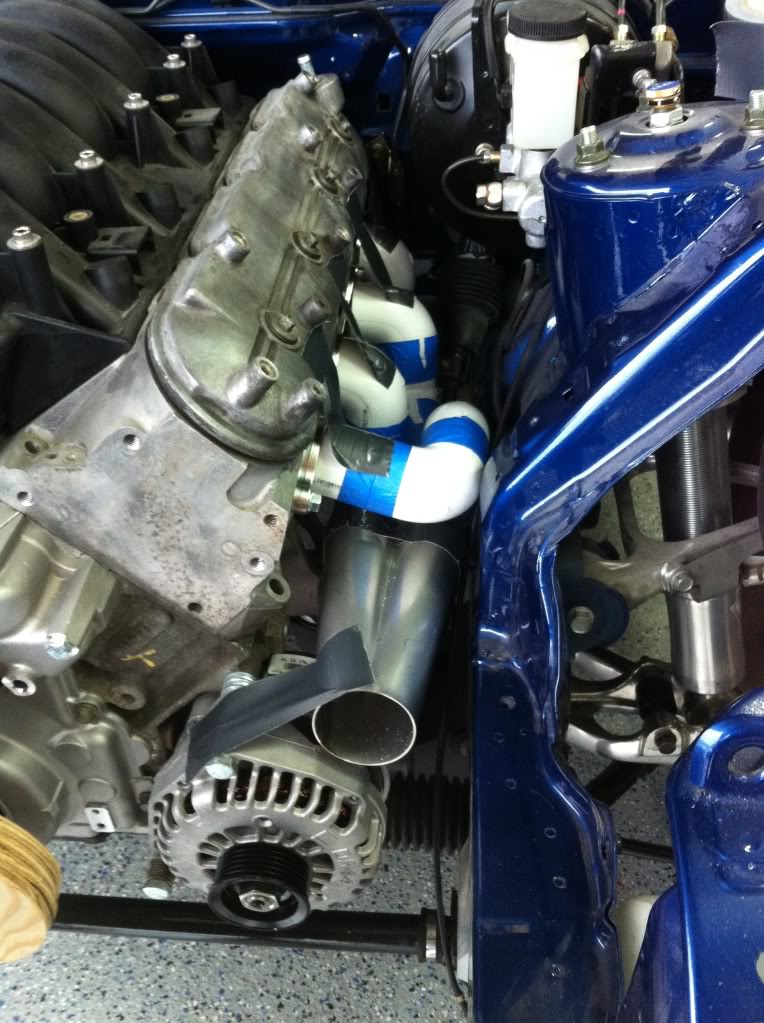
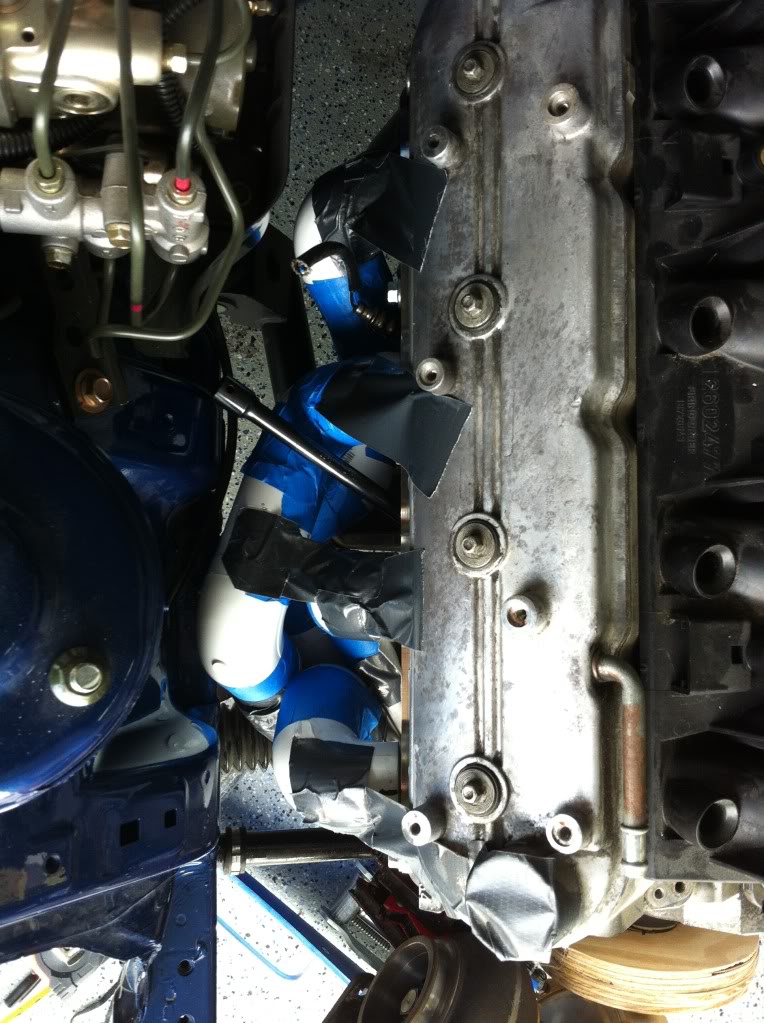
So after alot of mocking things up, it seems that the lower mount turbo is the only feasible way to keep ABS, have a cold air intake for the turbo etc. The upper looks way better but things are just too tight. I've also decided to ditch the vertical flow intercooler for a more traditional horizontal one. The upper IC pipe would have just been a huge PITA for no real reason. This means having to cut the lower mouth of my bumper a little which I didn't want to do but it will allow me to tilt the radiator forward which gives me room for the turbo down low. So, that's the plan. Should be locating the turbo very soon and then it's time to build the manifolds. 


I've been lacking in updating the thread although not alot has been done. I sold the vertical flow intercooler, and got a more traditional horizontal flow after I decided it was necessary to cut the lower mouth of the bumper to get everything to fit and the upper IC pipe would have been a super pain in the ***. Had to cut out some of the bumper support. Still need to cut some more off the top.
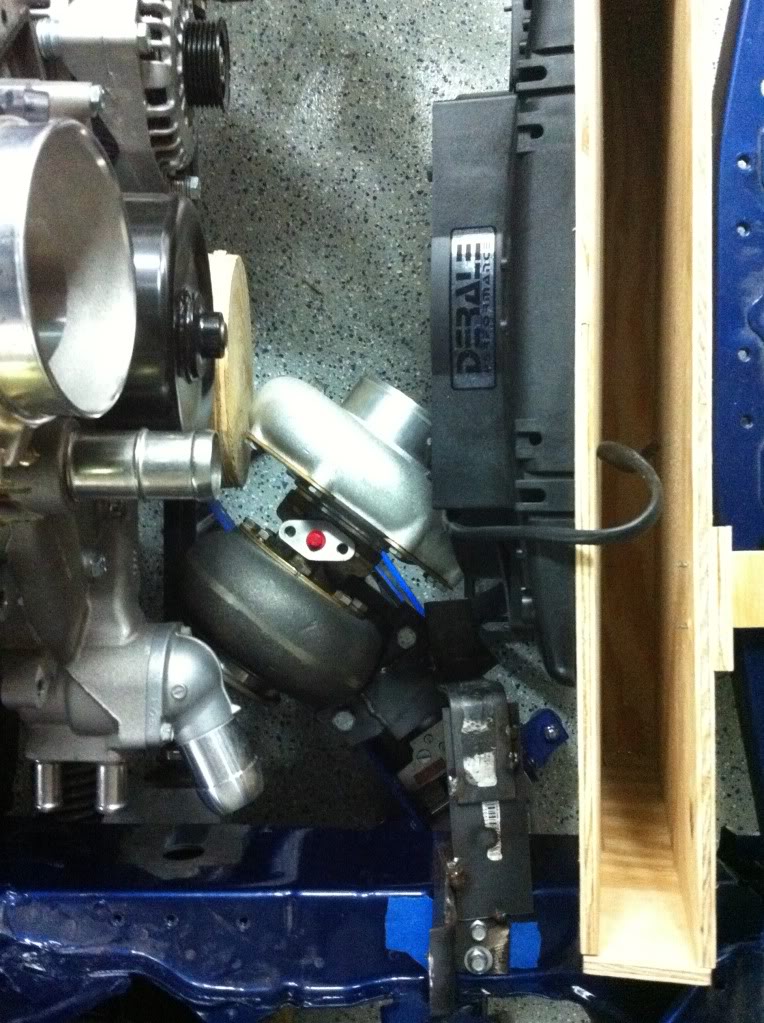
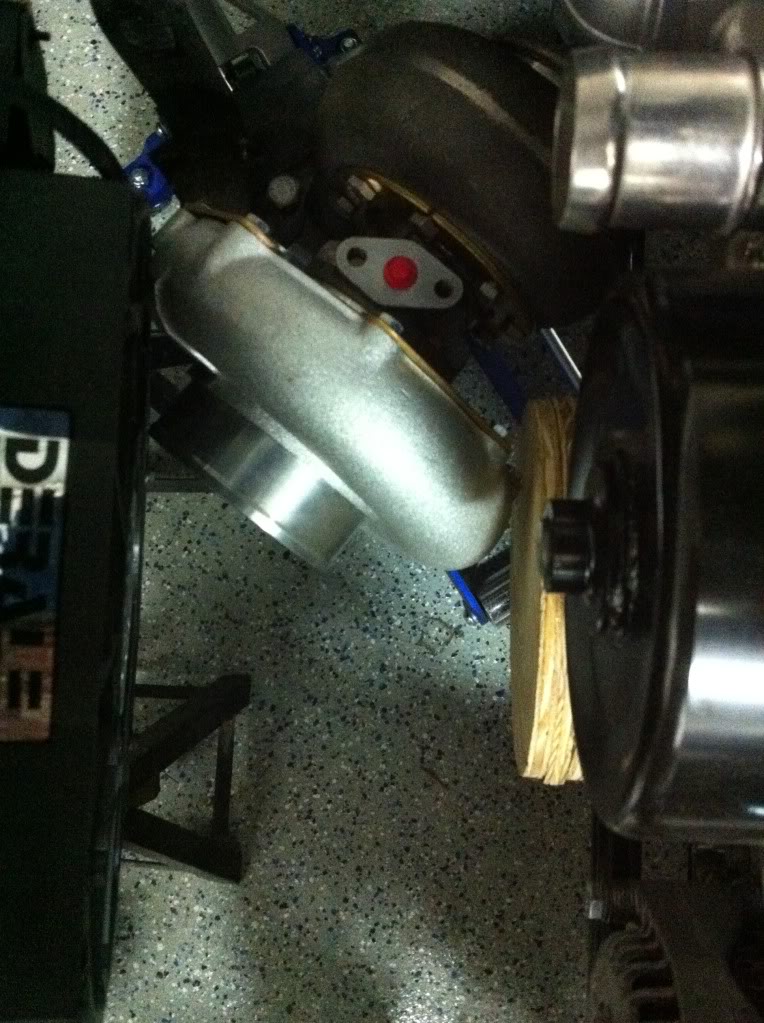
Also made a jig to hold the turbo flange in place for building the manifolds and crossover pipes. And today I made a mock up of the driver's side header. Also ordered my intercooler piping and couplers from Treadstone.
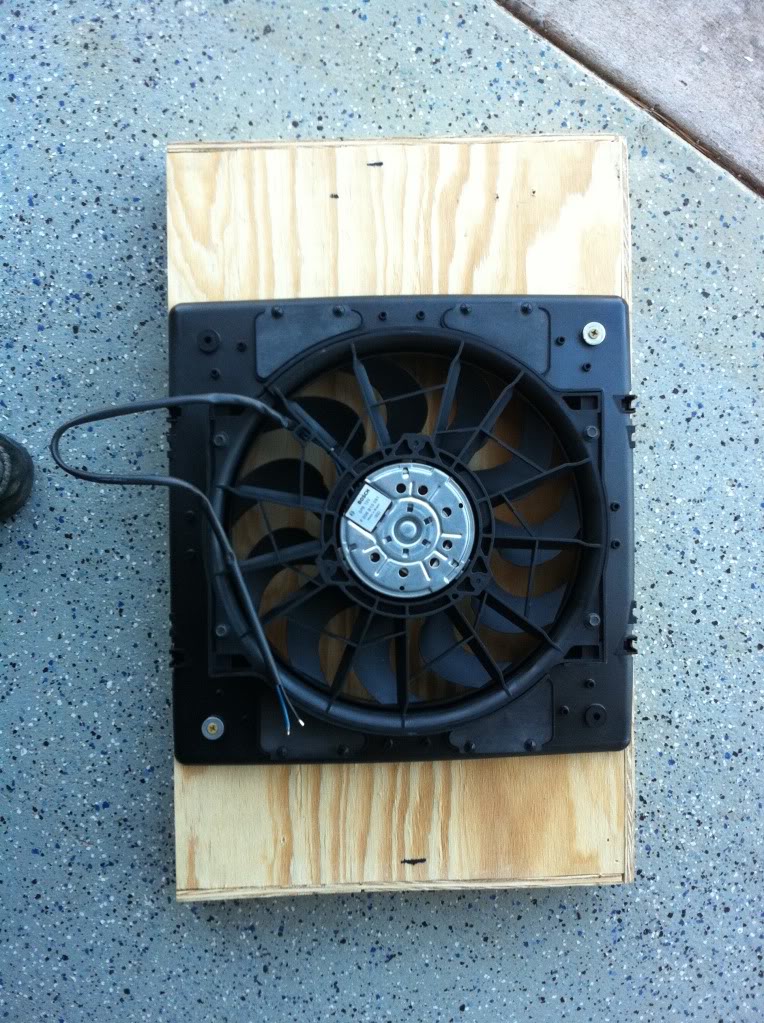
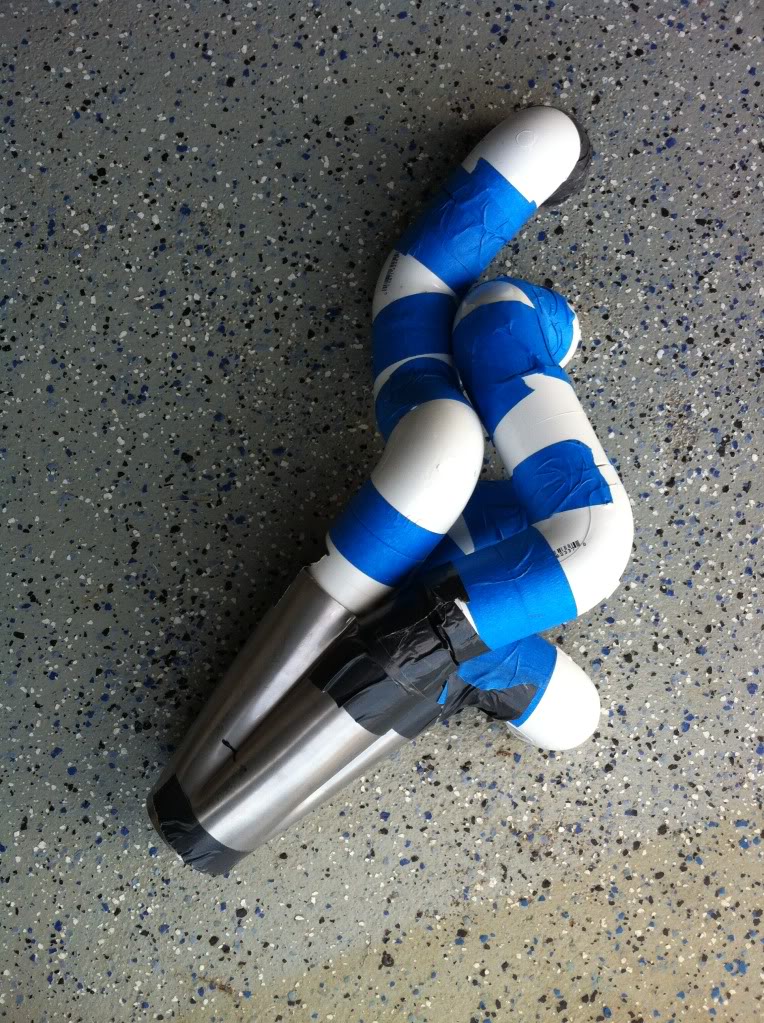
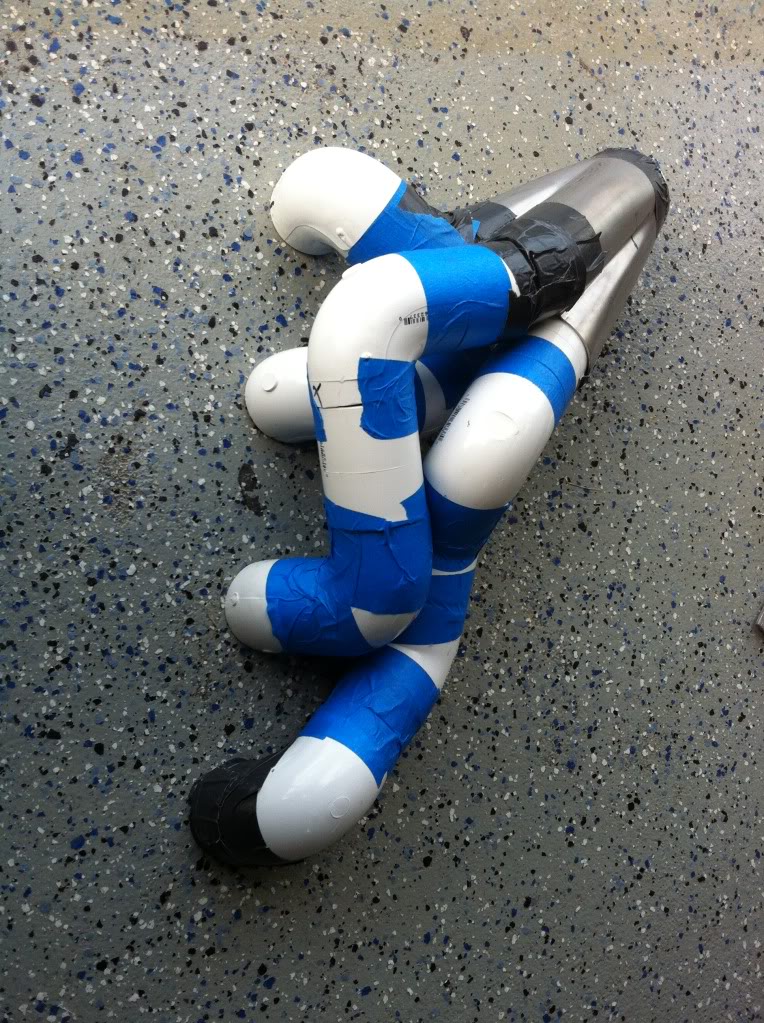
Also sent back my Taurus fan for 2 Derale electric fans that flow 2200 CFM EACH. I'm just using one for mockup. You'll notice I built a mockup wooden radiator and crank pully since ATI said not to intall the real one until the engine is built because removing them can hurt them sometimes.

Also made a jig to hold the turbo flange in place for building the manifolds and crossover pipes. And today I made a mock up of the driver's side header. Also ordered my intercooler piping and couplers from Treadstone.
Also sent back my Taurus fan for 2 Derale electric fans that flow 2200 CFM EACH. I'm just using one for mockup. You'll notice I built a mockup wooden radiator and crank pully since ATI said not to intall the real one until the engine is built because removing them can hurt them sometimes.


Joined: May 2005
Posts: 2,745
Likes: 0
From: North Bay, Ontario
Aluminum is so last year, wooden pulleys are the ****.
The only thing that could possibly hit with engine movement would be the downpipe hitting the subframe if the whole combo rotates down far enough. It shouldn't though.
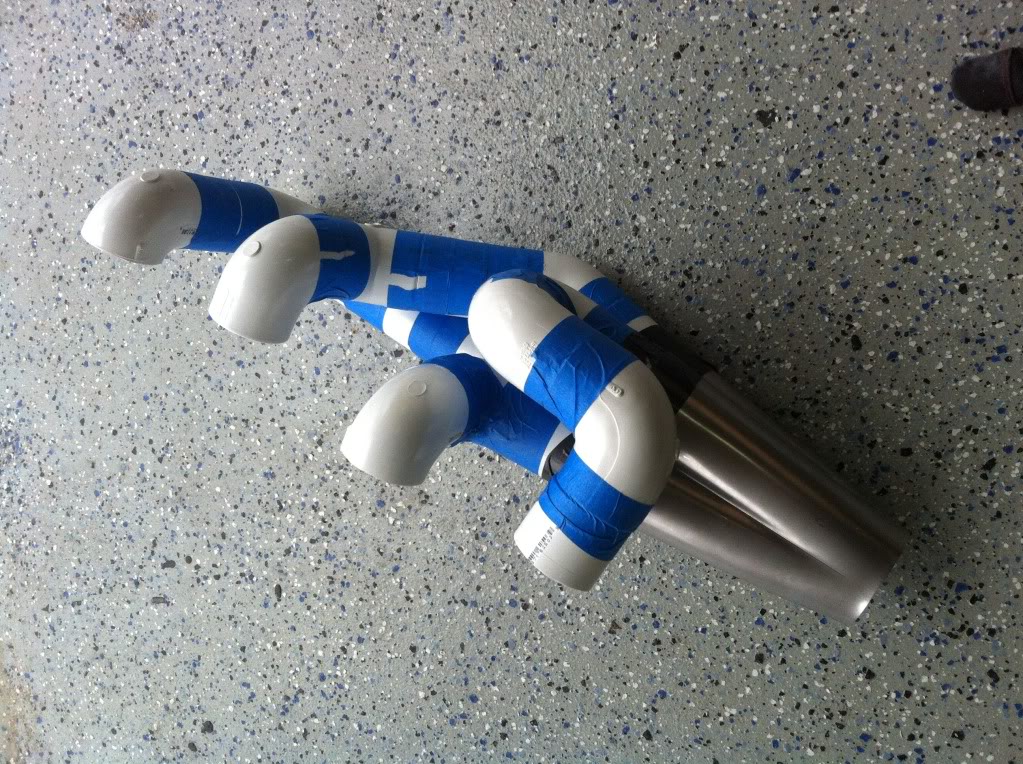
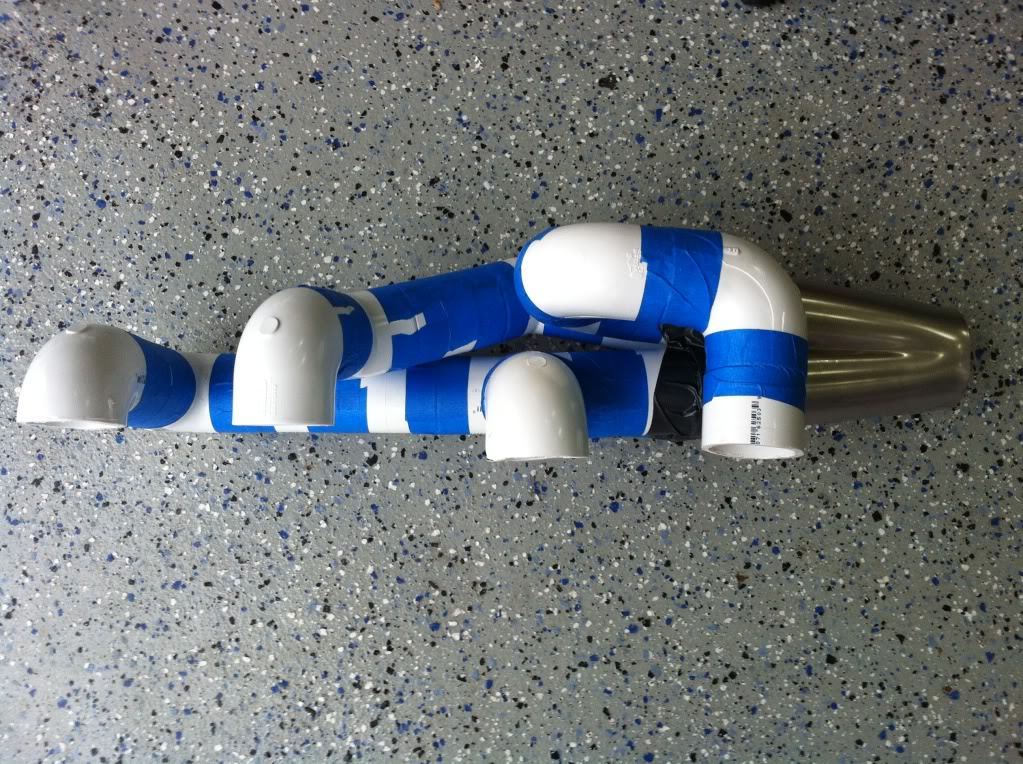
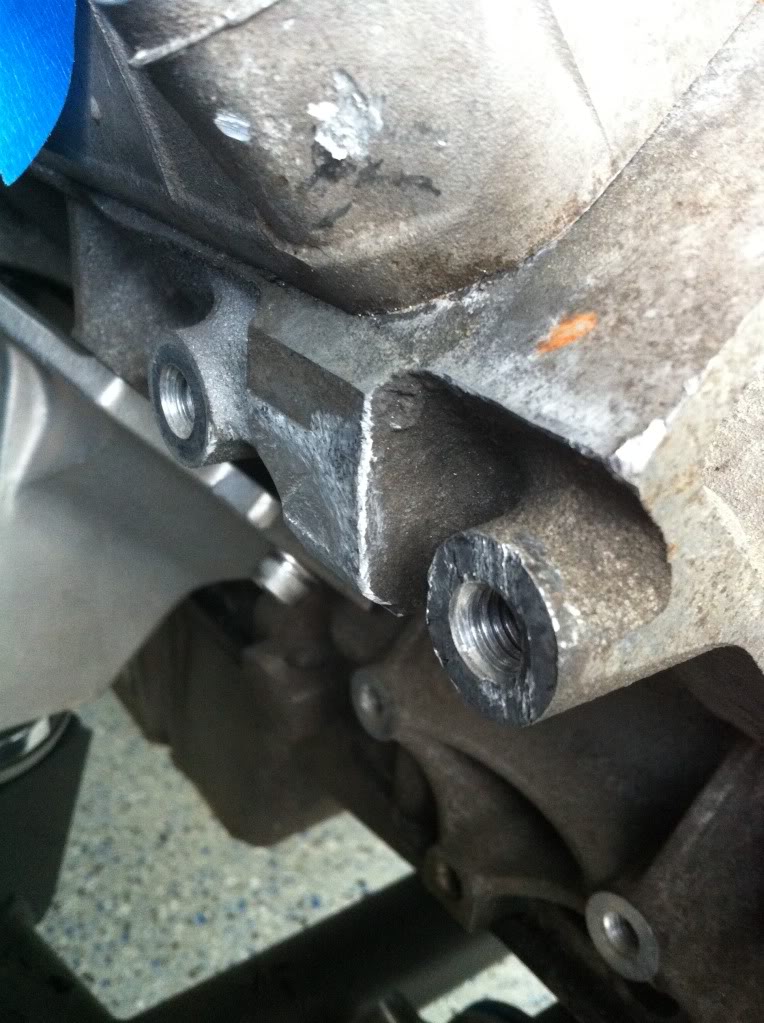
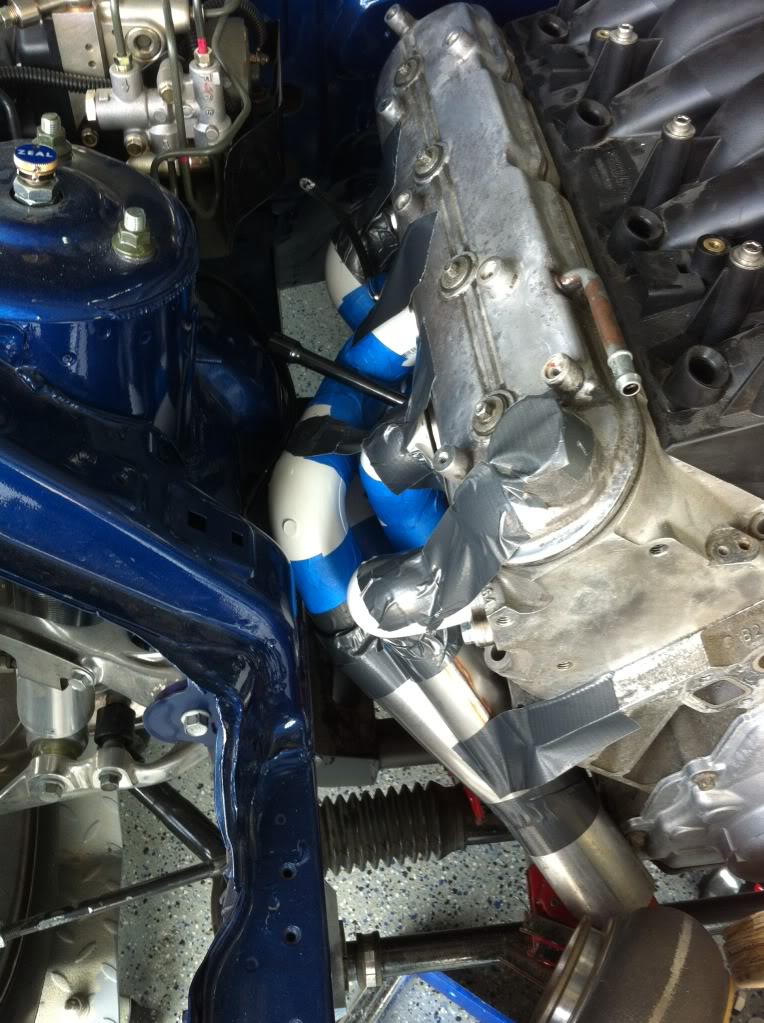
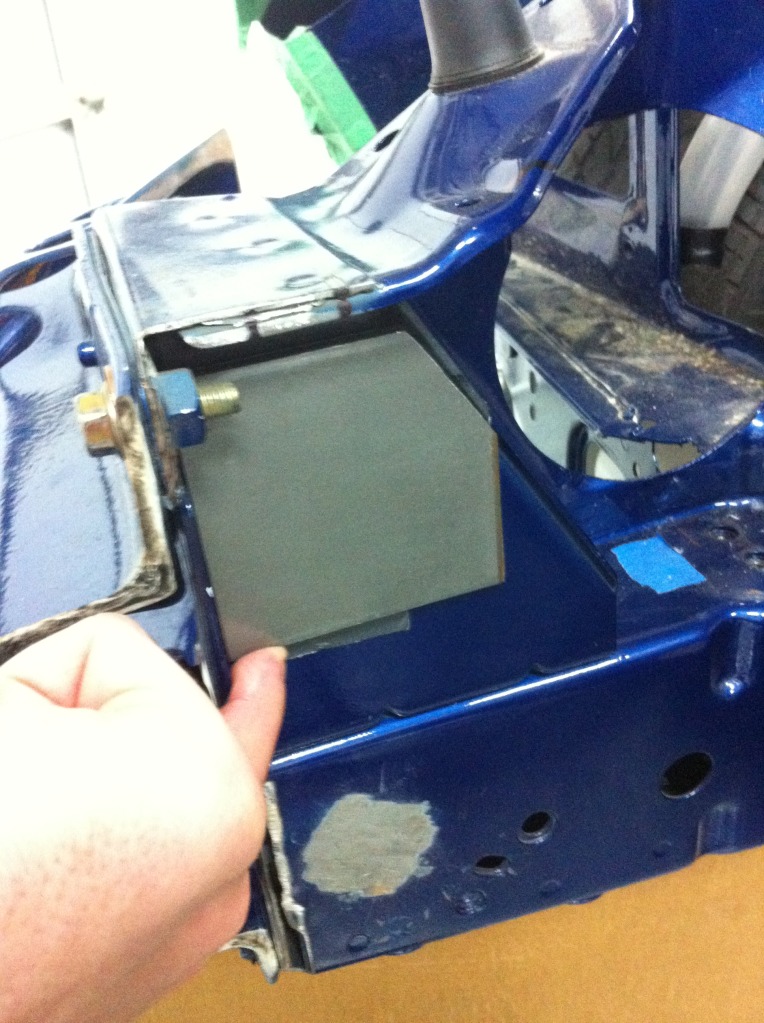
Finally finished the passenger side manifold mockup. It was really frustrating for a while. The problem isn't fitting everything in- it's fitting it all in and having to get a downpipe under the collector. After a few days of trying a few different collector locations and getting really close to saying **** this and ordering the hinson kit, I finally found the perfect location. I had to cut off this 1/2" piece of block casting but that's it. Zach and Nick did a good job of making me feel like a quitter so I stuck it out and as of now, I'm glad I did. Building them could prove to be another pain the *** but we'll see.
Everything fits really well. There's great plug access (notice my sweet plugs), and the location of the collector and keeping the runners as high as I could could potentially allow for a 4" downpipe. In one of the pics below, that's a 4" OD flex section fitting right through with room to spare. It might get tricky coming under the collector and around the subframe but it looks like at a minimum a 3.5" is doable. Pretty happy about that. I just taped some straight 2.5" pipe to the collector and the outlet points right about where it should. A slight bend and it will fire right past the sway bar like it needs to.
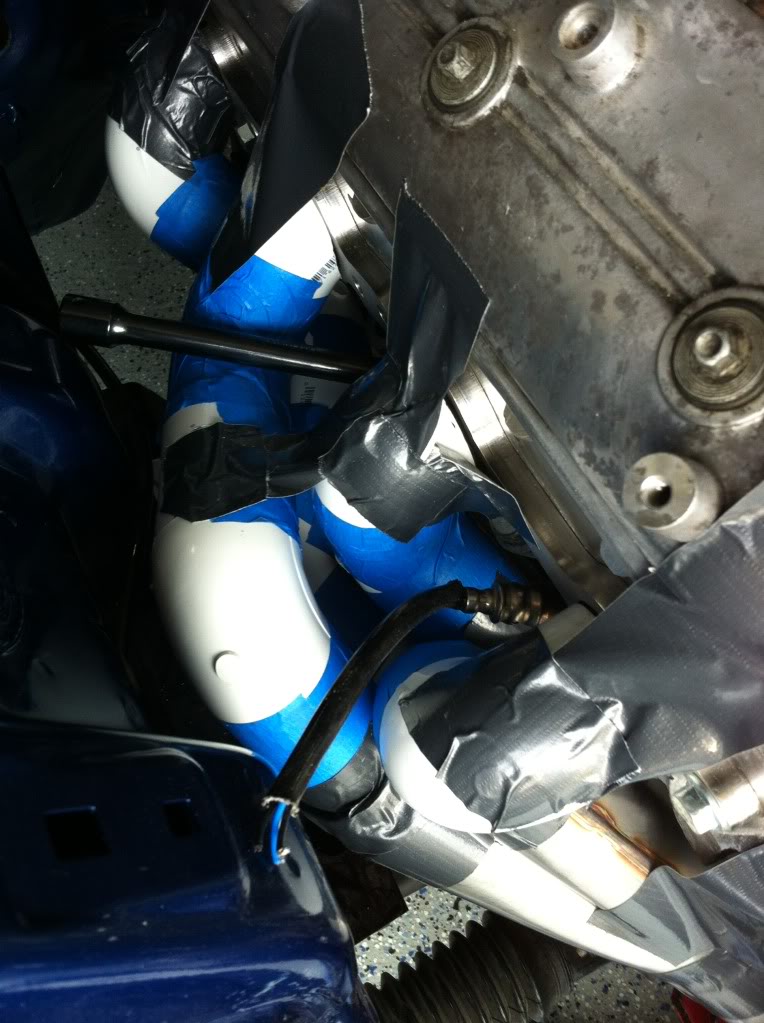
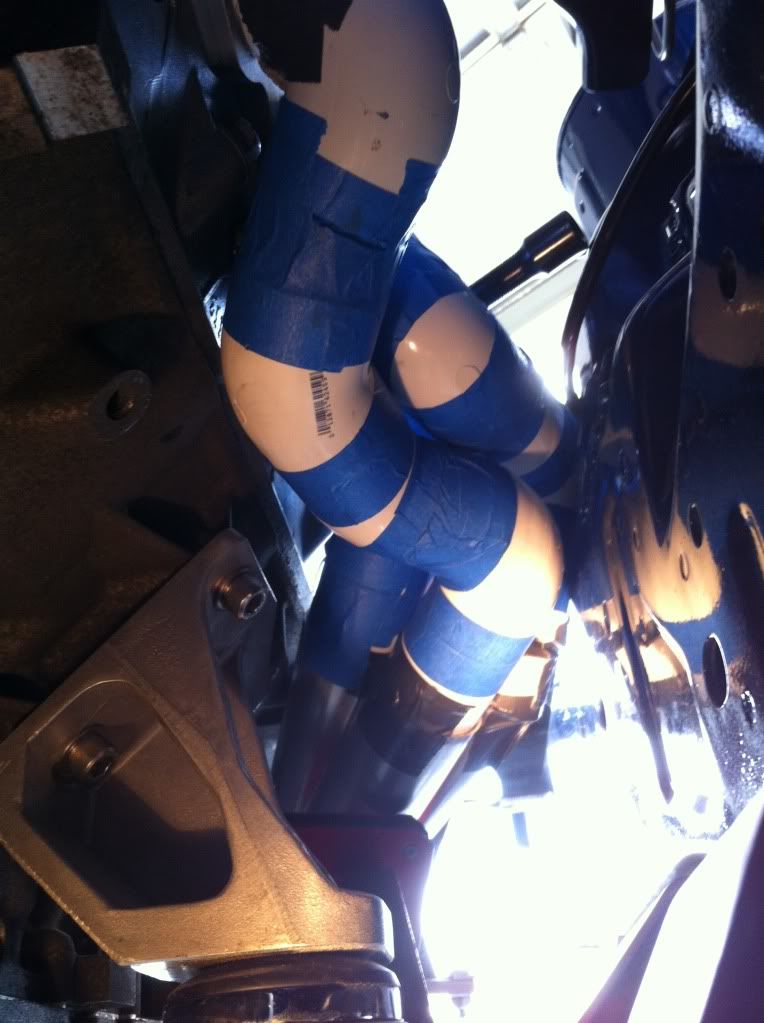
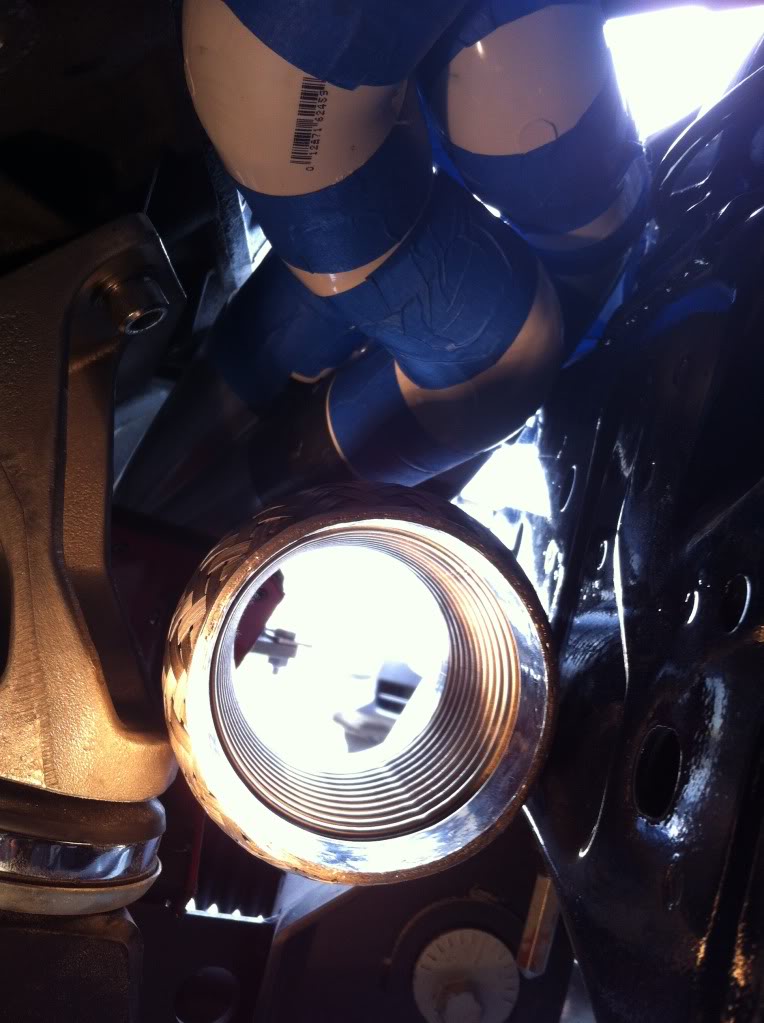

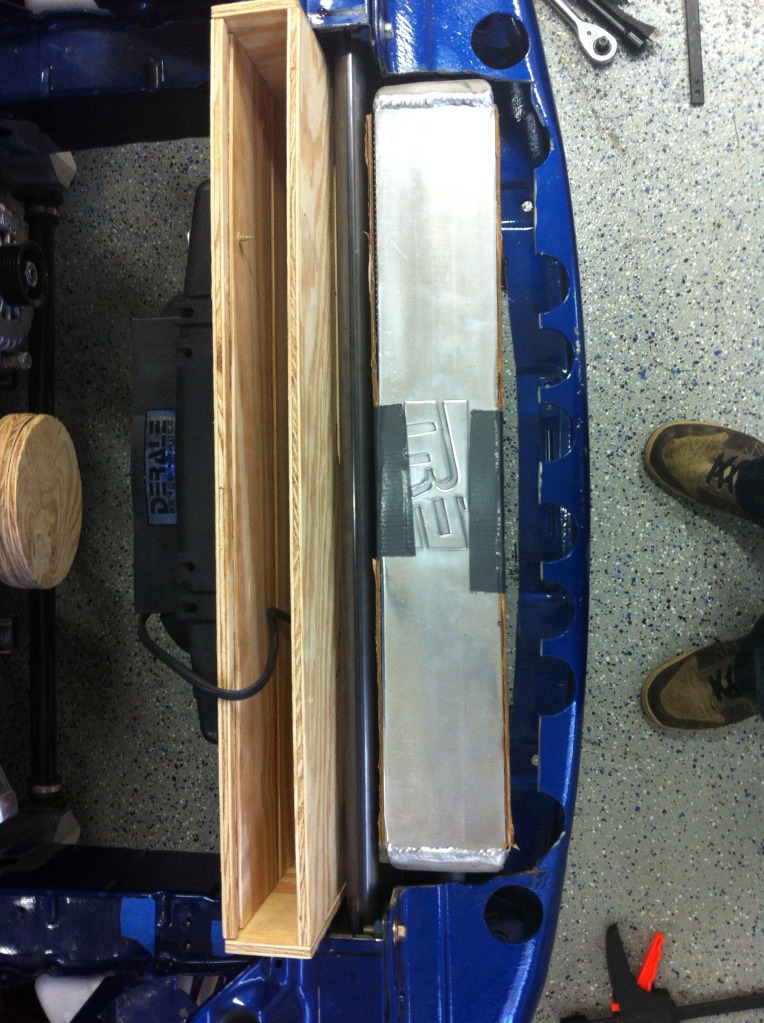
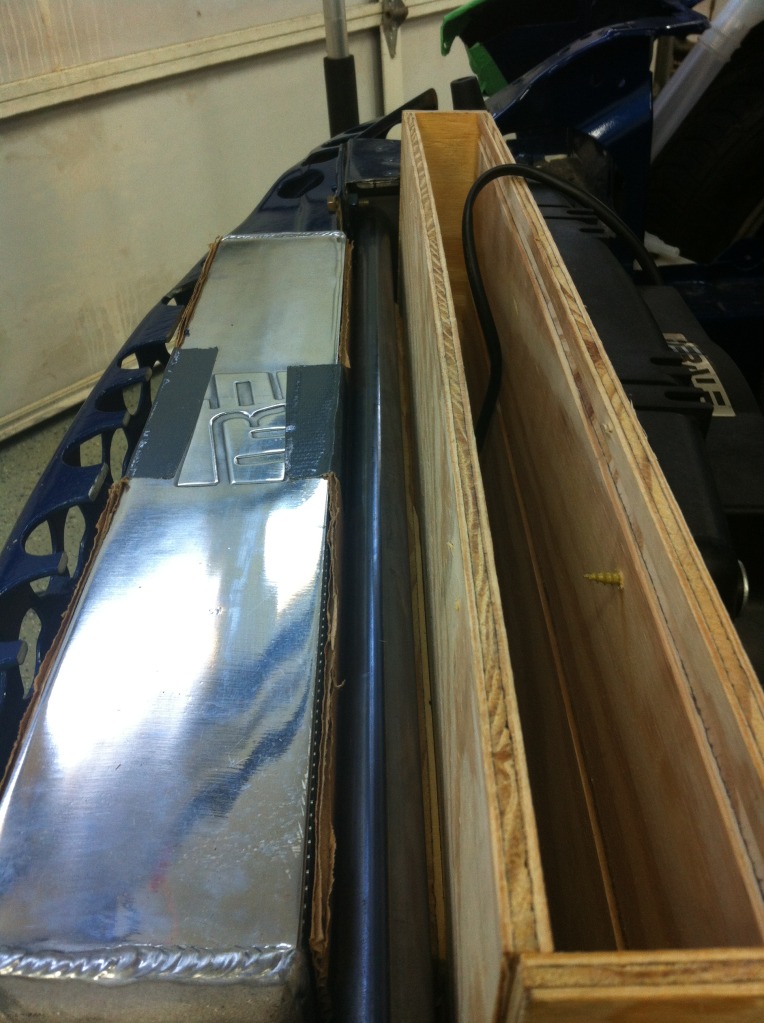
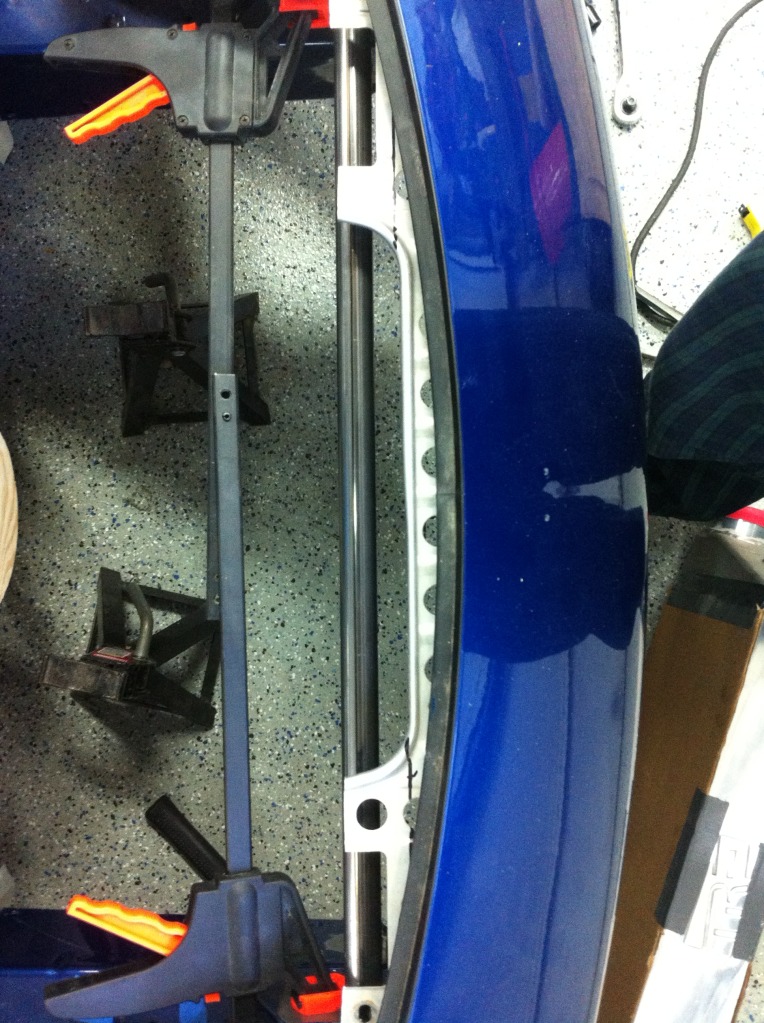
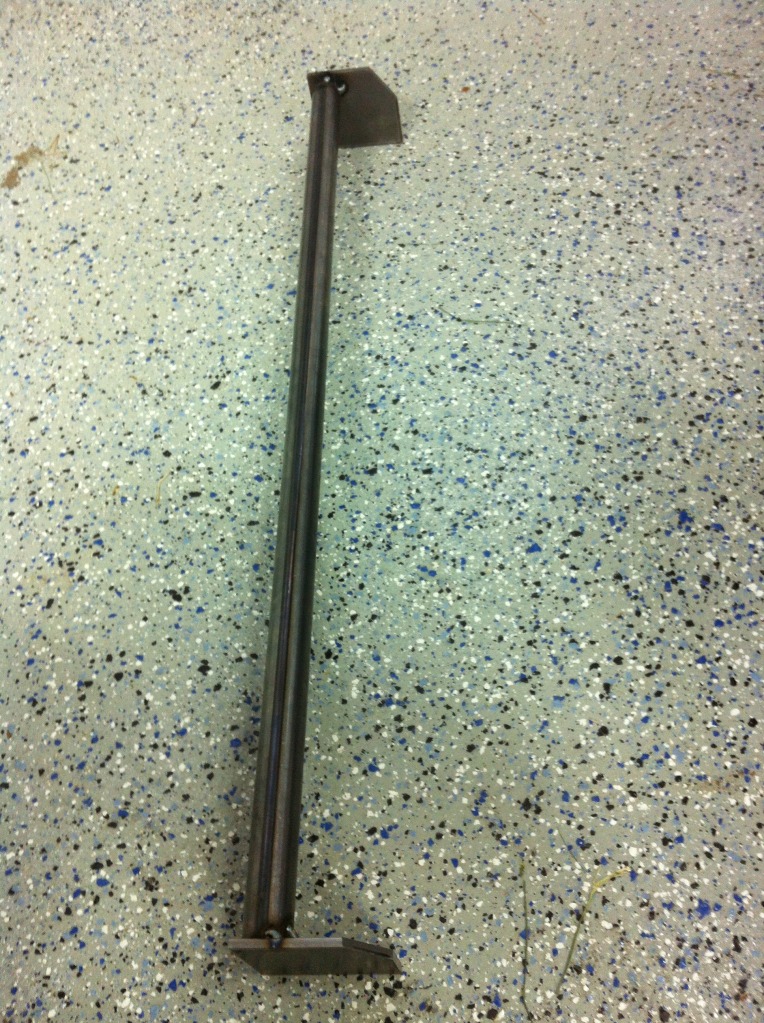
Got the cross bar finished minus final welding. Just want to wait until the radiator gets here before final welding it although I don't see why it would matter. The bar is 1" mild with a 0.120" wall and the ends are 3/16" plate that are 3"x3". The bar will bolt in and be sandwiched to the car via another plate from the same material on the other side. It worked out just like I had planned. You can see everything fits nice and tight. You can't really tell but there's a mock up AC condenser mounted to the radiator. So everything that's going to be up there is accounted for.
It will help mount the front bumper, radiator and intercooler. You can see how perfectly it runs under where the new bumper mounting bolts will be. I'll probably end up just using those long zip tie things to mount the condenser to the radiator unless someone can tell me why I shouldn't. I can't really see the point of making a dedicated mounting structure when it's just as easy to mount it to the radiator. Is there a benefit of not doing so?
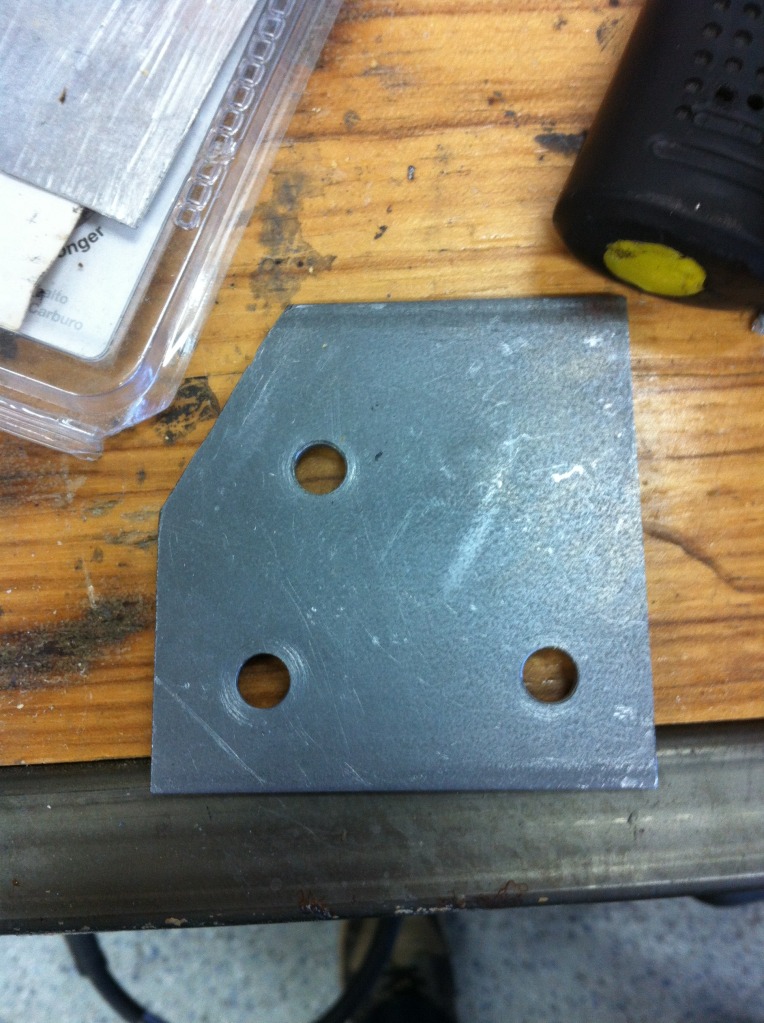
I also welded up the corners of the frame rails where it was seperated after I cut out all those brackets a while ago. There was a good 1/8" gap all the way down. No point in making it any prettier as you'll never see it, but I think it looks pretty good. Not that it matters.
I also figured out how I'm going to mount the radiator and intercooler. Going to be really nice and easy. I should be ordering the radiator Monday ish. I need to cut up my $280 fans to see where I can put the outlets.
Pics:
[img width=800 height=597]http://i18.photobucket.com/albums/b132/mefarri/RX7/mockupcrossbar.jpg[/img]
It will help mount the front bumper, radiator and intercooler. You can see how perfectly it runs under where the new bumper mounting bolts will be. I'll probably end up just using those long zip tie things to mount the condenser to the radiator unless someone can tell me why I shouldn't. I can't really see the point of making a dedicated mounting structure when it's just as easy to mount it to the radiator. Is there a benefit of not doing so?
I also welded up the corners of the frame rails where it was seperated after I cut out all those brackets a while ago. There was a good 1/8" gap all the way down. No point in making it any prettier as you'll never see it, but I think it looks pretty good. Not that it matters.
I also figured out how I'm going to mount the radiator and intercooler. Going to be really nice and easy. I should be ordering the radiator Monday ish. I need to cut up my $280 fans to see where I can put the outlets.
Pics:
[img width=800 height=597]http://i18.photobucket.com/albums/b132/mefarri/RX7/mockupcrossbar.jpg[/img]