
20b build - Twin Vision Studios Racing partners with ChipsMotorsports on 20b build

Rotary Enthusiast
Joined: May 2003
Posts: 912
Likes: 1
From: Norway
UPS tried to screw me once as well. But the insurance value was correct. So got every penny. But they dragged it out big time. Id go to the media if they don't pay up and the insurance on the package is ok.
JT

It has been a while since I have posted an update, I had another unexpected delay from a sport injury (tore my pectoral tendon from the arm bone, needed surgery to repair it).
Ok, now to the good stuff, updates on the following:
1) dash/electronics setup
2) ecu setup
3) injectors
4) ignition coils
1) Dash/Elecetronics setup
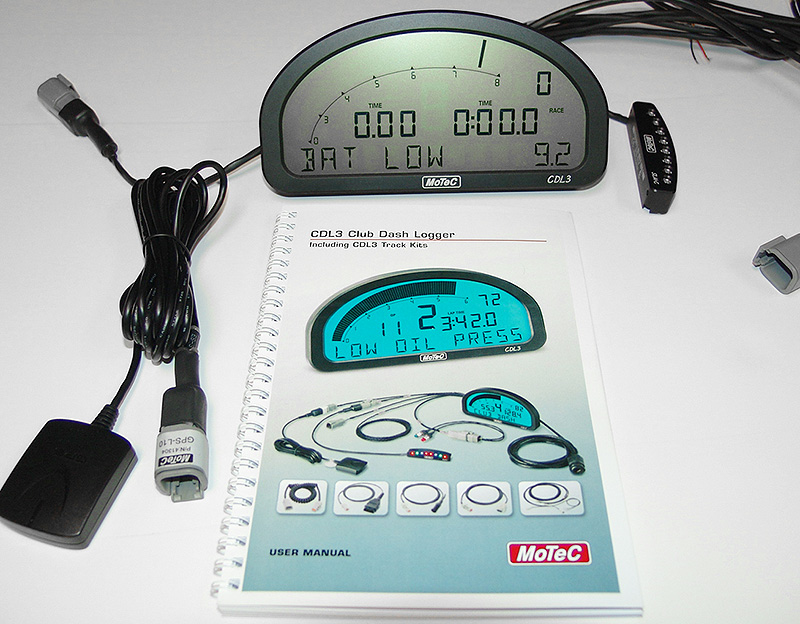
Motec came out with a great new 'club level' dash combination that has some of the great features of their expensive high end dash units, but made more affordable for 'club' level racing. I was a big fan of the Racepak IQ3, and I still am, but this new motec setup would communicate directly with my motec motec ecu and my motec power distribution unit, so I went with the new motec dash setup. I got the CDL3 Logging Track Kit, comes wiht the upgraded logging, wire loom, GPS, and shift light kit, dash control buttons, and I also got the extended IO loom upgreade as well.
Here is a pic and you can find more info on Motec's site:
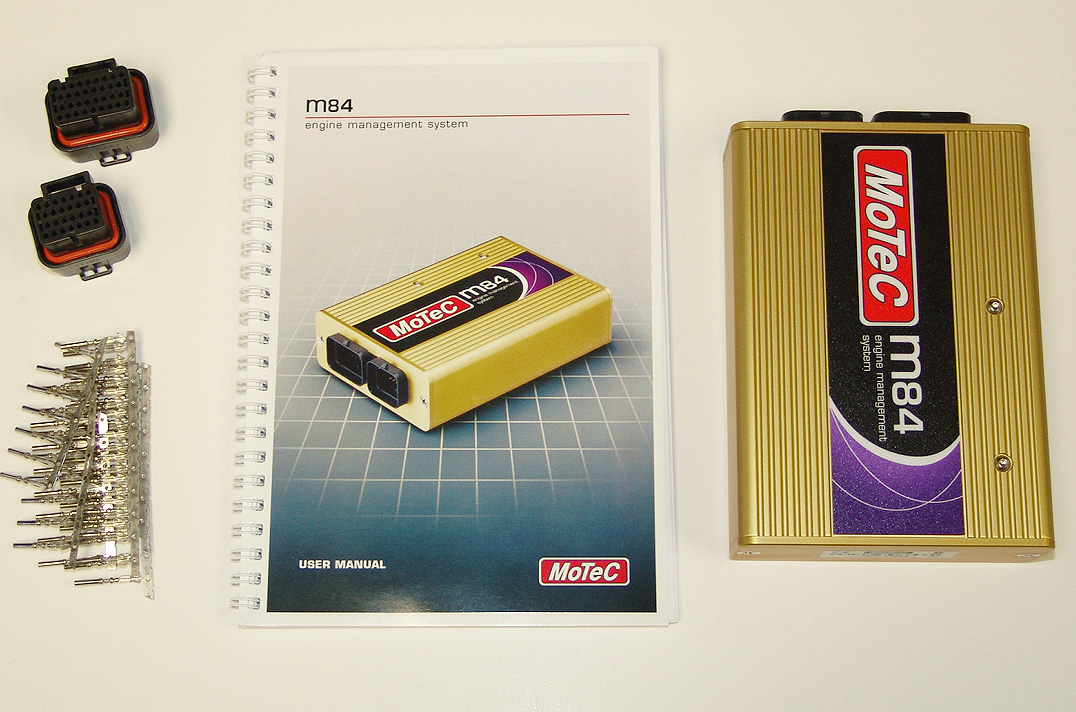
2) ECU Setup - Motec M84
This was the same kind of thing, motec came out with a high end ECU that was priced for more of the 'club' level racing. The reason I looked at it was that it was able to run a 3 rotor and still had all the advanced features I wanted, also it would be able to directly communicate with my motec PDU and the new motec Dash.
Here is a pic, you can find more info on Motec's site:
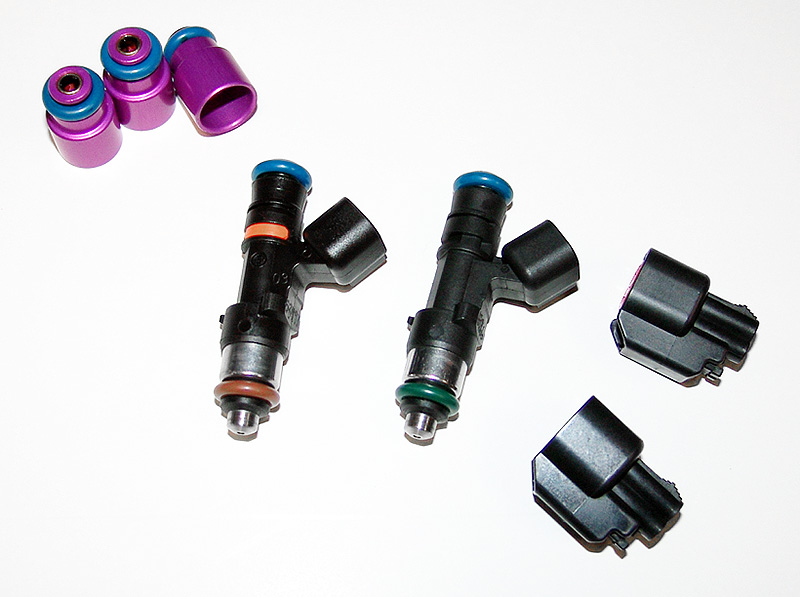
3) Injectors - Injector Dynamics
I went with the Injector Dynamics injectors, 3 x 725 primaries, 3 x 1000 secondaries. This will provide plenty of fuel for the power levels my car will be running and accurate tunability.
Here is a pic:
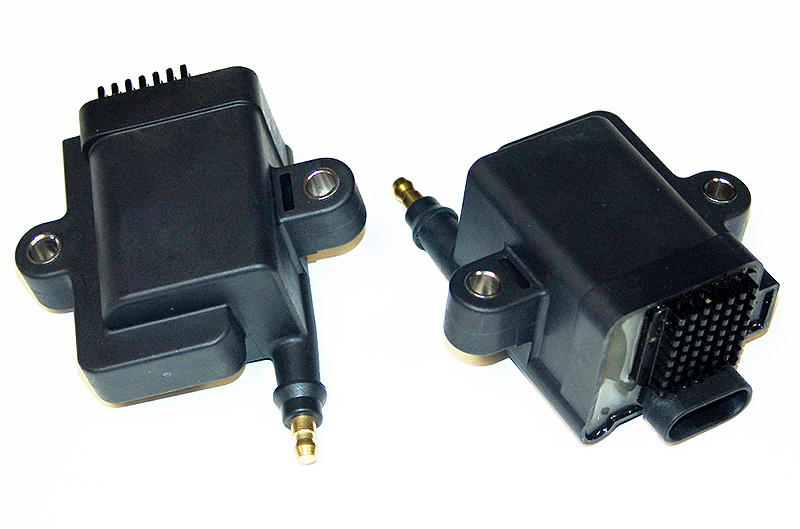
4) Ignition Coils - IGN-1A Coils
After going back and forth on doing a CDI box + coils (like the M&W pro 16 3 rotor setup), I ended up going with the IGN-1A coils to keep things simple and affordable. So far I have seen only good things with these coils and they should be able to hand my power/boost level very easily, with clean crisp ignition in the entire rpm range. This coil is often rebranded by many shops, for example, I am pretty sure this is the exact same coil AEM sells here.
Here is a pic:
Now I need to give thanks to my elecctronics vendor and GURU, Eric Schieb of Electron Speed. I get all my motec gear from him as well as my injectors and ignition coils. He and his team work on pro race cars in many series and the support I have recieved has been top notch. I highly suggest contacting him if you need any electronics/wiring/ignition and tell him Damian sent ya ;-)
erics@electronspeed.com
I got conected to Eric Schieb though another Eric buddy of mine, Eric Meyer, who ran an rx8 race team in GrandAm and in World Challenge (he and I started racing at the same time and got our NASA racing license together). He is a great guy, great friend, and helped me a lot over the years.
More to come soon.... (as soon as I can move my repaired pec tendon enough to start working on the car again...LOL)
Ok, now to the good stuff, updates on the following:
1) dash/electronics setup
2) ecu setup
3) injectors
4) ignition coils
1) Dash/Elecetronics setup
Motec came out with a great new 'club level' dash combination that has some of the great features of their expensive high end dash units, but made more affordable for 'club' level racing. I was a big fan of the Racepak IQ3, and I still am, but this new motec setup would communicate directly with my motec motec ecu and my motec power distribution unit, so I went with the new motec dash setup. I got the CDL3 Logging Track Kit, comes wiht the upgraded logging, wire loom, GPS, and shift light kit, dash control buttons, and I also got the extended IO loom upgreade as well.
Here is a pic and you can find more info on Motec's site:
2) ECU Setup - Motec M84
This was the same kind of thing, motec came out with a high end ECU that was priced for more of the 'club' level racing. The reason I looked at it was that it was able to run a 3 rotor and still had all the advanced features I wanted, also it would be able to directly communicate with my motec PDU and the new motec Dash.
Here is a pic, you can find more info on Motec's site:
3) Injectors - Injector Dynamics
I went with the Injector Dynamics injectors, 3 x 725 primaries, 3 x 1000 secondaries. This will provide plenty of fuel for the power levels my car will be running and accurate tunability.
Here is a pic:
4) Ignition Coils - IGN-1A Coils
After going back and forth on doing a CDI box + coils (like the M&W pro 16 3 rotor setup), I ended up going with the IGN-1A coils to keep things simple and affordable. So far I have seen only good things with these coils and they should be able to hand my power/boost level very easily, with clean crisp ignition in the entire rpm range. This coil is often rebranded by many shops, for example, I am pretty sure this is the exact same coil AEM sells here.
Here is a pic:
Now I need to give thanks to my elecctronics vendor and GURU, Eric Schieb of Electron Speed. I get all my motec gear from him as well as my injectors and ignition coils. He and his team work on pro race cars in many series and the support I have recieved has been top notch. I highly suggest contacting him if you need any electronics/wiring/ignition and tell him Damian sent ya ;-)
erics@electronspeed.com
I got conected to Eric Schieb though another Eric buddy of mine, Eric Meyer, who ran an rx8 race team in GrandAm and in World Challenge (he and I started racing at the same time and got our NASA racing license together). He is a great guy, great friend, and helped me a lot over the years.
More to come soon.... (as soon as I can move my repaired pec tendon enough to start working on the car again...LOL)


i bet the 3 rotor will run first, less time for sports and more time for wrenching! keep it up damian, you're living almost every rotards dream right now building that setup.


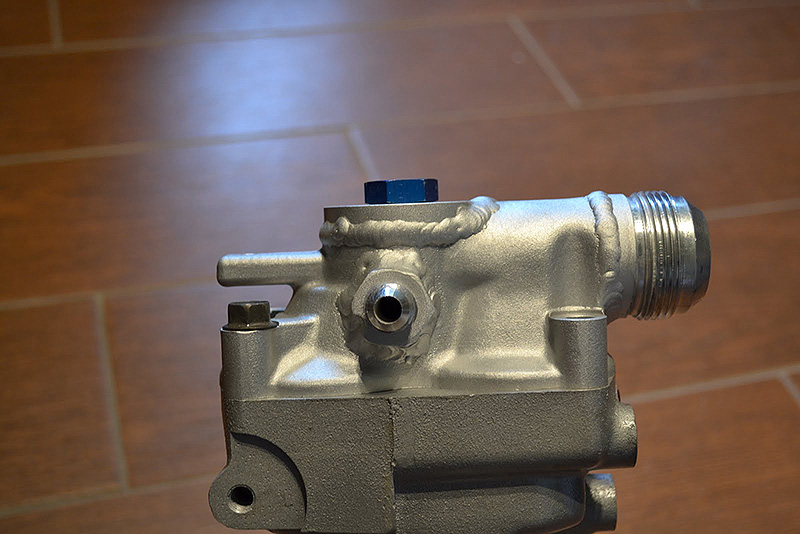
Besides, that cast crap doesn't weld all that great anyhow. its pits are full of nasties just waiting to **** in your clean puddle.

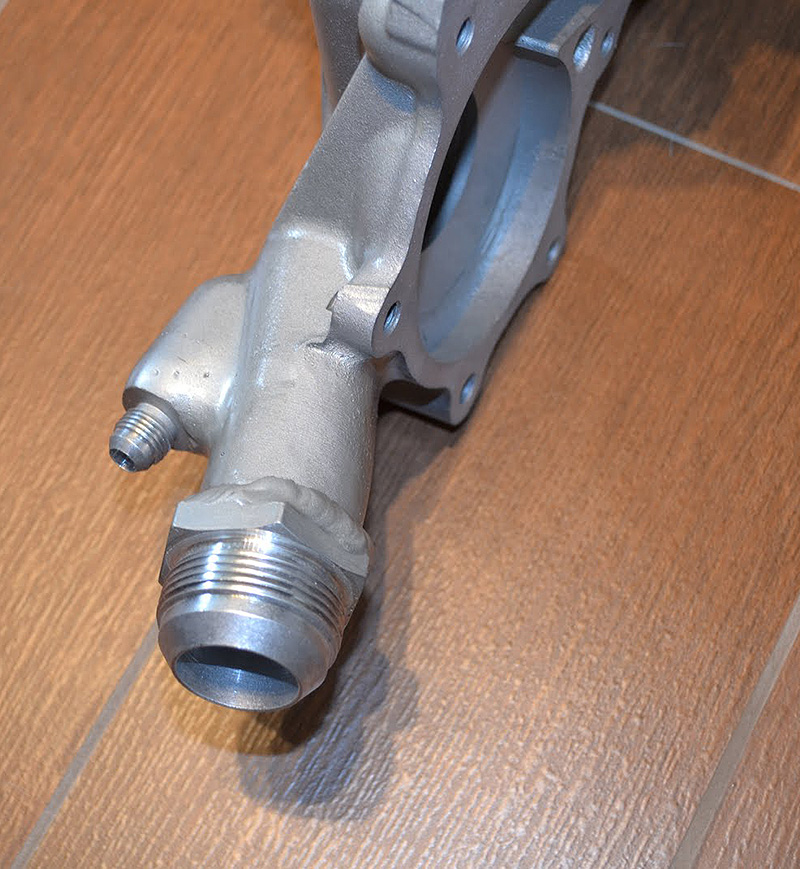
From my own experience - its a hell of a lot easier to remove a plug than to remove the manifold, drill out the weld-plug then tap it.. then dress it all up.
Besides, that cast crap doesn't weld all that great anyhow. its pits are full of nasties just waiting to **** in your clean puddle.
Besides, that cast crap doesn't weld all that great anyhow. its pits are full of nasties just waiting to **** in your clean puddle.
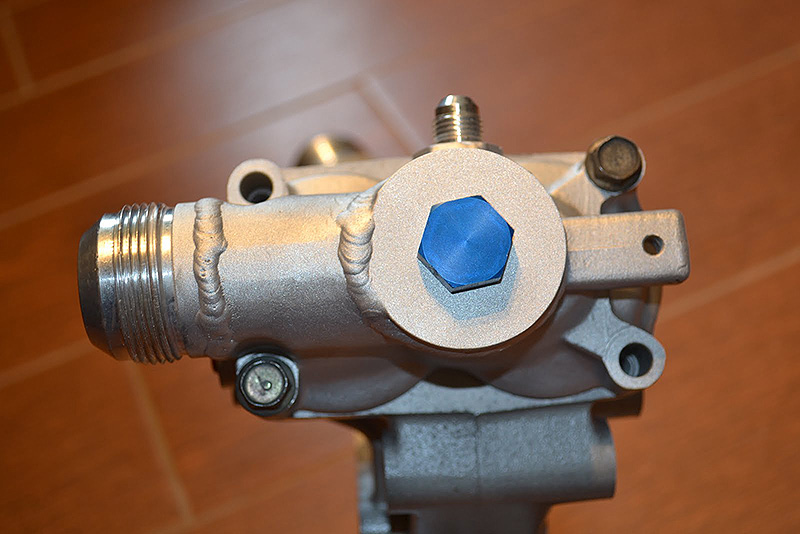
 .. Thank you
 HWND
...
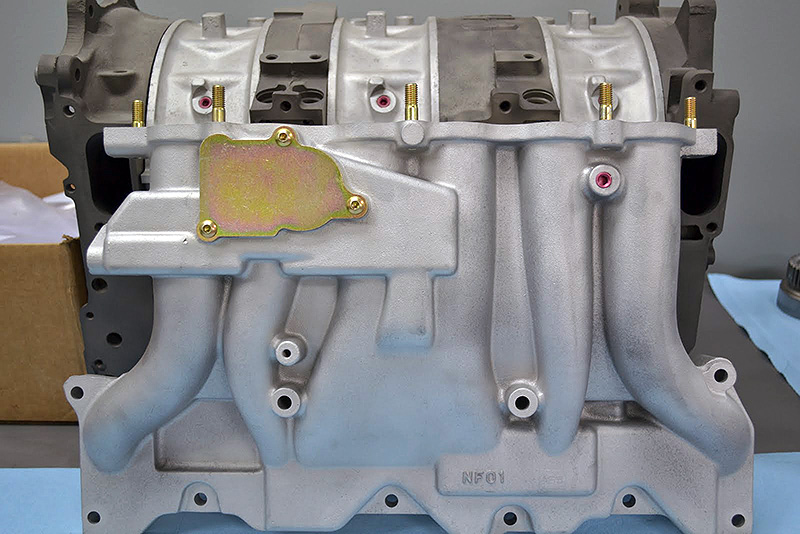
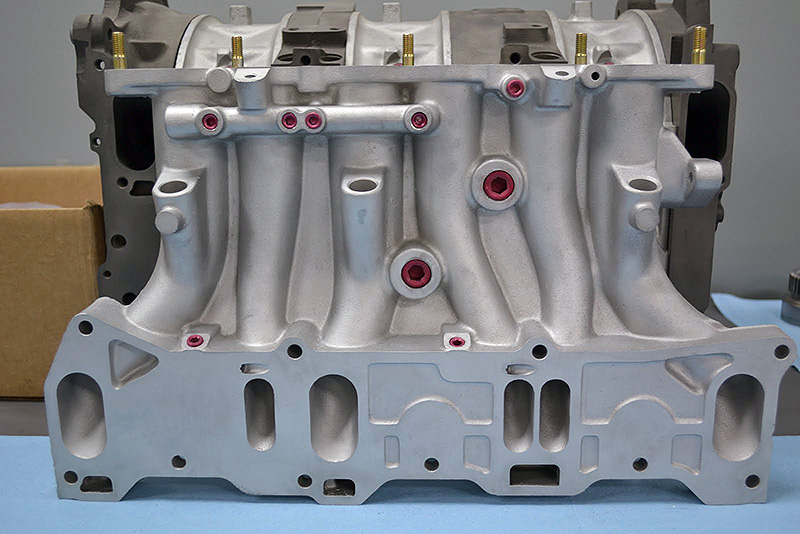
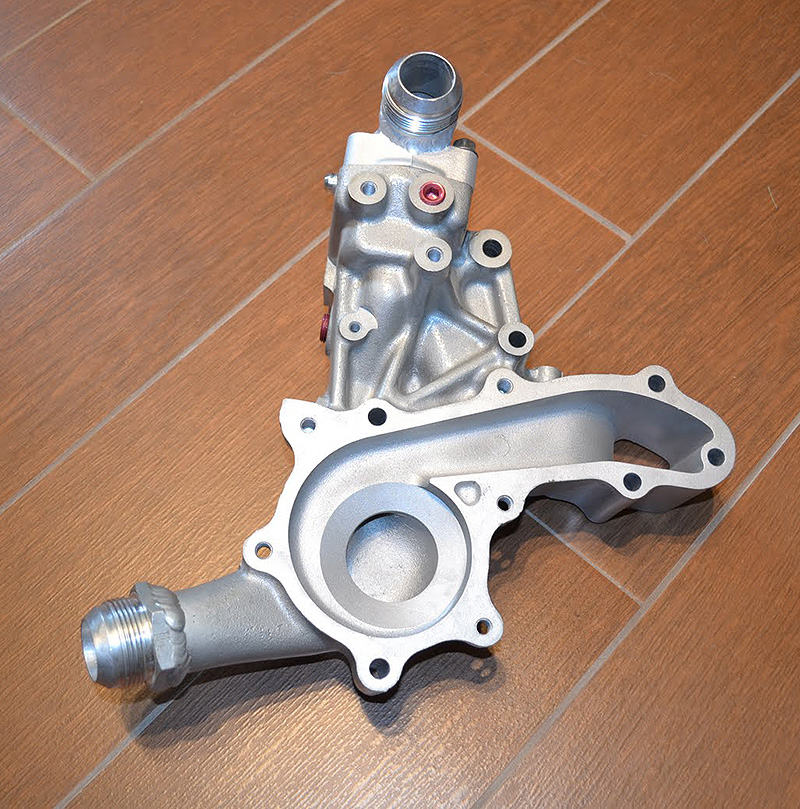
I still don't get it. You welded well enough to the cast to get the AN bungs on for lines. But now you have at least 9 plugs on the LIM.
I know no one will ever see them once installed, but if it's off, and you are welding on cast anyways, why not grind it down a bit and weld it up, then grind it all nice and smooth? You wouldn't want to take the plugs out in the future anyways.
I know no one will ever see them once installed, but if it's off, and you are welding on cast anyways, why not grind it down a bit and weld it up, then grind it all nice and smooth? You wouldn't want to take the plugs out in the future anyways.

I think its less risky to just drill, tap and plug the holes than deal with hitting a porous spot in the casting and chasing your tail trying to weld it shut. Either one works and honestly its probably no difference in time all said and done.
Love the build!
Love the build!


Exactly. There are definite risks to doing a bunch of localized hot spotting to a large and rare cast aluminum piece like that.
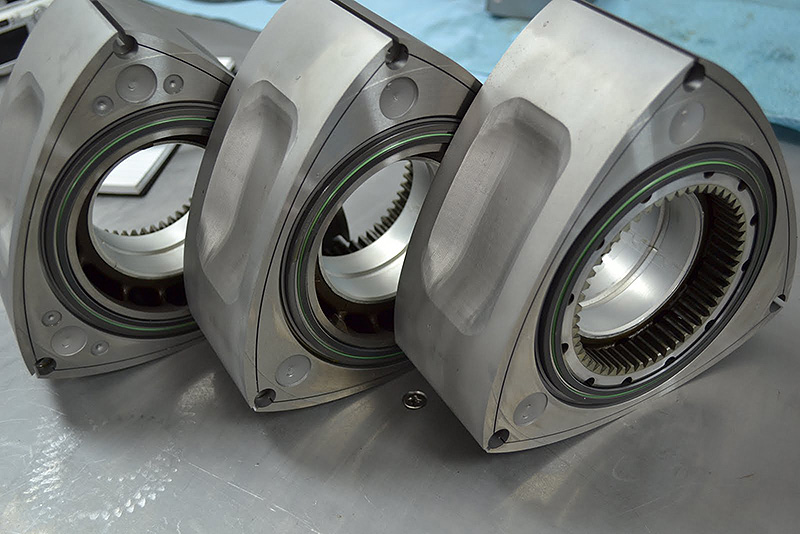
I would assume media blasting each part and then putting them into a chemical bath.
Make sure your wife/girlfriend/significant-other doesn't have your wallet when you get a quote, and make sure you're sitting down.

With that said, Chip does amazing work and you won't be disappointed!
~M
Make sure your wife/girlfriend/significant-other doesn't have your wallet when you get a quote, and make sure you're sitting down.
With that said, Chip does amazing work and you won't be disappointed!
~M