
My Suzuki Sierra (Samurai) Build up...

Thread Starter
Joined: Jun 2005
Posts: 555
Likes: 1
From: Perth, Western Australia
My Suzuki Sierra (Samurai) Build up...
Hey Guys.
I figured I'd throw a thread up on my Sierra now that I have just finished it after 3 years of tinkering in the shed.
After finishing my 13BT FB a few years ago I was looking for a new project and kept seeing a few Samurai builds around the web, so I figured I'd have a go too.
Most of the Sierra's locally are trashed as we have beaches and muddy hills to destroy them in.
So I found a good one 2300miles away in Queensland and had it shipped back to me.
This is what I started with:
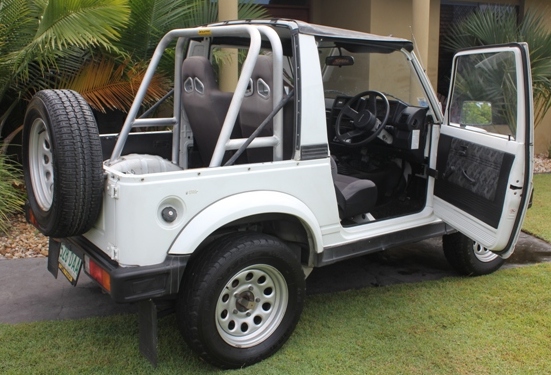
It had been garaged for the last 10 years as the owner didn't have a soft top roof for it to be left out in the rain. And it was already fitted with bucket seats and a roll bar.
Most of the work was either done by me at home, or at Rotomotion, a local Rotary speed shop....can't thank these guys enough and they have performed some quality work.
1st Stop was to remove the stock engine:

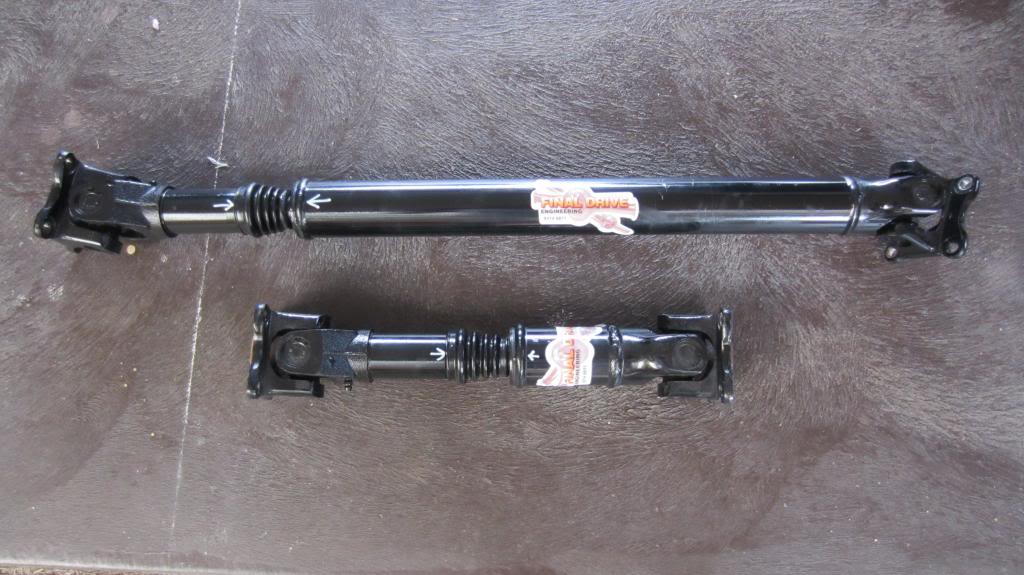
Next was to measure up all the clearances and I determined that the transfer case would need to be moved 100mm rearward to fit the S5 RX7 gearbox and 13B engine. So I had the rear drive shaft shortened and the front one extended 100mm:
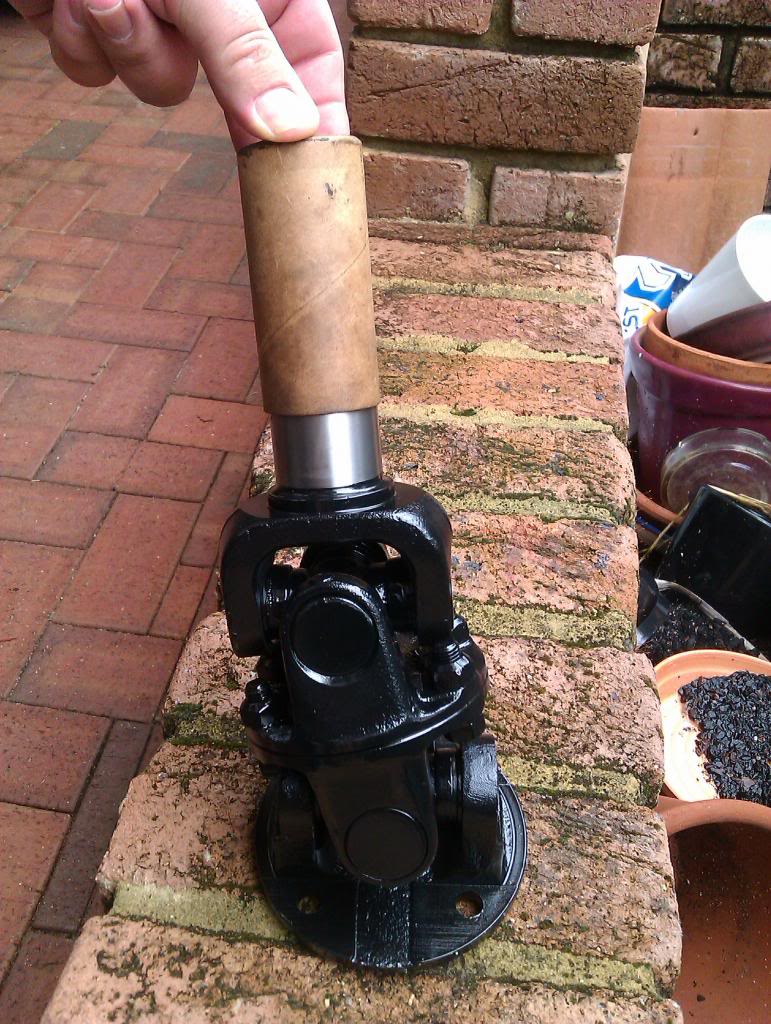
I also had a small jack shaft made up to match the Suzuki transfer case to the RX7 gearbox yoke:
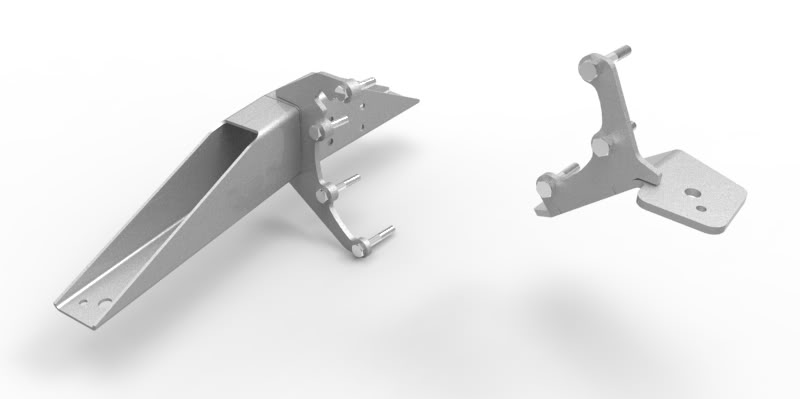
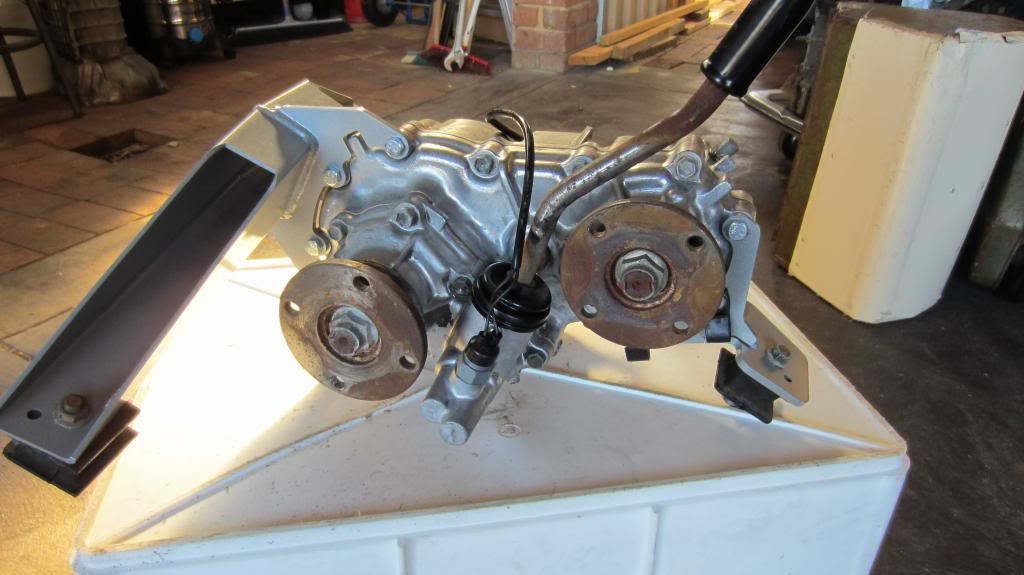
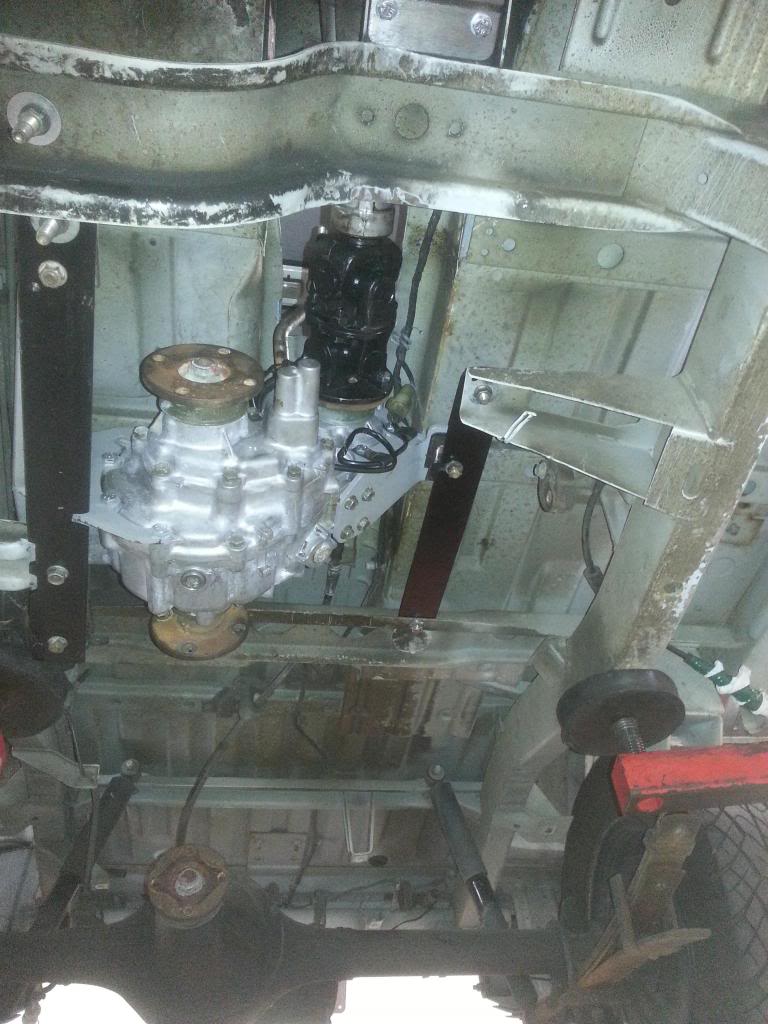
After a bit of research on my local Suzuki forum, it was apparent that the rubber mounts on the transfer case can tear out under high loads, so I purchased a cradle made locally that stops this and installed that. This cradle also had the bonus of making it a lot easier to make mounting brackets to re-install the transfer case where I wanted it:
Stock Mounts:

New Cradle:
Installed with new brackets on the car:
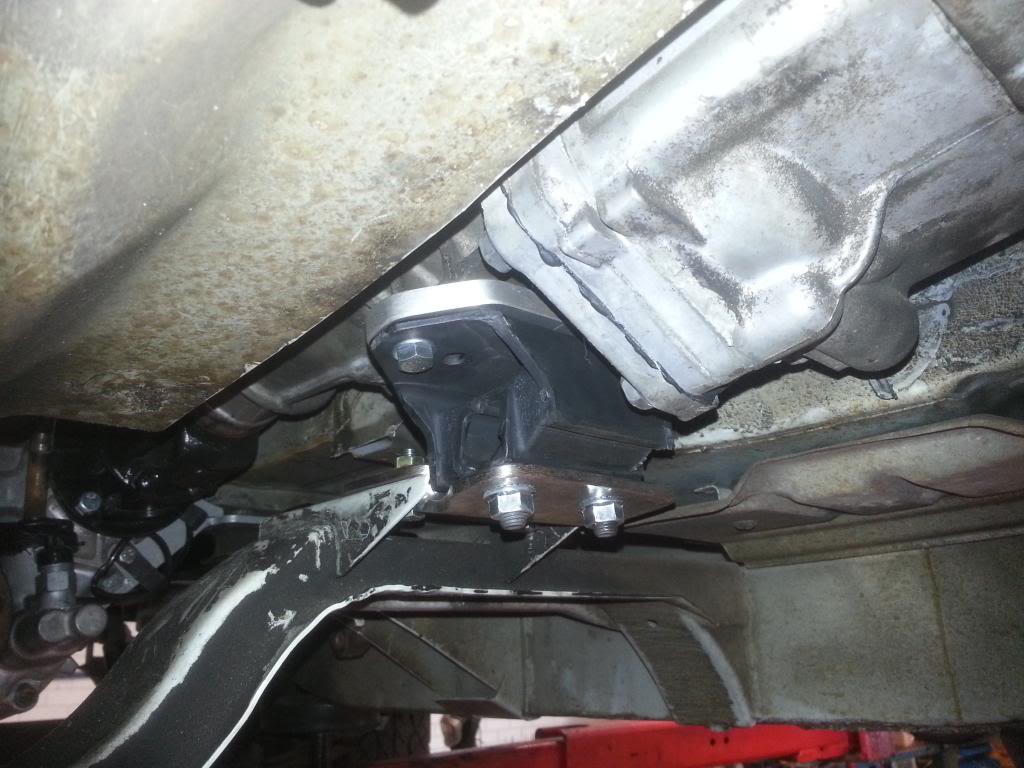
A FC Rx7 gearbox mount and adapter plate was used to mount the new gearbox:
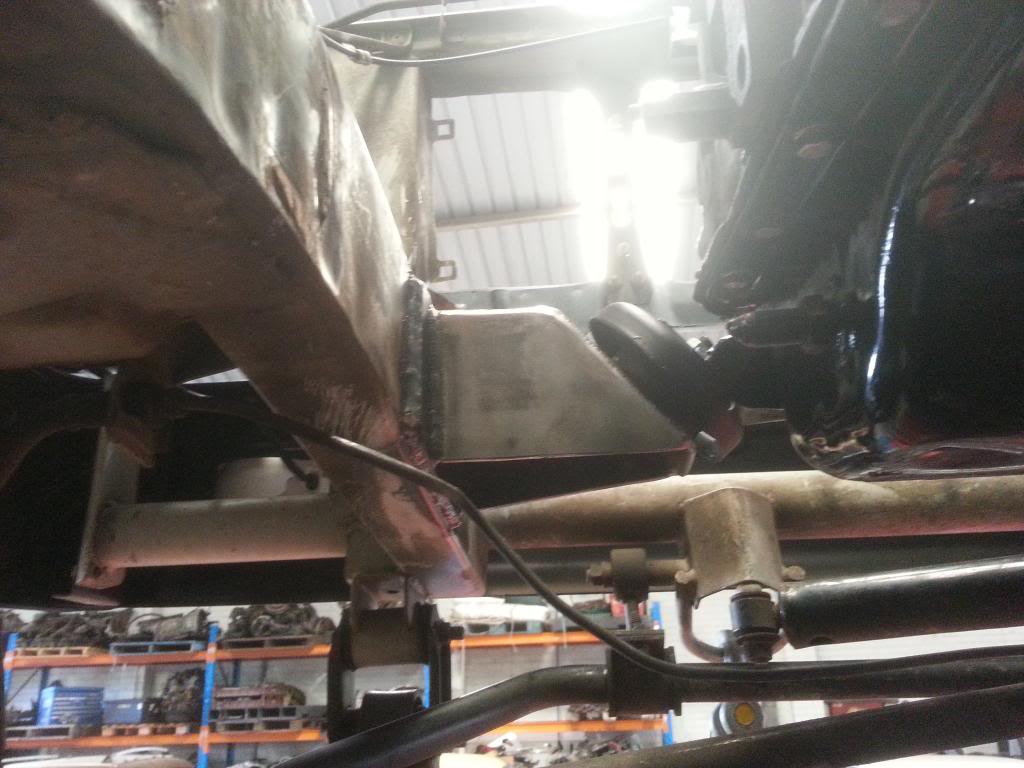
The stock Suzuki engine mounts were cut off the chassis and some new ones made up and welded in place so I could use the 12A front plate style of engine mounting:
I figured I'd throw a thread up on my Sierra now that I have just finished it after 3 years of tinkering in the shed.
After finishing my 13BT FB a few years ago I was looking for a new project and kept seeing a few Samurai builds around the web, so I figured I'd have a go too.
Most of the Sierra's locally are trashed as we have beaches and muddy hills to destroy them in.
So I found a good one 2300miles away in Queensland and had it shipped back to me.
This is what I started with:

It had been garaged for the last 10 years as the owner didn't have a soft top roof for it to be left out in the rain. And it was already fitted with bucket seats and a roll bar.
Most of the work was either done by me at home, or at Rotomotion, a local Rotary speed shop....can't thank these guys enough and they have performed some quality work.
1st Stop was to remove the stock engine:

Next was to measure up all the clearances and I determined that the transfer case would need to be moved 100mm rearward to fit the S5 RX7 gearbox and 13B engine. So I had the rear drive shaft shortened and the front one extended 100mm:

I also had a small jack shaft made up to match the Suzuki transfer case to the RX7 gearbox yoke:

After a bit of research on my local Suzuki forum, it was apparent that the rubber mounts on the transfer case can tear out under high loads, so I purchased a cradle made locally that stops this and installed that. This cradle also had the bonus of making it a lot easier to make mounting brackets to re-install the transfer case where I wanted it:

Stock Mounts:

New Cradle:

Installed with new brackets on the car:

A FC Rx7 gearbox mount and adapter plate was used to mount the new gearbox:

The stock Suzuki engine mounts were cut off the chassis and some new ones made up and welded in place so I could use the 12A front plate style of engine mounting:

Thread Starter
Joined: Jun 2005
Posts: 555
Likes: 1
From: Perth, Western Australia
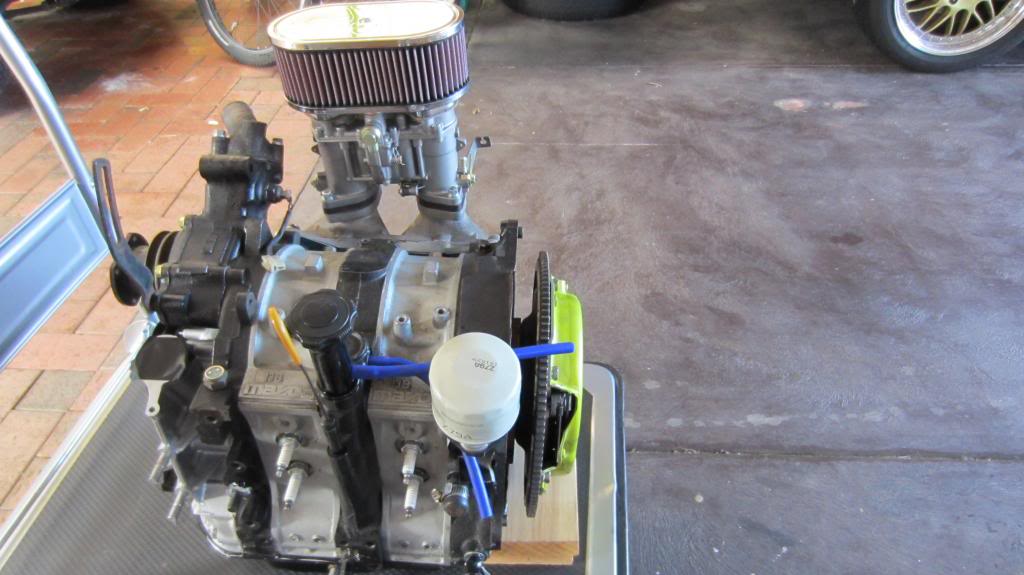
The engine is a 13B with extend porting on the front plates, Bridge porting on the 2ndry plates, S6 stationary gears/ side seals/ cases/ springs, PTS seals, a 48mm Weber and electronic ignition with DLIDFIS.
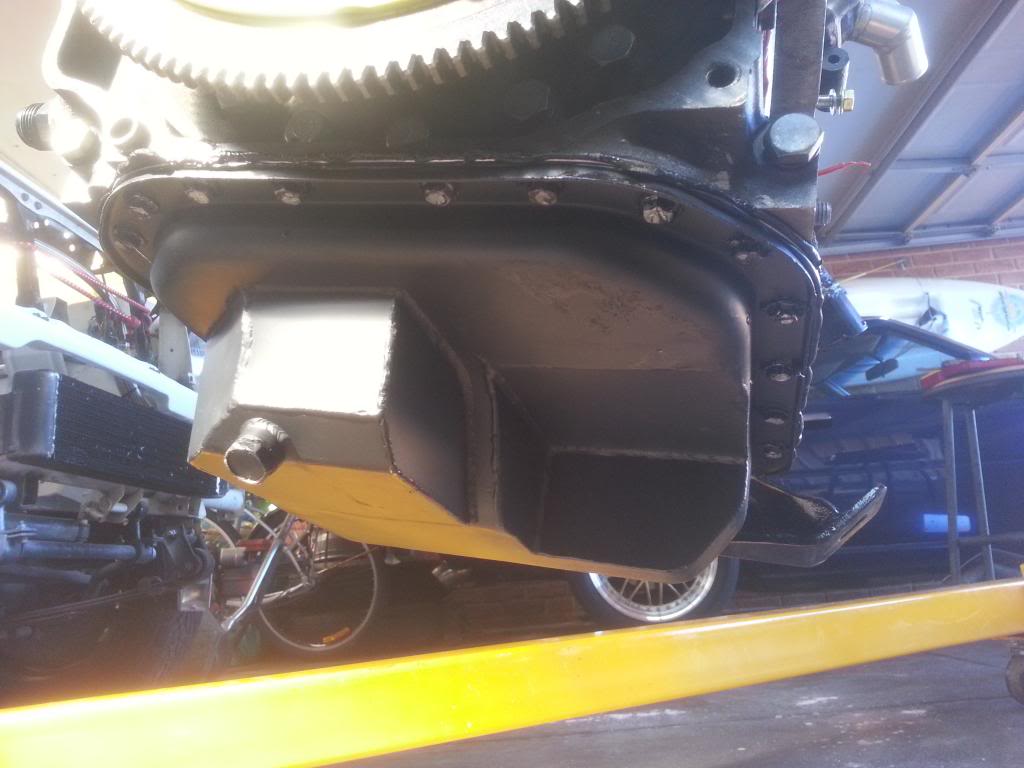
The sump was notched to clear the front differential:
The only real hassle with the build was that being a Right Hand Drive Car the steering was close to the exhaust system as it's on the same side:
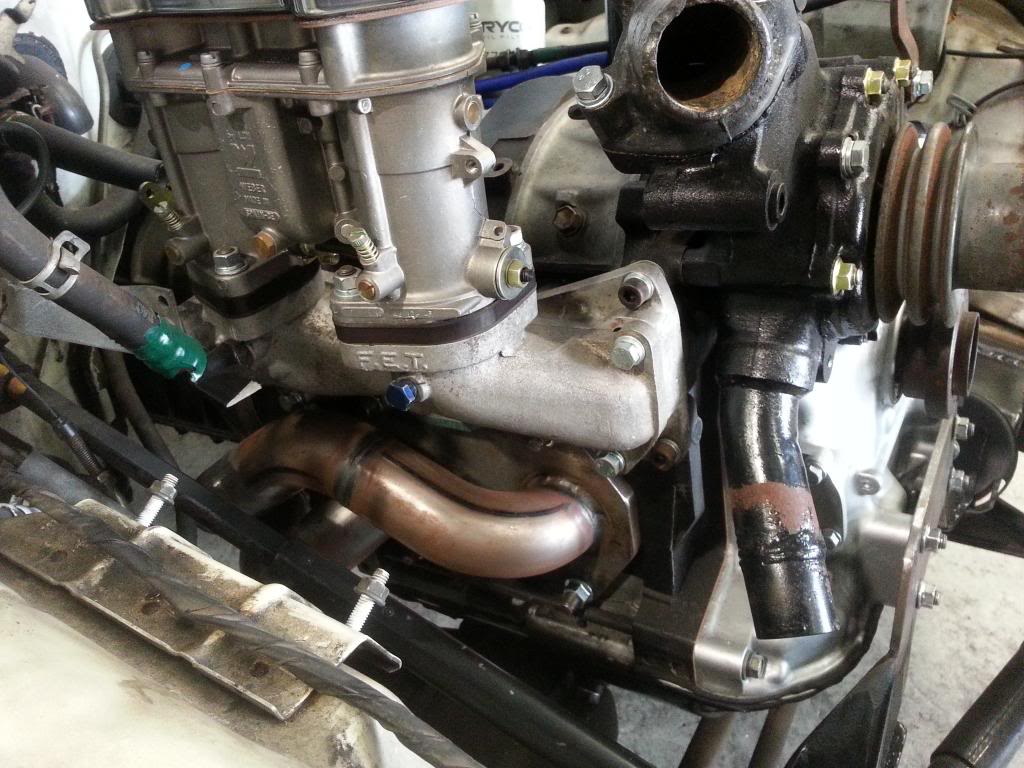
But with some heat shields installed it keeps everything cool:

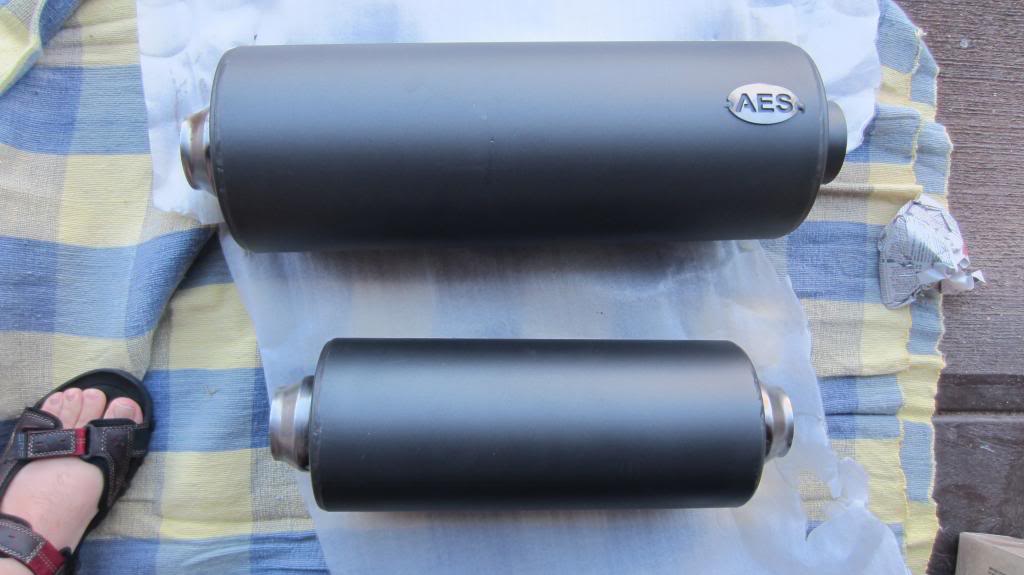
I used AES resonators and mufflers, they have excellent flow and a nice deep sound:
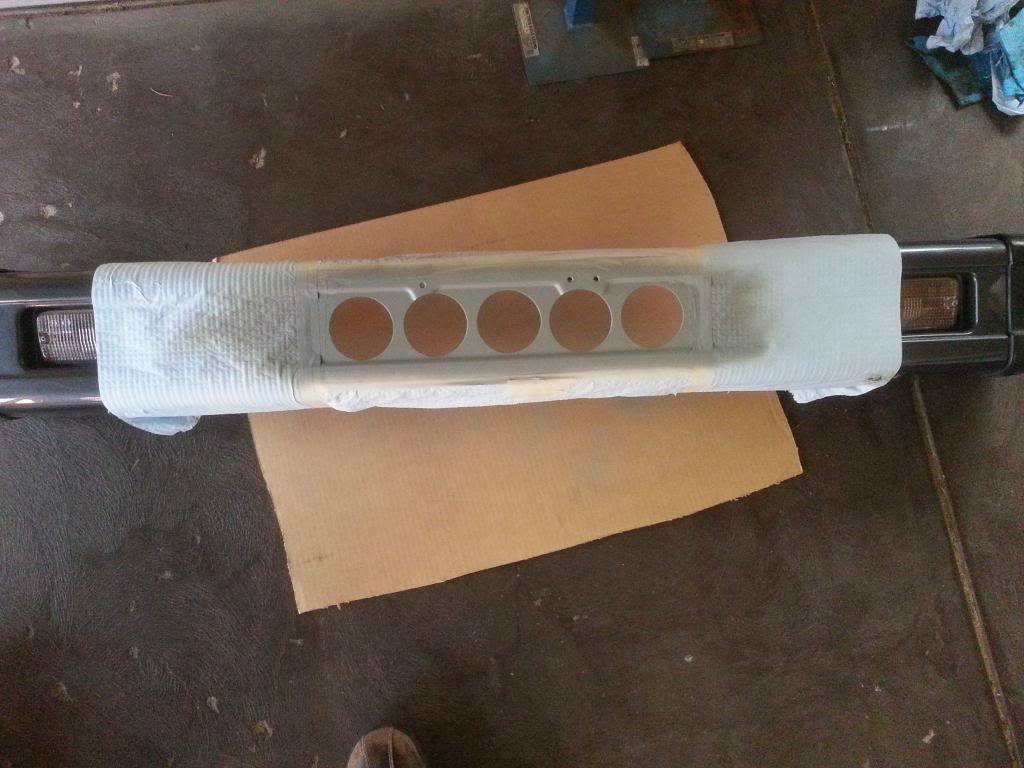
The Mazda oil cooler was mounted inside the front bumper as space was a bit of a minimum and I wanted a full depth radiator to keep everything cool:
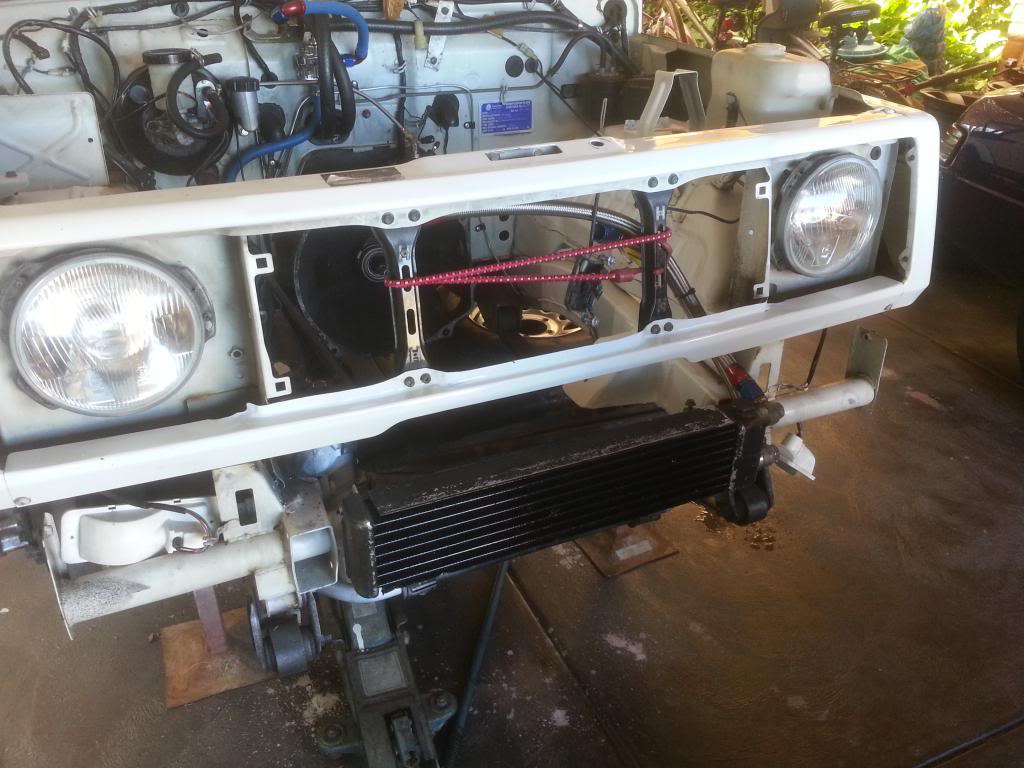
So naturally the front bumper had some vent holes cut into it:

The sump was notched to clear the front differential:

The only real hassle with the build was that being a Right Hand Drive Car the steering was close to the exhaust system as it's on the same side:

But with some heat shields installed it keeps everything cool:

I used AES resonators and mufflers, they have excellent flow and a nice deep sound:

The Mazda oil cooler was mounted inside the front bumper as space was a bit of a minimum and I wanted a full depth radiator to keep everything cool:

So naturally the front bumper had some vent holes cut into it:

Thread Starter
Joined: Jun 2005
Posts: 555
Likes: 1
From: Perth, Western Australia
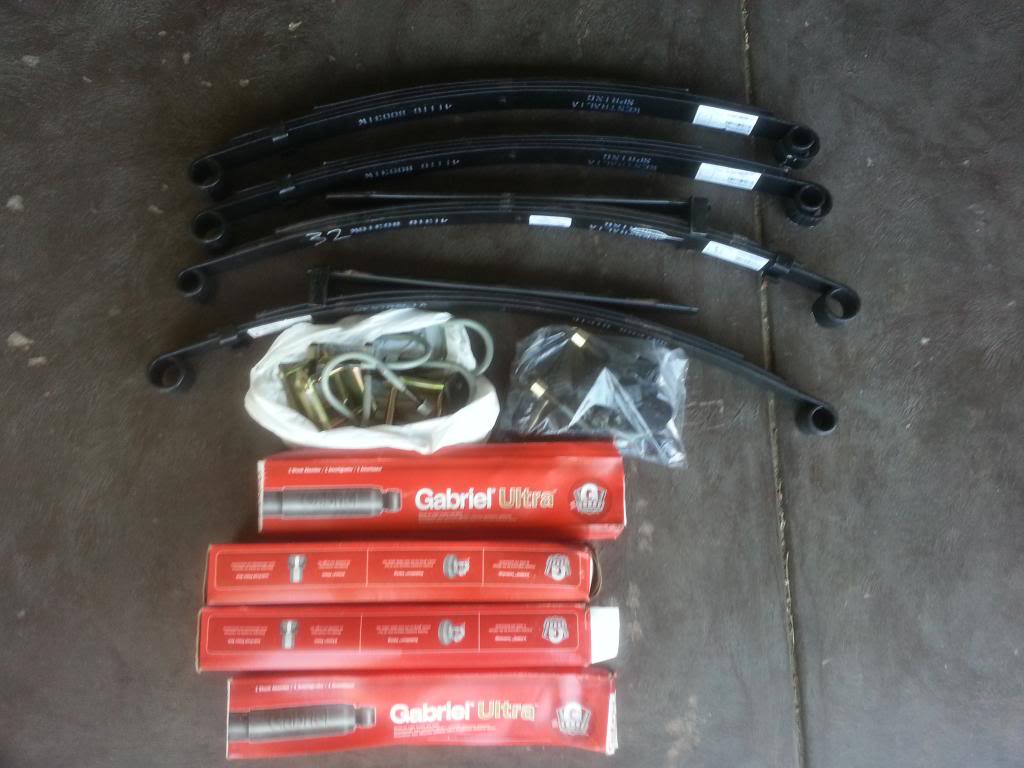
I replaced all of the leaf springs, shock absorbers, suspension rubbers, shackles and bolts as the current stuff was a bit old. I ended putting in 30mm raised leafs in and the car rose by 65mm, that's how stuffed the old suspension was:
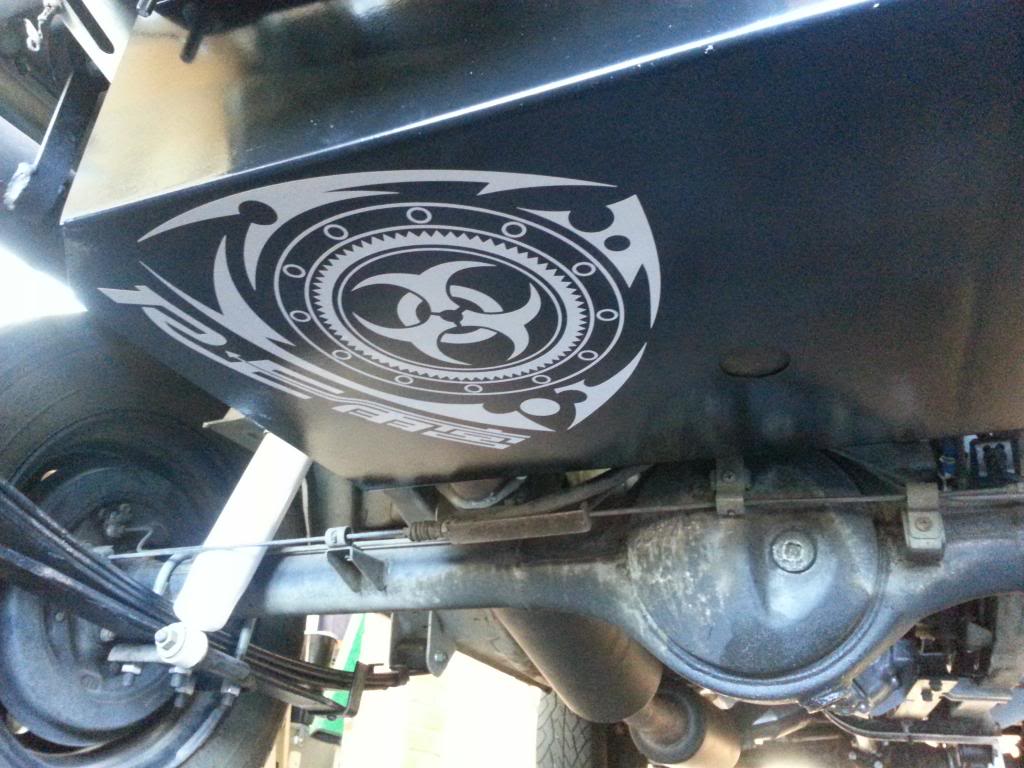
The Suzuki guys have a saying "it's not IF you are going to rupture the fuel tank but WHEN!" so I made a fuel tank guard:
That's pretty much it for the mechanical side of things. I have swapped out all the trim panels for black checker plate and put new seats in:
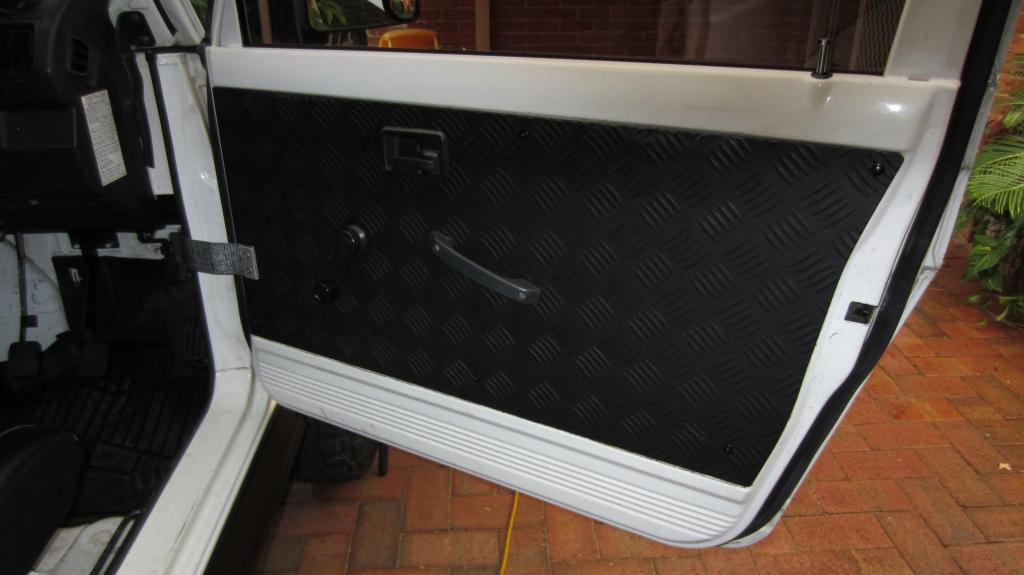
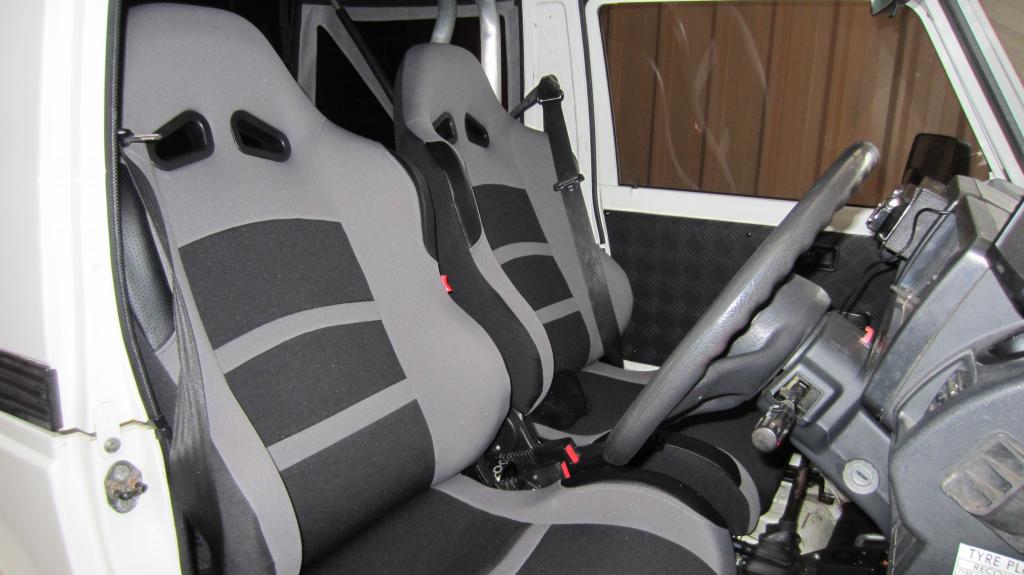
There is a heap of other little mods too, like new trim pieces here and there, a huge stereo system, spot/work lights, bonnet scoop, new rims and tyres, new soft top, window tint etc etc.
One of the best things about this build was the availability of parts on the shelf for the Sierra/Samurai. It's amazing how much stock stuff you can still buy or how much aftermarket modified stuff is available.
It's been a great few years and here is how the car sits now.
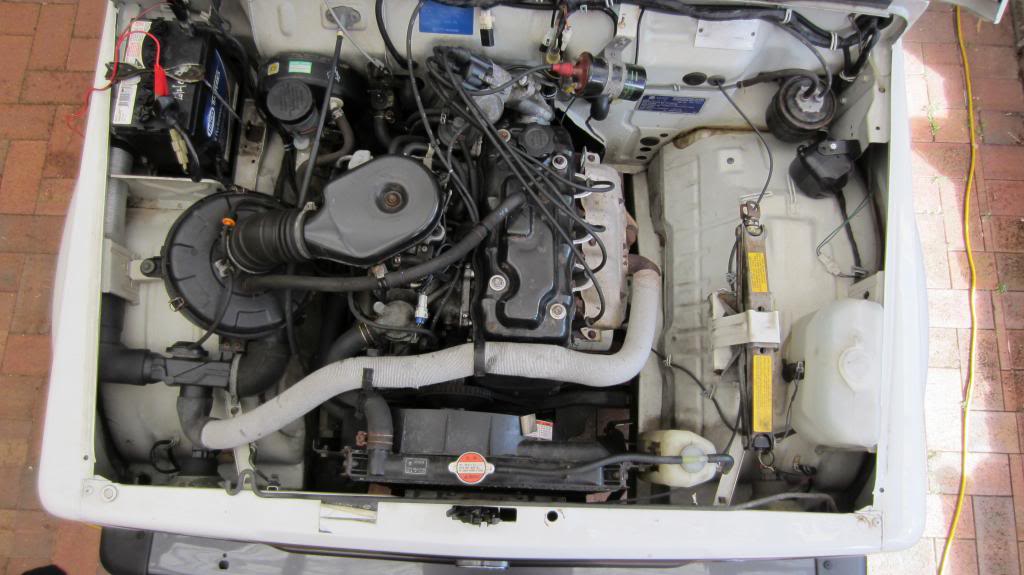
Old engine bay:
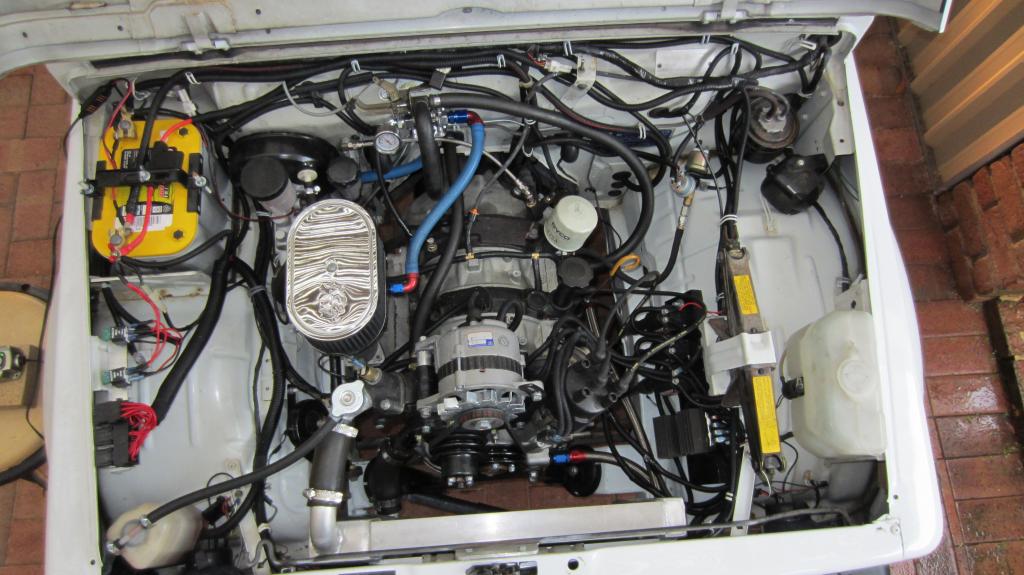
New engine bay:
I don't have too many pics of the car as yet as I only finished it last week, but here's a couple:
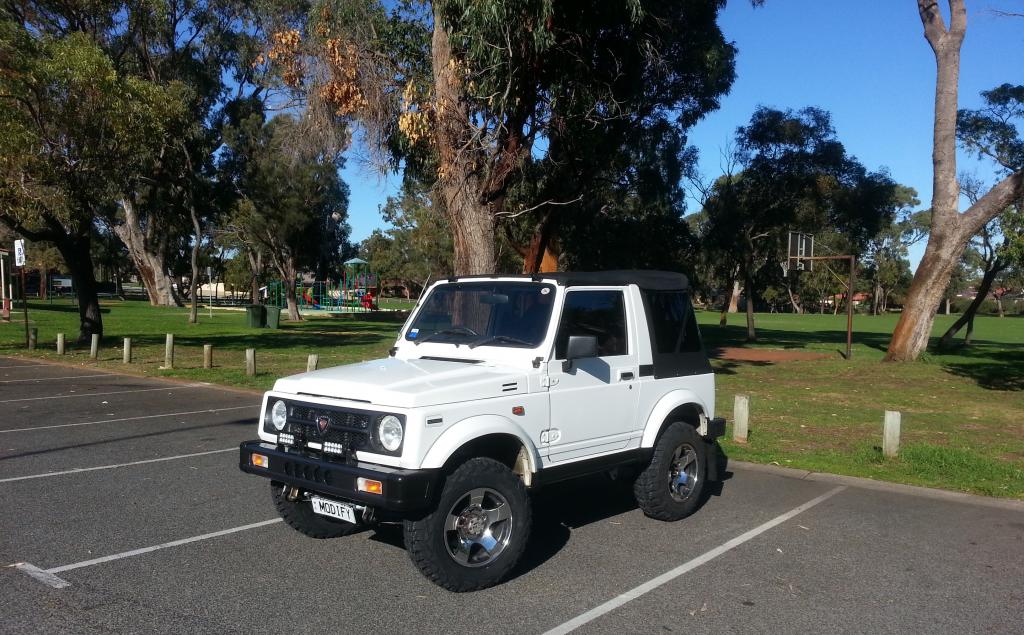
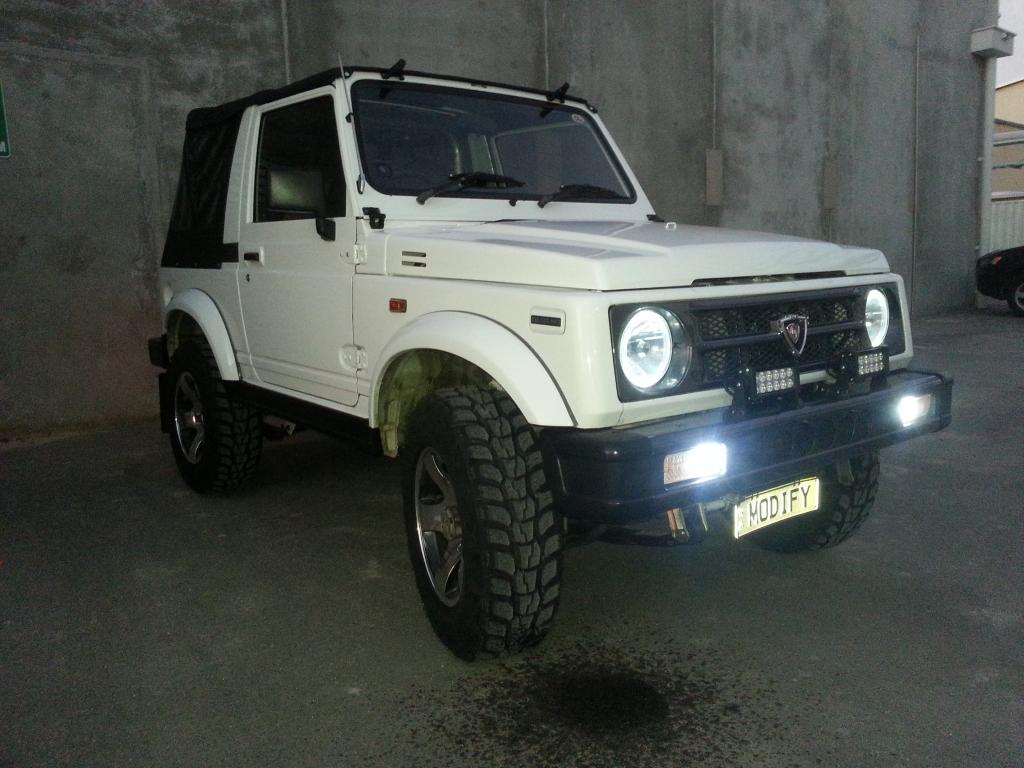
The car is fully road registered and still 4WD.
It had about 47 HP stock and now has 182HP at the wheels with the rotary engine in there.....thus it's a lot of FUN!
Hope you like it!
Cam...

The Suzuki guys have a saying "it's not IF you are going to rupture the fuel tank but WHEN!" so I made a fuel tank guard:

That's pretty much it for the mechanical side of things. I have swapped out all the trim panels for black checker plate and put new seats in:


There is a heap of other little mods too, like new trim pieces here and there, a huge stereo system, spot/work lights, bonnet scoop, new rims and tyres, new soft top, window tint etc etc.
One of the best things about this build was the availability of parts on the shelf for the Sierra/Samurai. It's amazing how much stock stuff you can still buy or how much aftermarket modified stuff is available.
It's been a great few years and here is how the car sits now.
Old engine bay:

New engine bay:

I don't have too many pics of the car as yet as I only finished it last week, but here's a couple:


The car is fully road registered and still 4WD.
It had about 47 HP stock and now has 182HP at the wheels with the rotary engine in there.....thus it's a lot of FUN!
Hope you like it!
Cam...


Trending Topics
Thread Starter
Joined: Jun 2005
Posts: 555
Likes: 1
From: Perth, Western Australia
And a few videos....not the best...but you get the idea...
https://www.youtube.com/watch?v=qxuX...ature=youtu.be
https://www.youtube.com/watch?v=MtU2...ature=youtu.be
https://www.youtube.com/watch?v=qxuX...ature=youtu.be
https://www.youtube.com/watch?v=MtU2...ature=youtu.be

