7t7 repu - build
 07-25-12, 09:02 AM
#1
7t7 repu - build
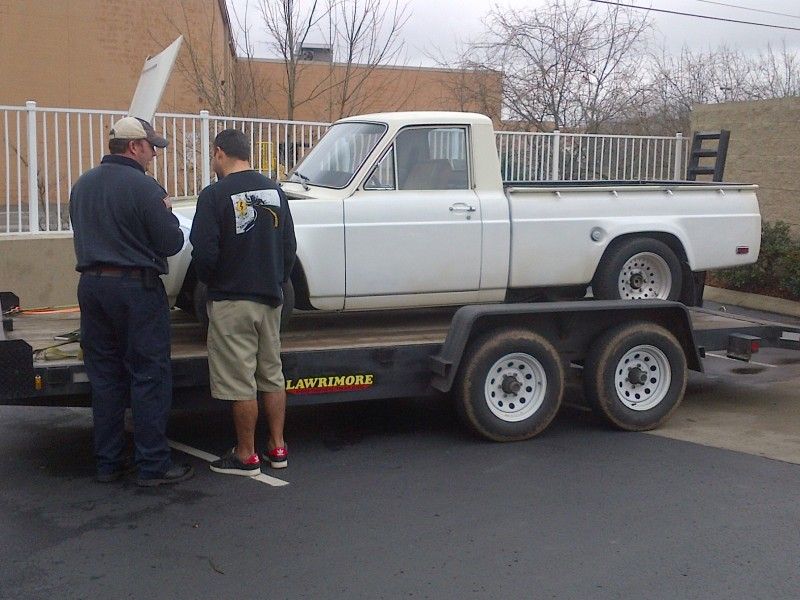
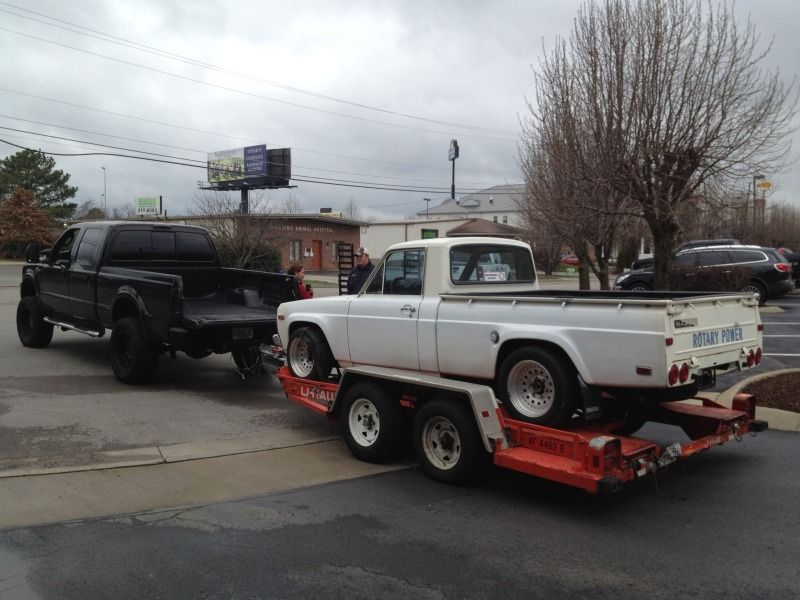
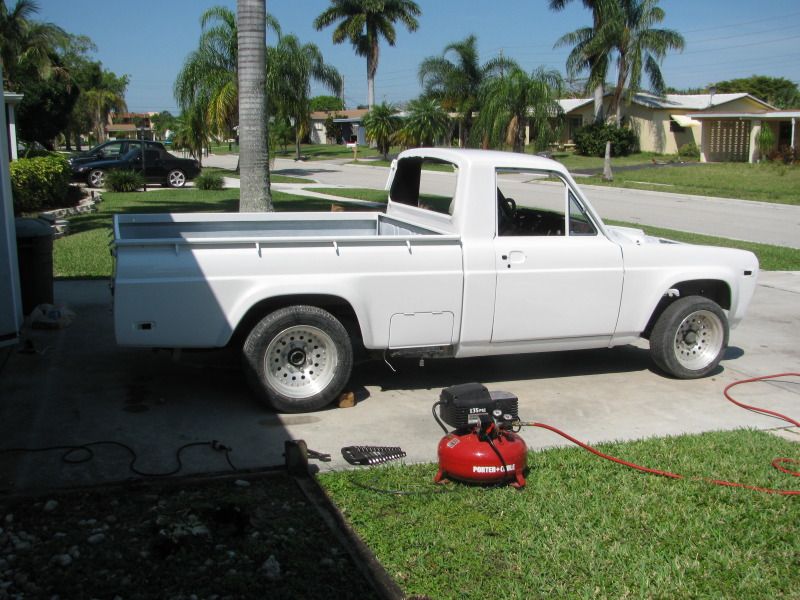
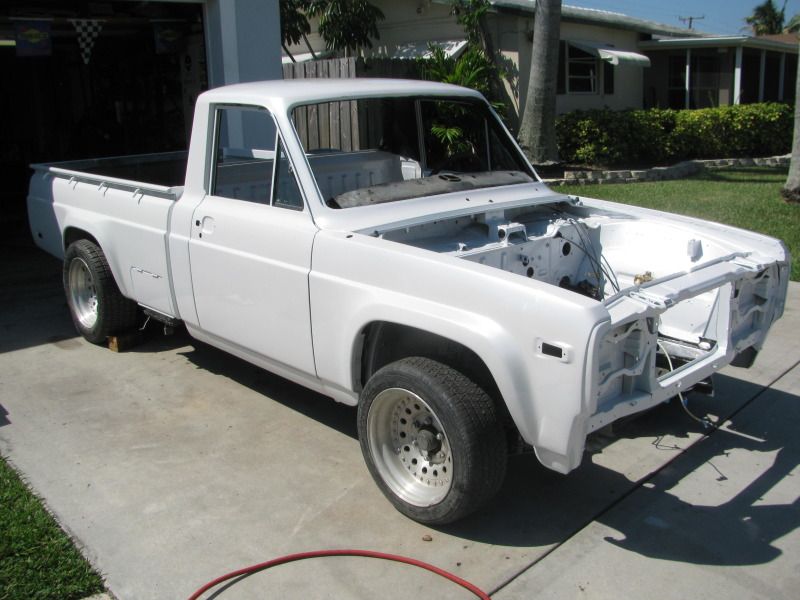
Here is my build thread of my 1977 REPU. I picked up this REPU from Chad on the forum in February of this year. I picked it up in TN just from pictures provide by Chad, I can honestly say he described it perfect, great seller. Great truck, ran fine and basically rust free with the exception of a couple of rust spots here and there, mostly surface rust. The truck did not stop for **** ahahahhaha. I will let the pics speak for themselves but if you have any specific questions on anything feel free to ask. Also, I am no photographer, in fact, I hate taking pictures. All pics were taken with my phone.
Many friends have helped in this build and a thanks goes out to all my Rotary Brothers that have helped me! Joe, Jorge, Chris and Luis. BIG Thanks to Joe for most of the help and Jorge for supplying plenty of Miller Light.
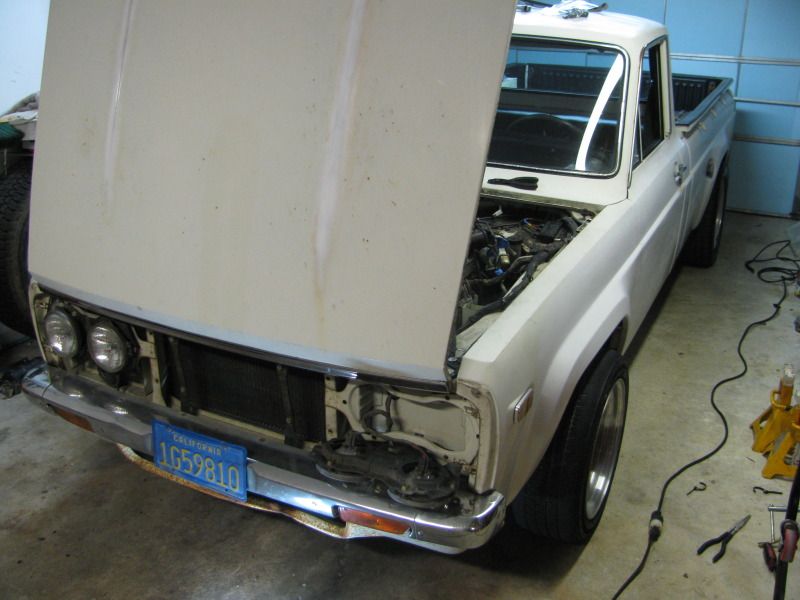
This is my first introduction to the REPU.
Chad and I going over the truck.

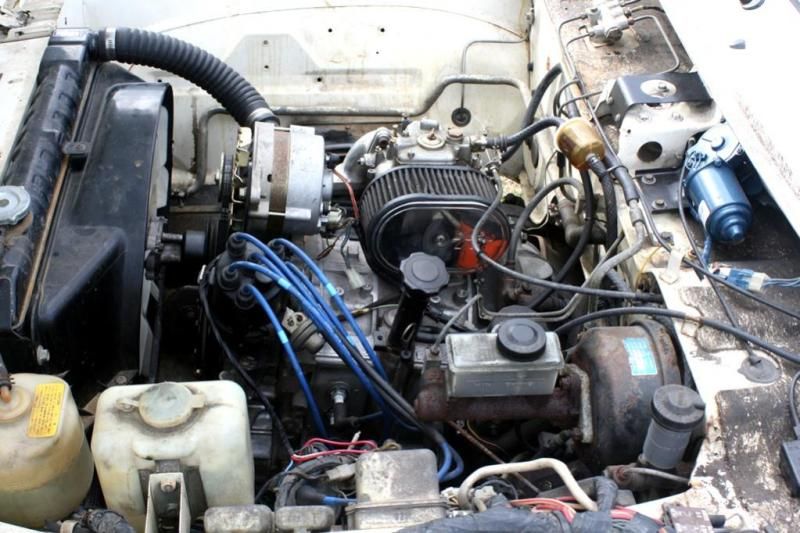
Engine
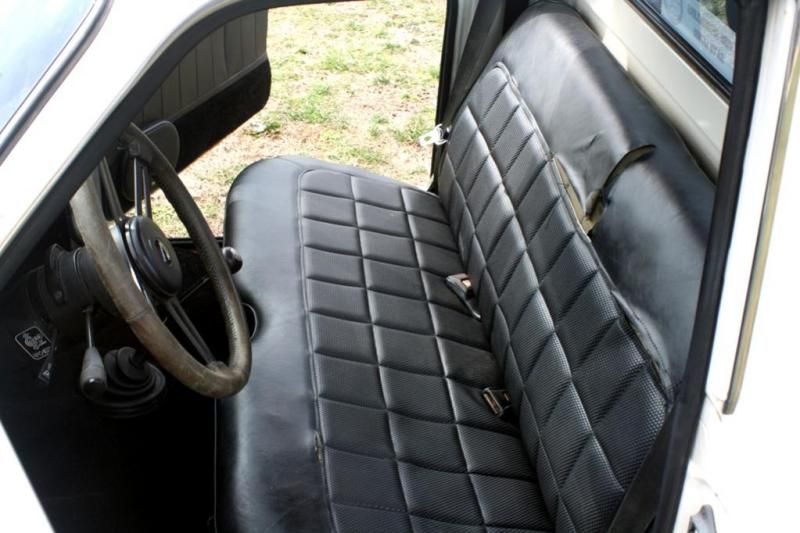
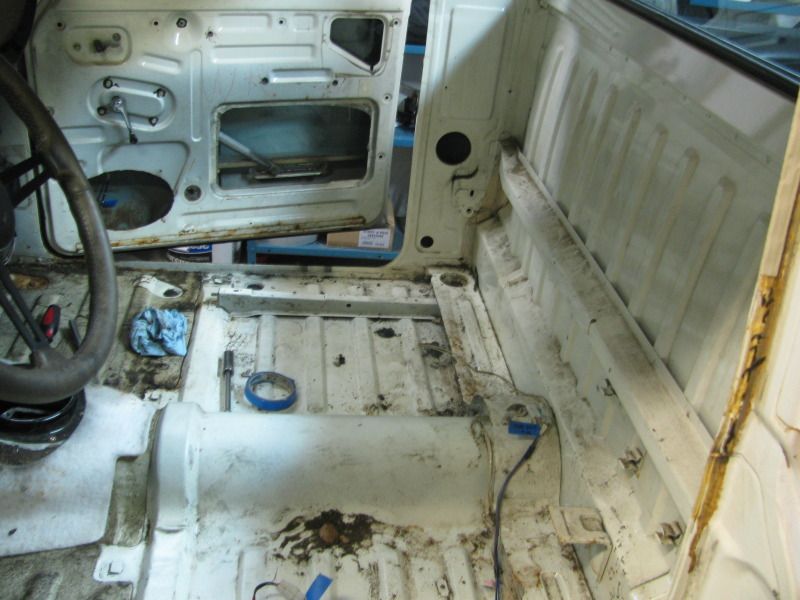
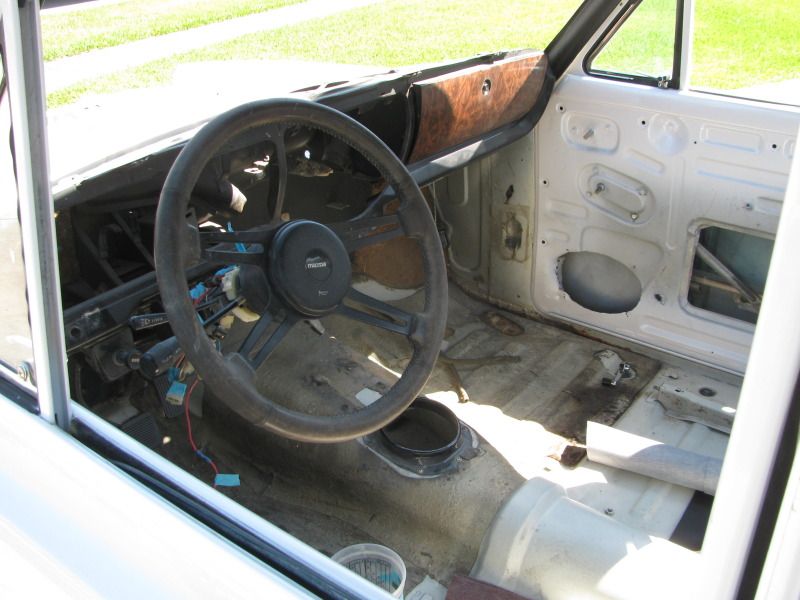
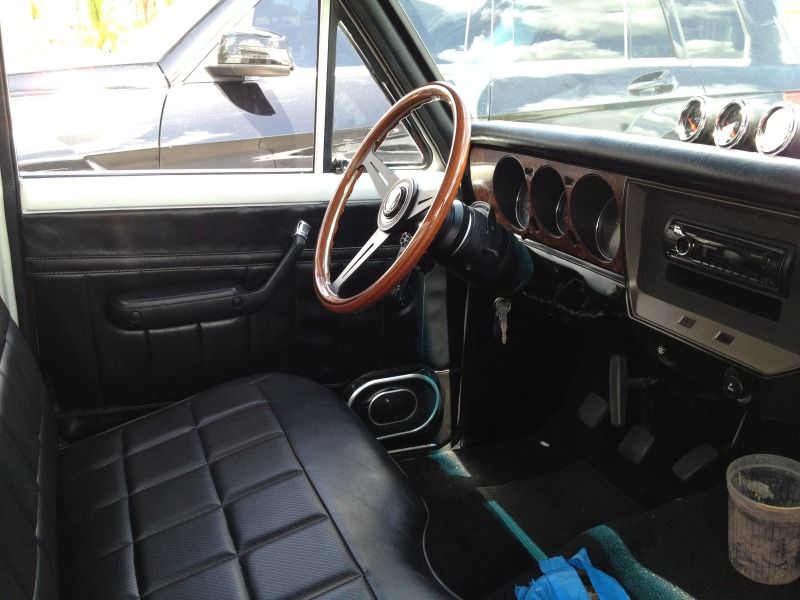
Interior
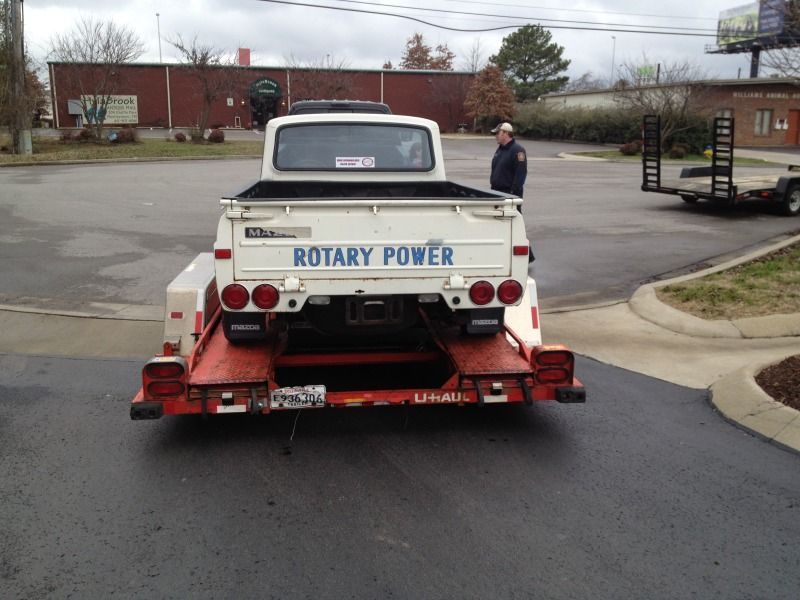
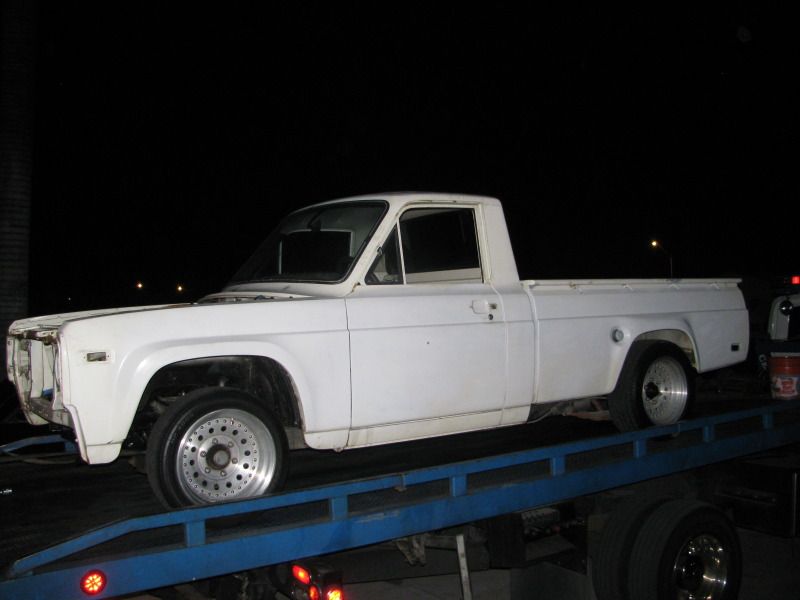
All loaded up and ready to make the trip to FL

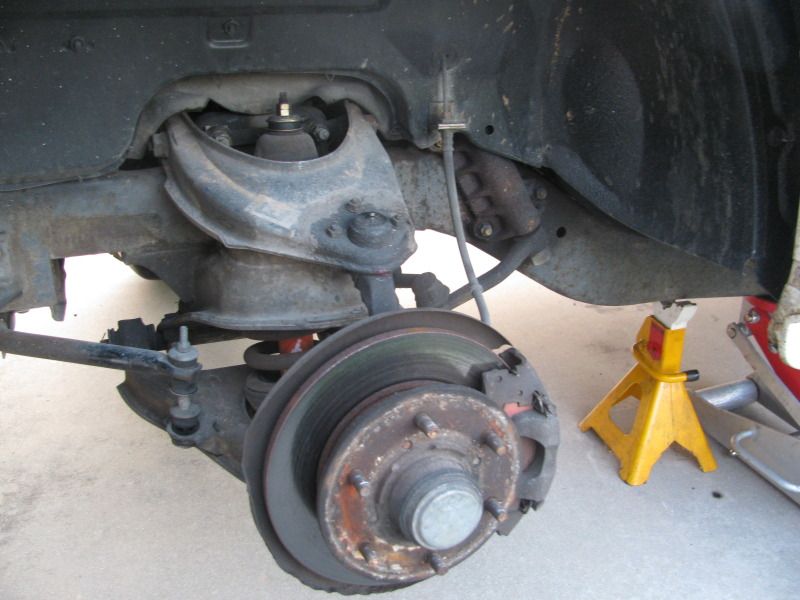
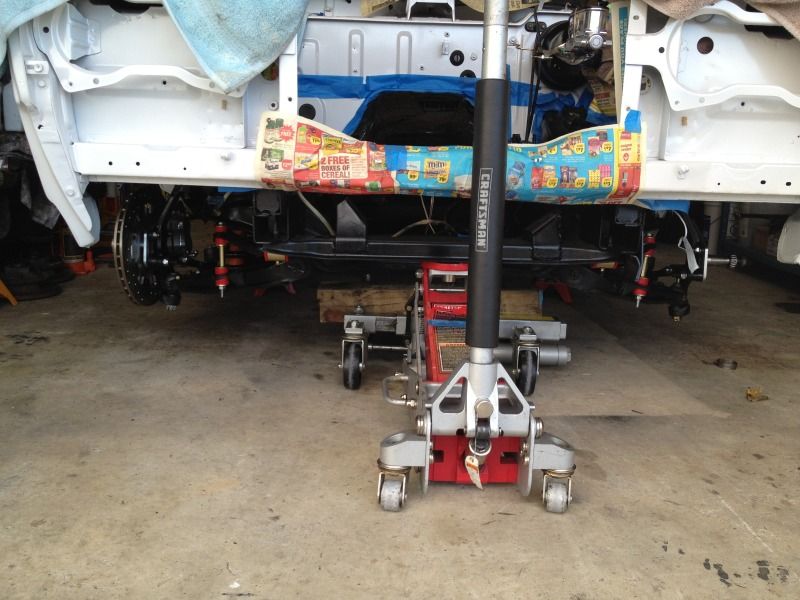
First thing I did when I got home was bleed the brakes and drove it the entire weekend. Put over 100 miles on her but the brakes needed more than bleeding so the tear down began:
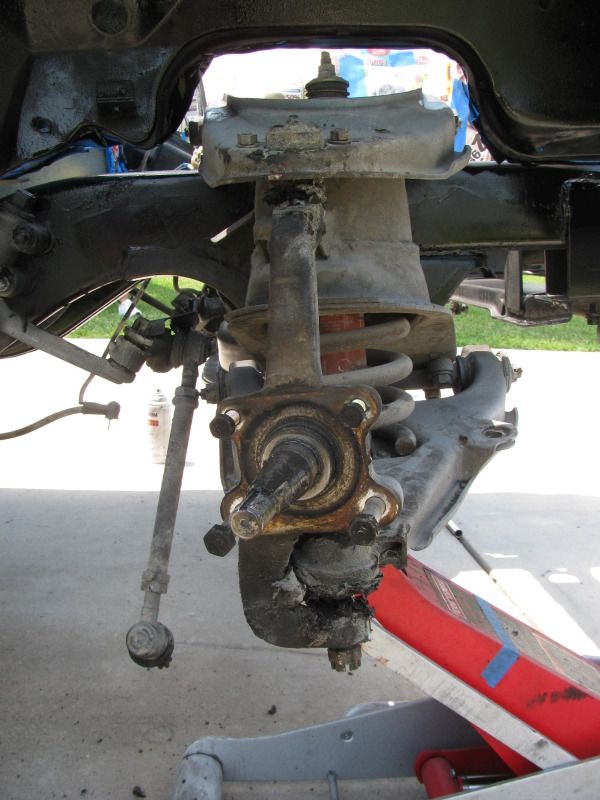
Front brakes
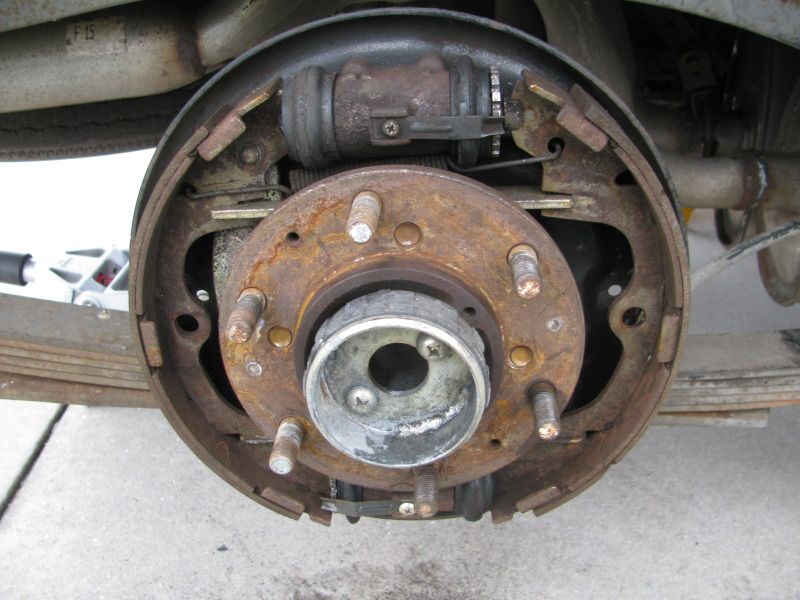
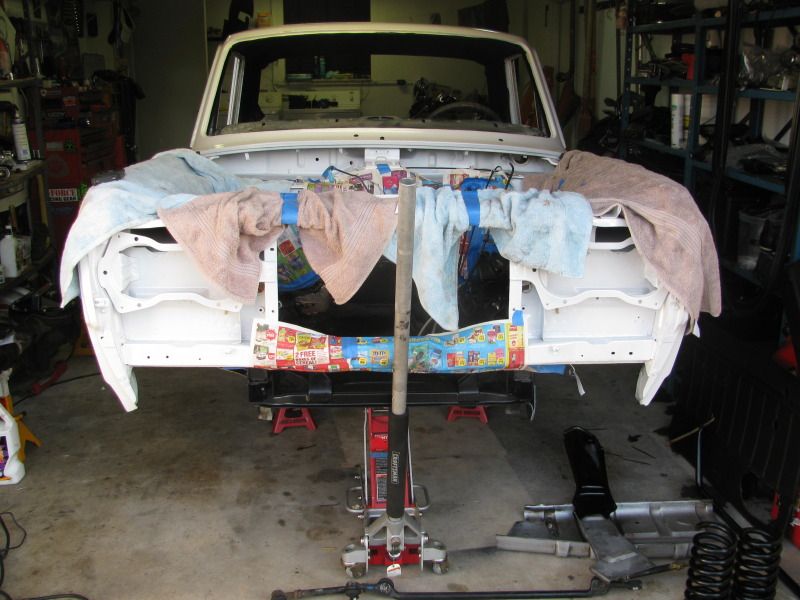
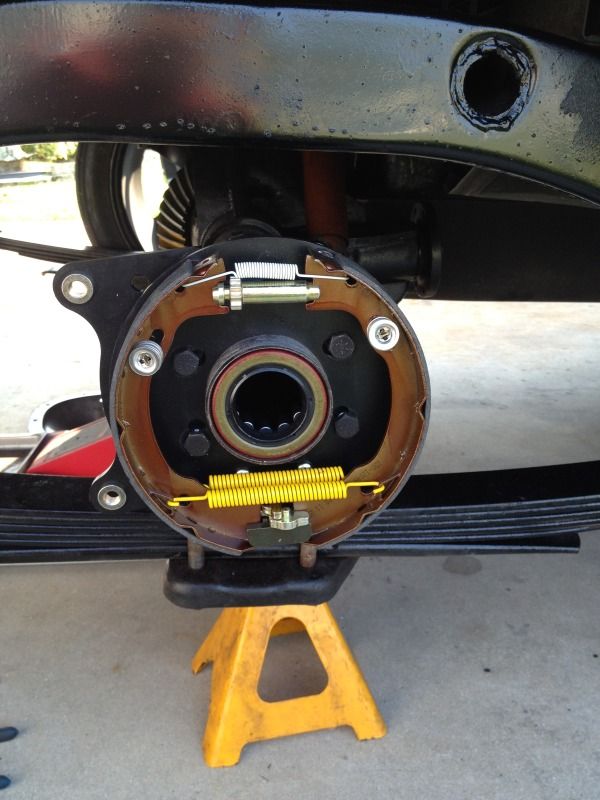
Rear Drums – The culprit for my braking issues
Many friends have helped in this build and a thanks goes out to all my Rotary Brothers that have helped me! Joe, Jorge, Chris and Luis. BIG Thanks to Joe for most of the help and Jorge for supplying plenty of Miller Light.
This is my first introduction to the REPU.
Chad and I going over the truck.
Engine
Interior
All loaded up and ready to make the trip to FL
First thing I did when I got home was bleed the brakes and drove it the entire weekend. Put over 100 miles on her but the brakes needed more than bleeding so the tear down began:
Front brakes
Rear Drums – The culprit for my braking issues


 07-25-12, 09:04 AM
#4
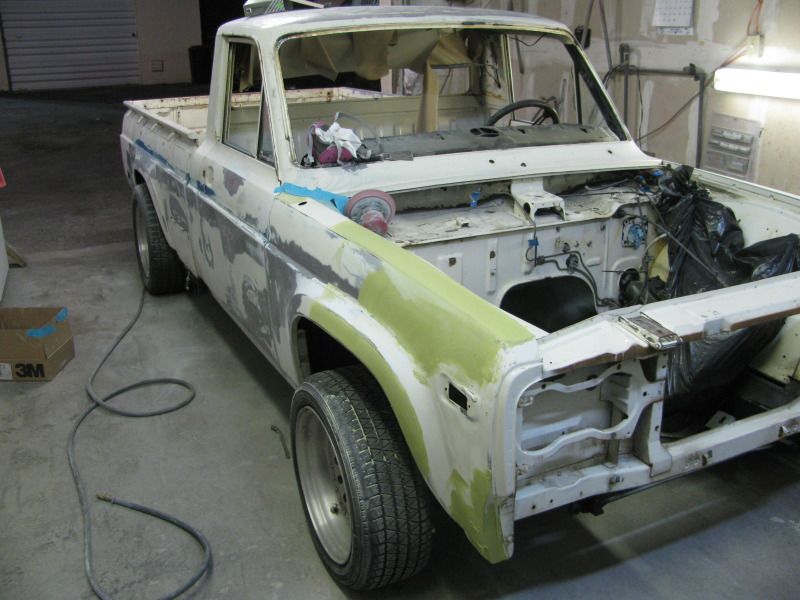
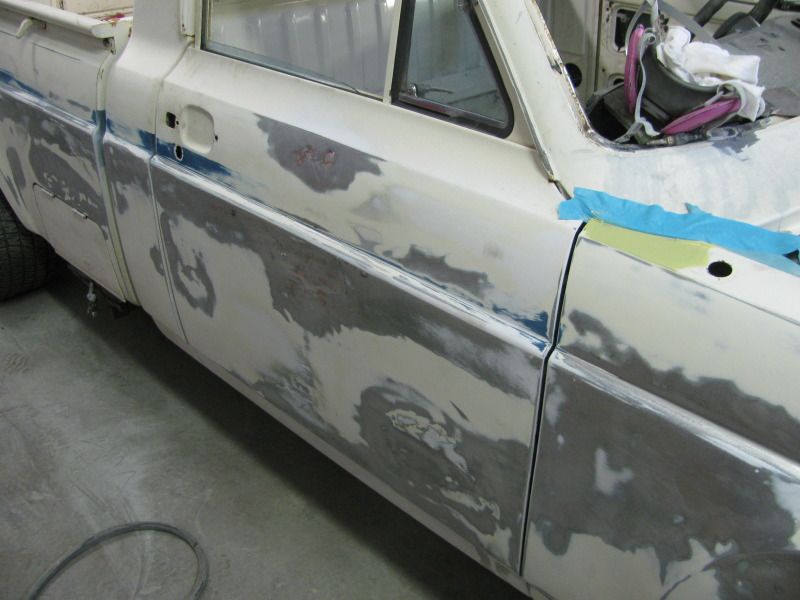
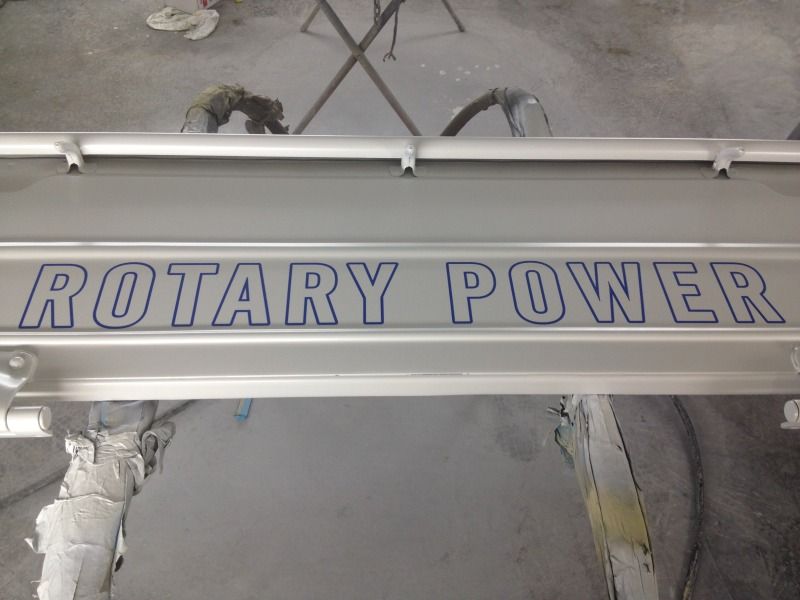
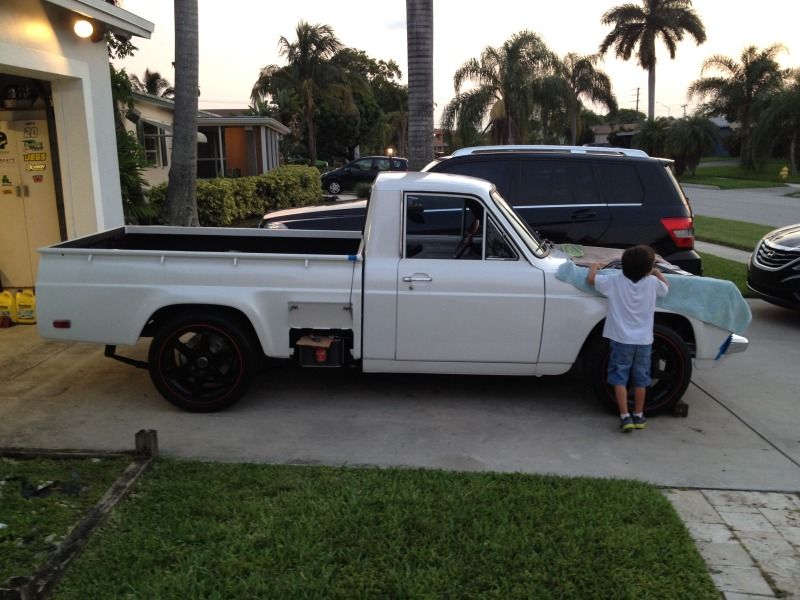
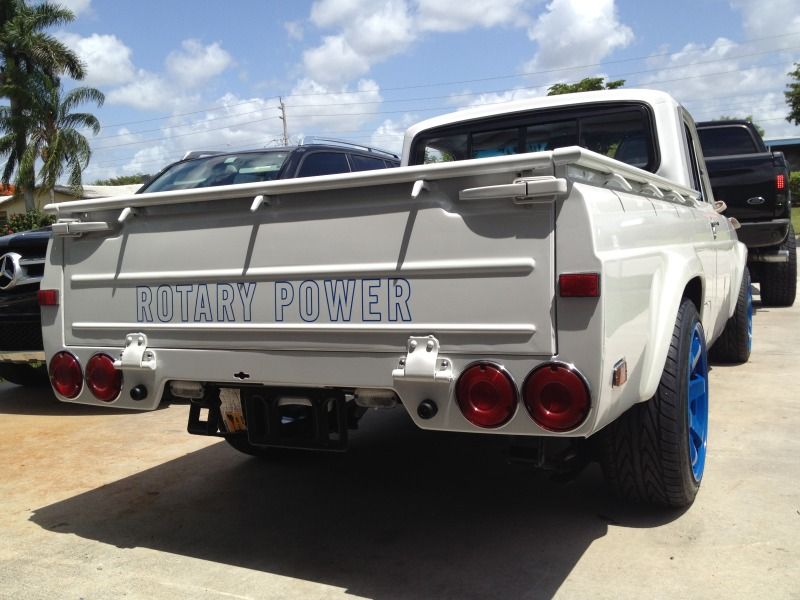
Color is from a 2012 Ford Taurus but it’s my understanding that you can get it on any Ford as long as you order it that way. Buddy’s wife has it on her car. It’s called White Platinum Metallic Tri Coat. It’s got what looks like to be gold and blue pearl in it. Looks really pretty nice in the sun.
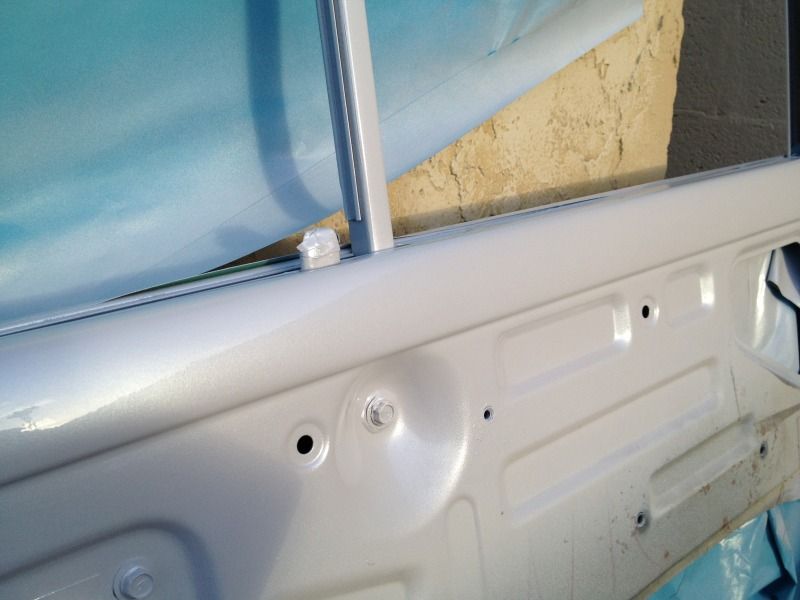
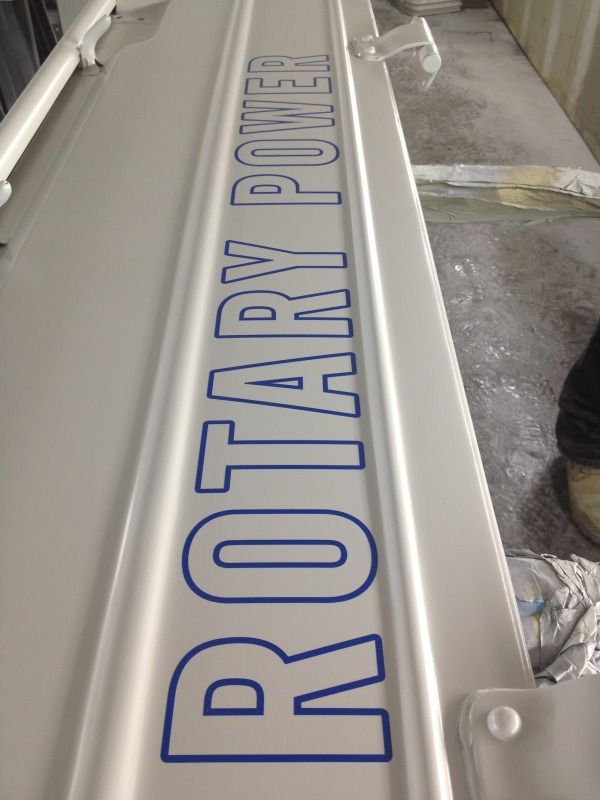
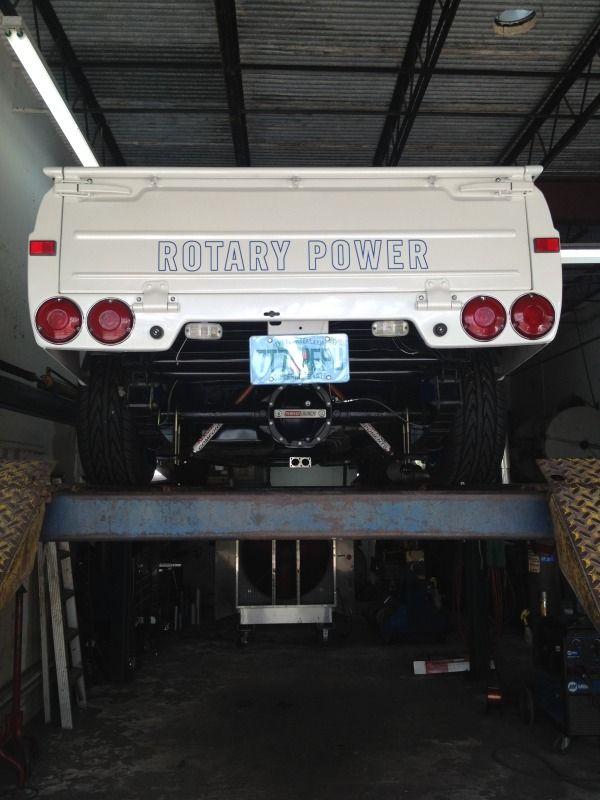
The sticker was made by taking the original and having it outlined in blue. I did not want solid letters. Had a friend make me the outline and it was applied prior to clear coat. Pretty nerve racking to install the sticker on fresh paint knowing if you screw it up, your re-painting the tail gate. Luckily I got it right the first time.
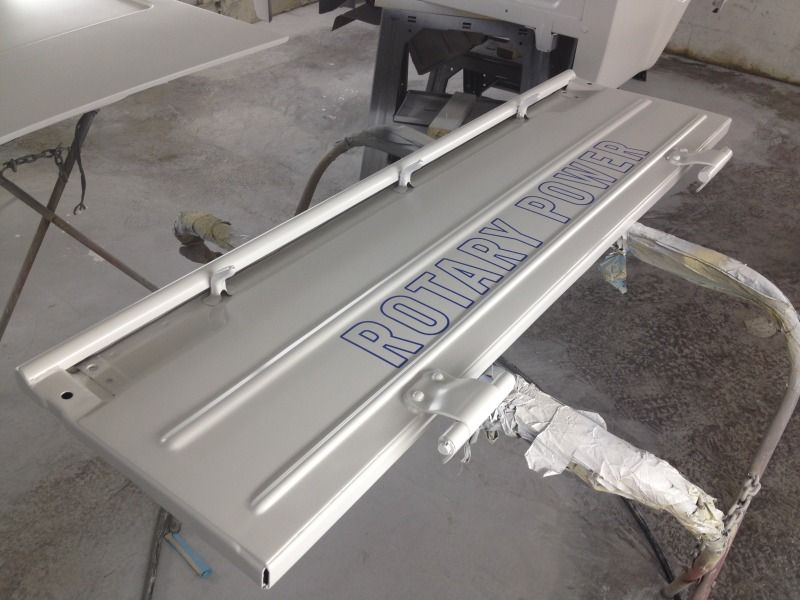

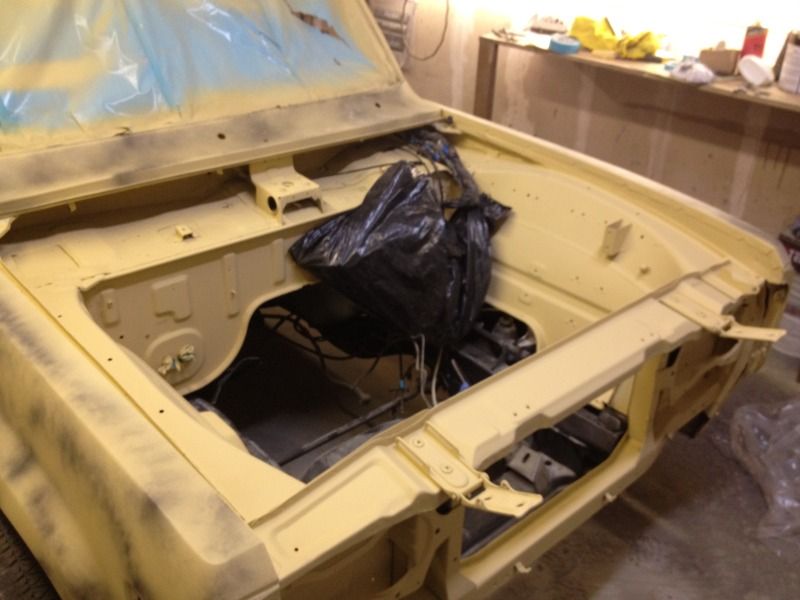
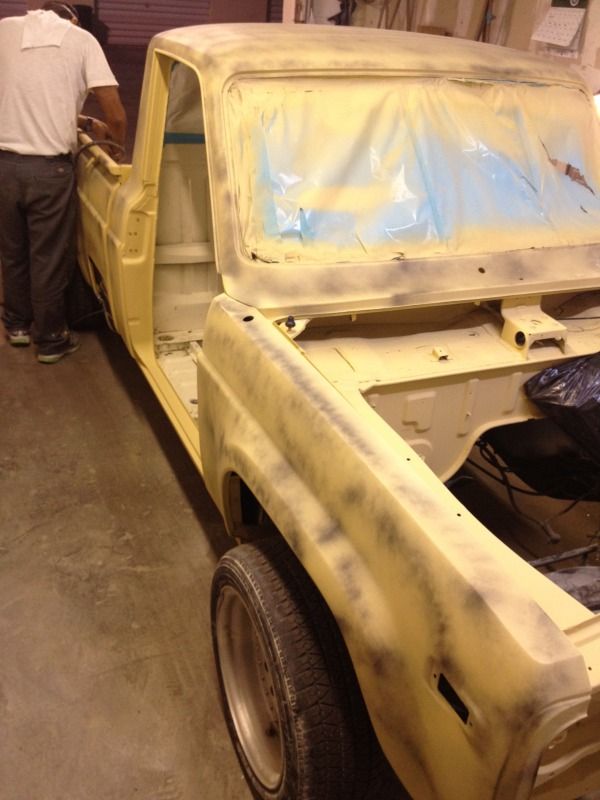
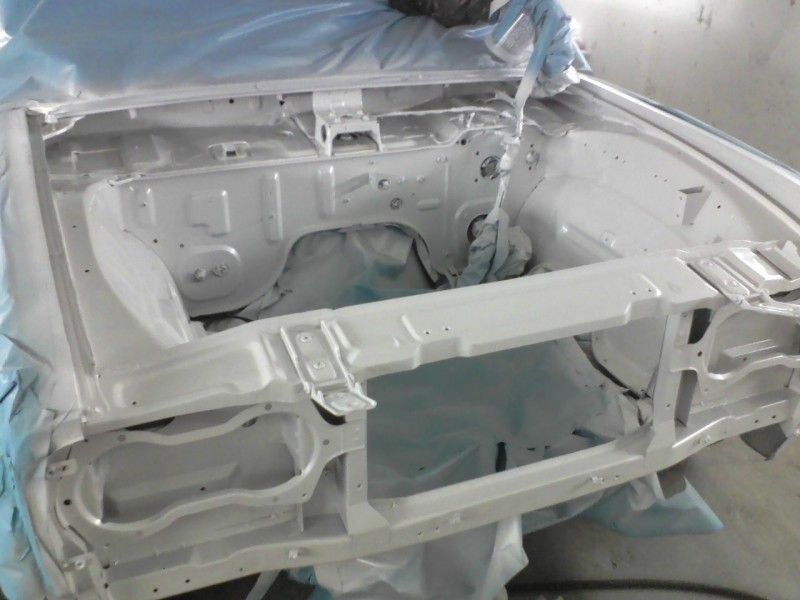
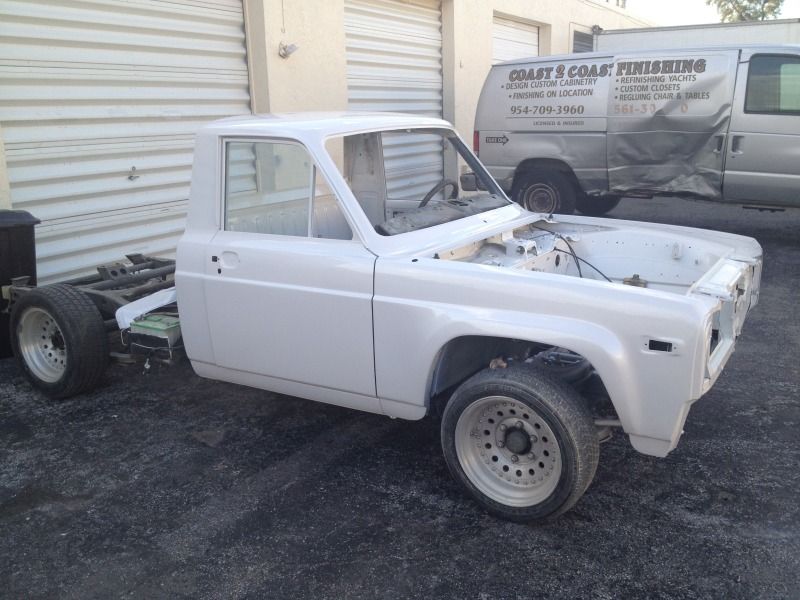
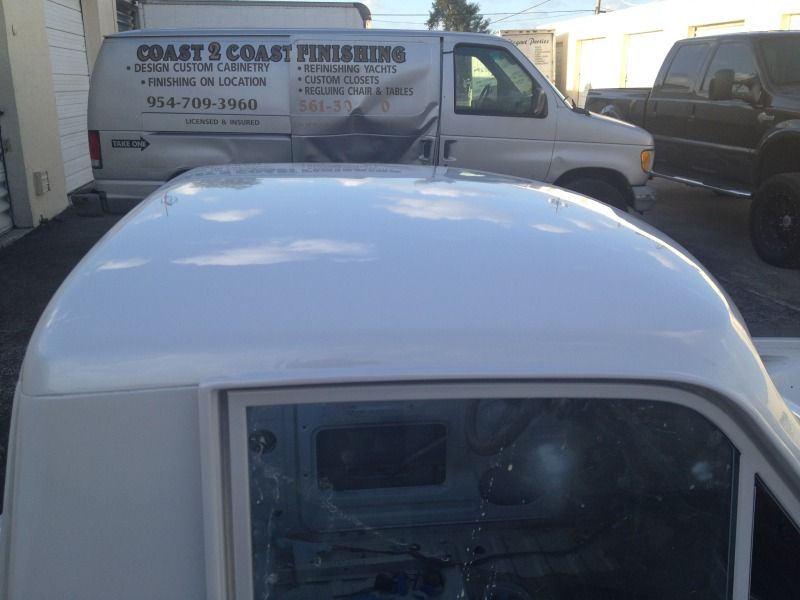
Finally home from paint. Ready for Assembly.

The sticker was made by taking the original and having it outlined in blue. I did not want solid letters. Had a friend make me the outline and it was applied prior to clear coat. Pretty nerve racking to install the sticker on fresh paint knowing if you screw it up, your re-painting the tail gate. Luckily I got it right the first time.
Finally home from paint. Ready for Assembly.
 07-25-12, 09:05 AM
#6
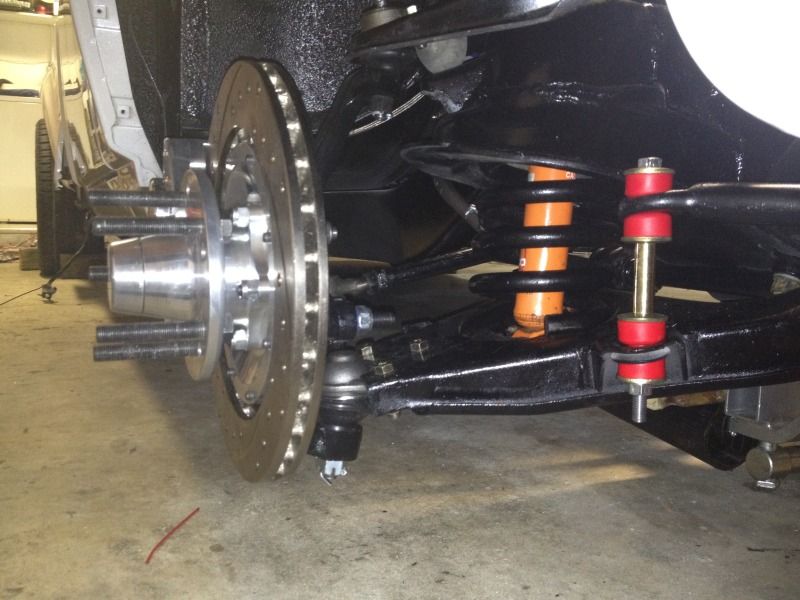
Every bushing was replaced on the truck. New idler arm. New tie rod ends with greasable fittings installed. New sway bar links, etc etc.
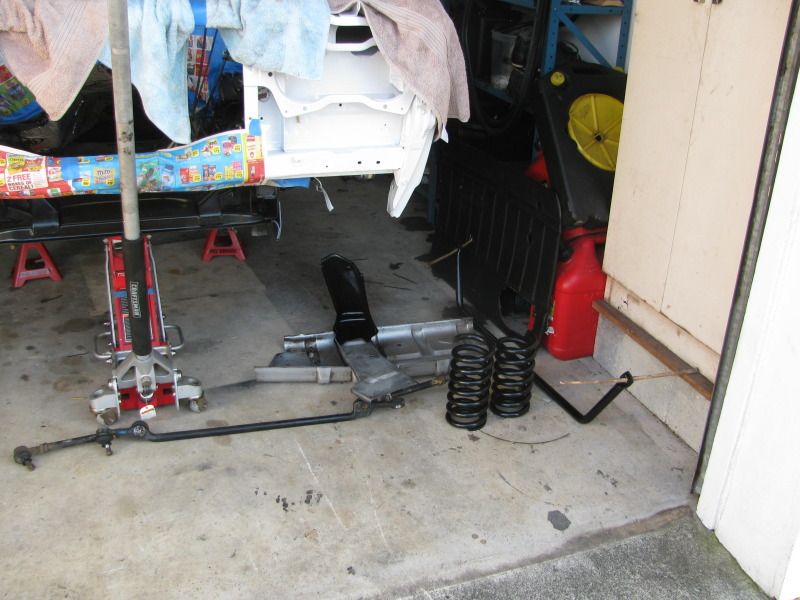
Juan from the RX-7 Forum forum was kind enough to source some Superpro rear leaf spring bushings. All six rear bushings were replaced with new ones.
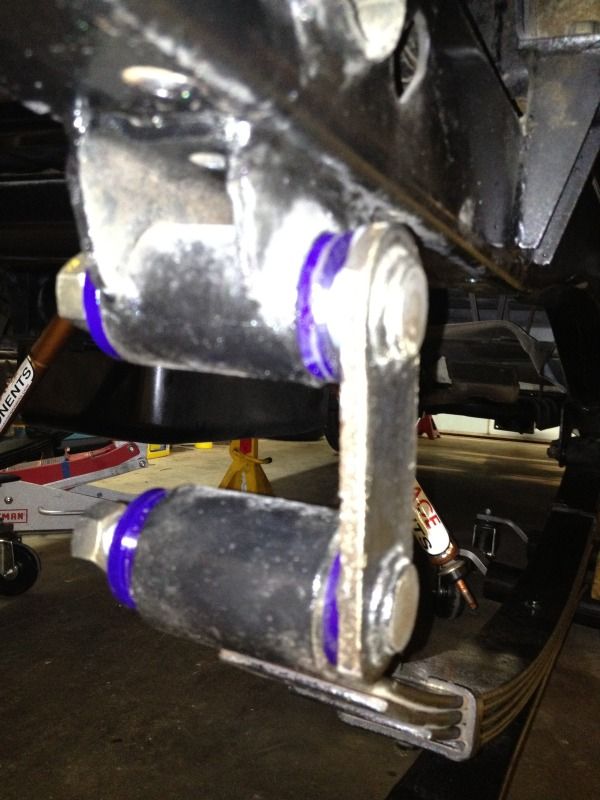
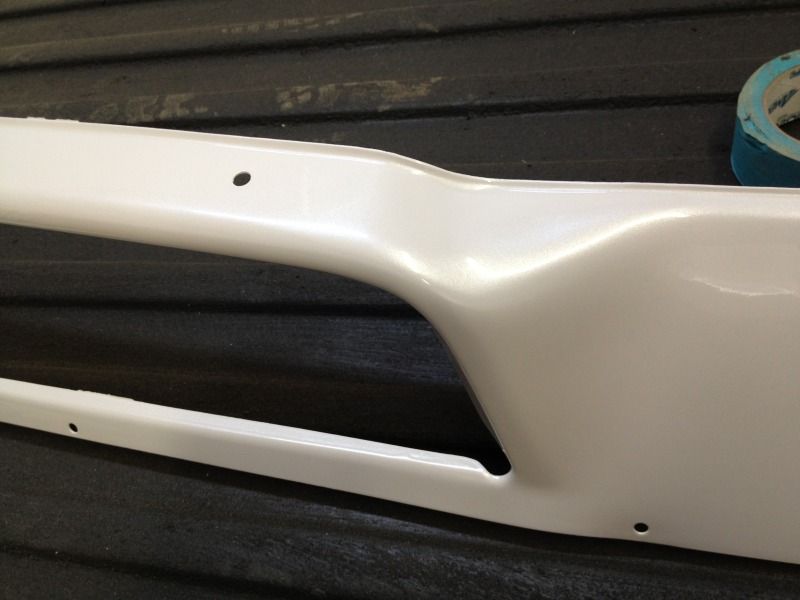
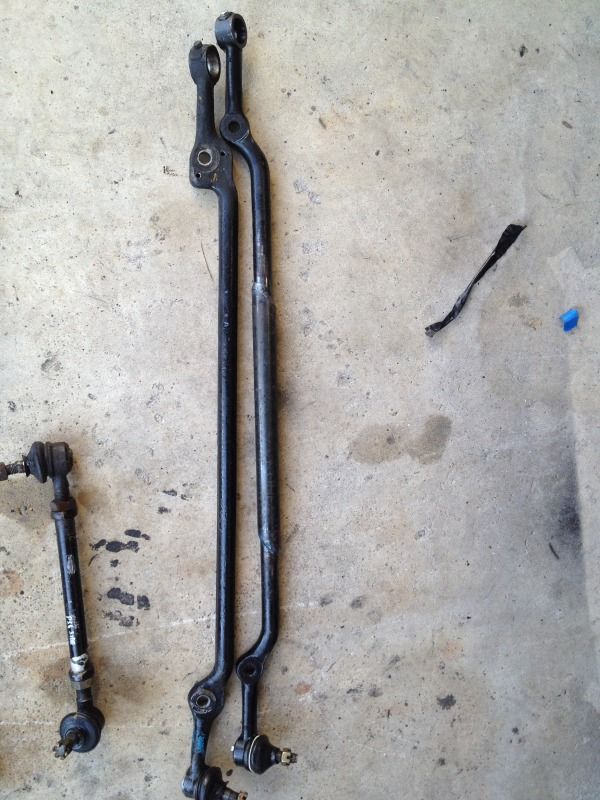
Part of my replacing all the bushing was the task of replacing the drag link. They no longer make the drag link for the Courier of the REPU so I learned from the REPU forums that the popular fix to this is purchasing the drag link from a Mazda B2000 and making it a bit longer. Here is a pic of the original and the new modified drag link.
Juan from the RX-7 Forum forum was kind enough to source some Superpro rear leaf spring bushings. All six rear bushings were replaced with new ones.
Part of my replacing all the bushing was the task of replacing the drag link. They no longer make the drag link for the Courier of the REPU so I learned from the REPU forums that the popular fix to this is purchasing the drag link from a Mazda B2000 and making it a bit longer. Here is a pic of the original and the new modified drag link.
07-25-12, 09:06 AM
#7
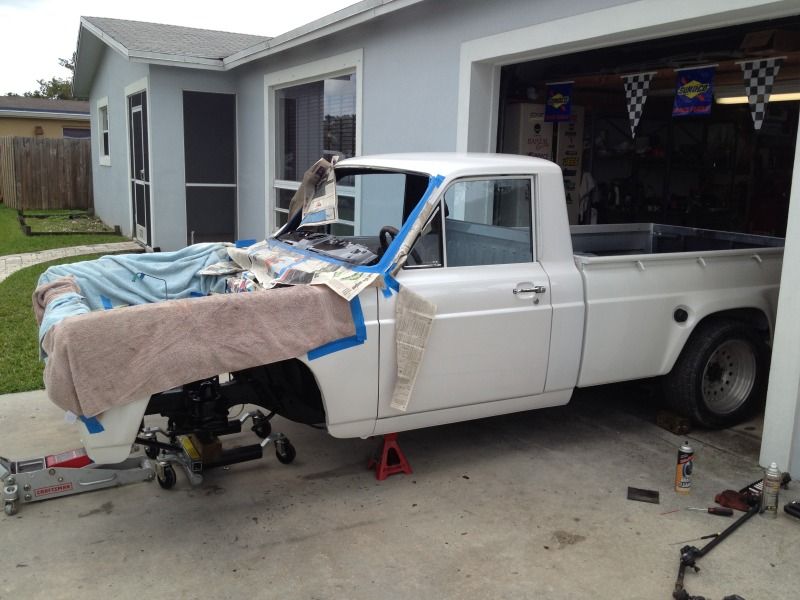
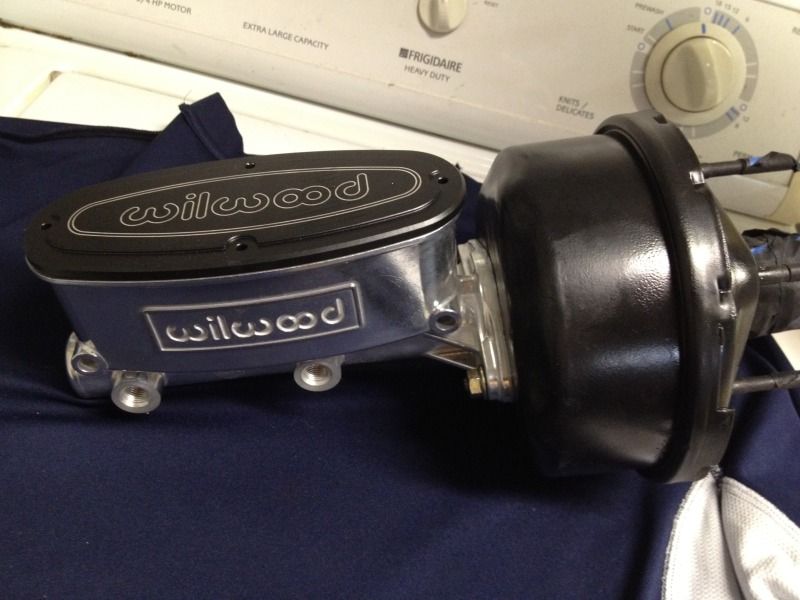
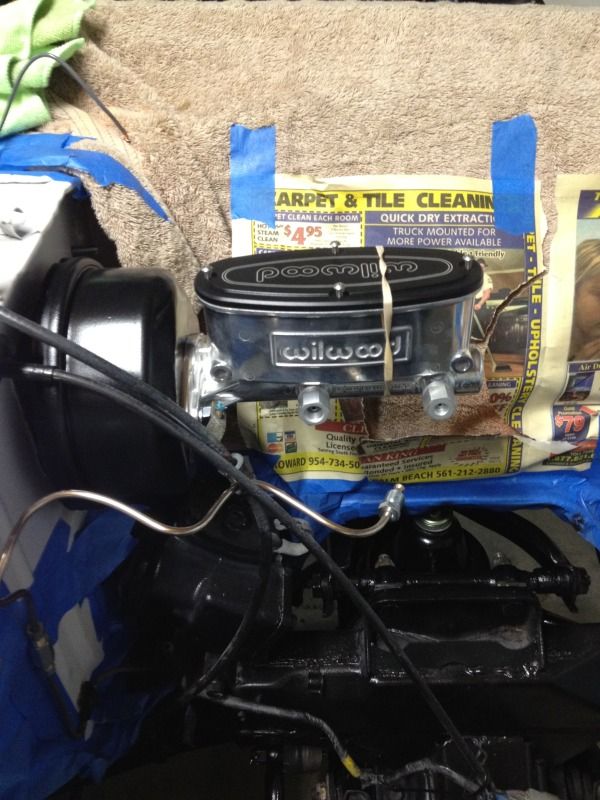
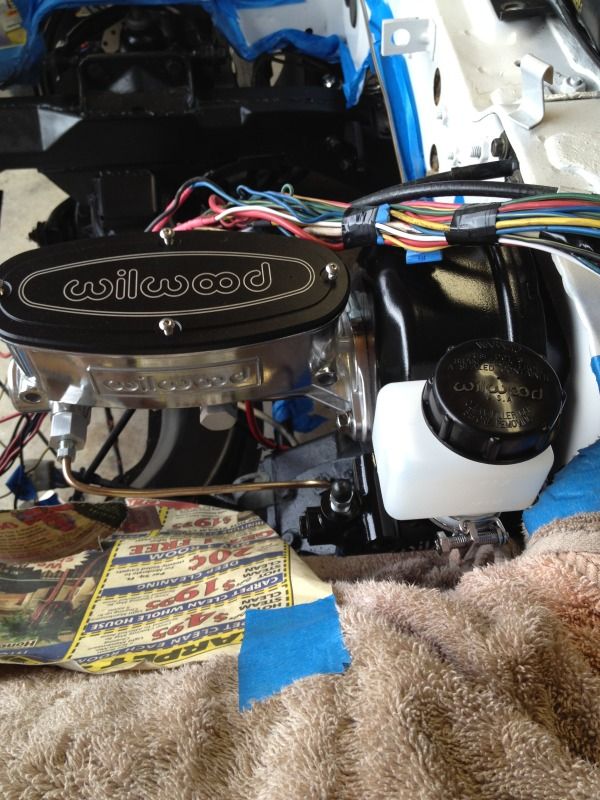
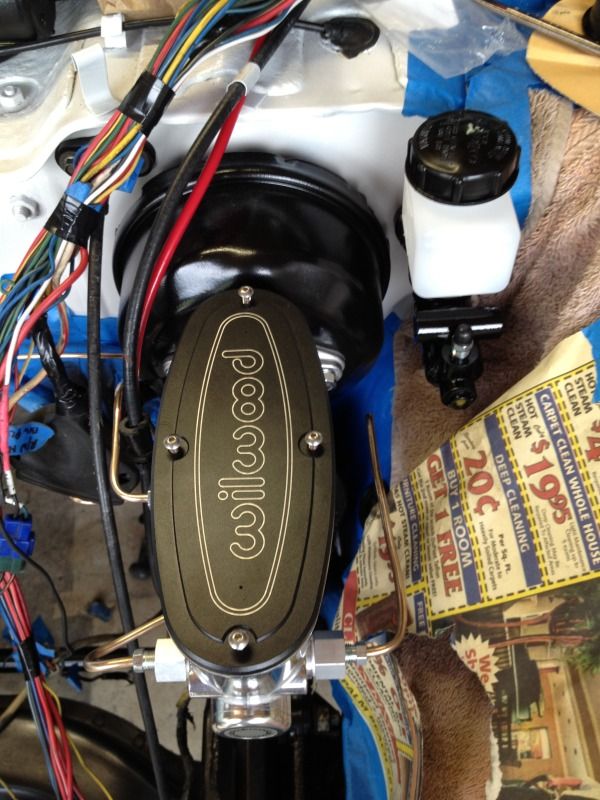
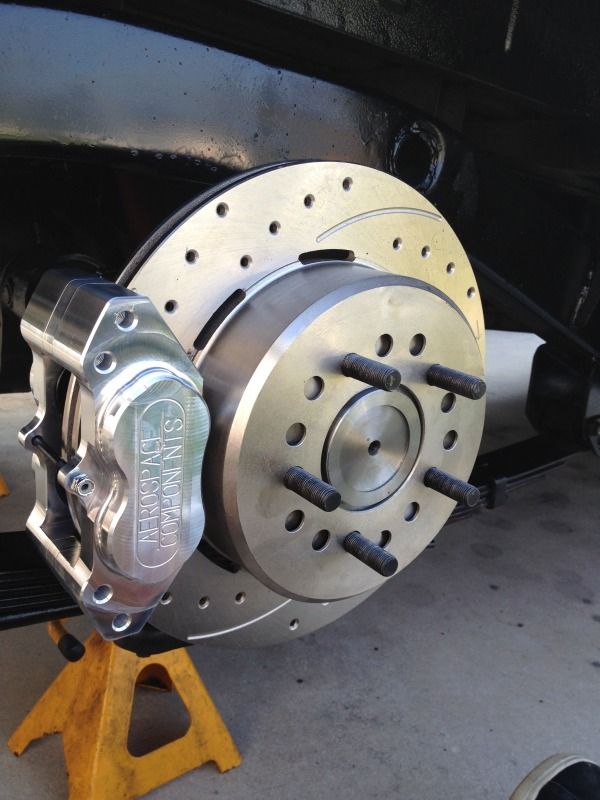
As stated before the truck drove fine but it did not like to stop. Installed new master cylinder and new brakes. I got the idea on the brakes from RotaryDave. He was helpful in answering some of my questions. Ordered the brakes from Aerospace components. Aerospace is a top notch company and helped me out tremendously, especially on the parking brake in the rear.
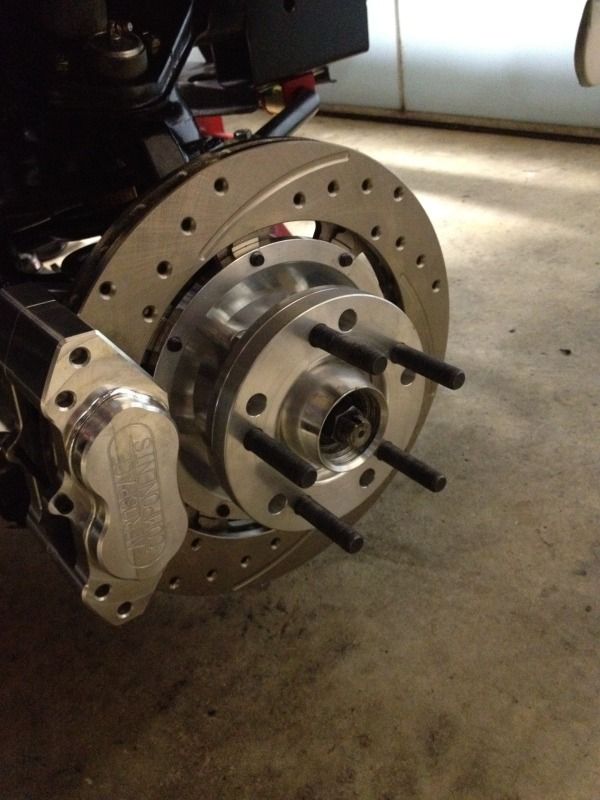
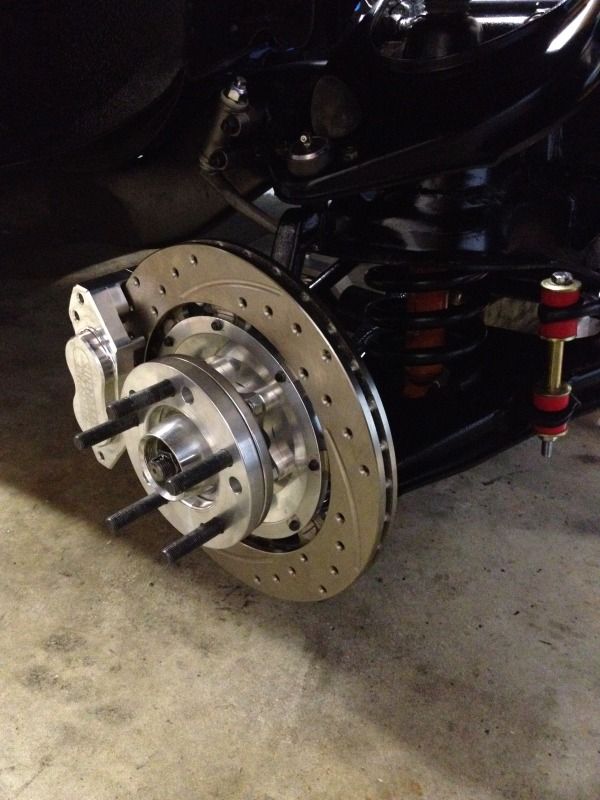
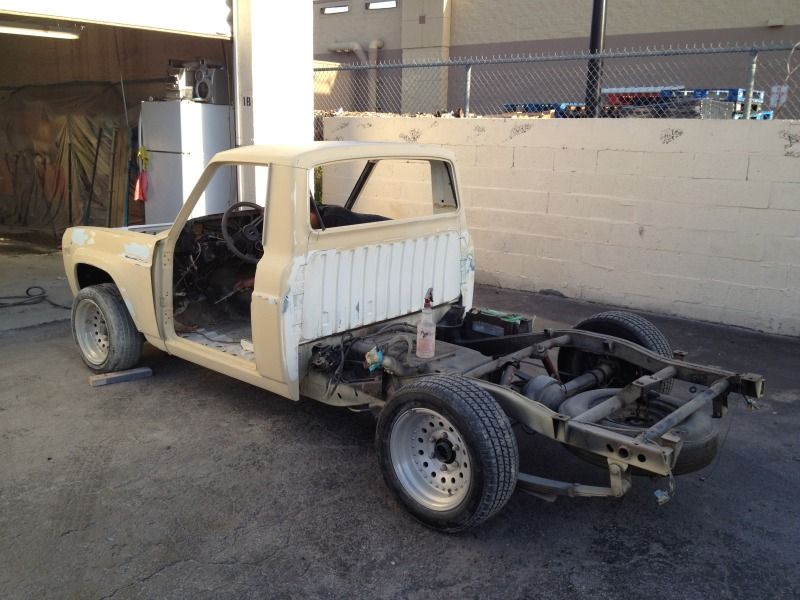
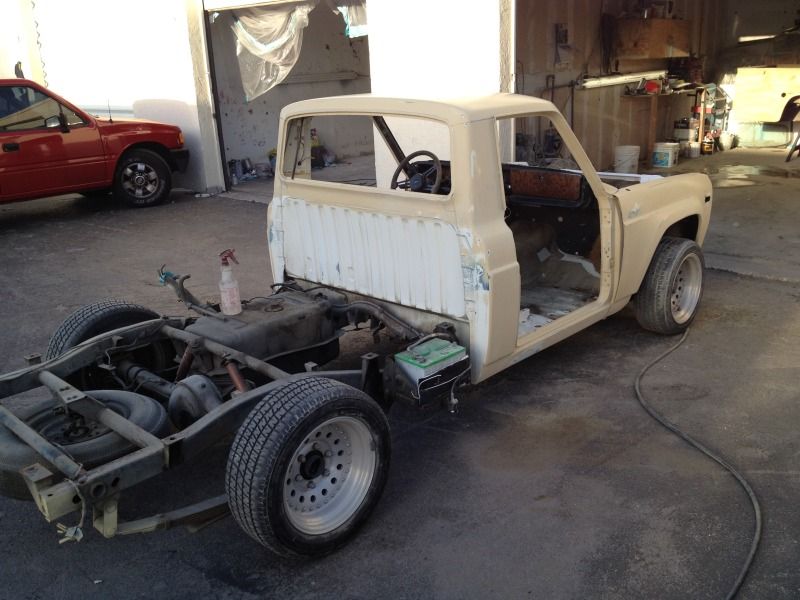
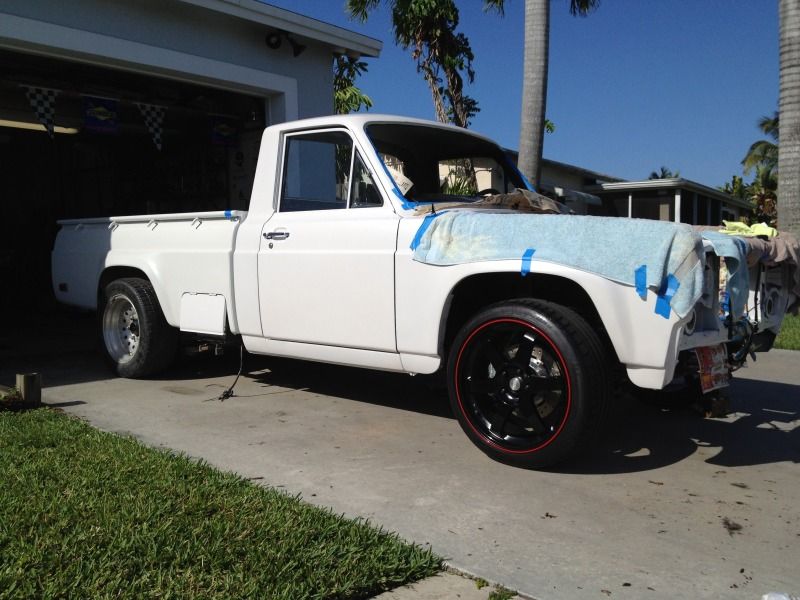
Front finally done and back on the ground, wheels are from the FD, just temporary
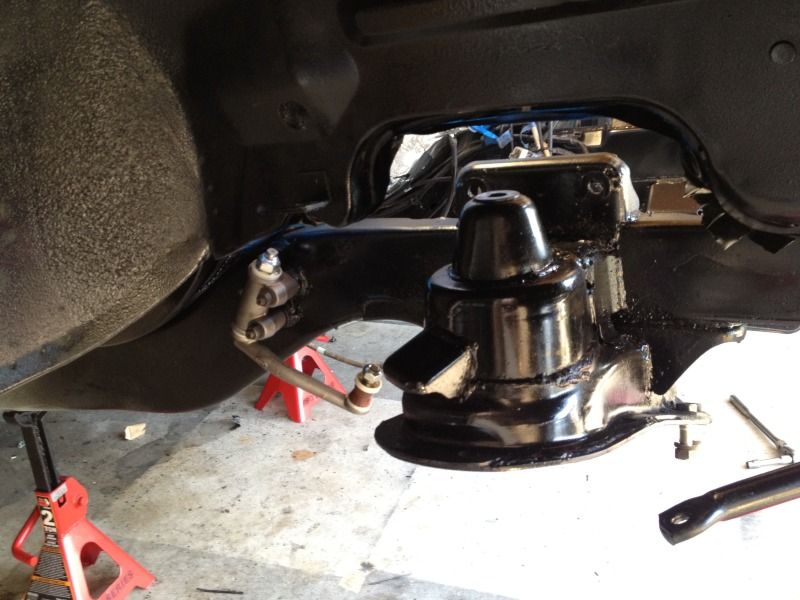
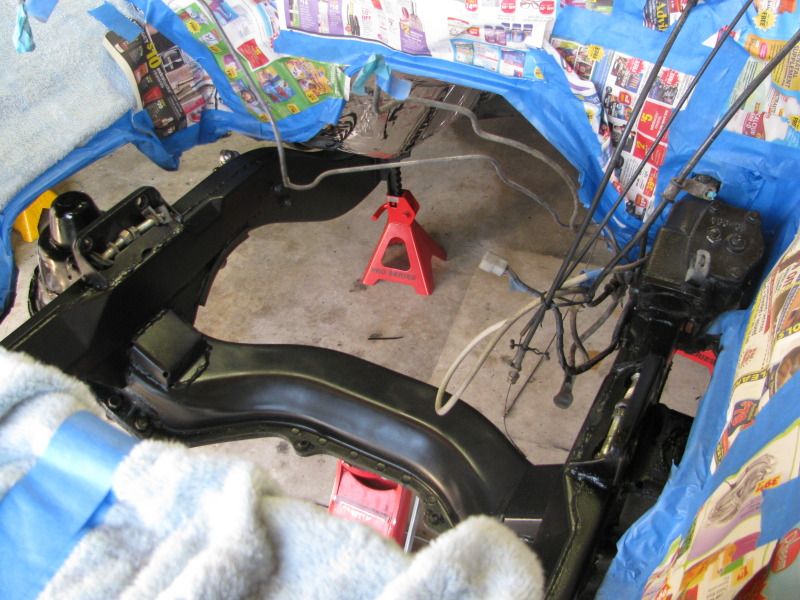
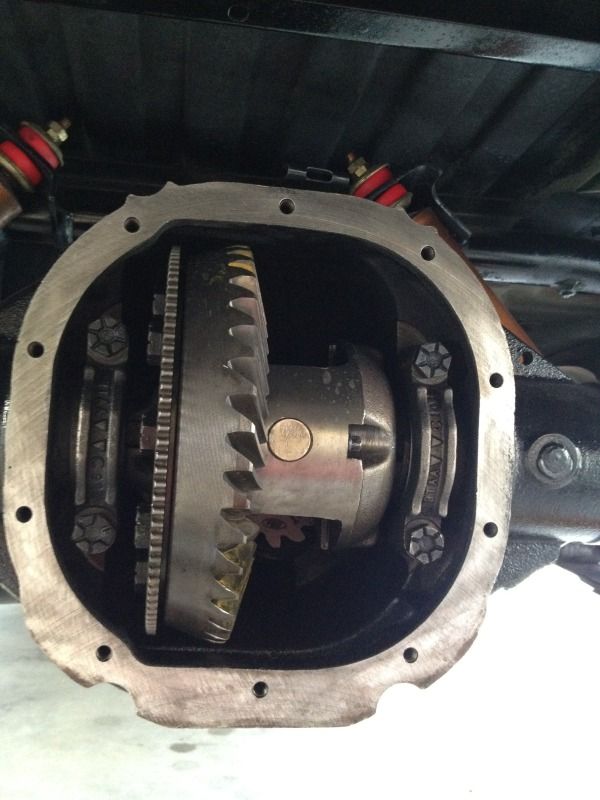
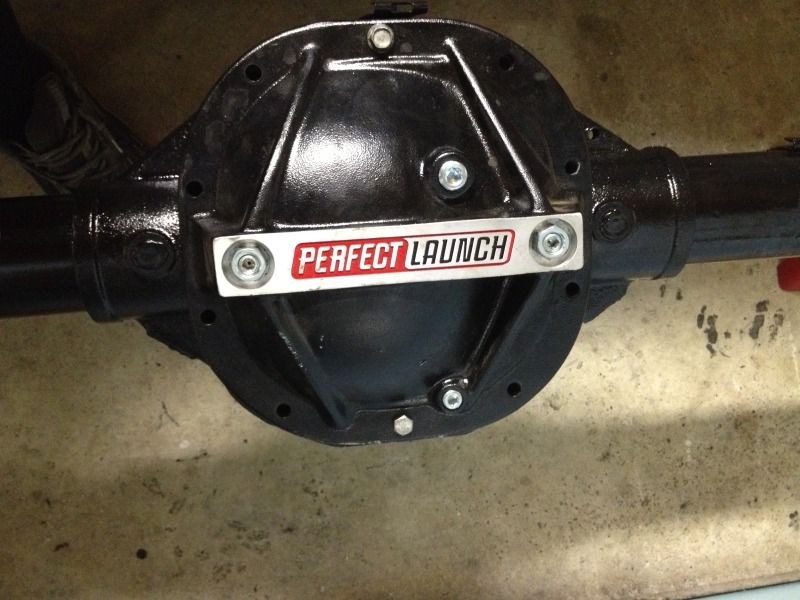
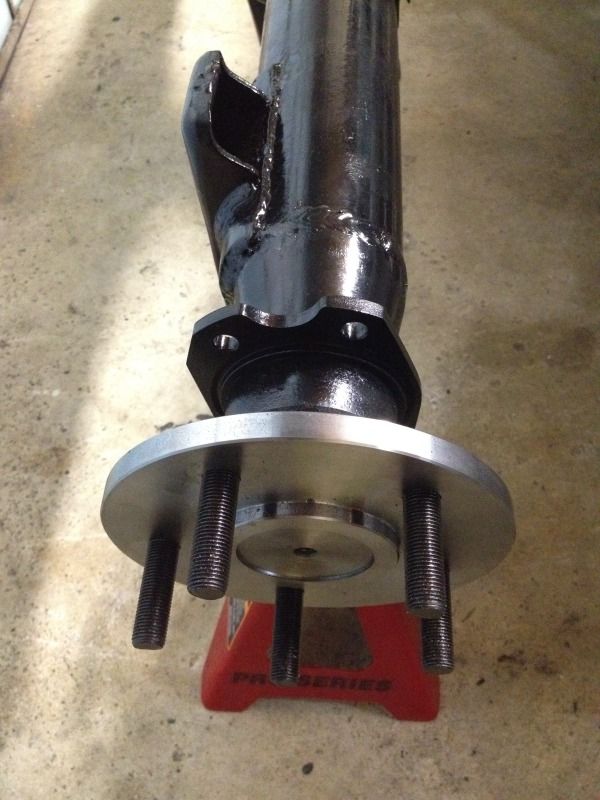
Picked up new (to me) 8.8 rear end from a Ford explorer. New clutch packs installed, new axles, new bearing kit and cool cover was installed. Anything above 1995 came with disk brakes in the back. This was to make the rear disk brake installation easier, well it wasn’t. Apparently there are two types of 8.8’s. One is known as BIG FORD (New Style) and the other is just a regular ford 8.8. I somehow got a mix of both. Got the flange PCD of a ford 8.8 and the center bore diameter of the BIG FORD style. Needless to say, it made it for an interesting design of the rear parking brakes. Nevertheless, Aerospace worked with me and got me the rear brakes.
Front finally done and back on the ground, wheels are from the FD, just temporary
Picked up new (to me) 8.8 rear end from a Ford explorer. New clutch packs installed, new axles, new bearing kit and cool cover was installed. Anything above 1995 came with disk brakes in the back. This was to make the rear disk brake installation easier, well it wasn’t. Apparently there are two types of 8.8’s. One is known as BIG FORD (New Style) and the other is just a regular ford 8.8. I somehow got a mix of both. Got the flange PCD of a ford 8.8 and the center bore diameter of the BIG FORD style. Needless to say, it made it for an interesting design of the rear parking brakes. Nevertheless, Aerospace worked with me and got me the rear brakes.
Trending Topics
07-25-12, 09:06 AM
#8
Wanted to remain stock with the engine as this is going to be a cruiser so I just dressed the engine bay up a bit. No real power adders to look at. Clean up the fuel system and intake manifold. Re-built the carb and added headers. Nothing much to report here.
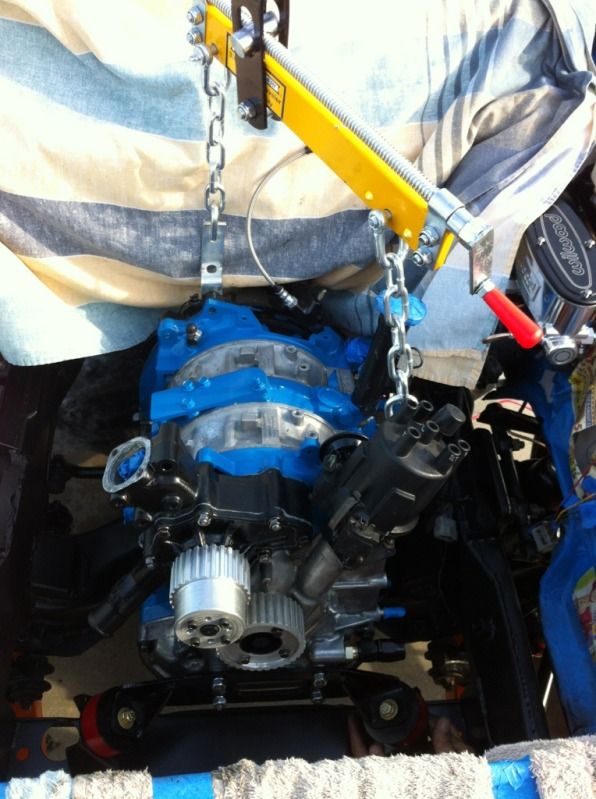

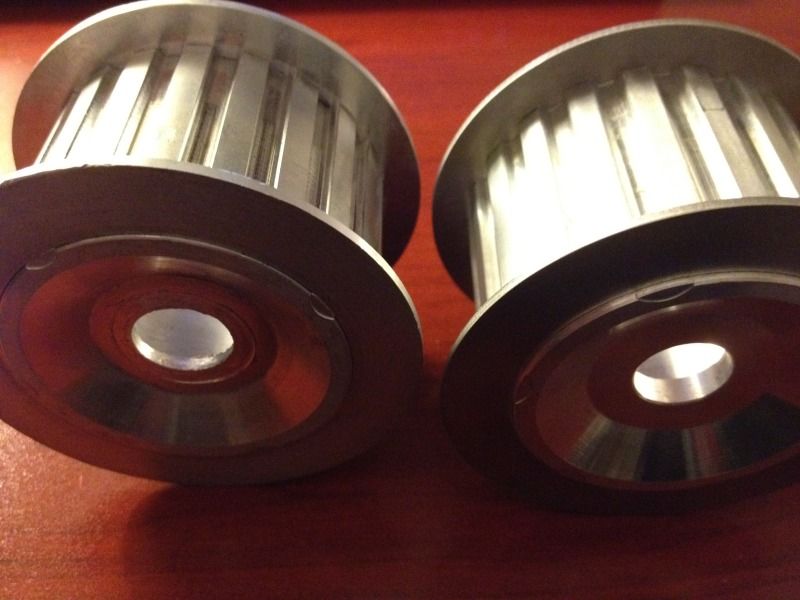
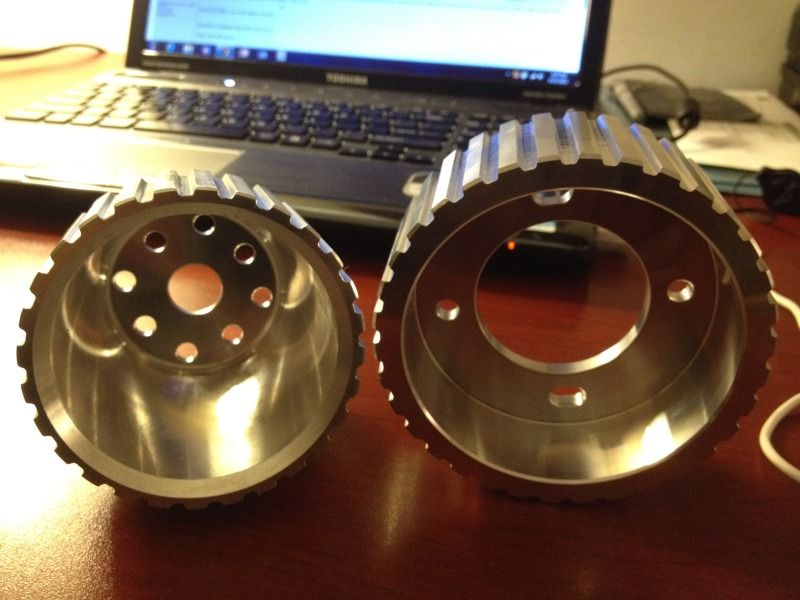
As you can see from the above pics I bought a Rotary Works Gilmer Drive pulley set. It did not last too long and nothing fit properly. I had to alter every pulley to get them to fit (All three). Took about three hours to install pulleys on a motor that was on the engine stand!!!!!! When I started the truck up, the main alternator pulley started to come apart. The reason why is below, you can see the difference in thinkness of the actual center bore. I have seen these pulleys successfully used on may cars but it did not work for me.
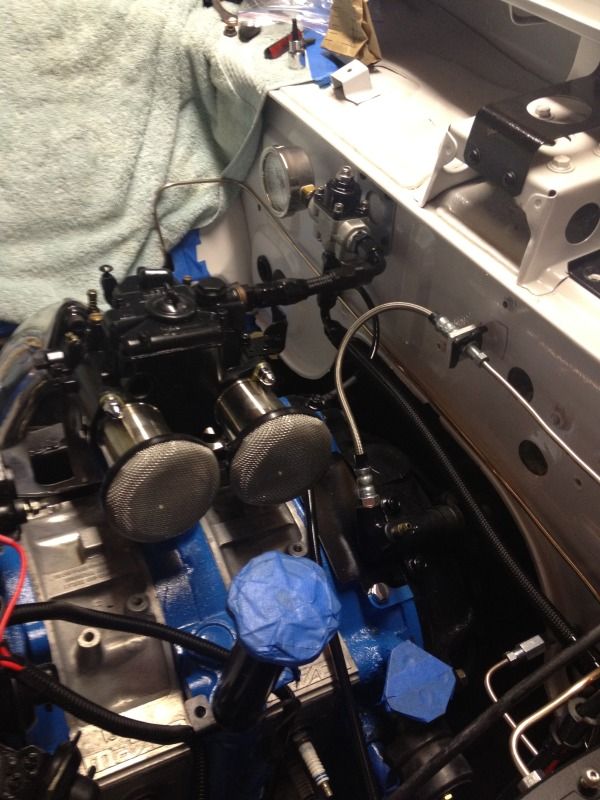
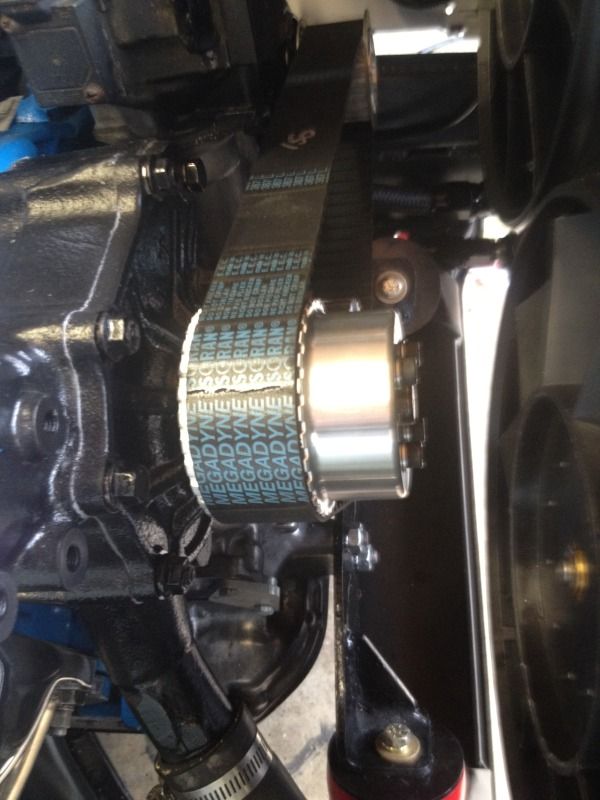
Ordered the real Gilmer Pulleys from Australia and while I was at it, ordered an alternator relocation kit. Not sure I like the alternator in this location. When I install AC, I can always relocate the alternator back to its original position.
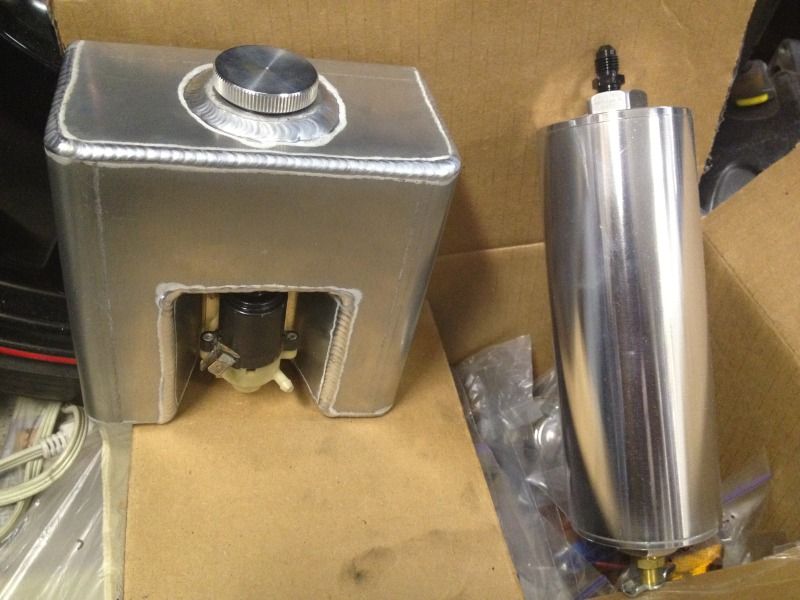
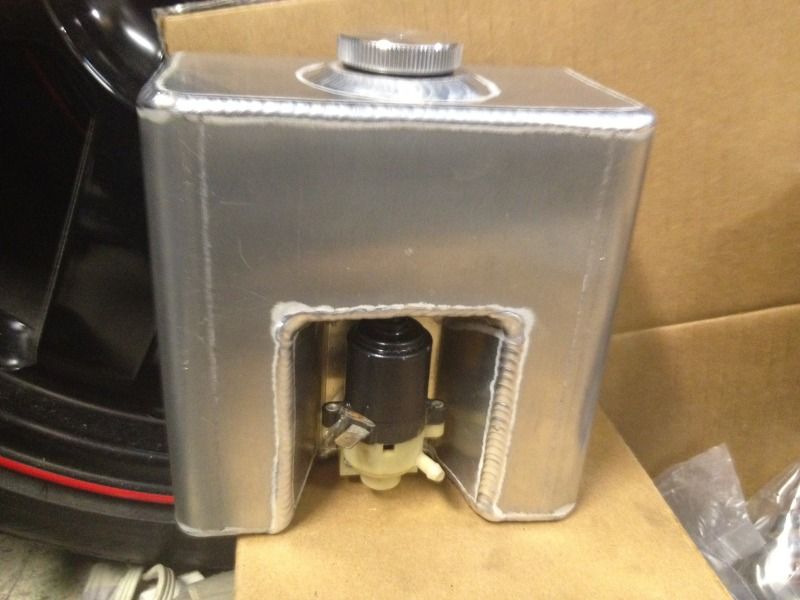
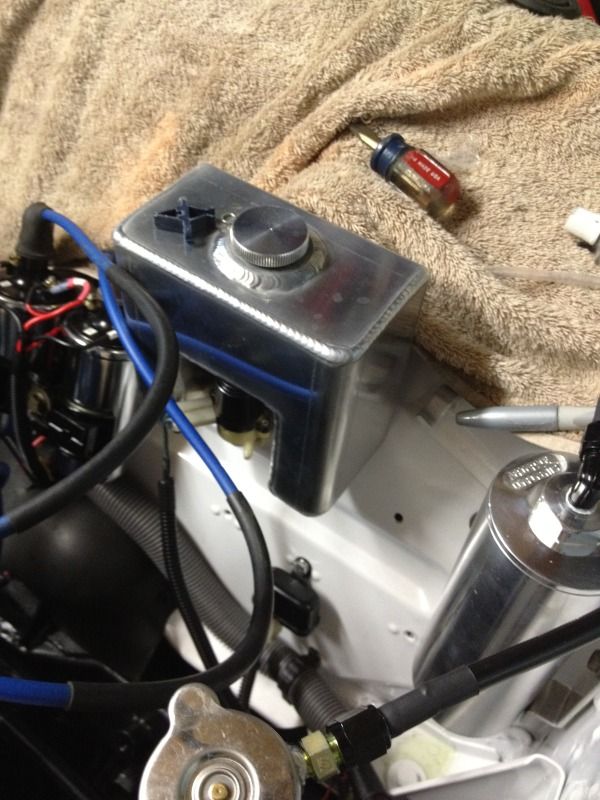
Bought a really cool coolant overflow tank from Aerospace and it sits right next to the windshield washer fluid tank. I tried to clean the windshield washer tank but it just did not compare to the coolant overflow tank. Looked all over and could not find it new so I had one made out of aluminum…..yes I know, its overkill for its purpose but it’s cool nonetheless.
 07-25-12, 09:08 AM
#9
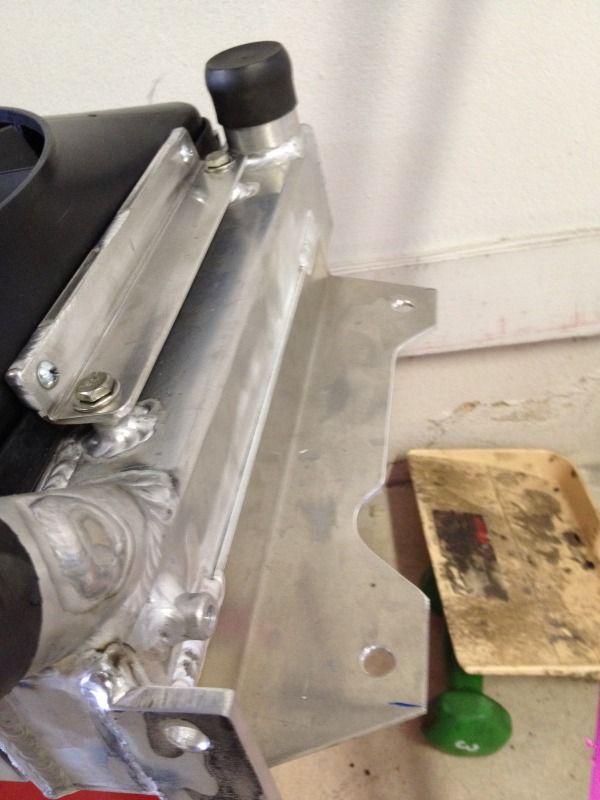
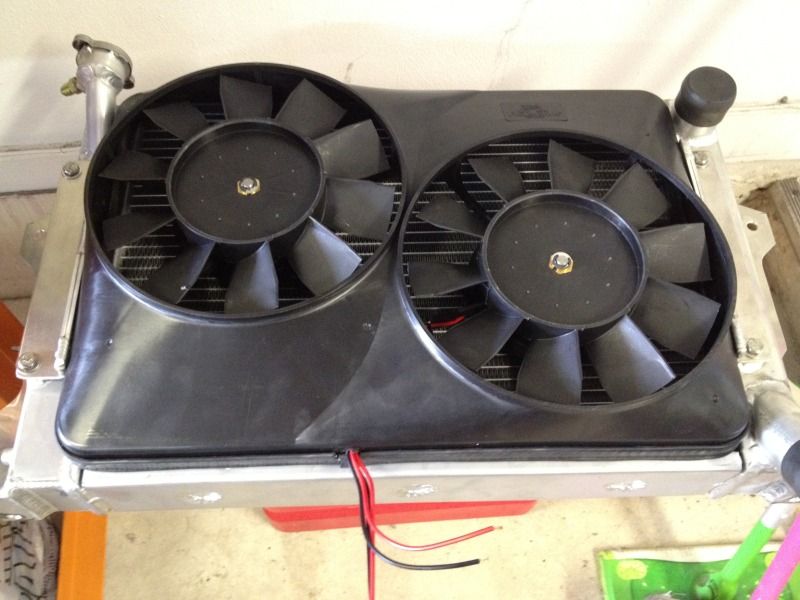
Radiator from Rotary Works from a second gen was used. Copied RotaryDave and his build. Also copied the Scirocco style fans. THANKS for the ideas Dave. Had some new braces made for the radiator and for the fans. Everything came out really nice.
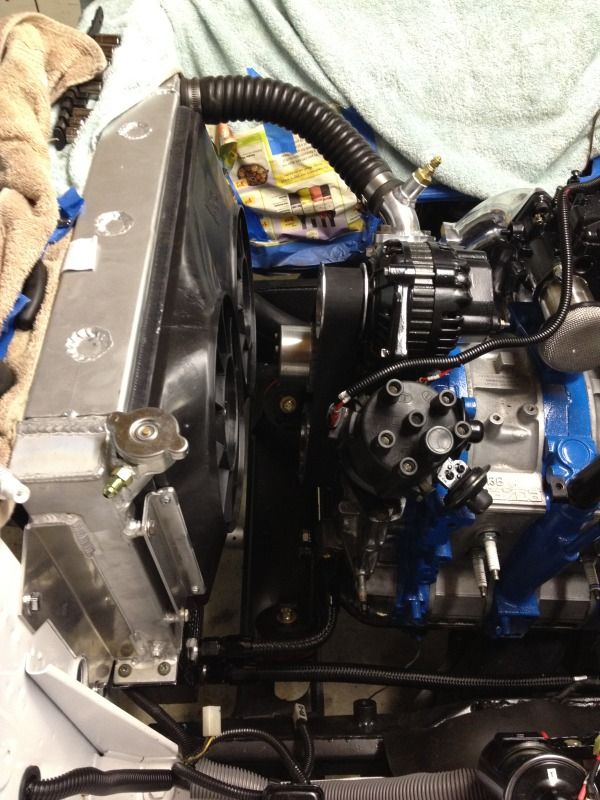
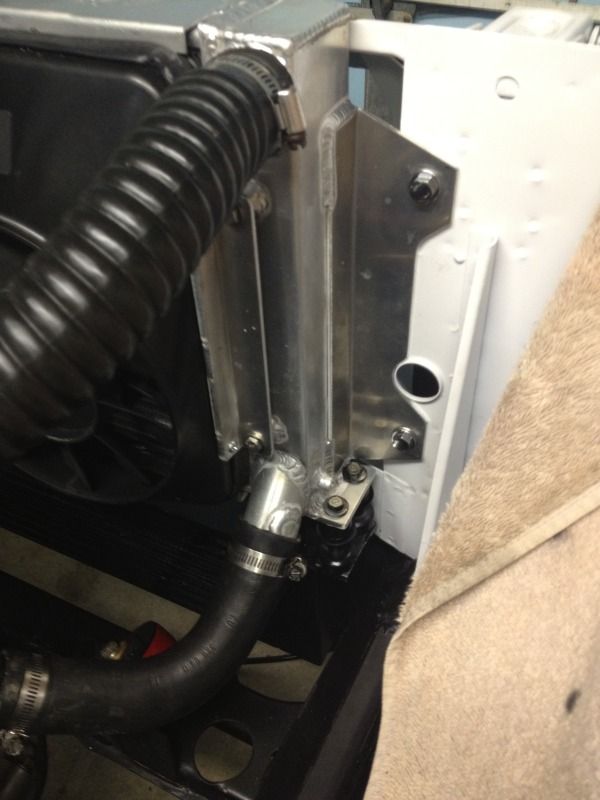
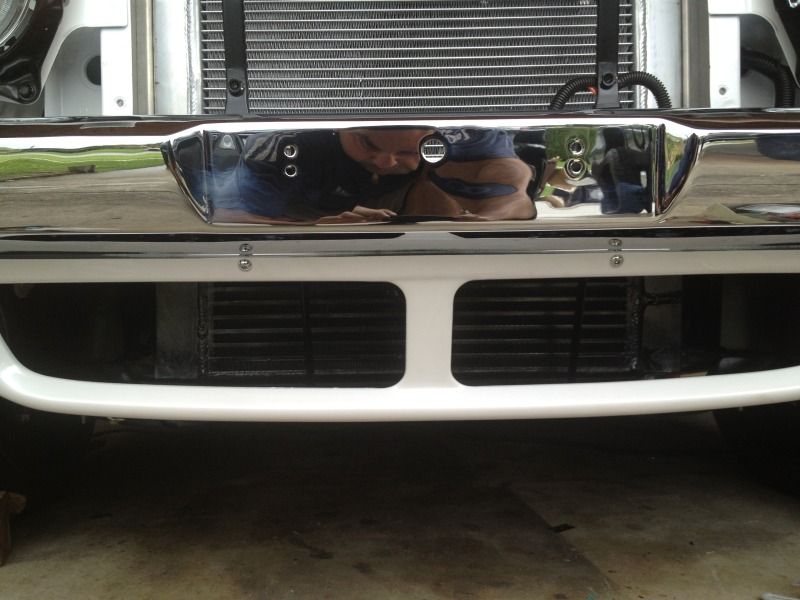
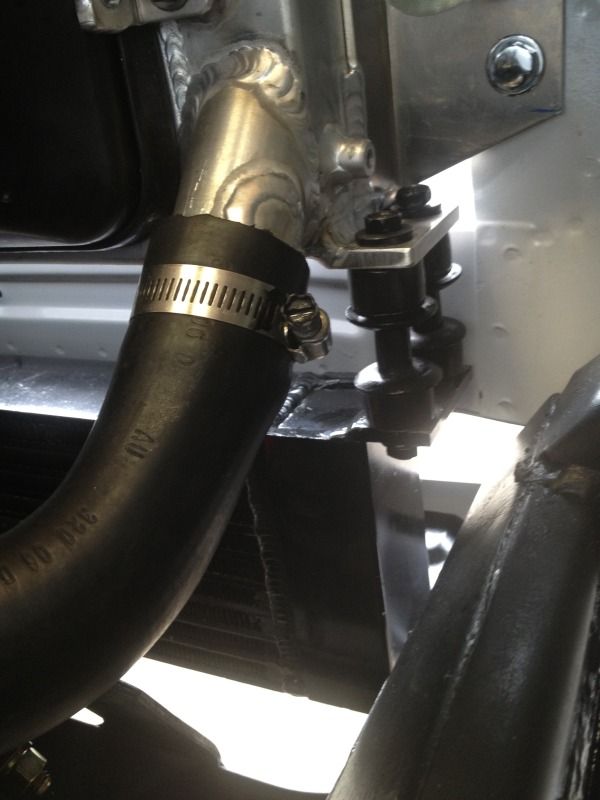
Installed the Oil Cooler directly to the bottom of the radiator. When I installed the front valance I realized that the oil cooler was directly behind the front bumper. DAMIT! Not that I will be racing this thing on the track but nonetheless, I wanted to get proper air flow to the oil cooler. Made some supports to lower the oil cooler. Did not want them to be rigid so I used some old rubber bushings I had laying around.
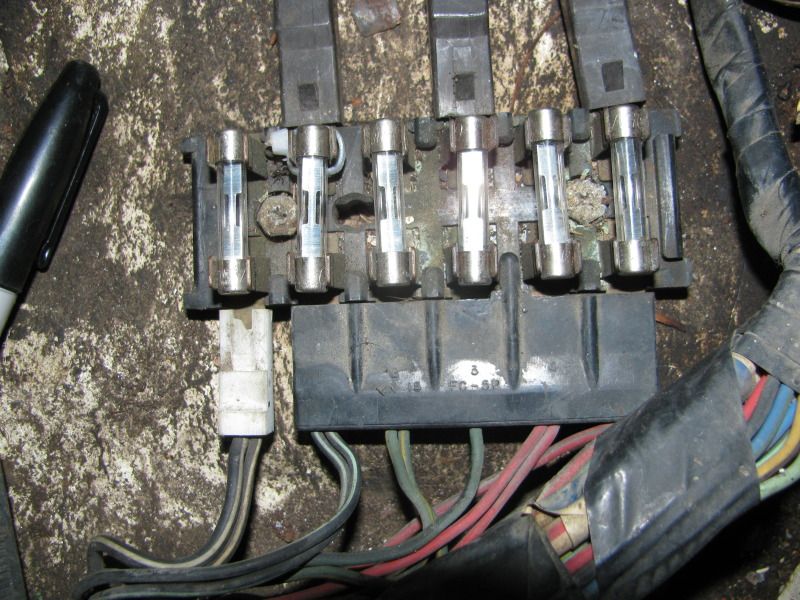
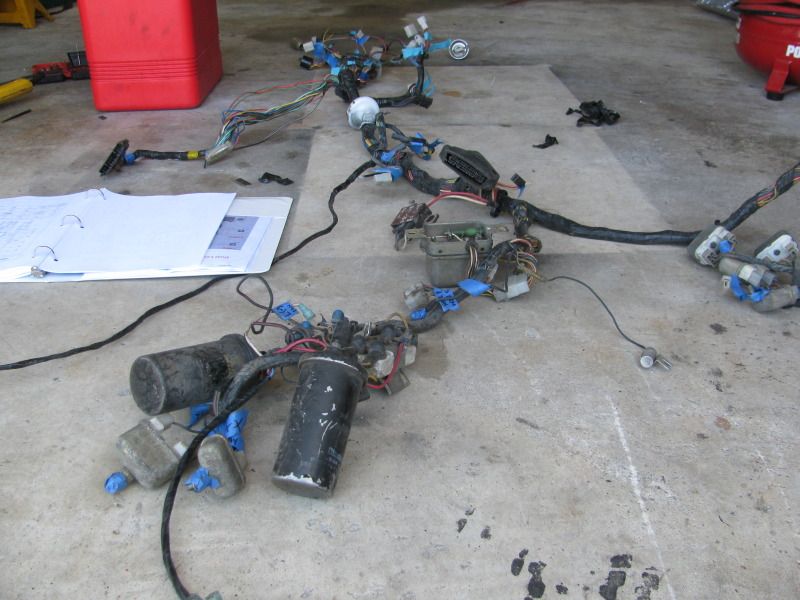
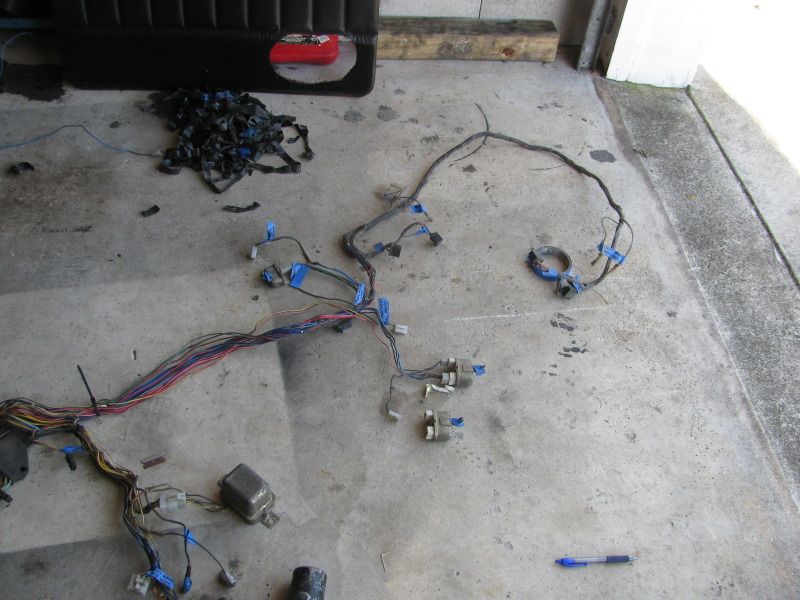
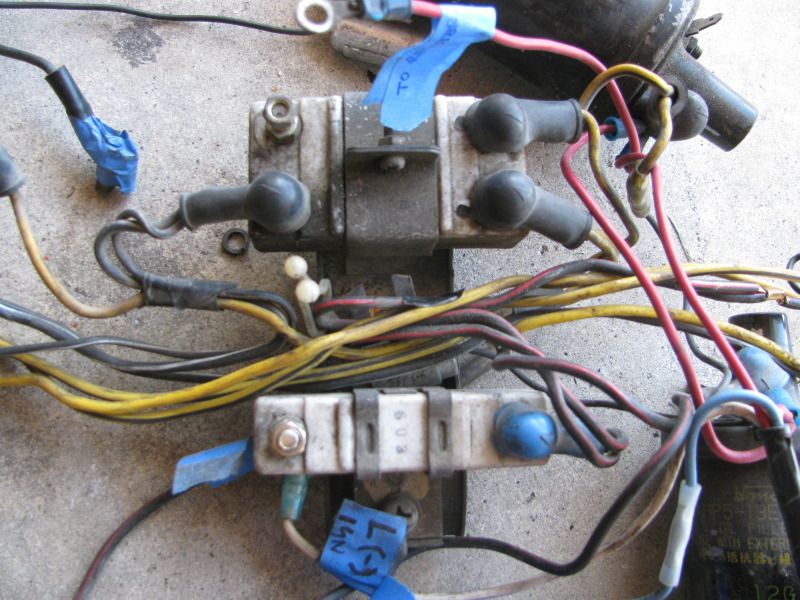
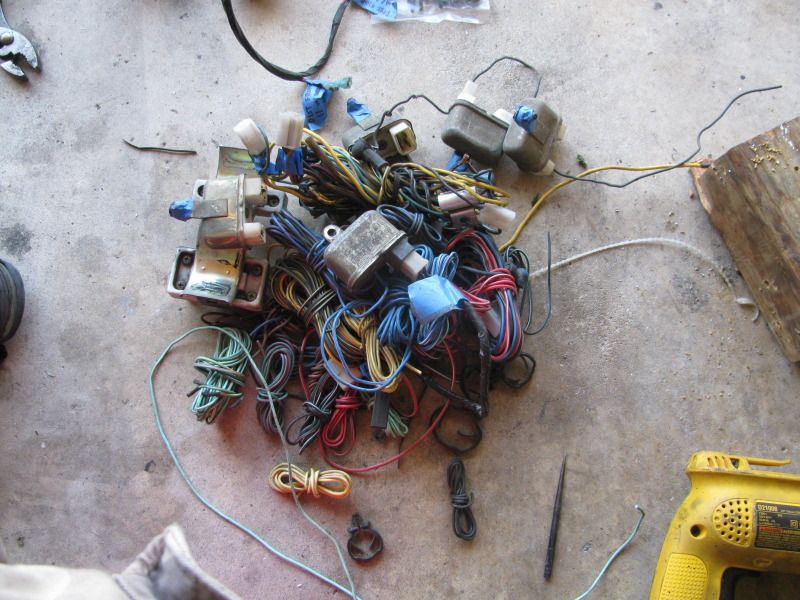
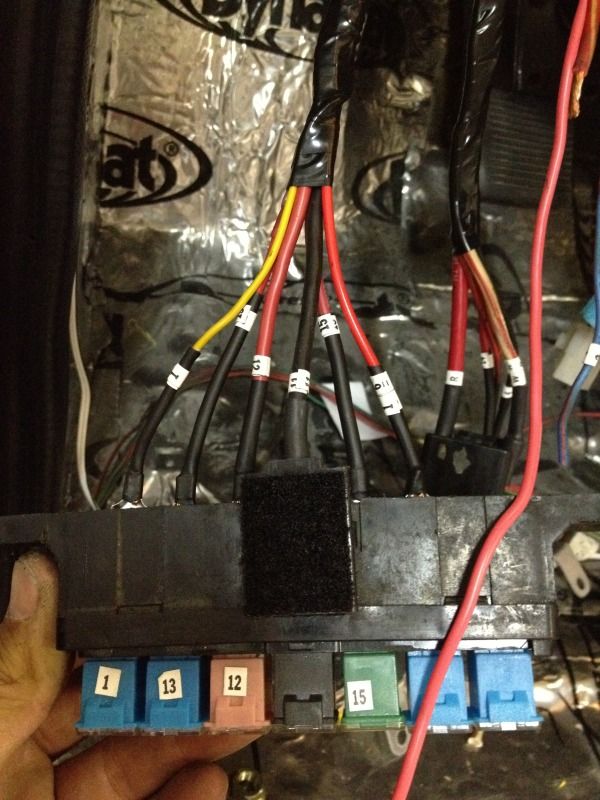
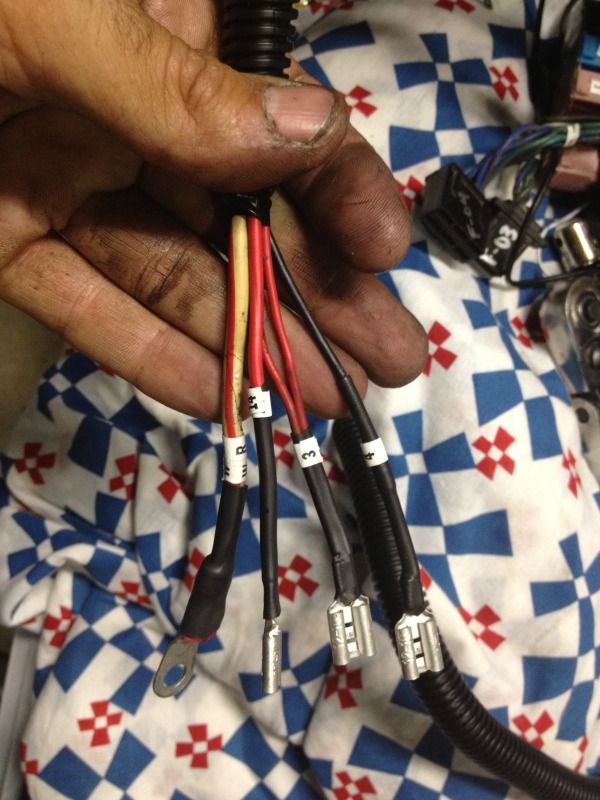
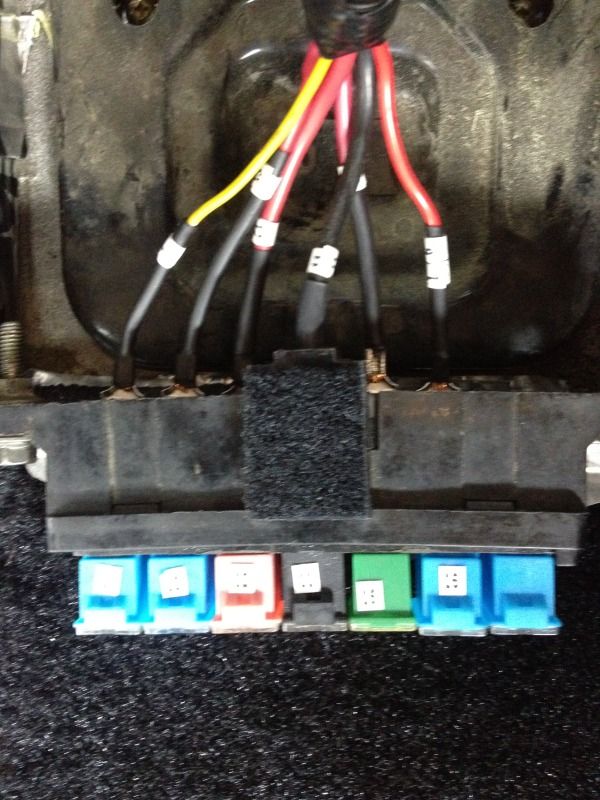
I knew that I would not be using the belt driven fans anymore so the electrical system was upgraded….well kind of upgraded. I removed all the excess emission wires that were not required. S4 internally regulated dizzy was in the truck so out went the external regulator and all of its associated wiring. I used a stock FD fuse box for all of the constant power connections and used a FC Fuse box for all the switched power. This was a huge pain in the ***, because I hate wiring and electrical.
Installed the Oil Cooler directly to the bottom of the radiator. When I installed the front valance I realized that the oil cooler was directly behind the front bumper. DAMIT! Not that I will be racing this thing on the track but nonetheless, I wanted to get proper air flow to the oil cooler. Made some supports to lower the oil cooler. Did not want them to be rigid so I used some old rubber bushings I had laying around.
I knew that I would not be using the belt driven fans anymore so the electrical system was upgraded….well kind of upgraded. I removed all the excess emission wires that were not required. S4 internally regulated dizzy was in the truck so out went the external regulator and all of its associated wiring. I used a stock FD fuse box for all of the constant power connections and used a FC Fuse box for all the switched power. This was a huge pain in the ***, because I hate wiring and electrical.

 07-25-12, 09:09 AM
#11
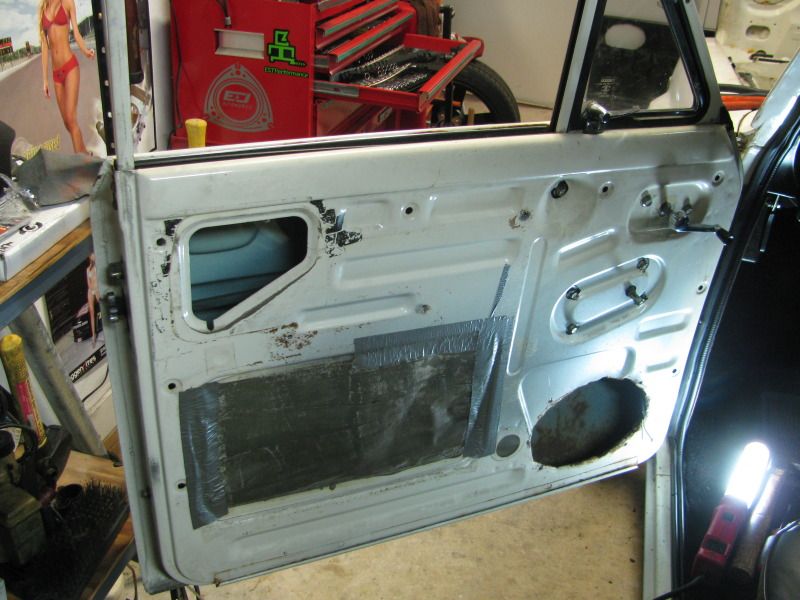
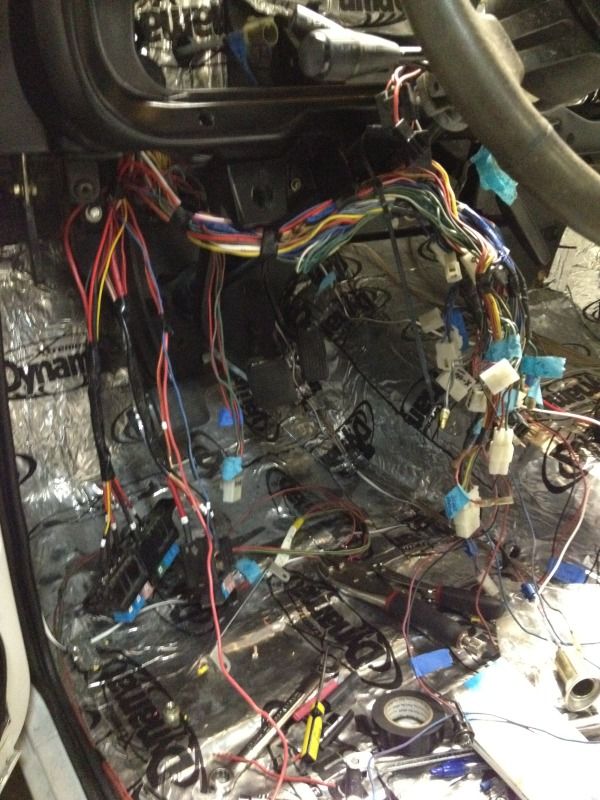
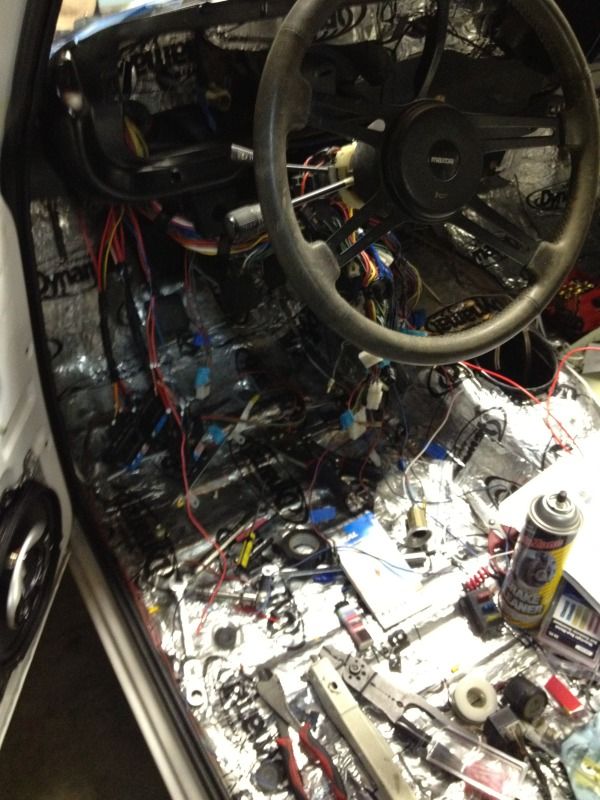
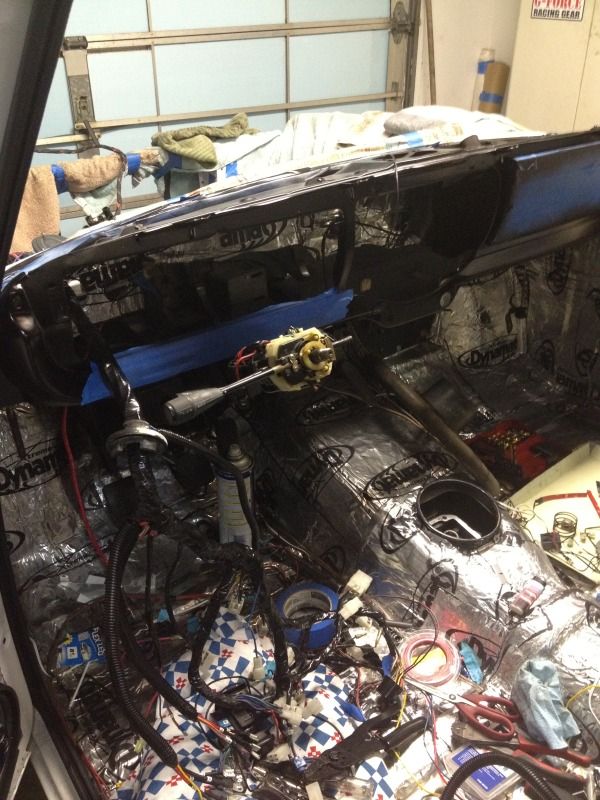
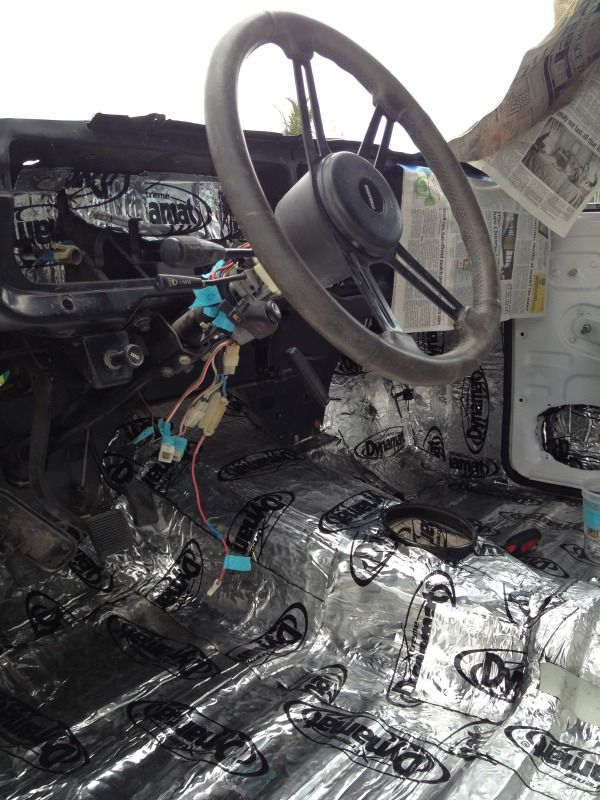
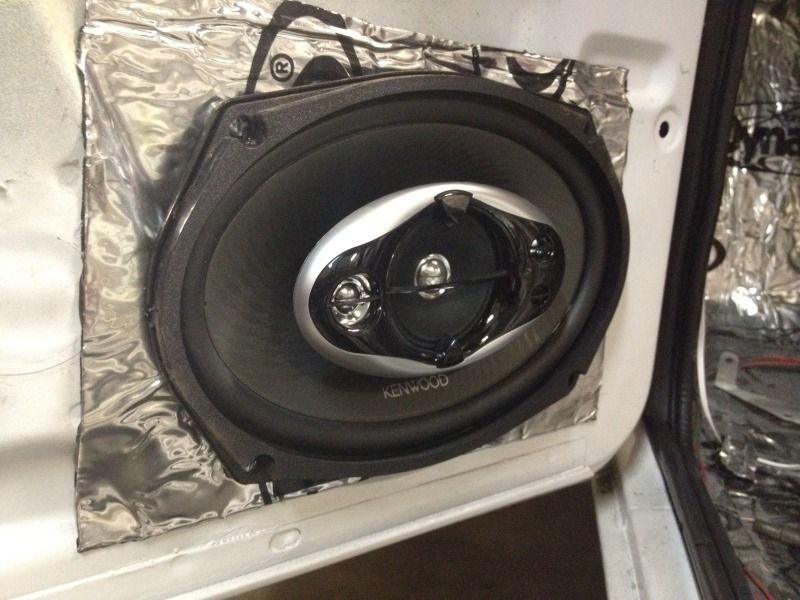
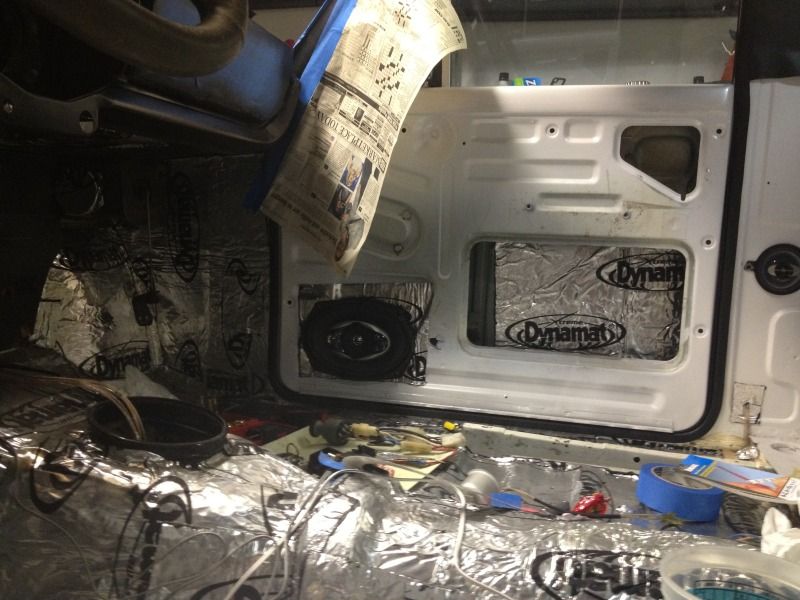
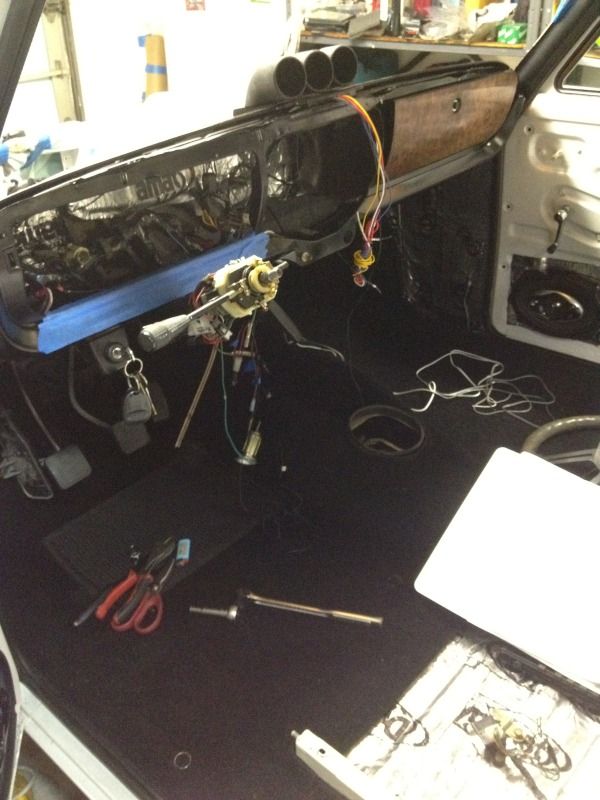
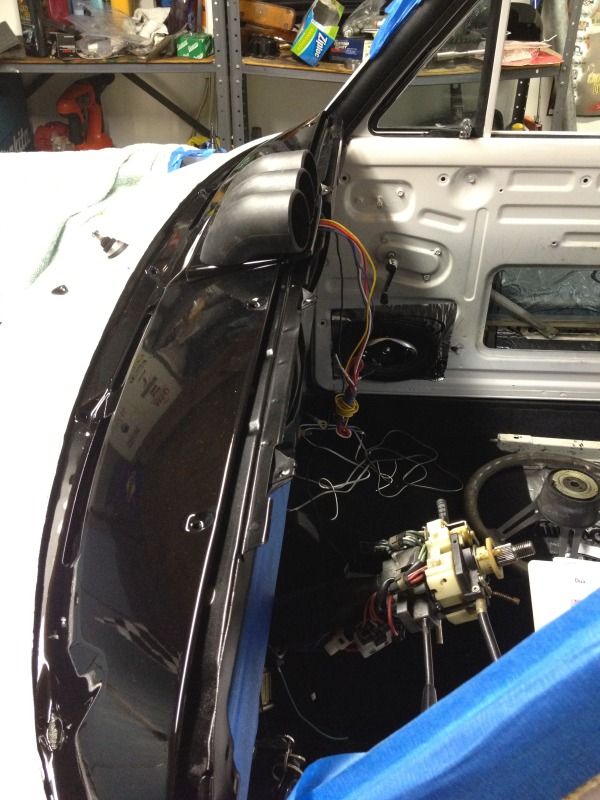
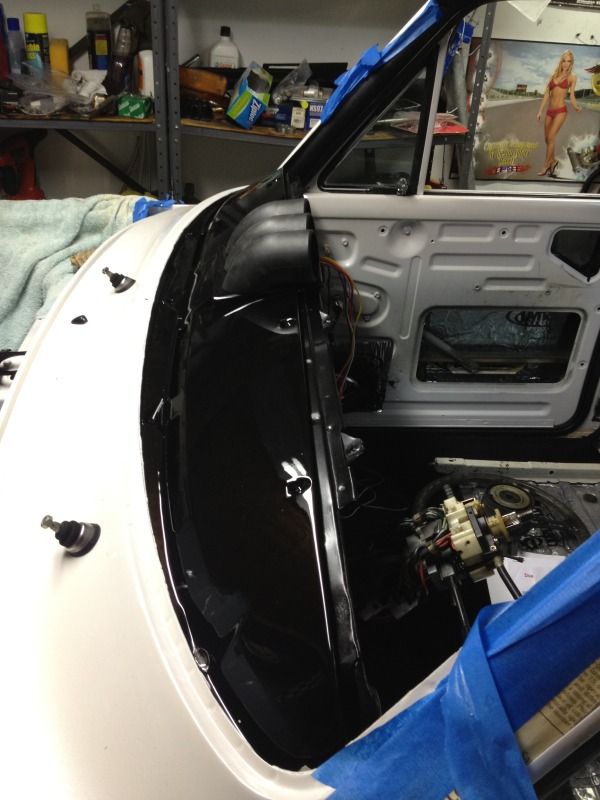
Interior was cleaned out and dynamat installed throughout the interior, doors and behind the dash.
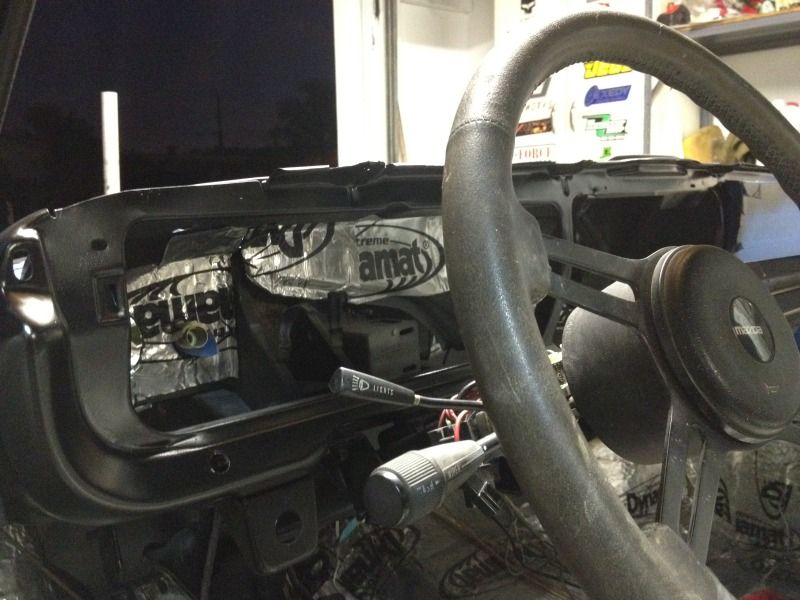
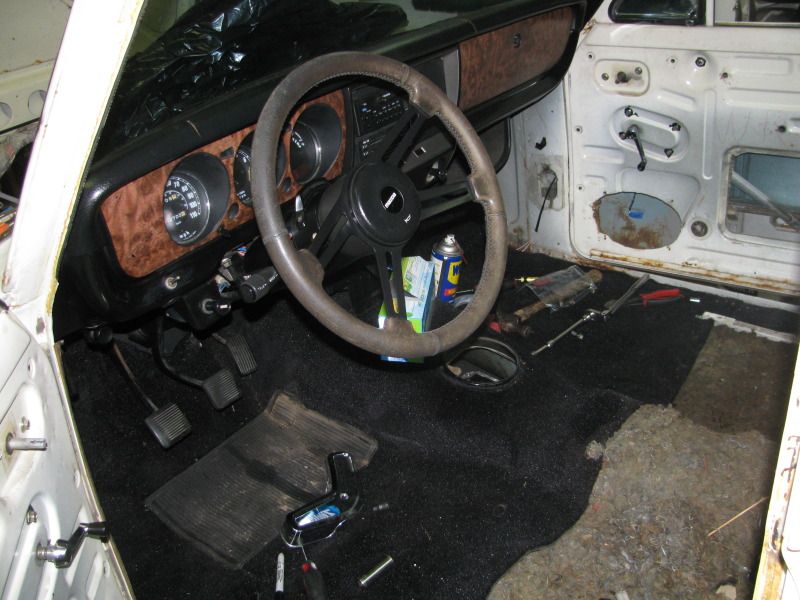
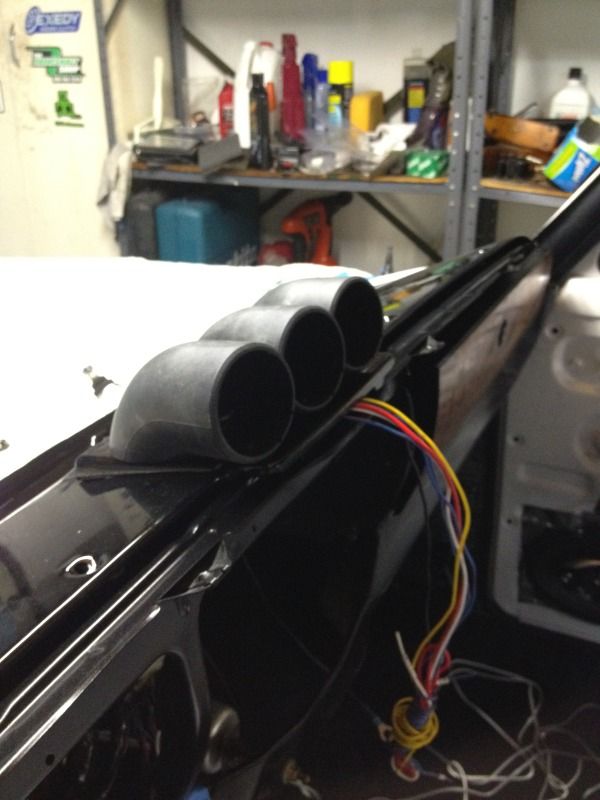
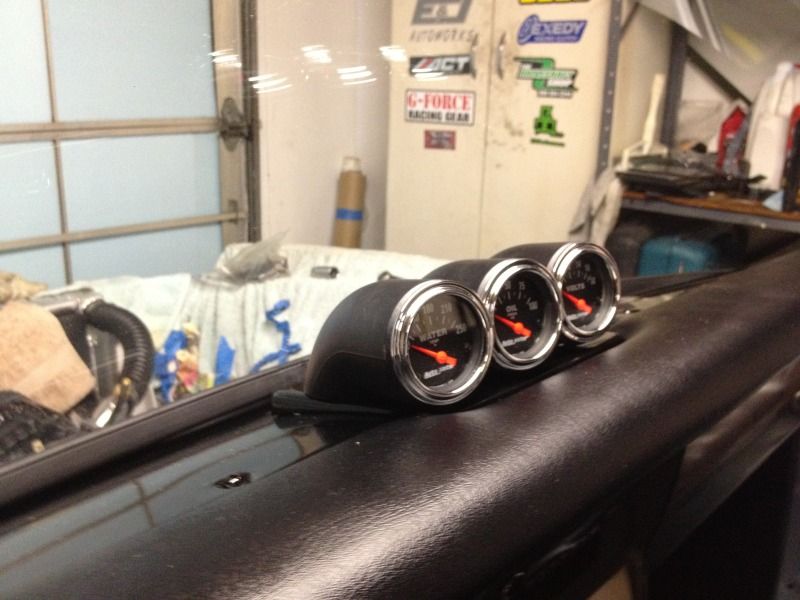
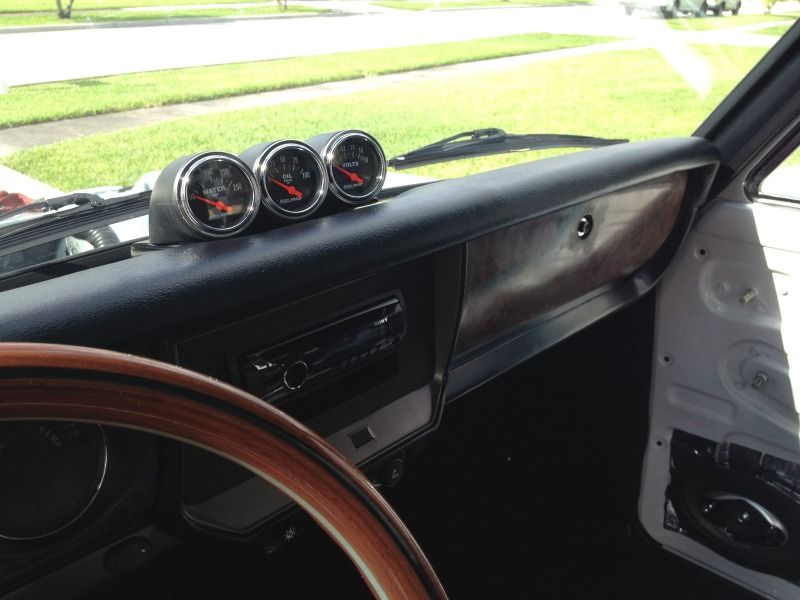
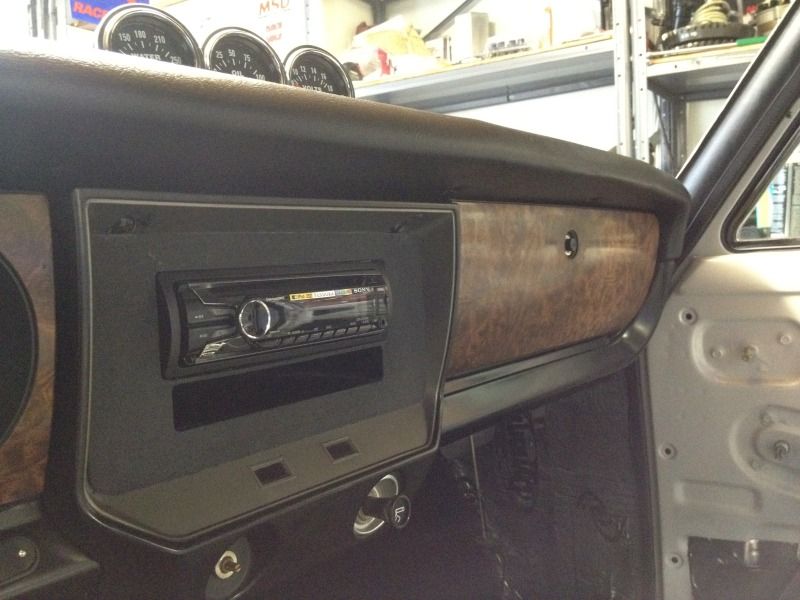
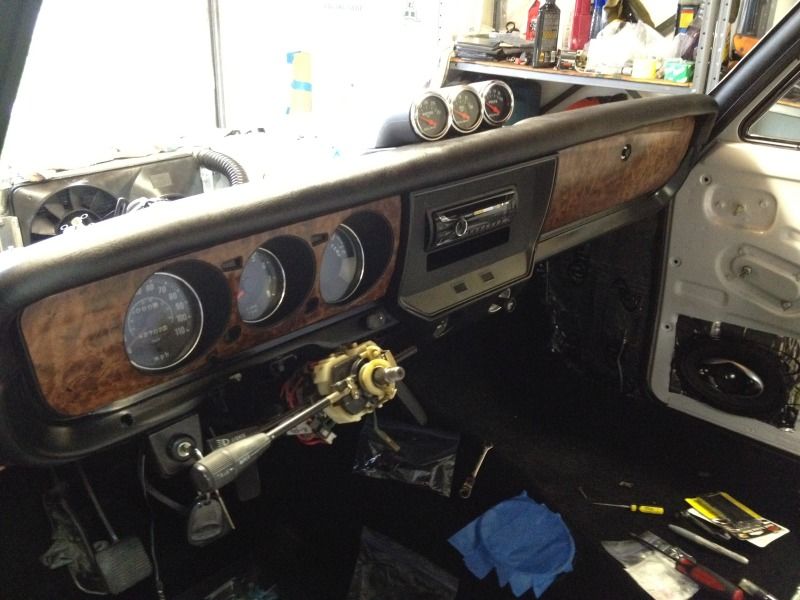
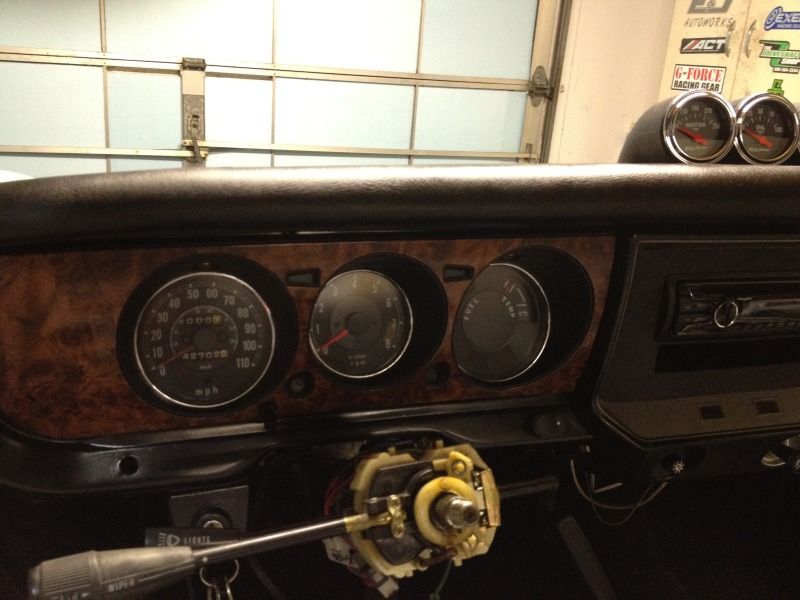
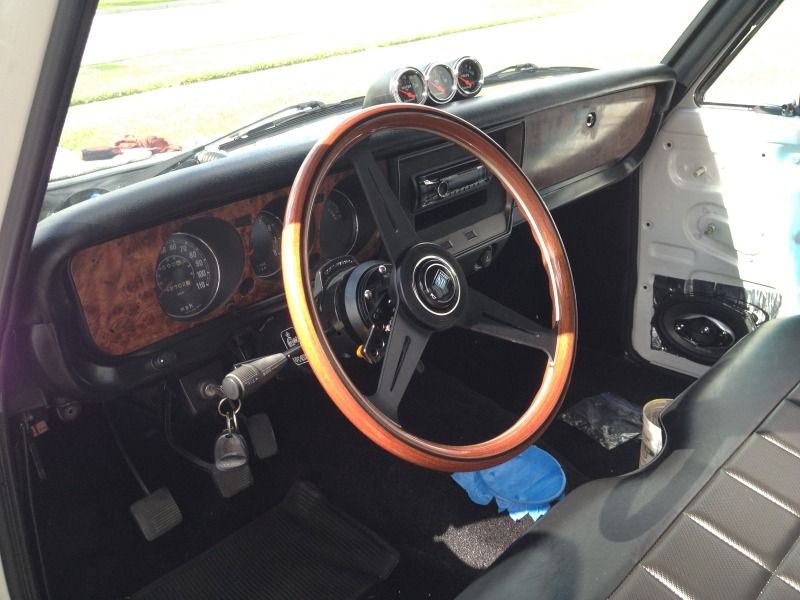
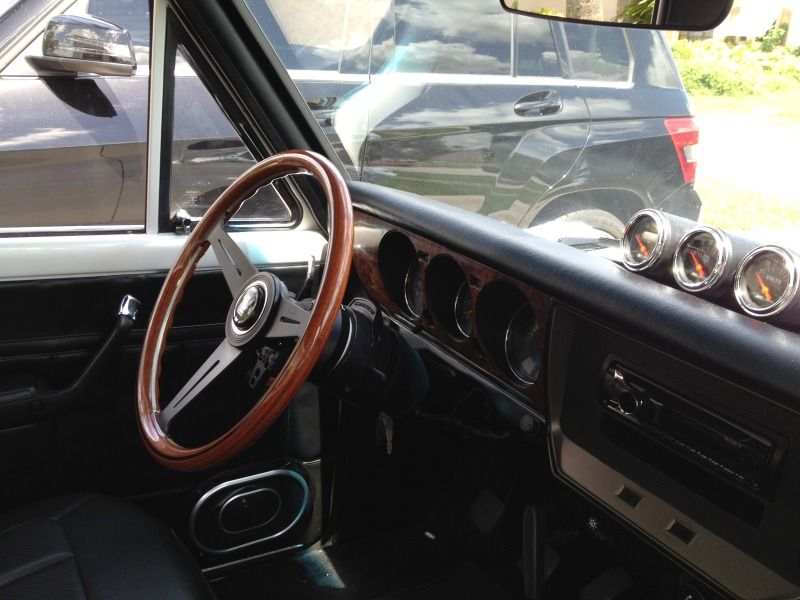
Dashboard was removed stirpped of all of its paint and rust and painted black with clear coat. I used the FD - 3 Pod gauge cluster for the gauges. Had a have a new bottom fabbed for the cluster so that it would fit but it came out really nice. I went with Autometer gauges because I felt that they matched best with the stock guages.
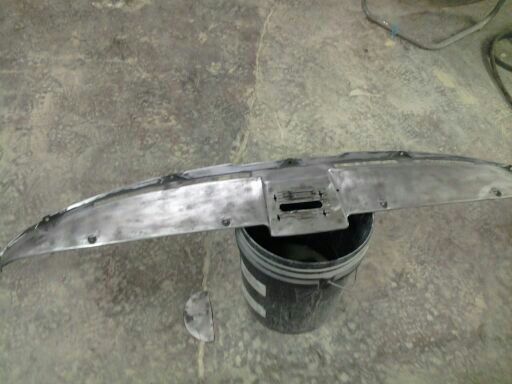
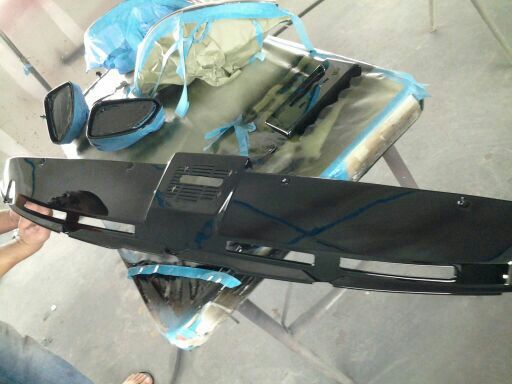
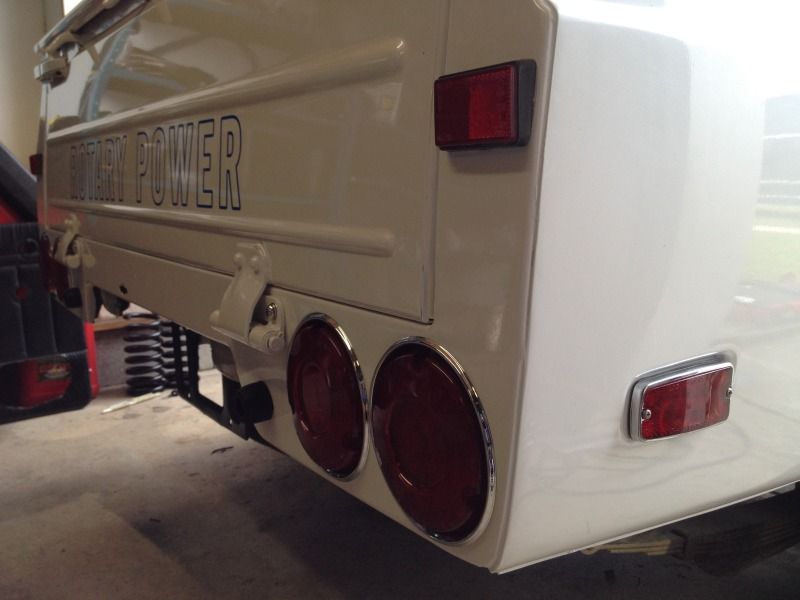
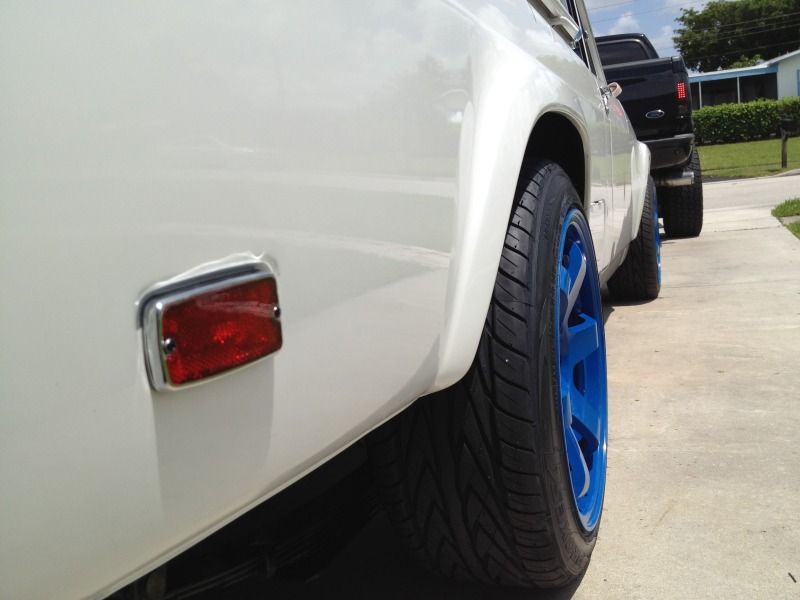
I was able to find some new, still in Mazda packaging tail lights and side markers. SCORE!

Dashboard was removed stirpped of all of its paint and rust and painted black with clear coat. I used the FD - 3 Pod gauge cluster for the gauges. Had a have a new bottom fabbed for the cluster so that it would fit but it came out really nice. I went with Autometer gauges because I felt that they matched best with the stock guages.
I was able to find some new, still in Mazda packaging tail lights and side markers. SCORE!

 07-25-12, 09:11 AM
#13
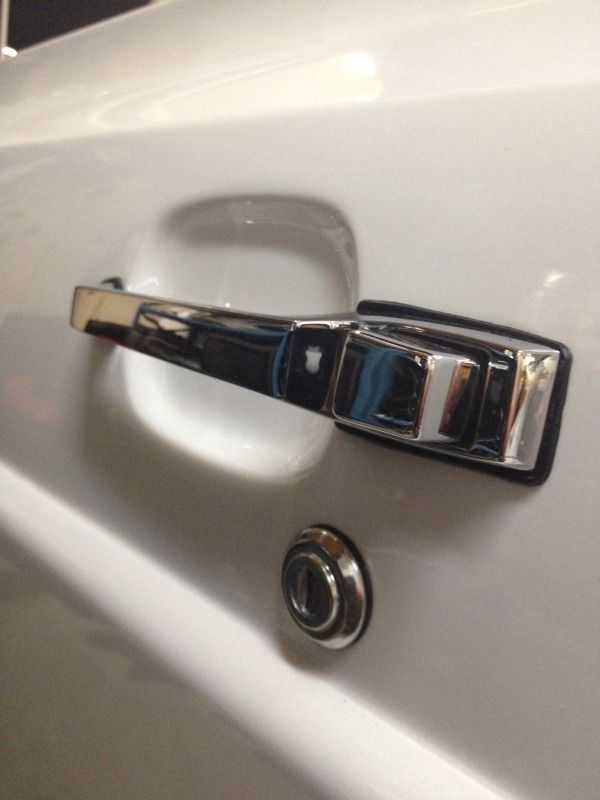
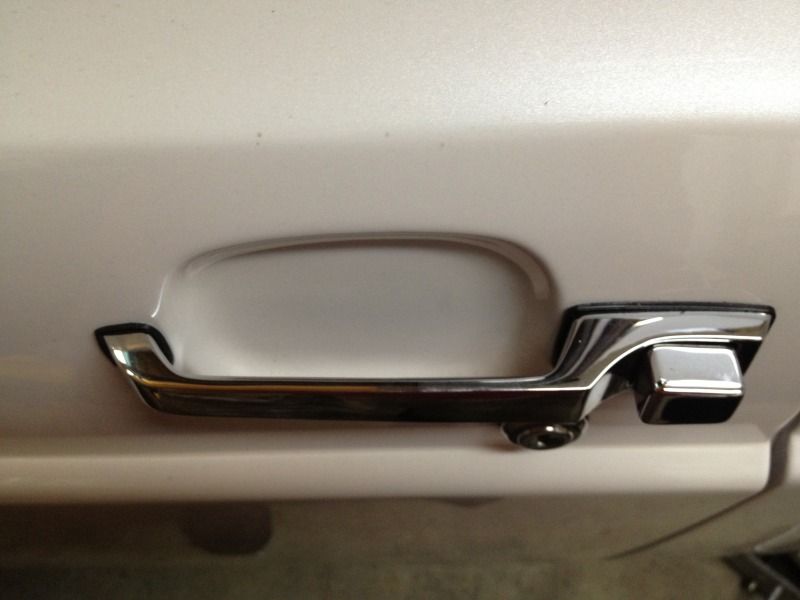
Got everything re-chromed front bumper, light bezels, door handles, etc etc.
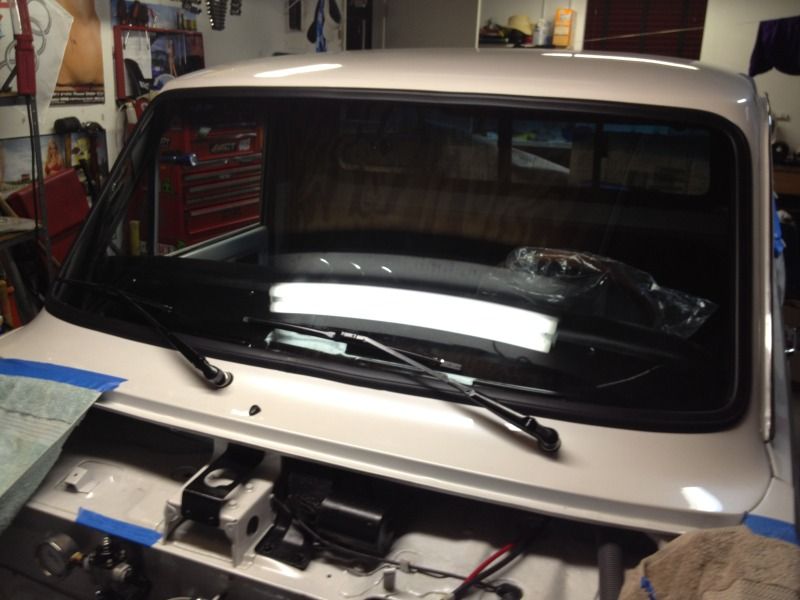
Could not get the Chrome piece that went inside the windshield molding so I had to settle for a standard aftermarket seal.
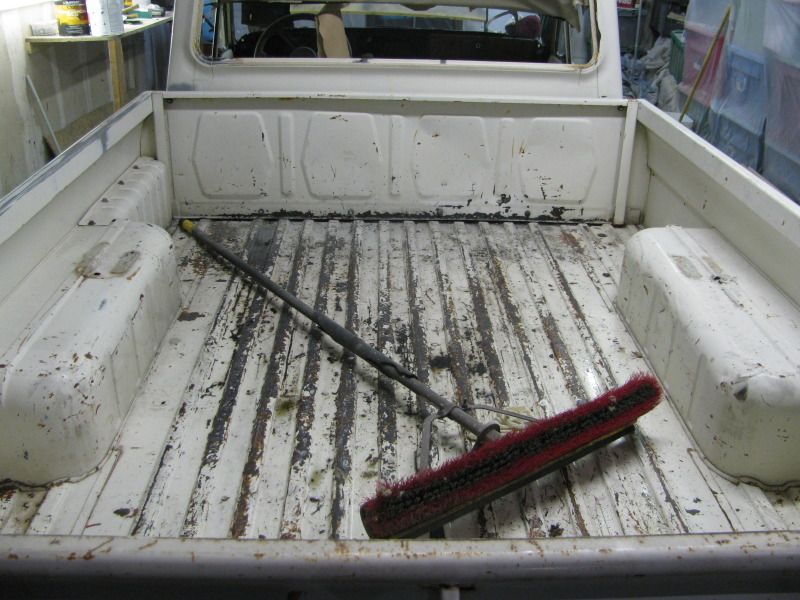
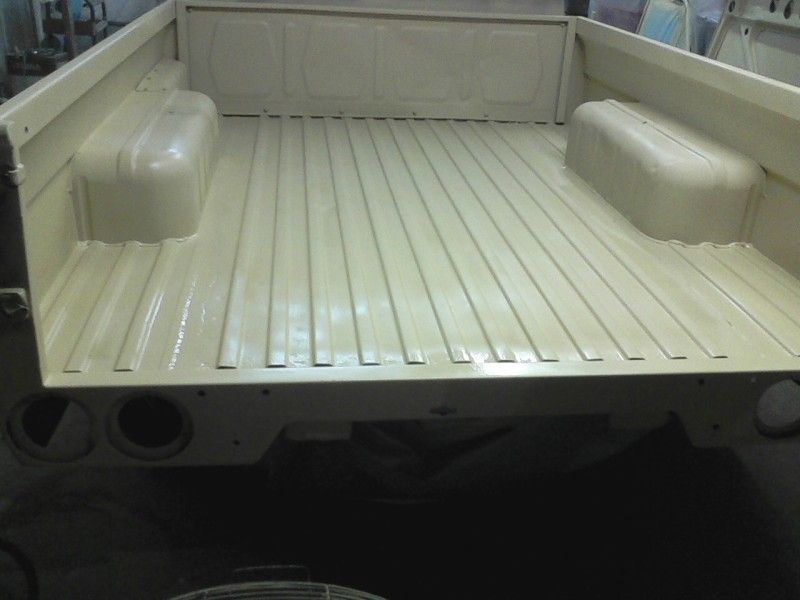
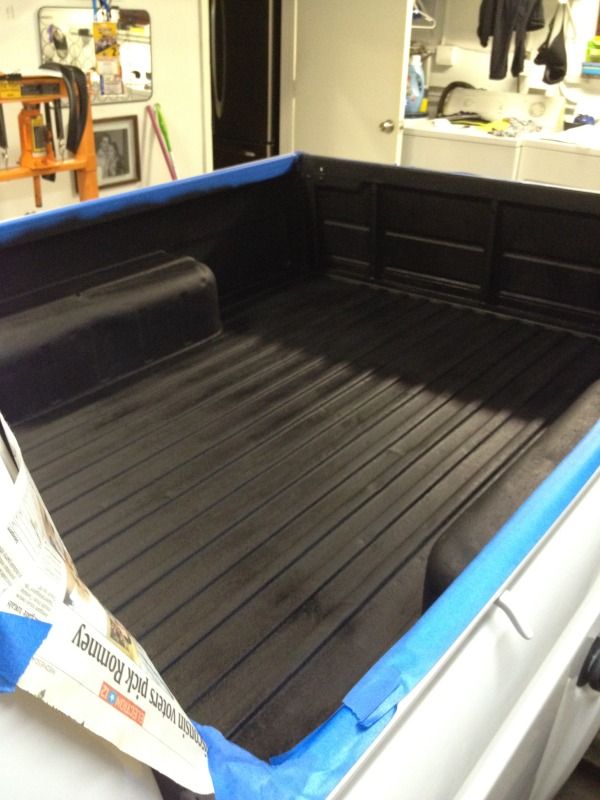
Bed liner has gone through a couple of different applications. First I tried the roll on stuff, it sucks. Second I tried the spray on liner, a little bit better but not the finish I want. I have two last options that I may go with but they will come later. Either professional spray on liner or wood. Leaning toward the wood but we’ll see. In the meantime here is pic of the temporary spray on liner.
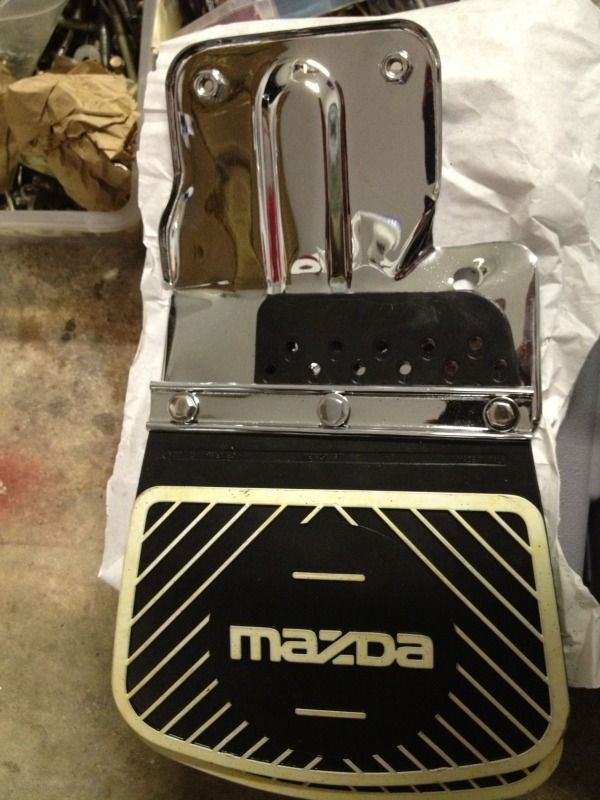
Was able to find some cool old school mazda mudflaps. Also got the mudflap brackets chromed. Not sure if these will make it on the truck. We’ll see…………
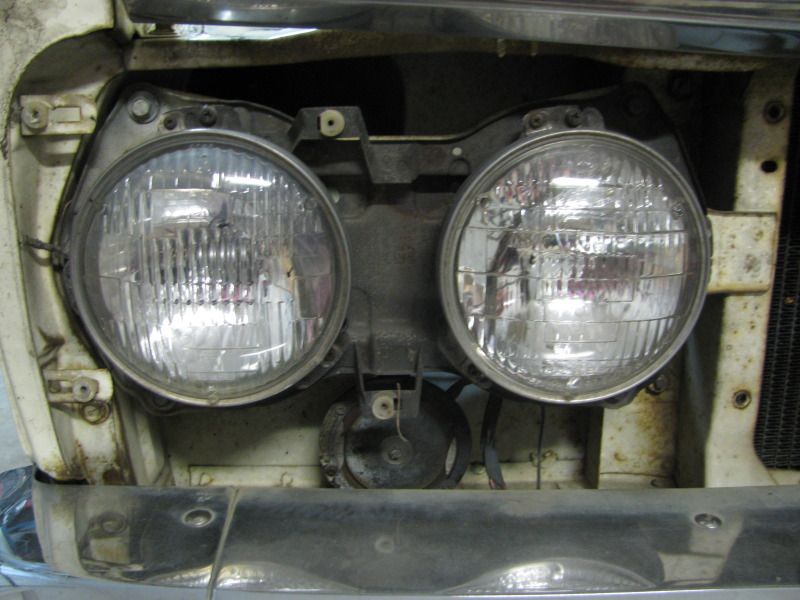
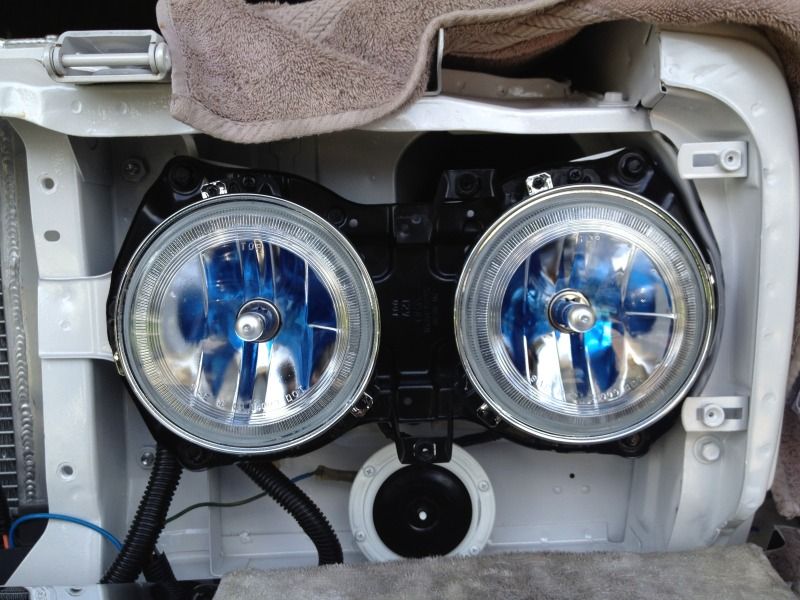
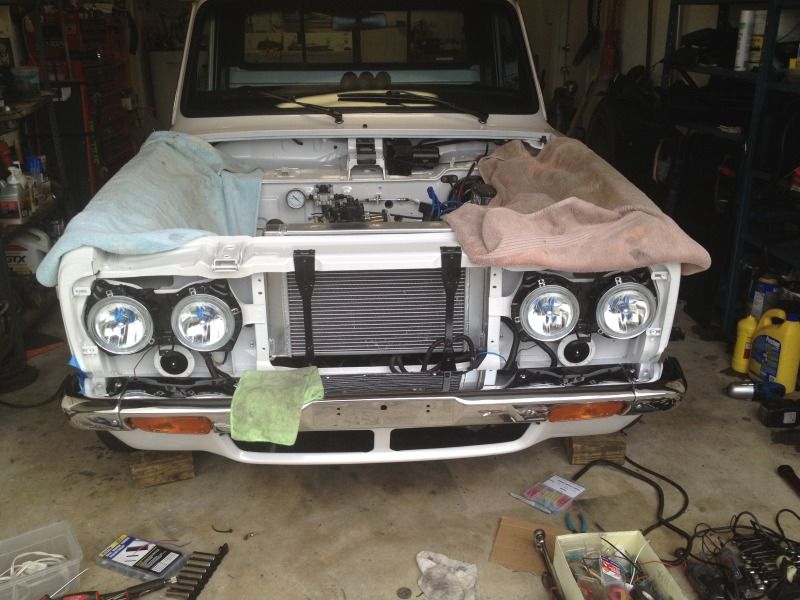
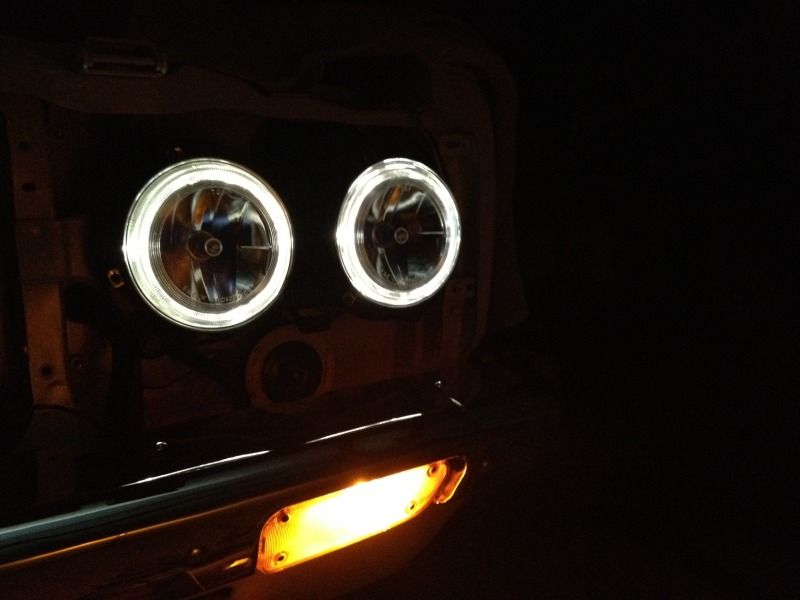
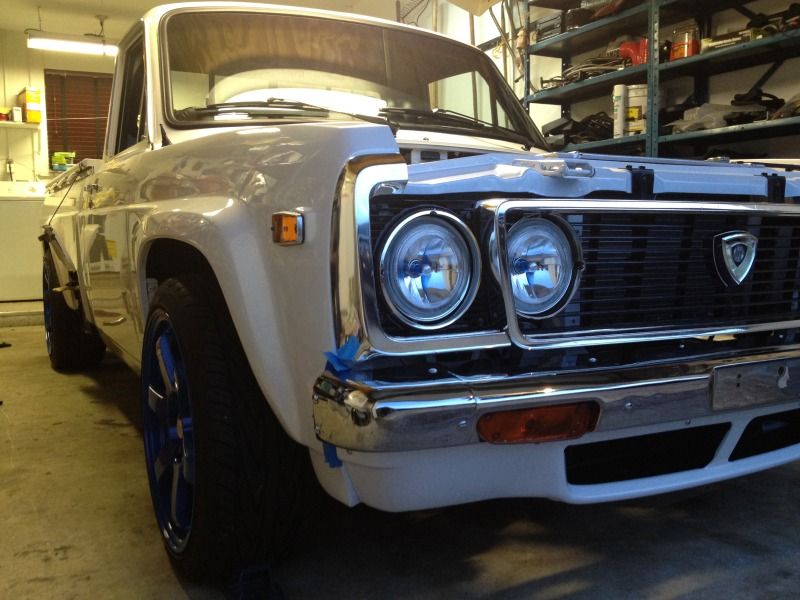
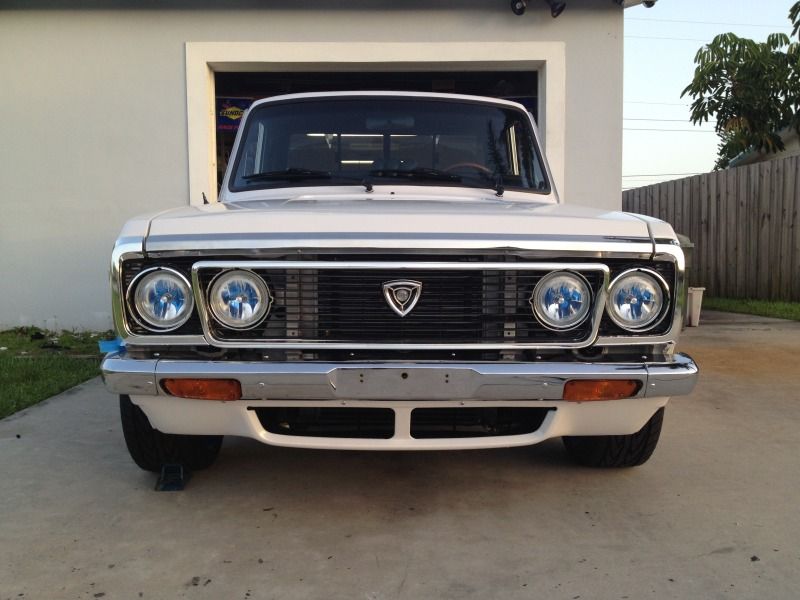
I have always been a big fan of the BMW Angle Eye headlights so I was able to source some for the truck. Some modifications to the headlight brackets supports were required but nothing major. Kit came with all the wiring and bulbs. Relatively inexpensive also. BIG thanks to Jorge for ordering these for me and many many many other parts! (I don’t have paypal) GOD knows what he had to go through to explain to his wife every time a package showed up at his house! Sorry Jorge, but THANKS.
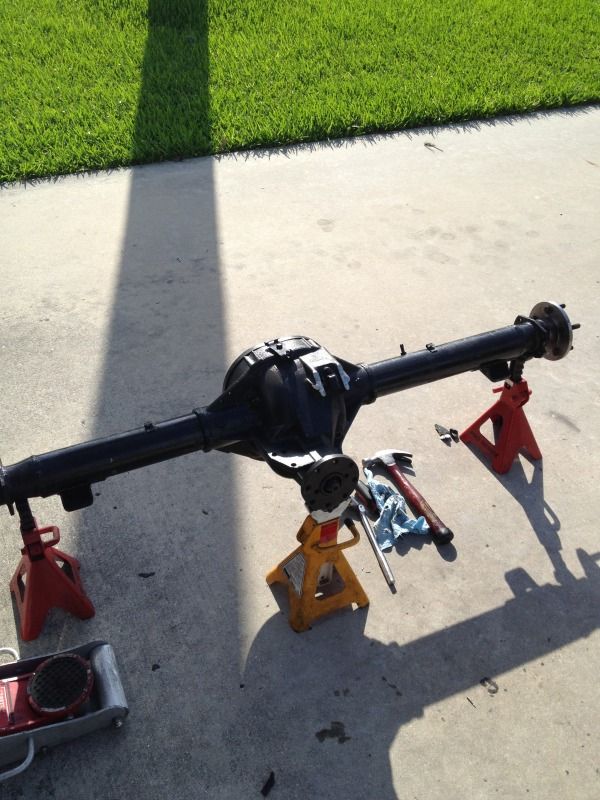
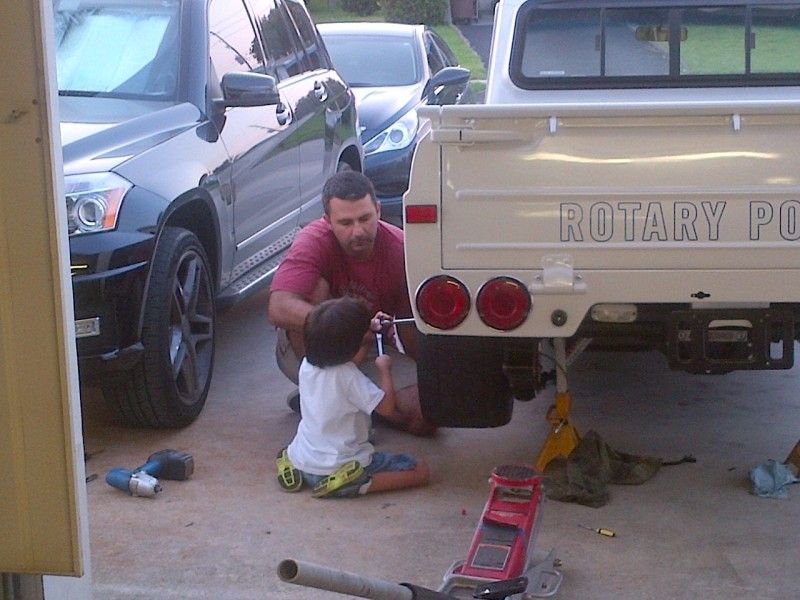
As I mentioned before, many thanks to all my friends that helped me. Here is some pics of my 4 year old nephew helping me. He kept wanting to work on the engine, as seen in the first picture…….but it wasn’t his lucky day cause engine was done and the rear end was the task at hand. Ahhahahahahaha
Could not get the Chrome piece that went inside the windshield molding so I had to settle for a standard aftermarket seal.
Bed liner has gone through a couple of different applications. First I tried the roll on stuff, it sucks. Second I tried the spray on liner, a little bit better but not the finish I want. I have two last options that I may go with but they will come later. Either professional spray on liner or wood. Leaning toward the wood but we’ll see. In the meantime here is pic of the temporary spray on liner.
Was able to find some cool old school mazda mudflaps. Also got the mudflap brackets chromed. Not sure if these will make it on the truck. We’ll see…………
I have always been a big fan of the BMW Angle Eye headlights so I was able to source some for the truck. Some modifications to the headlight brackets supports were required but nothing major. Kit came with all the wiring and bulbs. Relatively inexpensive also. BIG thanks to Jorge for ordering these for me and many many many other parts! (I don’t have paypal) GOD knows what he had to go through to explain to his wife every time a package showed up at his house! Sorry Jorge, but THANKS.
As I mentioned before, many thanks to all my friends that helped me. Here is some pics of my 4 year old nephew helping me. He kept wanting to work on the engine, as seen in the first picture…….but it wasn’t his lucky day cause engine was done and the rear end was the task at hand. Ahhahahahahaha
07-25-12, 09:12 AM
#14
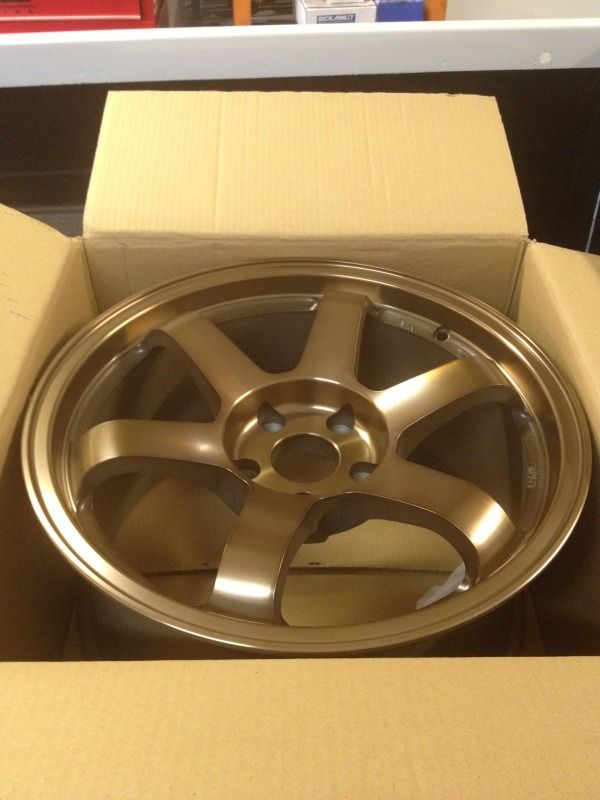
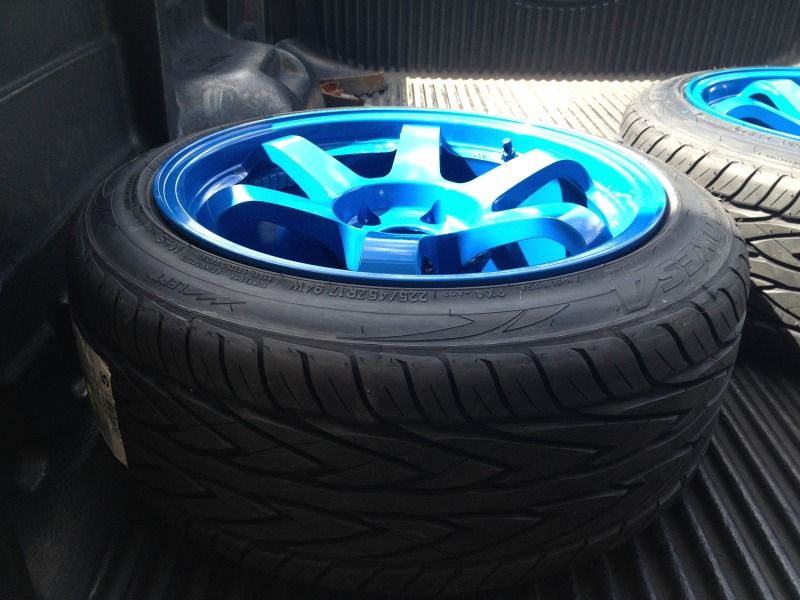
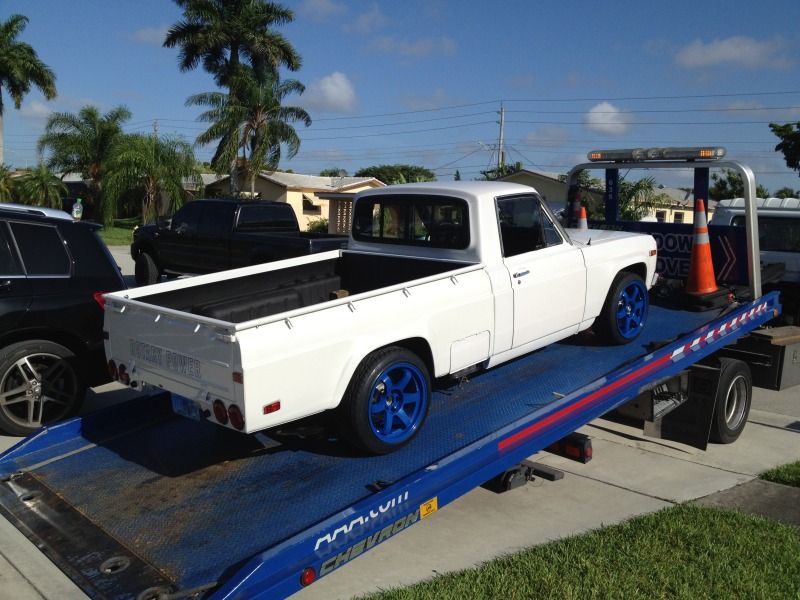
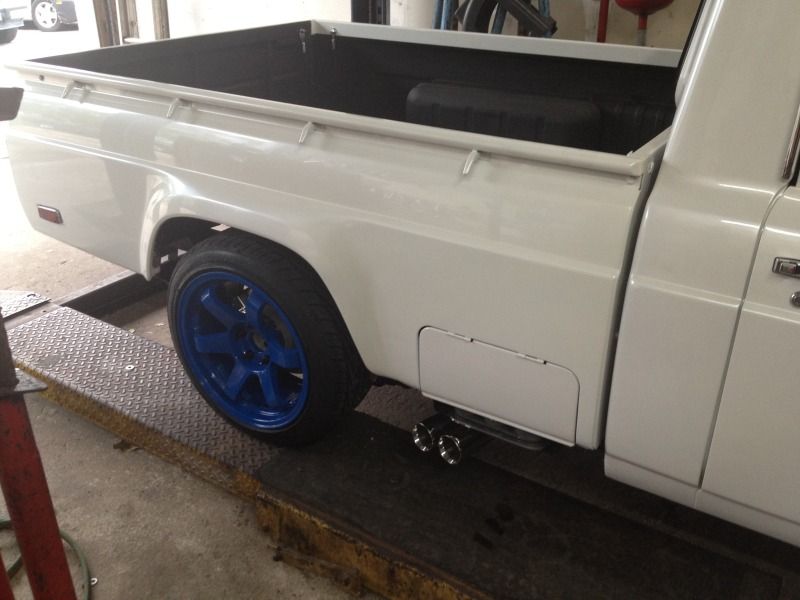
Wheels were ordered and the manufacturer told me it would take about 1 week. Almost two months later they arrived. Nothing special just Rota Grids. Fronts 17x8 ET 30 Rears are 17X9 ET 25 (If I remember correctly). I wanted them blue to match the rear “Rotary Power” so off they went to the powder coaters. Wrapped them with Nitto 215/40 Fronts and 225/45 Rears (THANKS JOE). Yeah I know the truck has to be lowered but I think all the new bushings are making it look like BIGFOOT. Hopefully the suspension settles a bit when I start driving it. If not, it will lower it.
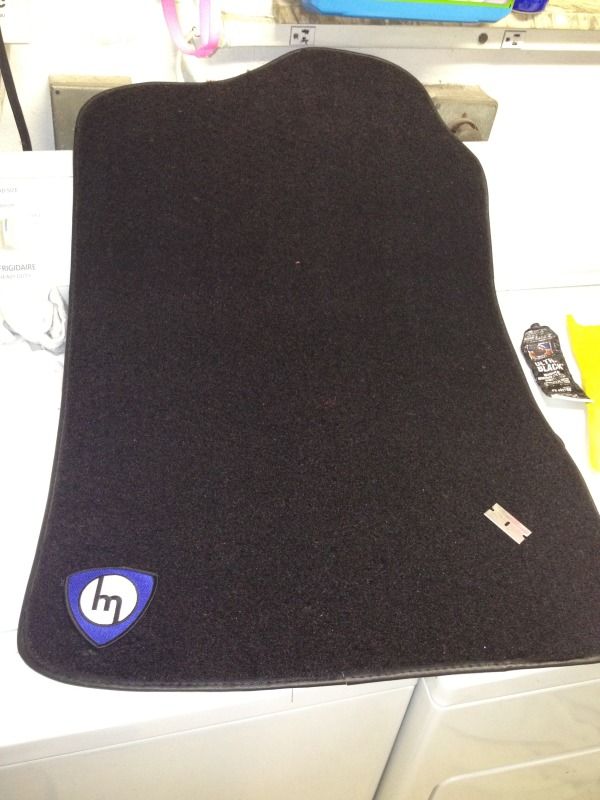
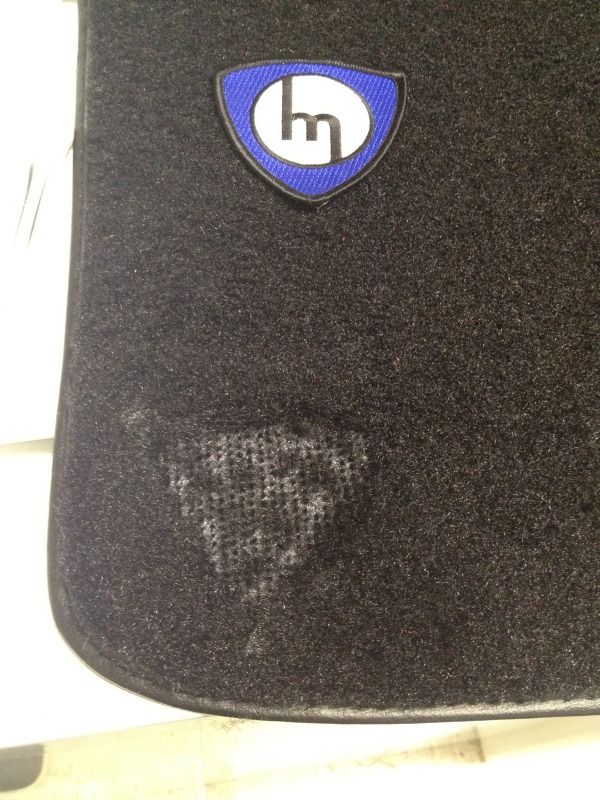
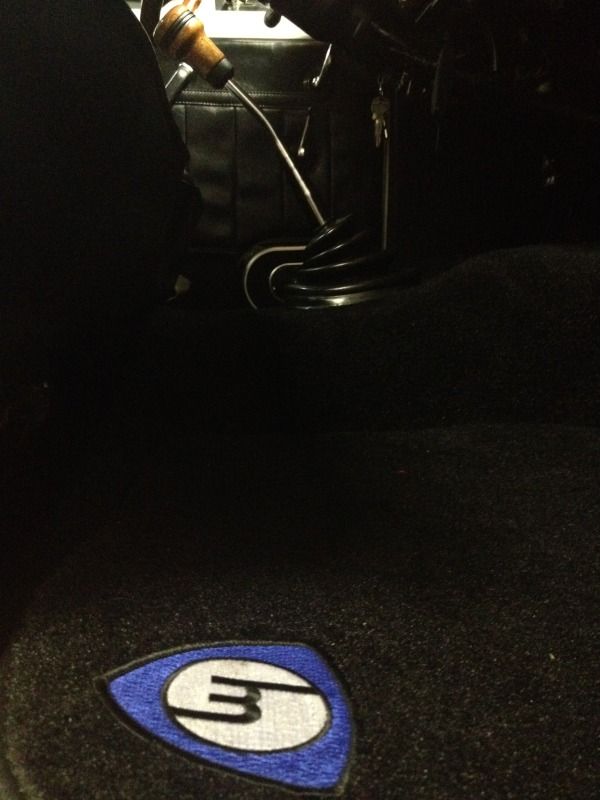
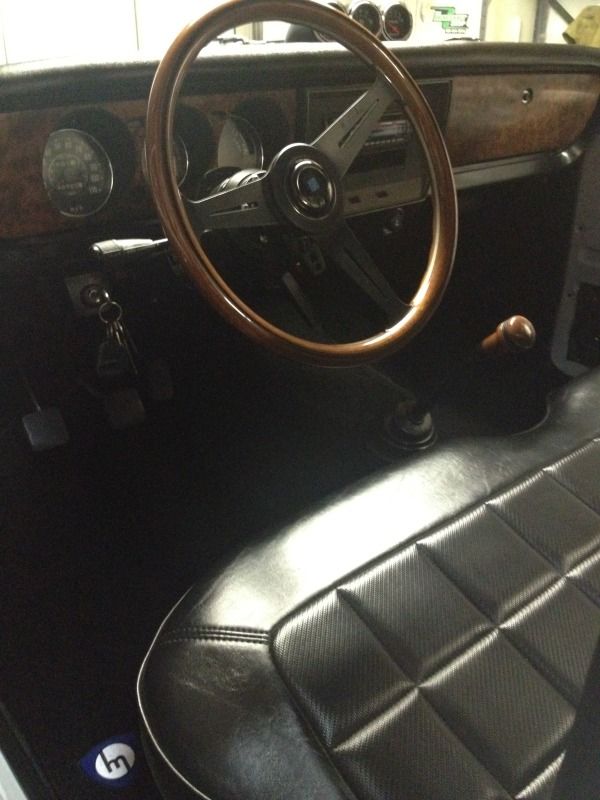
Truck did not have floor mats so after months of searching I was able to source some Ford Courier floor mats. Got them through LMC Truck. Fast delivery and great quality. Fitment is great. Only issue I had was I wanted them to be Mazda floor mats. This is what I came up with. I think it came out pretty cool and ties some of the blue accents from the exterior of the truck to the inside.
Locating a good spot and preparing to cut.

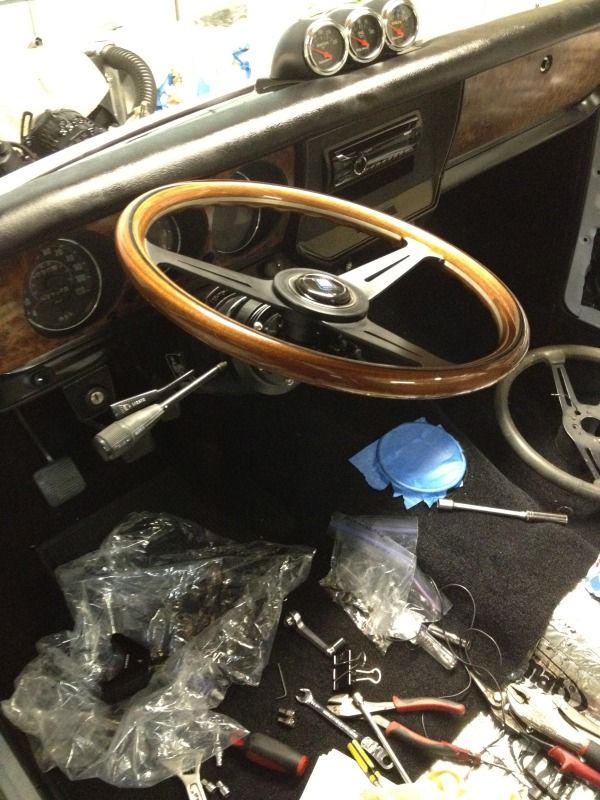
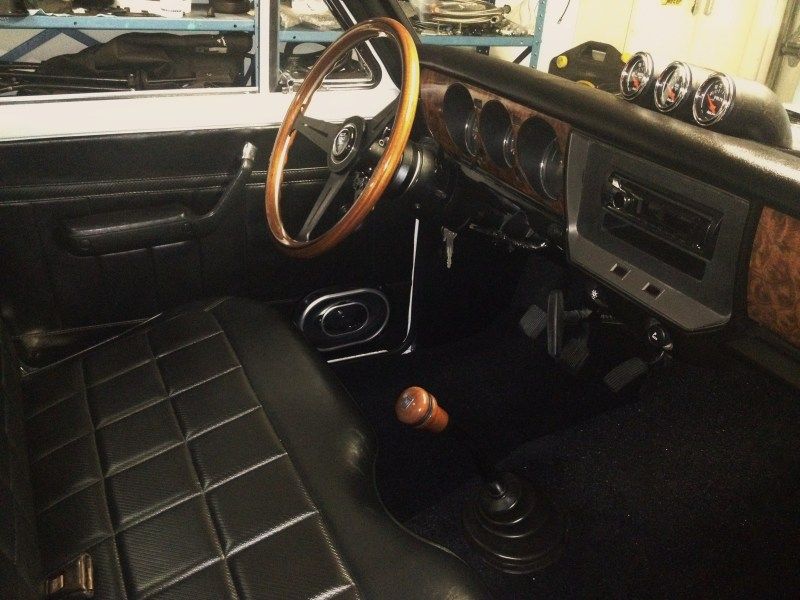
Got a Nardi shifter *** to match the Nardi steering wheel.

Truck did not have floor mats so after months of searching I was able to source some Ford Courier floor mats. Got them through LMC Truck. Fast delivery and great quality. Fitment is great. Only issue I had was I wanted them to be Mazda floor mats. This is what I came up with. I think it came out pretty cool and ties some of the blue accents from the exterior of the truck to the inside.
Locating a good spot and preparing to cut.
Got a Nardi shifter *** to match the Nardi steering wheel.
07-25-12, 09:12 AM
#15
In my effort to clean this truck up, I got rid of the choke, choke **** and wire. Thought it would be a cool place to install the ignition. Took some minor modification but here is the finished product.
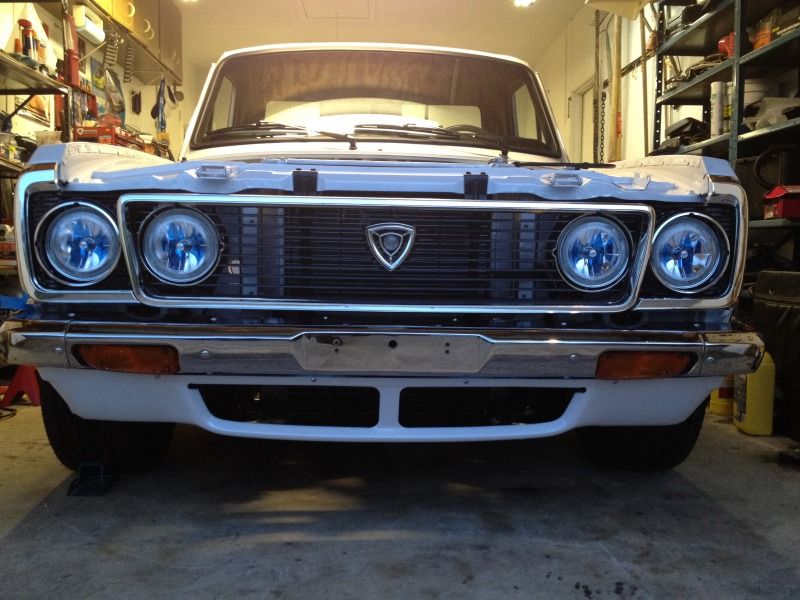
First attempt of installing an adjustable fan controller failed miserably because I broke it….i really need to read directions. They specifically said do not turn adjustment screw clockwise and I did. Had to order a new one, once installed it works great. This allowed me to install the grille. After all these months I have had the grill waiting to be installed, I finally got to install it. Really happy how it looks.

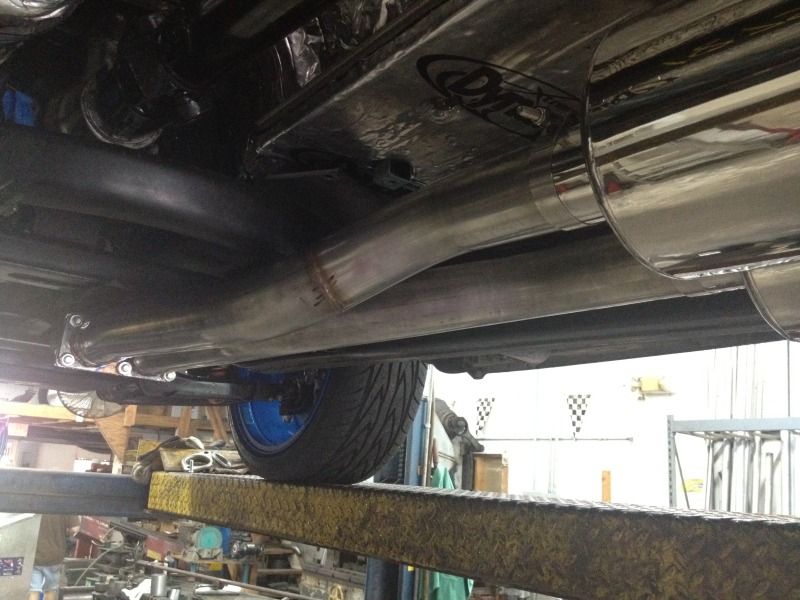
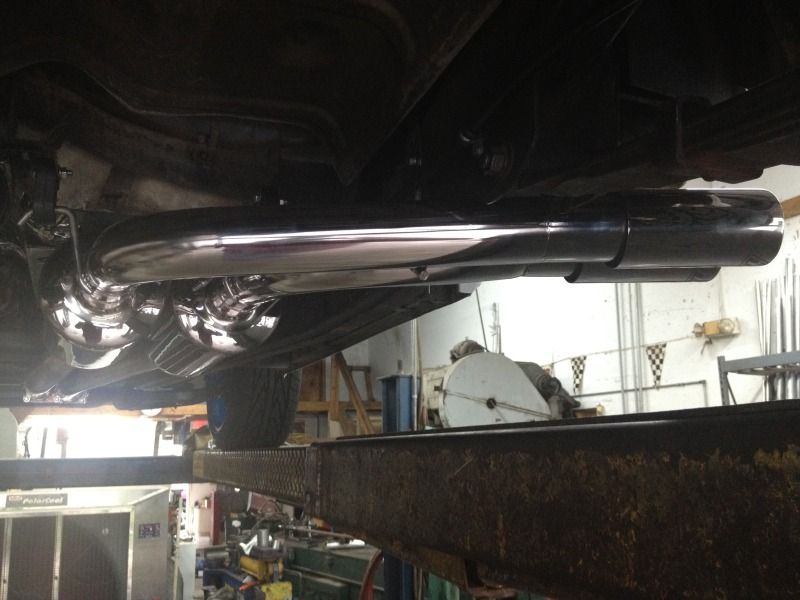
Gonna get the header coated with heat coating but for now it will remain this way. Got the muffler installed. Always wanted the pipes out the side, as I think the pipes out the rear looks a little weird without a bumper. Nevertheless, here are the pics.
First attempt of installing an adjustable fan controller failed miserably because I broke it….i really need to read directions. They specifically said do not turn adjustment screw clockwise and I did. Had to order a new one, once installed it works great. This allowed me to install the grille. After all these months I have had the grill waiting to be installed, I finally got to install it. Really happy how it looks.
Gonna get the header coated with heat coating but for now it will remain this way. Got the muffler installed. Always wanted the pipes out the side, as I think the pipes out the rear looks a little weird without a bumper. Nevertheless, here are the pics.
07-25-12, 09:13 AM
#16
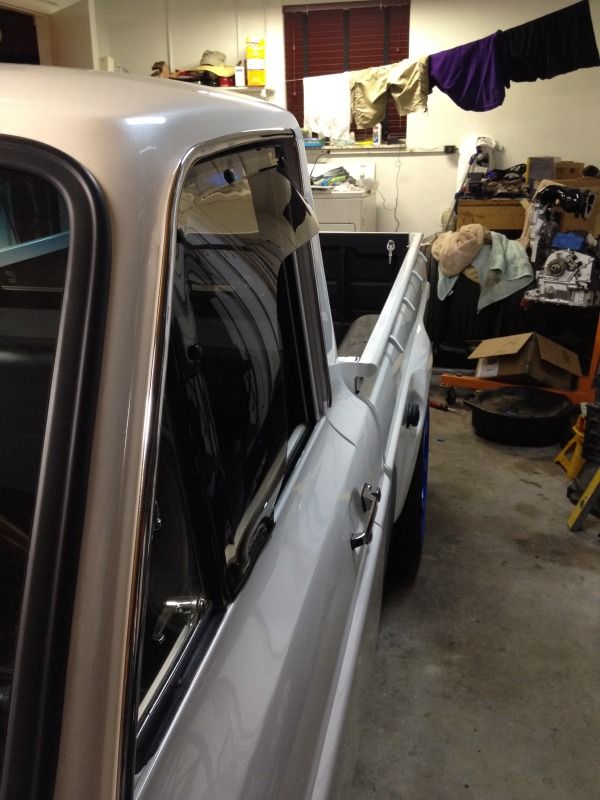
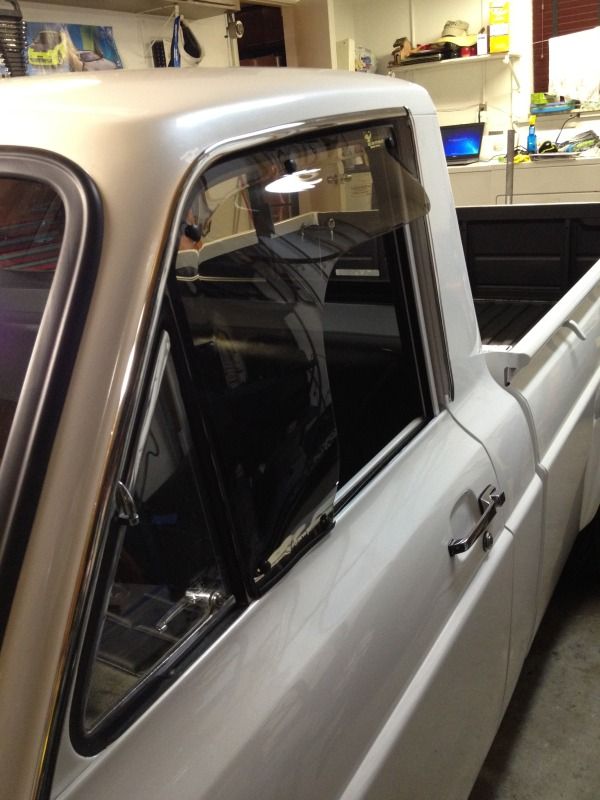
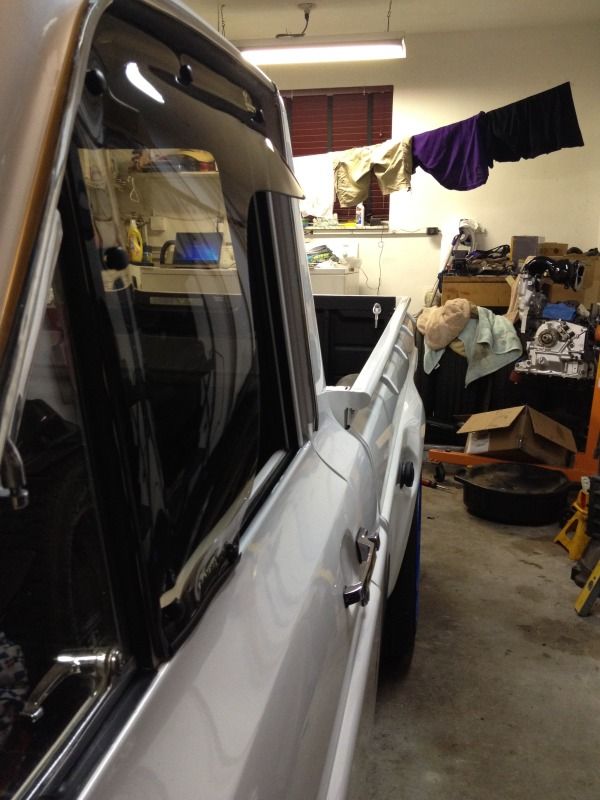
As part of the sale of the REPU the seller gave me the coolest rain diverters for the REPU. They are made by a company or I should say “Were Made” Eco Air Systems Inc, out of Riverside California. I think they are the coolest thing on the truck!
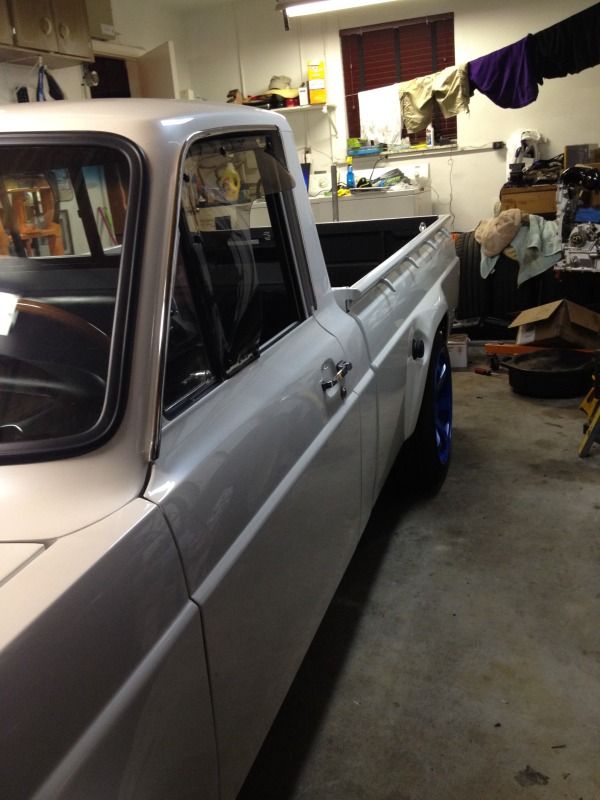
All done for now and ready to enjoy it. I have some things I want to do as I go but for now, all I will do is add pre-mix/gas and drive it.
Some final pics:
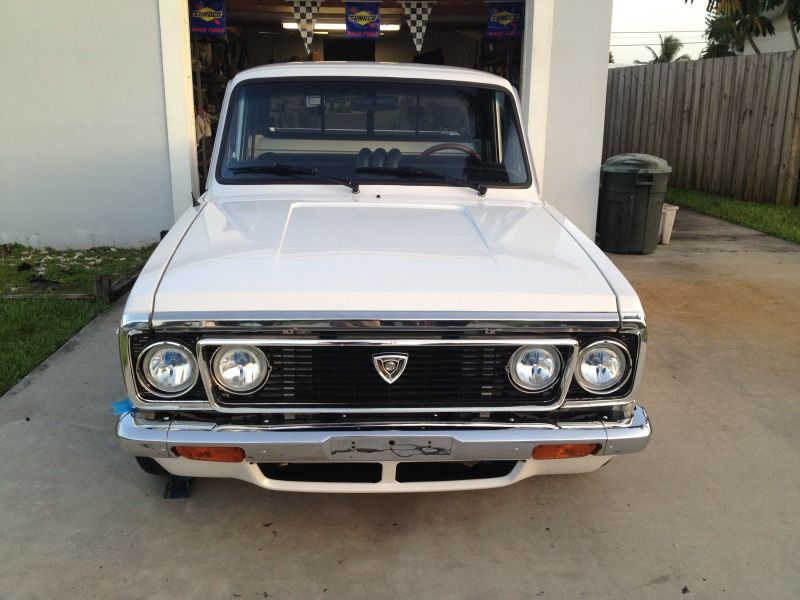
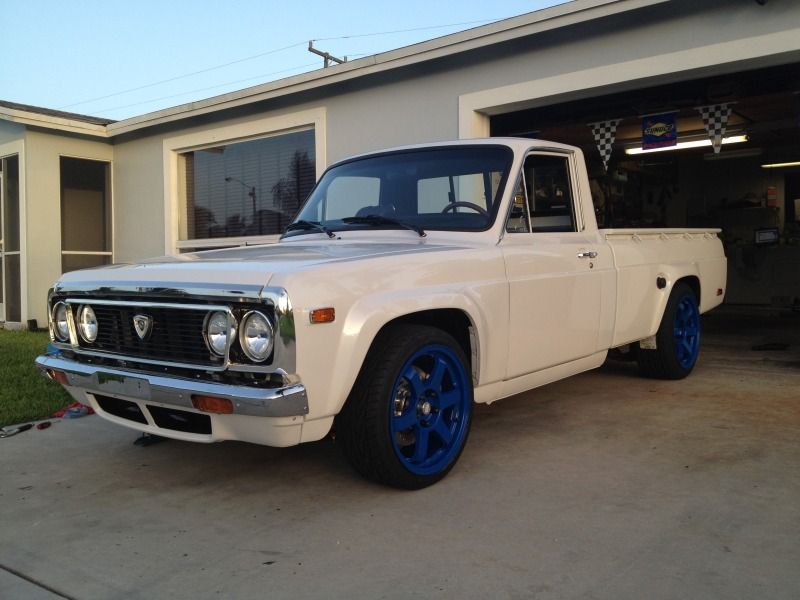
Thanks for looking.
All done for now and ready to enjoy it. I have some things I want to do as I go but for now, all I will do is add pre-mix/gas and drive it.
Some final pics:
Thanks for looking.
07-25-12, 11:22 AM
#18
Paps-
Just an FYI for the future...check with Jason on the forum...he's in the Group Buy Section...does all the custom floormats and such. If you ever decide to change things up he could probably do something bad ***!
Amazing quality and work...wouldn't expect anything less from you!
Just an FYI for the future...check with Jason on the forum...he's in the Group Buy Section...does all the custom floormats and such. If you ever decide to change things up he could probably do something bad ***!
Amazing quality and work...wouldn't expect anything less from you!
 07-25-12, 12:32 PM
#20
Quality work there. Is that Ford Blue on the intermediate & end housings? I was going to use Ford Blue, its just so pretty in the engine bay.
I love your attention to the interior colours, bringing outside colours in, almost like your some interior decorator or designer LOL.
I love your attention to the interior colours, bringing outside colours in, almost like your some interior decorator or designer LOL.
07-25-12, 02:06 PM
#23

Paps-
Just an FYI for the future...check with Jason on the forum...he's in the Group Buy Section...does all the custom floormats and such. If you ever decide to change things up he could probably do something bad ***!
Amazing quality and work...wouldn't expect anything less from you!
Just an FYI for the future...check with Jason on the forum...he's in the Group Buy Section...does all the custom floormats and such. If you ever decide to change things up he could probably do something bad ***!
Amazing quality and work...wouldn't expect anything less from you!
Quality work there. Is that Ford Blue on the intermediate & end housings? I was going to use Ford Blue, its just so pretty in the engine bay.
I love your attention to the interior colours, bringing outside colours in, almost like your some interior decorator or designer LOL.
I love your attention to the interior colours, bringing outside colours in, almost like your some interior decorator or designer LOL.
07-25-12, 02:29 PM
#24
Chad Carson
iTrader: (29)
Join Date: Nov 2001
Location: South of Nashville TN. USA
Posts: 7,010
Likes: 0
Received 0 Likes
on
0 Posts
I know she is in good hands, you have done alot of what I wish I could have done. I do miss that truck as it was my favorite of the three I owned. Maybe one day I will be at a point where I can get another or find this one somehow. Wow, finally I get to see those sweet windo vents on the truck! I have had those for 6-7 years and knew one day.
Thanks for the pictures and the detail work to her. A true California truck and hold on to that cali blue lic plate for her. Get that AC installed soon as im sure its hott.
Im still looking for the brand new tail light lenses I have some where squirreled away and will get them to you when I do.
Holla