
NJGB '87 TII - Starting Bodywork and Paint - First Timer Here


So I am about to go out and finish sanding the entire car with 320 grit. I'm awaiting some supplies but I can keep busy in the meantime with what I have here.
Few Q's
1) Before I spray the next high build primer: Should I just spot prime with epoxy over the bare metal or should I spray the entire car? (im guessing whole car)
2) At what point does it become mandatory to reduce the epoxy primer? Should I use reducer when coating between high build primer or only when sealing the finished high build before topcoat?
Basically my plan is to try to finish sanding, spray some unreduced epoxy and do the last touches of filler body work. Then spray more high build, guide coat and block that down again. Then seal the whole thing with reduced epoxy and move to the topcoat.
Does this sound about right?
Thanks very much for all the excellent advice and support, really makes this possible!


Did the last few body filler repairs ontop of the epoxy primer and then resealed those patches.

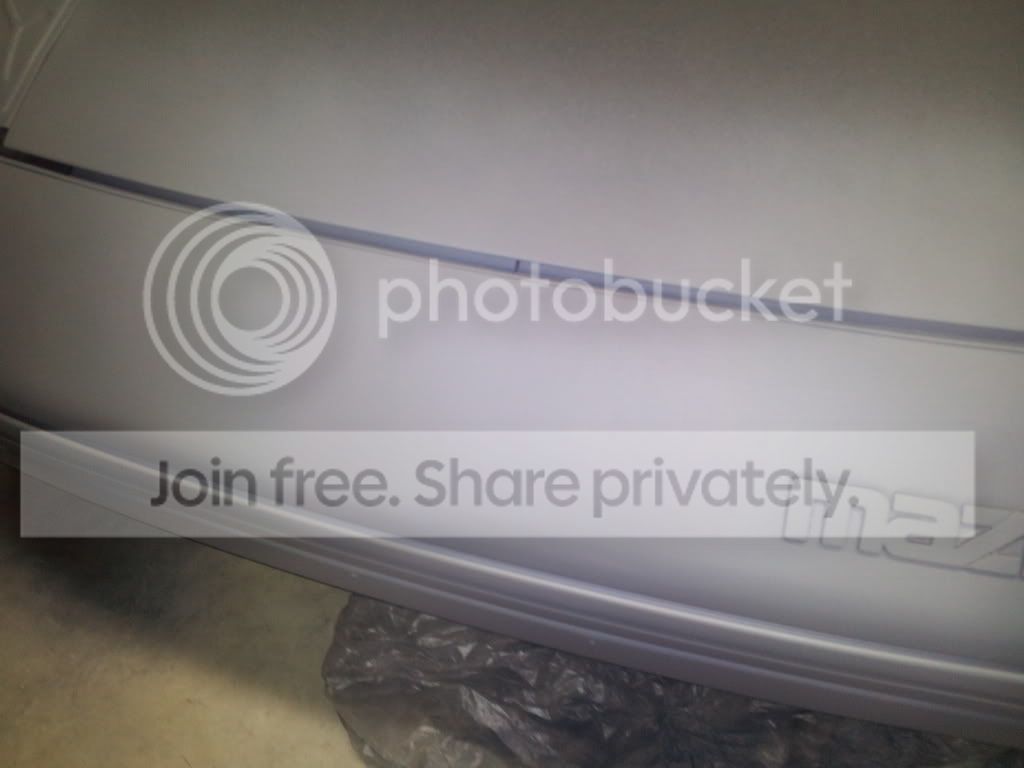


Sprayed 3 good coats of high build primer again. Gonna be a long day of sanding tomorrow.
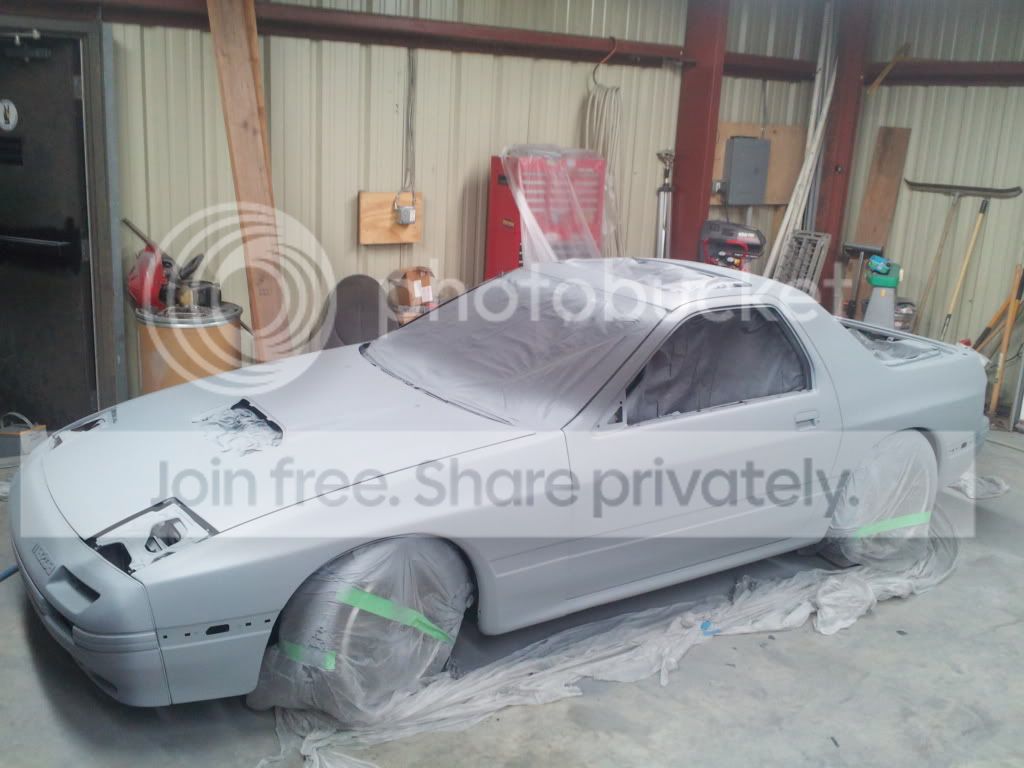


Picked up some reducer when I ordered more primer, I plan to thin the final coat of epoxy after I block sand it. Here's a shot of some of the stuff I'm using.

Sprayed 3 good coats of high build primer again. Gonna be a long day of sanding tomorrow.
Picked up some reducer when I ordered more primer, I plan to thin the final coat of epoxy after I block sand it. Here's a shot of some of the stuff I'm using.


Yeah it came out better than I thought, all the body work is hidden and the paint came out really smooth and even. But I messed it up in other ways, I forgot to spray the door jams and went back to spray them , got overspray on the body around the doors and it looks terrible. Also forgot to align the one front fender and ended up chipping the paint off the door edge when I opened the door. So I ordered another gallon of the paint and will sand the whole car back down to 320 and shoot another coat once I fix those small problems. Live and learn I guess.....
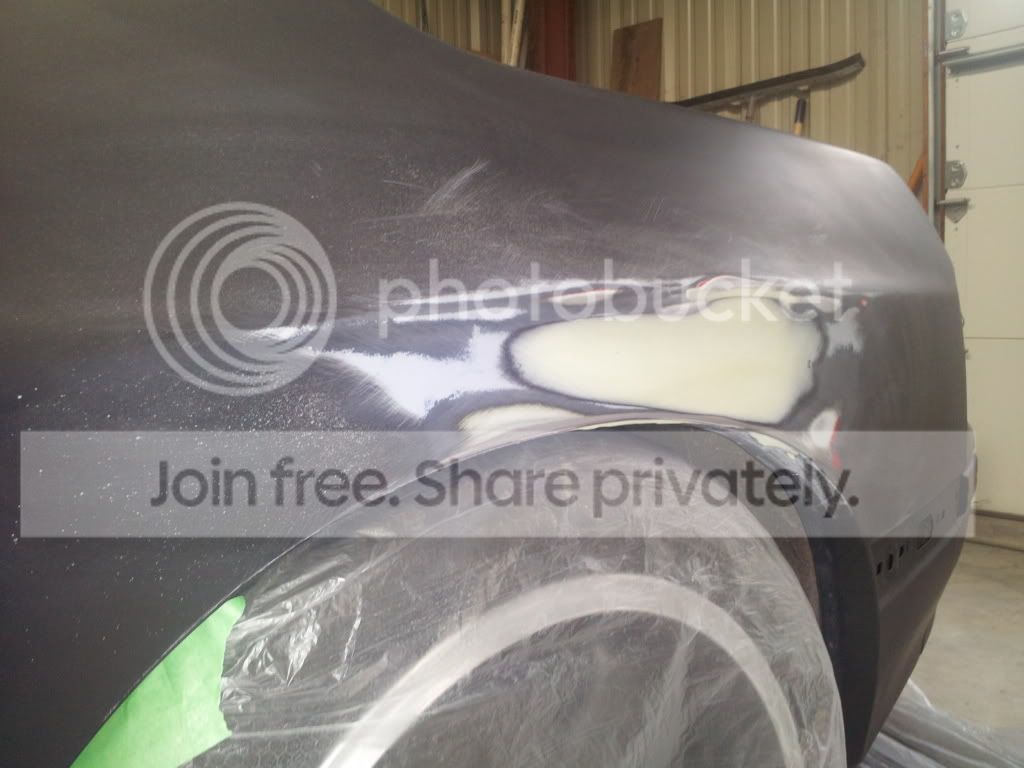
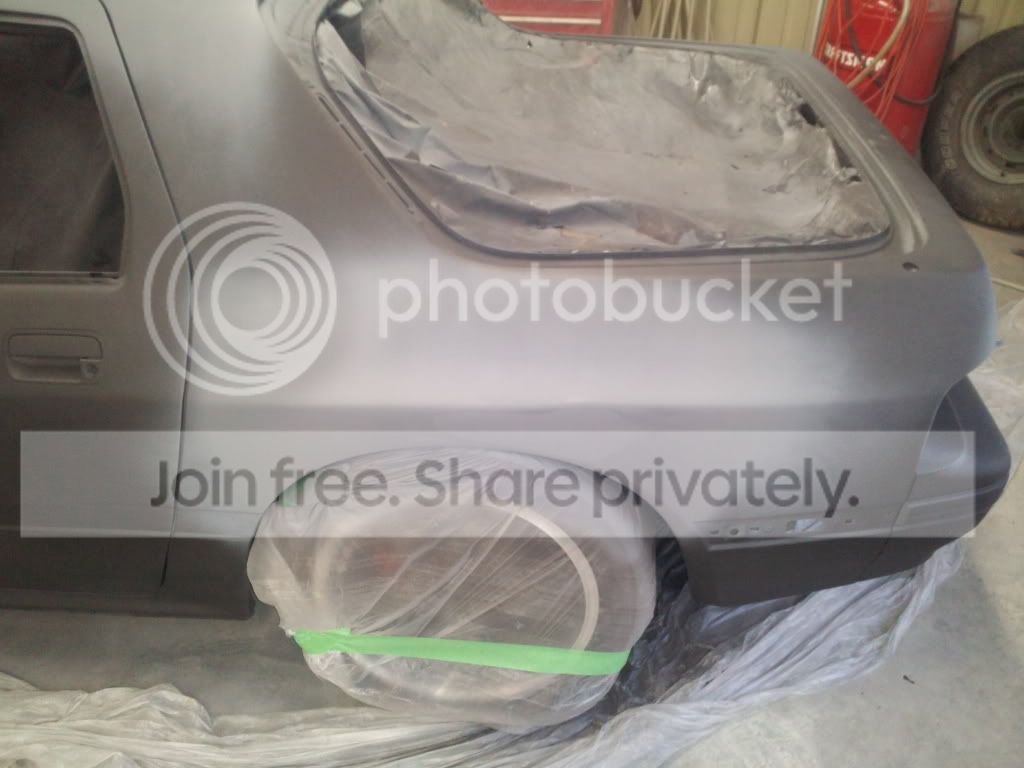
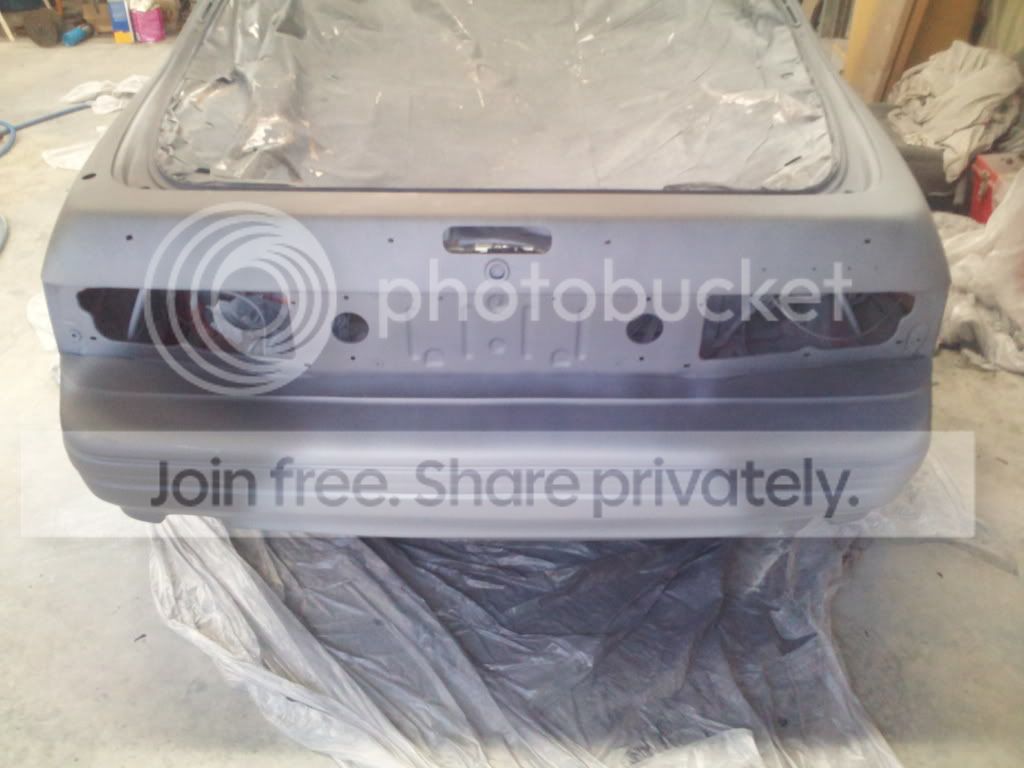
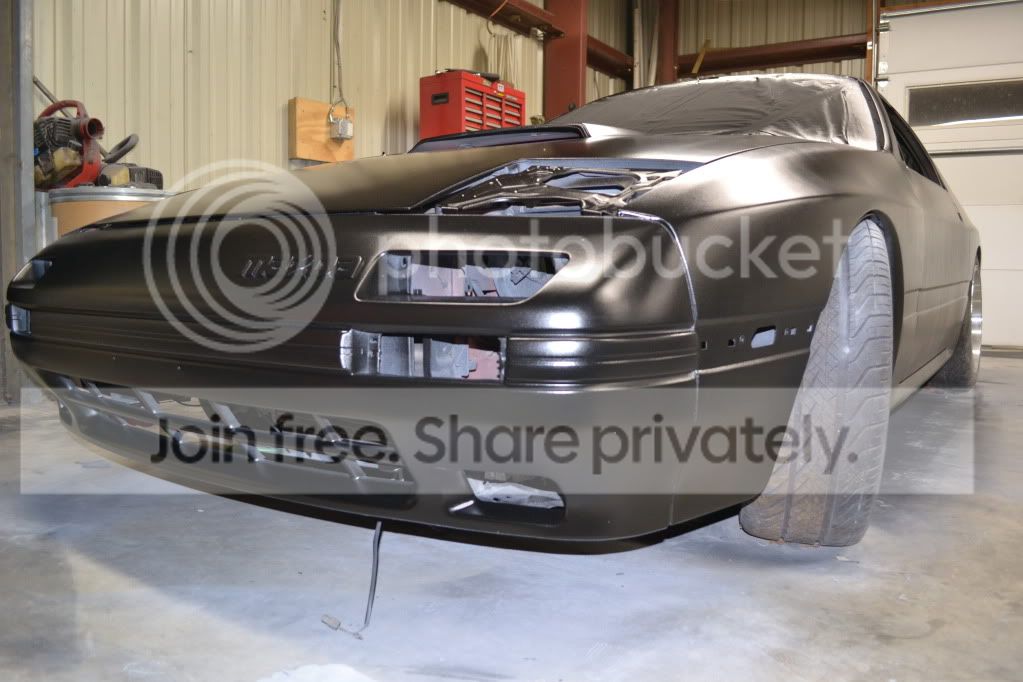
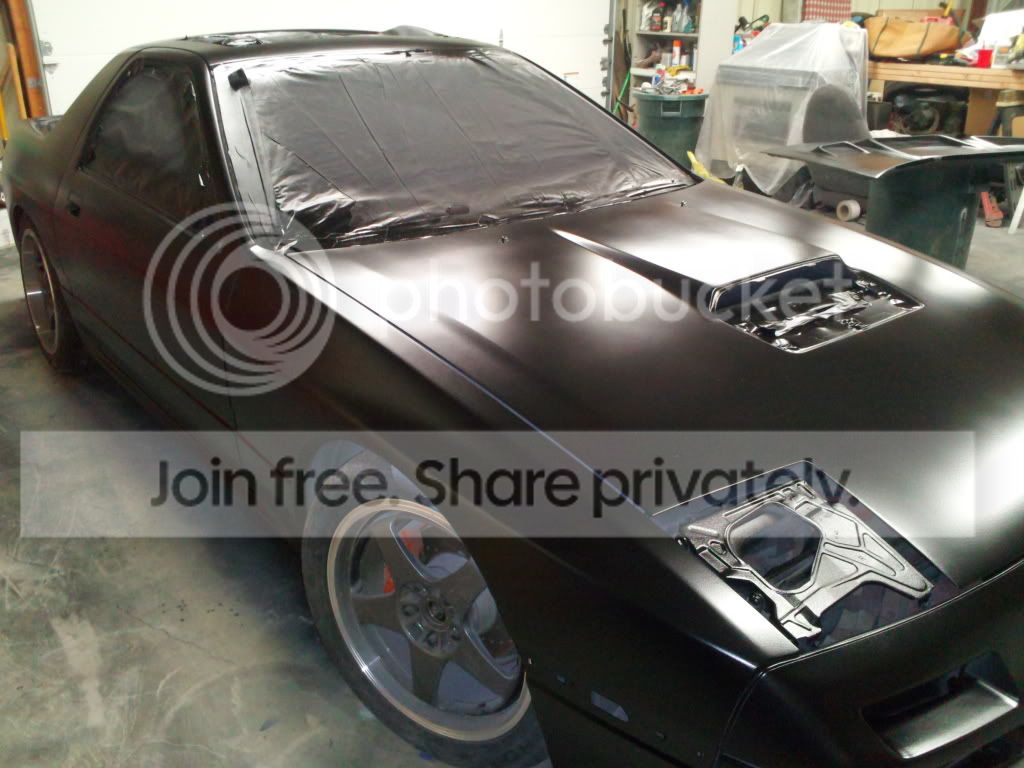
Okay redid it once more this weekend. Sanded everything back down to 320 and then remasked with new plastic. Sprayed one fresh coat of epoxy since there was some thin spots on the edges and jams. Shot two new coats of rat rod satin black, made sure to get the inner jams first and it came out a lot better. No dragging the hose into the paint, almost no nibs in the paint due to fresh clean masking job. All in all it was a long weekend but it looks like it was worth it. I plan to take my time to put it back together over the rest of this week and I think that should do it. Still have to repaint some trims too.
Sanding back down to remove overspray and nibs


New Epoxy


Still need to get shots of the final satin coats, finished around 8:00pm last night so it has been curing overnight, will snap some pics tonight.
Sanding back down to remove overspray and nibs
New Epoxy
Still need to get shots of the final satin coats, finished around 8:00pm last night so it has been curing overnight, will snap some pics tonight.
Pics from last night, looks a lot better this time, almost no nibs in the paint, door jams came out perfect, no overspray. Yay! Gonna start putting it back together tonight.


Thanks!
It's been a huge learning experience, I had no idea what I was doing when I started. But thanks to people like RobXX7 and lots of hard work it's actually turned out better than I could have asked.
It's been a huge learning experience, I had no idea what I was doing when I started. But thanks to people like RobXX7 and lots of hard work it's actually turned out better than I could have asked.
Always comes out nicer if you refinish the car, then sand it again and respray it. Smoother and cleaner. The static of the plastic attracts dust, with the lack of rain we were having the air was so dry which makes the static worse. The recent rain we been getting helped out. Take your time putting it back together, the small details is what really makes the job pop.
Thanks again for all the tips and advice Rob, I really appreciate you taking the time. I'm going to start putting the fenders and hood back on today. I'm going to work slowly so I don't damage anything and try to make it come together as clean as possible.
I'll post more pics as the progress happens.
I'll post more pics as the progress happens.
Joined: Mar 2005
Posts: 231
Likes: 0
From: Californian refugee taking shelter in Texas
Looks great! I've been on the fence about painting one of my cars, so I've been following this thread to gauge what I would be getting myself into. Good job!
Thanks man, glad other people find this helpful.
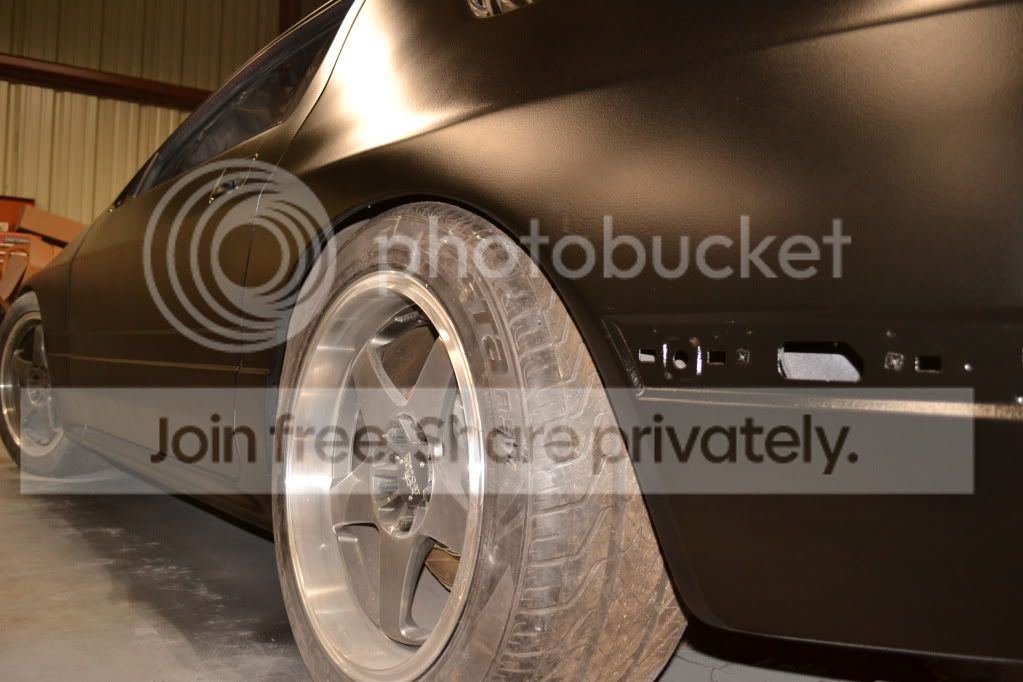
I haven't made a whole lot of progress with the reassembly other than hanging the fenders and bumper. I still have to align them perfectly and start putting the moldings and crap back on. I did finish the mounts for the new radiator and remount the e-fan, finished the coolant lines, tied up some loose ends. I'm running the stock TMIC for now till I work some things out over the summer, then redo the FD UIM and VMIC setup in the fall. I plan to redo the engine bay again at that point so please excuse the mess for now.
Random pics, dirty from work on her. Can't wait to get it on the road shortly here.

Thread
Thread Starter
Forum
Replies
Last Post
82streetracer
1st Generation Specific (1979-1985)
7
Aug 23, 2015 09:28 AM
KAL797
Test Area 51
0
Aug 11, 2015 03:47 PM