
NJGB '87 TII - Starting Bodywork and Paint - First Timer Here


Hi guys!
Yeah I have been delayed by freak October snow storm, being sick and being busy at work, car still looks like it did. As for sanding, I am just following the tech sheets this time, as I progress I will be more willing to try new techniques but doing it pretty much by the book this time. If I get lucky I will spray the epoxy at least before winter, otherwise might have to wait till spring time.
Thanks for all the helpful advice!
-NJGB
if anything really try to get that primer on there before the winter, best thing it can do is sit and allow the bodywork to settle a bit.
I waited 3 months before painting my car. I would high build prime each panel or two as they were ready, then move onto the next panel. when all was done I block sanded as course as I could for the primer and sprayed it as finish primer. Then it sat for months, in and out of the sun.
the tech sheets are what you want to follow, not what people tell you to use on the internet. Only thing to remember if the sheets dont tell you is to step up a grit when you hand sand versus DA sanding. So if its 220 DA I step up to 320 hand.
Hey Alex.
I hear ya Rob. I should be able to lay down two coats of primer, just need to get a nice warm day and do it.
Thanks and I'll make sure to update with any progress.
I hear ya Rob. I should be able to lay down two coats of primer, just need to get a nice warm day and do it.
Thanks and I'll make sure to update with any progress.
Hi again,
Well, it's been a mild winter here in NJ but cold enough to keep me from getting much done on the 7 anyways. Had some small mechanical projects to keep busy but didn't touch the body till a few days ago. Looking forward to getting back into this project, hope to have it done in a few weeks if all goes well.
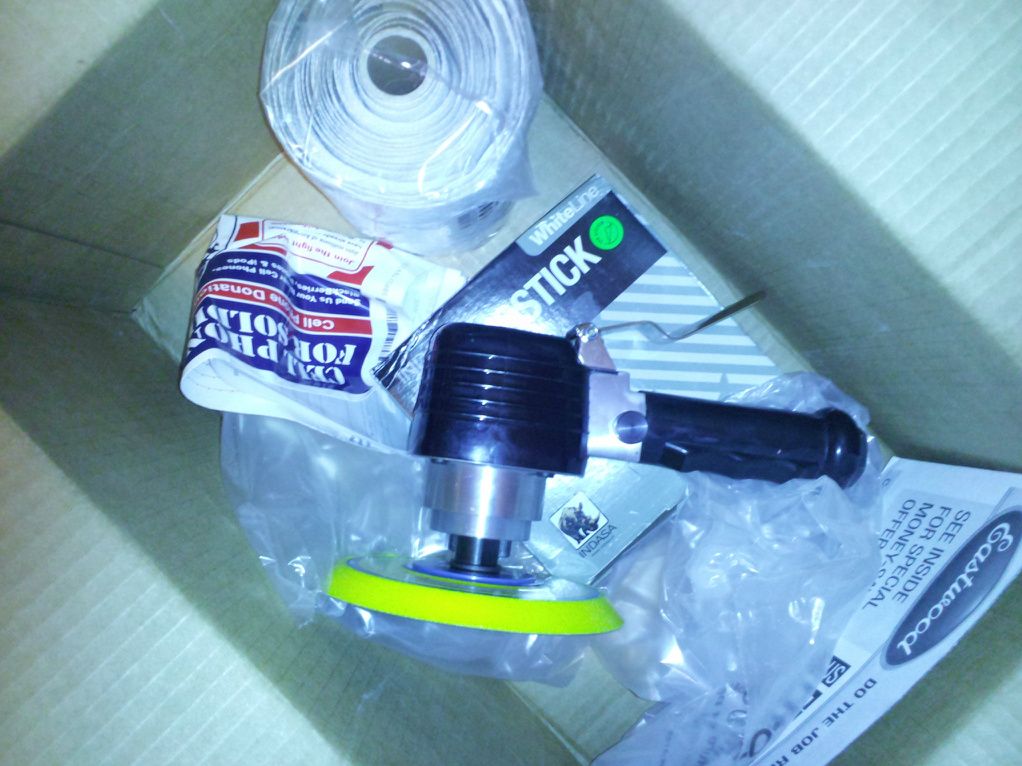
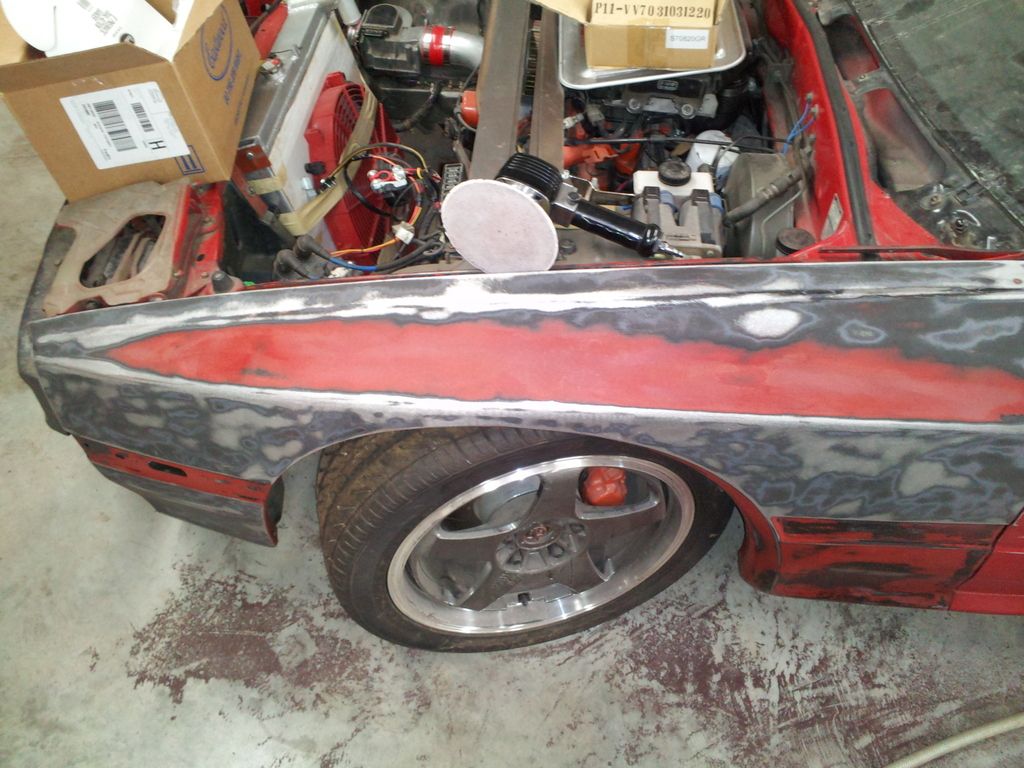
So I finally ordered a DA sander, don't know why I waited this long but better late than never I suppose. The driver's side fender has always been mismtached, I assume a collision claimed the original and the previous owner painted this one with some strange paint that had run marks in it. heavy stuff, almost like they brushed it on. This is the only panel that needs to come down to bare metal (as far as I can tell).
Took a few mins before and after work yesterday to play with the new sander, much easier than doing this by hand or the small palm sander I had. Once this is done I want to take the doors off and a few other small things. Then onto the epoxy primer.
I'll post updates as they happen.
have a great day guys!
NJGB
Some recent pics:
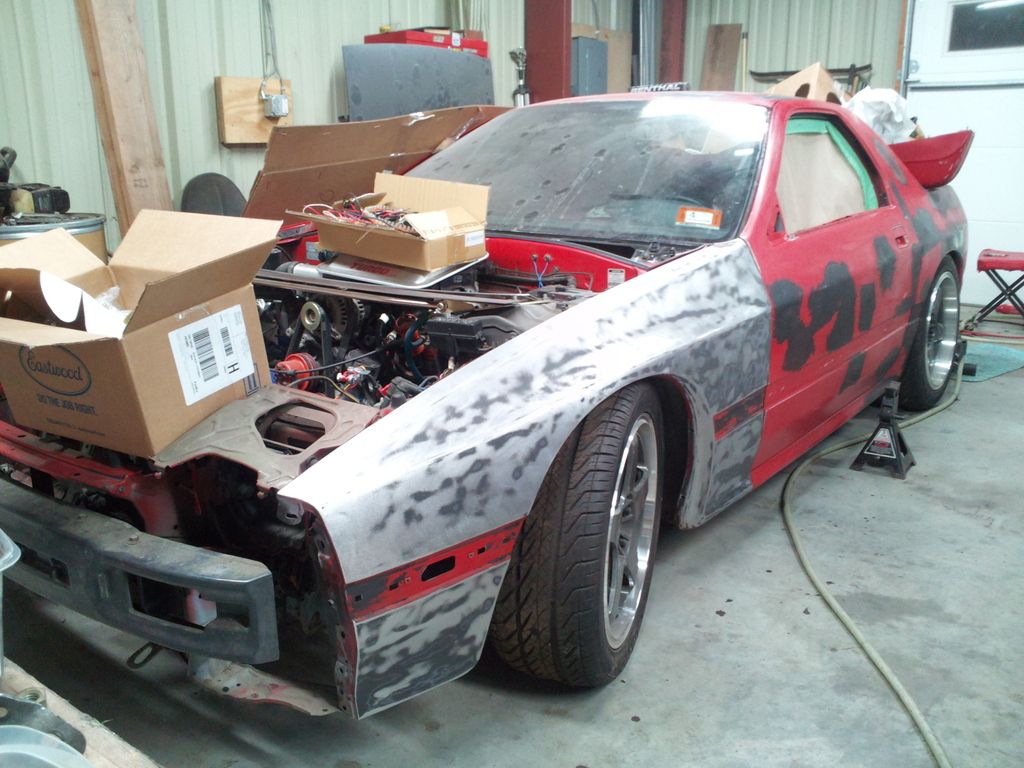
Well, it's been a mild winter here in NJ but cold enough to keep me from getting much done on the 7 anyways. Had some small mechanical projects to keep busy but didn't touch the body till a few days ago. Looking forward to getting back into this project, hope to have it done in a few weeks if all goes well.
So I finally ordered a DA sander, don't know why I waited this long but better late than never I suppose. The driver's side fender has always been mismtached, I assume a collision claimed the original and the previous owner painted this one with some strange paint that had run marks in it. heavy stuff, almost like they brushed it on. This is the only panel that needs to come down to bare metal (as far as I can tell).
Took a few mins before and after work yesterday to play with the new sander, much easier than doing this by hand or the small palm sander I had. Once this is done I want to take the doors off and a few other small things. Then onto the epoxy primer.
I'll post updates as they happen.
have a great day guys!
NJGB
Some recent pics:


Tried to spray some epoxy primer on the front fenders and sunroof. Sunroof had some rust and holes in it so I ground it down and treated the rust with purple power deruster, washed that all off, wiped down with wax and grease remover and layed down two coats of primer. I'll do the little dents and fix the holes on top of the epoxy.
I think it came out okay for my second time using the gun. I can see a little orange peel in the sunroof but I hope the high build primer thats coming next will cover that up. I am kinda winging it here so I'd appreciate any helpful direction. Thanks!


I think it came out okay for my second time using the gun. I can see a little orange peel in the sunroof but I hope the high build primer thats coming next will cover that up. I am kinda winging it here so I'd appreciate any helpful direction. Thanks!
Primed the doors today before work today, tried to setup the pieces for easier work around. Seemed to go a bit smoother than the fenders. Going to try to spray the body in epoxy sometime this week. Thinking about reassembling the fenders, doors and bumpers first and then spraying with high build and blocking the entire car. Once sanded then on to the flat black single stage urethane. Sound okay?


yes try to spray the car with the parts assembled, if you were going solid black it would not be a big deal but if going flat black its good to have it together so you know the panels are even to each other


Finished the second coat on the bumpers and sprayed the car with epoxy primer. Almost used up my gallon of primer by this point. Ready for the 2K high build primer now.


Can you elaborate on what you're thinking?
The tech sheet says you can add a reducer to thin film build as desired. For max build no reducer. Also says it can be topcoated and the tech sheet for my topcoat says it can go right over this high build primer or epoxy.
Should I reduce the last coat of this before moving to the topcoat or straight to topcoat after sanding?
I am going to go start laying the high build primer on the panels and body now. I'll check back later today to see what to do next. Thanks very much!!


areas like the door jambs that are usually in good shape you dont high build, reason being it does not sand as easy as a finish primer, there is also no reason to high build that- usually only panels that have been bodyworked
Yeah I kinda got that idea once i was started, I tried to get three good coats on the sandable surfaces, might have gotten some extra on there. I didn't even think about the way the car is finished in a rougher type finish on the bottom of the doors and fenders, I just went lightly over those parts. Anyways, it should look pretty much smooth after this, looks like it should be pretty straight other than the biggest dent on the car in the rear drivers quarter, I tried to reshape it but can see it's not perfect. maybe some more body filler over the primer?
With guide coat waiting to be reassembled for sanding:


With guide coat waiting to be reassembled for sanding:

Few questions about block sanding this sucker. Looks like the high build primer layed down just a little rough and there was some brushed on epoxy under the sprayed epoxy that should have been sanded better, creating little patches of textured low spots and high spots. Anyways, it's coming out really smooth but there is a whole mix of high build, epoxy, factory paint and even bare metal in one or two spots where I sanded through.
Definitely seems like we're gonna need to seal it before going to topcoat. I'm leaning towards using the same epoxy primer to seal it since it sprayed so good the first time. Should I try to reduce the epoxy for a thinner coat or just spray one regular coat and then move to top coats?
So obviously I didn't need to spray everything with the high build but now I have to at least sand it all smooth up to 320. There some areas that will not be visible like under the moldings and trim pieces, can I leave these rough or do they need to be sanded to the same 320 finish that the rest of the car will be sanded to? I assume everything needs to be sanded for adhesion purposes for the epoxy sealant?
What about the bottom of the car where it has a stock rough finish? I was kinda thinking about trying to leave the high build rough like it is to replicate the stock rough finish? Or should I try to sand it as smooth as possible?
Rough texture of high build (with guide coat)

Very lightly sanded to show the texture of the high build

Roughly finished with 120, still need to finish with 320

Sanded through in a few spots

Definitely seems like we're gonna need to seal it before going to topcoat. I'm leaning towards using the same epoxy primer to seal it since it sprayed so good the first time. Should I try to reduce the epoxy for a thinner coat or just spray one regular coat and then move to top coats?
So obviously I didn't need to spray everything with the high build but now I have to at least sand it all smooth up to 320. There some areas that will not be visible like under the moldings and trim pieces, can I leave these rough or do they need to be sanded to the same 320 finish that the rest of the car will be sanded to? I assume everything needs to be sanded for adhesion purposes for the epoxy sealant?
What about the bottom of the car where it has a stock rough finish? I was kinda thinking about trying to leave the high build rough like it is to replicate the stock rough finish? Or should I try to sand it as smooth as possible?
Rough texture of high build (with guide coat)
Very lightly sanded to show the texture of the high build
Roughly finished with 120, still need to finish with 320
Sanded through in a few spots


So, stupid question maybe but, is it okay to stop the high build at this point and seal it with epoxy? Or should I really order more high build and do another coat and round of sanding to try to get rid of the few spots where I sanded though? Is it okay to have a mixed final sanded surface of high build, epoxy, factory finish or does it need to be one perfect layer of high build?
It looks and feels really smooth and straight to me at this point....
Thanks very much for any help here!
It looks and feels really smooth and straight to me at this point....
Thanks very much for any help here!
You need to finish prime that whole car.
By the time you sand the smaller parts down they will most likely have nothing left on them.
Everything needs to be sanded prior to painting, if you want the texture back apply some chip guard to those areas just prior to painting.
By the time you sand the smaller parts down they will most likely have nothing left on them.
Everything needs to be sanded prior to painting, if you want the texture back apply some chip guard to those areas just prior to painting.
Please forgive my ignorance:
Finish prime with more high build or epoxy?

I've done more sanding with 120 since those pics and there's even less high build and more epoxy showing through. Still a few spots of bare metal. I even sanded the bottom parts that were textured and everything is smooth as 120 will get it now.
I don't know whether to finish sanding with 320, seal with epoxy and paint or if I need to spray more high build primer and block sand again??
I realize this is basic procedural stuff but it's a lot different doing it in person than reading or seeing threads about it on the net. I appreciate your help greatly!
I have been working on it this morning and it's coming out pretty good I guess. I think there are a few things going on that were giving me concerns. I think there's just a lot of little highs and lows overall, remember how many little repairs we made with the filler? And then I think I could have layed the high build primer on thicker before starting to sand. It looked like the primer was coming out rough so I stopped after 2 coats but i really could have used at least 3 coats.
Anyways the other side is coming out better, less sand through and more uniform finish but it's still not perfect. I just ordered another gallon of the high build primer as I can see it's going to take another few coats and more sanding. I wasn't planning on using this much high build but it seems most people end up using more than one round of block sanding. Luckily Eastwood ships fast as hell, I usually get my order in a about a day, hopefully this won't set me back too much.
Anyways the other side is coming out better, less sand through and more uniform finish but it's still not perfect. I just ordered another gallon of the high build primer as I can see it's going to take another few coats and more sanding. I wasn't planning on using this much high build but it seems most people end up using more than one round of block sanding. Luckily Eastwood ships fast as hell, I usually get my order in a about a day, hopefully this won't set me back too much.
There is alot that canbe explained, this could take a while so ill try to be brief.
High build is a thicker primer, it usually does not sand well enough for topcoat, it is meant to be primed again with a finish primer. Primer is very important for adhesion and gloss retention, or in our case keeping the satin finish uniform for th life of the finish.
Hgh build will not hide bodywork errors. I can teach someone to spray in 10 minutes, but body work takes years to perfect. The fact you can feel and see your mistakes is a plus, some people dont know the differnce you can teach someone how to do something and you can practice, but if you cant SEE there is a problem.
You want perfect panels you need to skin coat the entire panel and block it down, high build can then be applied to fill in pinholes and allow for block sanding with coarser paper which will cut the surface better compared to sanding for topcoat which usually requires finer paper.
A fc is a little tricky. The doors flare out and the area around the handles can trip you up. The quarters are also tricky because they flare out.
Bodywork is tough, dont get discouraged. Most forum posts show photographs but you know when you that **** in person its not as nice. Keep at it and dont give up.